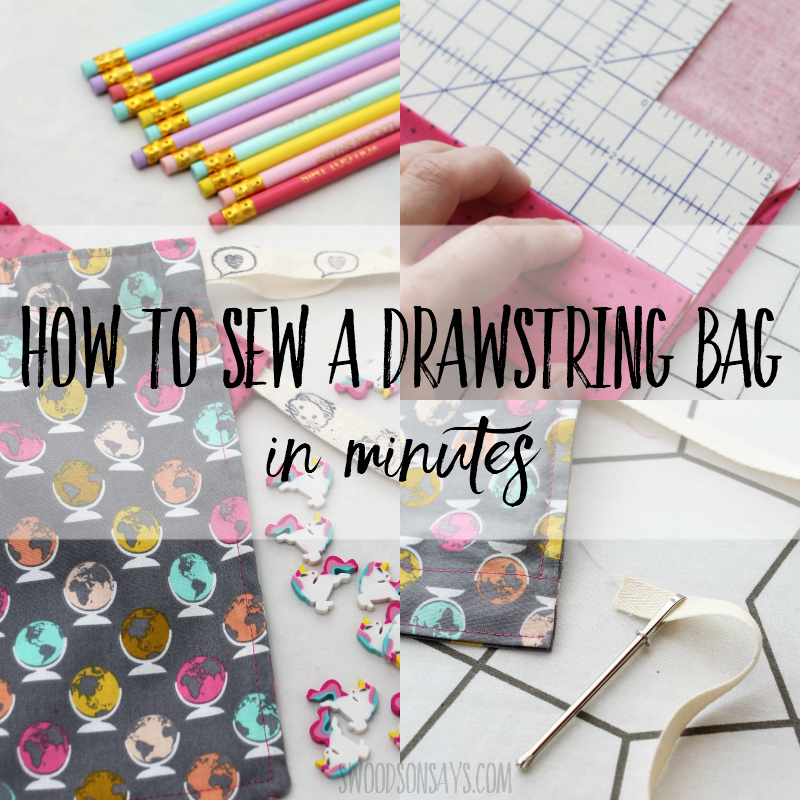
 As back to school comes around, I finally took the time to make something I’ve been thinking about for at least a year – how to sew a drawstring bag in minutes! I often wash apples or pears before we head out for the day on a homeschool fieldtrip but hate to throw them in my grody bag. Now I have a simple way to keep them clean; along with helping to organize everything else that goes into a kid’s backpack or teacher’s tote bag.
I’m including this tutorial in a round-up of back to school sewing projects too so click through and check out all the great patterns & tutorials I found that are perfect for school sewing!
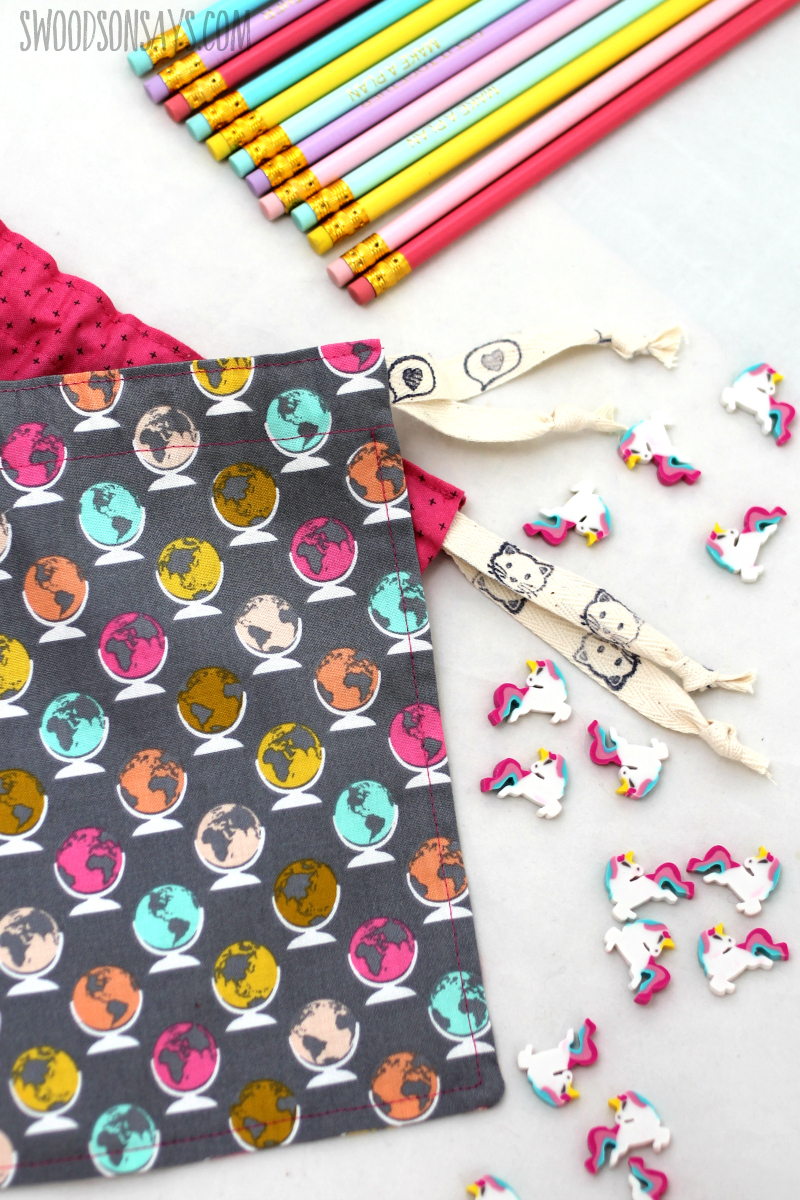
You might be rolling your eyes, like gee a simple drawstring bag tutorial, BUT I couldn’t find one that was exactly what I wanted – no exposed seams! This was the easiest way I could think of to achieve this without adding a lining/a lot of time to the process. I tried to make the photos as simple to follow as possible for beginners, and I think once you’ve sewn 1, you can cut and sew another in 15 minutes!
If you like this drawstring bag sewing tutorial, check out these other posts too:
- 30+ easy beginner sewing projects
- Free, easy tote bag pattern to sew
- 30+ best fabric scrap projects
Pin this tutorial for how to sew a drawstring bag in minutes with this link or collage image:
How to sew a drawstring bag in minutes
Supplies
- 1 fat quarter or 1/4 yard of woven cotton
- Twill tape or ribbon
- Bodkin
- Iron (my favorite)
- Hem gauge
- Coordinating thread
- Scissors or rotary cutter
Steps
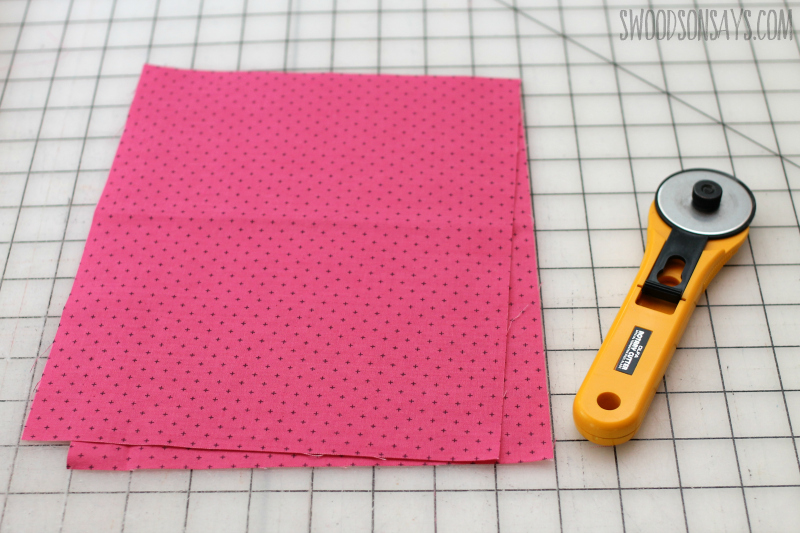
Step 1-
Cut two pieces of cotton fabric that are 8″ wide and 10″ tall. If your fabric has a print, make sure it is going the direction you’d like, this tutorial is written with the shorter end on top/a taller bag.
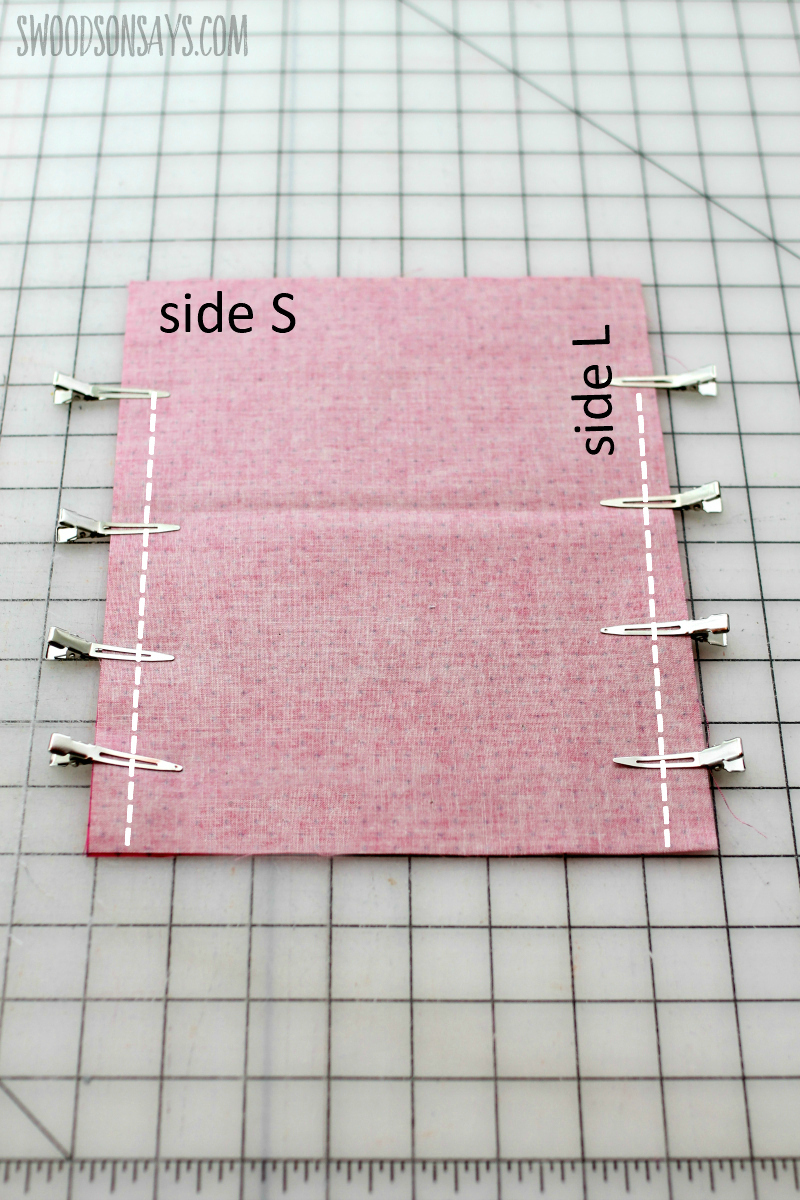
Step 2- Place your two rectanges right sides together and pin or clip the long sides (side L), leave a 2″ gap at the top where you don’t sew. Use 1/4″ seam allowance.

Step 3- Use your hem gauge and fold up the 2″ you left unsewn to have a 1/4″ hem, press.

Step 4- Flip it and now press a 1/4″ hem on the short side (side S). If the corner gets slippery, dab a little glue stick under it and let dry.

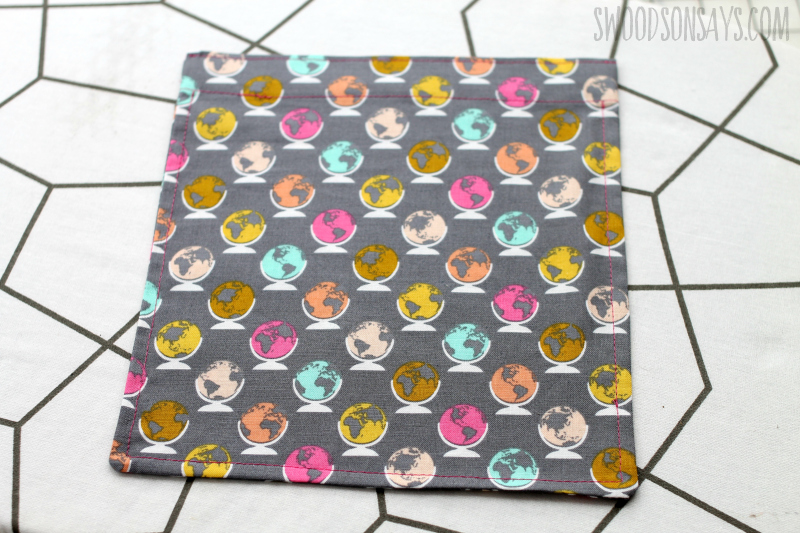
Step 5- Press the short side hem you just created up another 1″ and press. Sew along this edge, and then along the top! More views of what that will look like below.
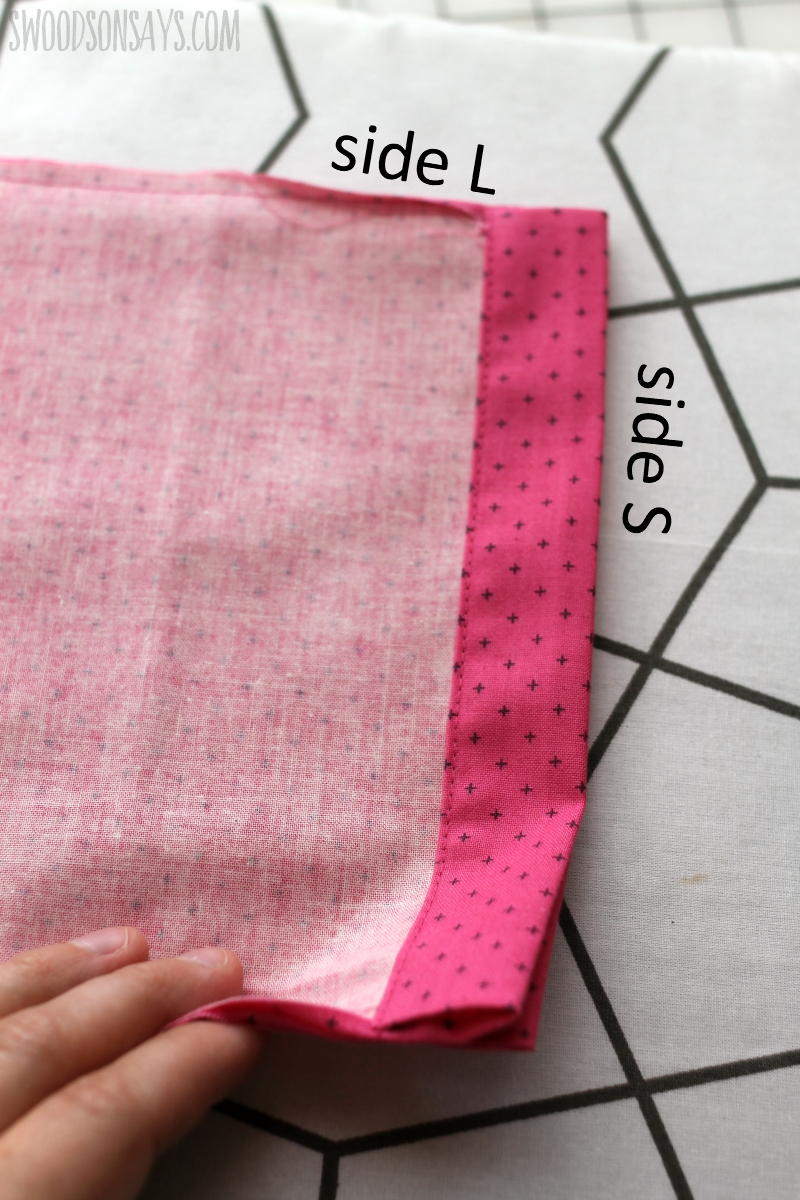
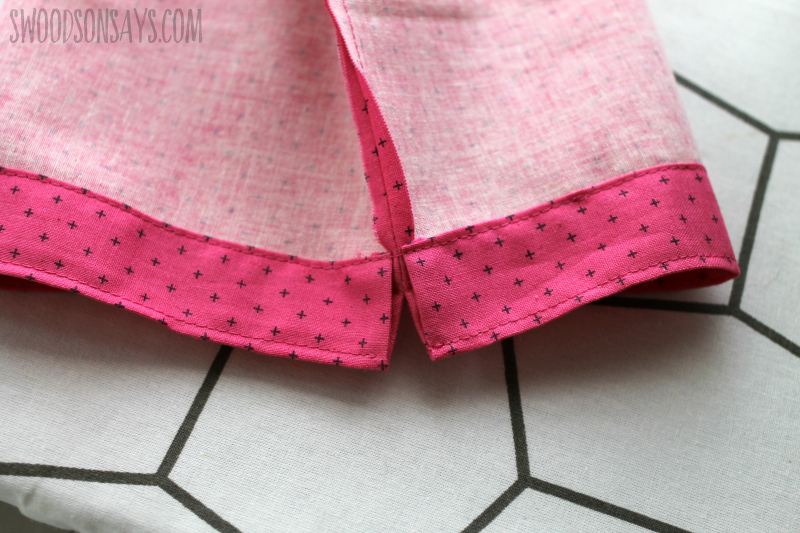
Repeat for the other side. This is what it should look like!
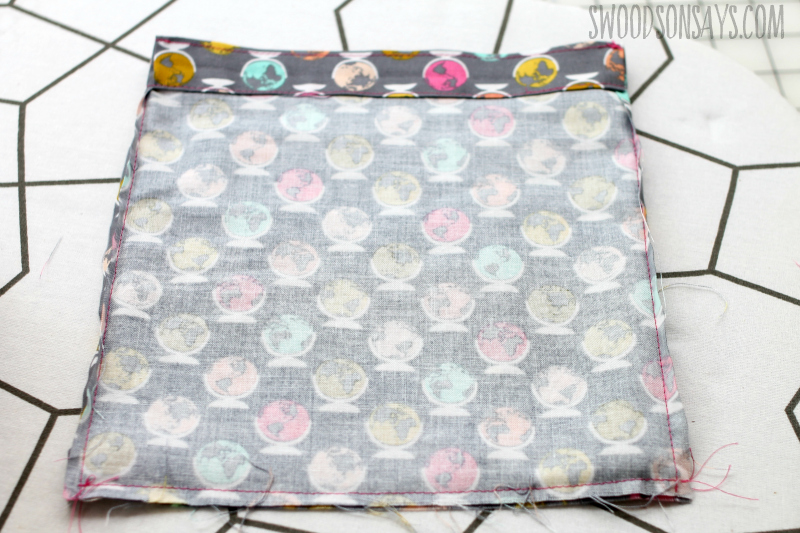
Step 6- Sew the bottom with 1/4″ seam allowance, it should look like the above.
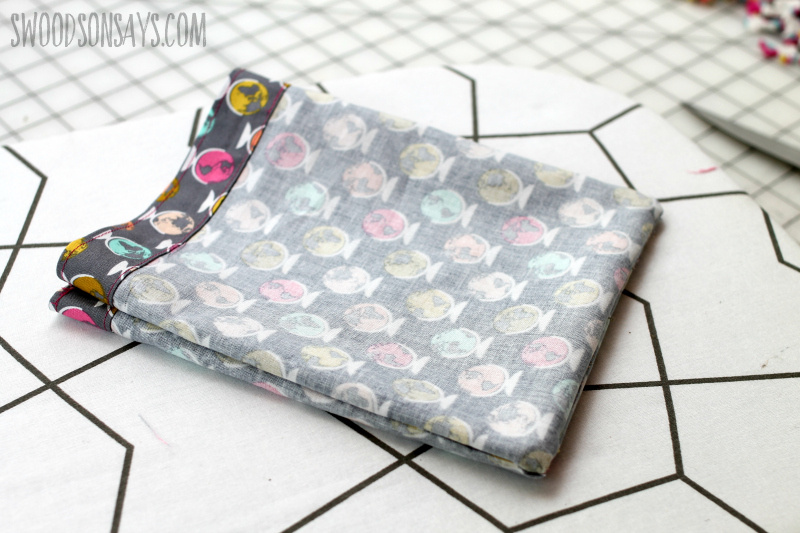
Step 7- Turn right side out and sew 3 sides, starting and stopping at the “cuff”/casing you created, with 1/4” seam allowance. This will encase all the raw seams inside, leaving it looking like the bottom!
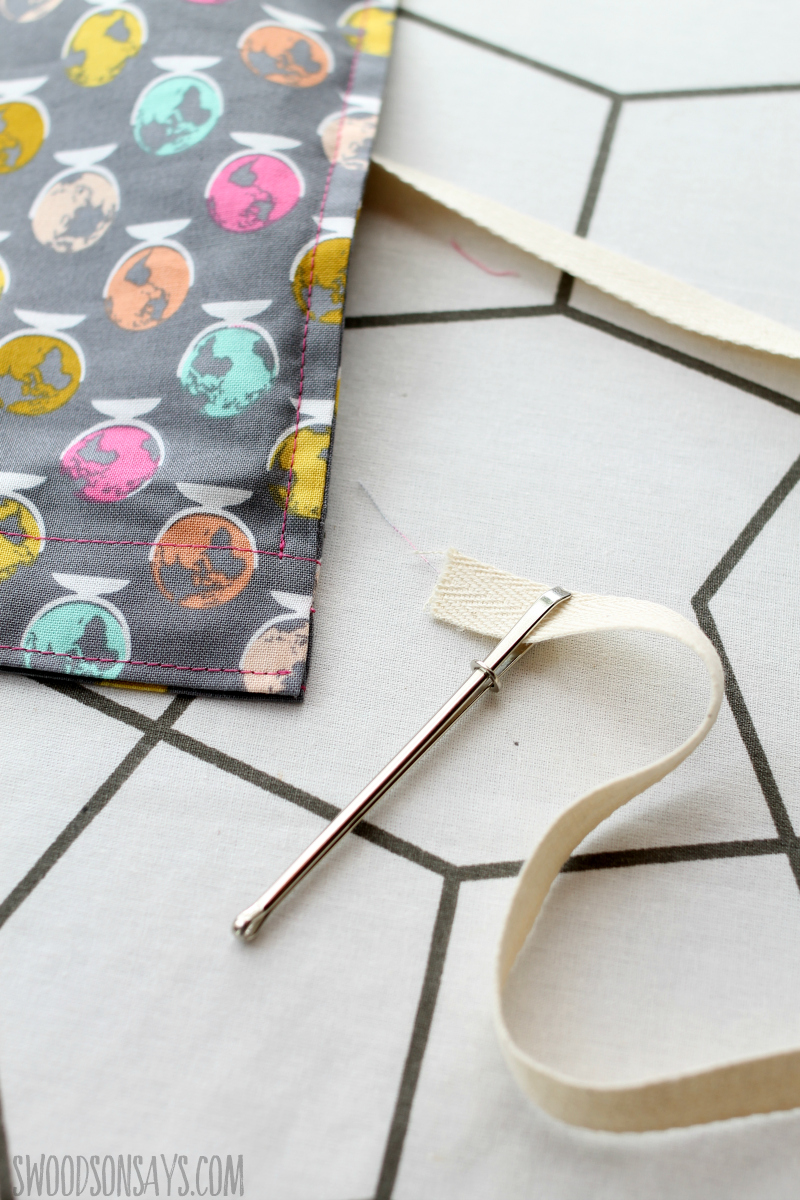
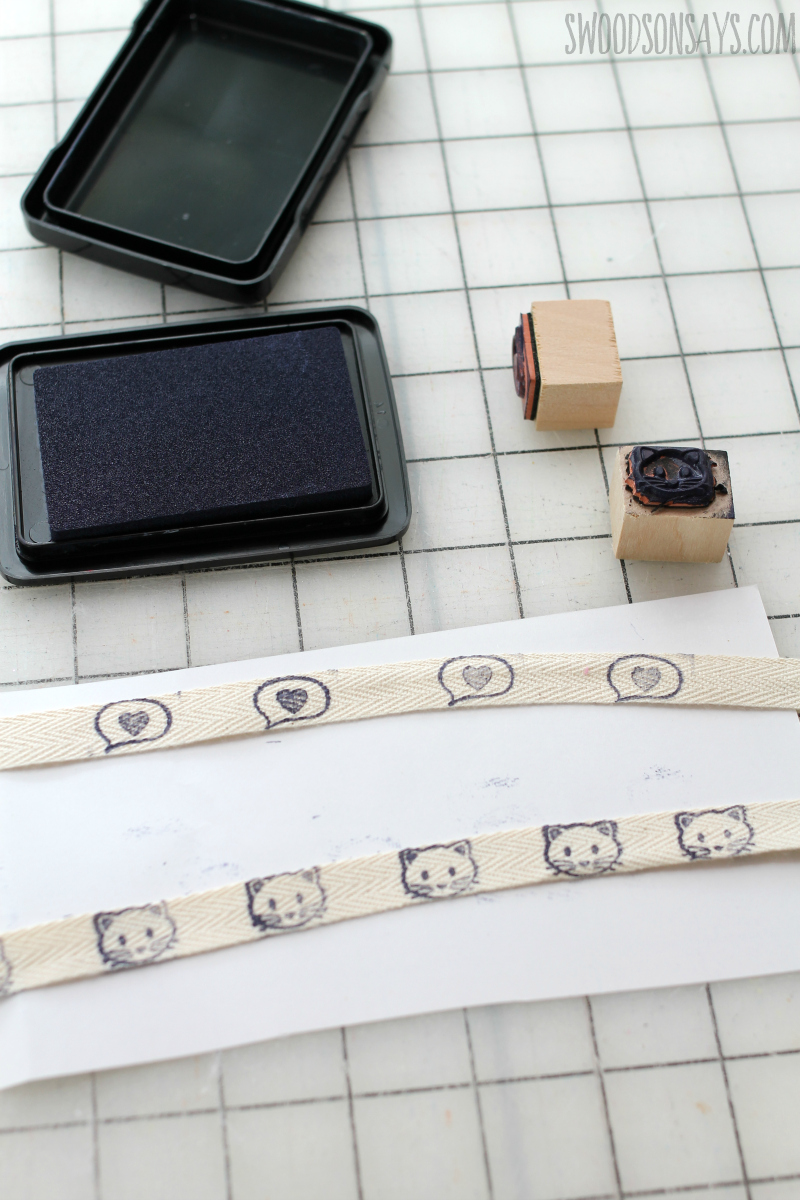
Step 8- Cut 1 piece of twill tape that is 24″ long – stamp it or decorate it if you’d like! Then use your bodkin and thread it through both sides. When you pull the tape, it should gather together, and you’re done!

Daria Wilber
Friday 31st of July 2020
Love this tutorial!! Thanks for taking the time to share it!
Karen M.
Wednesday 31st of July 2019
I love your website and I also follow you on facebook! I have been doing some of your projects, especially the easy ones.LOL! One question, could you find a way to get a way for easy printing?
Stephanie - Swoodson Says
Sunday 11th of August 2019
Hey Karen! Do you have a 'print to pdf' option on your computer? That's an easy way to do it usually!
Vicky Myers
Wednesday 24th of July 2019
Brilliant, I love how you have hidden the raw edges of the seams - perfect to size up or down for snacks, trainers, sports kit, the possibilities are endless.
Kimmylouwho
Tuesday 29th of October 2019
if you had done it in reverse with the first seam with the fabric pretty side up, then the french seam would be on the inside not the outside. Similar to making a pillowcase like this video from Crafty Gemini: https://www.youtube.com/watch?v=TAomYjHzUQk great little bag!
Matti Prevost-Hart
Tuesday 23rd of July 2019
Hey, if you use a narrower ribbon, you can thread it in a U and pull both ends to close it more smoothly/tightly.
I.e.: with two pieces of drawstring, thread one through both casings starting on the left. Next, thread the other one through both casings starting at the right. Knot each end, pull on both ends to close. This also allows you to tie the ends in a bow for more security (we don't want apples wandering out of the nice, clean bag!).
I hope this is not an annoying comment. I love this tutorial, and might make several.
Olivia Morrissette
Thursday 12th of October 2023
@Matti Prevost-Hart, @Stephanie - Swoodson Says Howdy! The first time I received a gift in an Amazon bag, the bag had double pulls just as Matti described. I puzzled over how it was done and couldn’t easily figure it out, but Matti has taken care of that for me—four years later! Yippee for women talking to women!
It’s the middle of October already, so Happy Holidays to you both, and thank you. —Olivia in NH
Stephanie - Swoodson Says
Thursday 8th of August 2019
Hi Matti! I *always* welcome feedback or other ways to do things, it isn't annoying at all! I need to physically try what you're describing, reading it isn't clicking for me but I'm going to try it tonight :) Thank you!