
Use this beginner clay magnetic pin cushion DIY tutorial to make a magnetic pin dish for sewing!
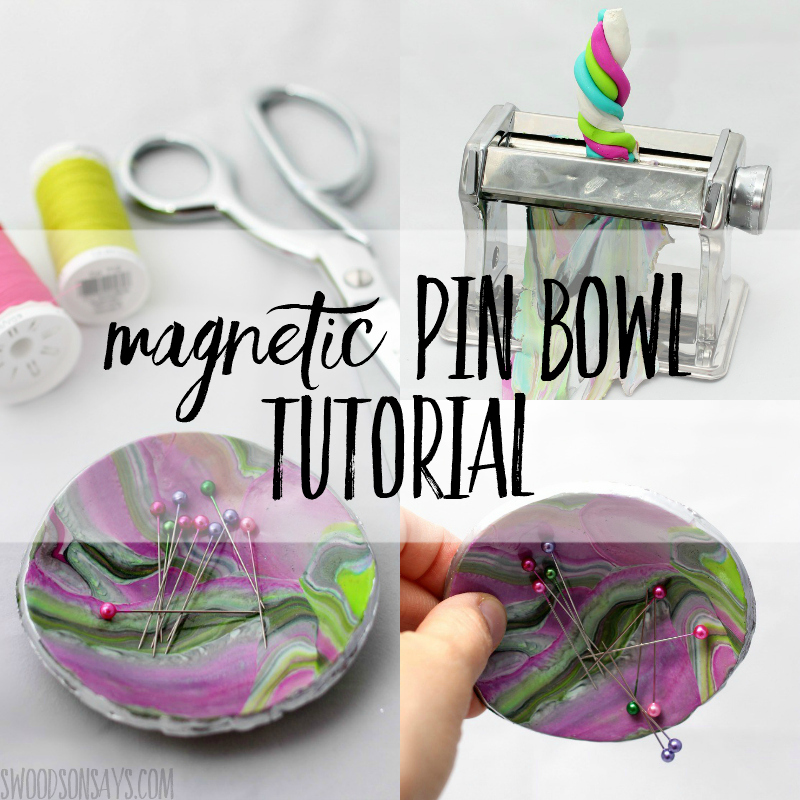
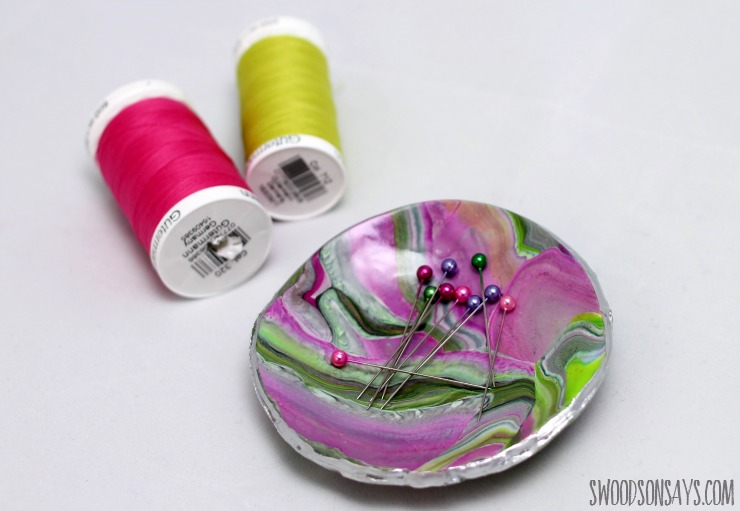
I’m so excited to share how I made this magnetic pin bowl, it turned out just as I’d hoped! My mom gave me my first magnetic pin bowl this past Christmas and I’ve really been loving it. I’m in a group of bloggers all creating a craft with the same theme each month, and I was stumped on how to connect clay with what I normally make and enjoy (I attempted buttons and labels, as well). This diy magnetic pin dish will help keep your sewing room organized and it’s way easier to throw a pin in a dish than stick it in a pillow, although I still love sewing pincushions.

These were heavily inspired by the tutorial over at A Beautiful Mess for marbled jewelry dishes. I went with silver leaf around the edges and a clear, glossy glaze, and it reminds me of an agate. These are some of my favorite colors; you could easily use earth tones or cool colors for a completely different look.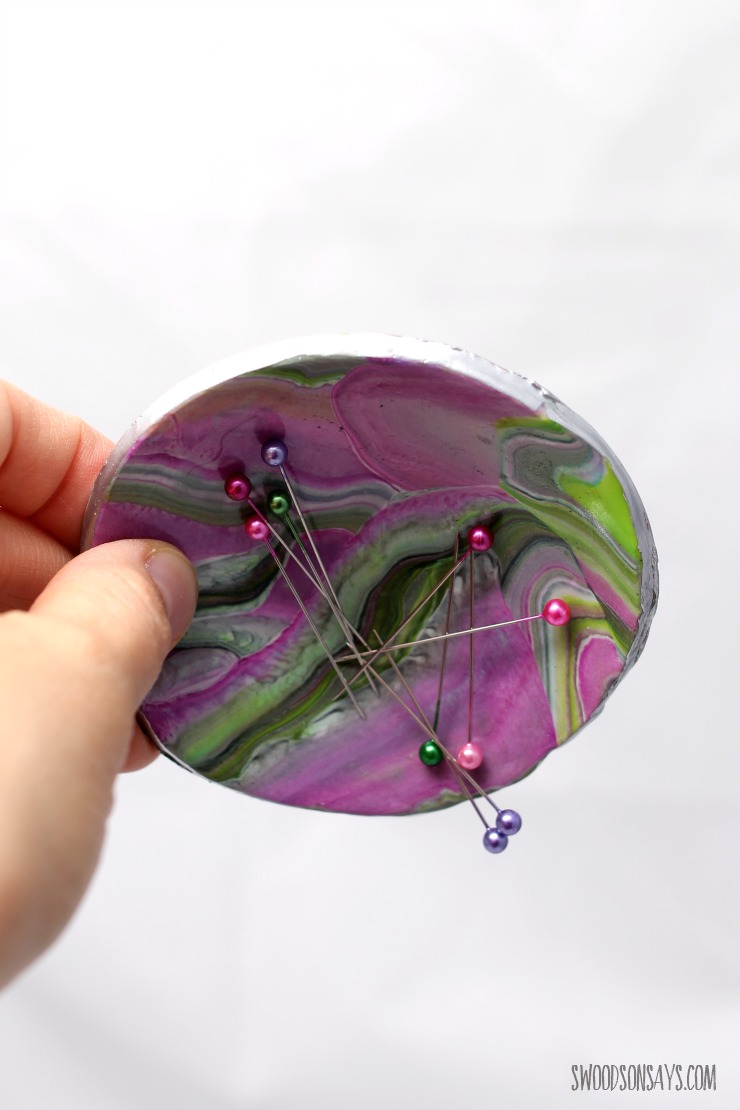
I was really nervous after all that work, that the magnets wouldn’t work through the clay, but they did! Perfect if you have two tiny tornado children who knock everything over.
If you like this post, check out these others while you’re here!
- 25+ free pincushion sewing patterns
- 15+ clay projects for beginners
- Beginner sewing supplies list – what to buy on a budget!
- 20+ Easy beginner sewing projects
If you’d like to make your own, I’m sharing the tutorial below. It’s a little supply heavy, but I have plans to make some ornaments with the rest of my clay. I was just sifting through my ‘sentimental’ box and found an ornament that I made and painted, of our family dog growing up. I’m so excited to have renewed my love of clay!
Pin this tutorial for a magnetic pin cushion DIY tutorial with this link or photo:
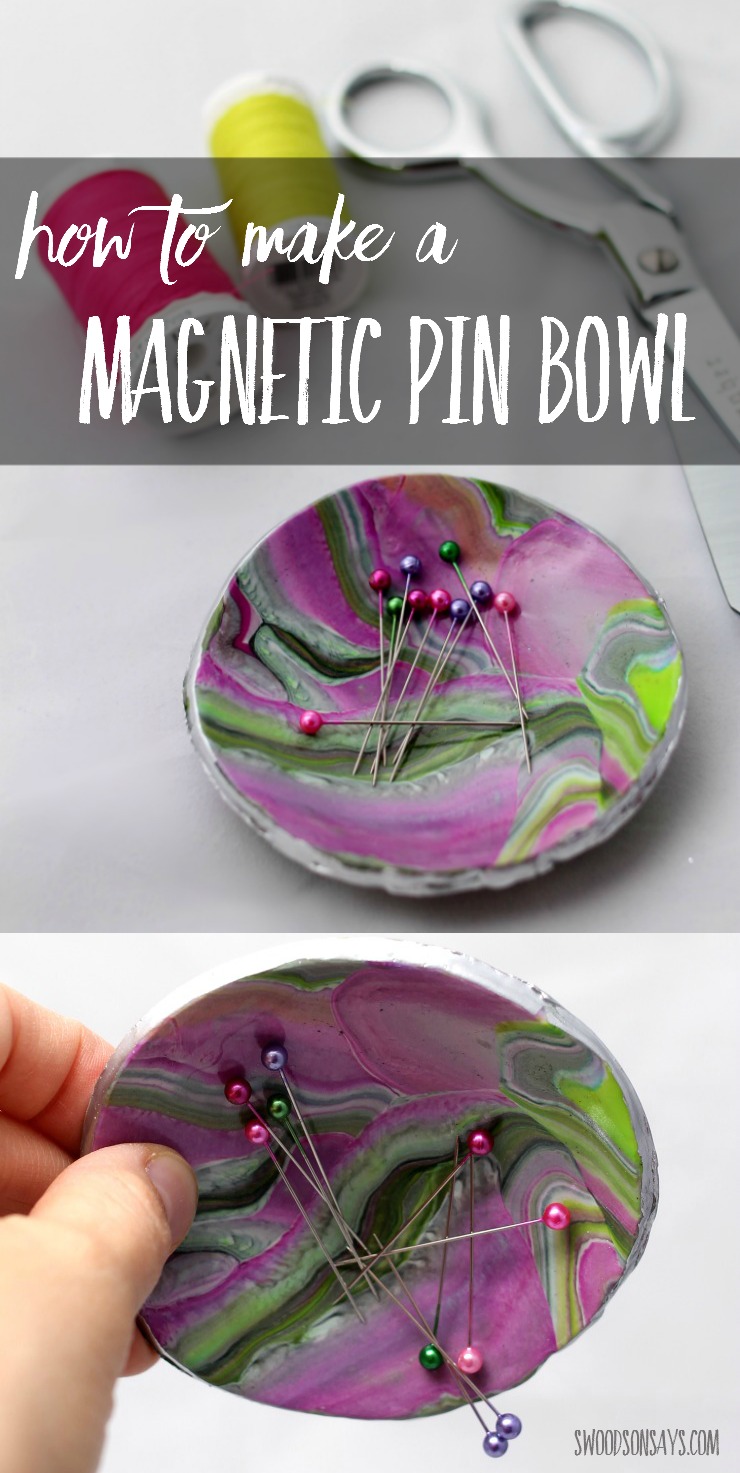
Magnetic pin cushion DIY tutorial
Supplies
- Circular cookie cutter (you can alternately trace something or use a glass and razor) – mine is 4″
- Clay – you can see how much I used below for each bowl, so roughly one small block of each color and two small blocks of white (although I bought this bulk white)
- Clay glaze (optional)
- Acrylic roller (you can also use a larger plastic glass!)
- Small, strong magnets like these (please be super super careful with them if you have kids around, if swallowed they can be fatal)
- E6000 glue or comparable strong adhesive
- Oven
- Baking sheet/pan
- Parchment paper
- Silver leaf paint – I used a pen like this which was really handy (optional)
- Small, oven-safe dish
Steps
How do you make a magnetic pin dish? Let’s get started!
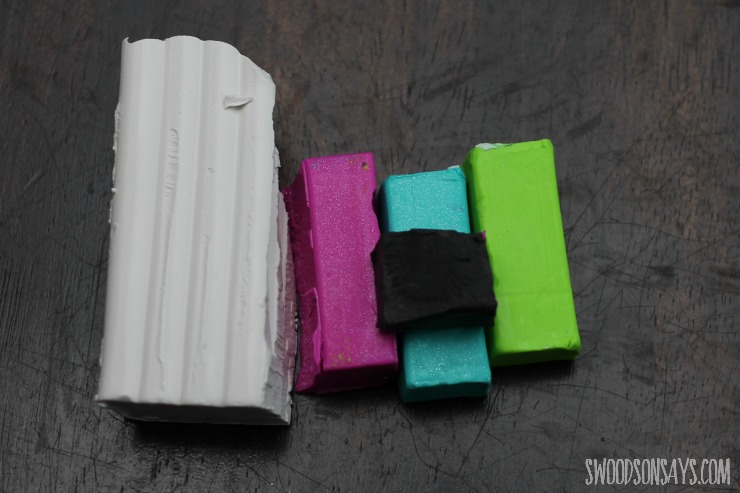
Step 1 – Break off your pieces of clay. You can see the proportions I used above, mix at your pleasure. Work the clay around to condition it until it’s no longer crumbly. 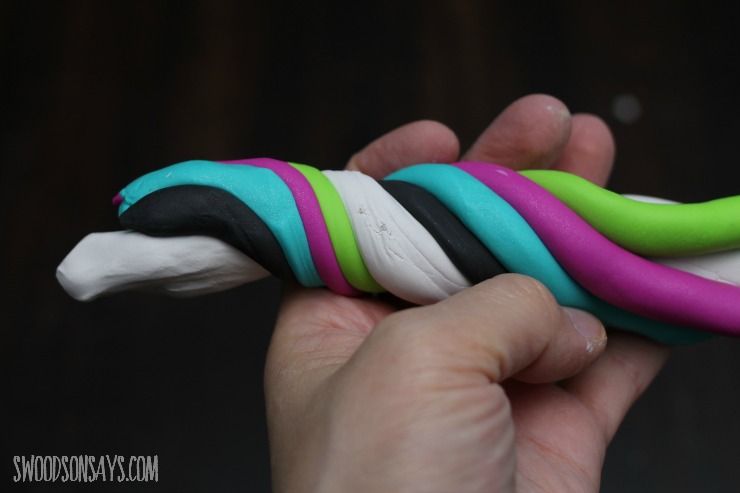
Step 2- roll each piece of clay into a snake and twirl them together.
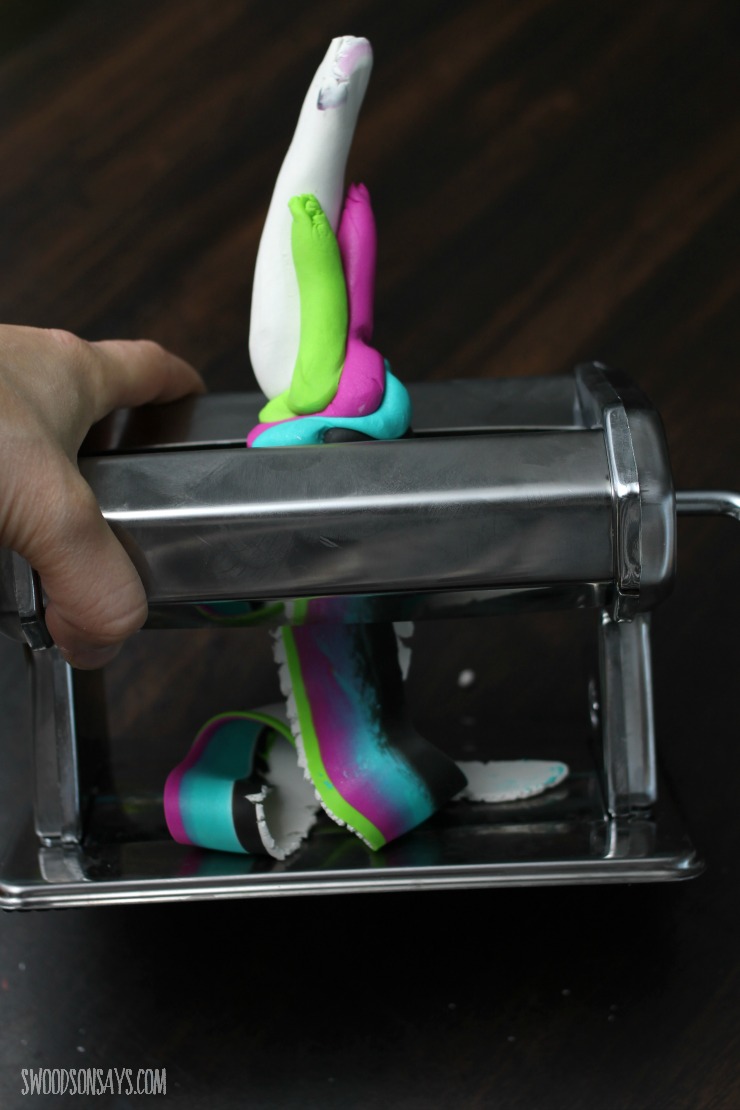
Step 3- roll it out flat! I used a pasta maker* to make it easy on myself, but a regular rolling pin will work fine. You can see how clearly defined the colors are, here.
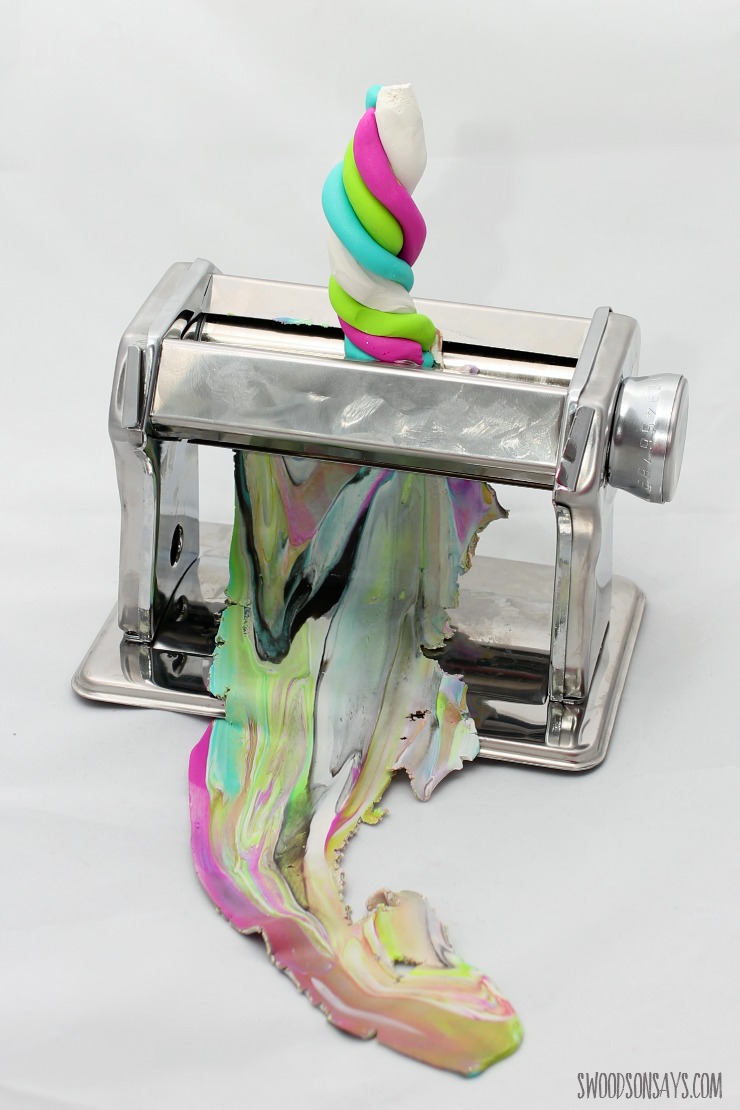
And how blended they are after they’re put through a few times.
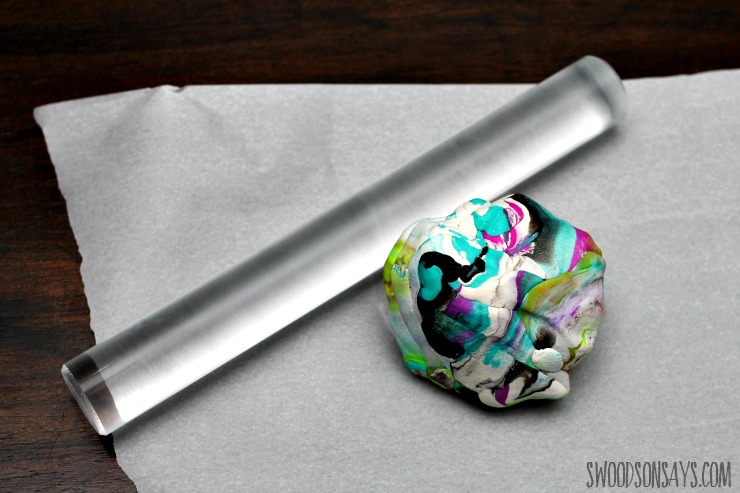
Step 4- Now roll it up into a ball, and roll it out flat one more time. (I aimed for roughly 1/4″ thick).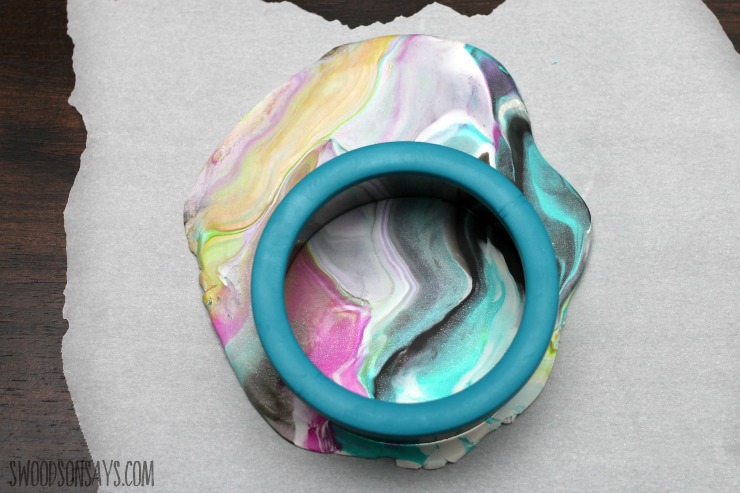
Step 5- Cut out your circle. If you’d like, you can gently press the magnets in the bottom so their indentation bake in.
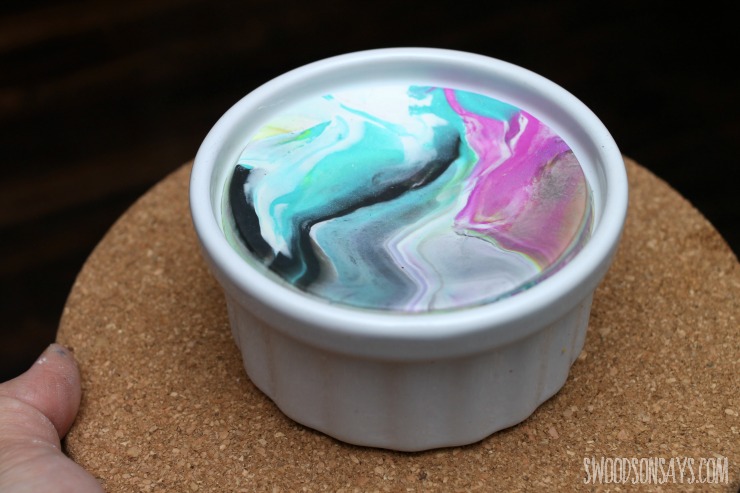
Step 6- You can gently bend up the edges, or set it inside a small baking dish so the middle sags a bit while it cooks.
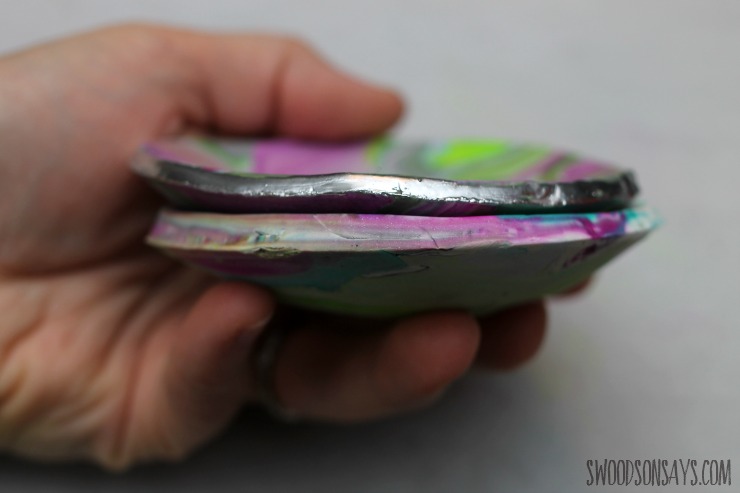
Step 7- Bake according to package directions, cool, and then silver leaf the edge if desired. You can see the difference in this photo.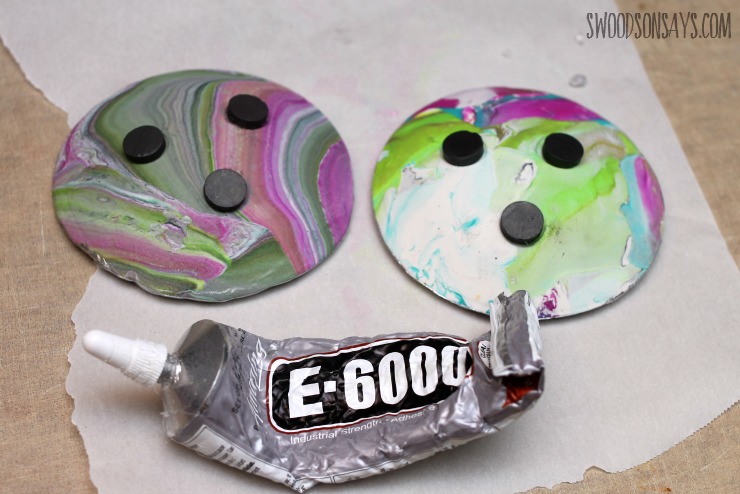
Step 8- Glue the magnets to the bottom of the dish.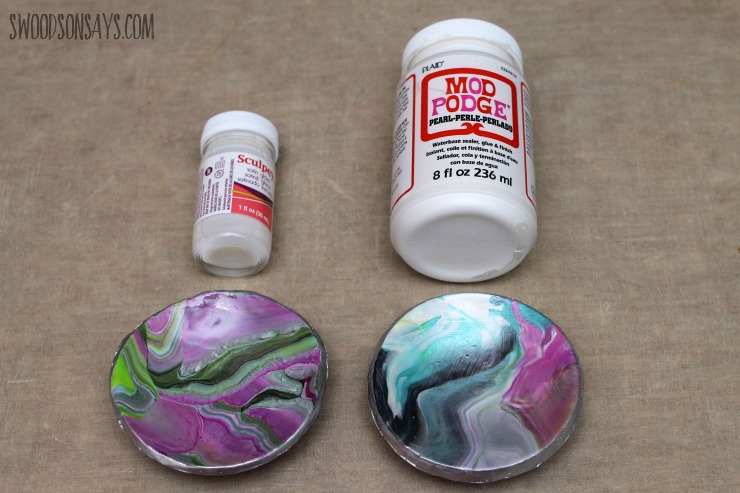
Step 9- Glaze! I am comparing Mod Podge Pearl* and the Sculpey glossy glaze in this shot. I felt like you could see brush strokes with the Mod Podge no matter what I did, and I definitely preferred the Sculpey glaze.
Let it dry and you’re done! Whip up a bunch and gift them to all your sewing friends, I know I am going to!
Maggie
Saturday 8th of November 2025
Can you incorporate the magnets IN the clay, as opposed to on the backside?
Stephanie - Swoodson Says
Saturday 8th of November 2025
I have not experimented with it personally but multiple sources on the internet said it could explode or de-magnetize the magnets if you bake them. So I don't think it's a good idea :)
FlorB
Wednesday 29th of May 2019
Thanks for sharing that is truly handy..👍😘
Stephanie - Swoodson Says
Sunday 11th of August 2019
Glad you liked it, it's fun to make! Thanks for reading!
Lara
Monday 5th of November 2018
I made one of these a couple of years ago, and I LOVE it, it holds exactly what I need. I don't have a pasta maker just for clay (only for pasta) so I mixed and rolled it completely by hand. It didn't take that long. I actually got my kids involved in the mixing of the clay.
Stephanie - Swoodson Says
Sunday 11th of November 2018
Ohh I bet your kids had fun! Thanks for reading Lara!
Kathy A.
Monday 20th of February 2017
I loved your idea; what a great way to use up some oddball colors/scraps of clay. Have you ever mixed different brands of clay? I think these bowls would also be great on a desktop for paper clips or thumb tacks; may even make a couple of accessories to make a set--color around the top of a pencil can, pen holder, etc. Having arthritis and "fumble fingers", this is definitely easier than picking up pins from a box. Pinhead colors could be co-ordinated with the clay colors!
Stephanie - Swoodson Says
Monday 27th of February 2017
I haven't ever mixed different brands - but I totally agree that they would be adorable for holding desk stuff! Thanks for reading!
Pamela
Sunday 22nd of January 2017
I am of a far older generation and would like to congratulate you on your great idea. I am off to the craft shop for supplies. Wish me luck!
Stephanie - Swoodson Says
Monday 23rd of January 2017
Well thanks Pamela! Let me know how it turns out :D