
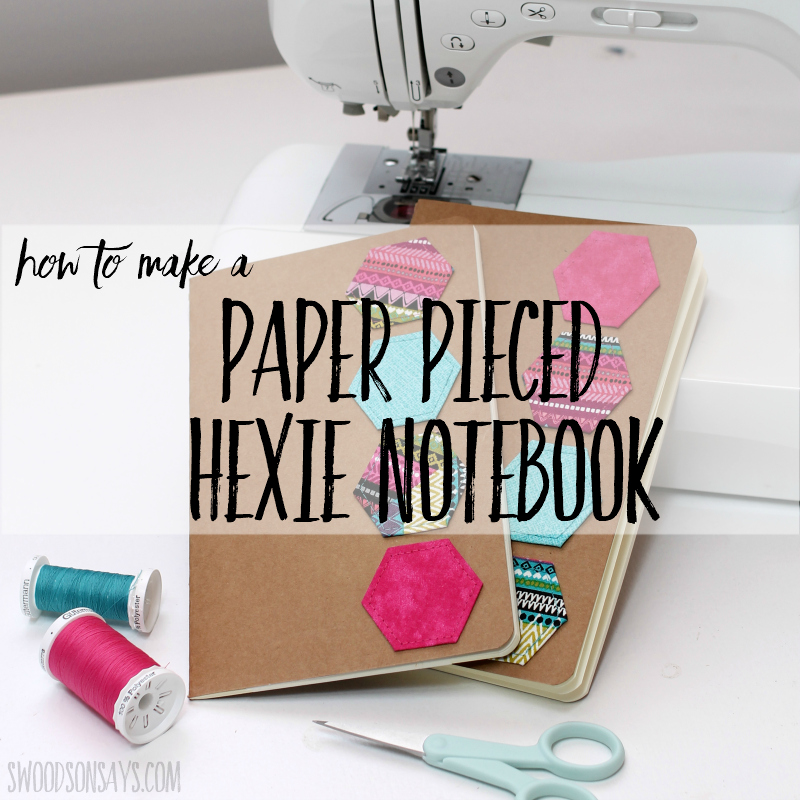
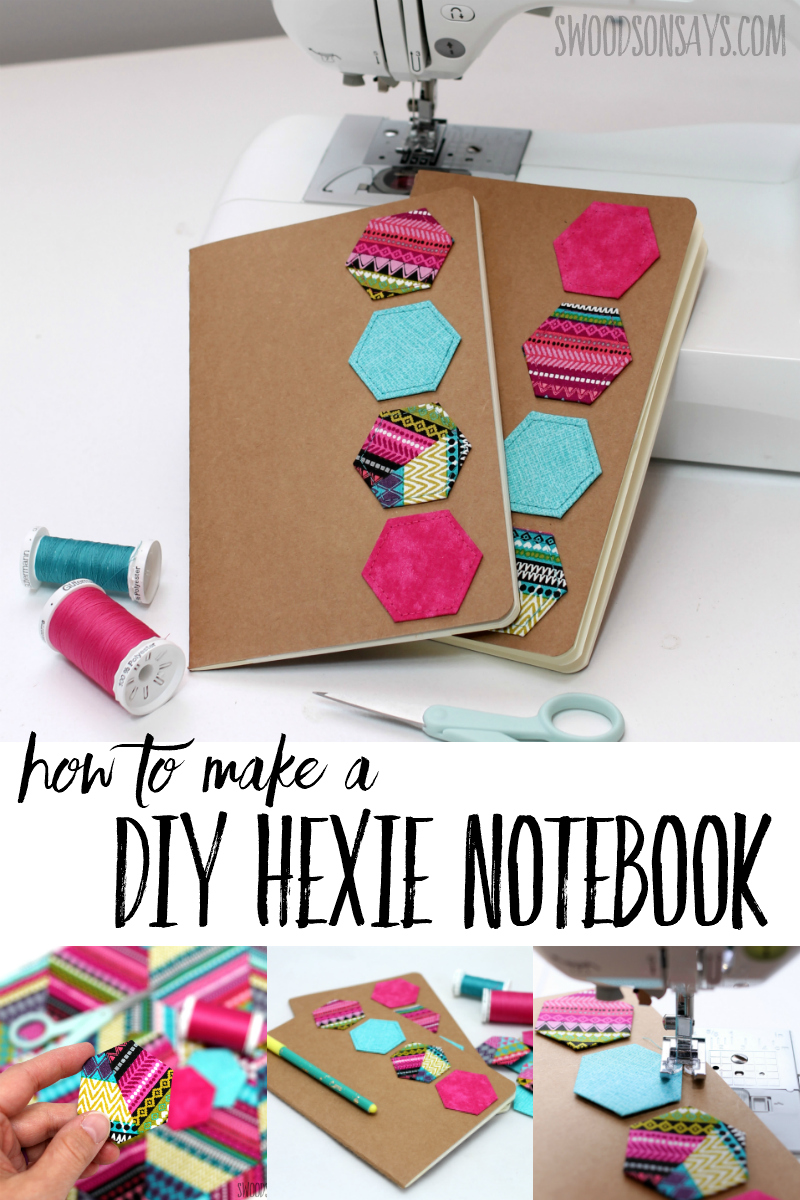
I love how paper piecing is an easy, portable way to sew by hand and use up fabric scraps. This cute notebook diy is a simple way to use up spare hexies or a great beginner epp project! If you’ve never sewn a hexie by hand you’re going to love it! I have a video included so you can see the technique, or a picture tutorial if you prefer to read through slowly. I think this paper pieced hexie notebook is a great DIY Mother’s Day gift idea to sew, don’t you?

I’m going to my first blog conference this week and plan on taking it with me for note taking. I had high hopes of sewing my own purse and clothes, since it’s for craft bloggers and all, but just haven’t had that much time with a recent house/state move. This at least feels a little crafty, even though it is super quick!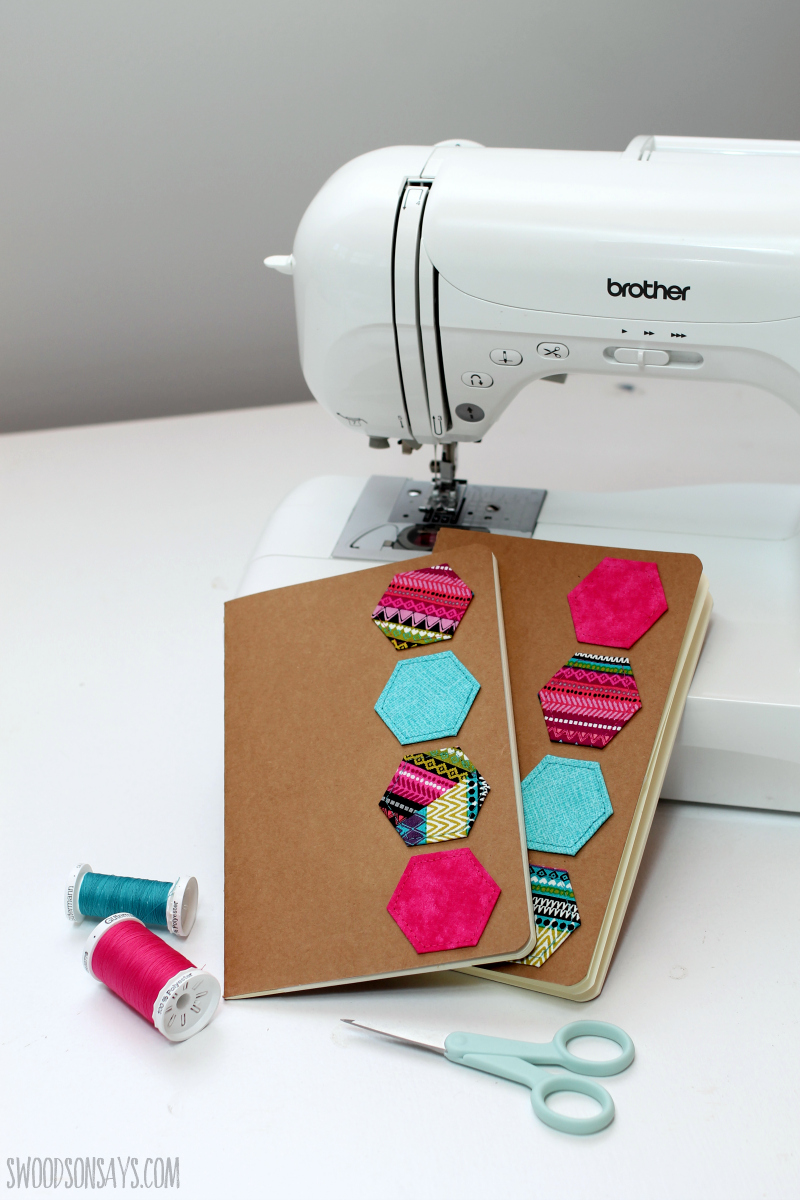
I love handmade gift ideas that are useful and pretty, once the cute notebook diy was filled up you could rip off the hexies and do something else with them, too! You can find more english paper pieced hexie projects on my blog, here!
When we were in between houses and staying with family, I was 2+ hours from the closest Jo-Ann’s, and now there is one super close to my house! That’s where I got all these fabrics!
I’m finally trying some video tutorials; this is a sped-up version and then there are pictures below!
Pin this cute notebook diy post for later, here:
Ready to make your own?
How to make a paper pieced hexie notebook
Supplies
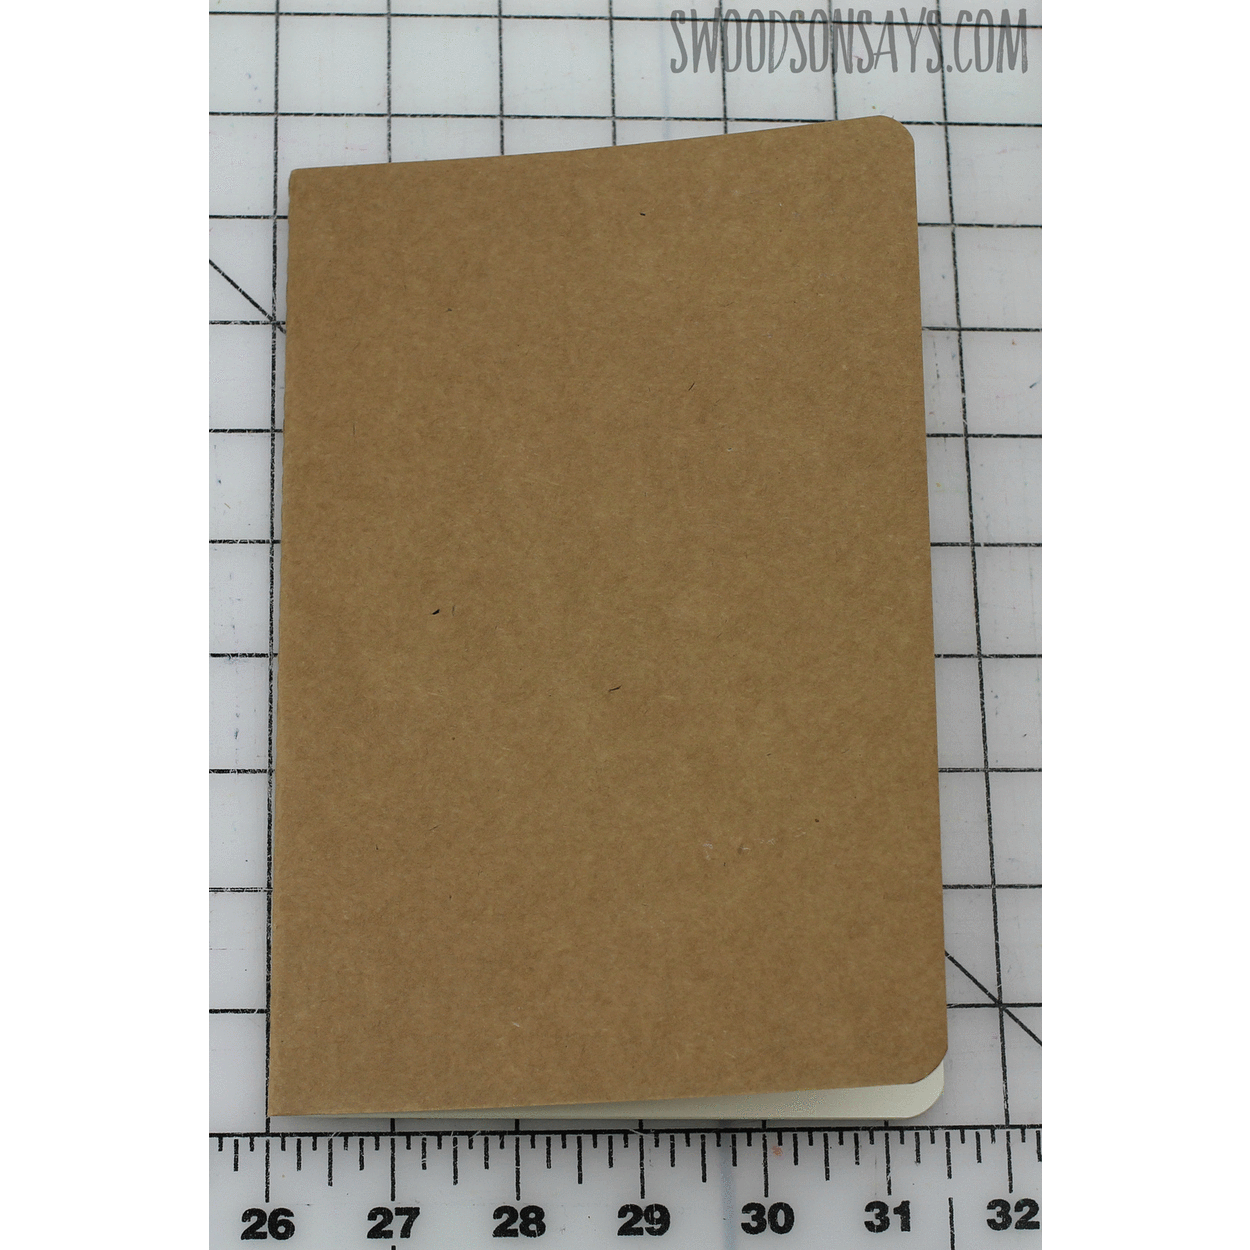
- Plain notebook. I bought a A5 size set of 3 for $8 off Amazon
- Glue stick
- Acrylic ruler
- Coordinating thread & sewing machine (you could hand sew these, too!)
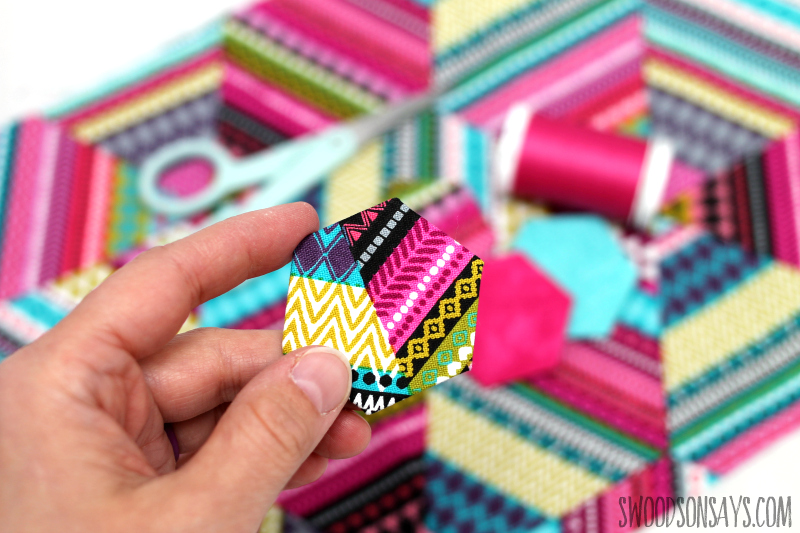
- Palm sized scraps of quilting cotton. All 3 of these came from Joann Fabrics.
-
1″ hexagon paper pieces – you can buy them premade or – sign up for my newsletter and get the free download once you confirm your subscription! If you’re already a subscriber, you can access the pattern with the password in each newsletter, in the resource library.
Steps
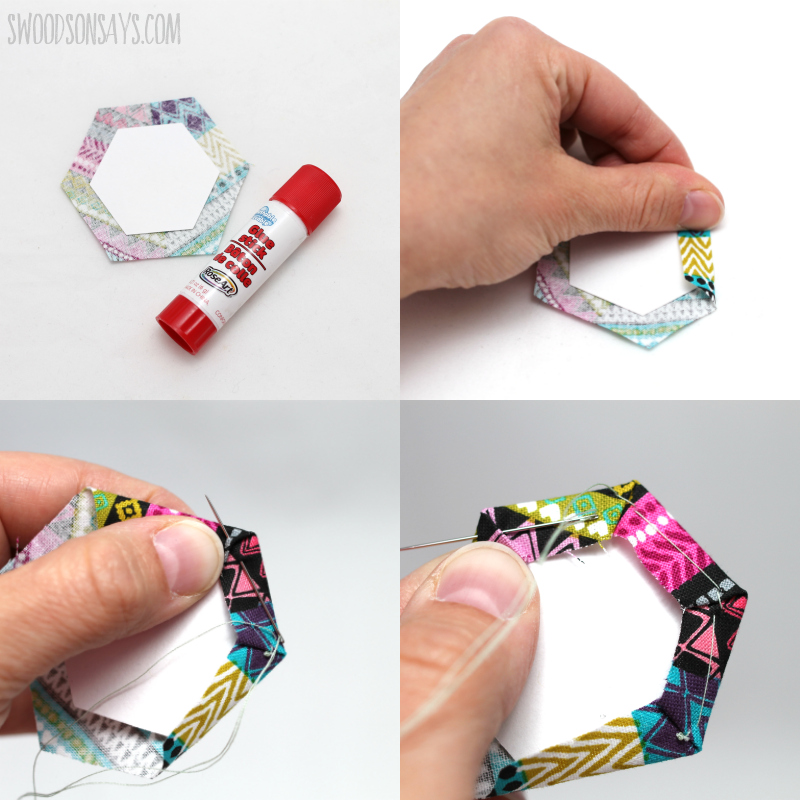
Step 1 – Use a dab of glue to adhere the template to the wrong side of the hexie, trim a rough 1/4″ seam allowance around each edge. Finger press each edge over and then fold them over, stitching through each fold. If you’d like bigger pictures of each step, you can see this tutorial of a english paper pieced hexie coaster. Don’t take out the paper template, for this project!
Step 2- Repeat, making 4 hexies!
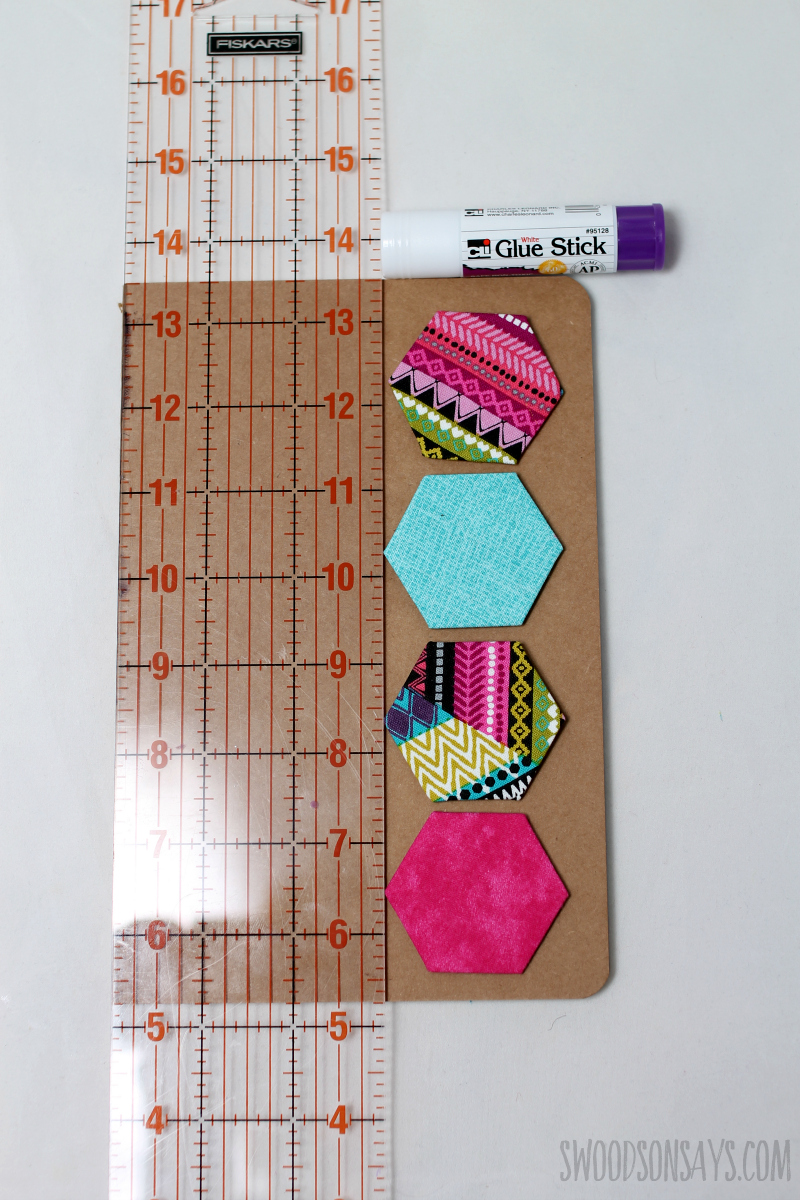
Step 3- Use a ruler to line them up and then use glue on the backside to temporarily adhere them.
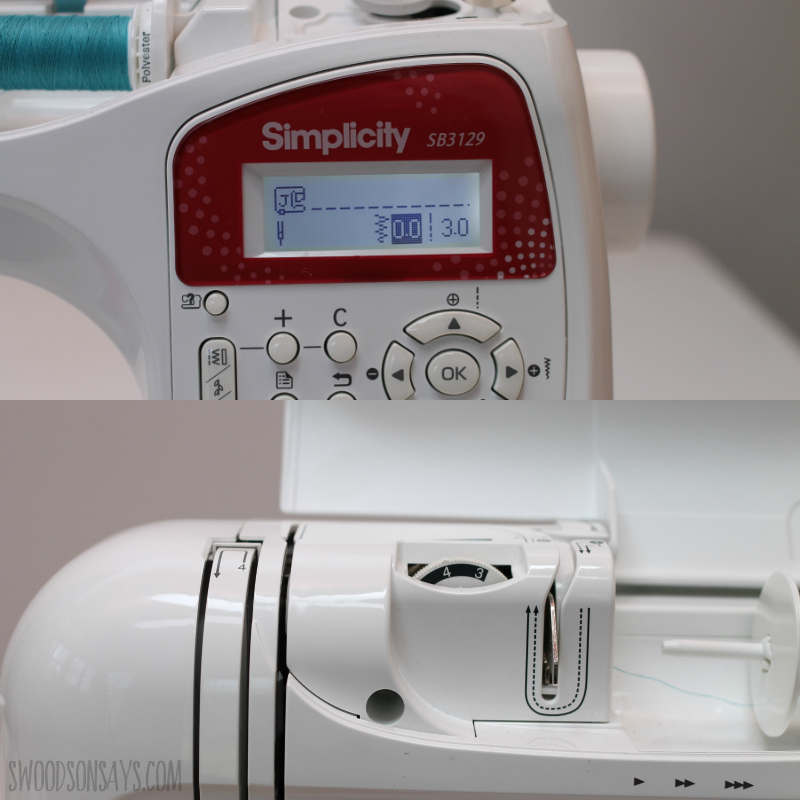
Step 4- Get ready to sew! If you have spare cardboard of a similar weight, you might experiment before actually sewing on your notebook. I had to loosen my needle tension and length my stitch length a bit for a nice, even stitch with the added thickness. If your stitches are too short, they’ll punch completely through the cardboard because they’re so close to one another.
Use an applique foot (it is clear/see through) and all purpose needles.
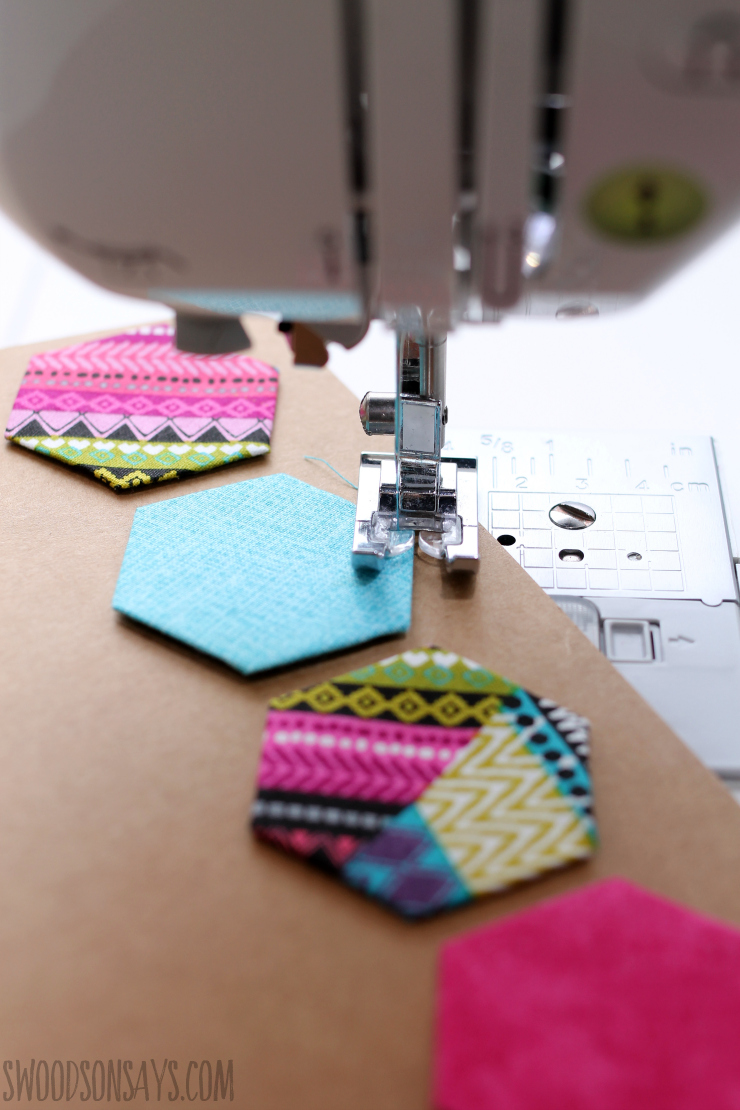
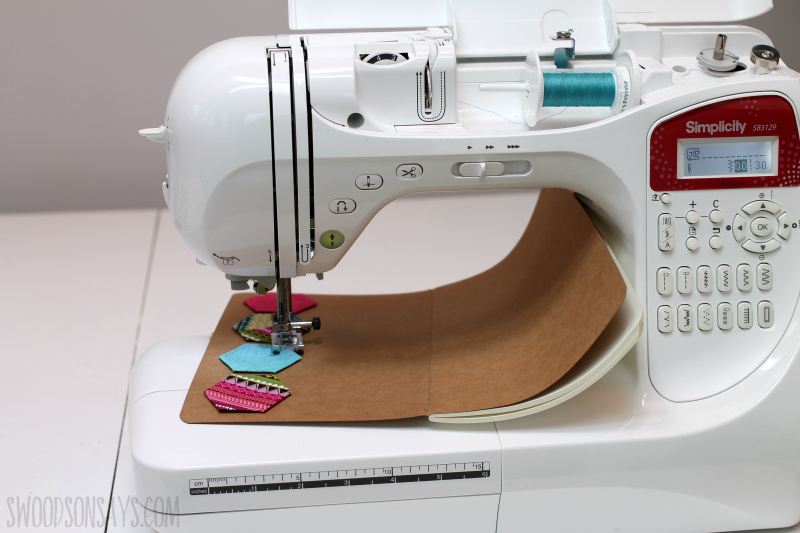
Step 5- Sew along the edges of each hexie, lifting the presser foot and pivoting at each corner. Take a stitch or two back & forth at the beginning and end of the seam to secure it. You will have to gently bend the book as you sew, as seen above.
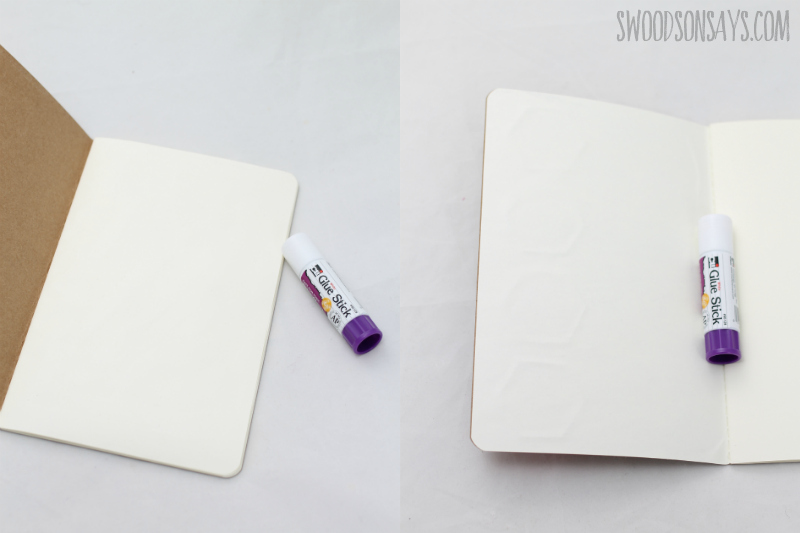
Step 6- Trim loose thread ends on the back of the cover. Use your glue stick and cover the front of the first notebook page, and then smooth it out on the back of the cover so you can’t see your stitching. Ta-da, you’re done!
Who would you like to gift this cute notebook diy to?
Kaholly
Saturday 14th of April 2018
PRetty clever!
Stephanie - Swoodson Says
Sunday 15th of April 2018
Thanks Kaholly!
Damjana
Monday 9th of April 2018
What a fun project, and love the video. Way to go!
Stephanie - Swoodson Says
Monday 9th of April 2018
Thanks Damjana!!