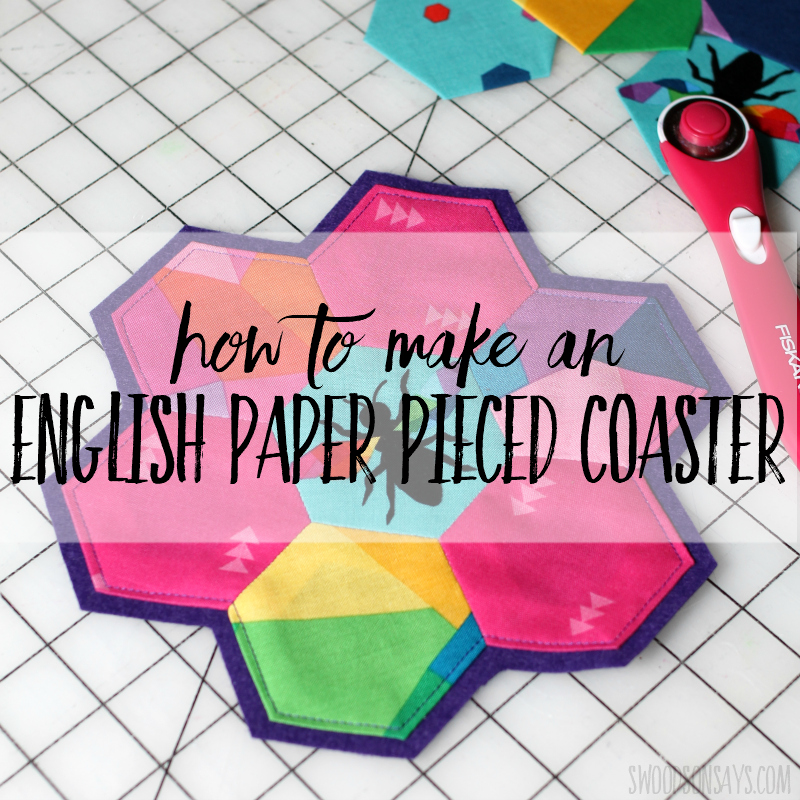
I love EPP but I need little projects to keep me motivated. This is a hand sewing project that you can finish in one day, which is just my speed. Riley Blake Designs sent me the three fabrics used in the above sample, but all opinions are my own, I am obsessed with the Create line they’re from, designed by Kristy Lea from Quiet Play!
You will also want to check out these posts!
- 13+ english paper piecing projects for beginners
- The best modern english paper piecing books
- Huge, scrappy EPP hexie quilt
- 12+ fabric coaster tutorials
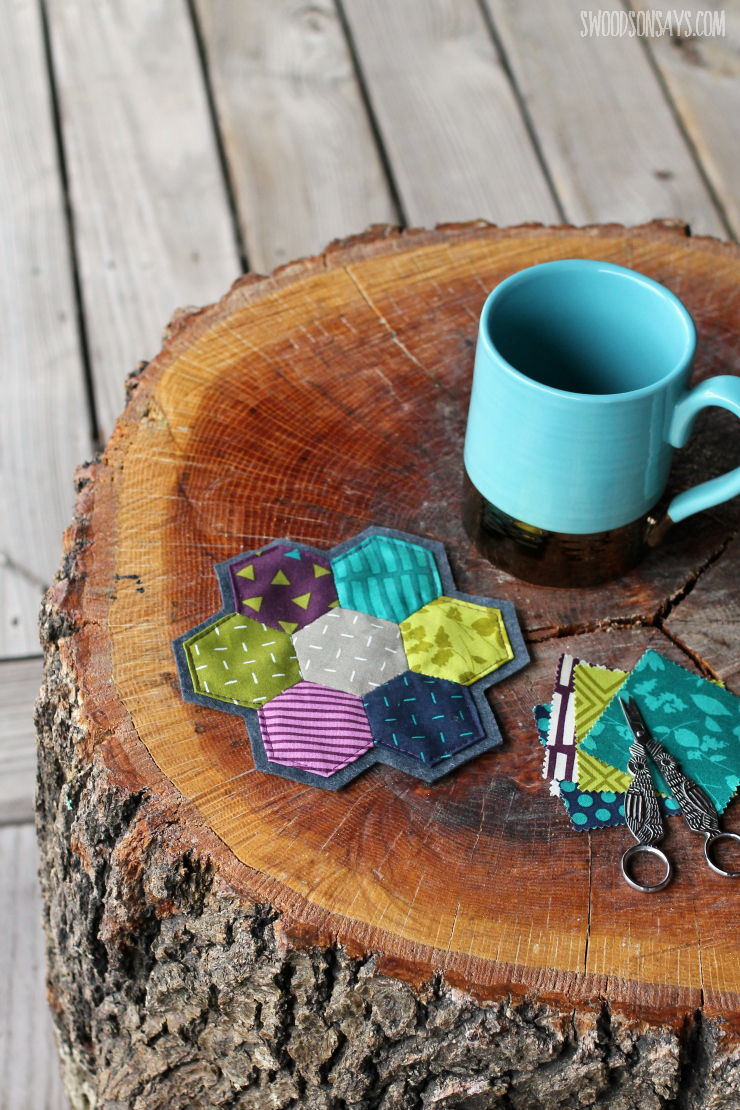
When I was working on this tutorial, we were visiting family in the South and got to enjoy warmer temperatures than usual, I could even stitch outside! My Mom drinks tea every morning and her home is filled with handsewn hexies, so inspiration was everywhere. This small, mug coaster is made with 1″ hexagons.
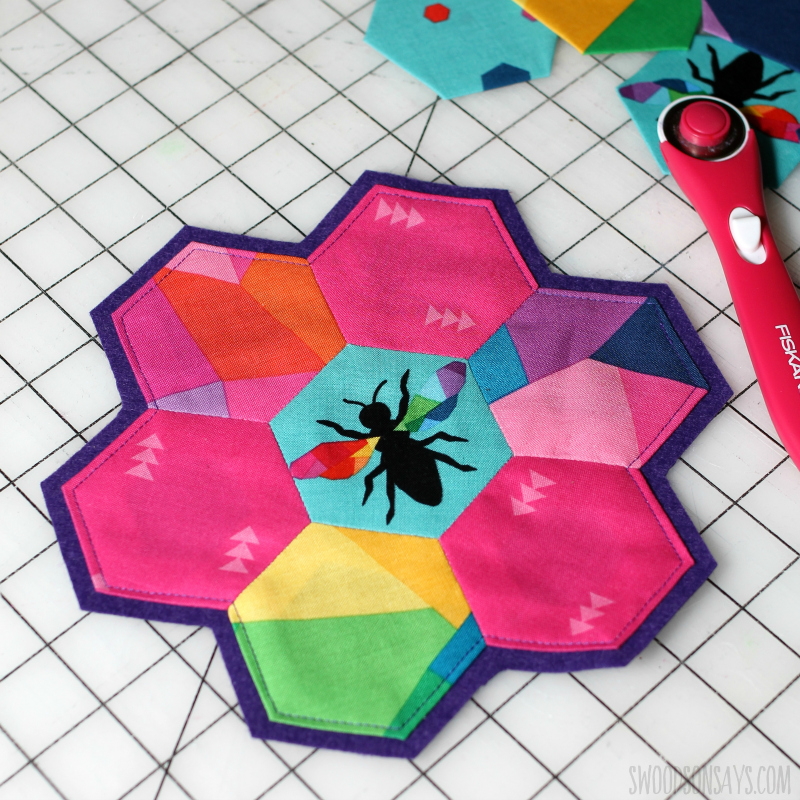
And for this mega coaster, I used 3″ hexies! This enlarged version would make a great trivet but I made it with my plants in mind.
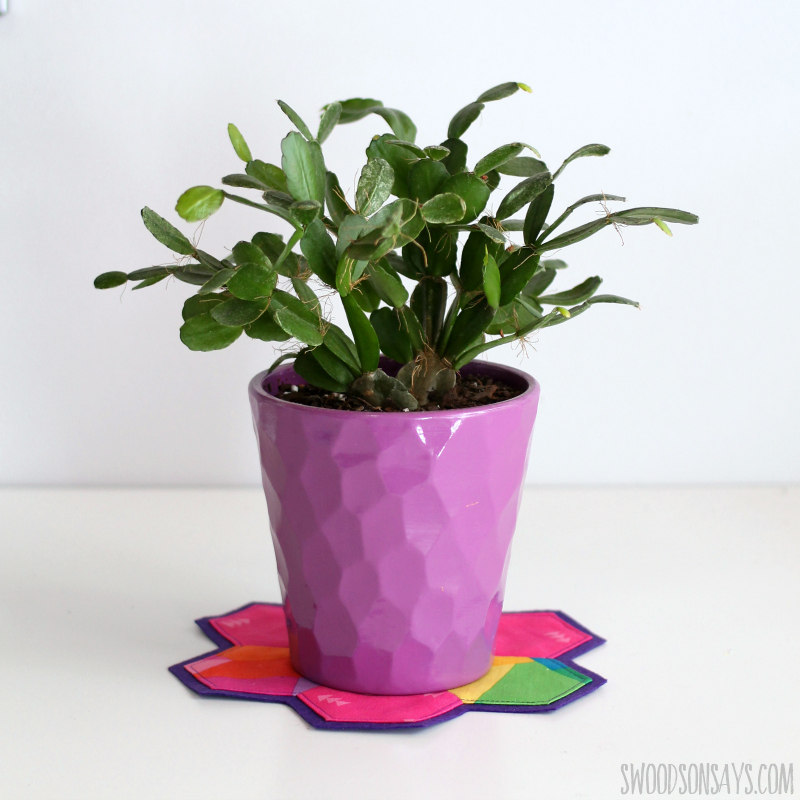
This is perfect for catching any dribbles out of drain holes, if you’re a houseplant collector like me.
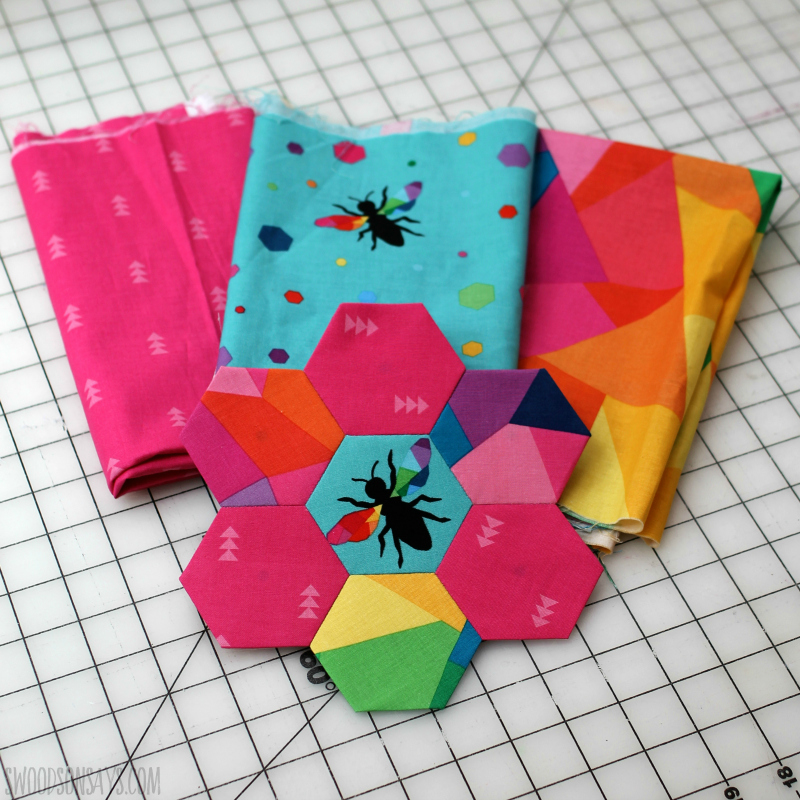
I had so much fun fussy cutting these fabrics, there are a ton of colorways!
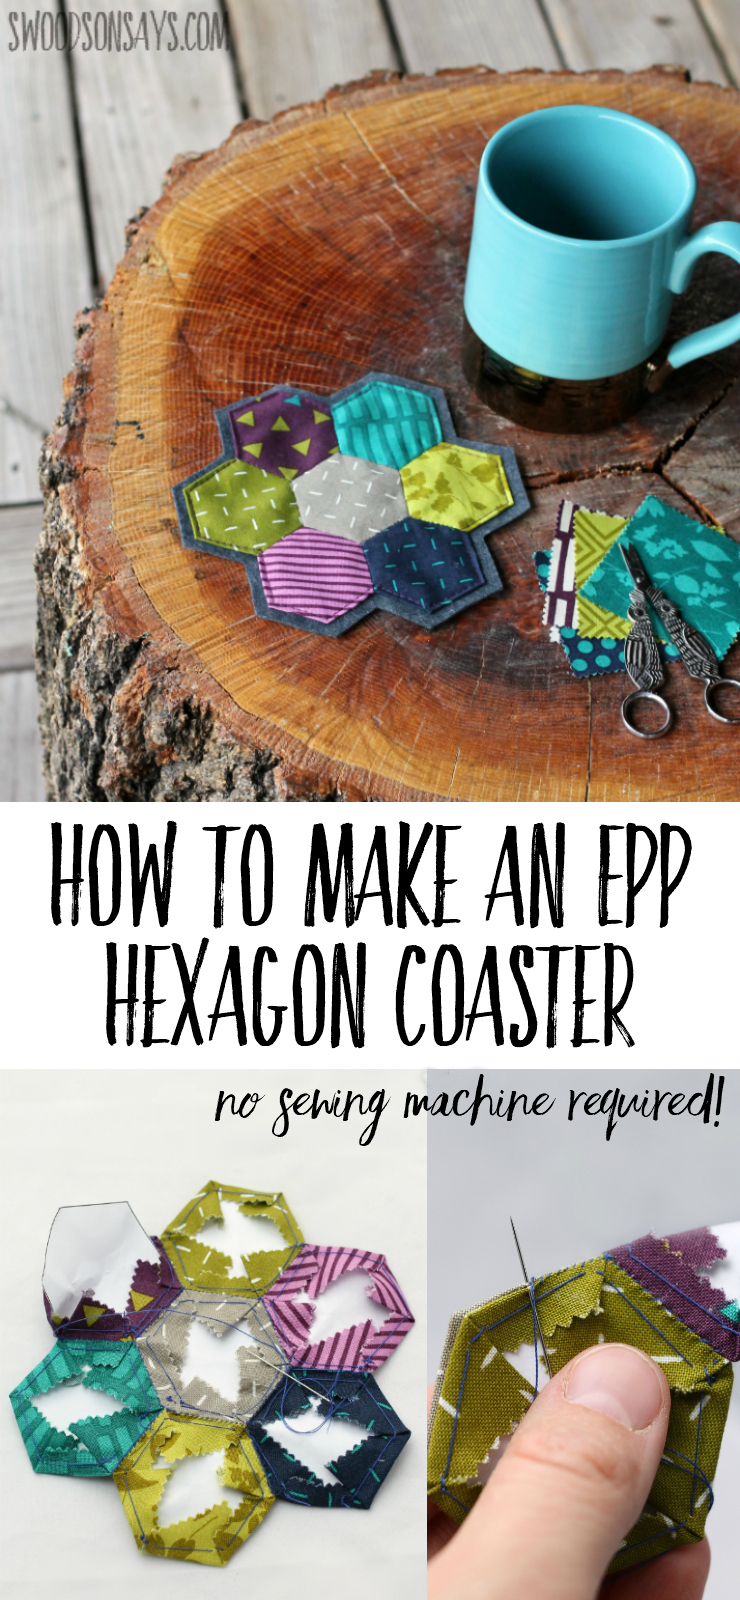
Pin this hexie coaster tutorial for later, here:
Ready to make your own paper pieced coaster? If you have any hexies left over, check out this cute notebook diy that uses just 4 of them!
I use all my favorite hand sewing tools in this project, you can see a full list here!
How To Make an EPP Hexie Coaster
Supplies
- Glue stick
- Sewing needle – my favorite for EPP here
- Thread
- Charm pack size square scraps
- 7″ square of wool blend felt – find my favorite places to buy wool felt online in this post!
- Scissors – my favorite pair here
- Iron
-
You can use 1″ hexagons or download my hexagon print-out — sign up for my newsletter and get the full pattern once you confirm your subscription! If you’re already a subscriber, you can access the pattern with the password in each newsletter, in the resource library.
Steps
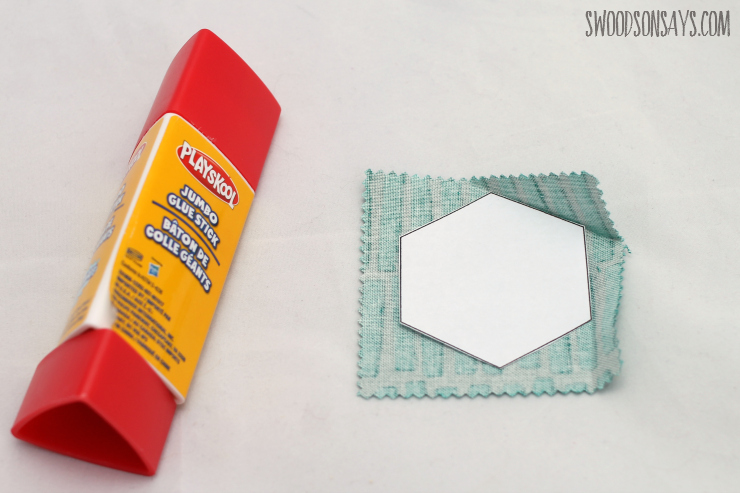
Step 1- Cut out 7 paper hexies. Use a light dab of glue and put your paper hexie on your fabric, if you aren’t working with precut squares you can glue it and then cut with approximately 1/4″ around each edge. Use your finger or a bone folder/presser to tightly crease each edge along the paper.
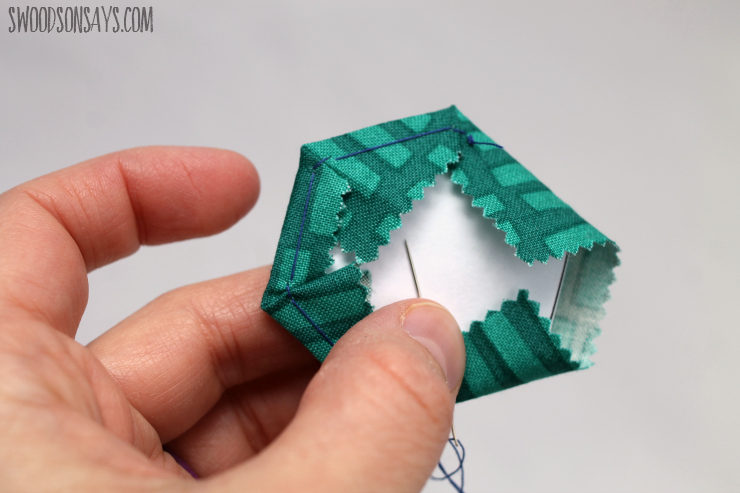
Step 2- Knot the end of your thread and come up through the bottom to the top at once corner, taking one huge stitch across the edge, coming back down. Fold down the next edge’s fabric and take a small stitch through the fold, push up through the corner and repeat until you’re all the way around. Repeat until you have 7 hexies!
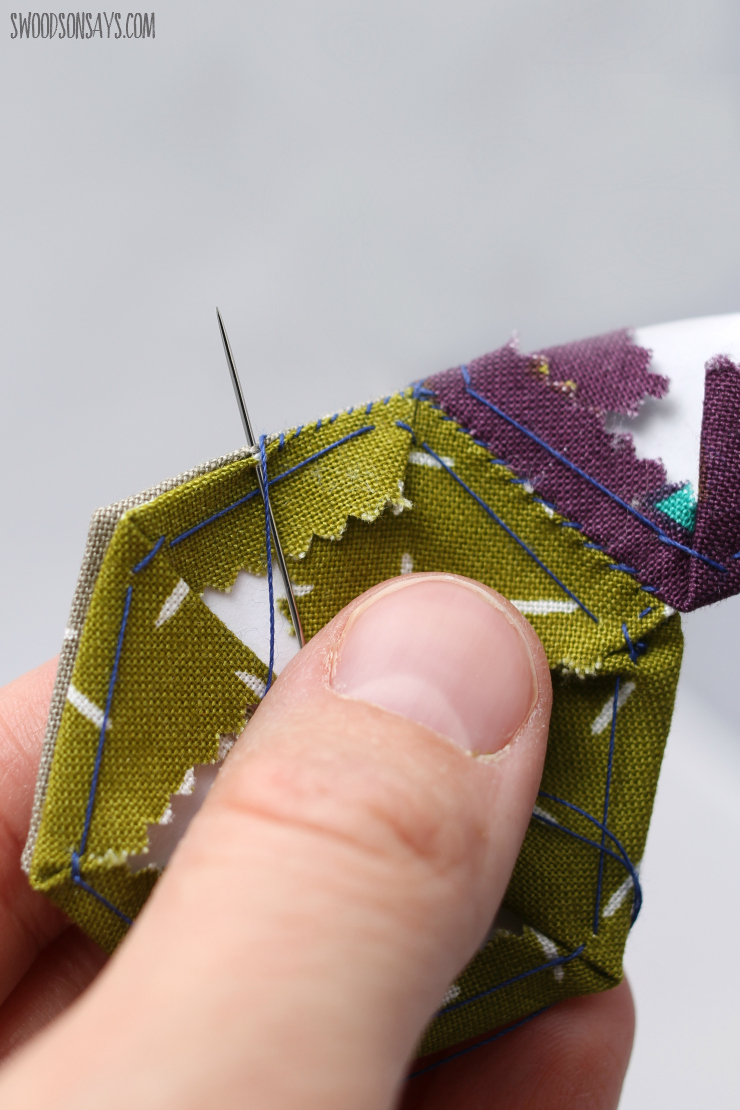
Step 3- Stitch them together with a whip stitch, just barely going through the edge of each side, not even 1/8″ of an inch in.
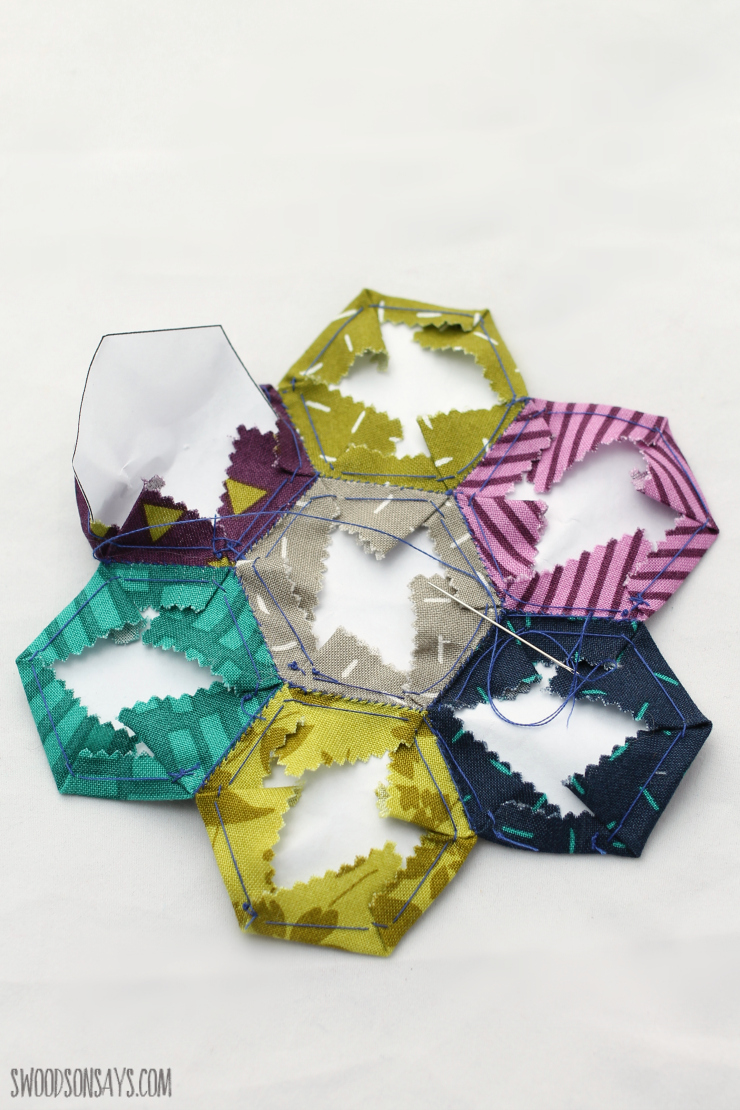
Step 4- Press with an iron, then remove the papers.
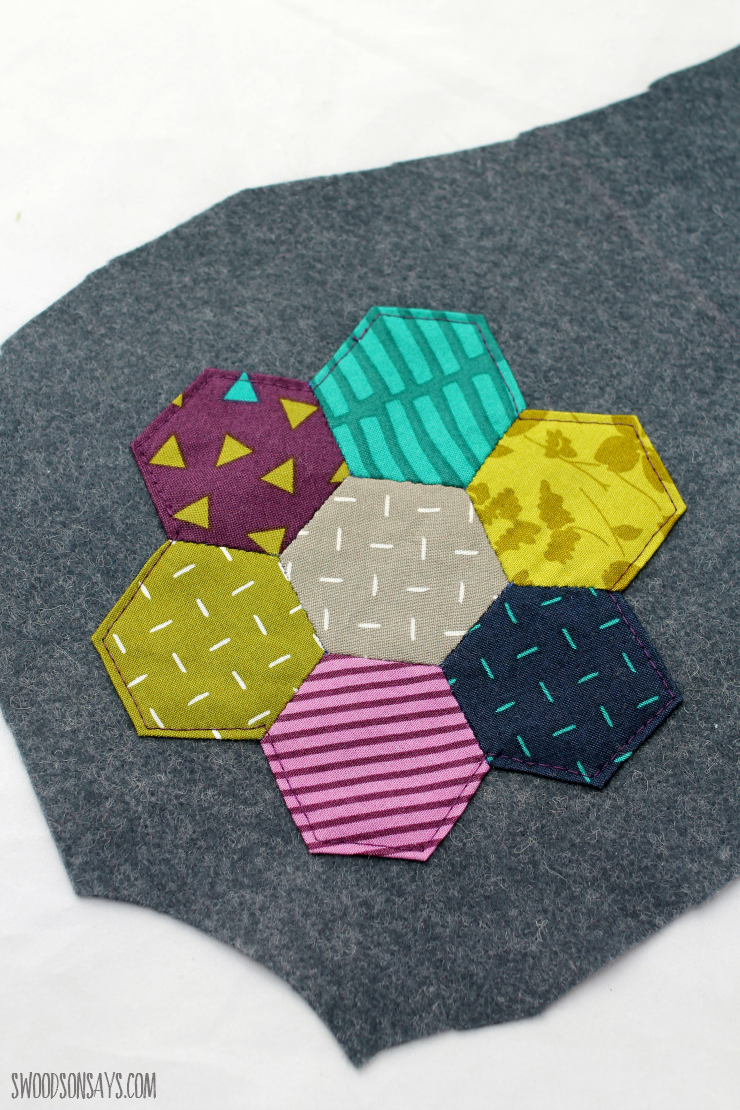
Step 5- Lay the hexies down on the wool felt and sew approximately 1/8″ from the edge, all around. Trim the felt flush with the edges or leave a small border around the edges (like I did!). You’re ready for relaxing or gifting!


Vicki
Wednesday 25th of March 2020
Hi! First off I love your site and thank you for sharing so freely with us. I have a question though, if your drinking a child drink and of course they always sweat, does your coasters absorb that and not room the furniture? We don't do hot drinks very often but cold we do a lot of.
Thanks again, Vicki
Stephanie - Swoodson Says
Sunday 19th of April 2020
Hi Vicki! Sorry it took me forever to reply. These coasters definitely absorb any liquid sweat; the cotton catches it but wool is also water absorbent/repellent as a double layer :) This one is used daily for my kid's cold water drinks, still a few years later! Thanks for the kind words!
Loretta
Tuesday 22nd of January 2019
So darn cute! I have some cute fabric bits leftover from another project that I could use for this :)
Sandy
Friday 11th of January 2019
Is it difficult to get the paper out after you've already sewed the paper to the fabric? I can't wait to make some.
Stephanie - Swoodson Says
Sunday 11th of August 2019
Hi Sandy! I am so so sorry somehow your comment got flagged as spam. You can alternately do small stiches just through the back if you're worried about the paper, but I've never had trouble yanking it out :) Hope you got a chance to try it!
Marie Anne
Saturday 25th of August 2018
Cute idea but with wool felt on the back, would it be washable?
Stephanie - Swoodson Says
Saturday 22nd of September 2018
Hi Marie Anne! It is a good point that you could prewash the felt if you wanted to be 100% sure; I've had no issues washing on cold and line drying though :)
Jacqueline Therrien
Monday 9th of April 2018
cant print out the hexie pattern tried and it says error
Stephanie - Swoodson Says
Monday 9th of April 2018
Hi Jacqueline, I'm so sorry, I have been updating my site and didn't realize the resource library tanked. I fixed it and I'm going to email the PDF to you right now.