
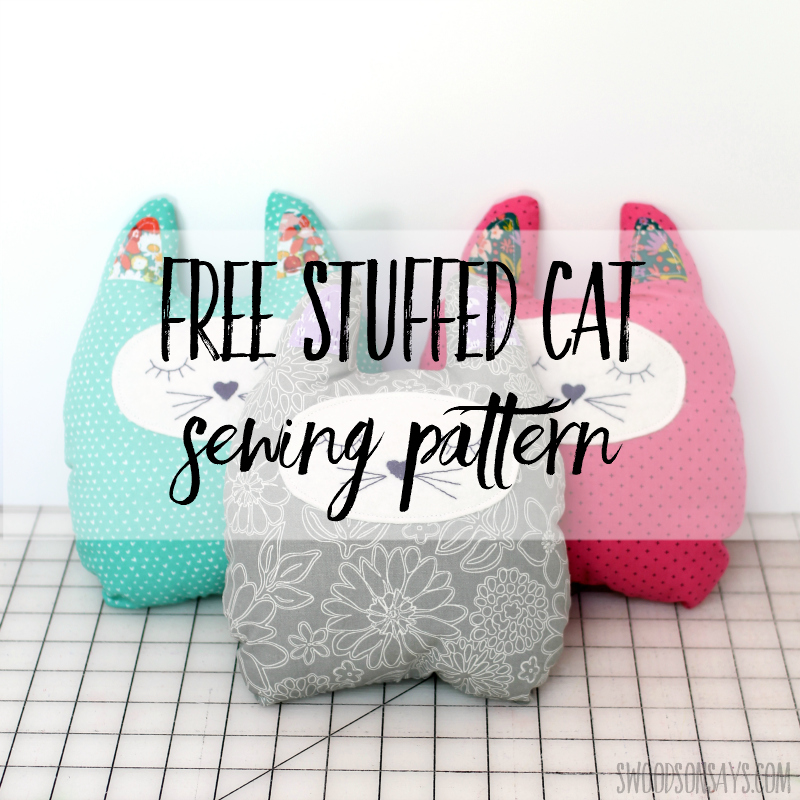
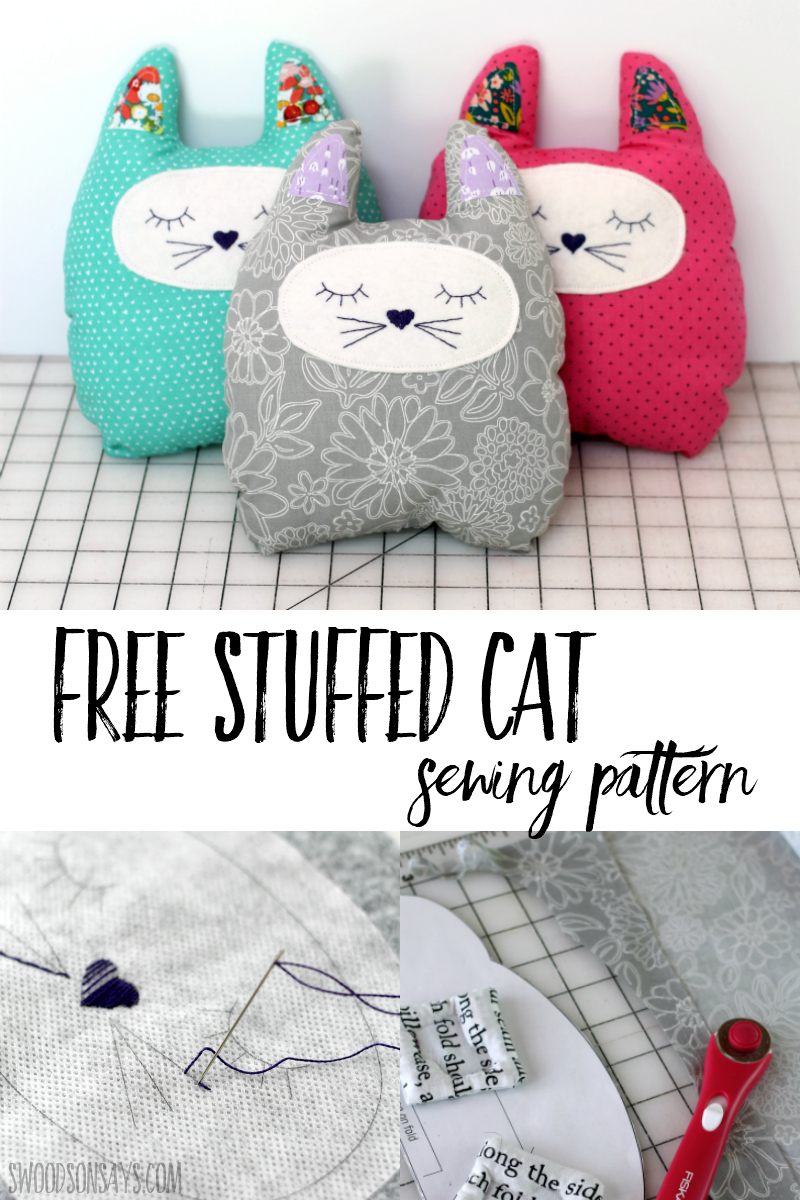
 I’m excited to share a free stuffed cat sewing pattern and tutorial with you today! This is a very simple, front & back stuffed animal that you can sew up in an afternoon. It makes for a great beginner stuffed animal project and kids can sew it too! I have a video walking you through the process from start to finish; stuffies are so much fun to sew as gifts or decorations.
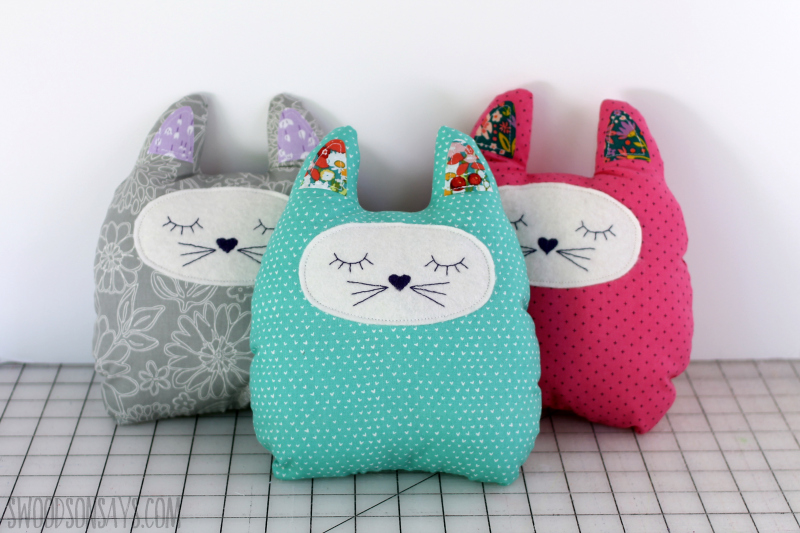
These are sewn with quilting cotton and a felt face; I’d love to try a patchwork version too!
While you’re here, check out these other posts too:
- 50+ free printable stuffed animal patterns
- How to sew a stuffed animal – tips for sewing softies
- The cutest stuffed animal sewing patterns to download
- 20+ Easy beginner sewing projects
- 15+ stuffed cat sewing patterns
Pin this free stuffed cat sewing pattern for later using this collage image or link:
Free stuffed cat sewing pattern and tutorial
Supplies
- Embroidery floss
- Fat quarter of quilting cotton for the body
- Fabric scraps or felt scraps for the ear accents
- Wool blend felt scrap for the face (my favorite wool felt shops here)
- Iron
- Scissors
- Hand sewing needle & thread
- Poly-fill or other stuffing
- Hemostats (optional)
- Chopstick or pen to push the ears out.
- Fabri-Solvy/Stick N Stitch or other embroidery transfer method
- Heat n bond
- Kitty lump pattern –sign up for my newsletter and get the free download once you confirm your subscription! If you’re already a subscriber, you can access the pattern with the password in each newsletter, in the resource library.
Steps
Before anything else, prewash all fabric however you imagine you’ll wash it in the finished kitty, both body fabric & felt.
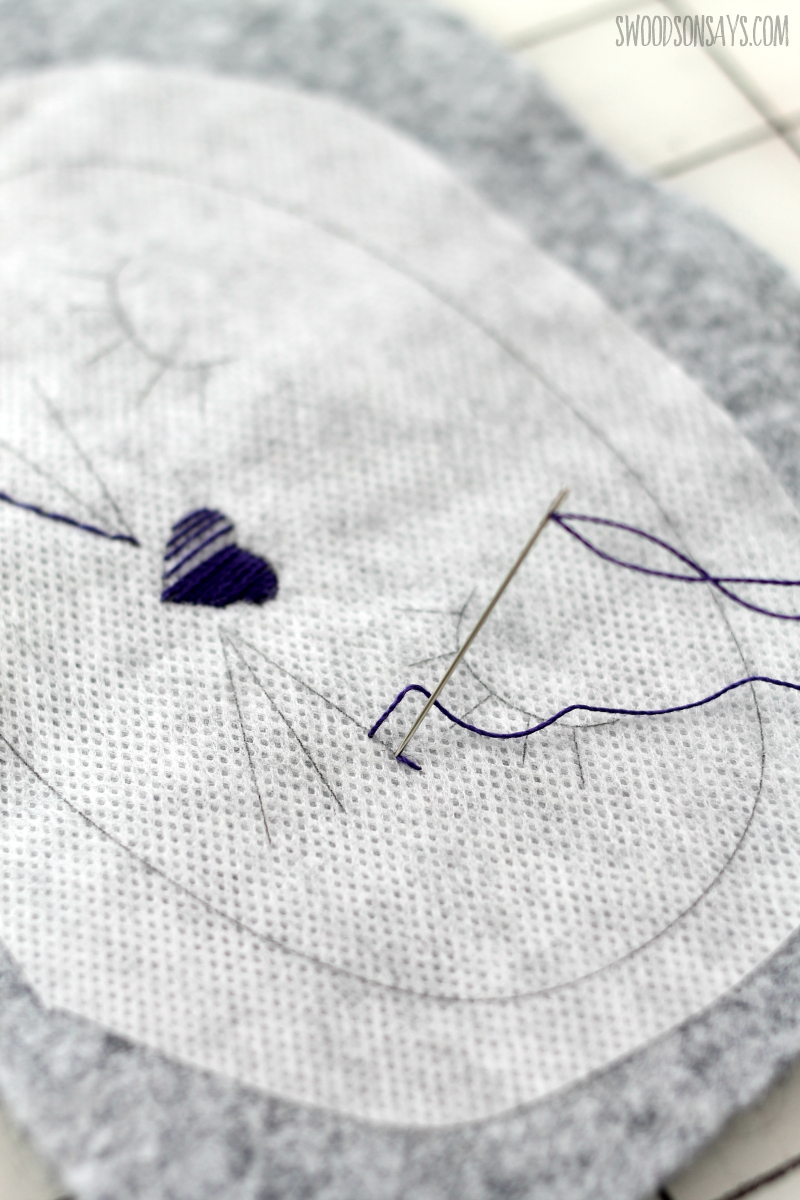 First, let’s make the face! If you’re new to Stick N Stitch aka Fabri Solvy, you can see a full photo walkthrough here. You print out the pattern, stitch, cut it out, and wash away. I used a satin stitch for the nose and backstitch for everything else. Let it dry before appliquéing it on.
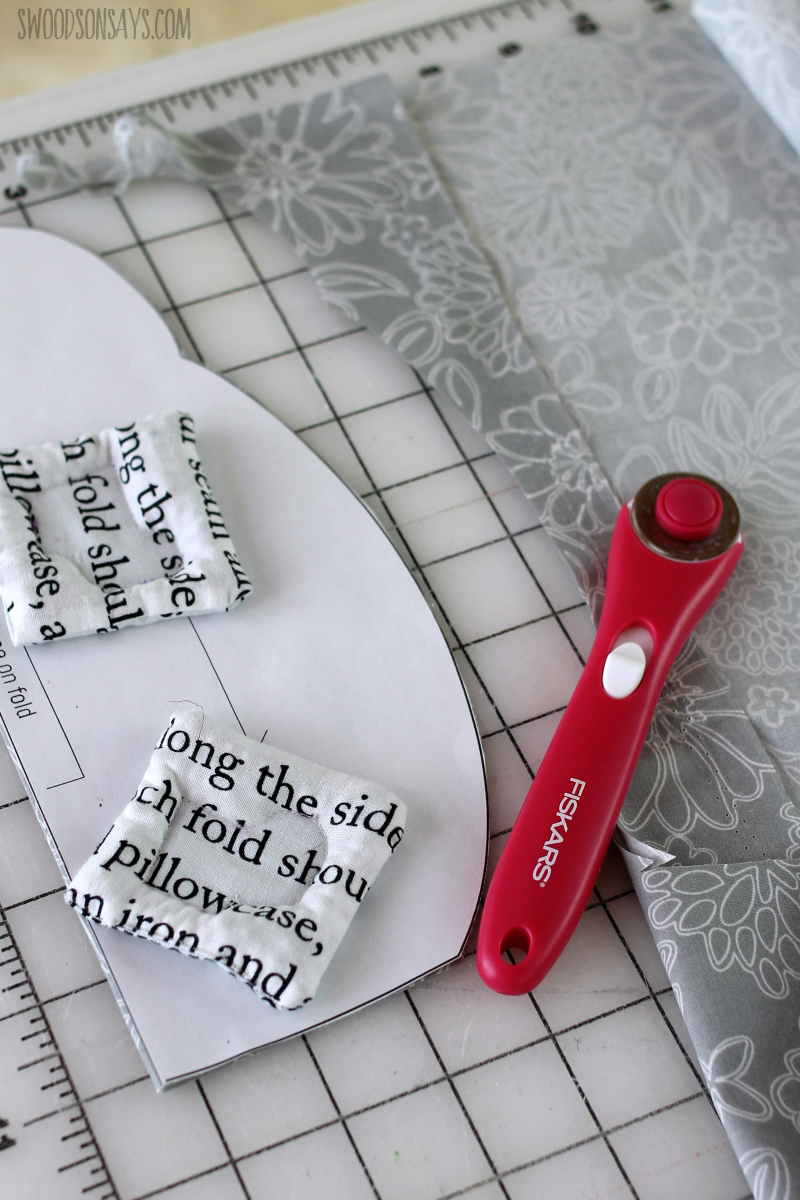
Step 1- Cut 2 main body pieces, on the fold. Pay attention to the grainline marking so the cat is perpendicular to the selvages. If you lay it diagonally or crooked, the fabric will pull funny! Cut 1 of each ear accent pieces, using heat n bond. If you haven’t used this before, you can see a full walk through here in how to applique.
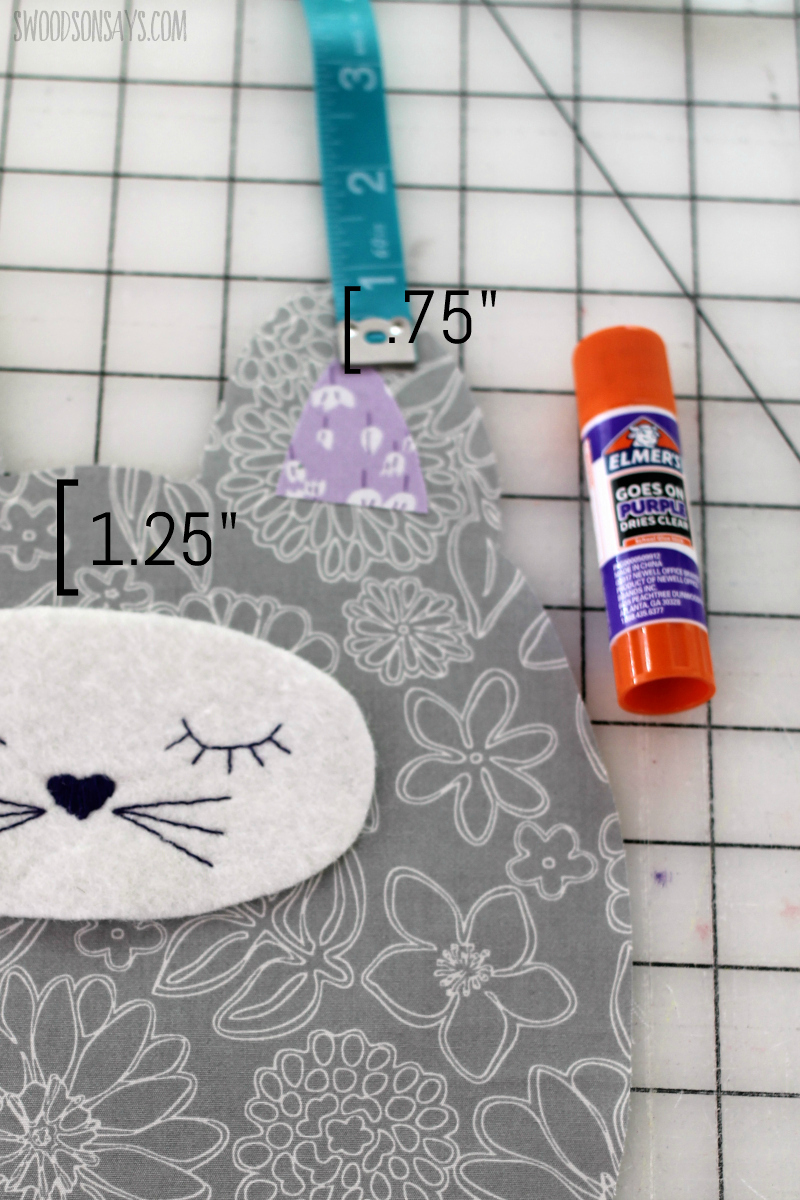
Step 2- Place the face accent pieces carefully, making sure they are centered. Each ear’s top should start ¾ of an inch down from the top of the ear, the face should be 1.25” down from the center of the forehead. Applique on; if you want more steps on applique check out how to applique.
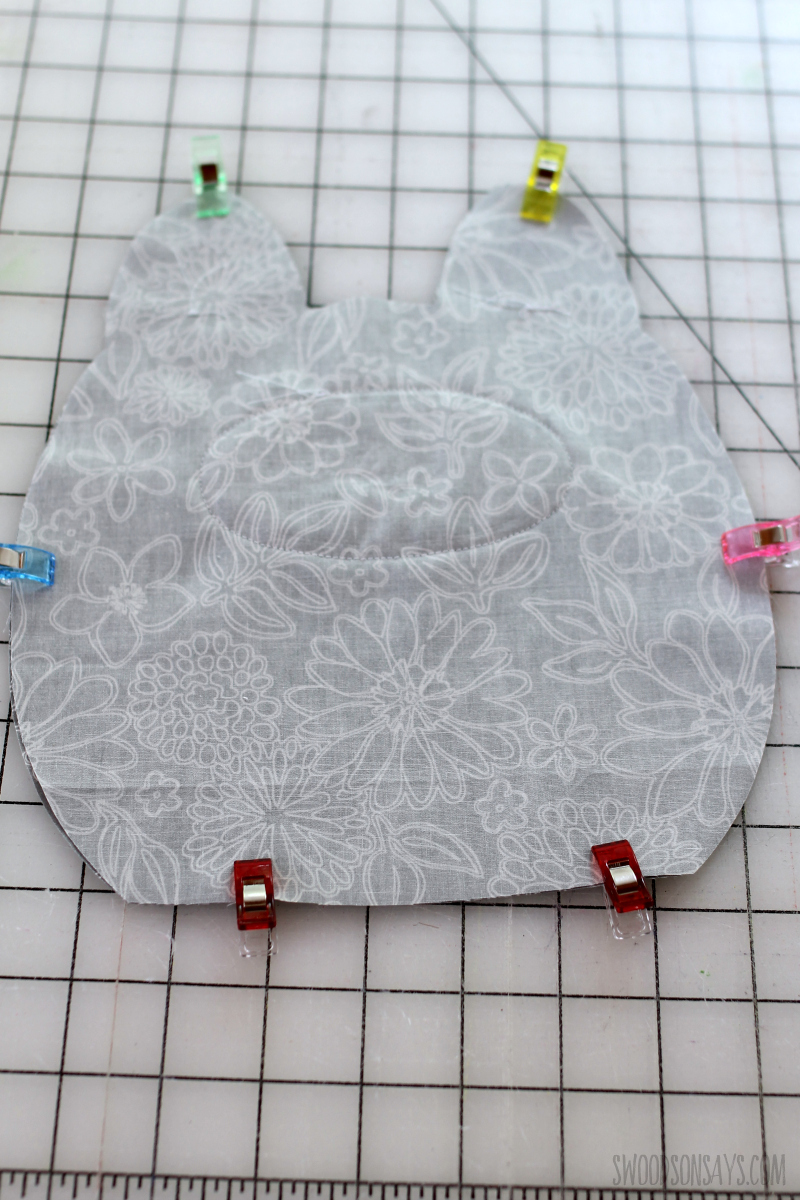
Step 3- Place the appliqued body right sides together with the other body piece and clip or pin, leaving a 3-4” gap open at the bottom Sew with ¼” seam allowance.
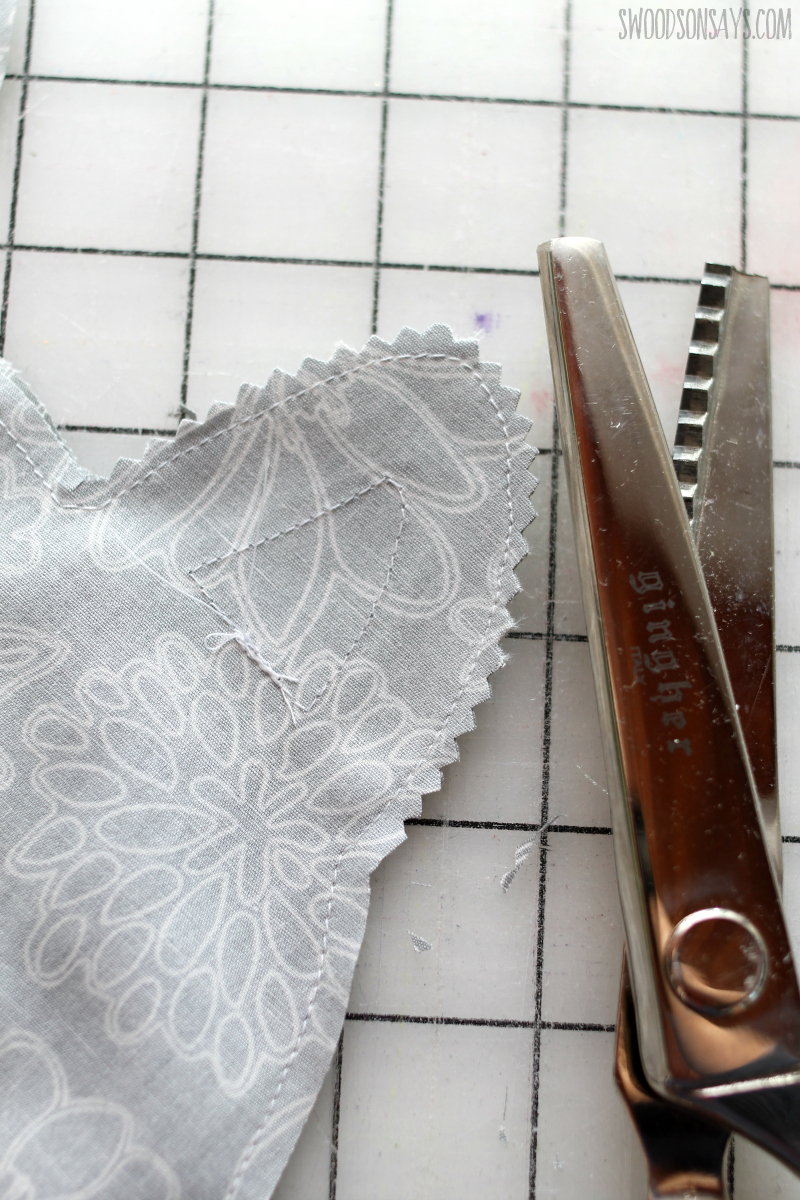
Step 4- Clip curves, cut corners, and/or use pinking shears. Turn gently right side out through the gap and push out all the curves and corners with a chopstick, and iron it flat.
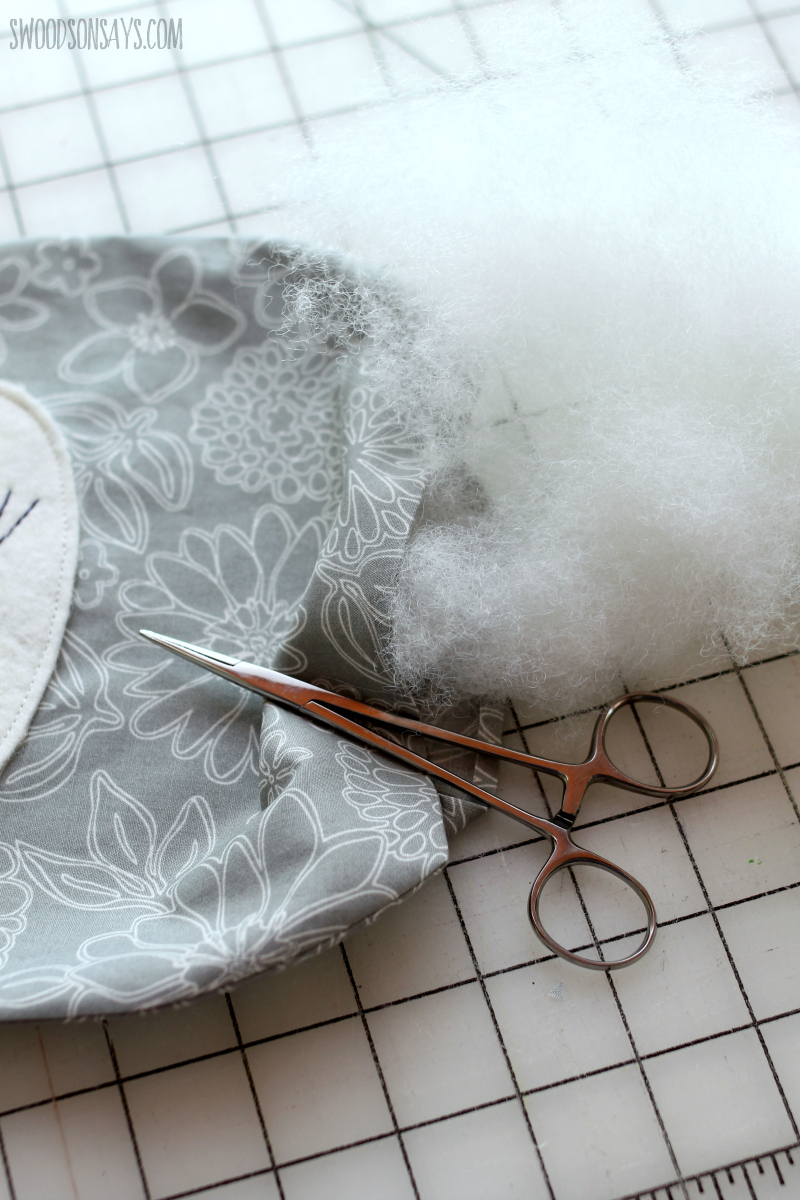
Step 5- Stuff the kitty! I like using hemostats to press the filling in carefully.
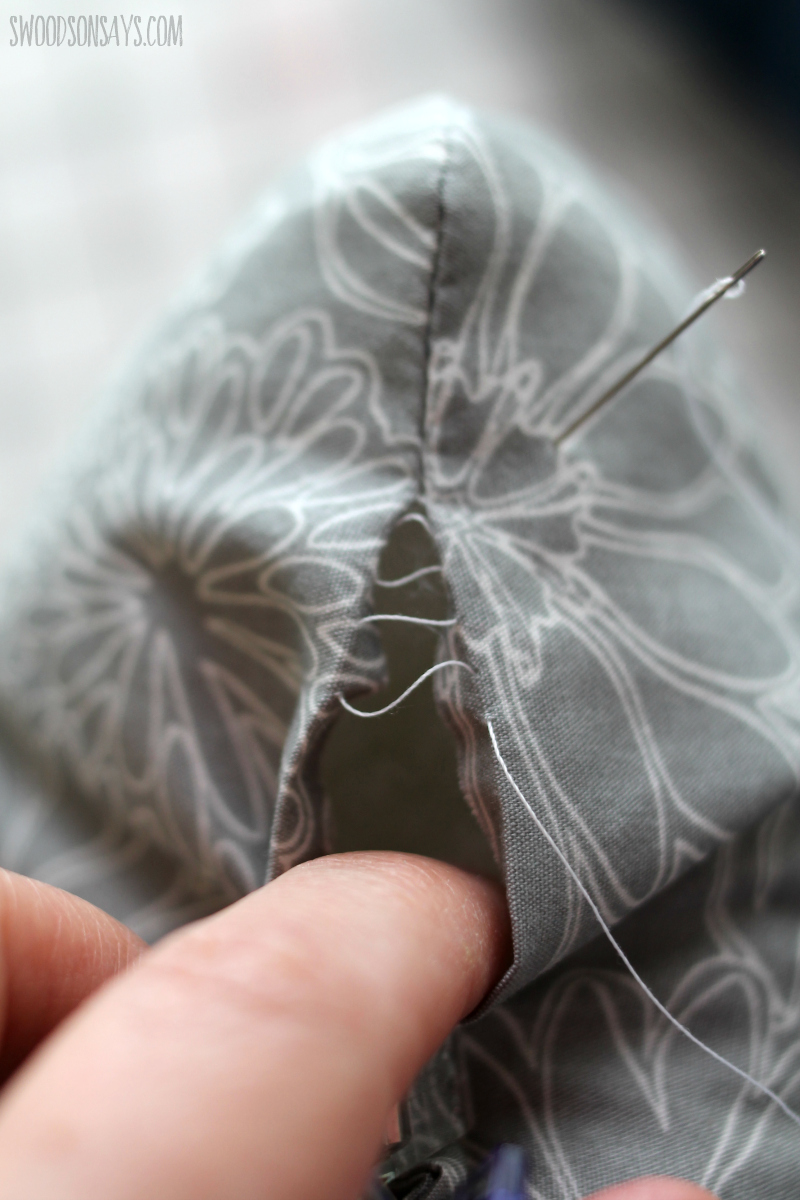
Step 6- Use a ladder stitch to close and you’re done!
Sergio
Tuesday 14th of April 2026
Disregard previous comment - I got the pattern! I'm so excited, I hope the results turn out cute :3
Stephanie - Swoodson Says
Wednesday 15th of April 2026
so glad you got it figured, happy sewing!!
Kathleen Servello
Friday 25th of October 2024
Cannot find the pattern and I went to resource library as I am a subscriber.
Stephanie - Swoodson Says
Friday 22nd of November 2024
Hi! Hopefully you got my email, I don't think I heard back, but let me know if you are still stuck!
Anita Baxley
Sunday 31st of January 2021
So glad I found this pattern! I’m making dolls and stuffed animals for charity and let my 10 year granddaughter (who has her own machine) try this out.and she did great. Learned how to embroider and did hand & machine sewing. I couldn’t see here how to post a picture though but we’re ever so grateful. Thanks a ton!.
Stephanie - Swoodson Says
Tuesday 4th of July 2023
This is the best comment!! i'm always happy to see photos - stephanie@swoodsonsays.com :)
Michele
Friday 18th of December 2020
Where is the link to print the pattern?
Stephanie - Swoodson Says
Tuesday 4th of July 2023
instructions under the 'supplies' heading!