
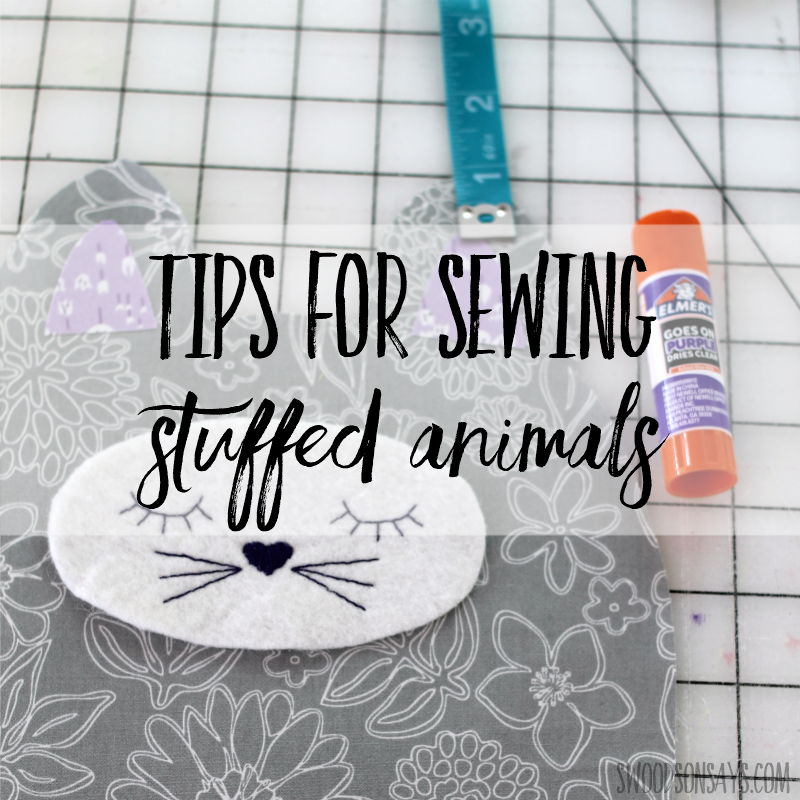
Wondering how to sew a stuffed animal? This is the post for you! I love sewing stuffed animals; you don’t have to worry about fit issues, they don’t take up a ton of supplies or time, and kids love them. I’ve sewn from lots of other designers patterns over the years and finally decided to put all the tips I’ve gleaned in one spot. If you have one to share that I missed, please leave it in a comment!

I thought I’d share some of my favorite stuffies; here is a cute little owl pattern from Abby Glassenberg Design. I love the pinking edge detail on the eyes!

Here is a sweet wool seal softie, this design was so interesting and designed by Betz White.
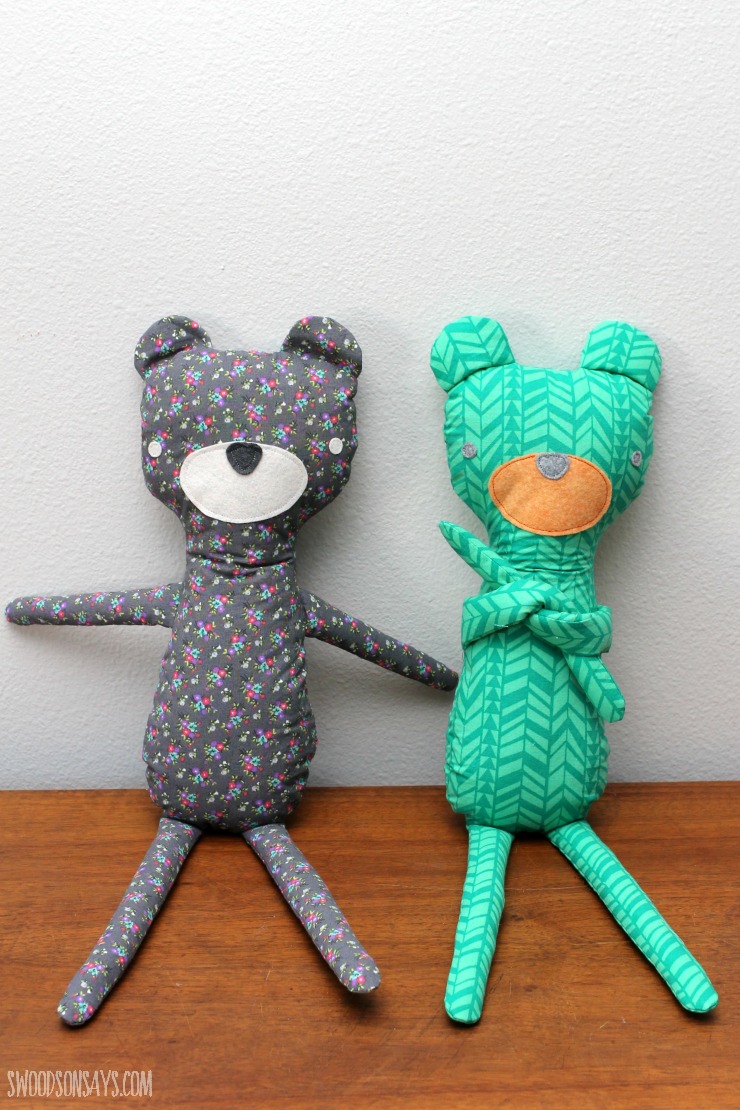
This one is my pattern! The hipster teddy bear, I love the long limbs that make it super huggable.
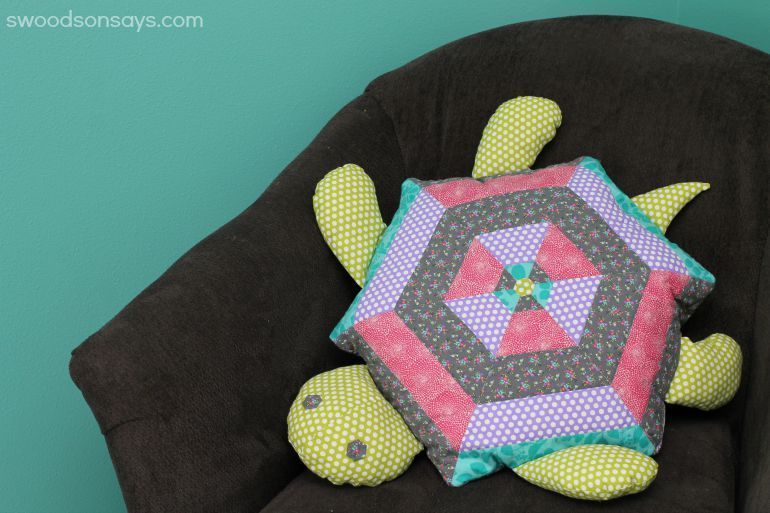
Another design of Betz’s, this was the sweetest reading pillow with lots of patchwork.
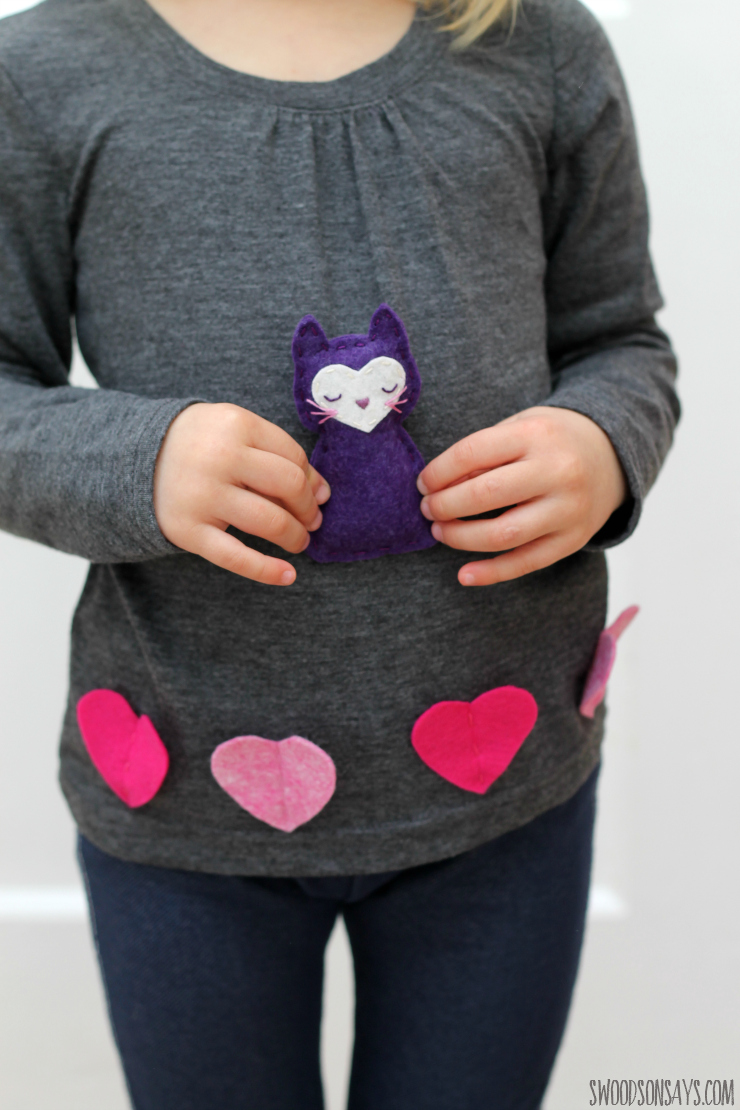
Last but not least, my most popular pattern, the pocket kitty!
If you like this post, check out these other posts while you’re here!
- The cutest stuffed animal sewing patterns to download
- 50+ free printable stuffed animal patterns
- The cutest 25+ toys to sew for kids
- The secret for making time to sew with young kids
- Half handmade – beloved kids books paired with free stuffed animal patterns
- The cutest quilts to sew for kids
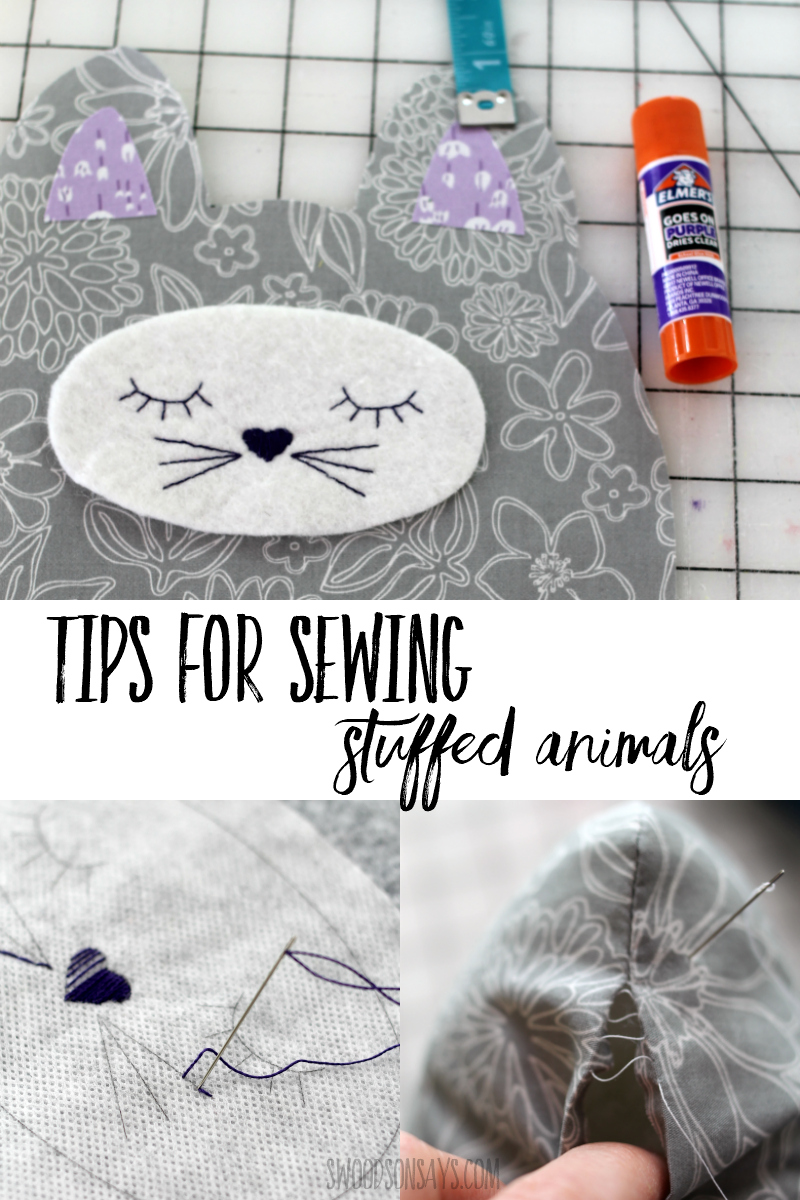
Pin this post of how to sew a stuffed animal – tips for sewing softies using this link or collage image:
General tips
1.Prewash– If you’re making the stuffed animal for a child, it’s smart to make sure it can be washed without incident! Prewash all your fabrics however you think they’ll be washed in finished form. For me, that usually means washed on cold and line dried.
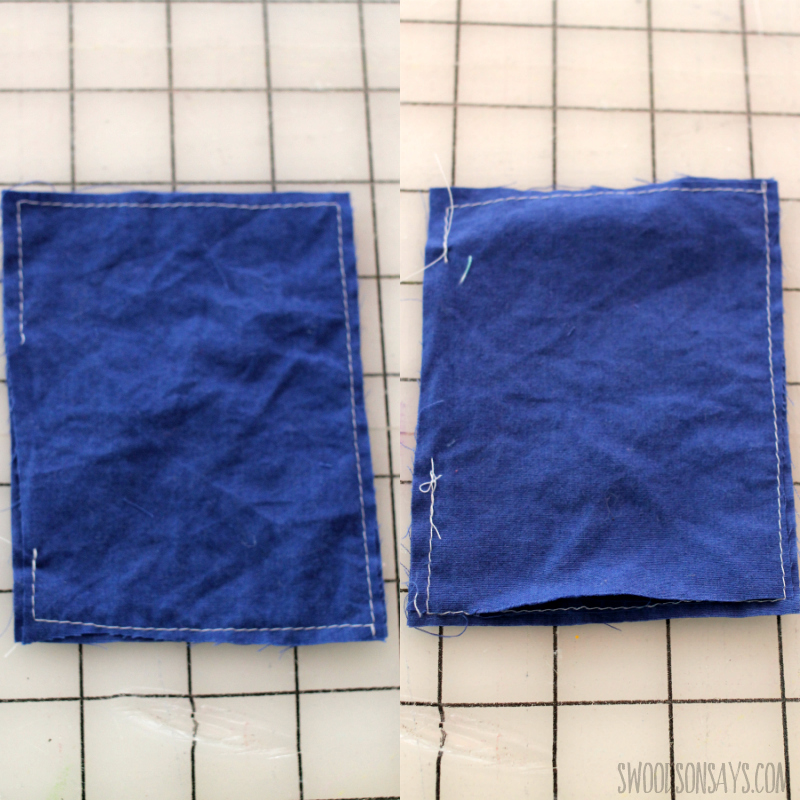
2. Check for holes/gaps on both sides before turning right side out– Most stuffed animals have you sewing front to back, right sides together, before turning right side out through a gap. Take a second to look along your seam on both sides, making sure the fabric didn’t slip anywhere, leaving you with a hole when you turn it right side out! While you can surely turn it wrong side out again and fix it, that will distort the opening and skew the finished lines. As you can see, everything looks cool on the left but psych! When you flip it over, no dice.
3. Iron everything– Iron your fabric before you cut you pattern pieces, press your seams, and iron your finished stuffed animal before you add the stuffing! It makes everything look crisper.
4. Don’t pull too rough through gap opening– When you’re turning right side out, go slow and be gentle! It’s easy to distort the opening if you yank too quickly.
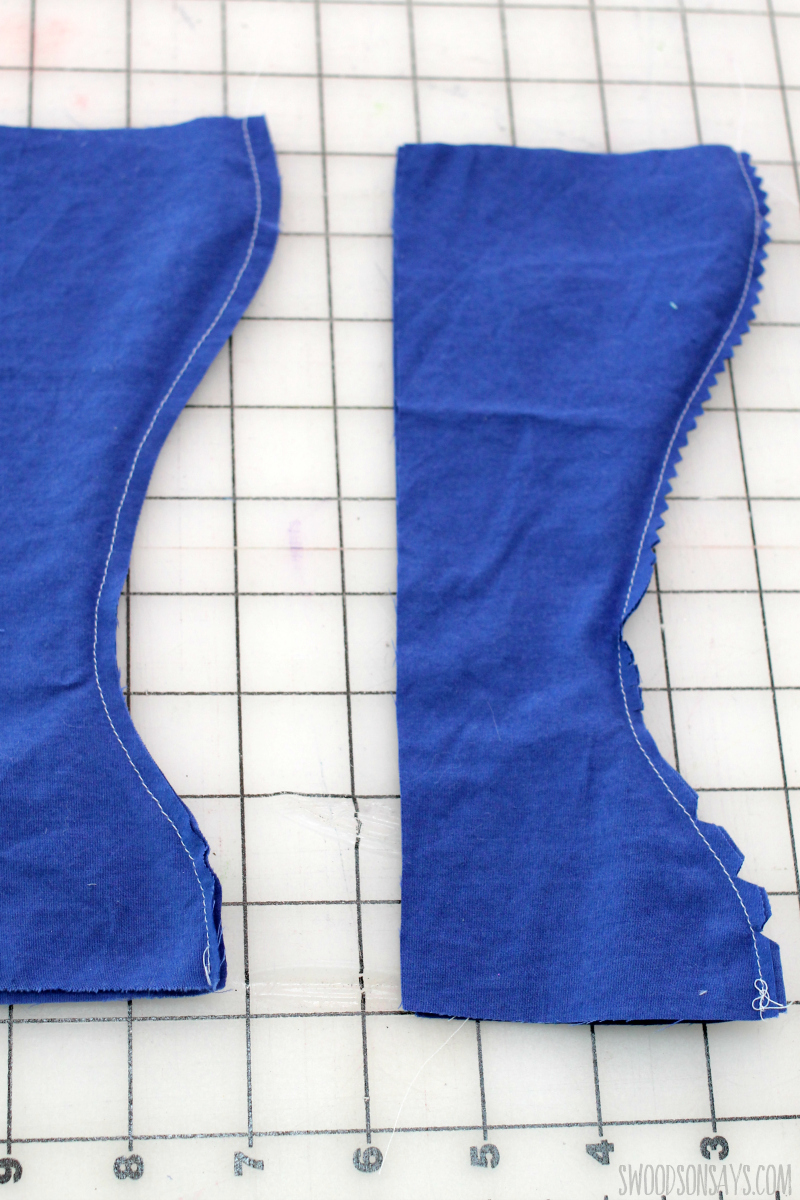
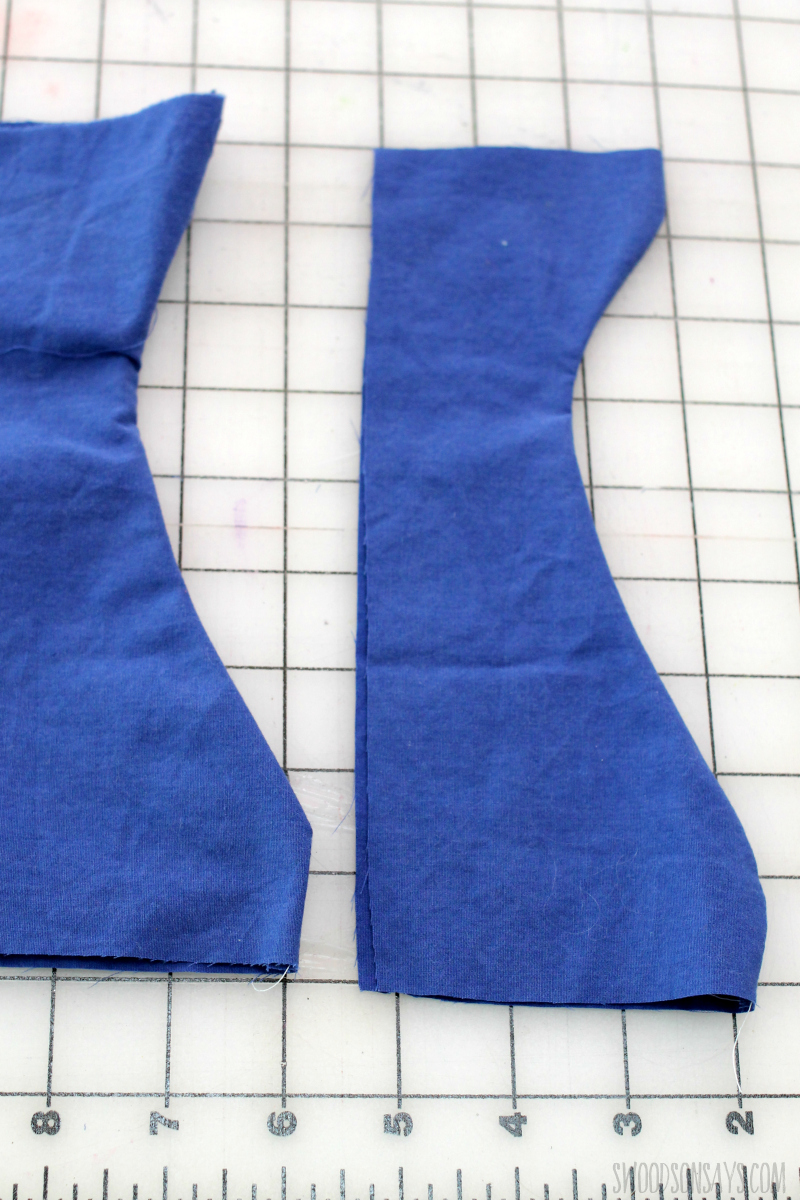
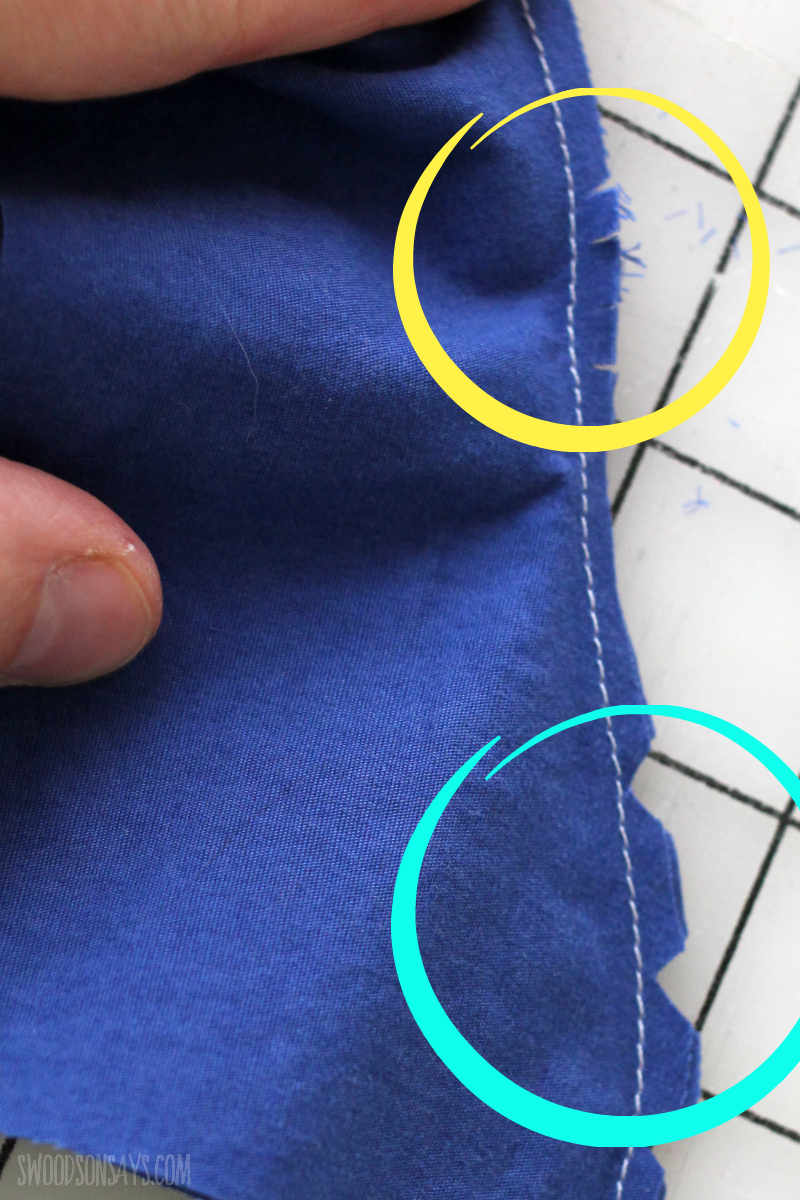
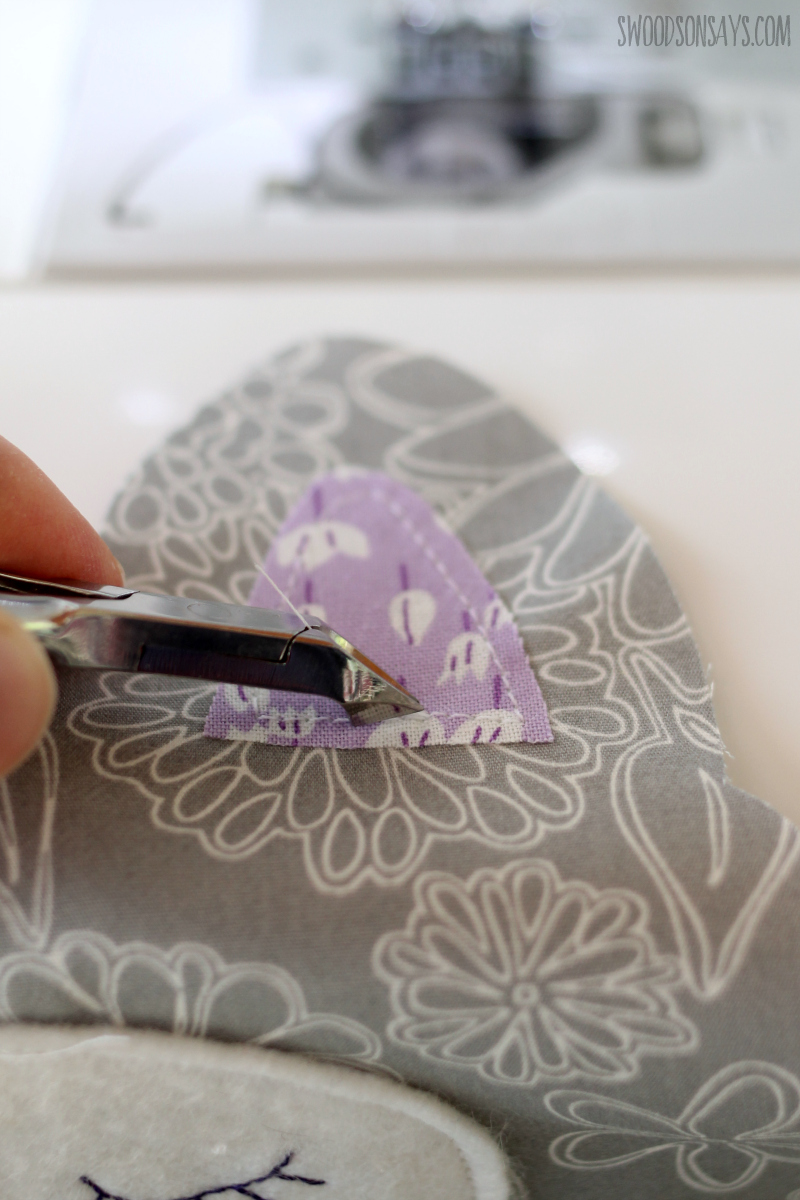
5. Clip curves & corners– This is an important one – be sure to cut small triangles out of curves that curve out and cut small slits in curves that curve in, this helps the fabric to lie flat and look pretty. You can see an illustration above showing the difference, neither was pressed.
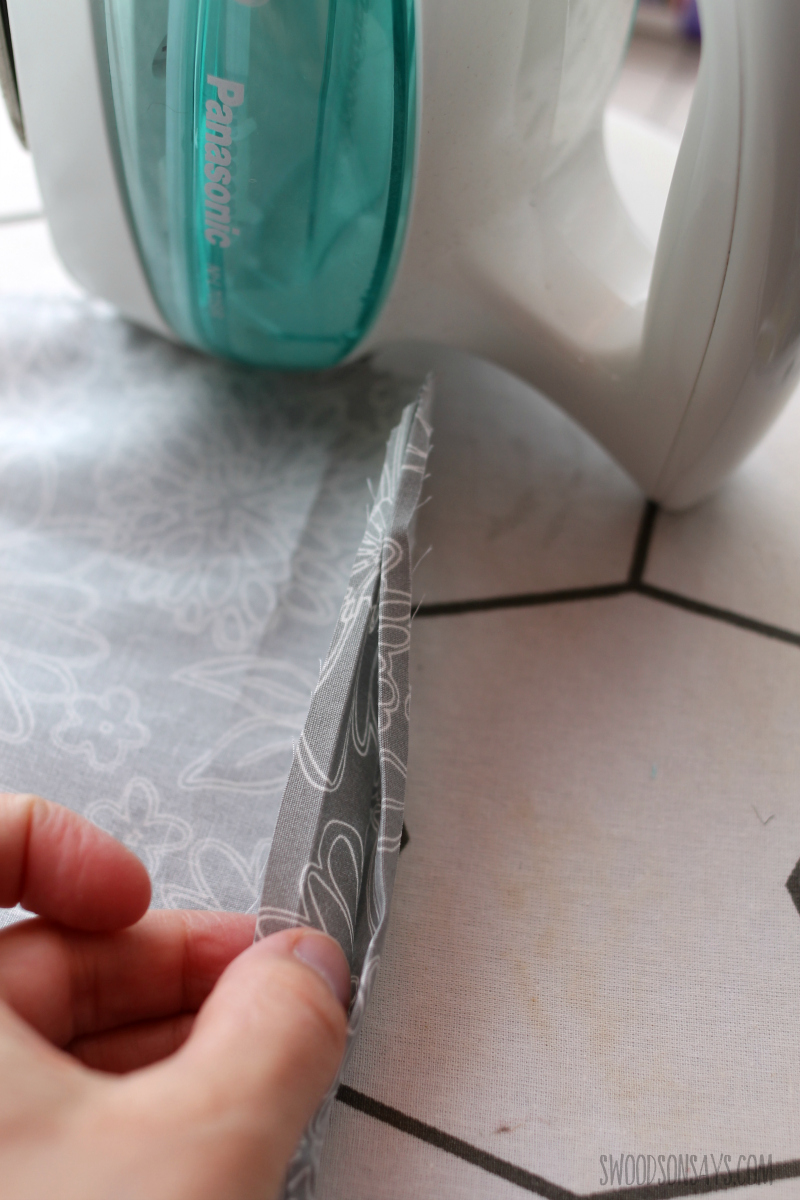
6. Iron seam allowance back before turning right side out– This is a fussy one but I find it makes sewing the opening shut much easier! Simply iron the seam allowance back on both sides before you turn it right side out.

7. Pay attention to fabric type– Most patterns are written for either woven fabric, knit fabric, or felt and switching in between those will change the finished product’s appearance. You can see my kitty lump pattern sewn as described, with woven cotton, in the middle and then knit fabric with the stretch going one way on the left and the opposite way on the right. You can add interfacing to knit fabric and treat it like a woven, but it just takes a little extra work.
If you’re using applique for faces or details, I have a whole separate post talking about machine applique here!
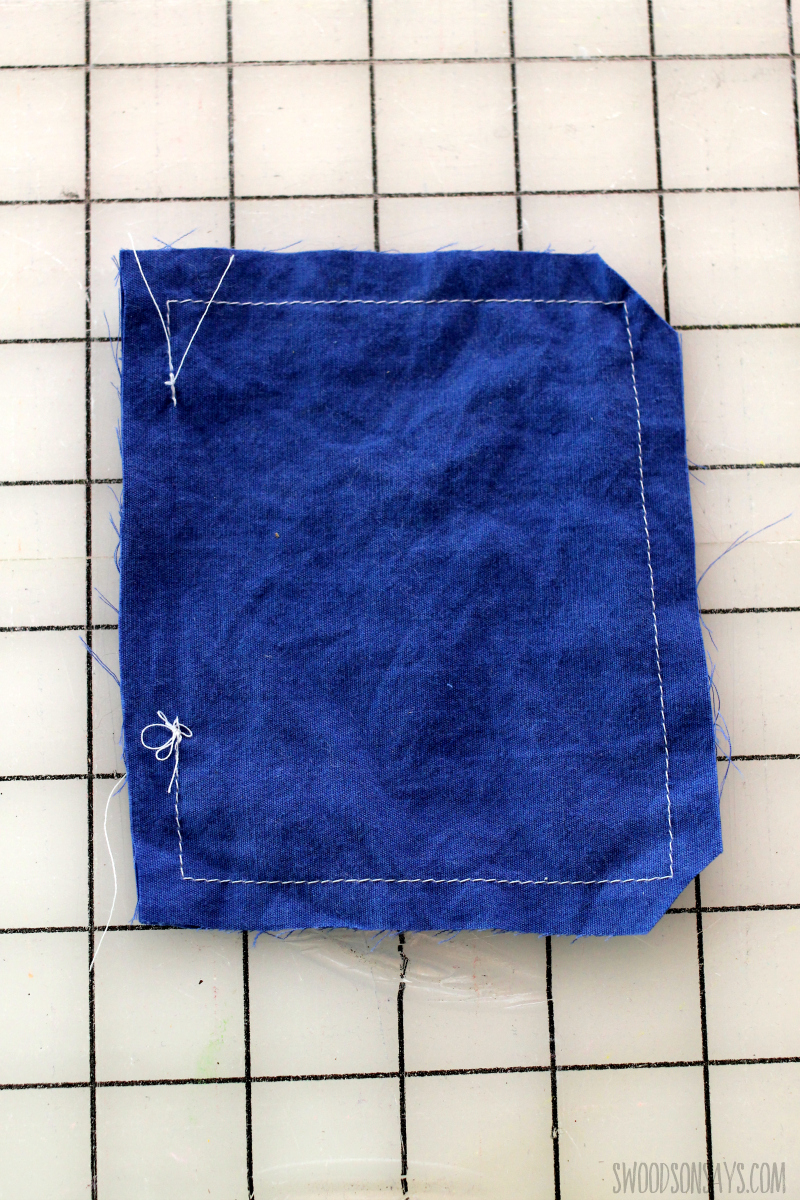
8. Top-stitching seamlessly– If you’re not a perfectionist, taking a few stitches back and forth and the beginning and end of a seam is a no brainer (right, above). If you want it to look picture perfect, leave the tails long and pull them through to the back and hand tie a knot to secure instead (left, above).
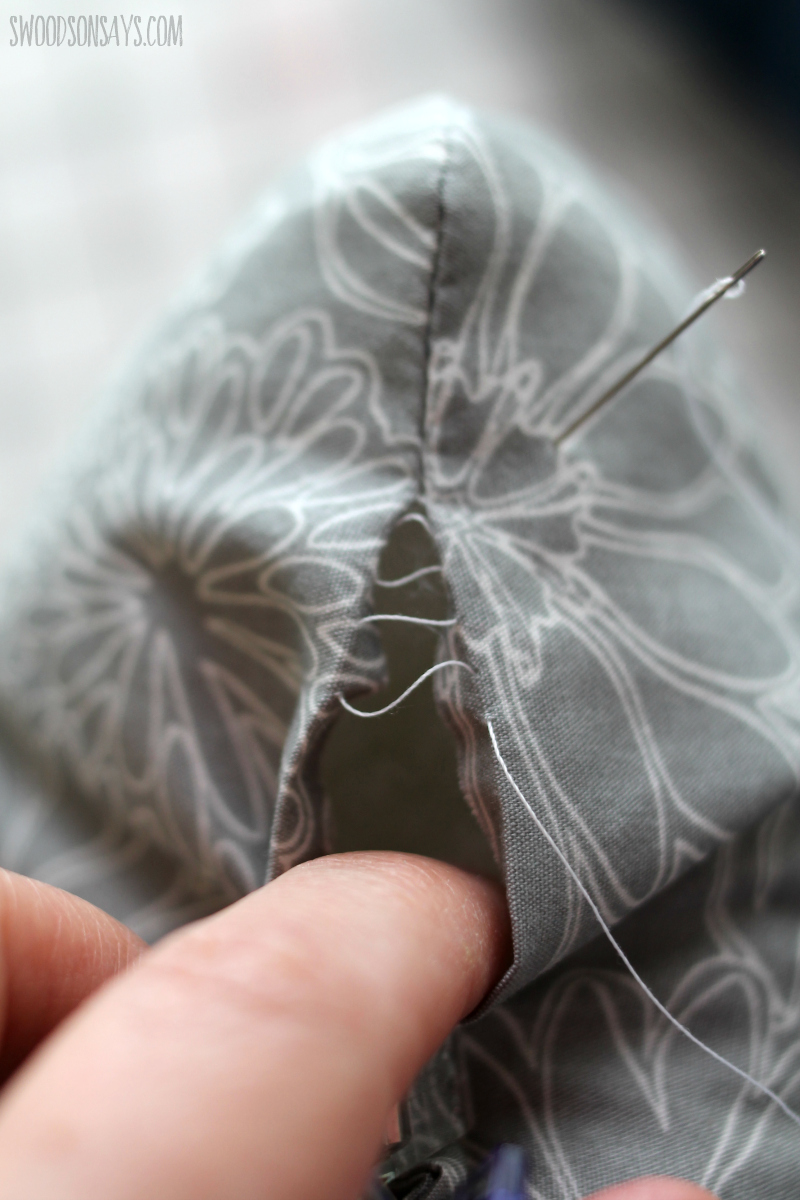
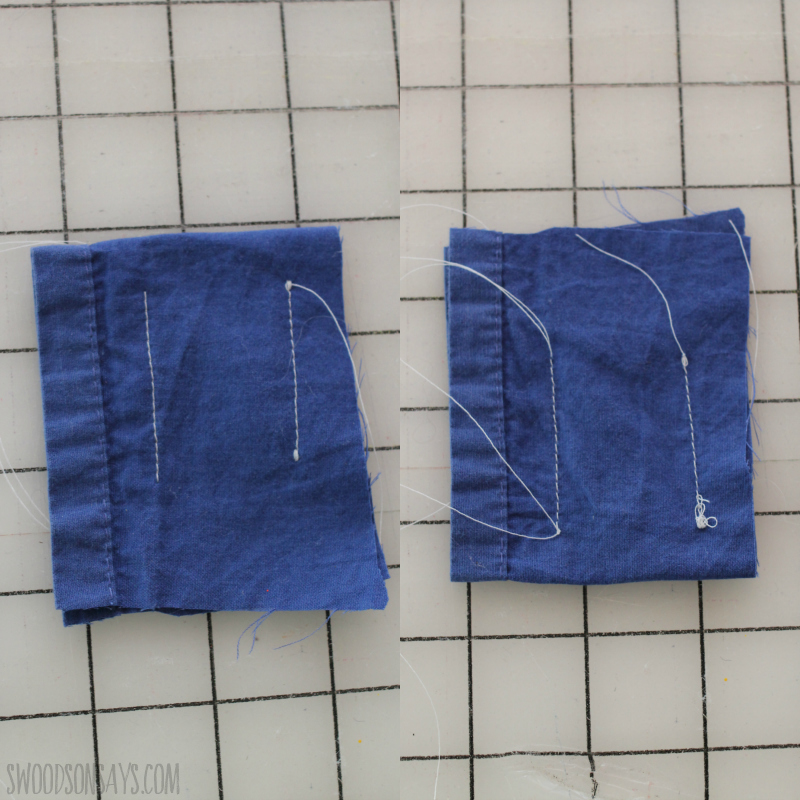
9. Ladder stitch to close– My favorite way to close softies, the ladder stitch looks seamless once you pull it shut! Just take tiny stitches along your seam allowance back and forth, and pull to close.
10. Learning grainline– Pay attention to the grainline arrow on your pattern pieces and learn what grainline is on your fabric! This keeps the body pieces from pulling funny at each other. As tempting as it is to tile pattern pieces in as tight as possible, pay attention to grain instead.
Supplies that make sewing softies easier
None of these things are essential! But they do make life easier when it comes to sewing stuffed animals (and other things of course).
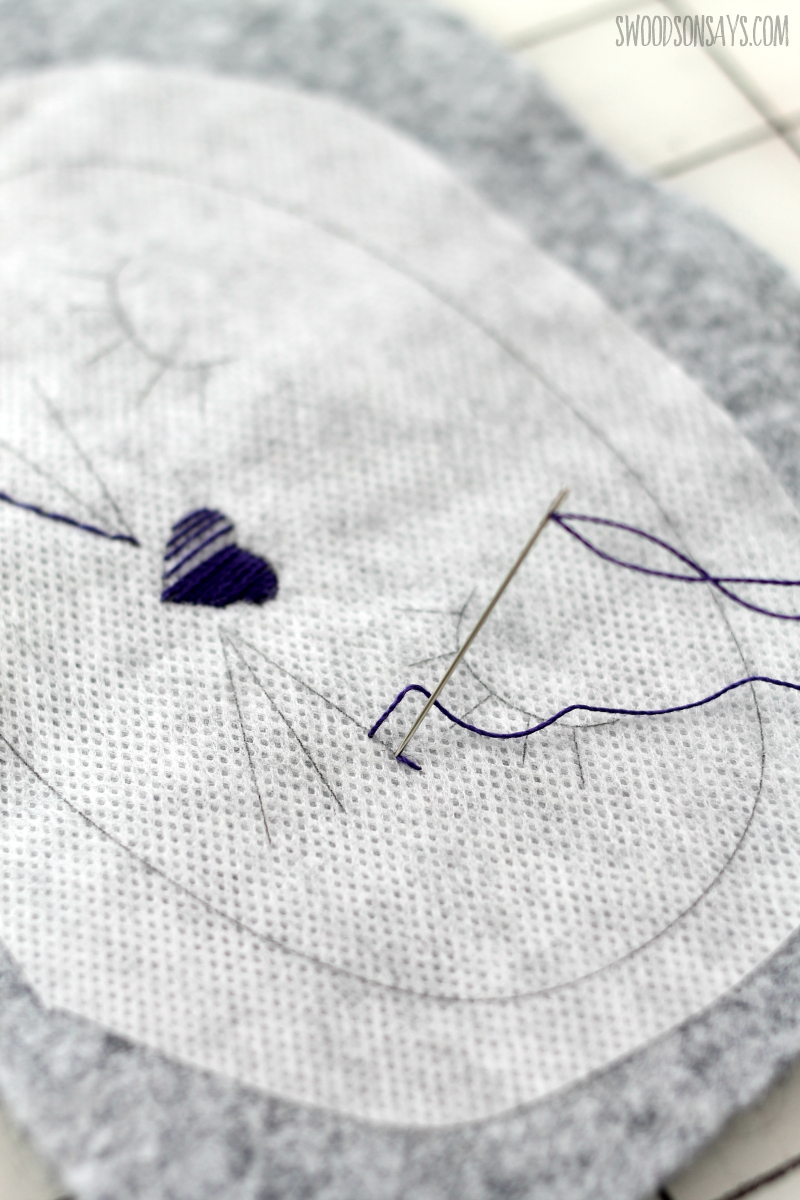
1. Stick n Stitch aka Fabri-Solvy– I use this for embroidering faces, as shown! You can see a full explanation of how to use it here but you print, stitch, wash away.
[Shop it on Etsy – Sulky.com (try some of their cotton petite thread for embroidery too!) – Amazon ]
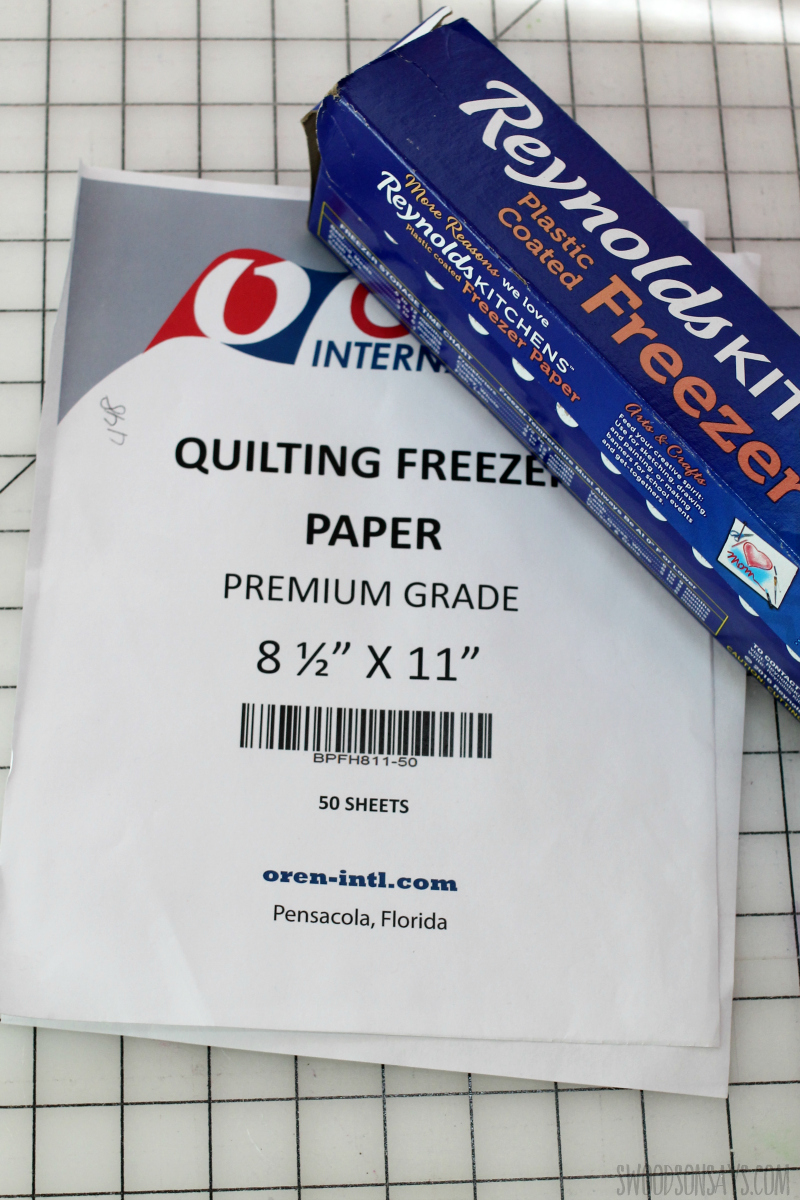
2. Freezer Paper– Freezer paper is cheapest from the grocery store; you can trace on to the flat side, iron the shiny side down, and then cut out precise shapes for applique faces and details.
Sheets
Roll
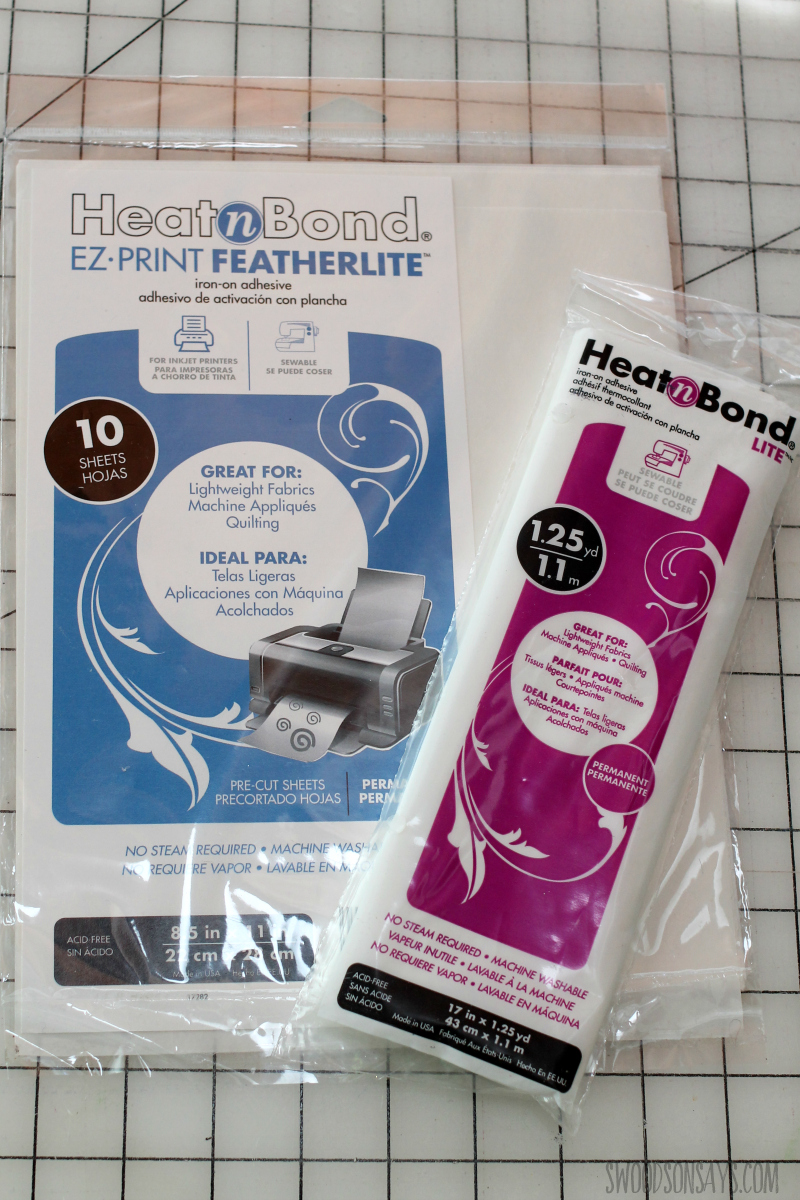
3. Heat N Bond– I use this most often for applique; you print or trace on it, iron it on the back of the fabric, trim precisely, then iron again on to the base without it wiggling all around. Highly recommend!
Sheets
[Shop it on Fat Quarter Shop – Amazon]
Roll
[Shop it on Fat Quarter Shop – Amazon ]
4. Glass beads– My preferred way to add weight to softies, the beads are teeny tiny and don’t look bulky but still add some heft.
[Shop it on Etsy – Amazon has the plastic equivalent]
Tools that make sewing softies easier
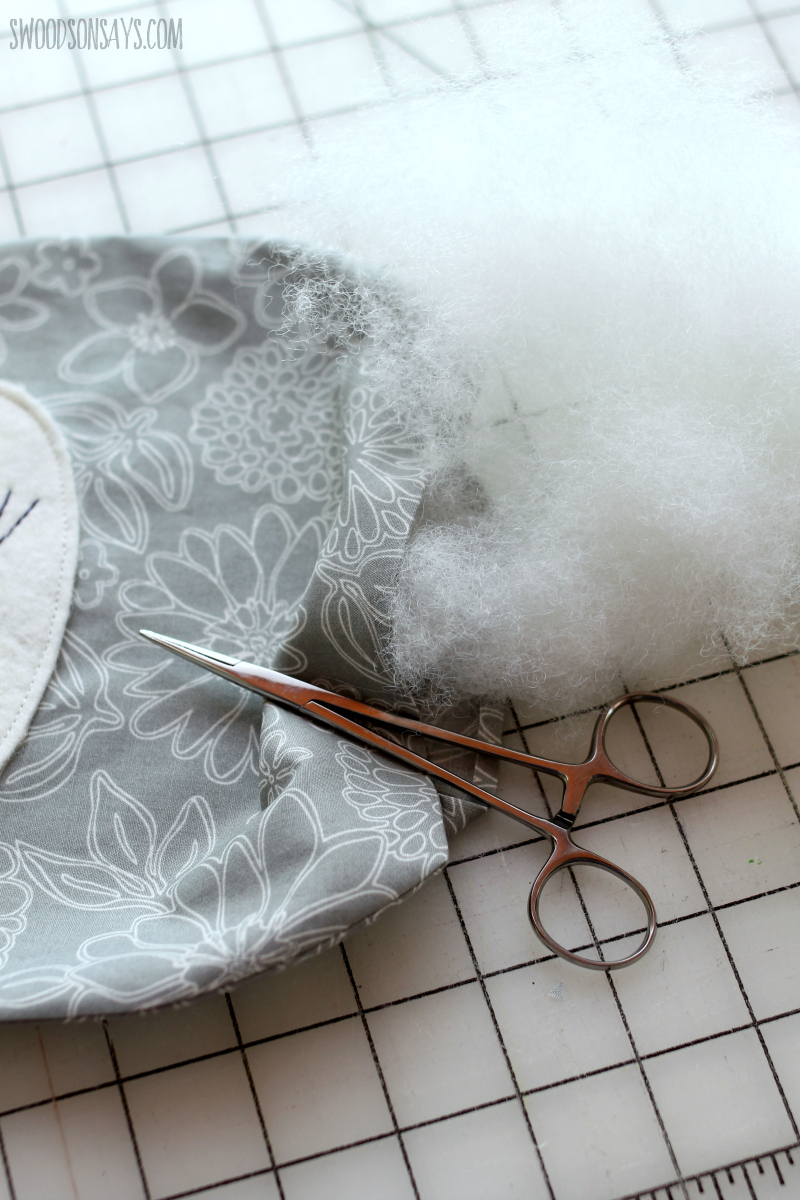
1. Hemostats– These are fantastic for shoving stuffing in small limbs and ears!
2. Chopstick or purple thang– A nice tool for turning corners and seams out gently.
3. Cuticle clippers– Not normally in a sewing room but these are the absolute best for trimming threads super close!
[Shop it on Amazon]
4. Clips– I avoid using pins as much as I can and love clips for holding pattern pieces together, especially with small stuffies.
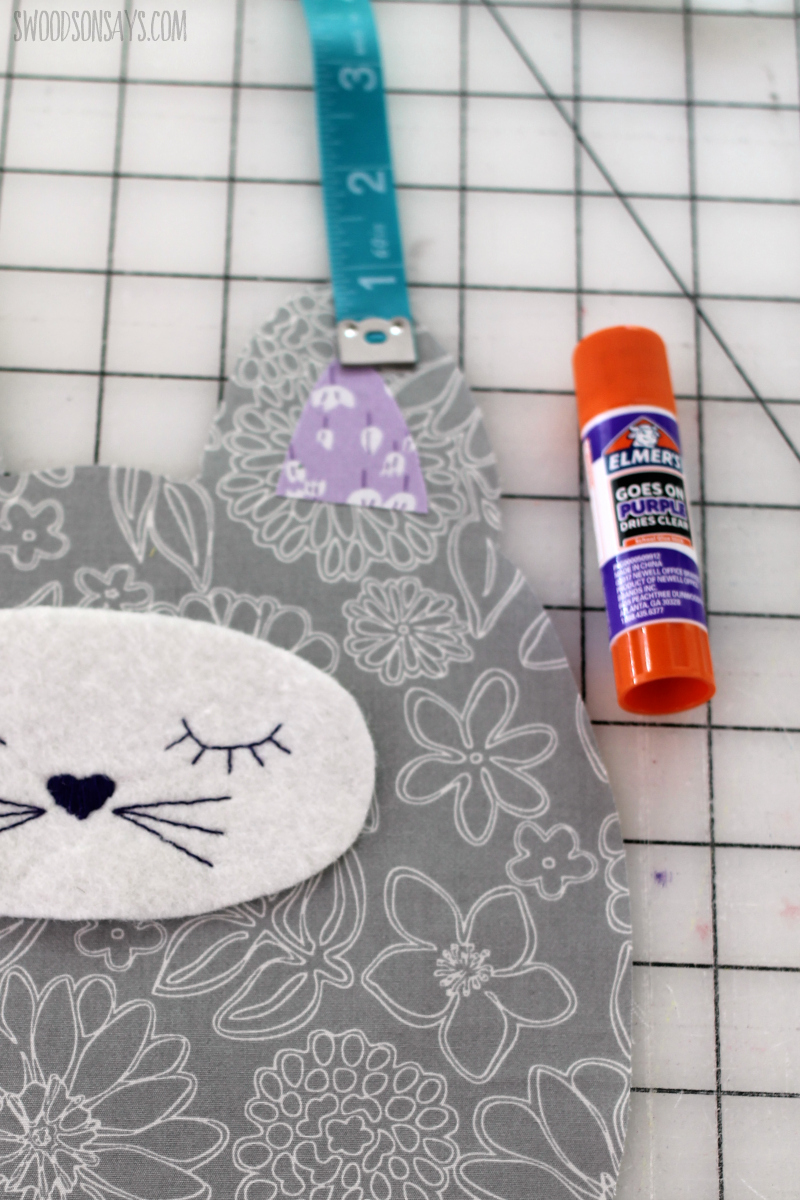
5. Glue stick– You don’t need a fancy fabric one, just use regular school glue to hold appliques in place. Just let it dry before you start sewing.
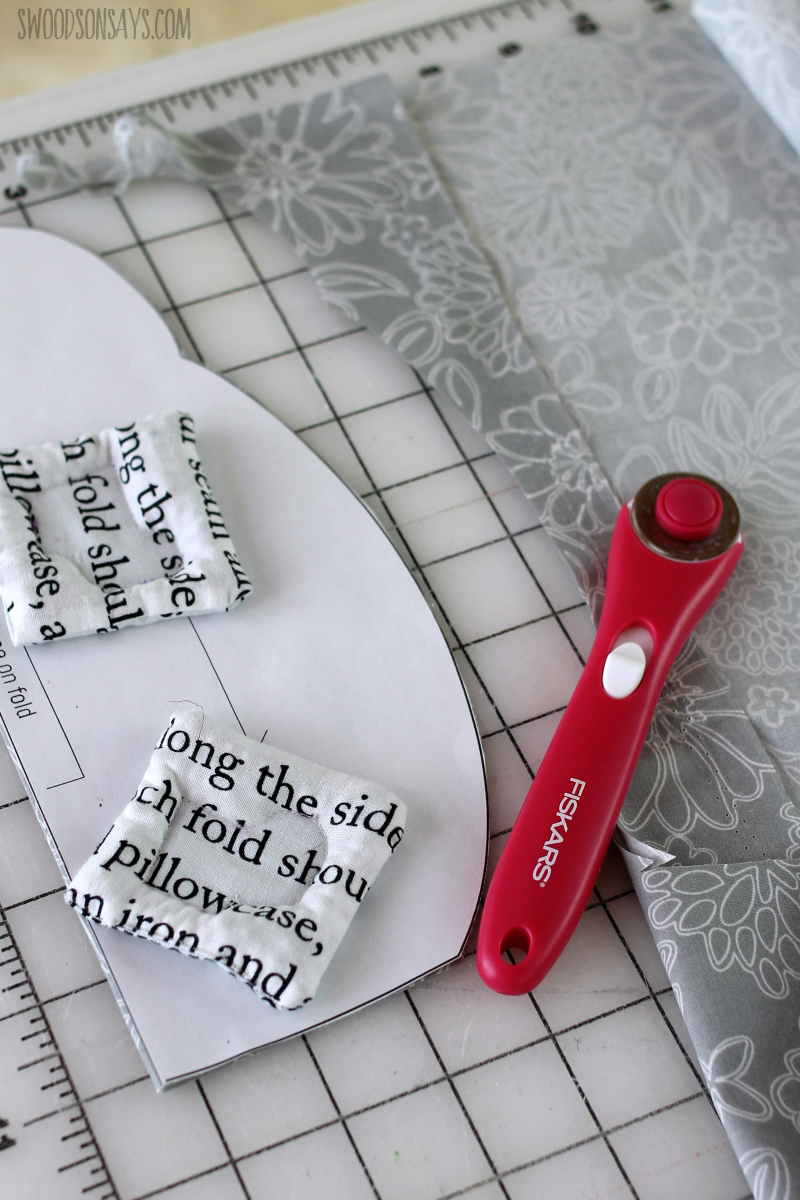
6. Small rotary cutter– I hate cutting patterns with scissors but smaller curves can be tricky with a regular size rotary cutter, which is why I have this one!
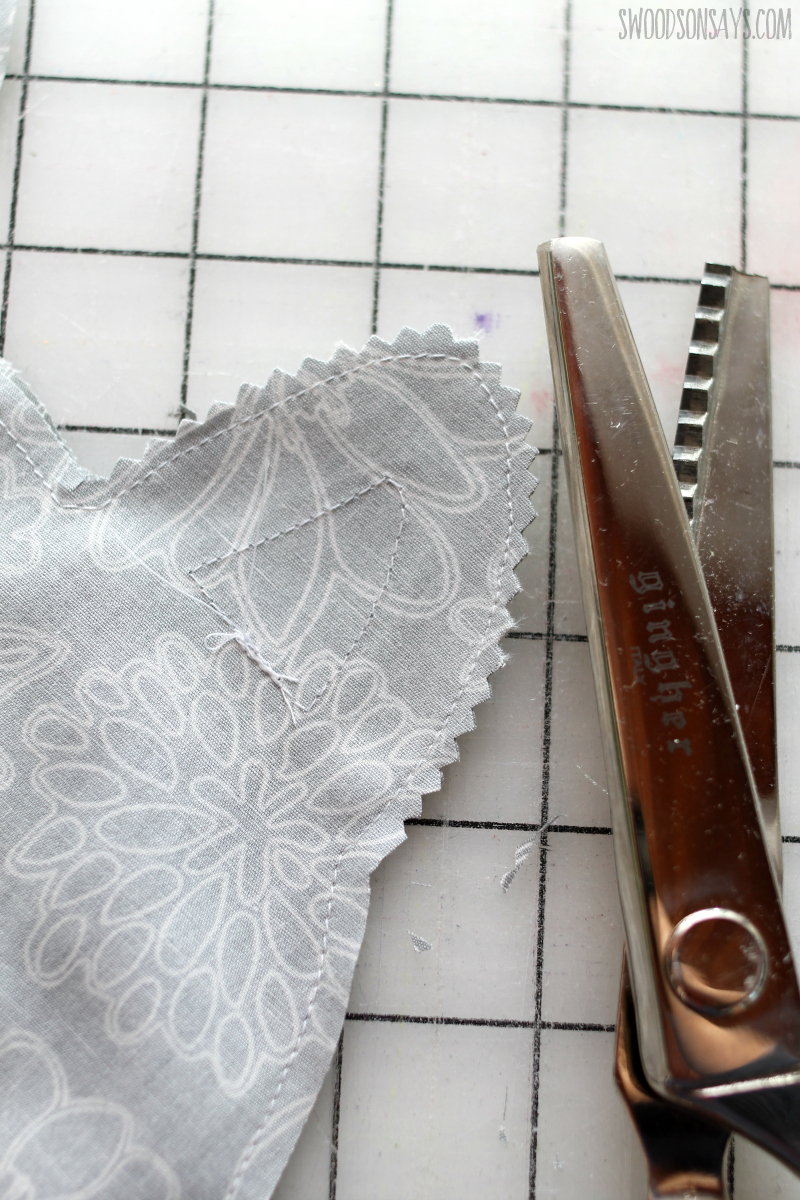
7. Pinking shears– I once thought these were merely decorative but actually they cut the fabric on tiny little bias corners, making it less likely to fray. I like using these on seam allowances before I turn them right side out.
8. Best Press– A great tool to press fabric super flat with your iron.
9. Applique foot- Aptly named, I like using these for applique so you can see where you’re sewing better!
10. Walking foot- I don’t always use this when I’m sewing stuffed animals but it is a great tool for bulkier fabrics since it has feed dogs on top as well.
Jennifer
Saturday 1st of July 2023
Any tips for getting tiny curved seams pressed? I'm working on an elephant, and trying to press the seams on the trunk is giving me fits!
Stephanie - Swoodson Says
Monday 3rd of July 2023
aw man that sounds tricky! All I can think of is more clips and a seam roll maybe!
Lynn
Wednesday 15th of February 2023
Question, I am making a animal that has a mouth of a different fabric. If I sew 2 pcs inside out how do I do the mouth?
Stephanie - Swoodson Says
Tuesday 4th of July 2023
sorry, I'm not sure how to do that/answer clearly!
kathy
Monday 1st of June 2020
For crisp corners, sew one stitch on the diagonal as you pivot from one side to the next. No more rounded corners.
Stephanie - Swoodson Says
Sunday 12th of July 2020
great tip!