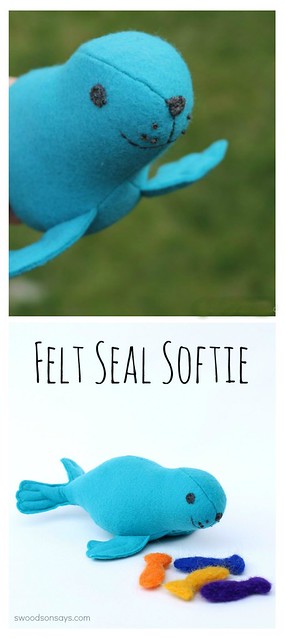
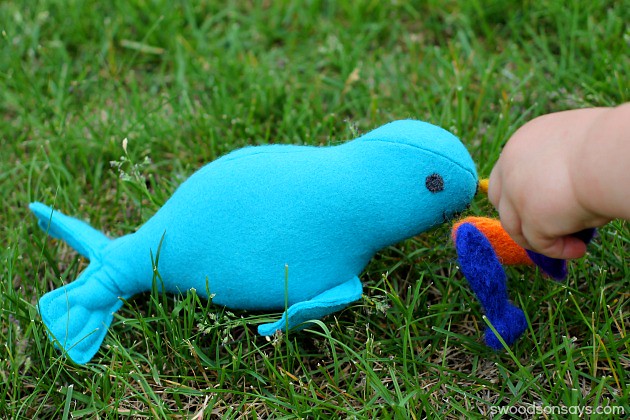
How cute is this stuffed seal sewing pattern! I’m a part of a sewing collective for Betz White – you can check out all her lovely patterns and work on her website, and I had the chance to sew up this seal from one of her designs. I’ve been itching to needle felt again after trying it for the first time, so I made him a few cute little fish! My Mom was visiting while I was making the fish and had a brilliant tip on making a custom shape for cookie cutters (which I used to needle felt in), see the secret to how I made them in this post.
{This post contains affiliate links, indicated by an asterisk*. Please refer to ‘legal stuff’ in the top menu for more info.}
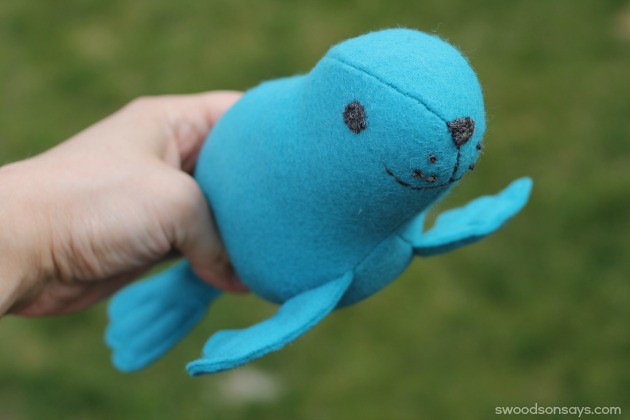
Stuffed Seal Sewing Pattern
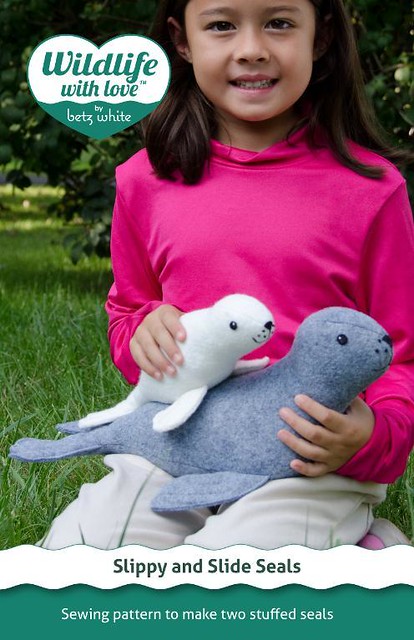
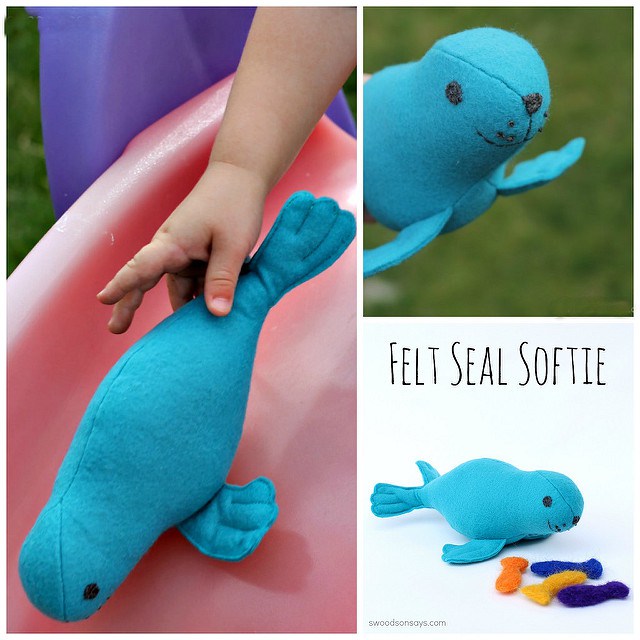
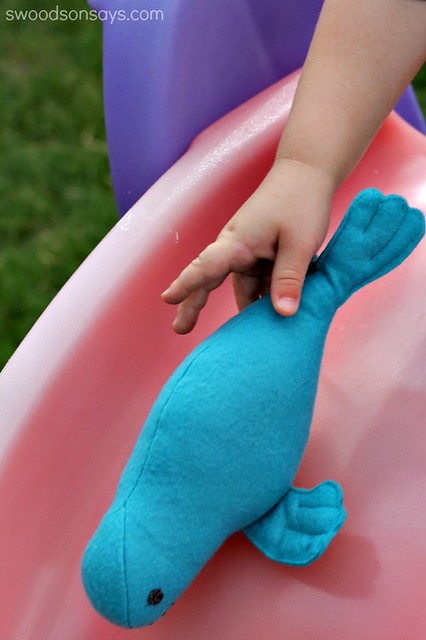
We have a membership to the local zoo and watching the seal training demonstration is one of my son’s favorite things to do. He cried when I took this little guy away for a few more pictures once he’d seen him! He loved putting him down the slide, which was very fitting given that the pattern is called the Slippy and Slide pattern*. I made the baby stuffed seal sewing pattern, which is about 10″ long.
If you’ve never sewn with wool felt, you must try it because it is so nice to sew. I’d gotten into the habit of working with fleece for many of the toys and softies I’ve made recently, but sewing up this seal reminded me what a treat wool felt is. I bought my felt from Benzie Design*. it’s really nice quality. The seams always look so smooth and professional, and it doesn’t stretch out when you flip a softie right side out for stuffing. I think this pattern would be fun to add a rattle insert into, like I did in my ric-rac rainbow baby toy!
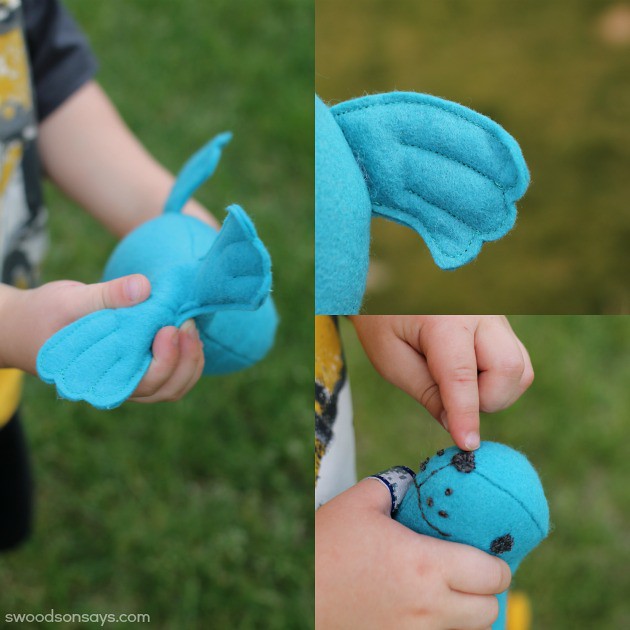
I think Slippy or Slide would be a great first softie project for any sewist; the head gusset and fin details look so professional but are not difficult at all. Sewing a 1/8″ seam allowance can be daunting, but using wool felt and going slow around the curves makes it a total non-issue. I especially liked the tip about shifting your needle so more of the fabric is pulled along by the feed dogs while using the smaller seam allowance. The way the body and fins are assembled is genius, making it so you don’t have to turn any bulky, small curves right side out.
I love the little white eyeball accent stitch in the pattern, but unfortunately my son would not stop picking at it and I was worried he would pull the whole eye off in his quest to remove what he thought was “dust”. There is an embroidery stitch glossary included in the pattern so you don’t have to go Googling and Youtubing all around to refresh your memory on how to do different stitches.
Another thing I like about this pattern is the suggestion to use freezer paper. I’ve used freezer paper frequently for stenciling and applique, like for this shirt, but never thought about using it to cut out pattern pieces. The pattern suggests using it for all of the pieces and it made accurate cutting and marking so easy, I’m definitely going to remember to use it on other softies.
I have some wool felt leftover so an adult seal might be joining our zoo soon – there’s also something very satisfying about being able to start and finish a project in the same day! Check out the Stuffed Seal Sewing Pattern* and sew one for yourself.