I’m sharing a list of my favorite hand embroidery tools, including what you “must” have vs. a luxury. If you’ve never picked up a needle, this list may seem a little intimidating but remember that almost all of these are one-time purchases. You can use the same pair of scissors for decades! I’ve included online links for your convenience, but definitely price compare to local stores (use this app for cash back at craft stores!) and don’t forget to check your local thrift shop! I’m still using embroidery floss that I bought 7 years ago in a giant bag for $2.
If you are looking for embroidery project ideas, check out these other posts:
- free hand embroidery patterns
- modern embroidery kits
- online embroidery classes for beginners
- gift ideas for people who embroider
- The best hand embroidery books for beginners
- 25+ modern floral embroidery patterns

If you need some embroidery project inspiration, check out a few of my favorite past projects like sashiko embroidery, a lunar moon cycle embroidery, or this rainbow embroidery sampler.
What tools you use in embroidery
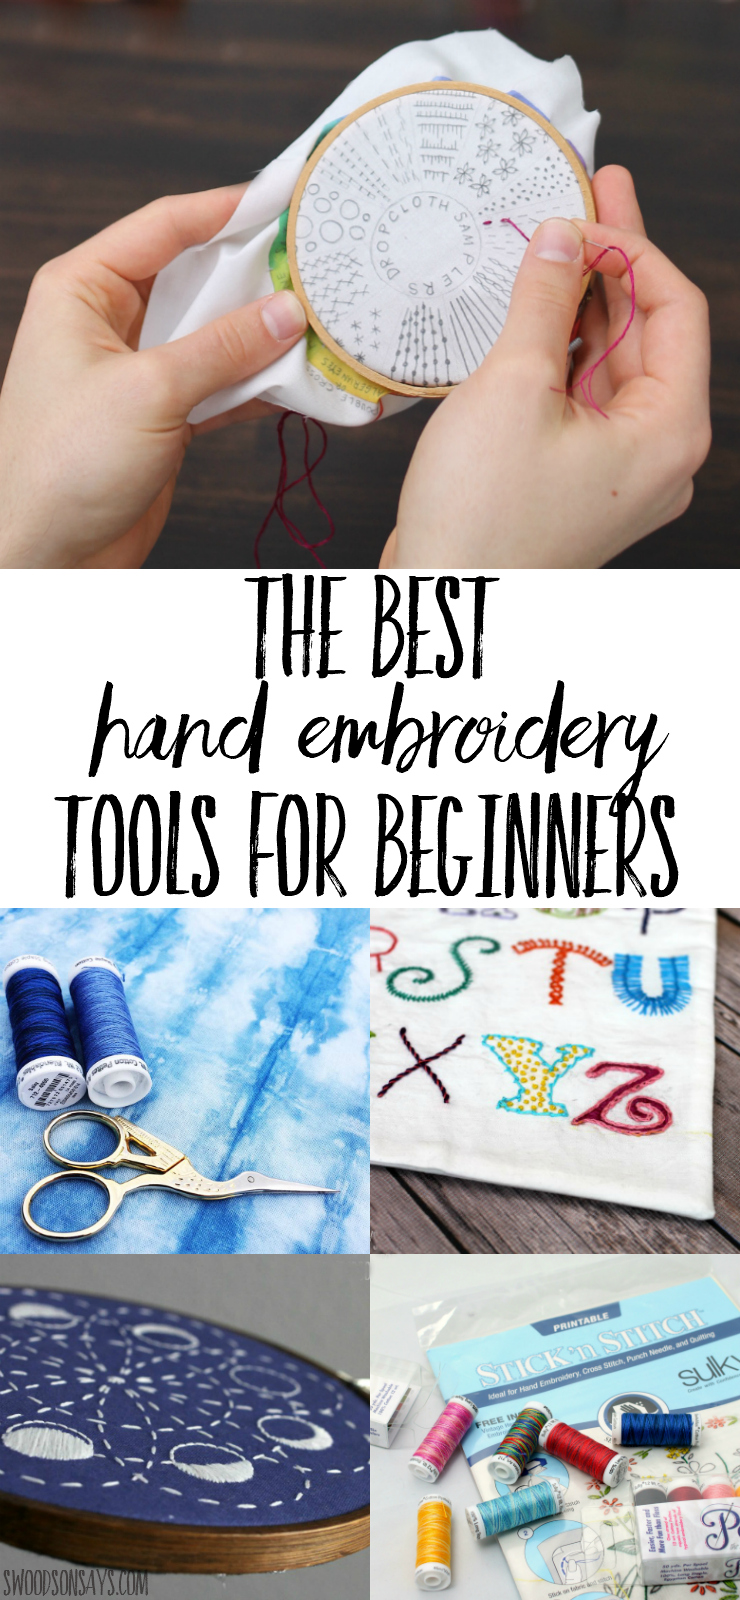
‘Must Have’ hand embroidery tools!
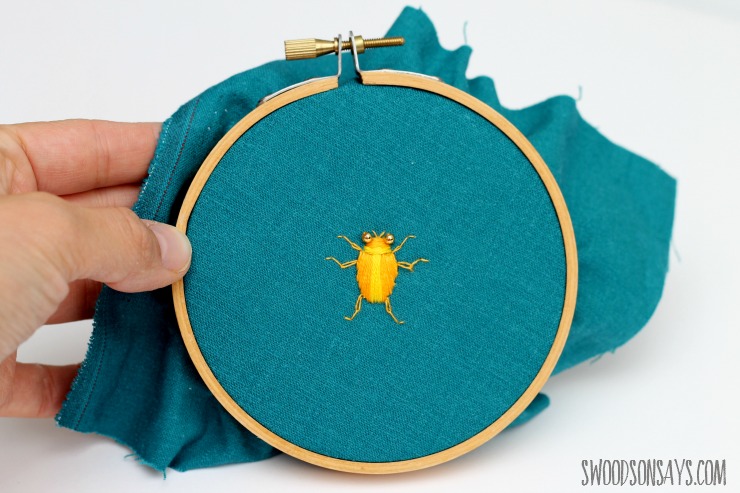
- Hoops – I’ve been very happy with the bulk buy hoops off Amazon*, and have had no issues with any of the 3 major brands on there (Darice, Kingso, & Caydo) depending on what size I’m looking for.
- Needles– I use all sorts of kinds but my favorite are these embroidery needles off Amazon*; the little container makes it really easy to keep track of them and I like the assortment of sizes.
- Small, sharp scissors for cutting floss– These can range from $1 cheapies to $15 Ginghers, I think the DMC embroidery scissors* work just fine and have a bunch of different brands laying around. Check out more embroidery scissor options here!
- Small, micro tip scissors for cutting wool felt patterns (if that’s what you’re embroidering)- I am loving these Fiskars micro-tip scissors*, I used them on my teeny tiny felt critters (embroidery scissors are a little harder to use on small pattern pieces, the micro tip makes short, precise cuts).
- Embroidery floss– I usually stitch with DMC floss; it’s dirt cheap in craft stores and easy to buy along with coordinating thread when you’re shopping for felt at Busy Little Bird* or Benzie Felt*. I’ve also stitched with Sulky Petites thread* which is really nice and also use pearl cotton* for certain patterns. Floss has 6 strands and is the cheapest, you can separate out different strands to create different looks whereas the Sulky thread and pearl cotton are single strand (Sulky is thin, pearl cotton is thick).
- Pattern transfer method – My #1 favorite is Sulky Fabri-Solvy* (pictured below), which you print off and wash away. You can see a full picture tutorial for how to use it in this post. Other methods include tracing with a mechanical pencil or chalk pen.
- Embroidery supplies storage method – I currently have the cheapest, ugliest system which is a series of different plastic baggies inside a bigger plastic baggie. Guess what, it works just fine! If you want something prettier, try using one of these handy little plastic boxes*.
![]()
![]()
‘Nice to have’ hand embroidery tools
- Floss conditioner – You run your floss through this and it keeps it smooth and tangle-free. Thread Heaven was my go-to but they went out of business, so try Thread Magic*.
- Craft light – Being able to see your stitches makes a huge difference, I was so thrilled when my Mother-in-law bought me this OttLite. It has a magnifier, too, and is easy to move around or crane above a chair.
- Needle threader- If you struggle with threading needles, there is a tool for that! Needle threader*s make it easy to slide floss through the needle’s eye.
- Needle minder– I see lots of folks using ‘needle minders’ on Instagram — I rounded up a big list of the cutest magnetic needle holders here!
- Hemostats- If you are embroidering anything stuffed (pincushion, stuffed animal), these hemostats* make it super easy to get stuffing into tiny corners.
- Magnetic pin wand– If you lose track of your needle, this magnetic pin finder* is a great way to find it before your feet do. I have one within reach at all times when I’m embroidering!
- Embroidery hoop stand – I haven’t tried one yet but several readers have recommended them. I rounded up a list of embroidery hoop stand options here.
What material you use for hand embroidery
Technically, you can embroider on anything! Any fabric with stretch (like a t-shirt) is going to be trickier; you’ll want to use a knit interfacing to stabilize it or use Fabri-Solvy when you’re stitching the pattern, so it doesn’t stretch. My favorite materials to embroider are the easy ones:
- Wool felt– Find my favorite places to buy wool felt in this post!
- 100% Cotton Fabric– From quilting cotton to linen, this is traditionally the first pick for embroidery. On lighter weight cottons, I find that using a light woven interfacing helps to keep stitches from puckering, like this one*. You just iron it on the back of whatever you’re planning on stitching on, then stitch away!
I love, love, love embroidery, especially because it is relatively cheap to start, easy to transport, and quick to finish (sometimes!). I hope you get started making something and that this list of hand embroidery tools is useful to you! There are so many fun embroidery patterns to try and you can check out the 5 basic embroidery stitches you need to get started, in this post!
Pin this post for later, here!