
This shop has been compensated by Collective Bias, Inc. and its advertiser. All opinions are mine alone. #HallmarkForMom #CollectiveBias
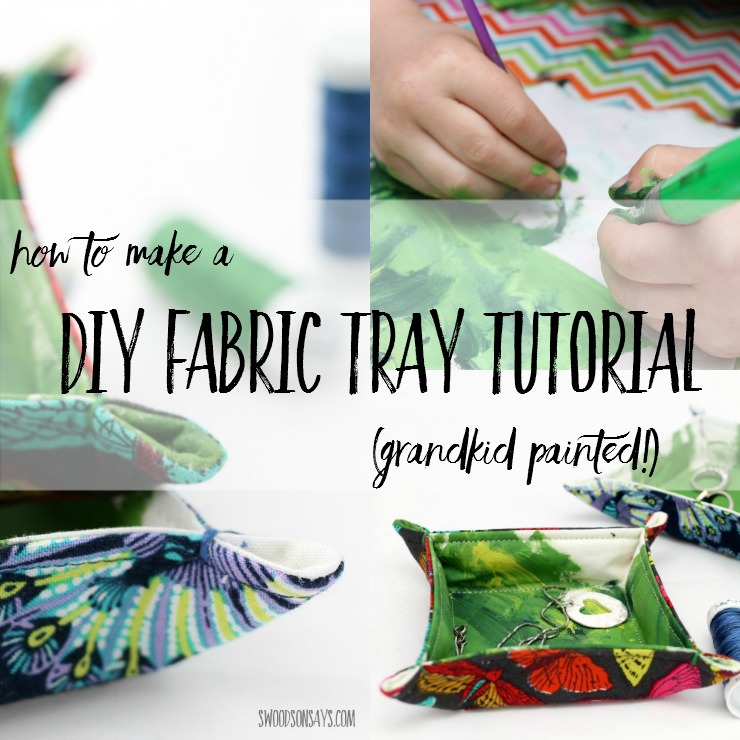
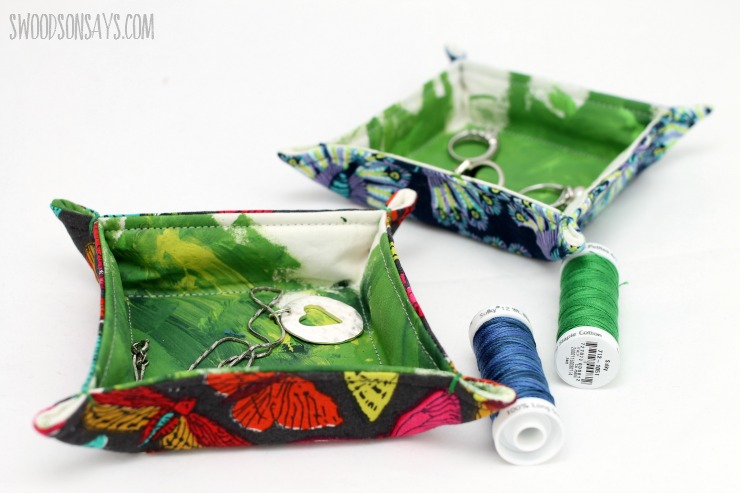
My kids are 4 and 2 and they love giving gifts almost as much as they love receiving them. I came up with a simple sewing project, how to make a fabric tray, as a present kids can help make. There are lots of ideas for what to sew for Mother’s Day but this is an easy one to get the kids involved. The trays are perfect for storing jewelry, loose change, little plant pots, or sewing trinkets! You don’t need a fabric tray pattern, just follow this easy tutorial and sew one up for yourself!
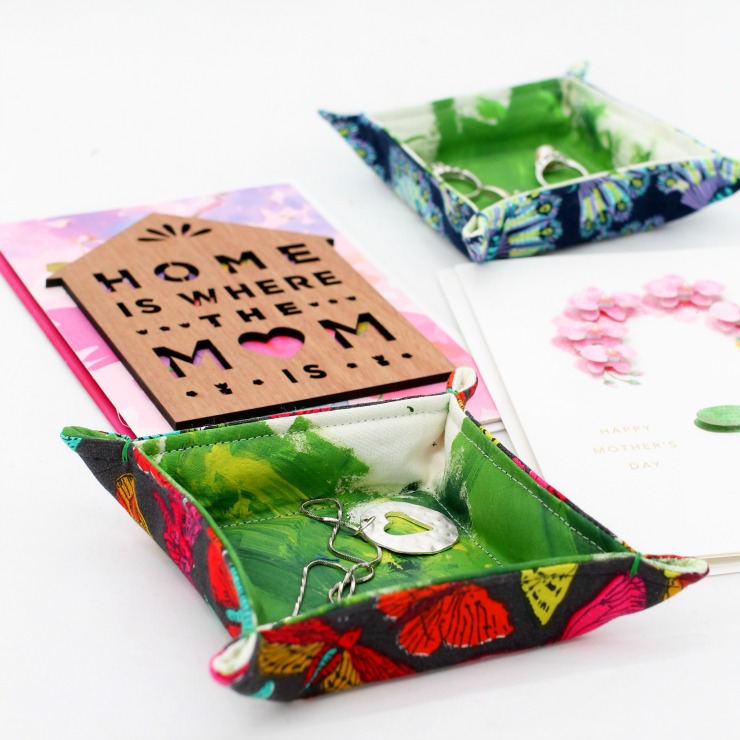
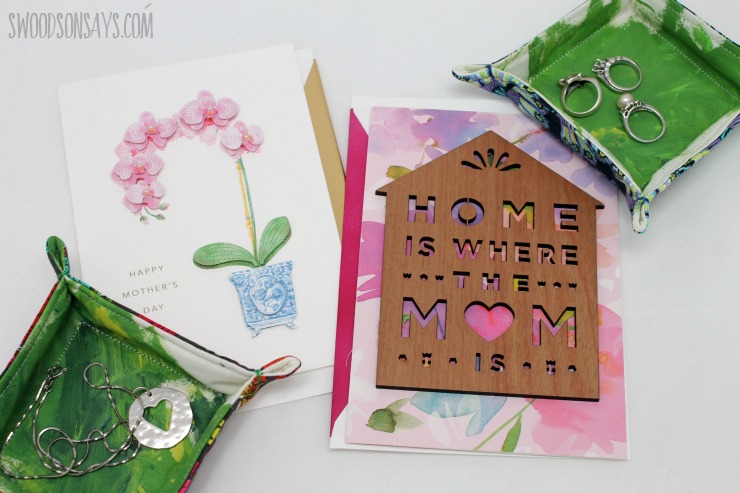
Isn’t that a perfect match! Picking out cards is such a fun activity and we had a great time choosing Mother’s Day cards from the selection of Hallmark Signature cards at Walmart! If I’m being honest, I bought that “Home Is Where the Mom Is” card for myself too because I love the cut-out and want to frame it.
If you like this tutorial, check these other posts out too!
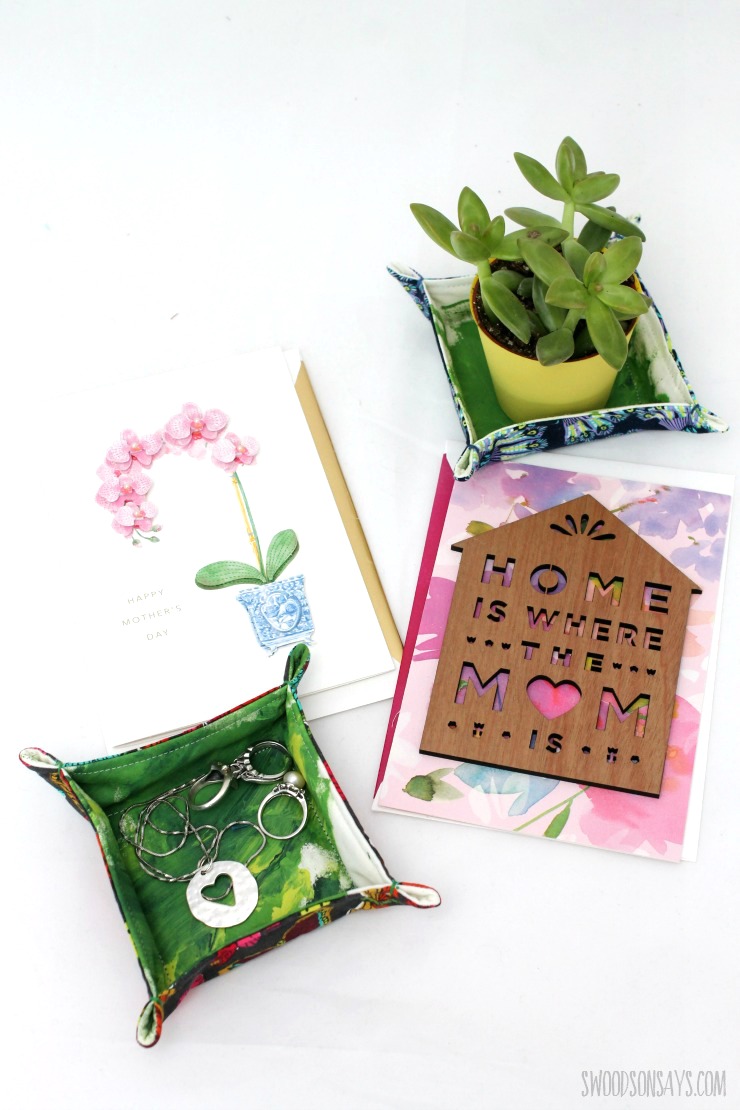
While I originally figured the tray would work as a jewelry dish, it turns out that a potted plant looks pretty cute in them too! I might make some more to act as drip trays for some of my smaller pots.
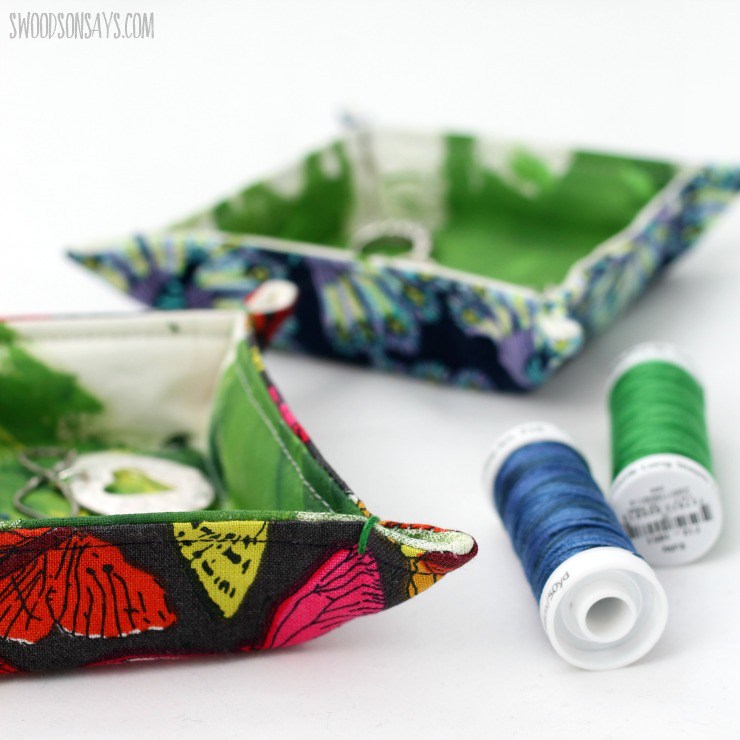
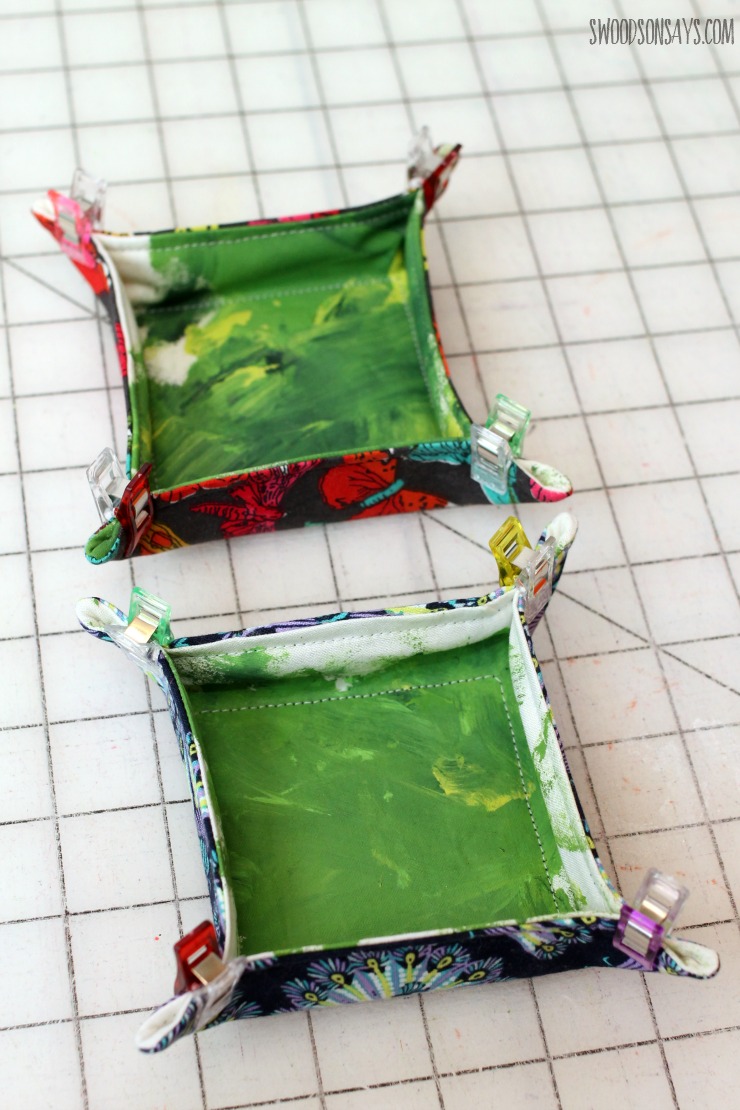
You can see how simple these are from this shot, just a few straight lines and a couple hand sewn stitches, so don’t be intimidated if you are new to sewing! This is a great sewing project for a beginner.
These would be great to sew for a craft fair, too, they are quick and easy to customize. My kids were so proud that they painted the fabric on the inside!
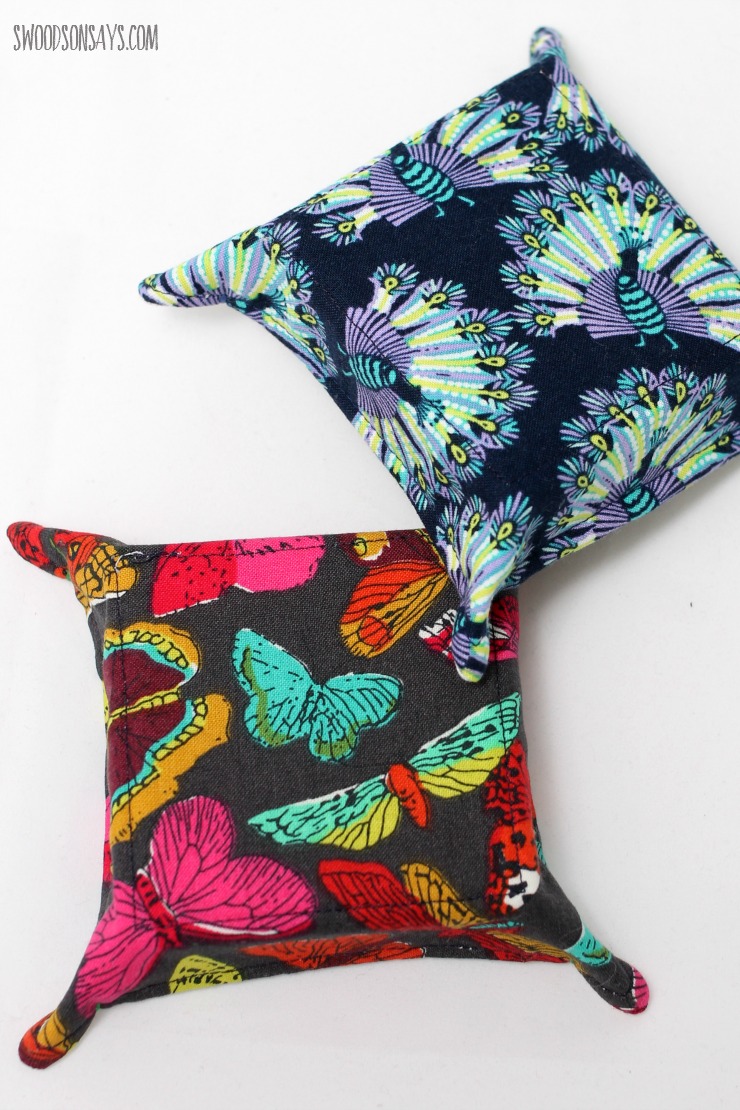
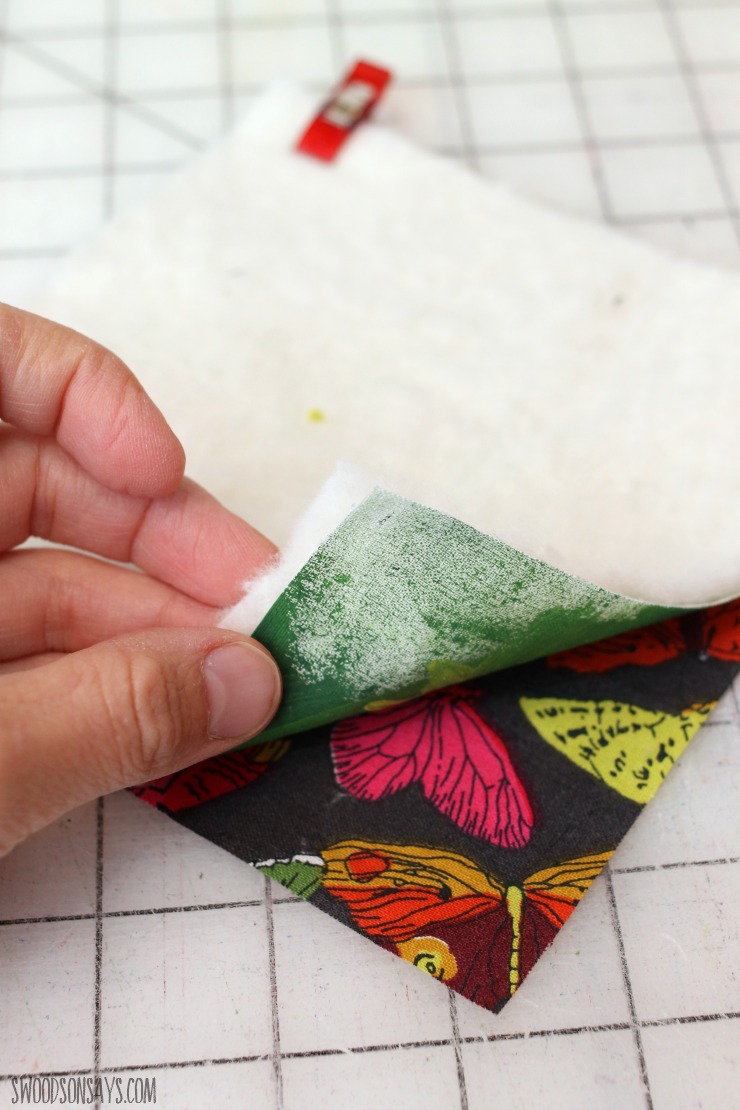
It’s hard to capture the backing fabric well but they’re both vivid, smaller scale cotton prints. I need some more florals in my mix, I think that would look great on the back!
Pin this fabric tray tutorial for later using this link or collage image:
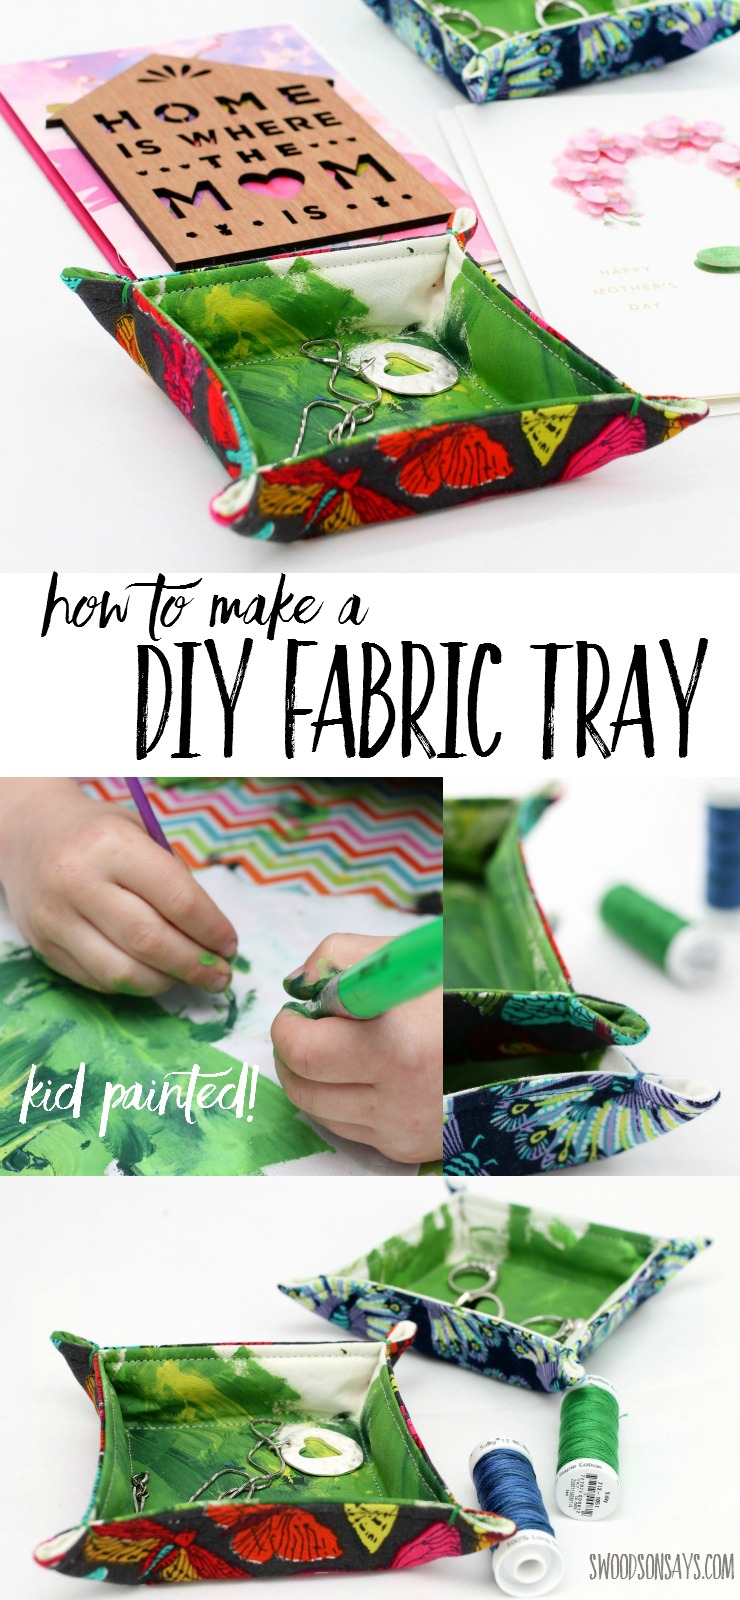
How To Make a Fabric Tray
Ready to make one of your own?
Supplies
- Fat quarters of fabric – one for painting & one for an accent
- Large scrap of quilt batting or flannel
- Embroidery floss – I used Sulky Cotton Petites Thread (you can buy bulk packs on Amazon or on Sulky’s website – single spools are only sold on Sulky’s website)
- Chopstick or pen to push the corners out
- Wonder clips or pins
- Freezer paper or marking pen
- Quilt ruler
- Scissors or rotary cutter (this is my fav!)
- Acrylic paint and paintbrushes
- Iron and presser cloth
-
If you want to embroider something in the base square, use the template- sign up for my newsletter and get the free download once you confirm your subscription! If you’re already a subscriber, you can access the pattern with the password in each newsletter, in the resource library.
Steps
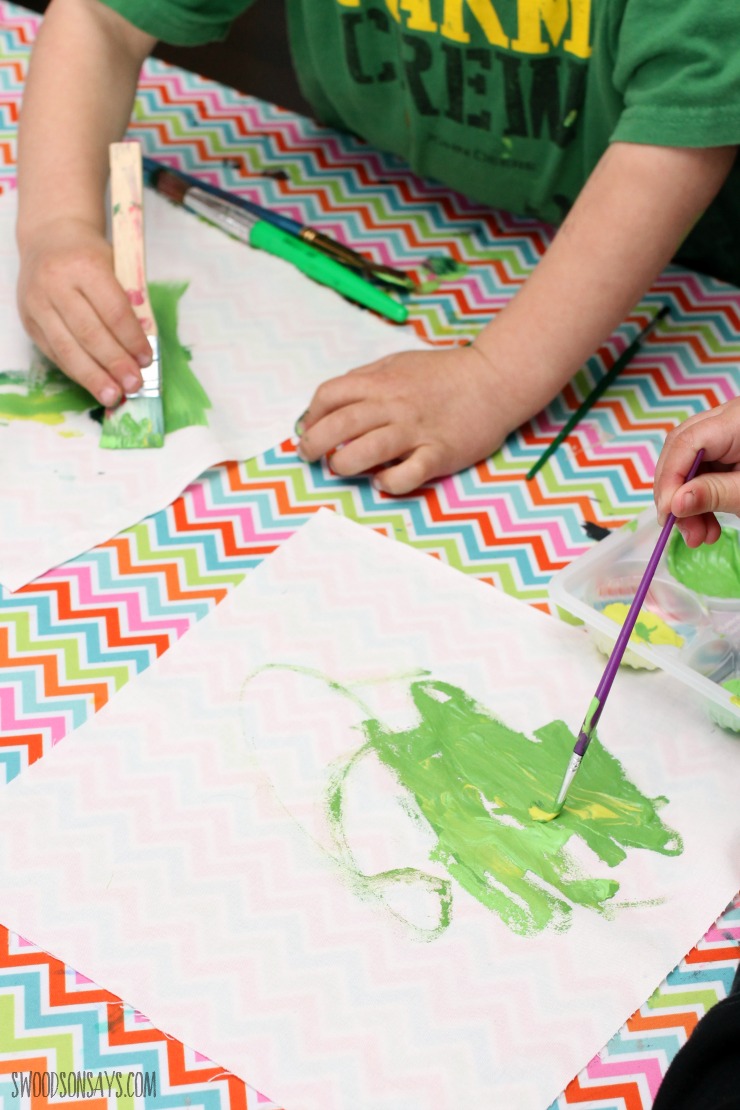
1- Cut your fabric into roughly 9″ squares and let the kids get to painting! Fabric paint isn’t necessary since this won’t be washed frequently, but keep in mind that thick layers of paint will be difficult to sew through.
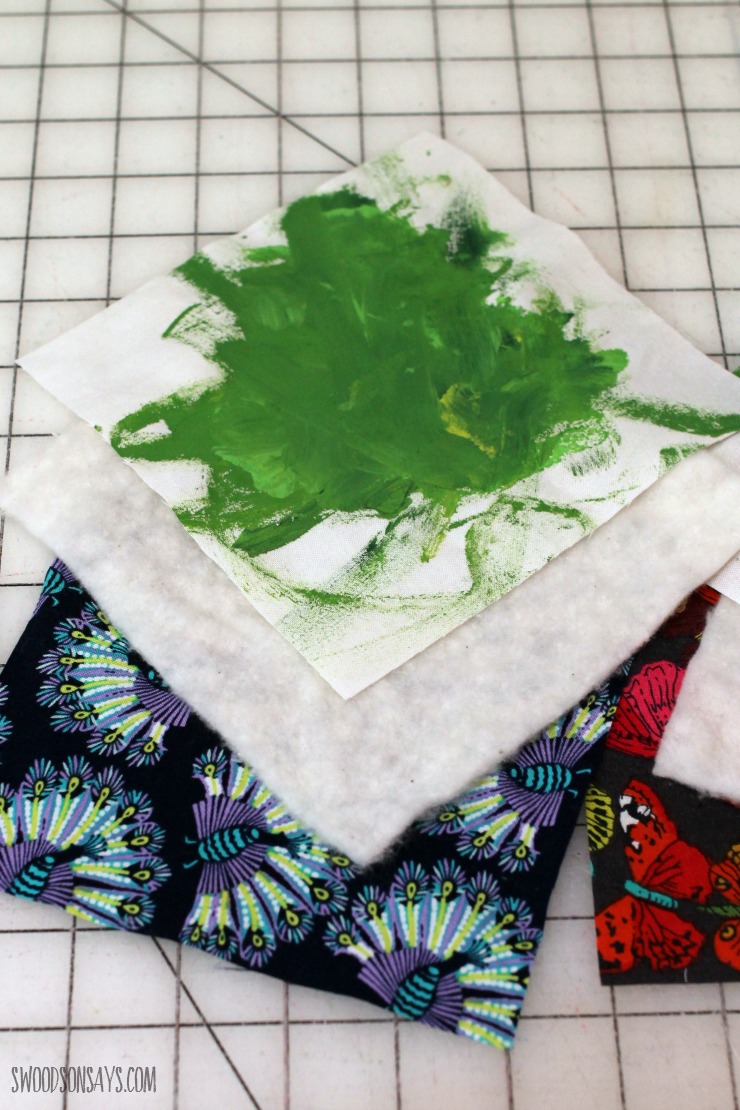
2- After it has dried, trim the painted fabric to 6″ square and then cut a matching piece of batting and backing fabric
3- Layer the fashion fabrics right sides together and top with the batting scrap

4- Sew along all 4 sides, with a 1/4″ seam allowance, leaving a small gap (2-3 inches) for turning. It’s easiest if you leave this gap in the middle of a side, not near a corner. Clip the corners, making sure not to clip through the stitching.

5- Gently pull the square right side out through the gap, press out the corners with a chopstick and press the opening’s seam allowances back inside. Press gently with a presser cloth (any plain light colored fabric scrap will do; the paint can otherwise melt on to your iron) and then topstitch around the edges. Tip: if your top and bottom are different colors, use a different colored bobbin thread to keep it all camouflaged.
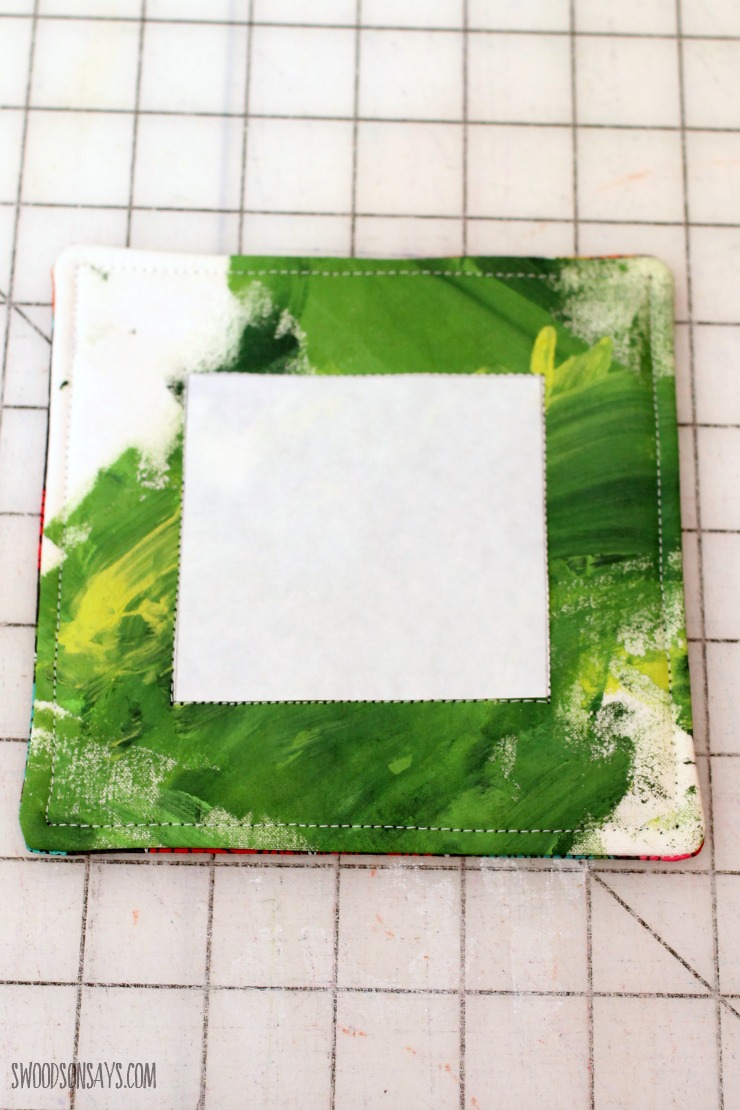
6-Mark out a 3″ square, centered, and sew around it. I like using freezer paper for things like this; you just iron it shiny-side-down and it sticks temporarily. You can also just sketch it out with a tracing pencil.
7-Pin each corner pinched together, adjusting so they all look even.
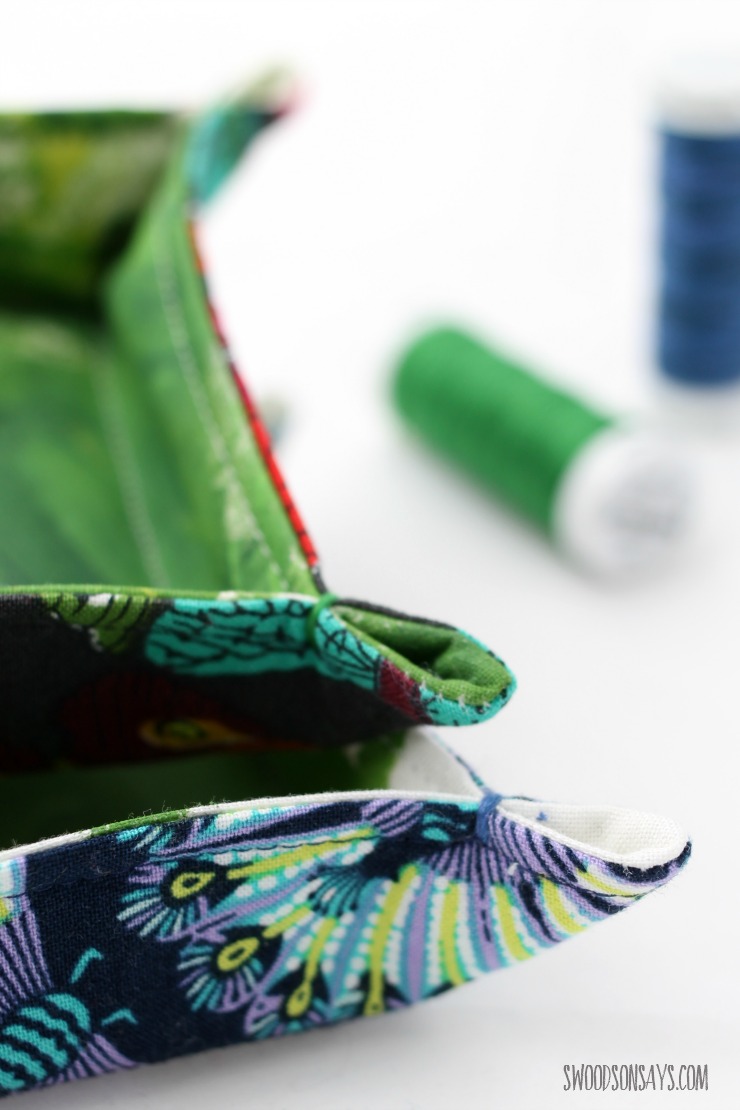
8-Use embroidery floss or perle cotton to sew a few stitches and secure each corner in place, and you’re done!
Debbie R
Tuesday 6th of July 2021
Is there a written pattern to follow? I not social sites. Thanks,
Sew Banana
Thursday 3rd of December 2020
This is really good idea and helpful.
Debi Anderson
Monday 11th of May 2020
I’m just a little confused. #4 says to sew together all 3 sides. Aren’t there 4 sides?
Stephanie - Swoodson Says
Monday 11th of May 2020
Hi Debi! Sorry about that, it was a typo, I fixed it. Let me know if I can help with anything else and I'd love to see your trays if you make some!
Kat Boyce
Saturday 29th of April 2017
Lovely! The hand-painting is a really nice touch. My mom would use these for jewelry, but she's enough of a chocolate addict (it runs in the family ;) that it might work for (wrapped) chocolate candy, too!
Pam @Threading My Way
Saturday 29th of April 2017
A special gift for the kids to give. They'll be so proud as they present them to their Grandma. I love gifts like this!