
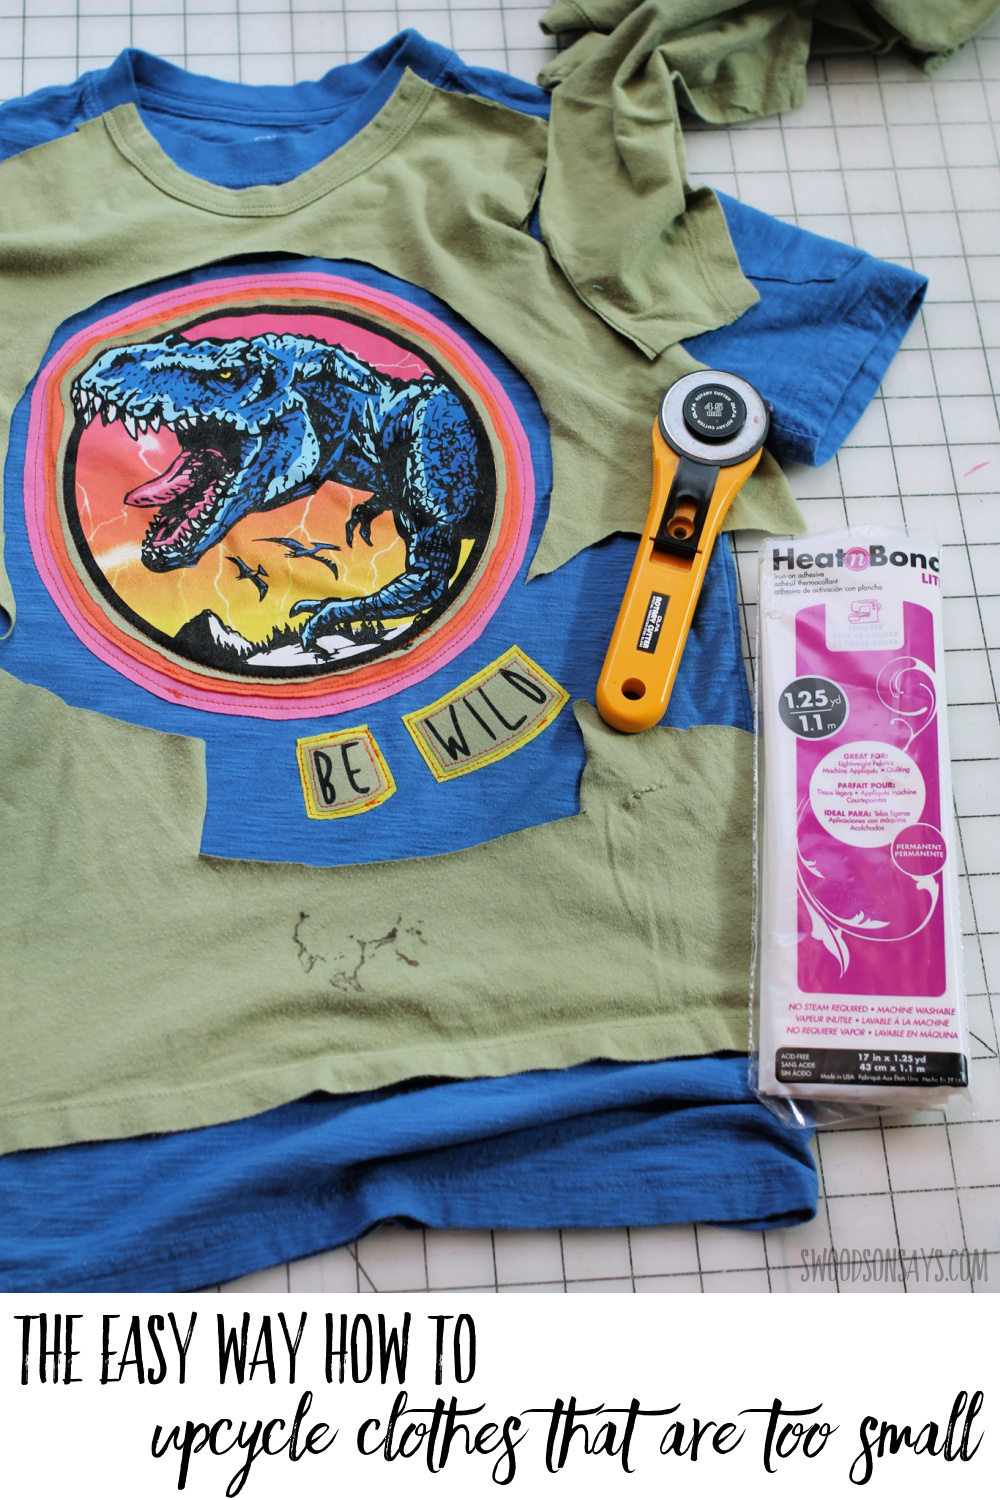
How to upcycle clothes that are too small! If you have a favorite tshirt that you or your kids have outgrown, there is a simple way to chop it up and turn it into an applique on a brand new, bigger shirt! Here’s a full upcycle tutorial with more photos of refashion inspiration along the same lines. This is the quickest, cheapest way to refashion kids clothes, especially since you can use shirts with holes and stains to keep them out of the landfill.

My kids have never gotten super attached to specific pieces of clothes, but I always keep things they’ve outgrown when the shirts aren’t easily worn again due to holes, stains, pilling, etc. I’ve turned them into stuffed animals, Christmas ornaments, and patches in the past but now I’m sharing the simplest option which is a way to refashion a too small tshirt! This is one of my favorite ways to refashion a shirt, so there are a lot of examples to scroll before you get to the actual tutorial.
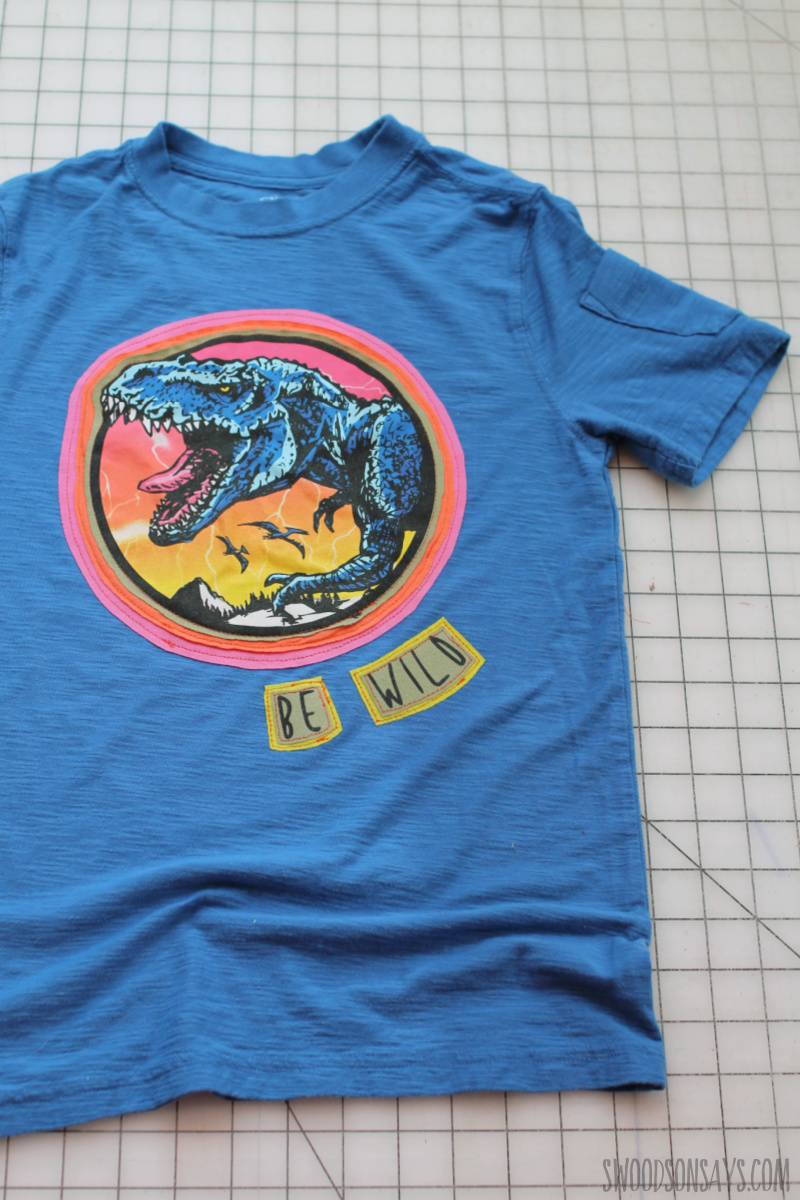
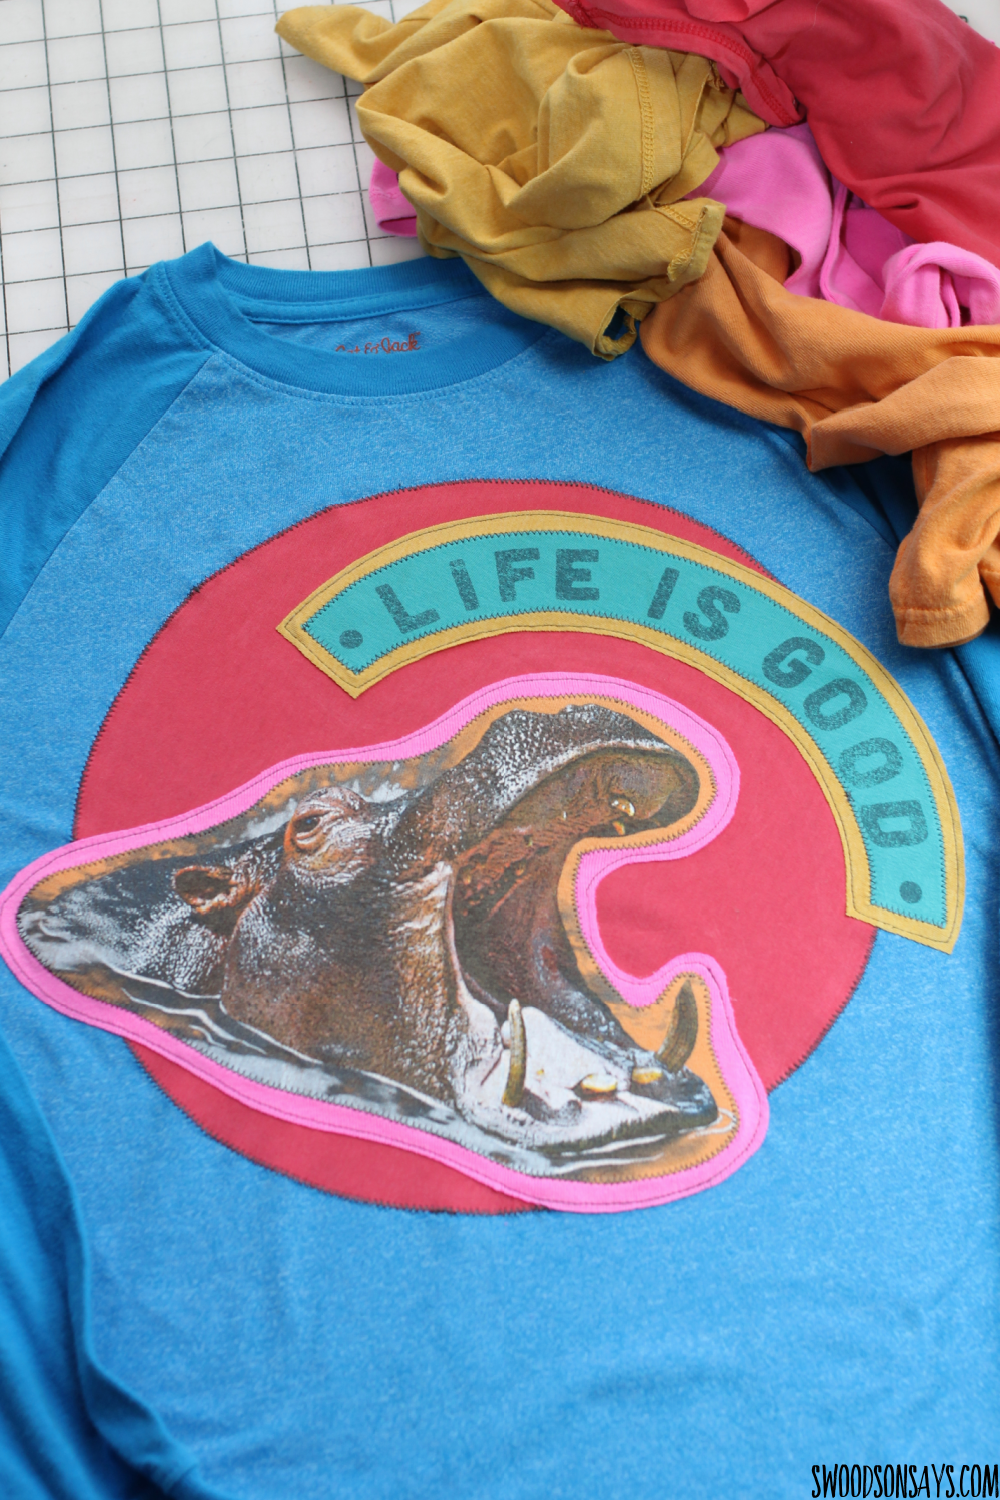
I actually used three other old tshirt scraps to add color and layers to this design! You can see the dodgy stitching here; I have tips below on how to avoid it, I’m not that finicky about details. You can spot where I swapped the chest pocket to the arm too, just for fun.

If you are strictly curious about appliqueing letters, ransom note style, I have a separate post focused on that!
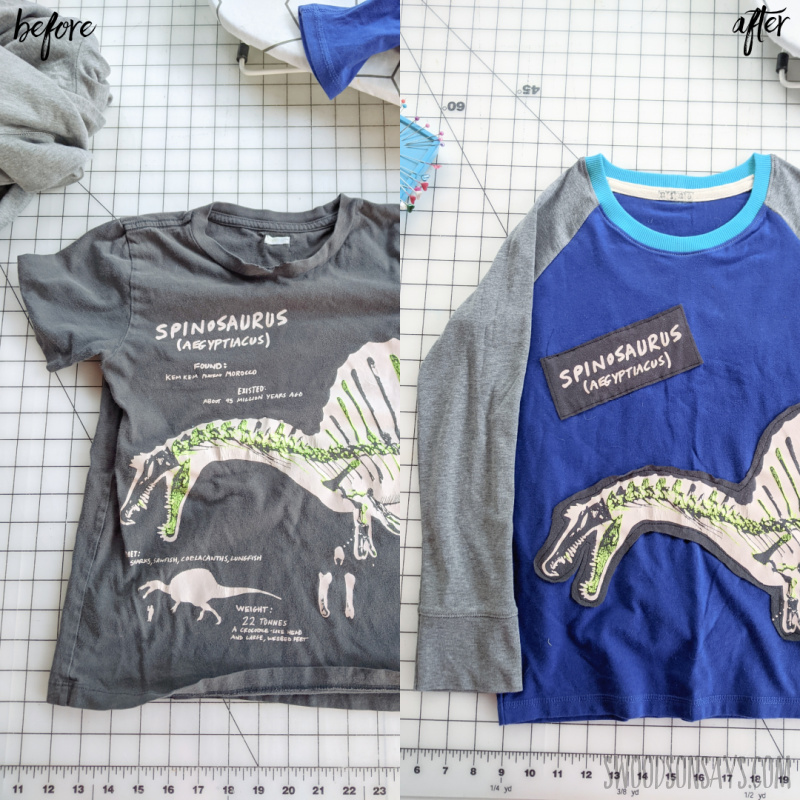
Here is another shirt I made in a similar style, except this one I started from scratch, upcycling two other adult shirts for the sleeves and the body. This is my favorite way to make shirts from scratch because you reuse the hems, see this post on how to turn adult shirts into kid shirts for a tutorial on that!
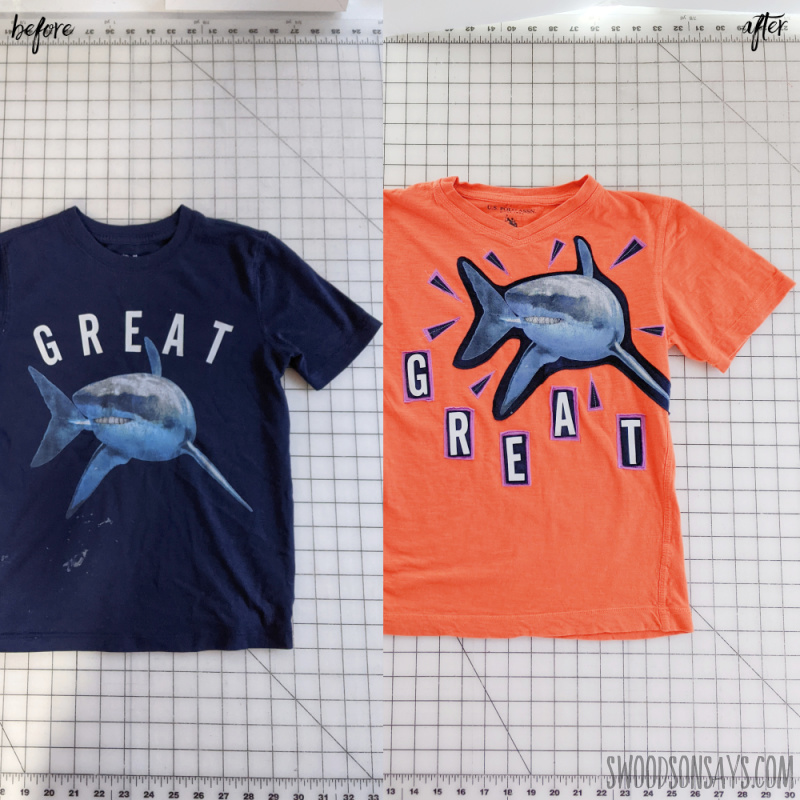
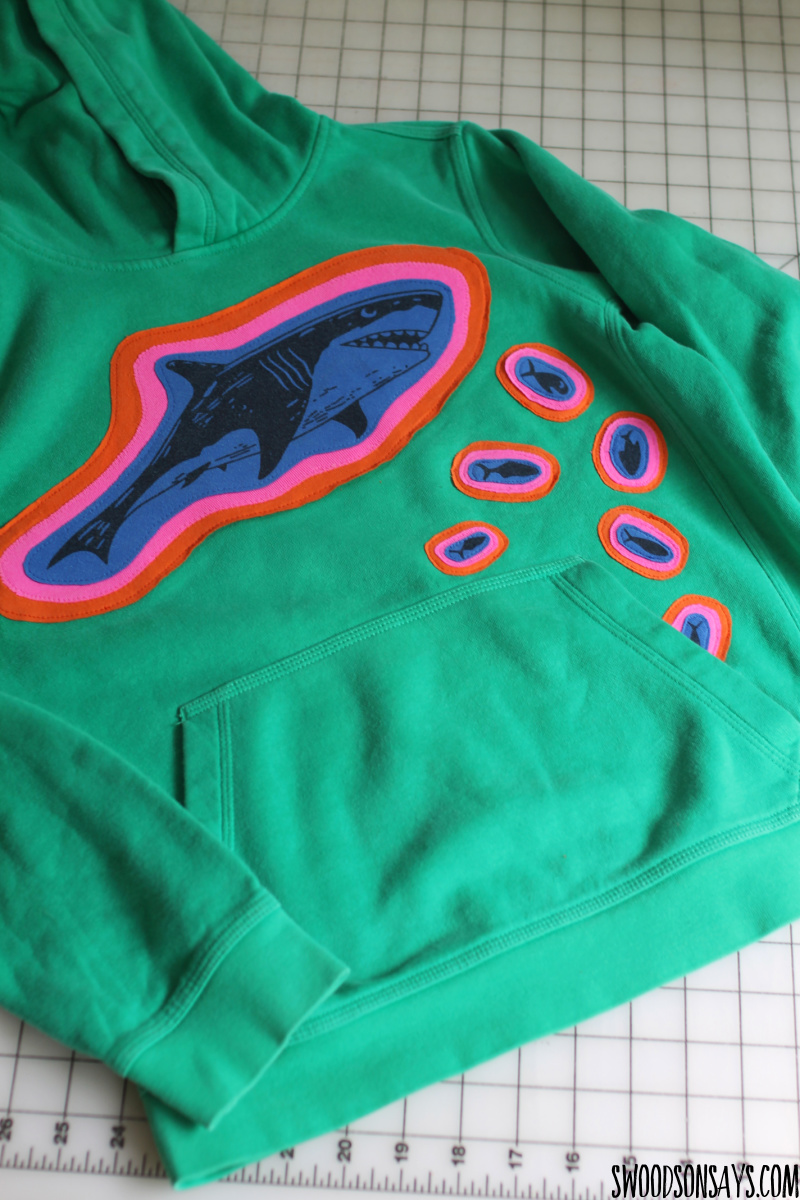
And another example! I had fun adding the shapes on this one and it’s been a big hit with my kid. The shark also covered up the lame logo on the orange tshirt, which was a double win.
Here is an even simpler version – no extra flourishes, just chopping the patch out!
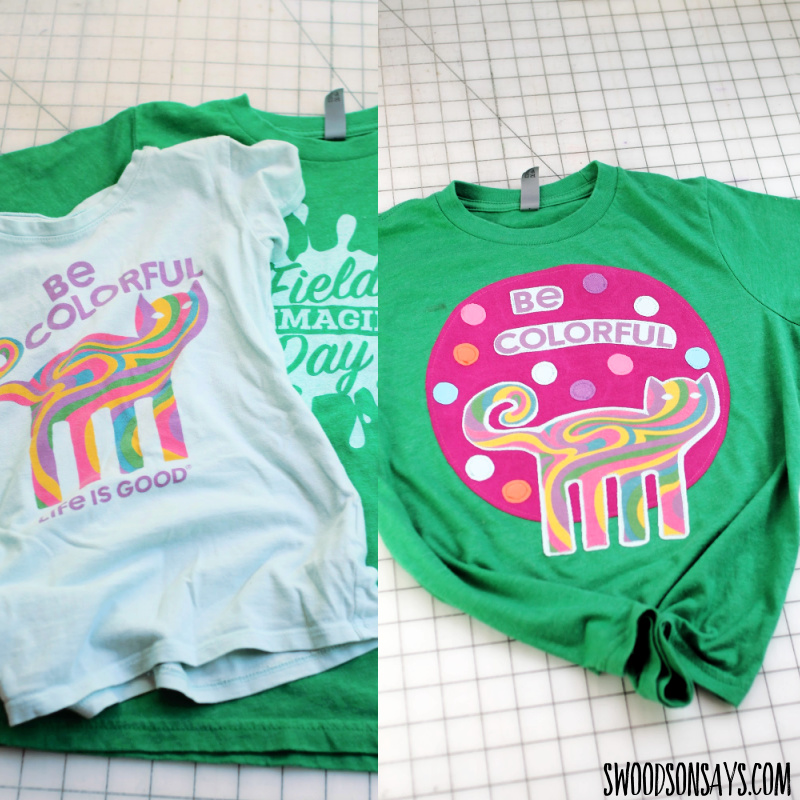
Here is a busy example that I added lots of fun circles to!
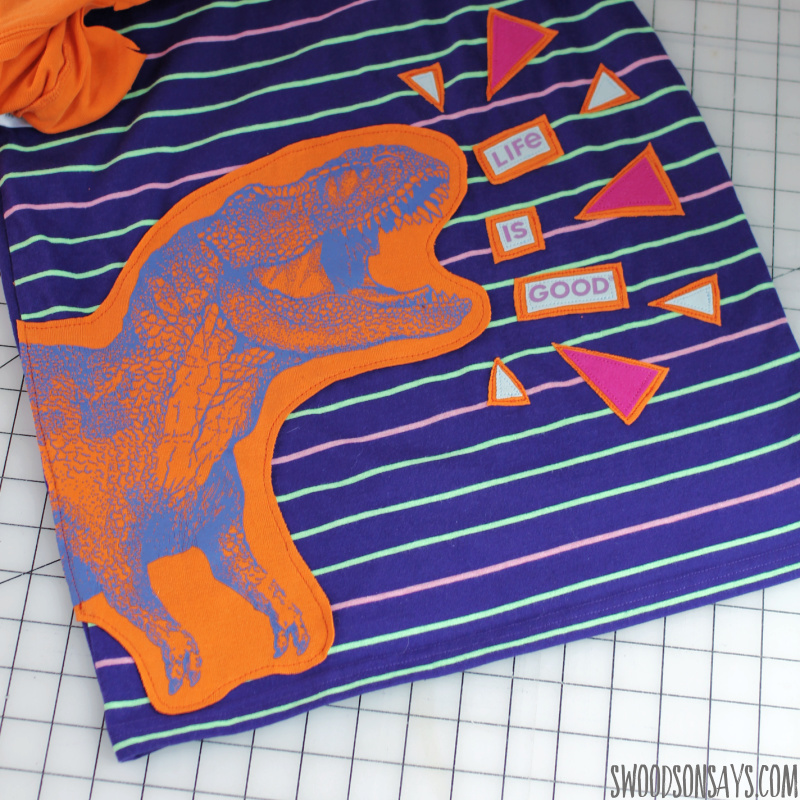
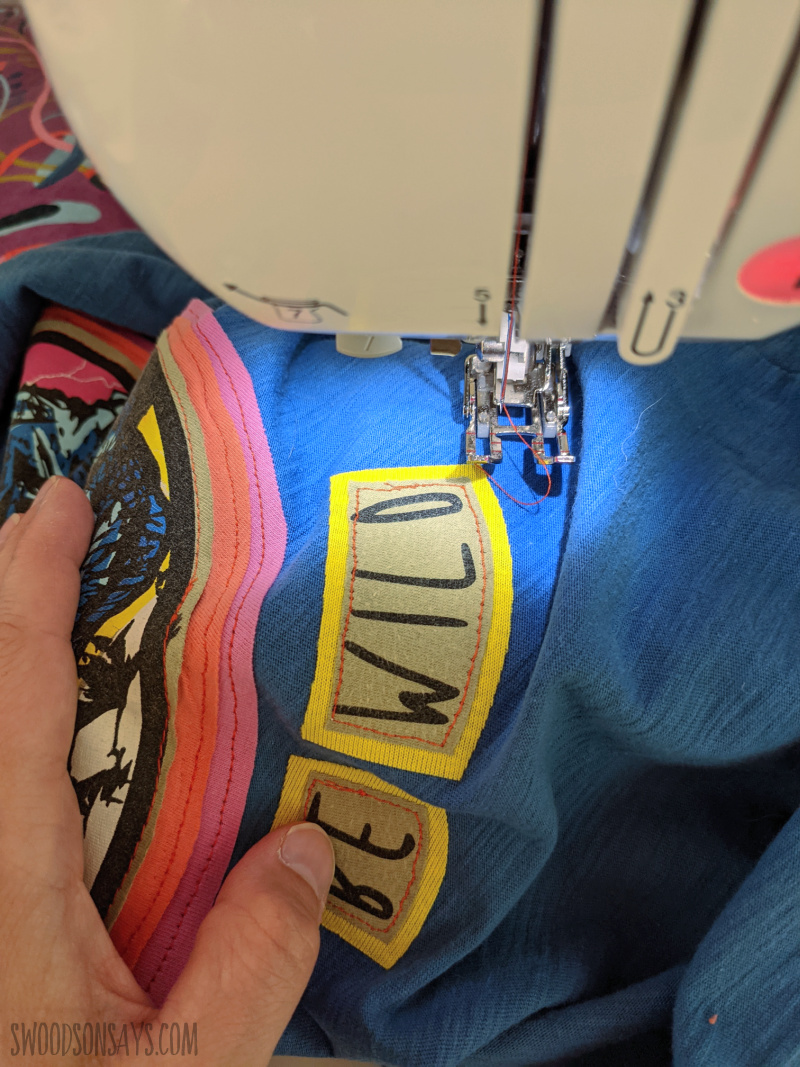
I saved the text from the cat shirt upcycle above and eventually stuck it on a dino shirt!
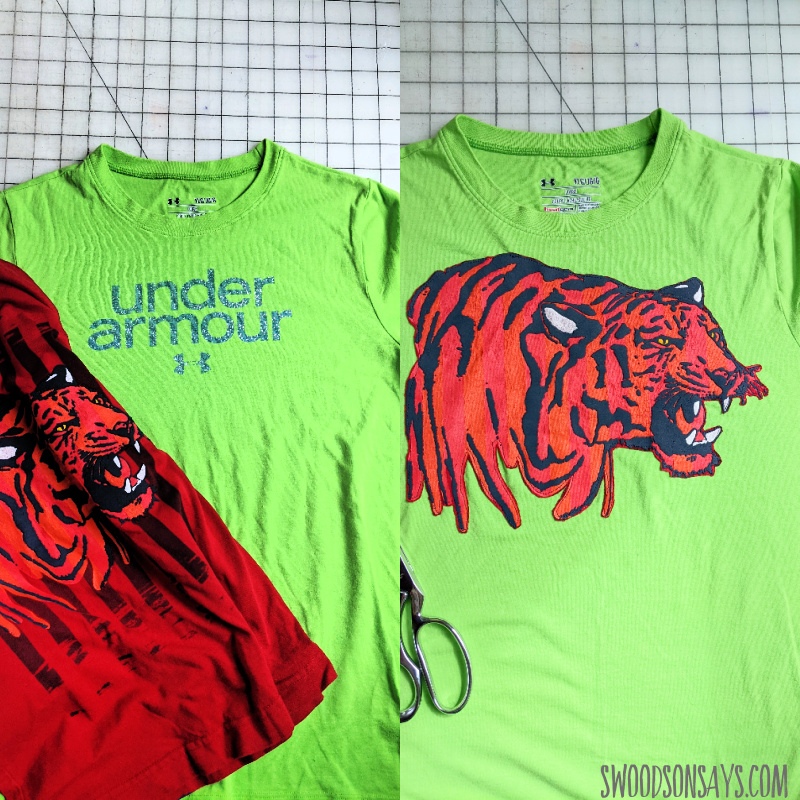
A quick and easy one, covering up some boring branding.
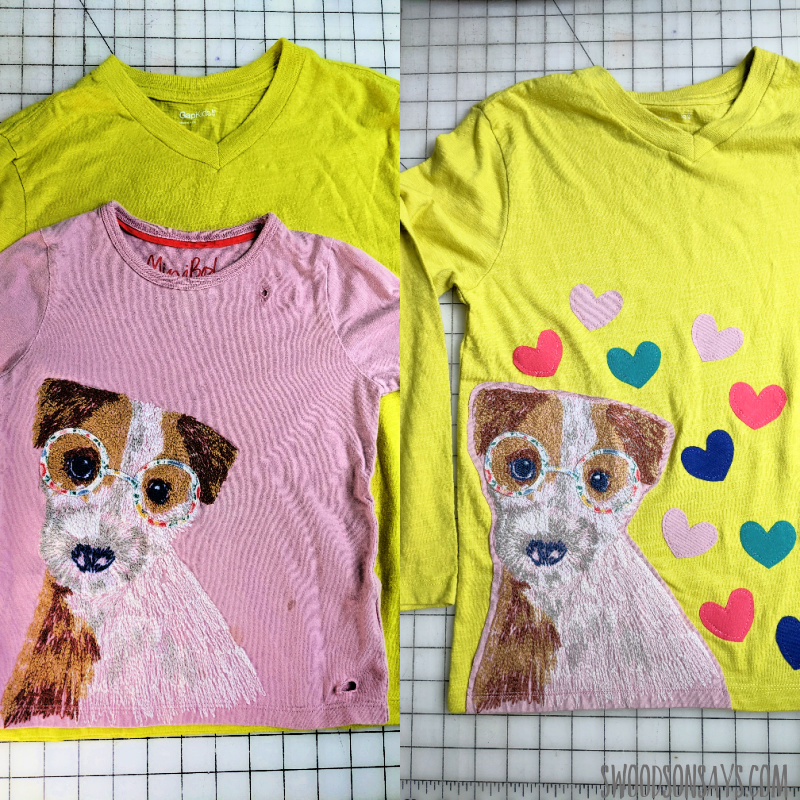
Not the best photos, but a fancy Boden applique rescue, I promise the hearts match the glasses colors better in real life.
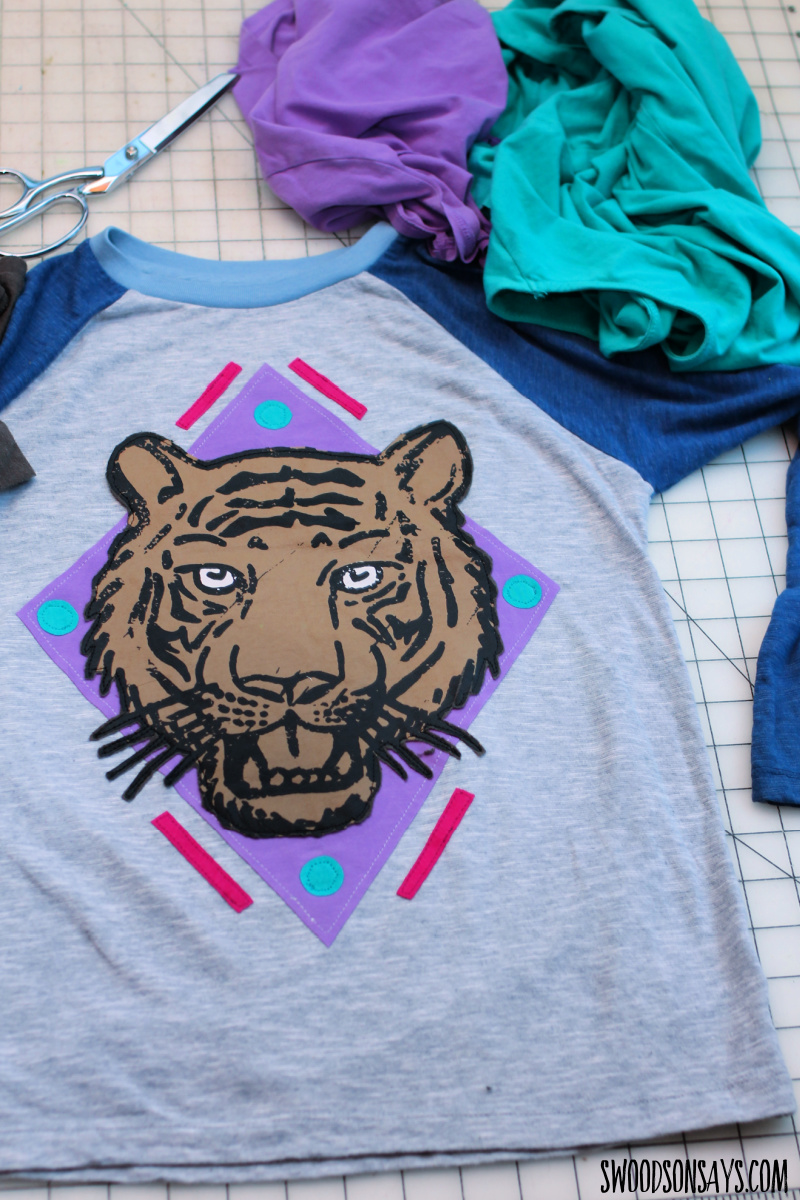
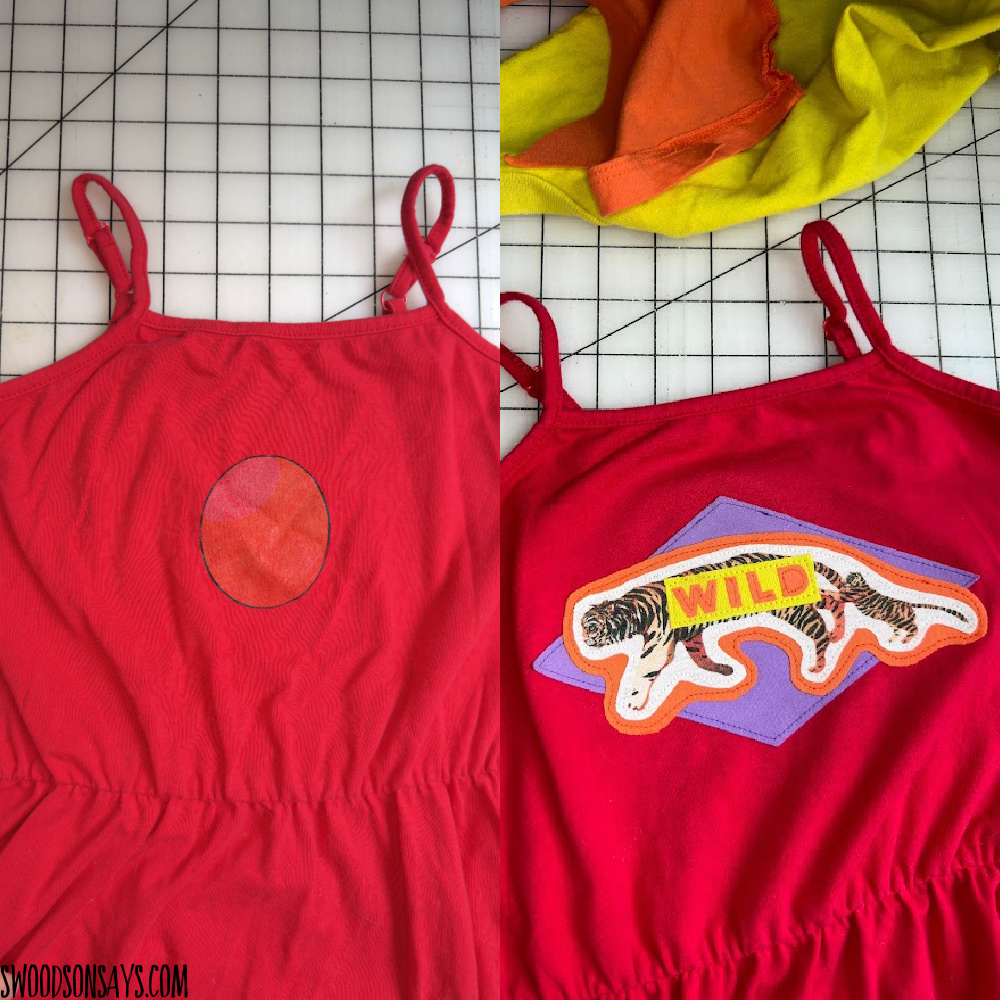
I took a long time sorting out this geometric one – the tiger came off another tshirt and then all the other bits were tshirt scraps.
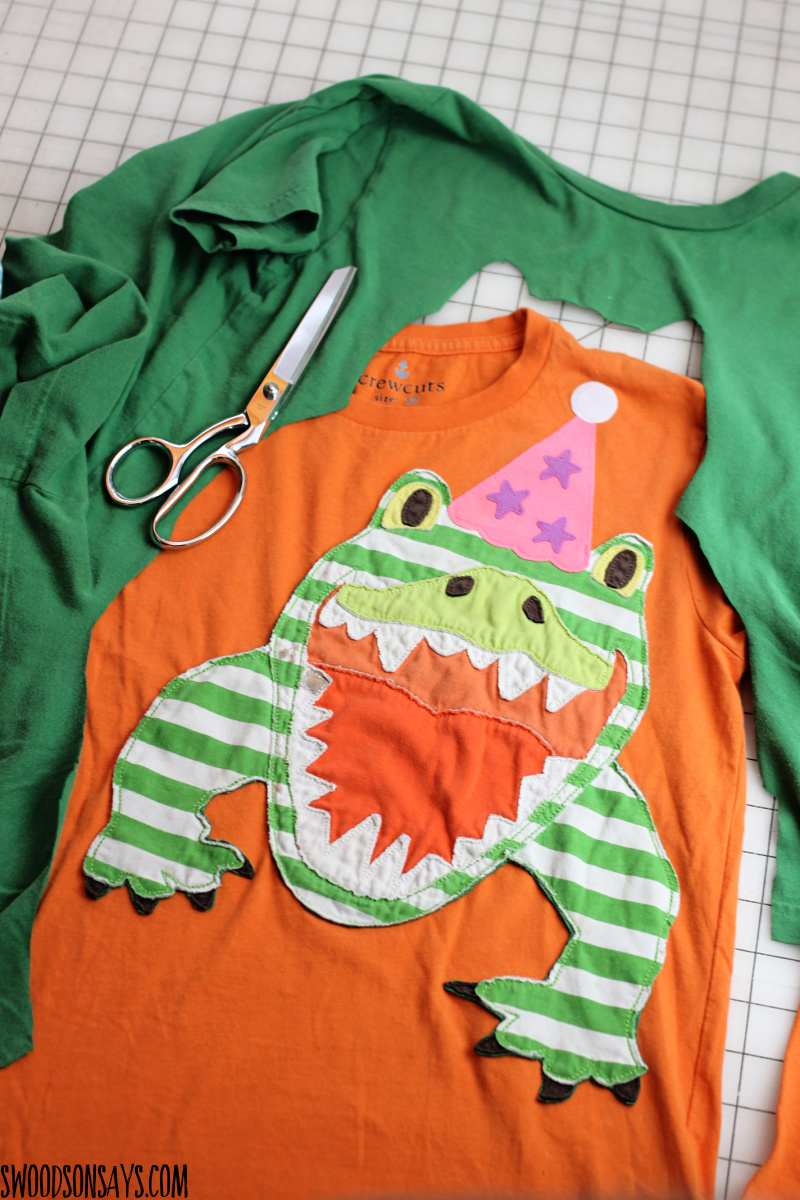
A Boden makeover! Added a fun party hat for some pizzaz.
Using a different background shape, a whole shirt makeover.
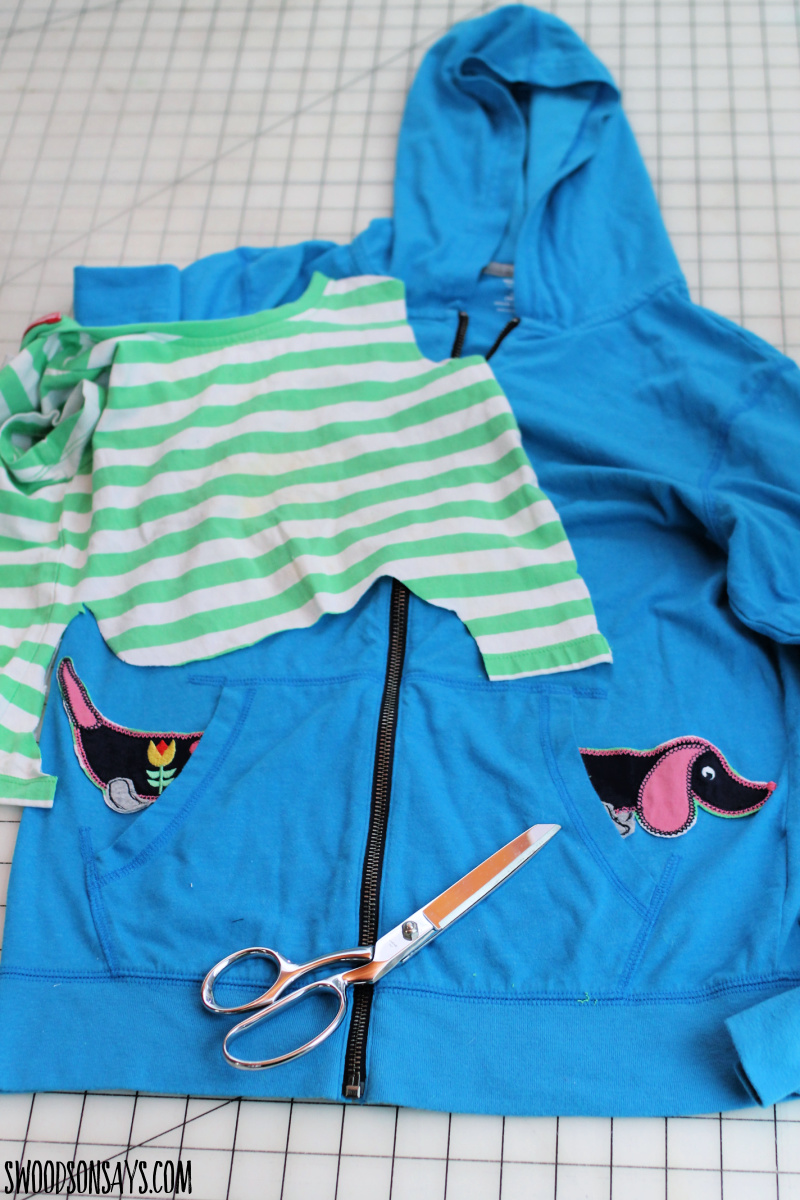
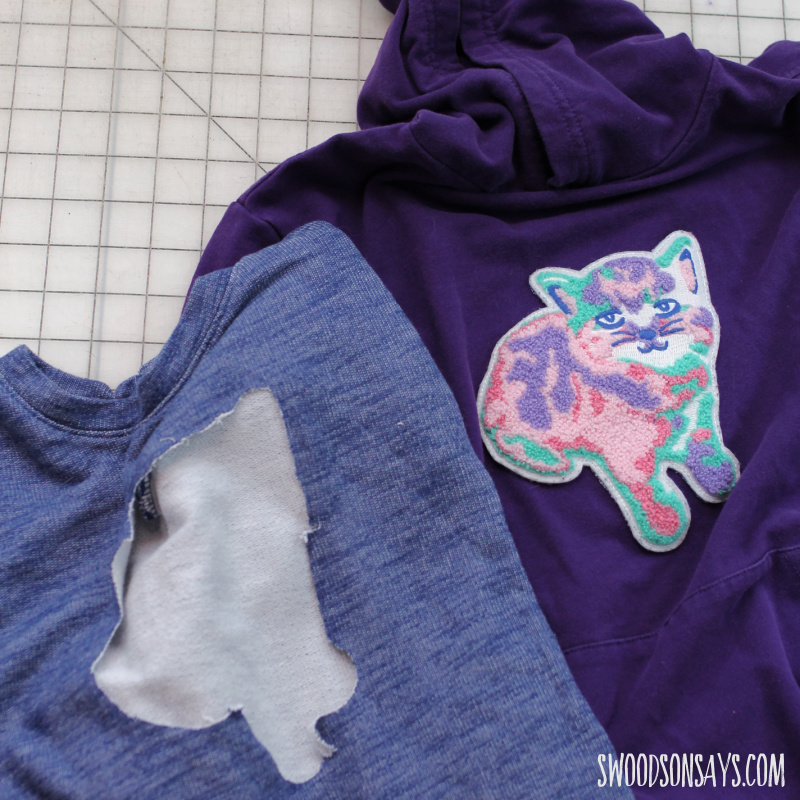
A super quick and easy refashion, chopping this little doxie applique in half to jazz up a plain sweatshirt.
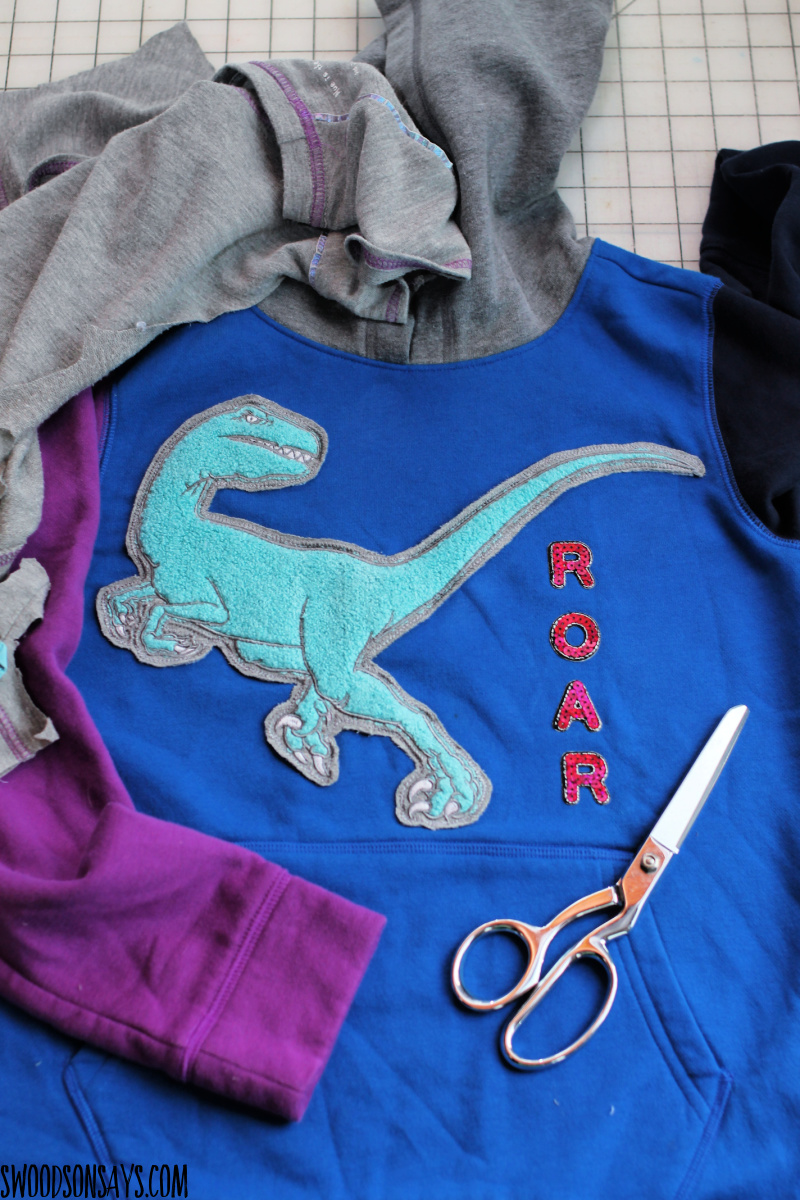
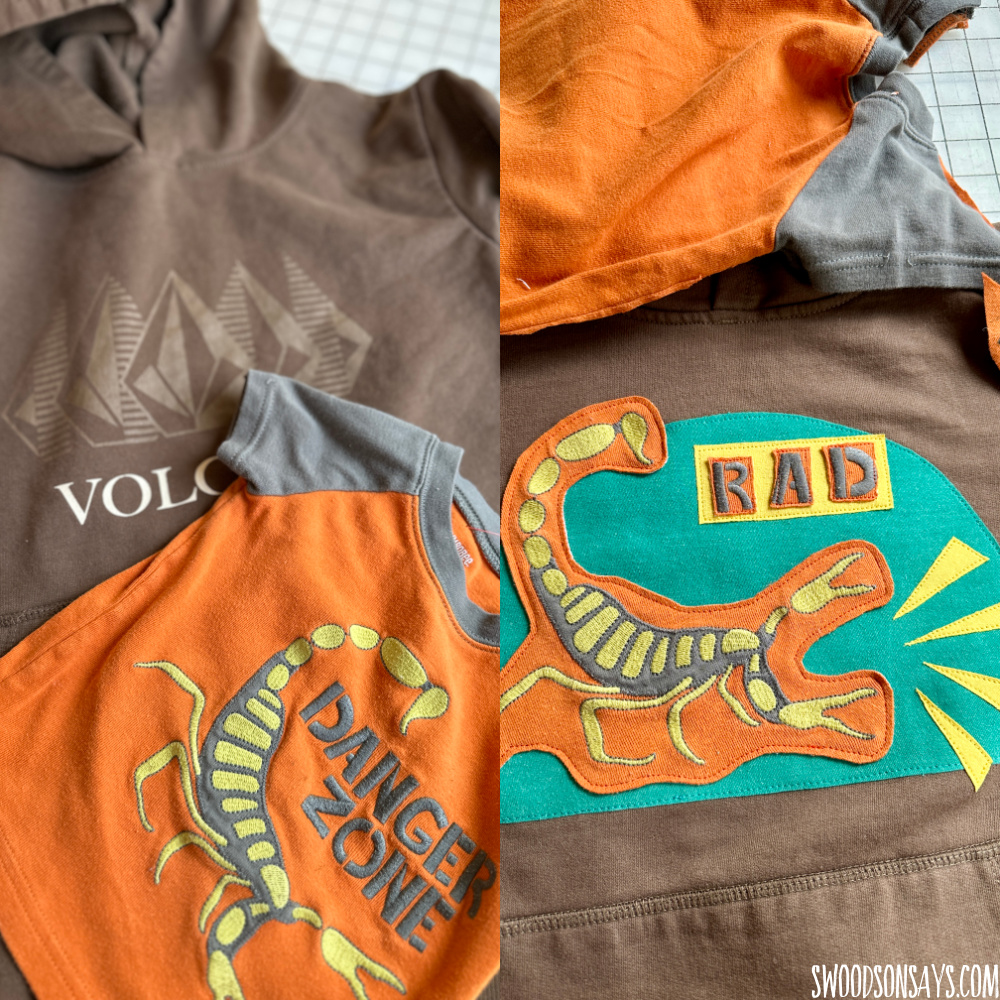
A hoodie makeover with this fun 3D patch I chopped off a shoddy old tshirt, added some cute letters.
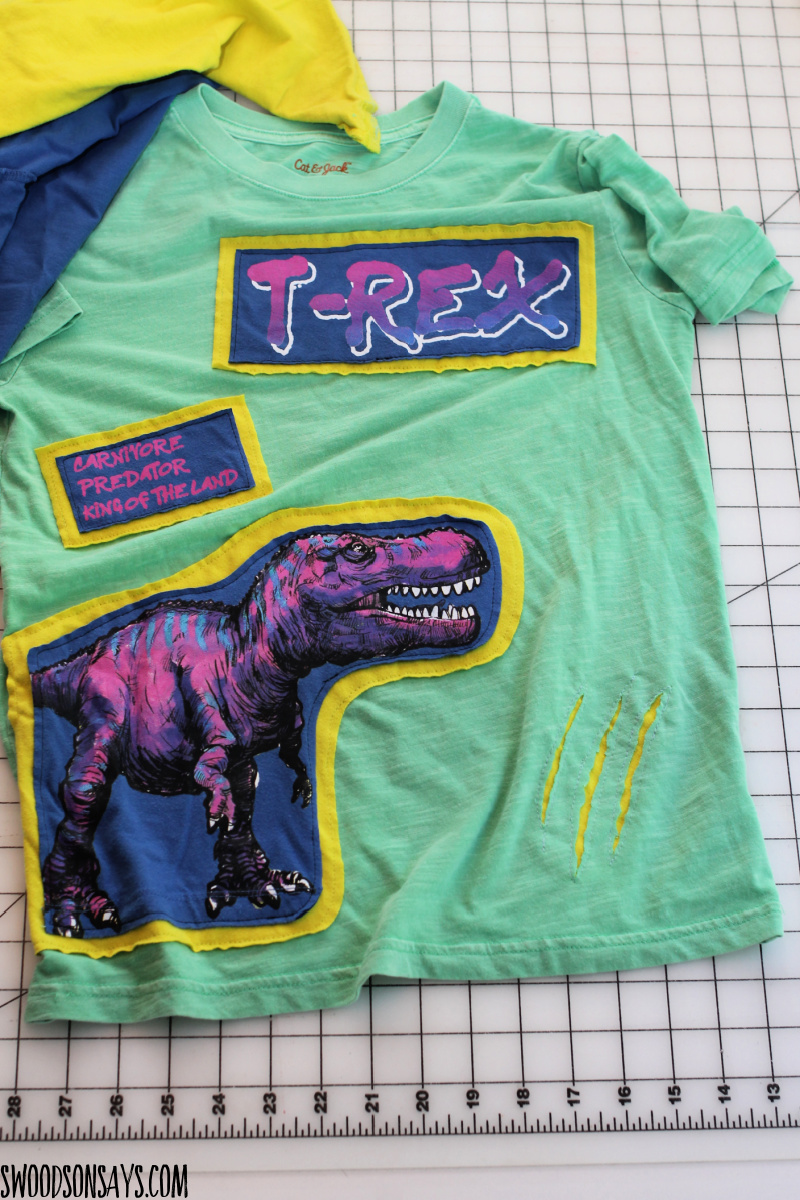
I initially was going a different direction but didn’t love it and adlibbed the ‘slash’, so happy with how it turned out!

A friend’s kiddo asked me to upsize a beloved shirt, the orange print, and this is what I came up with – hand embroidery added and a design spin!
This hoodie had a Nike logo on it until I covered it up with an old tshirt design, isn’t it colorful!
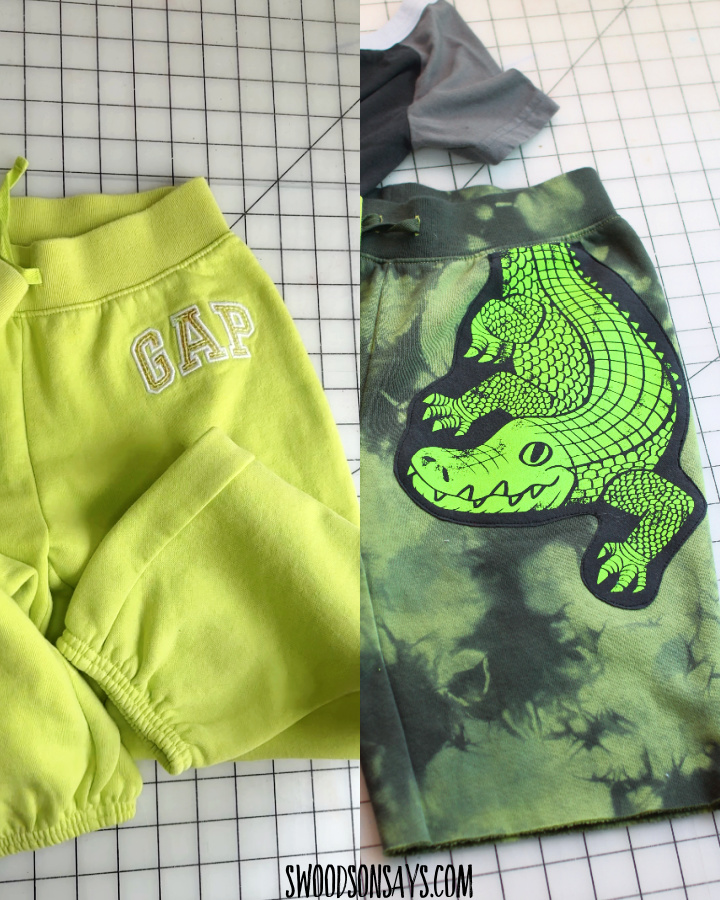
These pants were way too short and I loved the bright yellow but knew it would show stains quickly. So I tie dyed them and cut up a small tshirt to cover up the logo!
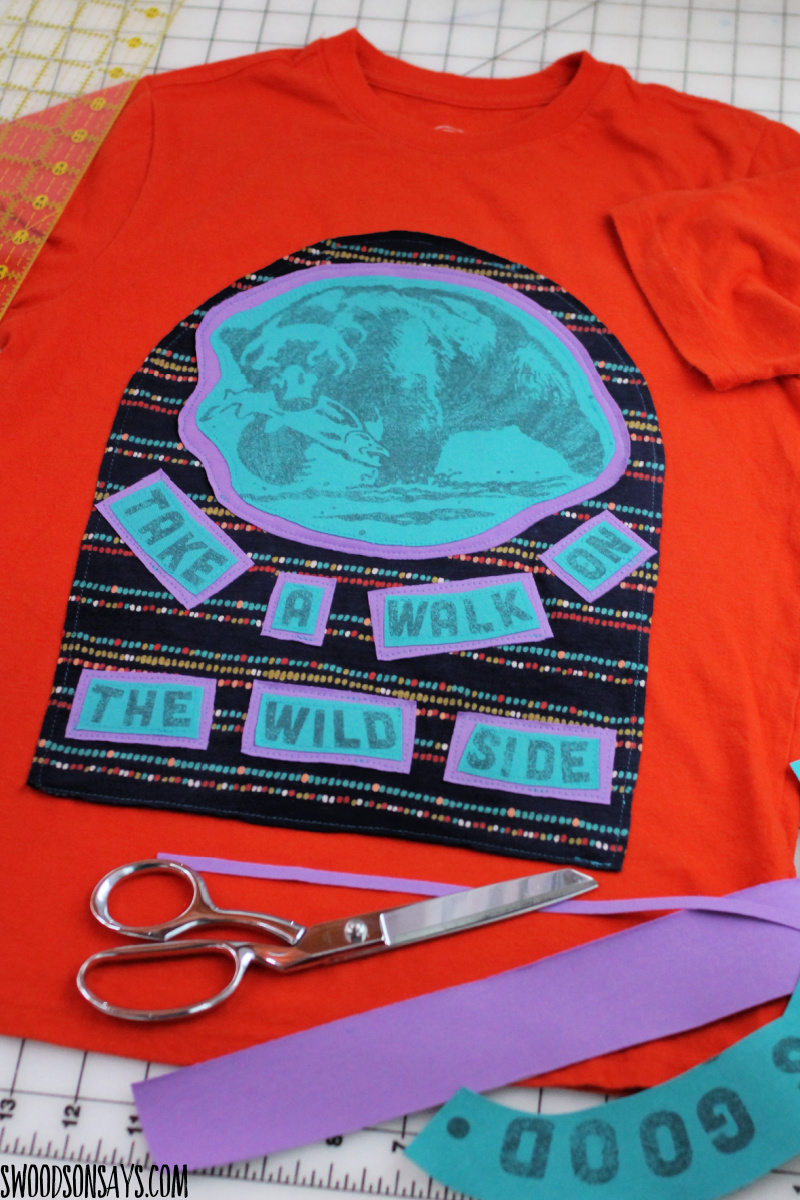
I went asymmetrical and basic shapes with this one, adding text in from a prior upcycle shown above, with the bear!
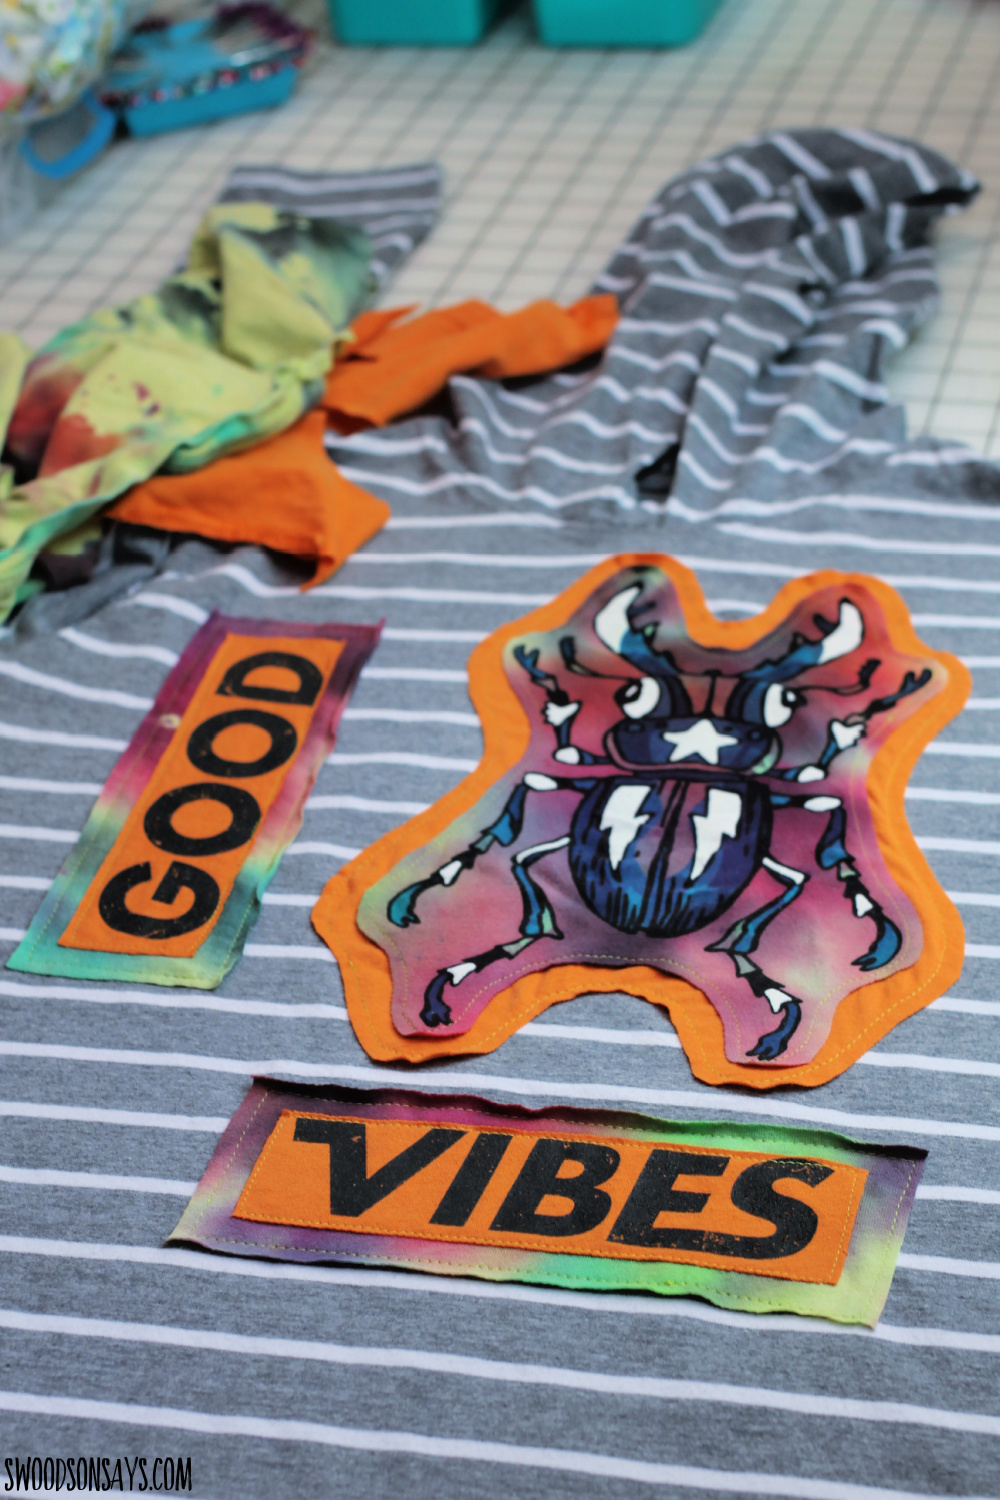
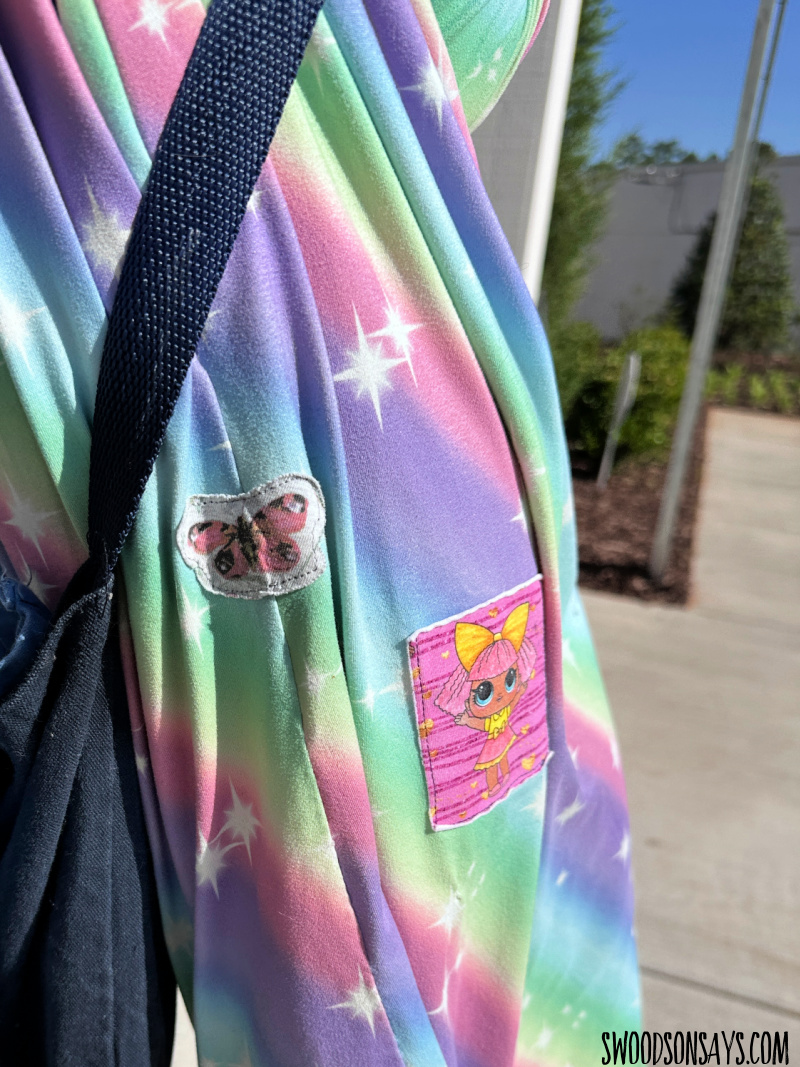
Mixing two tshirts together to make a funky, summer beetle upcycle shirt.
Covering up an old Halloween costume with a fun new design!
A super simple refashion for my husband!
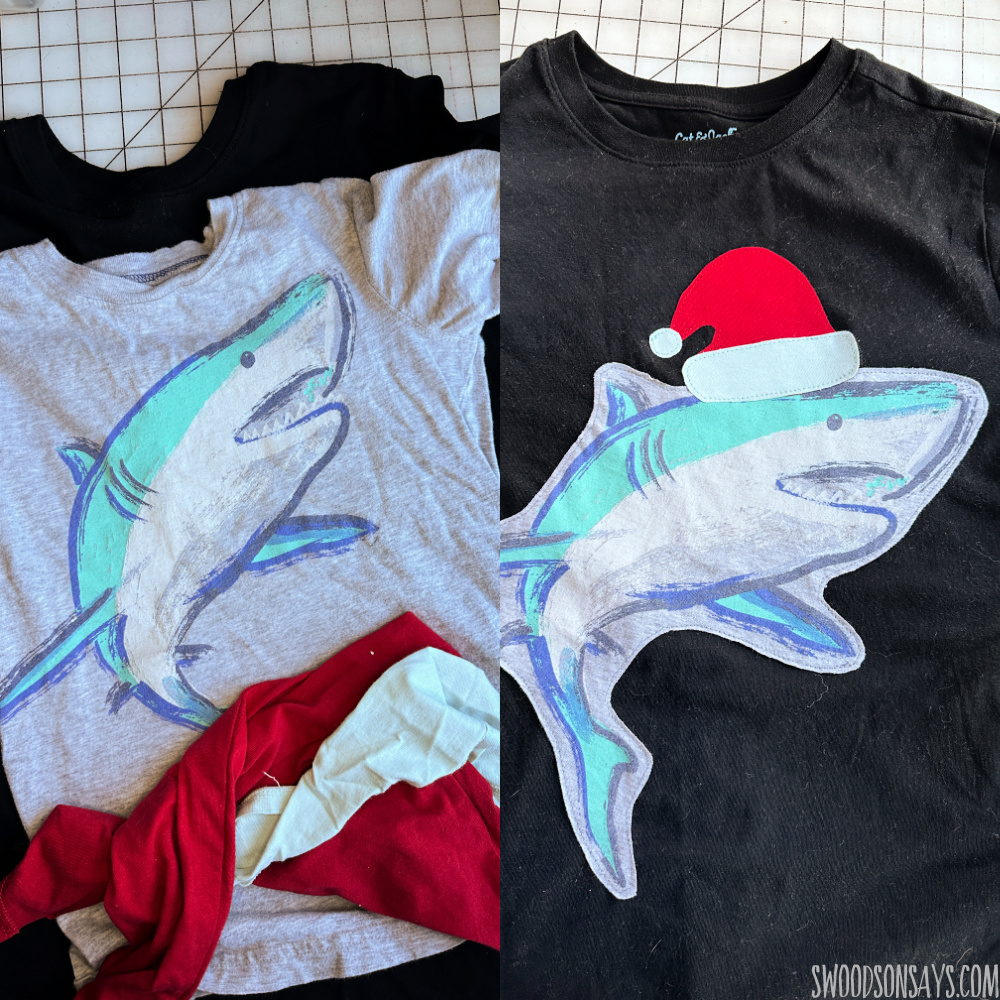
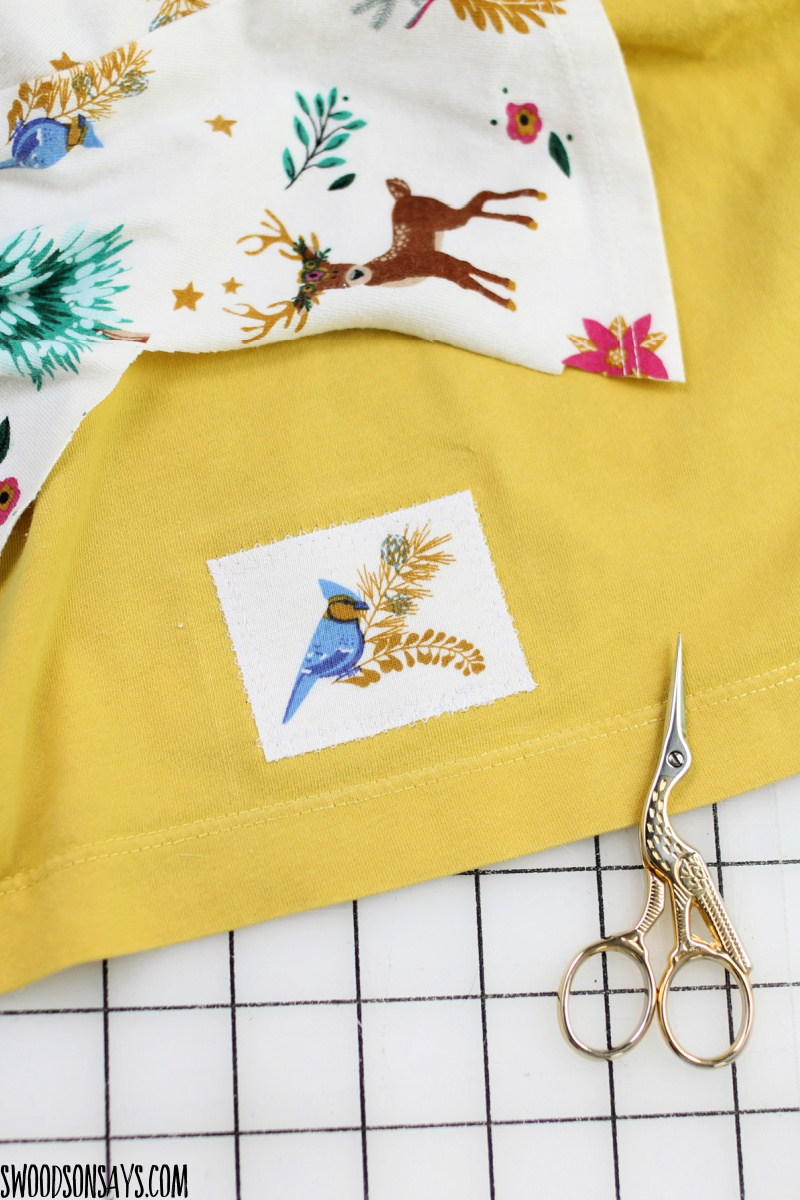
A holiday upcycle for my son!
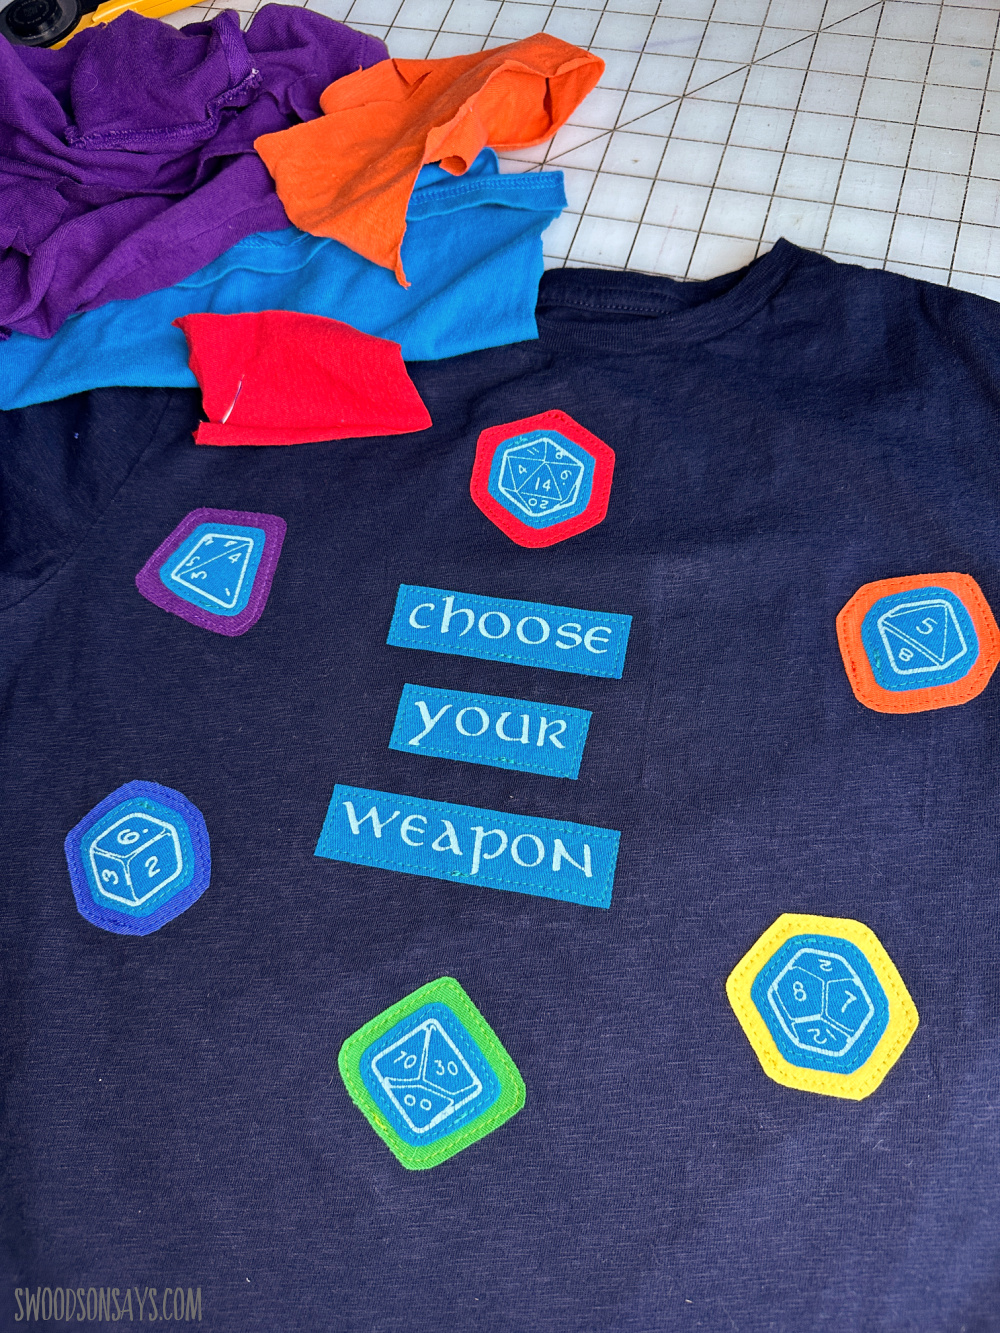
A colorful D&D refashion for my son!
A toddler shirt morphed into a big kid hoodie.
If you like this post, check these out while you’re here!
- 20+ ways to refashion clothes that are too small
- 25+ ways to repurpose old t shirts
- 15+ dinosaur sewing pattern ideas
- Five tips for thrift shopping to upcycle & refashion
- 20+ creative ways to hide stains on clothes
Pin this tutorial for how to upcycle clothes that are too small with this link or collage image:
how to upcycle clothes that are too small
Supplies
- Rotary cutter and/or sharp scissors – Shop rotary cutter: [Etsy – JOANN – Amazon]
- Ballpoint or jersey needles – Shop: [Etsy – JOANN – Amazon]
- Iron – Shop: JOANN – Amazon (this is the iron I’ve used for years happily)]
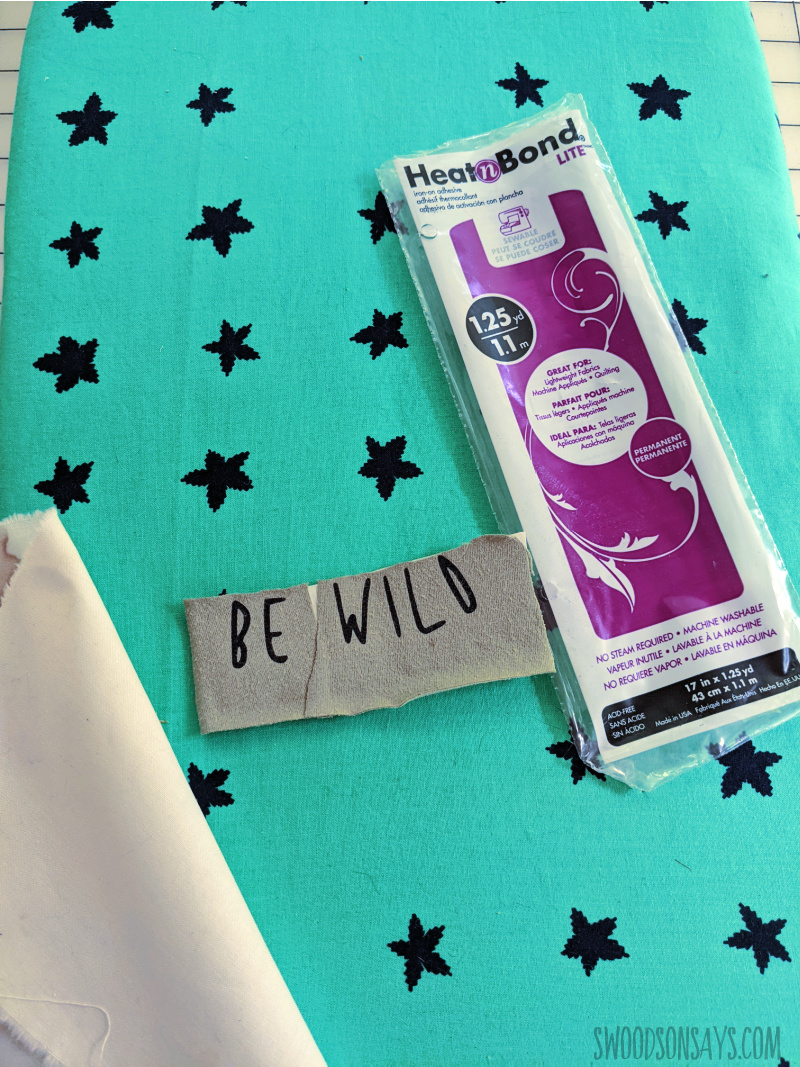
- Glue stick and/or a transfer product – I used Thermoweb Heat N Bond here
Steps
Before you get started, wanted to share a photo of patches shown on this way so you get a sense for how the edges end up curling a bit after washing & drying, even with heat n bond.
Here you can see a zig-zag along the edges if you don’t like that curl! These are small patches, but same concept applies to bigger refashions like I’m showing on this page.
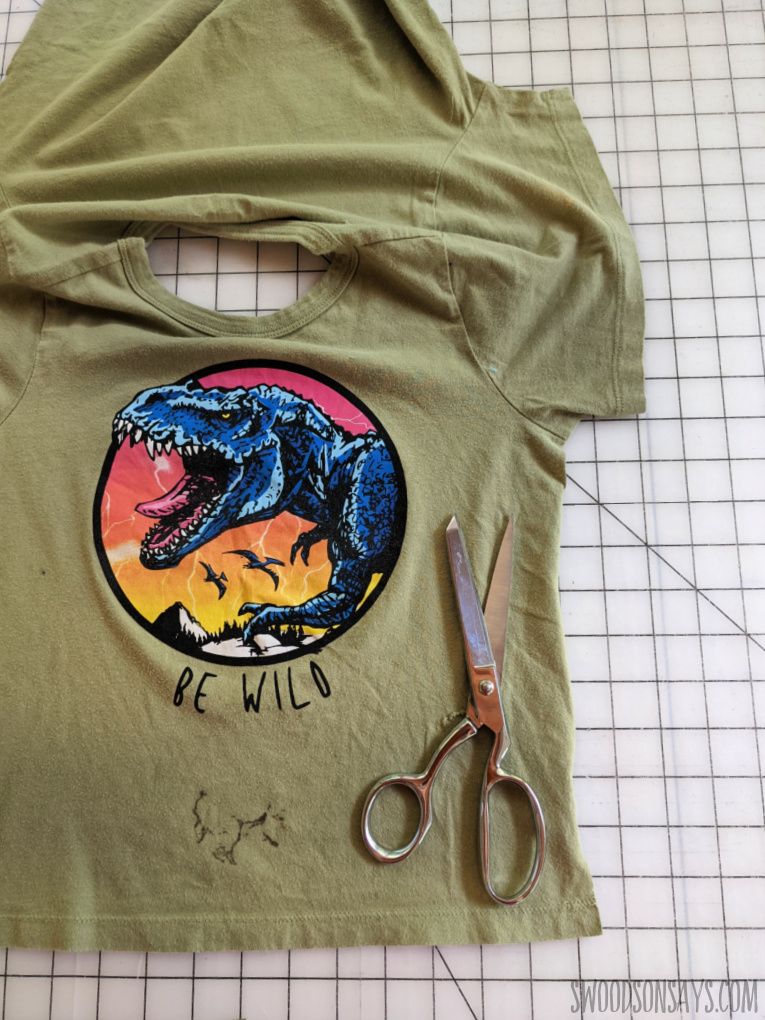
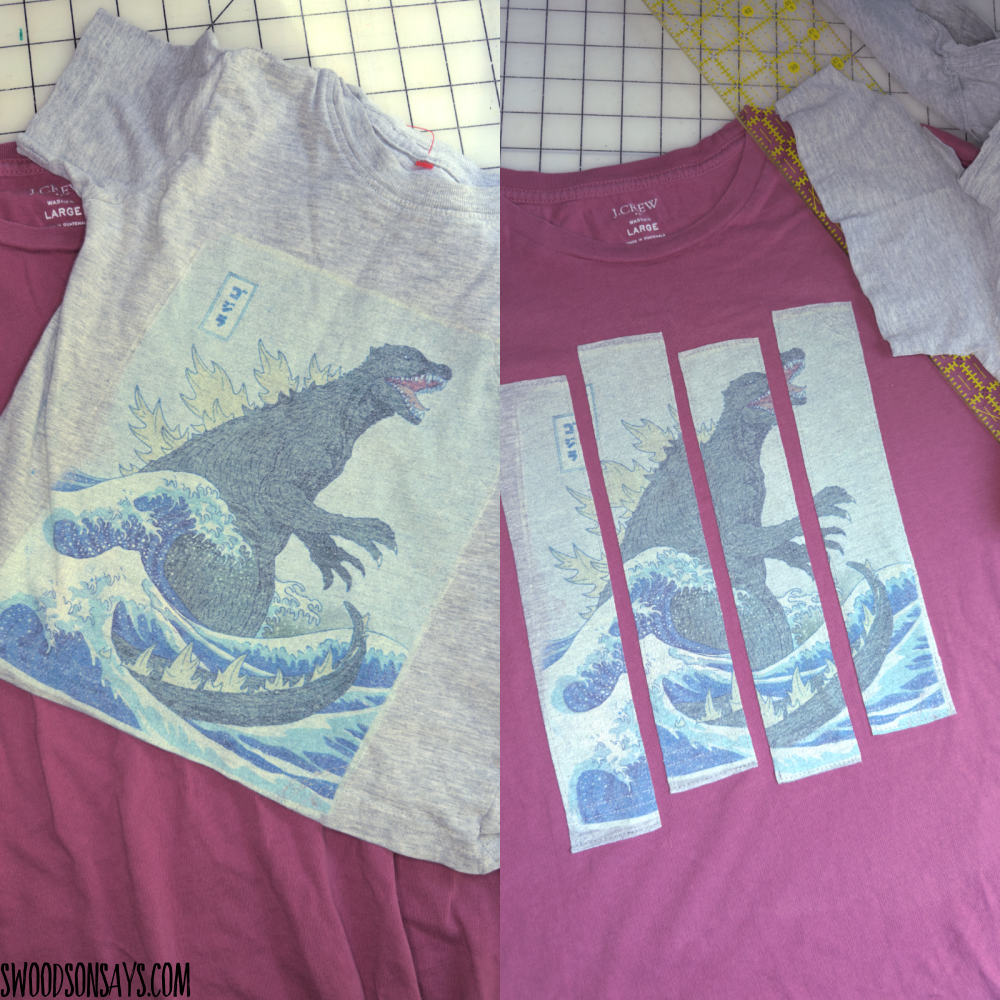
Step 1- Cut up the side seams to maximize your usable fabric! Then cut out around your design – keeping in mind you need some space to sew around it.
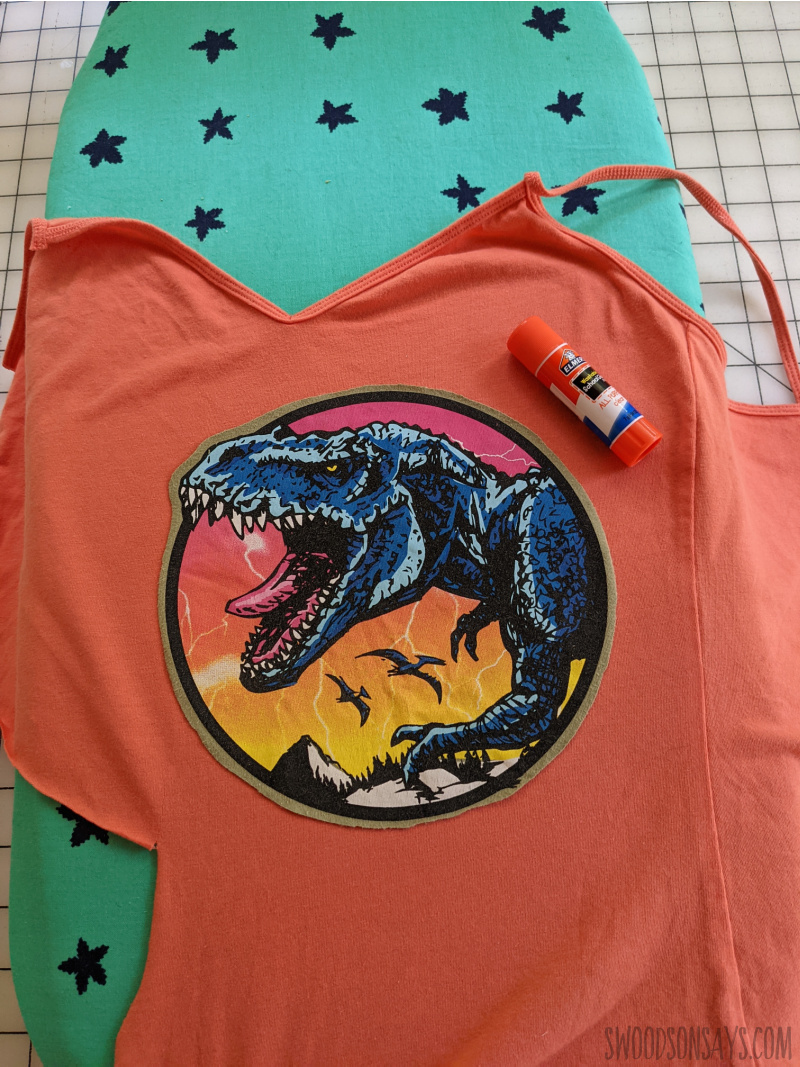
Step 2- Time to add a layer. I alternated between no Heat N Bond and using it; if you’re using multiple layers it can get a little thick but it does lay smoother and sew cleaner, so it is just personal preference. In these multi-layered appliques I used a featherweight Heat N Bond that is even thinner than Lite. If you’re not using Heat N Bond, a glue stick or pins will help keep it in place. If you’ve never used Heat N Bond or appliqued, check out this post for even more details and photos – how to machine applique for beginners.
I definitely recommend using it for any small pieces, it keeps the edges from rolling up.
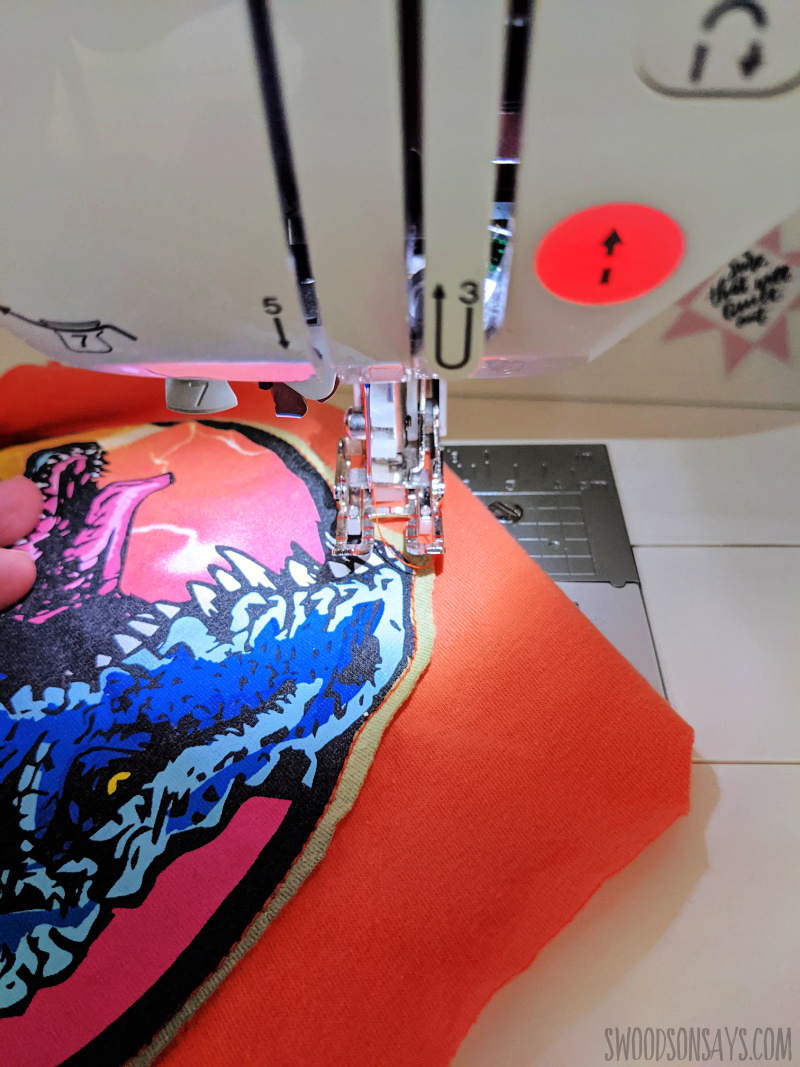
Step 3- Time to sew! Make sure you’re using ballpoint needles; I have a walking foot here but it isn’t necessary unless you’re using bulky knits. I’d recommend doing some trial/test stitches on scraps before getting started in case you need to adjust stitch length or tension.
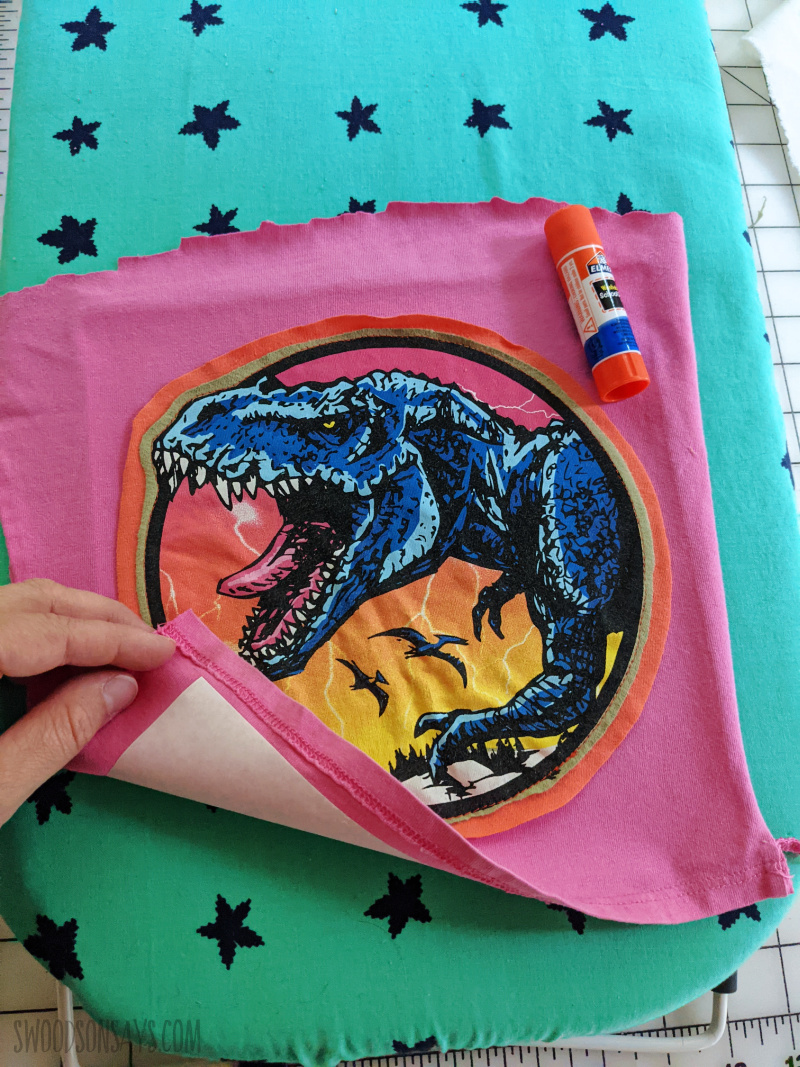
Step 4- Keep layering as you go! You can see the difference in smoothness in the final picture of where I used a glue stick vs the Heat N Bond.
Step 5- Finish sewing, give it all a nice press, and you’re done!
Let me know if you have any questions, I will keep doing these as we get into my kids’ summer wardrobes and update this post with more examples!
Lisa Siegel
Wednesday 30th of October 2024
Fab I’ve just started my up cycle journey and you are an inspiration thanks for sharing! What machine do you use I think I need an upgrade 😉
Stephanie - Swoodson Says
Friday 22nd of November 2024
Lisa, sorry it took me a while to get back to you - I live in Asheville and have been dealing with the hurricane! I use a mid-level Brother machine and love it - thanks for reading!!
Essie
Sunday 4th of February 2024
Might be a while before I’m able to successfully pull this off but I am so impressed by your creativity. I loved just looking at the designs. You have a true talent!
Stephanie - Swoodson Says
Monday 25th of March 2024
Essie, that is so super sweet of you to say!! I hope you get a chance to try it yourself :)
Alexandra
Friday 3rd of March 2023
So many great ideas!
Connie
Saturday 25th of February 2023
Love these tips and very creative ideas—thanks so much!
Tanaquil LeMaster
Tuesday 9th of November 2021
Great ideas! I never thought of a glue stick to use. Thanks for the tips.
Stephanie - Swoodson Says
Tuesday 9th of November 2021
Yay! Happy to hear it, hope you get a chance to try it :)