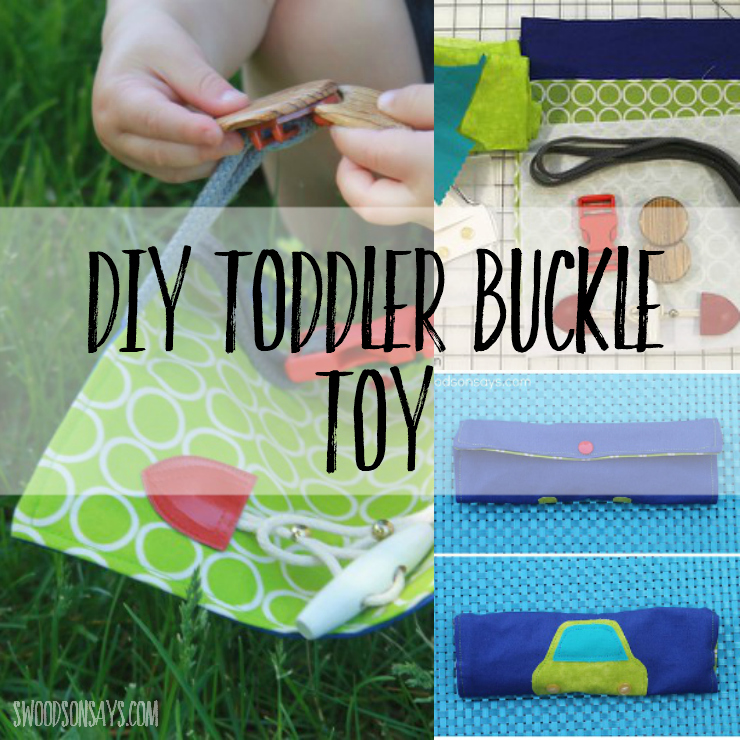
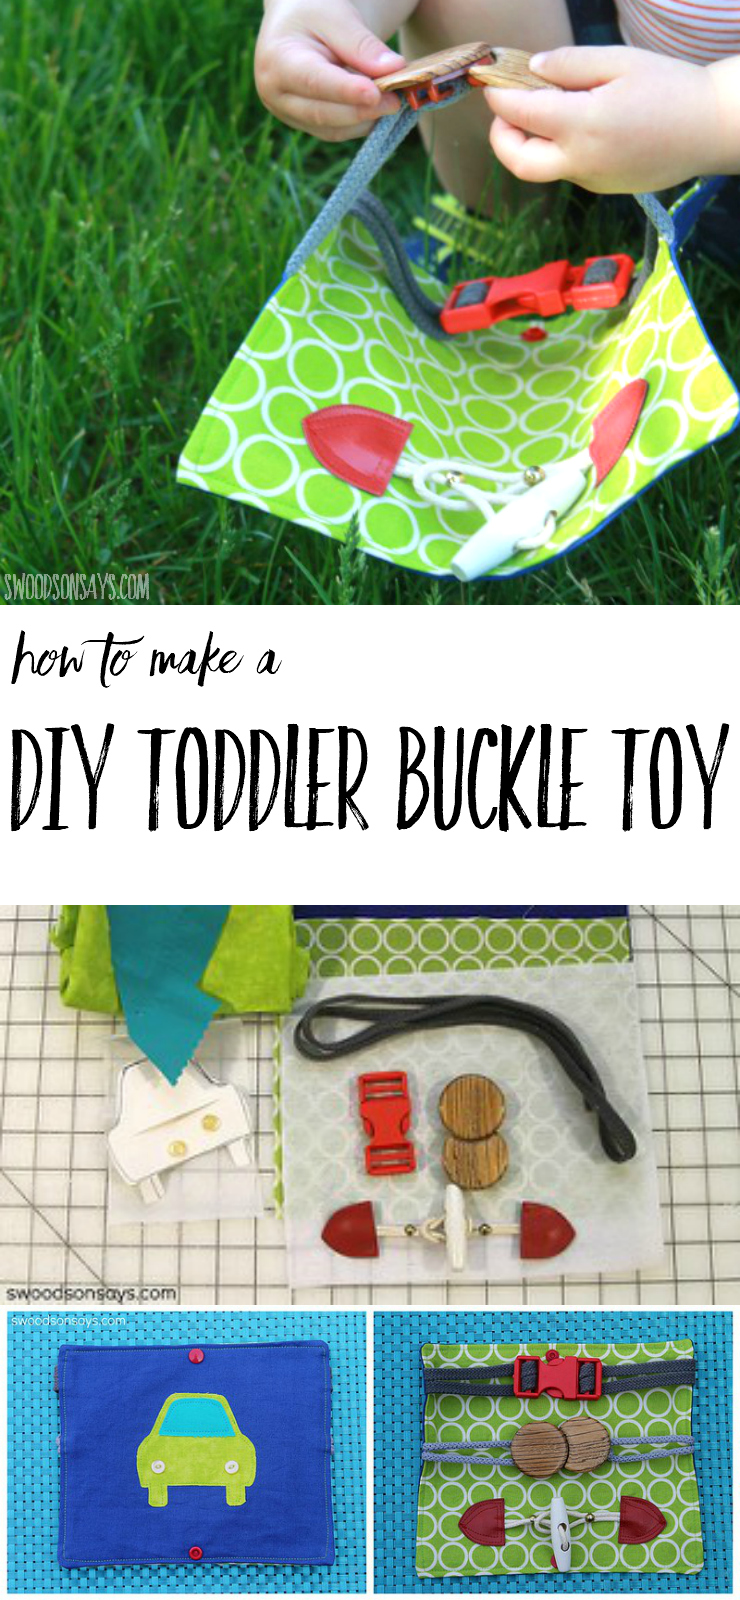
A DIY toddler buckle toy is super fast to make and keeps little hands busy in the carseat. I have been brainstorming lots of handmade toys lately! My son is 17 months old and not grooving on “baby toys” like rattles that were easy to keep in the car, but he is still too young to enjoy coloring or drawing. He loves to look at books, which is fantastic, but I like having a few options to rotate on the go.
Last night he had his first bout of stomach flu and we were up all night, so I scrapped my elaborate scrapbusting project this morning. I had this cut, sewn, and photographed within an hour! Super fast, cheap, and it was a hit with my son.
{This post contains affiliate links, indicated by an asterisk*. Please refer to ‘legal stuff’ in the top menu for more info.}
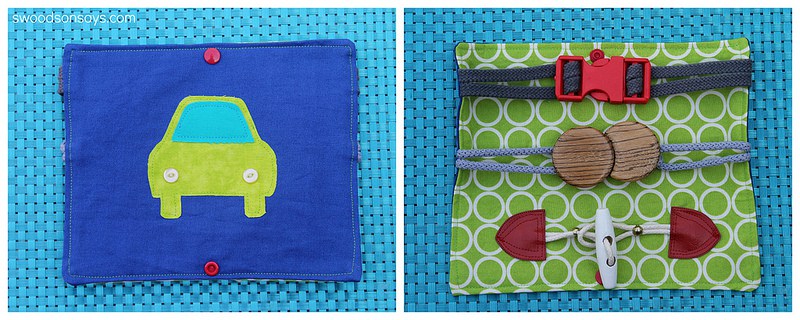
You might recognize the green scrap from my very first project post and the bright blue is a twill that I used for my son’s Study Hall Jacket. I love being reminded of past projects when I use up scraps!
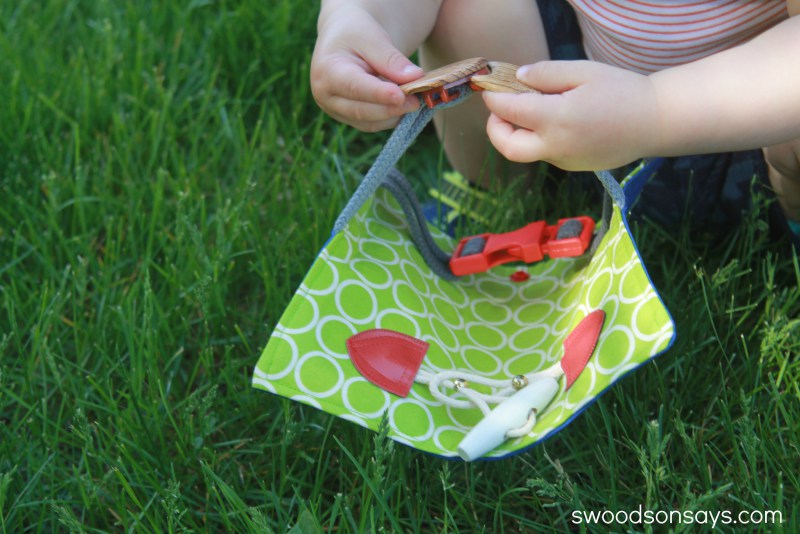
I was a little nervous that he was going to totally ignore it; he didn’t feel that well and rarely stops for long enough to blink, let alone play with a toy, while he is outside. The temptation of a buckle was too much to resist though, and he immediately started clicking away.

But then he remembered about his “hidey-hole” underneath the bush and ran off – taking his buckle book with him!
Want to make a DIY toddler buckle toy of your own? Here’s how!
How to make a toddler buckle toy
Supplies:
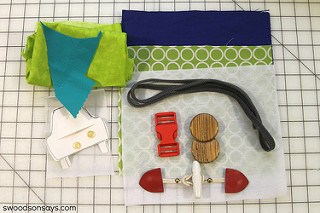
-3 random buckles, there are several on Amazon* or you could upcycle from old clothes and purses
-At least 3.5 feet of cording, lacing, ribbon, or webbing
-Fabric scraps for the car applique
-2 buttons for the car applique headlights (as always, use your discretion! If your little one is a biter/puller/gnawer, embroider some circles on instead of using buttons, they can be a safety hazard for mouthy little people)
–Wonder-Under* scrap for the applique (optional – this is a fusible transfer product, you could just trace, pin, sew)
-2 rectangular scraps of woven fabric- 9.5″ long by 8″ tall
-2 rectangles of medium-weight interfacing-9.5″ long by 8″ tall(optional, depending on fabric weight)
–2 KAM Snap Sets & applying tools* (optional, not pictured)
–Car Applique Outline
-Iron
-Scissors
-Pen
Steps:
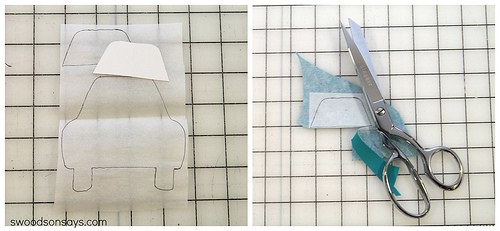
1. Trace the car & windshield shapes on to the Wonder Under on the smooth side. Iron on to the wrong side of the fabric scraps, trim.
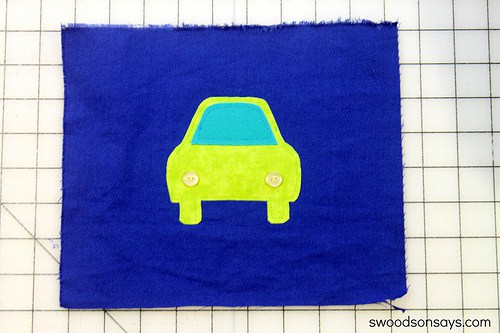
2. Peel the paper backing off, position, and iron on to the main front toy piece. Sew 1/8-1/4″ away from the edge around the shape, both on the windshield and the car. Hand or machine sew the buttons on – they line up over the tires.
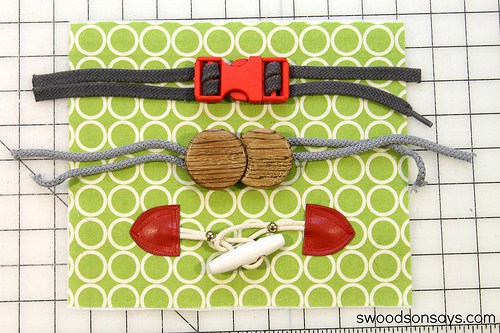
3. Iron on the interfacing to the body pieces, if desired. Loop cord/ribbon through the buckle ends and lay out. Make sure to leave a small amount of slack so the buckle can be manipulated – completely taut and it will be tough for your toddler to play with it!

4. Stitch each side of the buckles to the fabric, keeping about 1/4″ inside in an X-ed out box for security. Don’t forget lots of back-stitching for security. Trim extra cord off the edges.
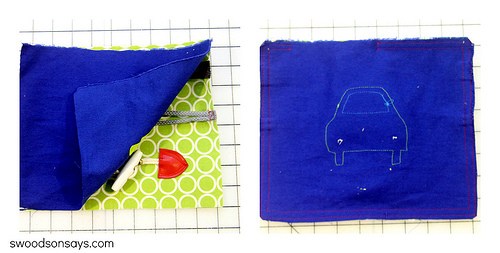
5. Put both right sides together and make sure the buckles are tucked into the middle so you don’t accidentally sew over them and break a needle. Sew two row of stitching around the edges, leaving a 4″ opening to flip it inside out. The first row is at a 3/8″ seam allowance, and then another one at 1/2″ for extra secure seams.
6. Turn right side out and gently poke the corners out. Iron the opening smooth and topstitch 1/4″ around the edges, making sure to catch all 4 layers of the tucked in opening.
7. Optional – After sewing it all up, I decided it would bug me if the buckles were flopping around. I inserted two KAM snaps so it could roll shut vertically – any metal or plastic snap would work just fine!
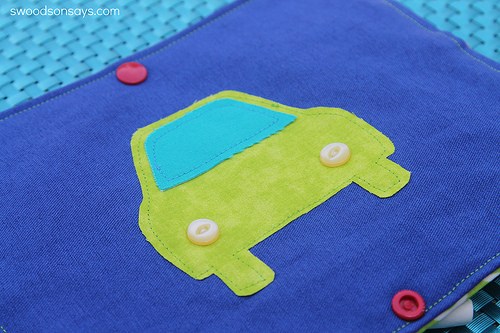
You’re done! A quick, easy, scrapbusting toy for the toddler in your life.

Rebecca
Wednesday 7th of July 2021
Great idea! How about a zipper? What kind would work? My adorable great- niece is getting into that stage.
Stephanie - Swoodson Says
Sunday 18th of July 2021
Sure that would work well! I have a separate zipper one here, you could just blend the two :) https://swoodsonsays.com/how-to-make-a-zipper-toy-for-toddlers/
Joanne
Friday 28th of December 2018
I know it’s been a long time since you posted this, but thank you for the tutorial! I made this as a first sewing project for my son and I’m so happy with how it turned out!
Kate
Sunday 6th of September 2015
This is super cute! I was thinking that I could make another panel in the same size, with another activity(zippers?) and put the same snaps on, so they could connect to each other, but still roll up. Kind of like a deconstructed activity book. Then you could slowly add (and subtract) pages/activities without all the commitment of an actual book.
Stephanie - Swoodson Says
Monday 7th of September 2015
Kate, you have literally read my mind. I had something exactly like that sketched out, with the flip side spelling out the letters of his name so it could be a puzzle on the other side! But, it never happened. Or not yet, anyways. So many ideas, so little time. I'd love to see it if you make it :)
Jo-Ann
Tuesday 28th of July 2015
My DIL was just saying that my 11 month grandson loves buckles. I said I could make him something. And look what I just found. Now I know how to make it. Thank you.
Stephanie - Swoodson Says
Tuesday 28th of July 2015
Hi Jo-Ann! That makes me so happy. My son really liked this, and hopefully my daughter will too when she's older. If you make one, I'd love to see it!
Havalah
Wednesday 2nd of July 2014
Oh I love this. My little boy would love this.
Stephanie - Swoodson Says
Wednesday 2nd of July 2014
Thanks Havalah! It was so easy and quick, you should try it :)