My kid LOVES to carry stuff around. I can only guess how many times he has hurt himself because he had a golfball in each hand and refused to let go of one in order to brace his fall. I promised a few weeks ago that I’d share the free camera applique pattern this month, and I thought a toddler sized tote bag would be a perfect match!
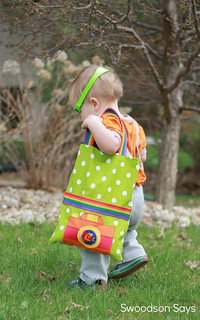
How cute is he! I am biased, clearly, but I love seeing him drag his new bag around. The front panel is a velcro pocket for storing smaller things like Easter eggs, legos, etc. I wanted the straps to be short enough that he could throw it over his shoulder; we have a toddler-sized backpack but he doesn’t have the coordination yet to take it on and off himself.
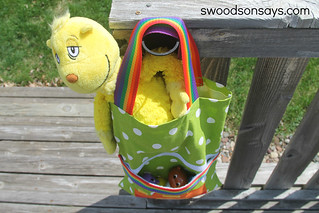
Here you can see the pocket with a few toys peeking out. Velcro is easiest for him to open and shut himself, but you could easily use other closures.
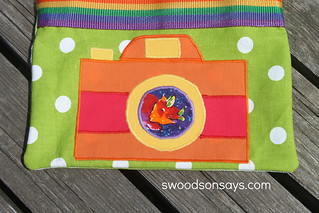
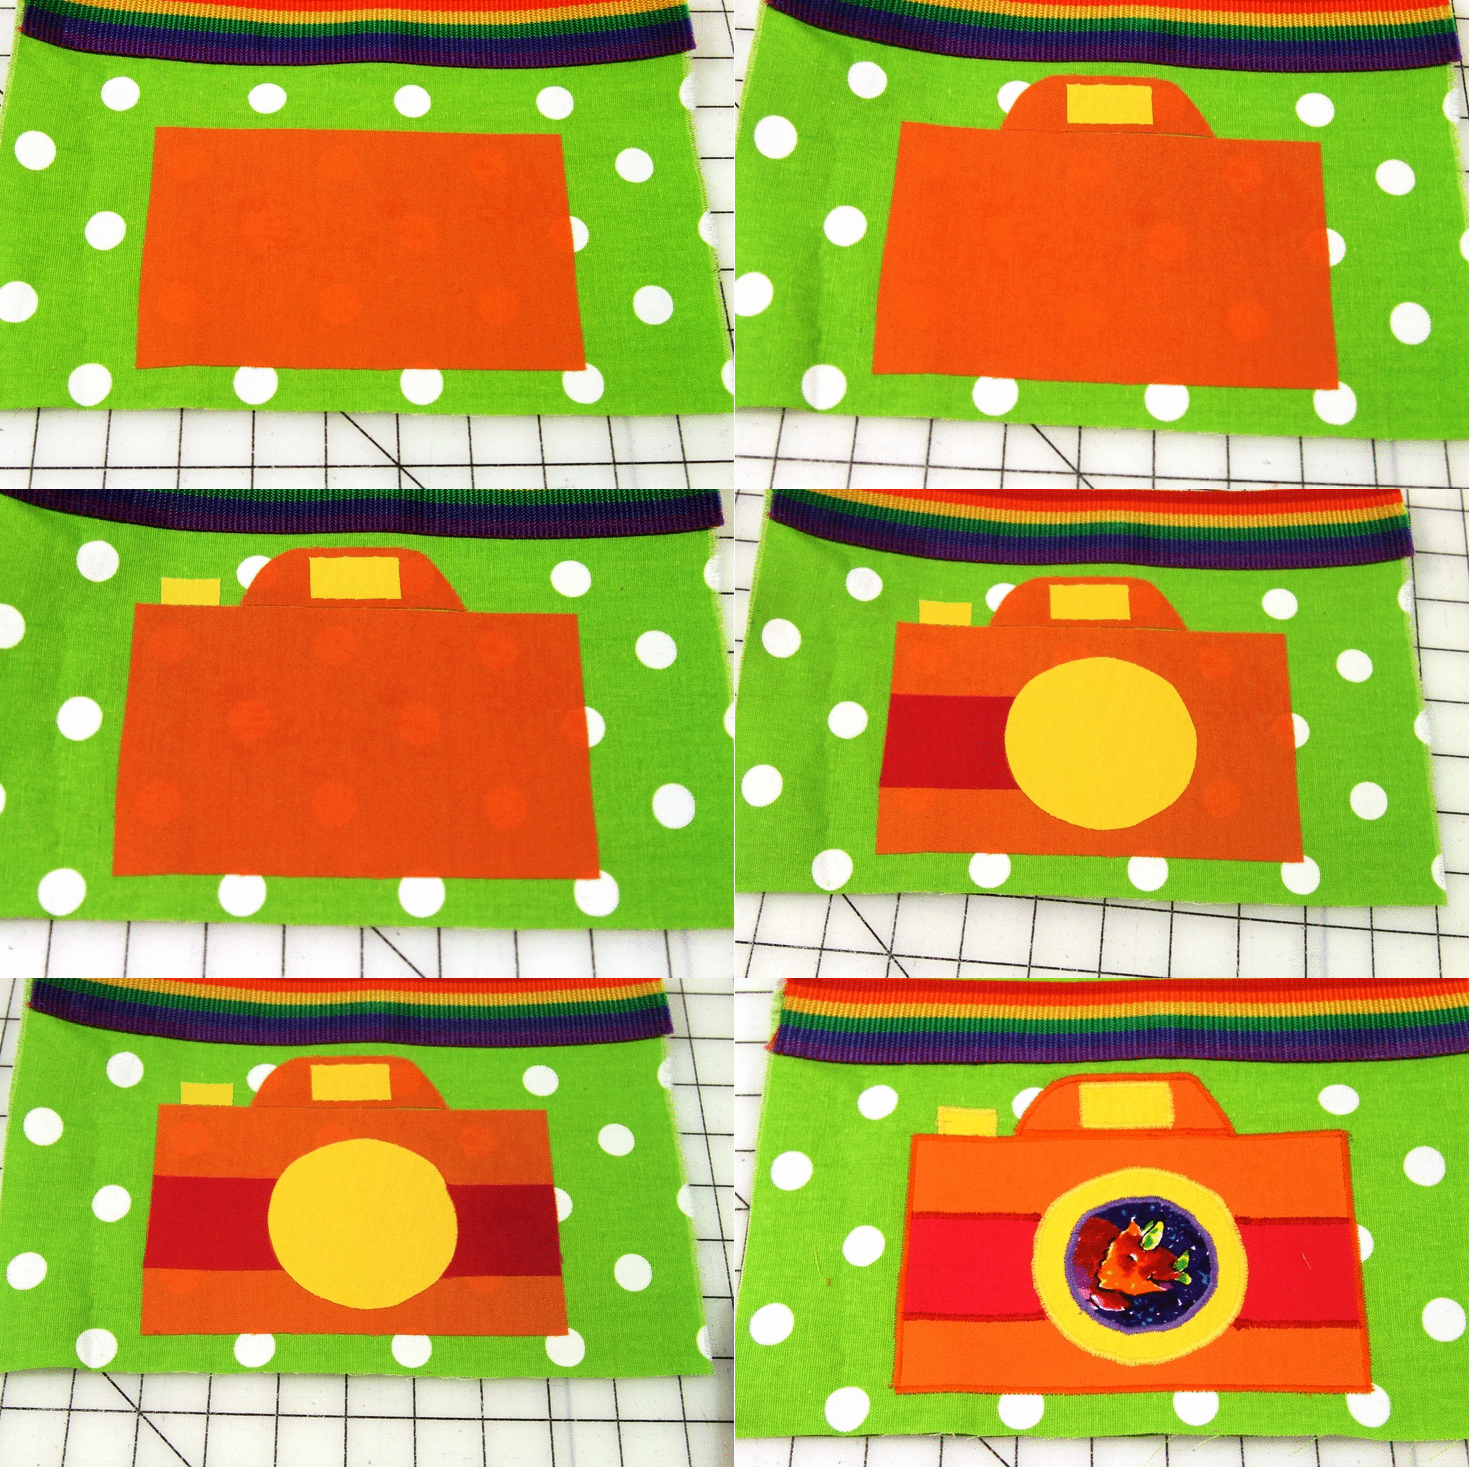
Here’s a closeup of the camera applique!
Want to make one for a toddler in your life?
Toddler Tote Tutorial
Supplies:
- 2 rectangles of fabric (preferably home decorator weight) 11″w X 15″
- 1 rectangle of fabric for the front pocket 11″w X 7.5″
- Assorted scraps for applique
- 11″X 11″ square of Wonder-Under* or similar product
- 11″ long piece of Velcro
- 11″ long piece of decorative trim
- 2 15″ long webbing pieces for handles
- Printed copy of Free Camera Applique Template – Swoodson Says
- Pen or marker
- Fray Check * or a lighter
Steps:
1. Layer Wonder-Under* over the template and trace. Use Fray Check * or a lighter to seal the ends of all webbing pieces.
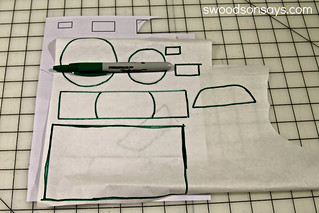
2. Roughly cut around each shape and then iron on to desired fabrics
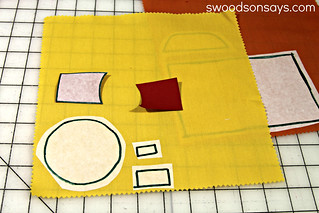
3. Cut each piece out carefully along the traced edges
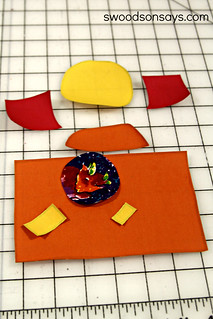
4. Finish one long edge of the pocket rectangle (I serged it). Sew velcro on to the wrong side of the fabric, along the newly finished edge.
5. Mark placement so it aligns and sew the second strip of velcro on to the main tote panel.
6. Sew the trim over the velcro on the pocket piece.
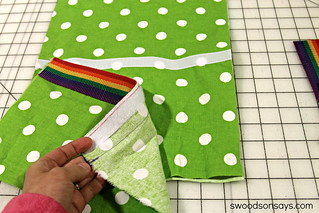
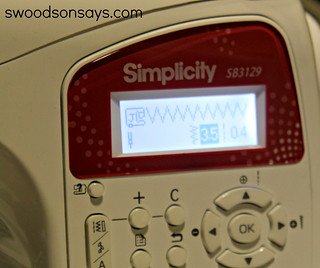
7. Iron on the applique piece by piece, and then stitch around edges to secure. The stitch I used is shown below!
8. Finish the top of the tote edge on both body pieces. I left the selvedge edge and turned it down and top stitched.
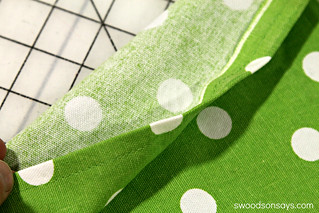
9.Mark placement and sew the handles on with a diagonal box (surely there is a more technical term for this?) for added security.
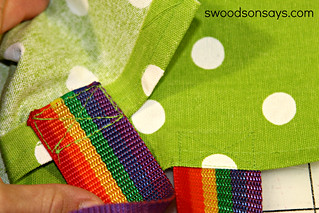
10. Velcro on and smooth out the pocket, put both tote body pieces RST (right sides together) and sew around all 3 edges, leaving the top open. Finish seam allowances (mine are all serged).
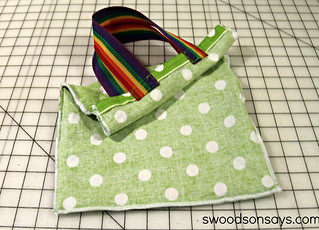
Turn it inside out and you’re ready to go!

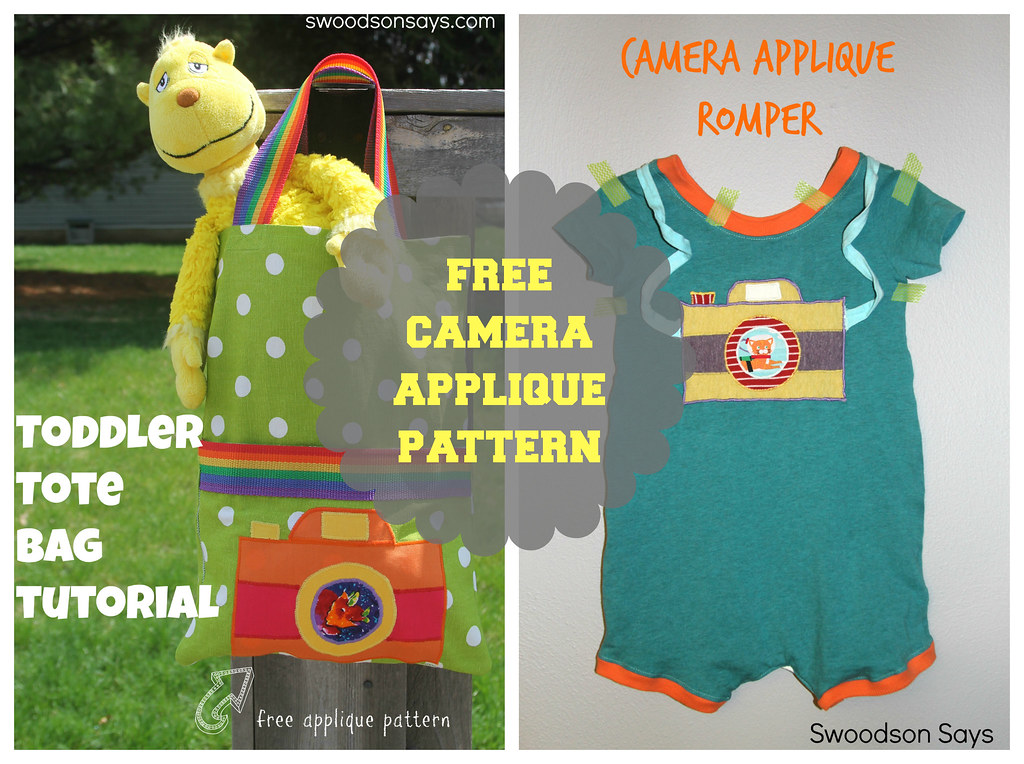
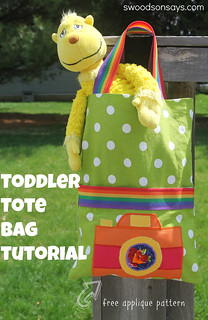
This is my Pinteresting graphic; I’d love to see/hear if you use the applique for a project of your own!
*affiliate link

Ren
Wednesday 7th of May 2014
Great tute! Thanks for linking up to Inspire Us Thursdays on The Inspired Wren.
Sarah
Thursday 1st of May 2014
HOW CUTE IS THIS KID'S TOTE BAG? COOL: the brightly colored fabric camera, a highlight on the lower potion of the tote pocket! Love the bright lime with white polka dot fabric. REALLY practical with the large outside pocket with Velco closing and the strong nylon handles. COOL kid using COOL bag for own "stuff!" Sarah Helene in Minneapolis
Stephanie - Swoodson Says
Thursday 1st of May 2014
Sarah, thank you so much for the enthusiastic and thoughtful comment - you made my night!
Ajaire
Tuesday 29th of April 2014
I really love that camera idea. It was adorable on the romper, but I love it on the tote too. Thanks for the pattern. :)
Stephanie - Swoodson Says
Tuesday 29th of April 2014
I love applique! Hope someone else can put it to good use.
Lisa @ PiePie Designs
Tuesday 29th of April 2014
This is so adorable!
Kathy
Monday 28th of April 2014
That is adorable. I especially love the rainbow trim!
Stephanie - Swoodson Says
Monday 28th of April 2014
THanks Kathy! Me too, it was on clearance at Hancock Fabrics and I could not resist... it just jumped into my cart!