
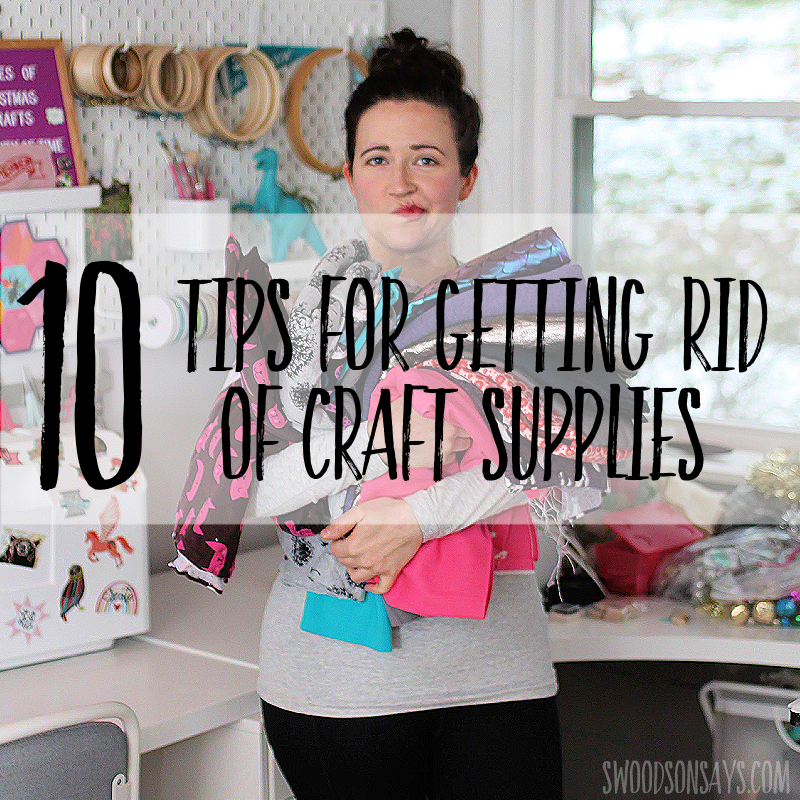
10 tips for getting rid of craft supplies (and ideas for where to send them)! With a new year, lots of folks are cleaning out and reorganizing and after a few questions on Instagram, I thought I’d share my best tips for how to make it easier. This feels like a loaded topic; lots of folks like to joke about building their “stash” and how it’s always the right time for buying fabric. If that’s you, I’m not trying to convince you otherwise and I’m glad you’re happy! If reading those memes doesn’t sit right with you, you feel overwhelmed when you try to find something you know you bought, you’re running out of storage space, or unfinished objects make you feel guilty, keep reading. If you’re already sold on decluttering but stall out on what to do with all your rejects, keep reading for a list of where to sell or donate extra craft supplies too!
While you’re here, check out these posts too!
- 40+ Ideas for using up knit fabric scraps
- 20+ Easy beginner sewing projects
- 30+ of the best woven fabric scrap projects
- How to make an ironing board cover tutorial
- 20+ craft & sewing room decor ideas
Why bother getting rid of sewing & craft stuff?
The more stuff you have, the harder it is to keep organized!
Who else has bought something only to realize you already had something similar that you forgot about or couldn’t find? Nothing frustrates me more than feeling like I have a fabric or notion *somewhere*, I just can’t remember where. Instead of letting stores convince you that this means you need to buy more storage to organize better, make it so you have less stuff to organize! Another idea is to catalog/document your stuff once you’ve sorted through it, by way of an app, a notebook, a fabric swatch book, etc.
So you can spend more time creating instead of consuming.
I’ve realized that sometimes I shop for fabric or a craft supply when I want to feel creative but can’t motivate myself to actually make something. I get a little burst of happiness chemicals when I click order, and then when I open the package, but it doesn’t compare to the feelings of actually finishing a project! This explains why I bought a ridiculous amount of fabric when my second kiddo was a baby; I couldn’t find any time to actually make something but mindlessly ordering creative supplies felt like a good substitute (spoiler alert, it’s not!).
I try to focus on how much of my free time is creating something instead of consuming (whether it’s shopping or scrolling social media looking at other people’s creations); it’s very clear that I am happier and more fulfilled when I’m actually creating. Being aware of all my supplies/projects, having it organized so I can find things, and regularly sorting through my excess all are factors in helping me make more and buy less.
It frees up mental energy for new projects to release old ones.
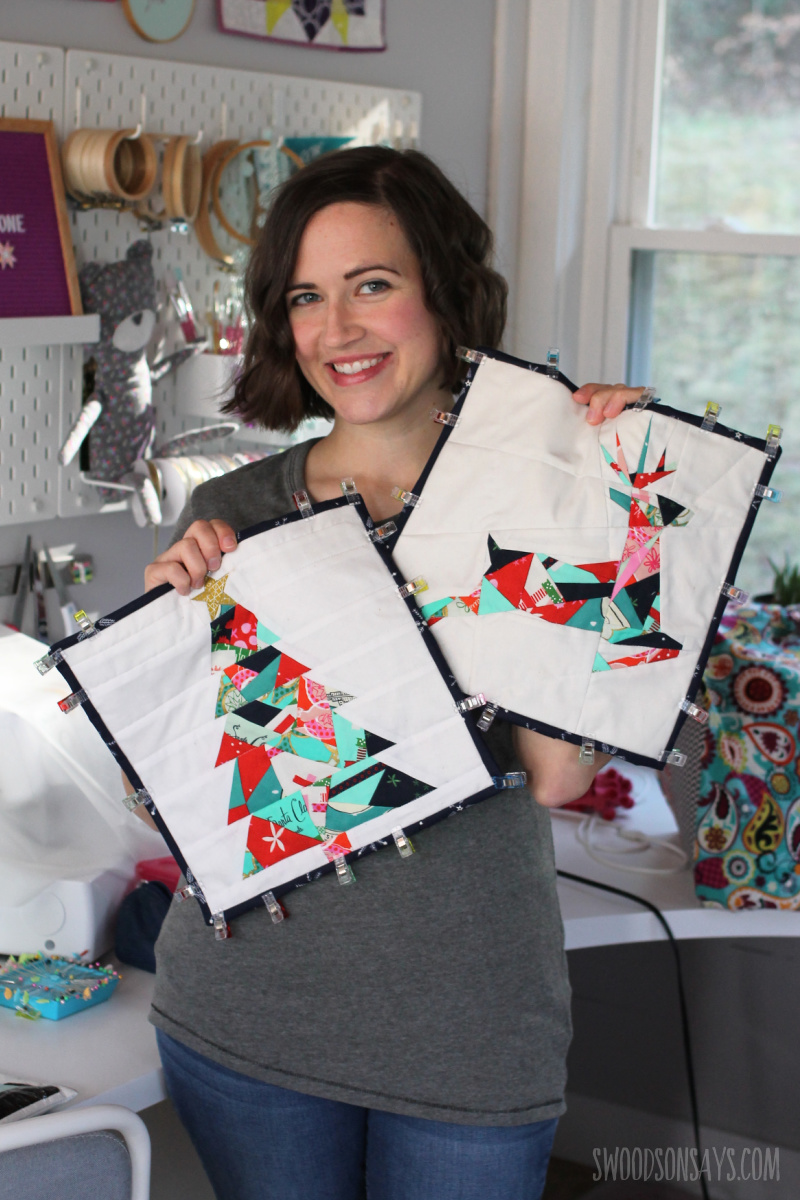
I have plenty of half finished projects and even worse, supplies bought for projects I haven’t even started. They’re always in the back of my mind, occupying a tiny bit of my mental energy about where they are and why I haven’t finished them. Sometimes I’m fine with waiting and I’m not trying to argue that you ought to work on everything start to finish; it took me three full years to fully finish this Halloween painting makeover and the mini quilts pictured above took me longer than that to complete. But at the same time, it felt great to trash a (personalized, so no one else would’ve wanted it) craft kit I hated half way through and to give away a precut stack for a quilt I decided I didn’t actually want to make. Keep reading for tips to help you sort out what will feel right for you!
Pin this post of 10 tips for getting rid of craft supplies (and ideas for where to send them!) with this link or image:
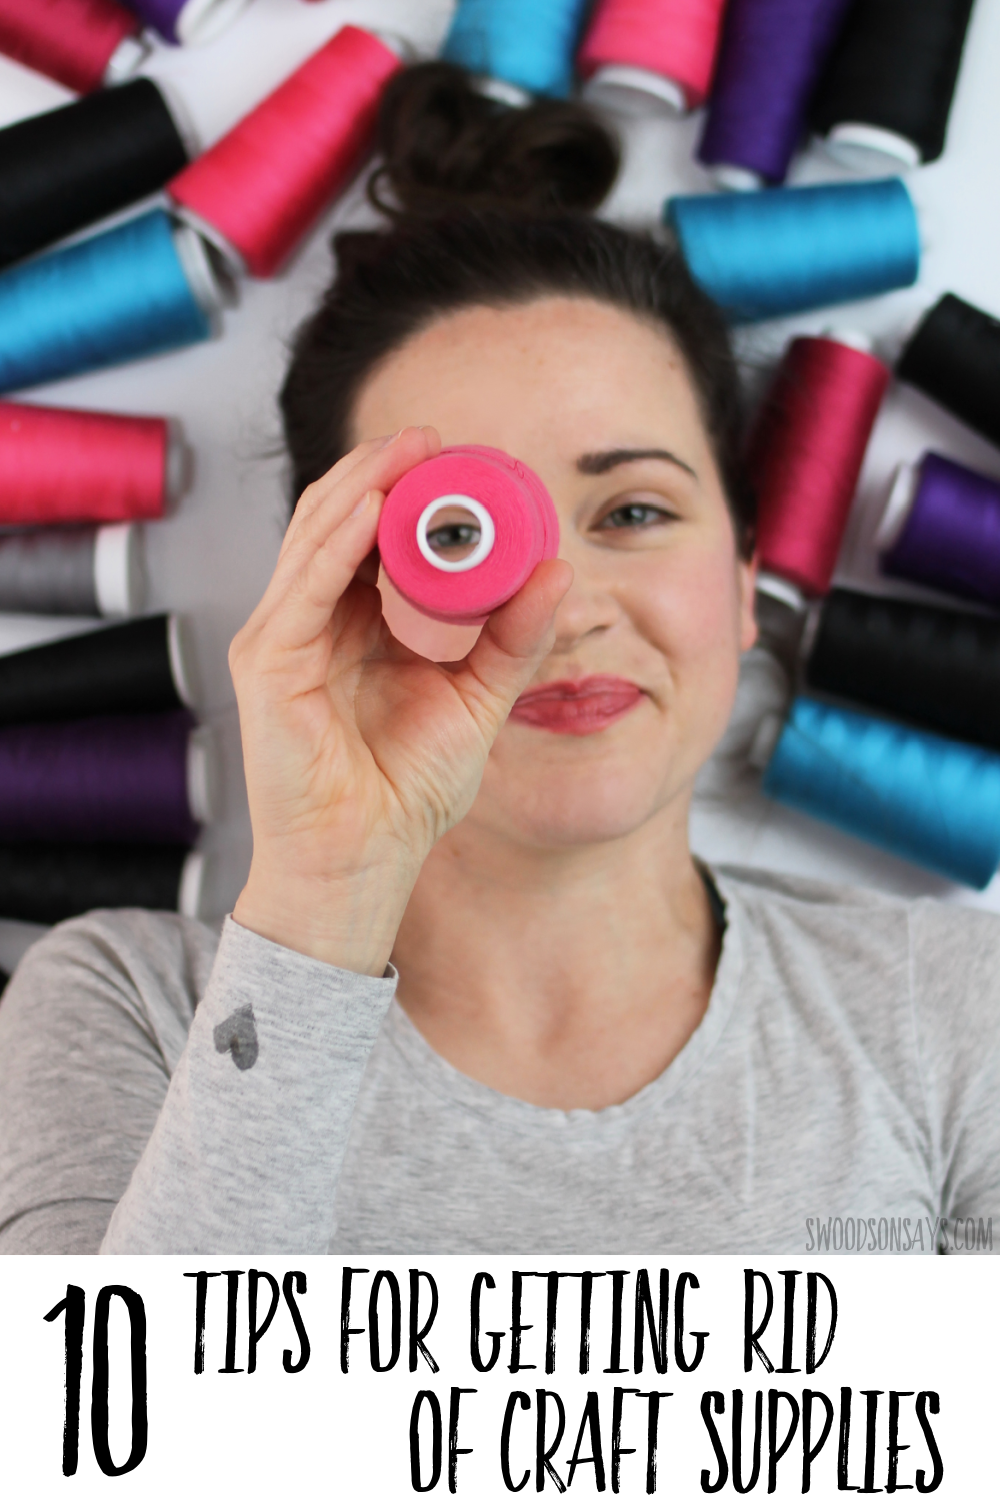
10 tips for getting rid of craft supplies
1. Mentally prepare yourself- The process will take way longer and you’ll likely drop it half way through if you let yourself think it will be done in a half hour. You know yourself – maybe making a list of each area you need to tackle will help? Setting a timer or an expected stopping point? Writing out a schedule? Experiment with these ideas to make sure you don’t burn out or give up.
2. Make it easy on yourself- If decluttering and getting rid of stuff is hard for you, make sure your stomach is full, your clothes are comfortable, and you have entertainment (try an audiobook, the radio, or a TV show). If you have kids and/or pets, make sure their needs are met and they are self entertained (or asleep) for a chunk of time so you can hopefully minimize interruptions.
3. Put your hands on every single thing- Don’t just glance at a thing and move on. Actually touching every last item will help you realize just how much stuff you have and also assess its condition easily. Maybe the paint lid got left open and it dried up, or a mouse nibbled on your ribbon, etc. If it can’t be saved, chuck it in the trash pile!
4. Make piles- This is common advice for any type of decluttering; make 2 piles for obvious trash and obvious re-home items. If you are on the fence, put it in the piles and re-evaluate each of them one last time before you move on. Another idea is to set a tote or box as the “maybe” spot and put anything you are wavering on in there, leave it for a week and see how you feel then.
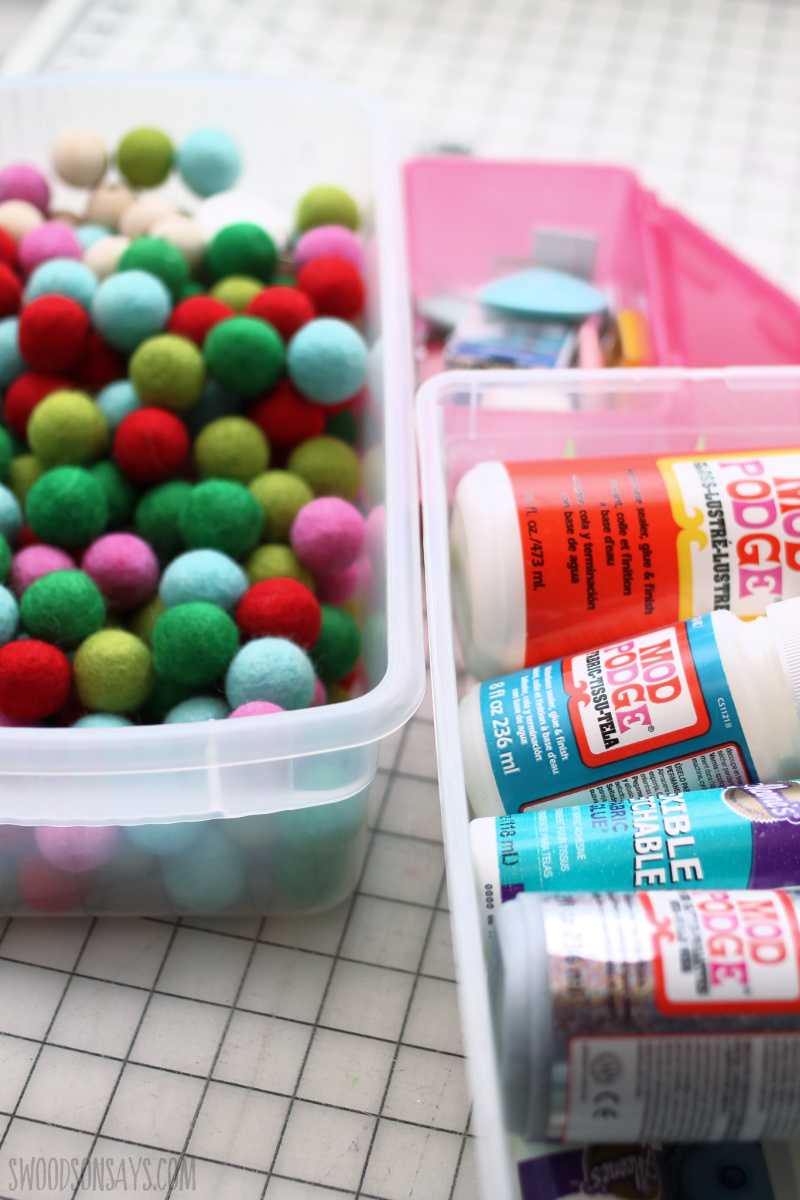
5. Organize as you go when possible- I know this will be hard if you have a smaller space especially, but however you are sorting through your supplies, try to group them up as you go along if they aren’t already stored that way. Having all the paint, all the quilting cotton, all the sequins in one spot will help you identify duplicates (that are then easy to get rid of) or supplies that you have way too much of.
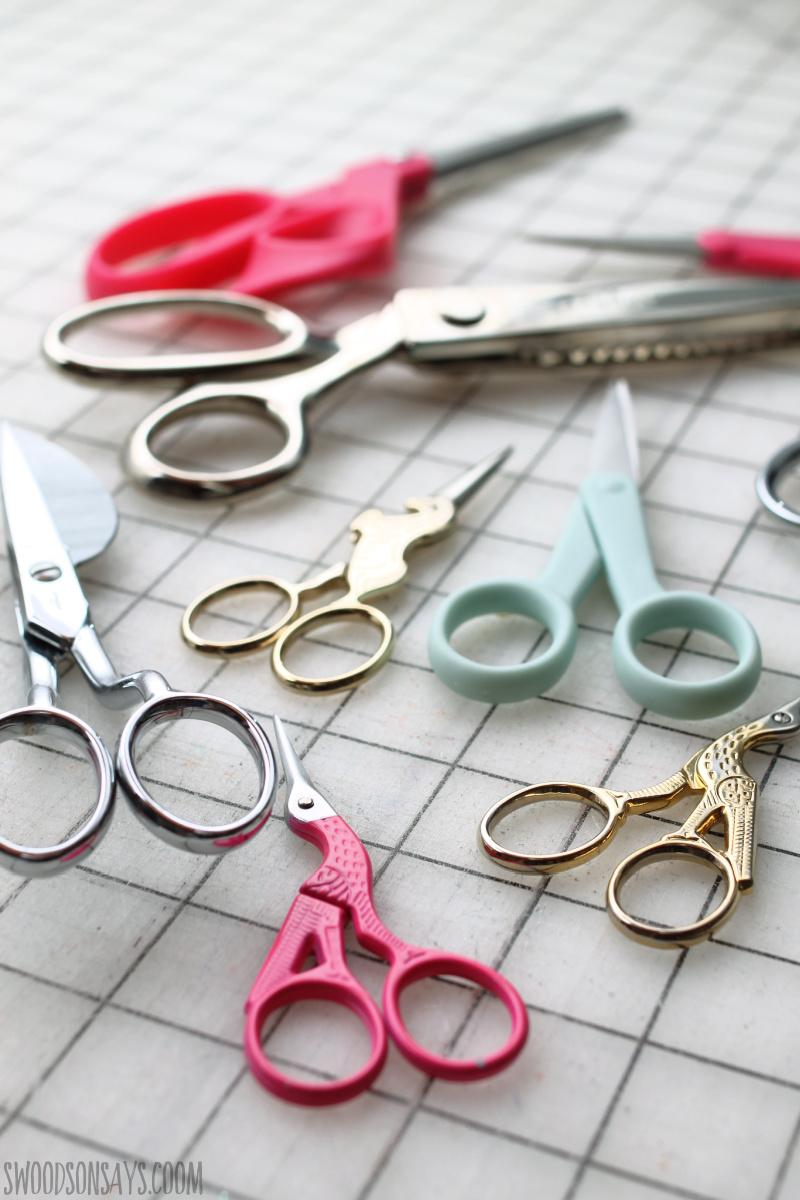
6. Ask yourself, do you like it?- It sounds obvious but truly, who has not kept a pair of scissors they hate “just in case” or fabrics they changed their mind about since the money was already spent? Thinking towards the future, take a minute to look at the stuff you’re rejecting, is there a theme? Maybe you keep buying pastels but changing your mind? Take note and guide your future purchases by your past mistakes!
7. Be honest-
- If it is a project half done or never started, are you excited about finishing it? If the answer is no, send it to a new crafter who can properly love it.
- How long would it take me to notice if this magically disappeared? If you haven’t thought about it for the past 4 years, safe to guess you wouldn’t miss it.
- Would you buy this again right now? Your tastes change, no need to hold on to the past if you don’t still love it.
8. Be objective-
- How difficult was it to find/expensive to buy? I’m not arguing that just because something is expensive you should keep it forever, that money is already spent, but if you have a ton of zippers spilling everywhere that are cheap and easy to find? That’s a no brainer to send some of them on and clear out some space.
- Quick, can you think of a specific project you’d need this craft supply for? I get it, it can be a thrill to have an idea pop into your head and realize you have the needed supplies already stashed. But if you’re looking at say, a giant stack of cork circles, and can’t think of a single way to use them, see if maybe someone else is excited to use them right now!
9. Be generous- When you’re looking at your pile of ( XYZ craft supply), is it more than you could imagine using in the next 10 years? Yes, of course you could keep it longer than that and make something amazing decades from now and if it’s fabric you absolutely can’t get enough of, maybe keeping it is the right decision. But if you aren’t crazy in love with it or can’t envision being able to use it all up, that sounds like a great opportunity to share the wealth with a group or person who is on a tighter budget and would just go without.
10. Finding them a good home will make it easier- Focus on how excited someone else will be to use the supplies that are making your room a mess and sucking your creative energy! I know it is far easier for me to pass along craft supplies when someone else is thrilled to put them to work. Keep reading for ideas on WHERE to send all these craft supplies that isn’t just the trash bin!
How do you declutter craft supplies? If I missed a tip you think everyone would benefit from reading, leave it in the comments!
10 places where you can sell or donate extra craft supplies
Before you donate or sell anywhere:
- Make sure to take a clear, well lit picture of the supplies you’re trying to rehome so everyone can see what you’ve got!
- Call to confirm the place can use the donation. I was once the point person for receiving many donations that were well meaning but actually created more work at the shelter where I was working, because we had no storage space.
1. Buy nothing / freecycle type groups– If you’re unfamiliar, these types of groups are working to keep stuff out of landfills and encourage a sense of community between folks passing things along to their neighbors instead of dumping them at the thrift store. You can look for “official” groups of each type on their respective websites (buy nothing / free cycle) but also look on Facebook for similarly minded groups that aren’t officially affiliated, using your county/city/neighborhood name + buy nothing / free / upcycle keywords.
I regularly gift things this way; you can specify that you’d prioritize gifting it to someone who is tight on cash, you can set it out on your porch for a drive-by pickup instead of trying to meet, and it’s quick and easy.
2. Ebay– If you want to raise some cash, consider selling on ebay. Things will do better if they’re sold in “lots” like a ‘lot of zippers’ or a ‘lot of quilting cotton’. This requires you to be comfortable with accepting online payment and shipping, which I think is easy once you’re started! Search past listing of the same thing and use the filter function to show completed auctions and base your price off that history.
3. Social media– You can make a listing on Facebook marketplace or your personal profile as well as post in a local crafter or parent group. On Instagram you can share it on your profile or your stories for sale or free (or free for shipping, meaning they cover shipping costs if they aren’t local to you).
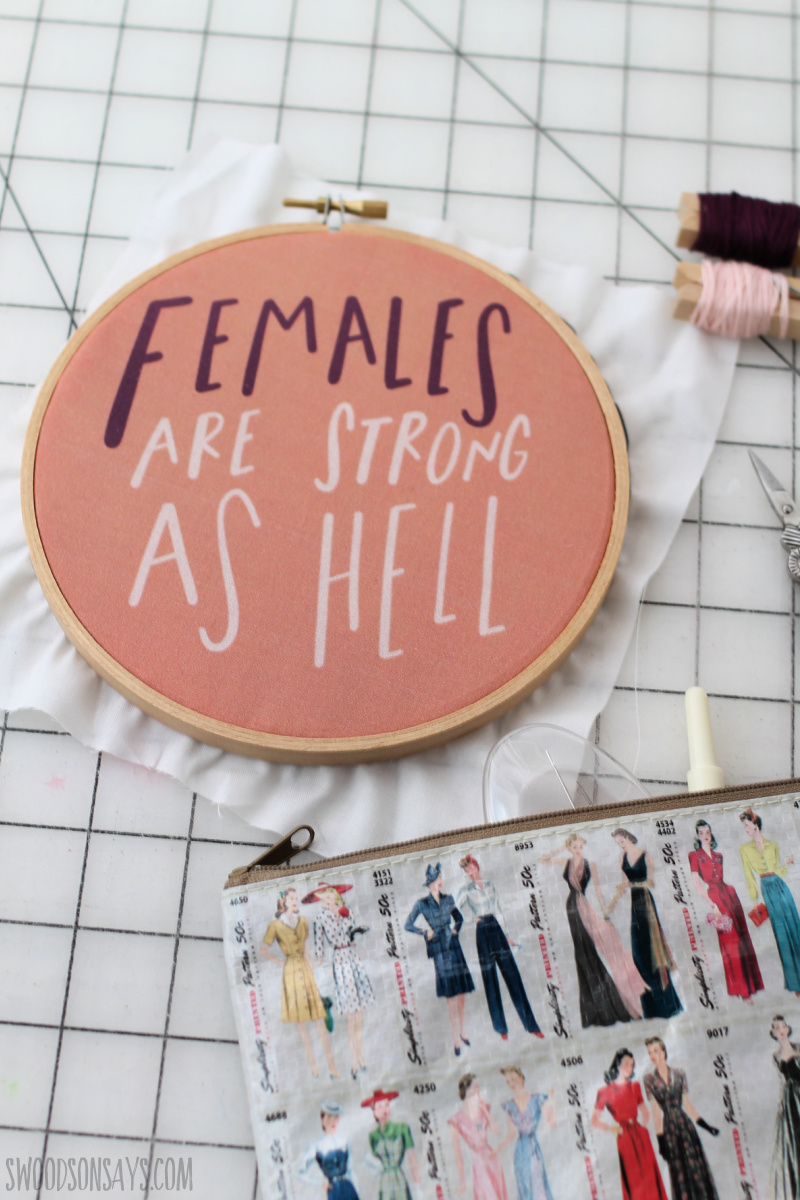
4. Make it into a kit for gifting– I did this with some excess embroidery floss and hoops; with a little extra effort they were turned into embroidery starter kits that I sent to friends! You could also donate the kits once they were done.
5. Craft swap– If you have a bunch of crafty friends, organize one night for everyone to bring their excess supplies and trade! Another option is to make a big garbage bag of your discards and pass it along to one person, who will take what they want and add their own, and pass it along like a craft train. Make sure to have a plan for what happens with all the ‘leftovers’ that no one wanted (maybe one of the other options here would work!).
6. Craft specific charity– These require a little more legwork to find but you can see if you have a local chapter of a national charity sewing organization (like Cases for Smiles), ask your local quilt guild if they make any charity quilts, or ask around for anyone else who crafts for a cause and might appreciate some free supplies.
7. Thrift stores– These are my ‘last case scenario’ because my ultimate goal is to keep stuff out of the trash and I’m not confident that a thrift store will just happen to have a crafter stroll through and find my supplies. However, it is better than the trash! Ideally put your supplies in a clear ziploc or something similar so they don’t fall through the cracks, literally or figuratively.
8. Senior centers– Senior centers are often working on a small budget (google for non-profit care centers near you!) and welcome donations of puzzles, books, and craft supplies!
9. Little free library– This is maybe a little controversial because LFL are designed for books, however I slip games and craft supplies in mine every once in a while. I drive by them often so I could monitor if the stuff didn’t get picked up and retrieve it, but so far so good. See if there is one by you on the official website.
10. Etsy– This is probably the most complicated selling option because you have to set up a “store”, but it can be lucrative and access a more targeted audience if you’re selling a bunch of stuff. I wouldn’t go through the trouble for just a few items but it is more likely to find a buyer for something like “1 pound of quilting cotton scraps” than on ebay. Again, you will need to be prepared to receive payment online and ship.
11. Local shelters– Please, please, please call and confirm that they have the storage space and need for whatever it is that you have, but if they do, this can be the best place to donate supplies. Art therapy is so important; you could also consider volunteer teaching a class whether it is for adults or kids, with the supplies that you donate!
12. Libraries– This will depend on your branch, because some host classes and others let people just use the space, but you can call and ask if they have any upcoming workshops or projects that could use your fabric/yarn/sequins.
13. Consignment/store credit– Ask around to see if your area has a fabric store that sells secondhand fabric; maybe you can trade-in yours for store credit or sell it for cash!
What other advice do you have to share? I feel energized after cleaning out my craft supplies and love hearing how excited people are to dig through their new goodies when I send them on. Regularly sorting through everything helps me keep my recreational shopping in check and I find it very relaxing! More craft room decluttering for everyone!
Debbie Brady
Tuesday 21st of December 2021
Facebook often has Destash Groups. Be careful when selecting a group , making sure that you will actually be able to sell your items, not just buy in the group.
Bethany Allie
Wednesday 20th of January 2021
Nice idea making embroidery kits for gifts, Little Free Library surprises and Free for shipping. I get to be creative, declutter, and share all at the same time. Other kit ideas are simple softies, dolls, hot pads, pincushions, glasses holders with the pieces cut from fabric and include directions, stuffing and embellishments. I see greeting card kits that would use some of my paper surplus. So many ideas. Anything that’s beginner level should work! Oh I like this idea very much. Thank you!
Alison Lodder
Wednesday 20th of January 2021
Thanks so much for putting this together. It is exactly what I needed. I have built a craft shed, after 6 years of storage in the garage and living in a craft wilderness, only to find that my stash has completely filled my new space and there is no room to start on my projects. Thank you.
Barbara
Tuesday 19th of January 2021
My quilt guild had a “trunk giveaway.” Everyone put fabric, books and other supplies they didn’t want in their trunk, they met in the parking lot of the church where we have our meetings, opened their trunks, and everyone swapped. This could also be done as a “boot sale,” selling the things instead of swapping. Takes some organization, but worth it!
Peg
Sunday 17th of January 2021
Great suggestions!