
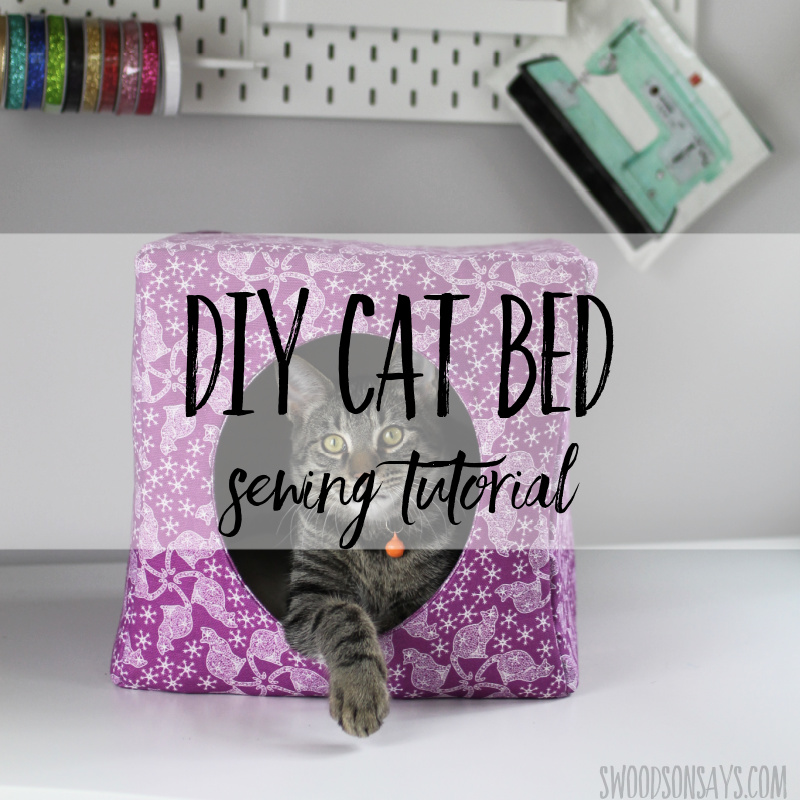
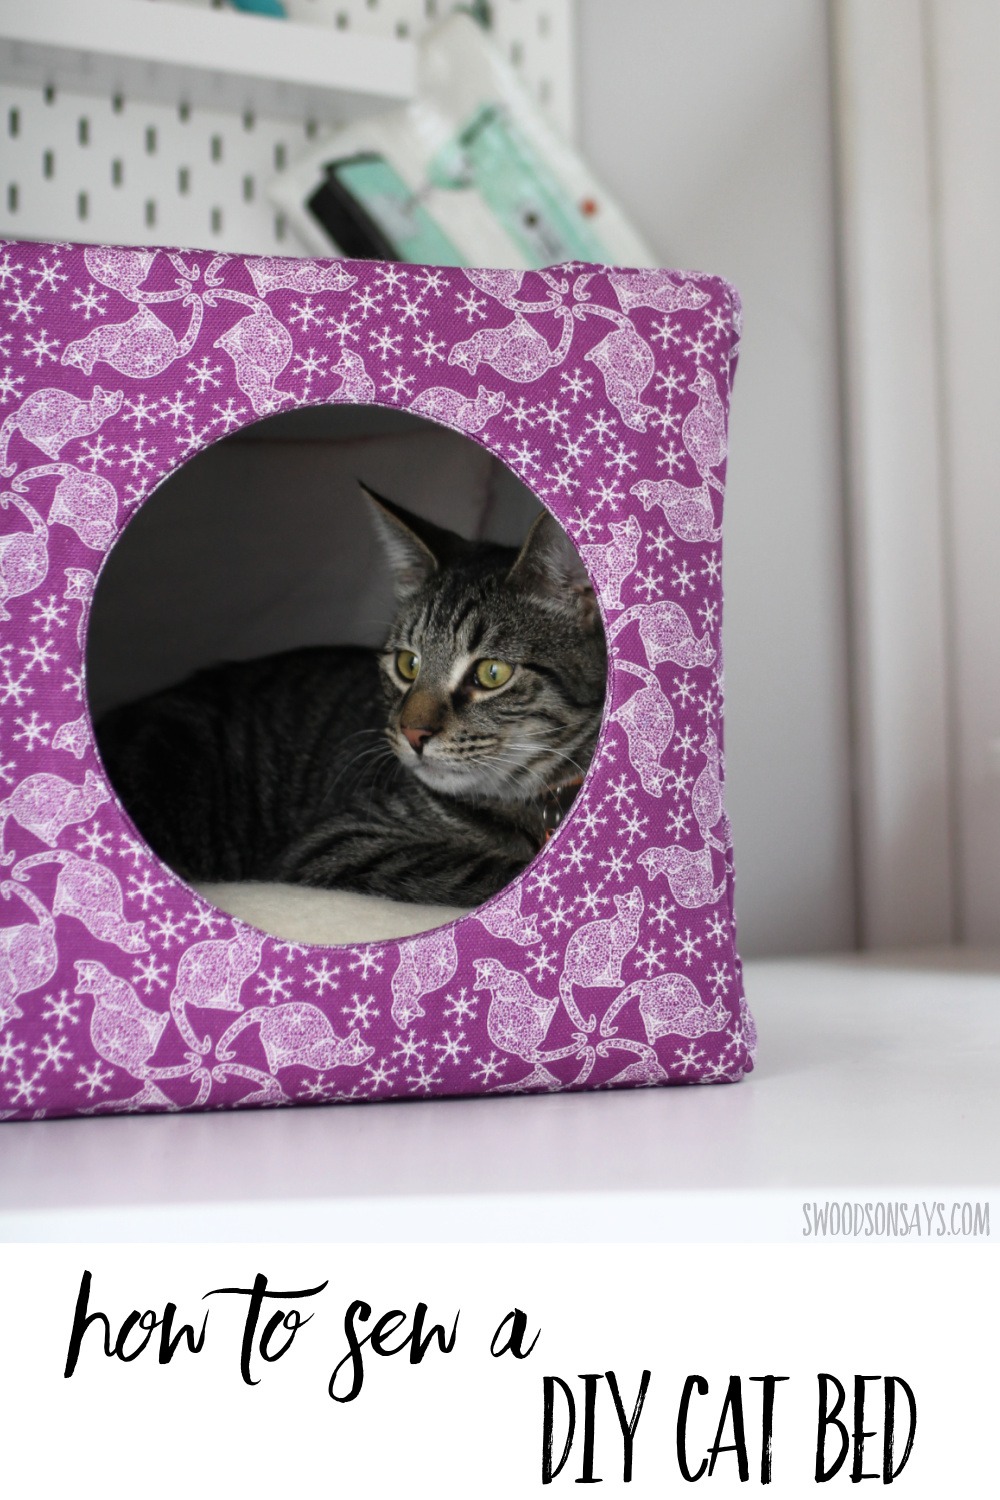
How to make a cat bed! We adopted two sweet kittens this fall in a bit of a rush so I grabbed a bed from Target. They loved how cozy it was but as they got bigger, only one fit at a time, so I decided to DIY a second one with a similar feel to keep them happy! It seems like most of the options in pet furniture are either beige/black/brown and boring or neon and cartoon-ish but being able to sew means I can match the cat bed to our decor. Using JOANN’s customizable fabric meant I could pick the perfect color and change the scale of the print so it fit my project; keep reading to see how to make your own and what upcycled material I used to give the cat bed its shape!
This post was sponsored by JOANN, which means they supplied some of the materials and compensated me for my time, but all opinions are my own. Bonus, they have curbside pickup these days!
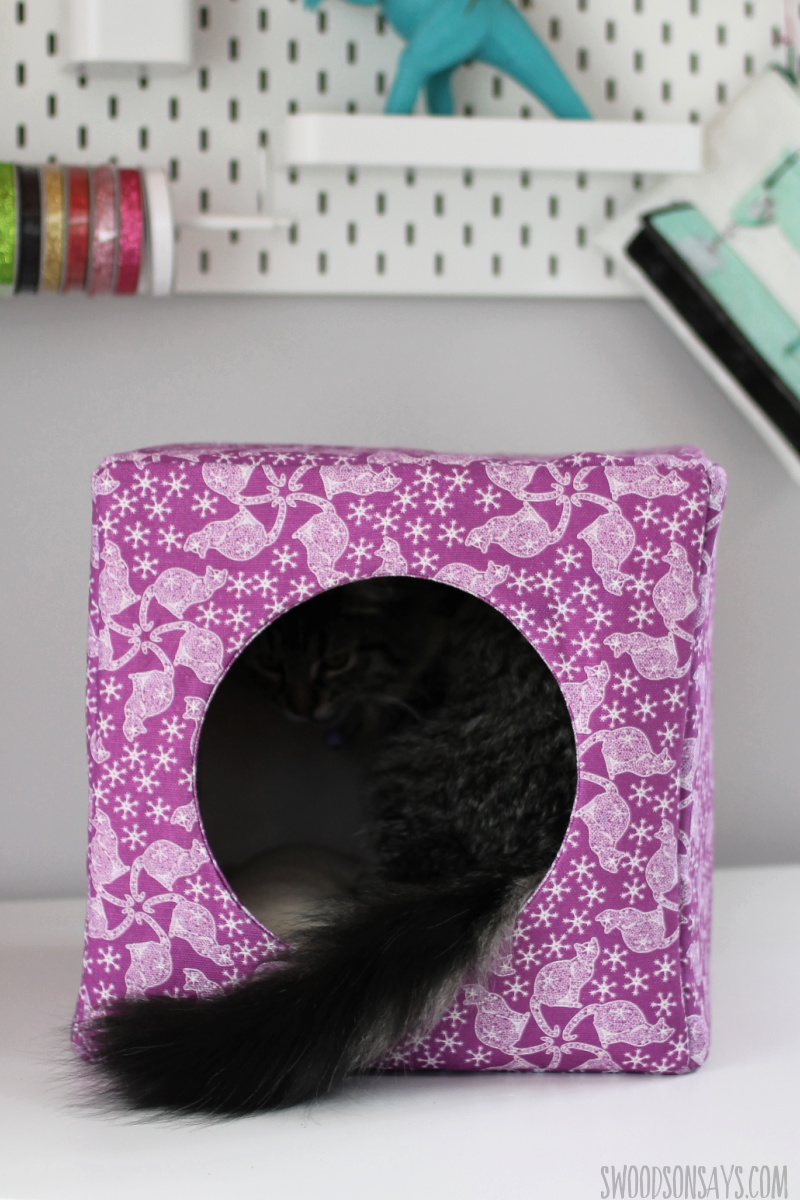
My kittens needed no convincing to curl up inside, it was a hit off the bat!
It’s a simple construction that anyone can assemble and sew but the bulk of the inner structure makes the final steps a bit tricky for a true beginner. I used a simple linen blend to line it and then made a pillow for the base out of an old wool sweater; my cats love sitting on wool so I thought this would be extra cozy for them.
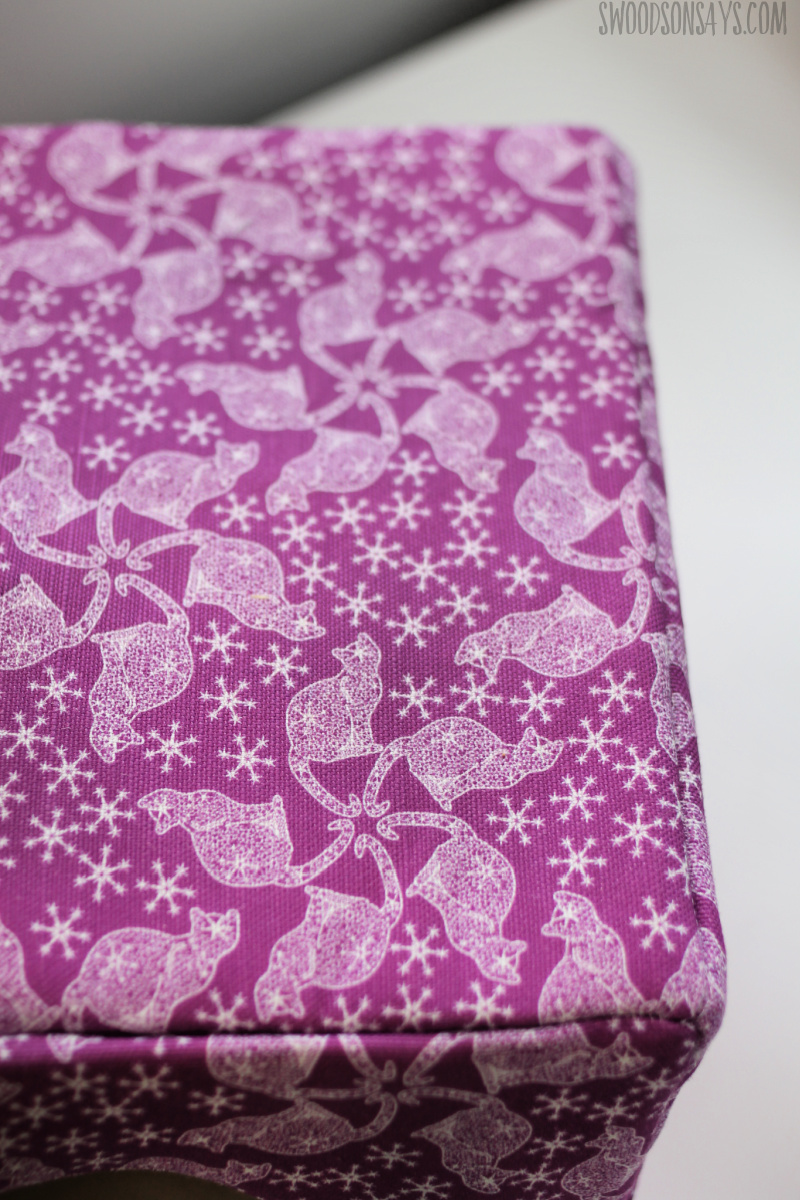
Here is a close-up of the ‘cat lace’ print I chose and cutomized; you can choose what substrate you want it printed on and this is the ‘Midweight Linen Blend’. I’ve used it before in my tote sewing project so I knew it had the right weight and drape for this project!
If you like this post, you should check these out too!
- Free diy cat toys – mice and fish sewing patterns
- 12+ cutest sewing ideas for dogs
- How to make a no sew blanket with knit fabric
- How to sew a cat bed from a sweater
Pin this tutorial for how to make a cat bed with this link or collage image:
How to make a cat bed
Ready to make your own?
Supplies
- 1 yard of customizable fabric that is a woven fabric; this is the ‘Midweight Linen Blend’ [2024 editing note- this program does not appear to exist any more!)
- 1 yard lining fabric – woven cotton (I used kona cotton)
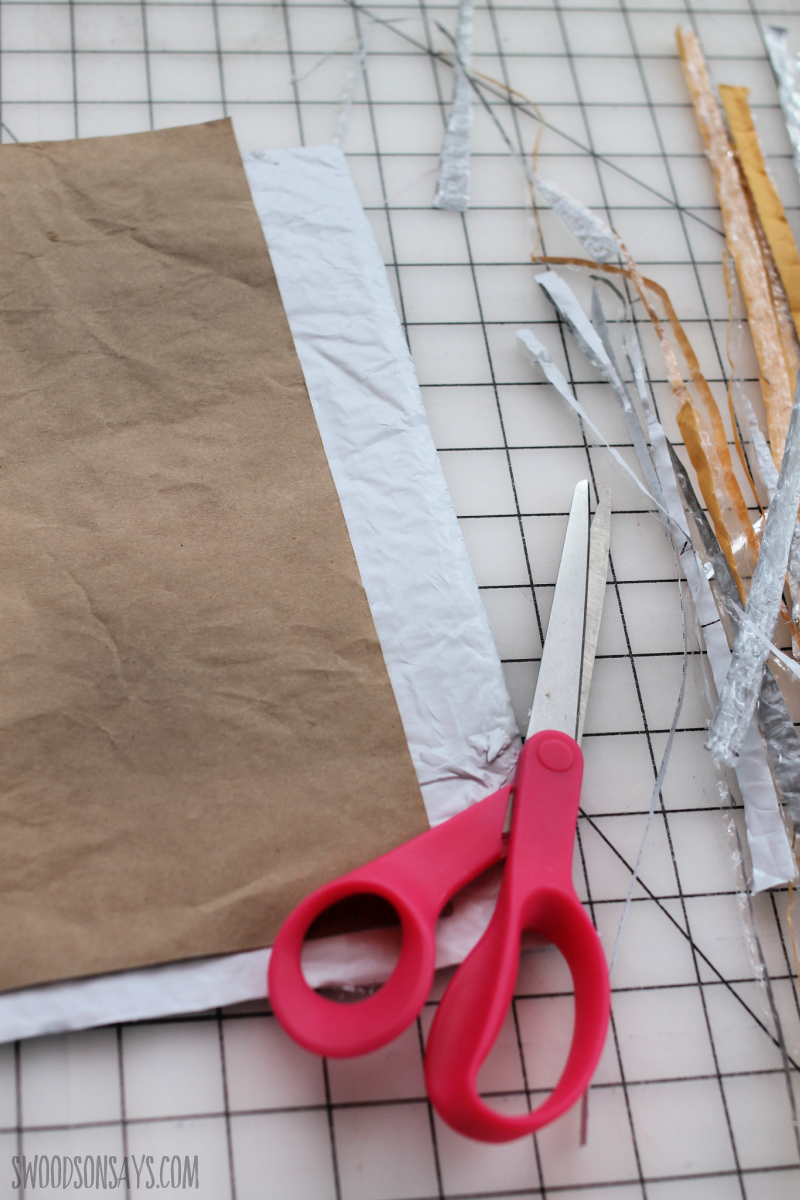
- About 8 padded mailers to upcycle, or alternatively 2 yards fusible fleece
- Coordinating thread
- Rotary cutter
- Quilt ruler
- Quilting clips
- Iron
- Small bowl & pencil
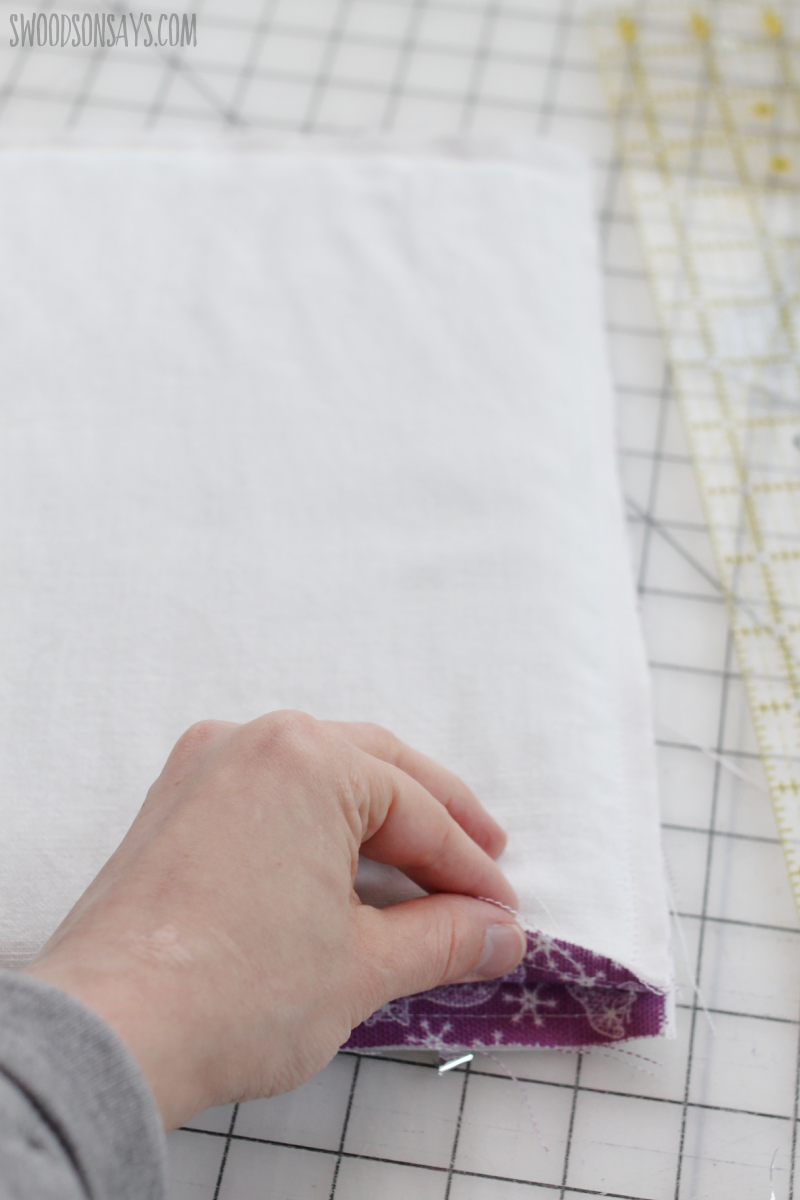
Step 1- First up is cutting 12.5″ squares. Cut (7) of the fashion fabric and (5) of the plain lining fabric; I made a “pattern” for myself from plain paper but you could just measure, too. If your fabric is wrinkled or floppy, consider starch spray and ironing each one. If you think you’ll need to wash the kitty bed often, consider serging around the edges of each square before you sew them together!
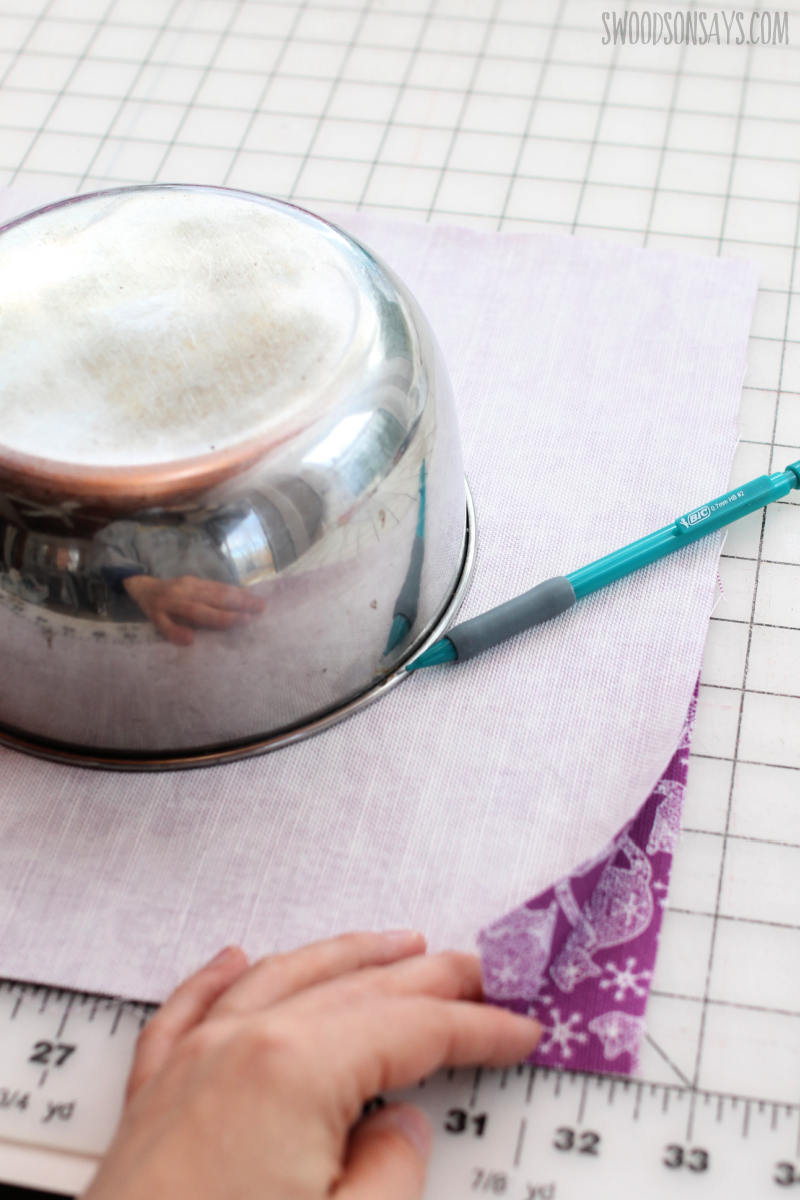
Step 2- Layer two fashion fabric squares right sides together and pin or clip around the edges. Then center your bowl (Circle I used was 7″ in diameter) and trace around it.
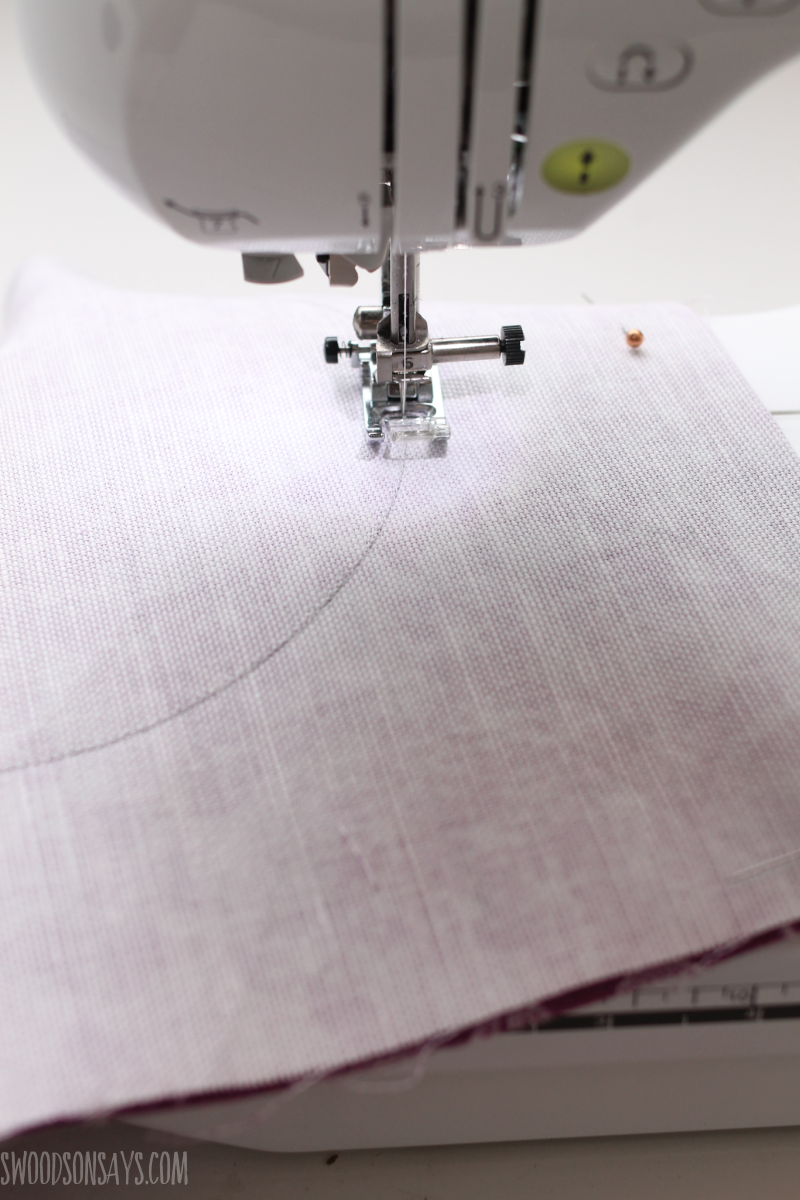
Step 3– Sew right along the circle you drew!
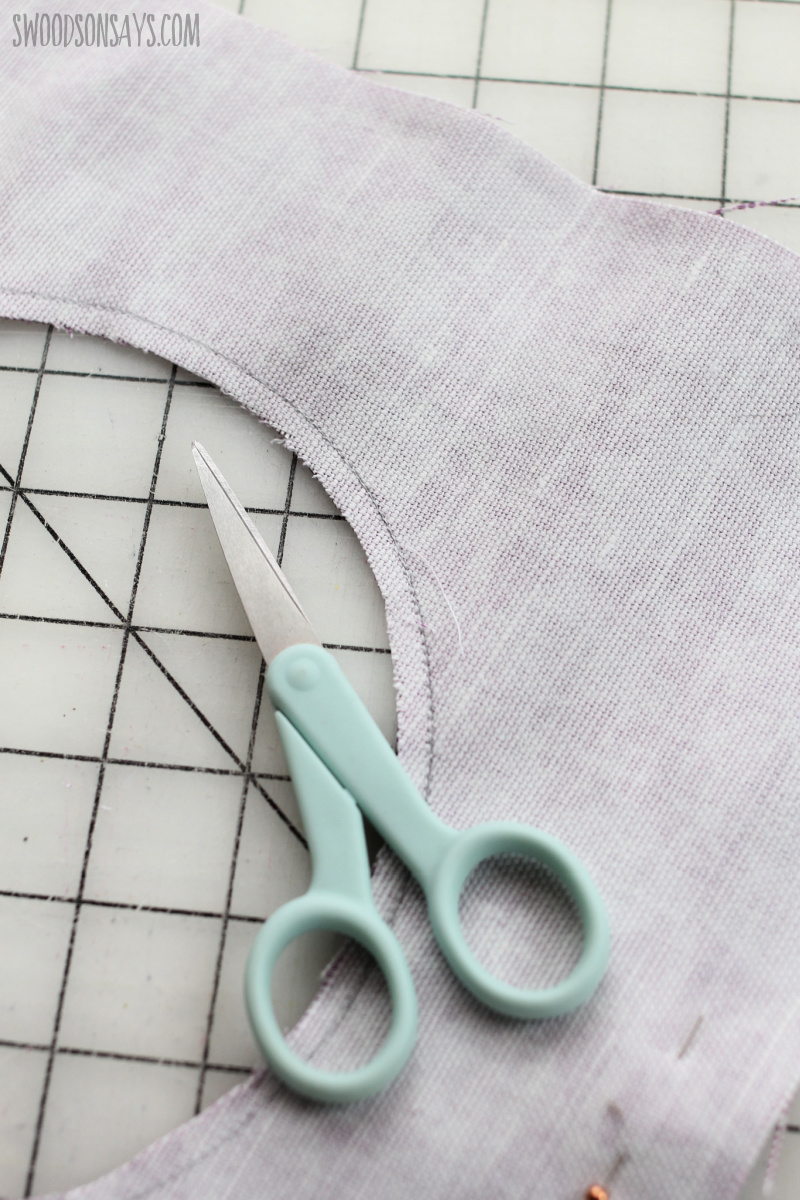
Step 4- Carefully trim around the INSIDE of the circle. This is a really gradual curve so no need to clip the curve.
Step 5– Gently pull one of the squares through the hole until wrong sides are together. Finger press the circle’s seam and then use an iron to press the entire thing.
Step 6- OPTIONAL; Open it back up and carefully stitch the seam allowance down to one side. This will help the lining from rolling to the front but isn’t necessary. Press again.
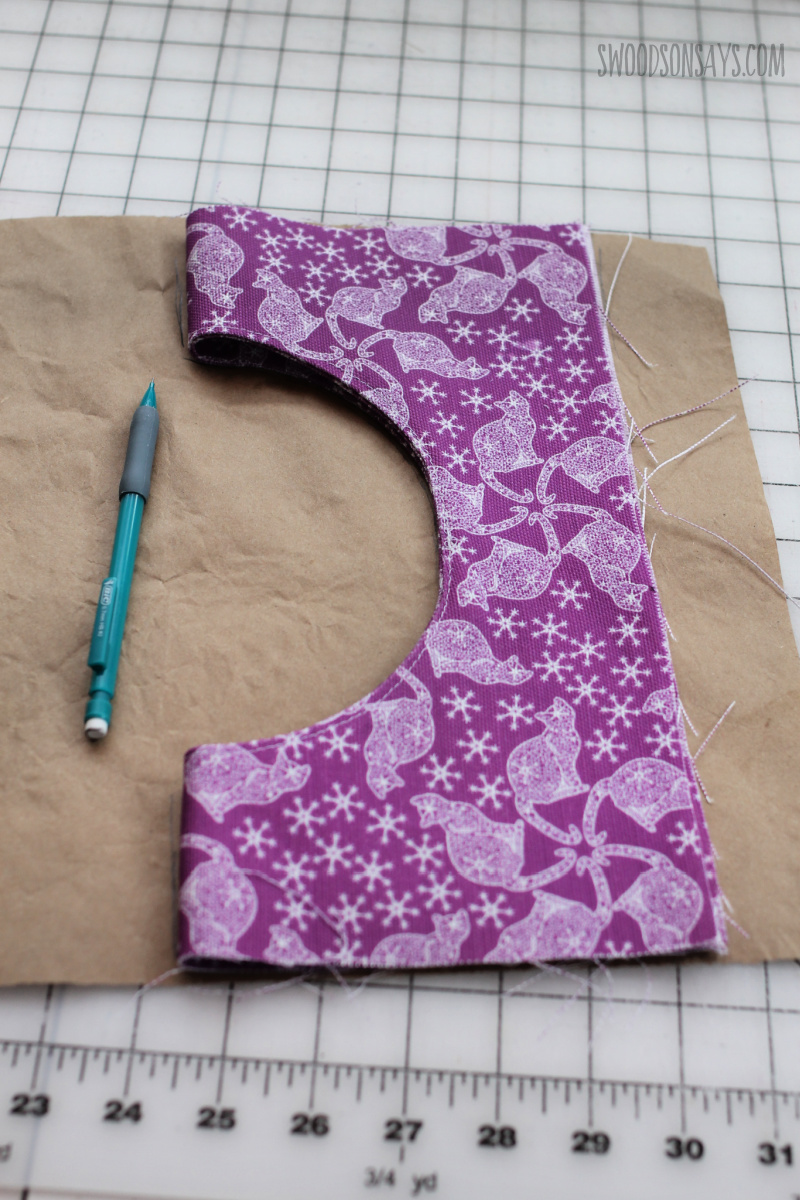
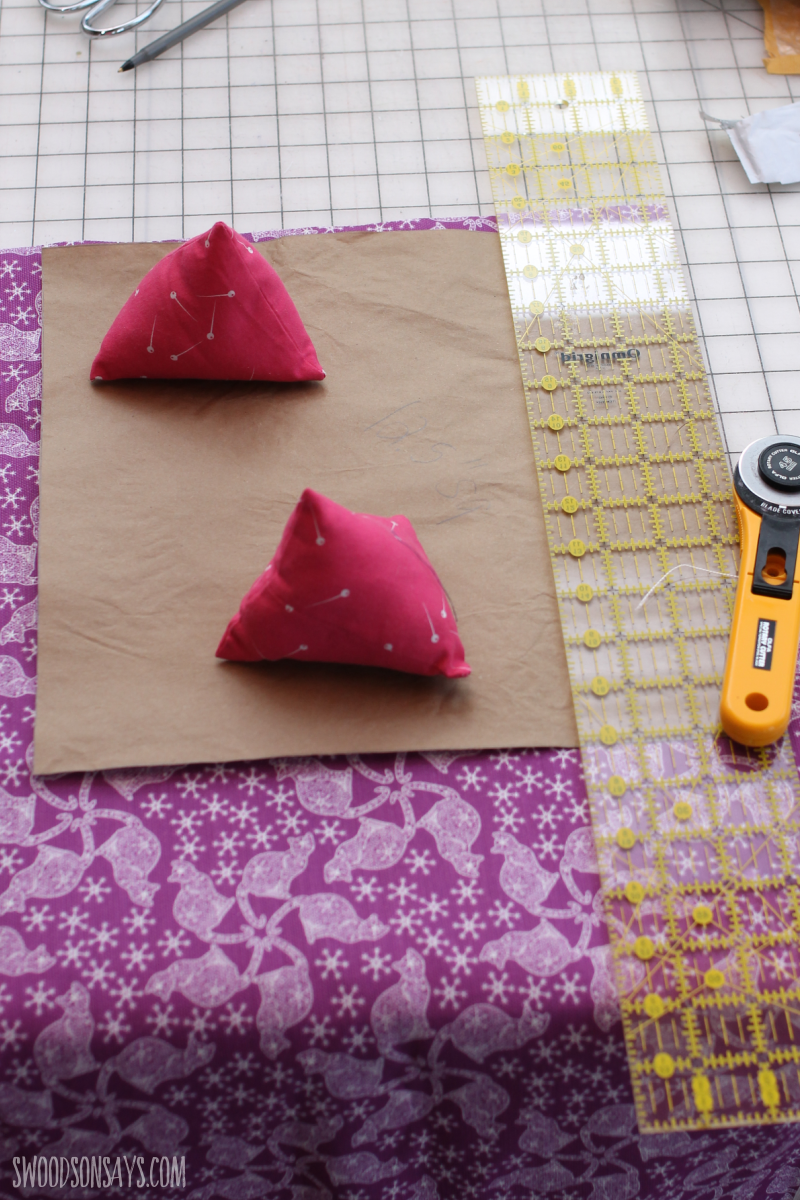
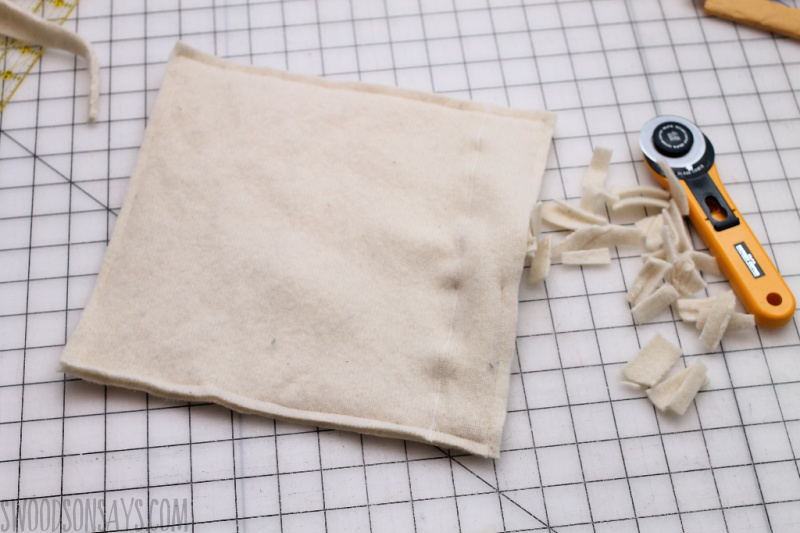
Step 7- The trickiest part of the process is creating a pattern for the ‘stuffing’ around your circle. I folded mine in half and traced and then adjusted as needed.
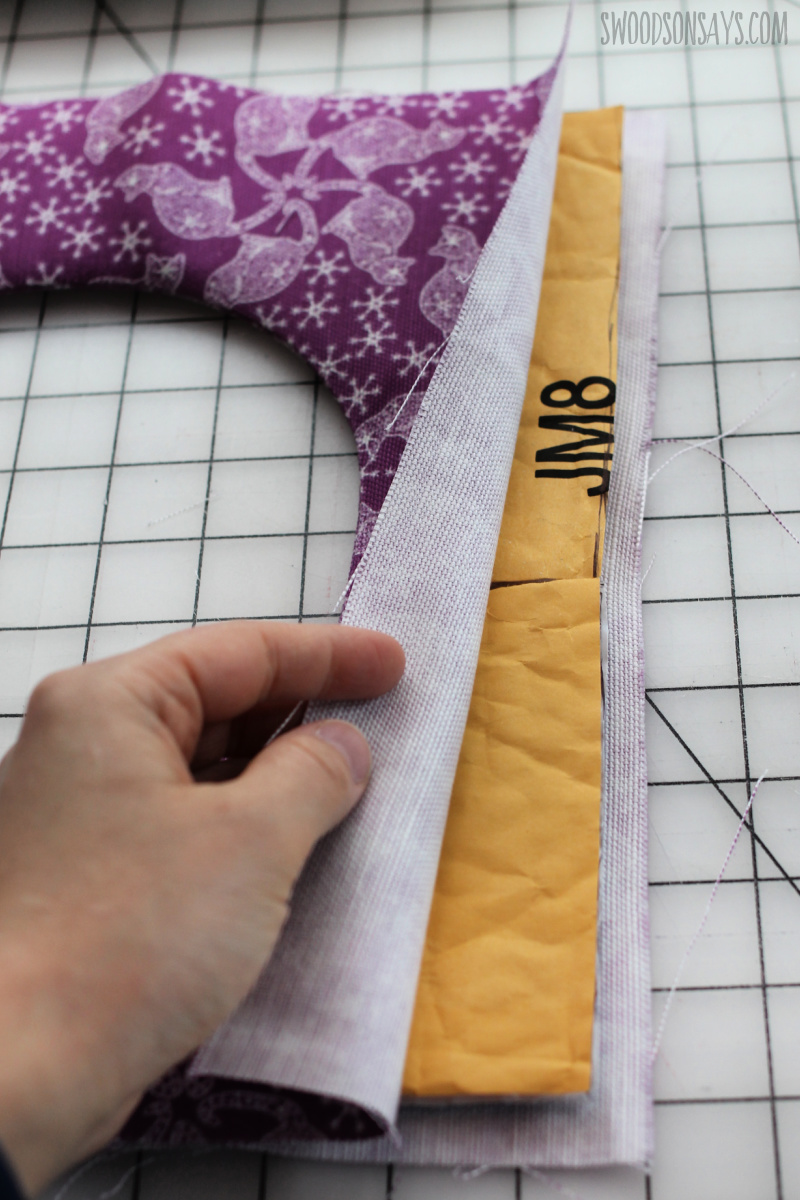
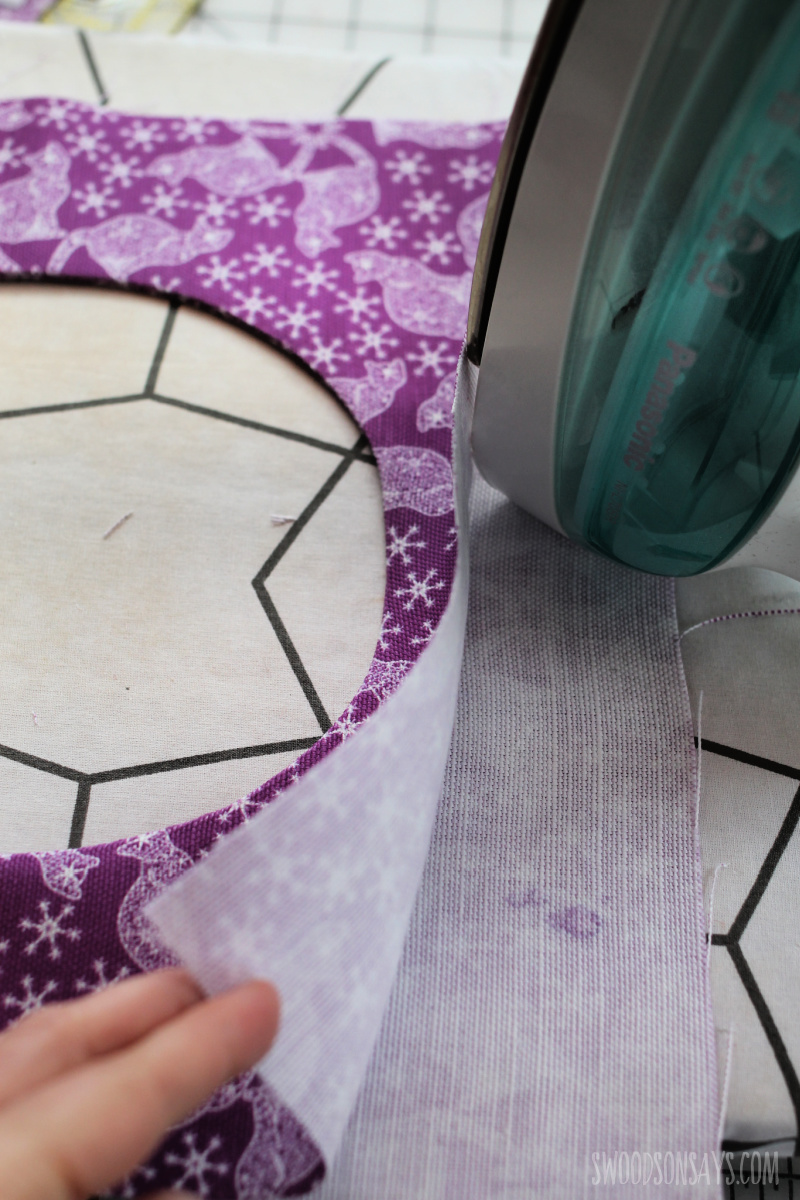
Step 8- You need your padded mailer layer to fit with a 3/4″ seam allowance roughly around the edges. For the piece with the hole in the middle, that meant cutting two arch-shaped pieces. Then sew the long edges, insert the double layer of arch pieces, and sew again so it is all enclosed, using a 3/4″ seam allowance.
Step 9- More cutting, this time for an 11.5″ square. Cut (10) from padded mailers; (2) for each of the remaining 5 sides without the center opening hole.
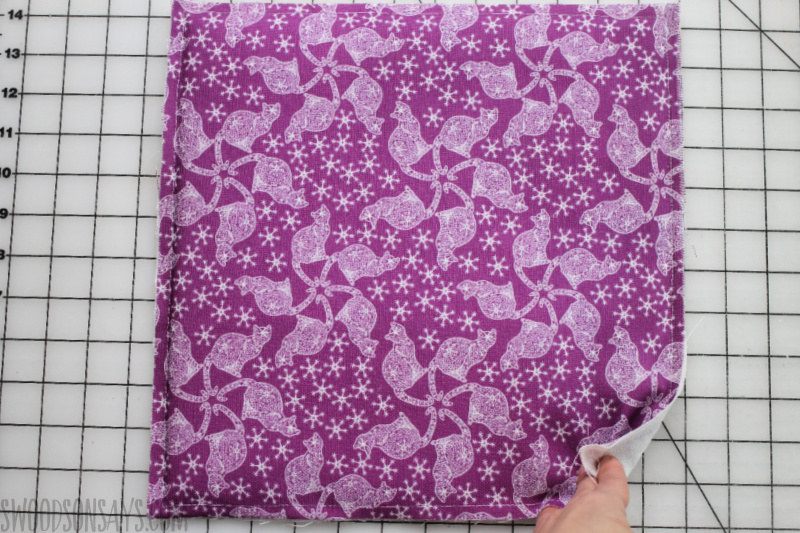
Step 10- Layer each fashion fabric square wrong sides together with a lining square and sew around the edges with 3/4″ seam allowance, leaving one side open. Insert the double layer of mailer square, slide in, and sew the remaining side. You’ll end up with 5 different padded squares that look like this!
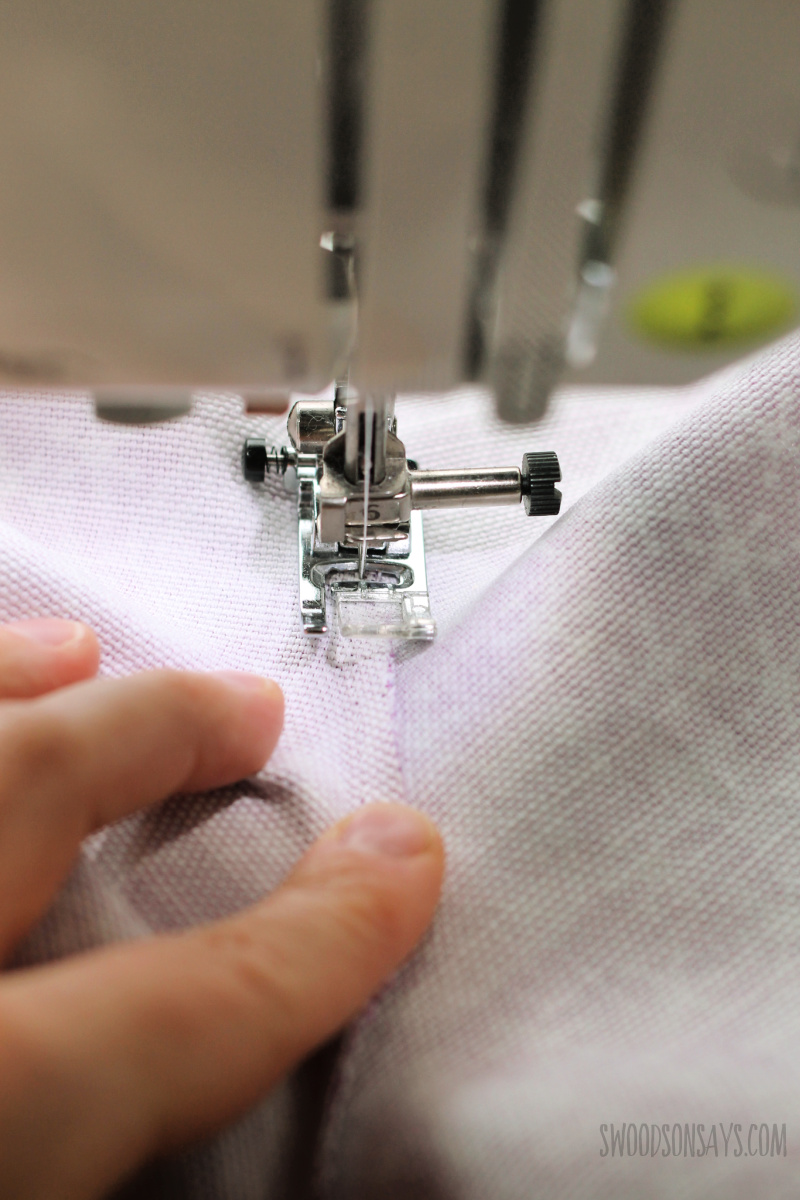
Step 11- Next you’ll sew 4 of the padded squares, right sides together, to make a cube. Continue to use the 3/4″ seam allowance and start and stop 3/4″ from the bottom of each seam, as shown.
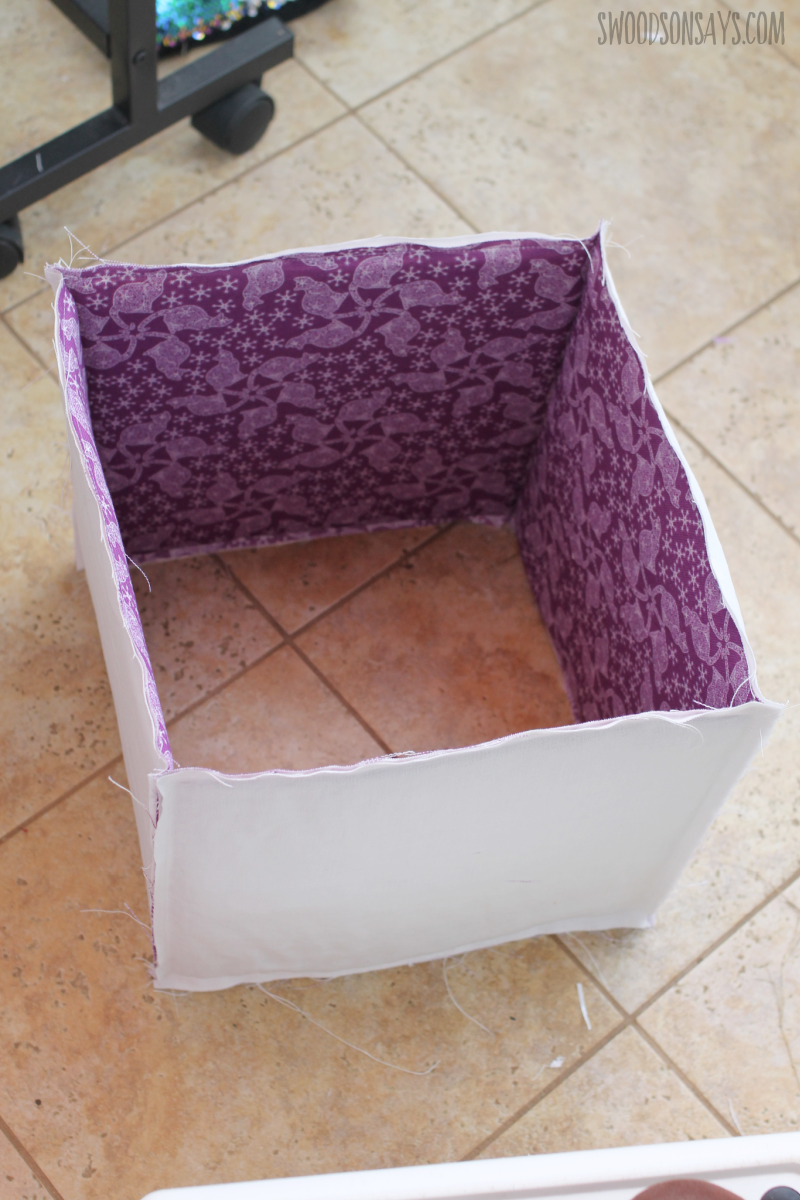
Step 12- This is what your cube should look like at this point!
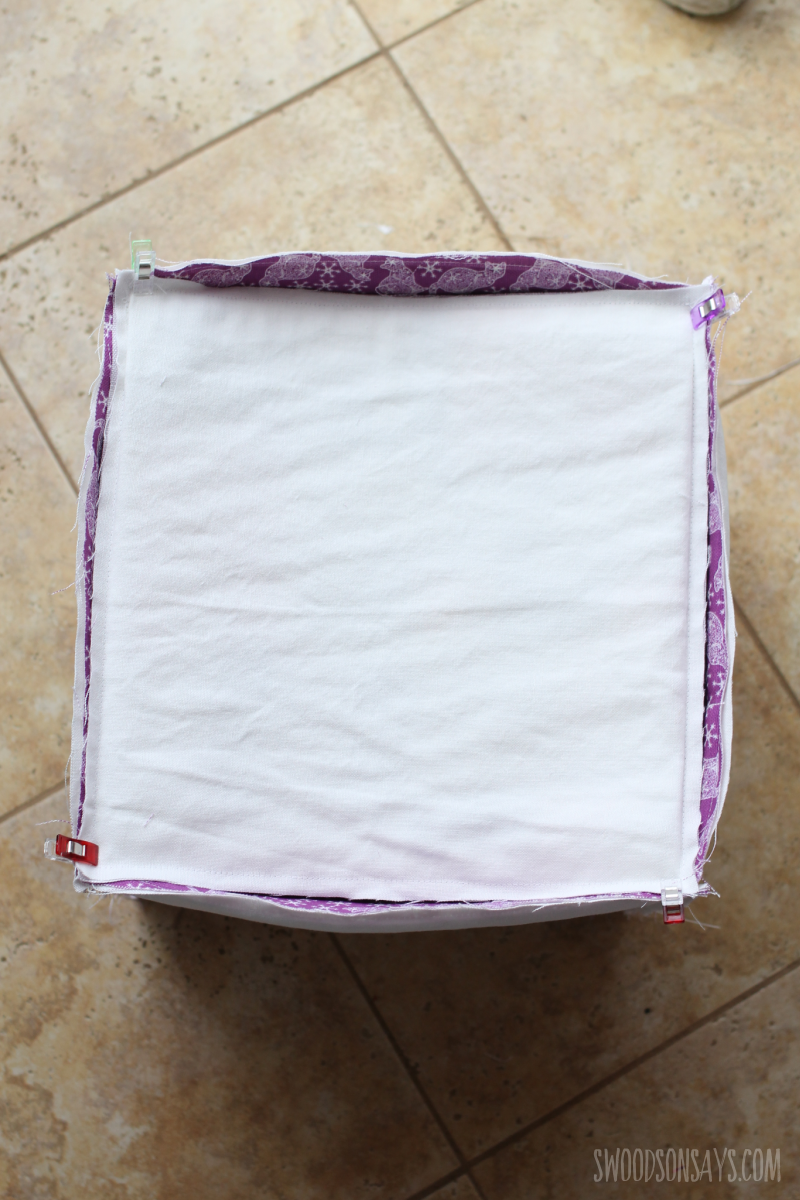
Step 13- Next you’ll sew the last plain square, face down so all the right sides are facing each other. I sew each side as a separate seam instead of rotating around and sewing in a full square.

Step 14- Last you’ll sew the opening square on! If you did the understitching in step 6 you’ll want that side with the visible stitching facing OUT as shown. Sew this on and you can be done! If you hate exposed edges, you could enclose them with bias tape at this stage. I preferred to leave mine raw in the event I have to seam rip the padding out and machine wash this sucker at some point.
Step 15- A last optional step is making a pillow for inside! If you make this of felt, wool, or fleece you can just leave the edges out and raw as shown; it is just two 11.5″ squares. The extra seam you can see was because I was piecing together scraps of an old sweater, it isn’t functional. I then shredded up the extra sweater pieces as stuffing and sewed it shut, and I was done!
Sage
Monday 16th of June 2025
Just used your tutorial for my first sewing project! It is wonky, and my seams are far from straight, but my cat LOVES it and so do I! I used some felt for the interior and added some extra padding to the bottom. I can't wait to make more! This tutorial was super easy to follow, well written, and had awesome pictures. Thank you!
Stephanie - Swoodson Says
Wednesday 18th of June 2025
I'm so glad that you and your kitty love it - felt to the interior is super smart!! I appreciate your kind words and am so glad the tutorial worked well for you :)
S. Mitchum
Saturday 19th of April 2025
I absolutely love your ideas for recycling mailing envelopes, and sweaters!! I am always looking for new uses for things that I don’t want to throw away. Excellent reuse of usable items. I am definitely going to take those tips to use! Thank you for sharing!
Stephanie - Swoodson Says
Thursday 24th of April 2025
Thank you for reading and taking the time to leave such a kind comment!
Jan
Thursday 29th of February 2024
Hello! What are the instructions if I’m using fusible fleece? What type of fusible fleece is best? One or two-sided? The link to the fleece doesn't work so I can’t tell. Thanks!
Stephanie - Swoodson Says
Monday 4th of March 2024
Hi Jan! I'm so sorry about that, apparently JOANN changed something and I need to update all my links. It is Pellon 987F Fusible Fleece 45'' White that I'd suggest, but honestly I think they're all pretty similar as long as it is only one sided? I don't have full instructions for that method since I used the mailers - but I would probably cut the same shapes out of fusible fleece, then trim off the seam allowance, adhere to each main shape, and then sew the same way.
marie
Tuesday 22nd of August 2023
Im going to have a go and give it as a gift.Love your easy explanation
Stephanie - Swoodson Says
Sunday 17th of September 2023
hope it is an easy sew for ya!
Kathelina Richardson
Wednesday 24th of May 2023
Need help with getting and knowing how to make a cat bed for my boyfriends cat. I have the like 2 yards of cotton fabric I just don’t know what else I need or will need to make sure it’s comfortable for the cat
Stephanie - Swoodson Says
Tuesday 4th of July 2023
I'm so sorry, this went to my spam folder! There is a list of supplies to make this tutorial under 'supplies' :)