

Scrambling to get out the door this holiday season and need to wrap something in a hurry? This is almost as quick and easy as store bought wrapping paper; a 5 minute upcycled scarf bag! This is day 8 of 12 Days of (upcycled) Christmas tutorials, an alternative to traditional wrapping paper that will end up in the trash and a useful way to reuse scarves with holes, etc. It would be easy to add applique, iron-on, or embroidery to jazz the bag up even more!
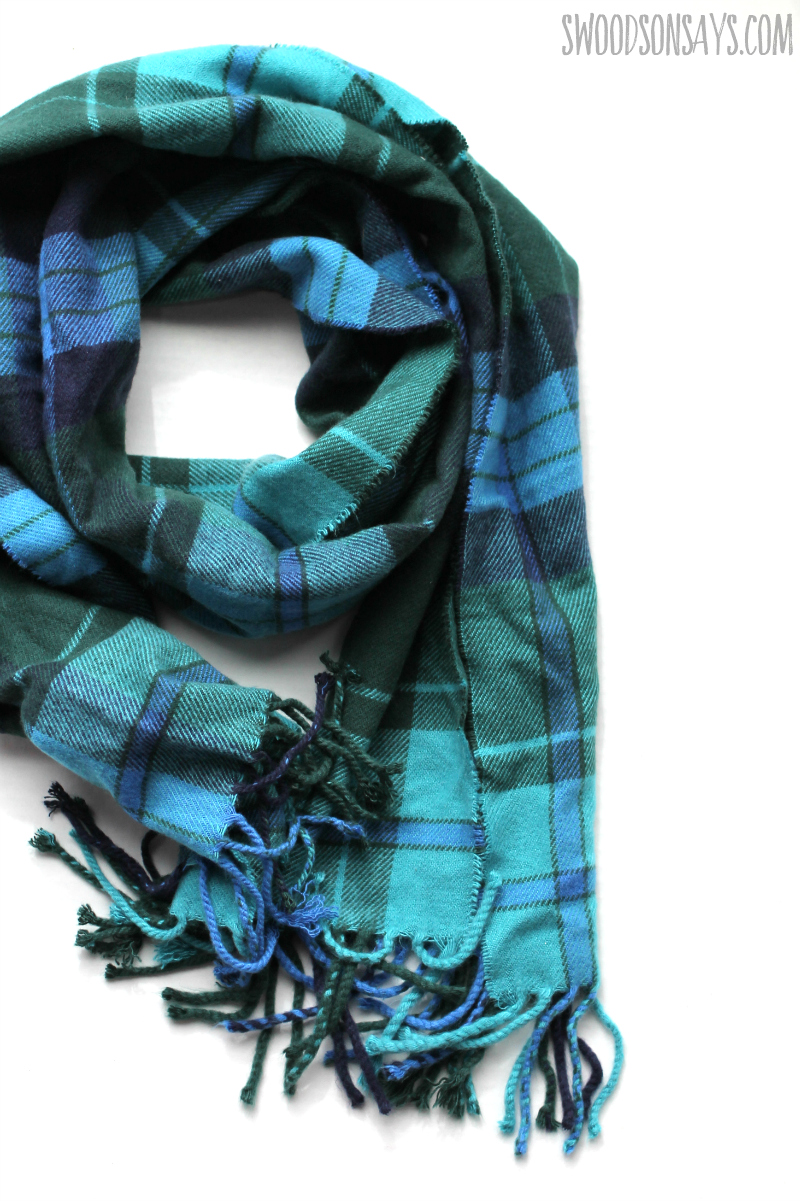
This a Land’s End faux-cashmere that is 100% acrylic, so I wasn’t inclined to saving it for a “nice” upcycled wool project, but it is perfect for a gift bag! It had several burn holes in it that could have been mended, but opted to chop them off and use it as a gift bag instead!
If you like this project, you need to check out these posts too!
- All of my upcycling sewing projects in one spot
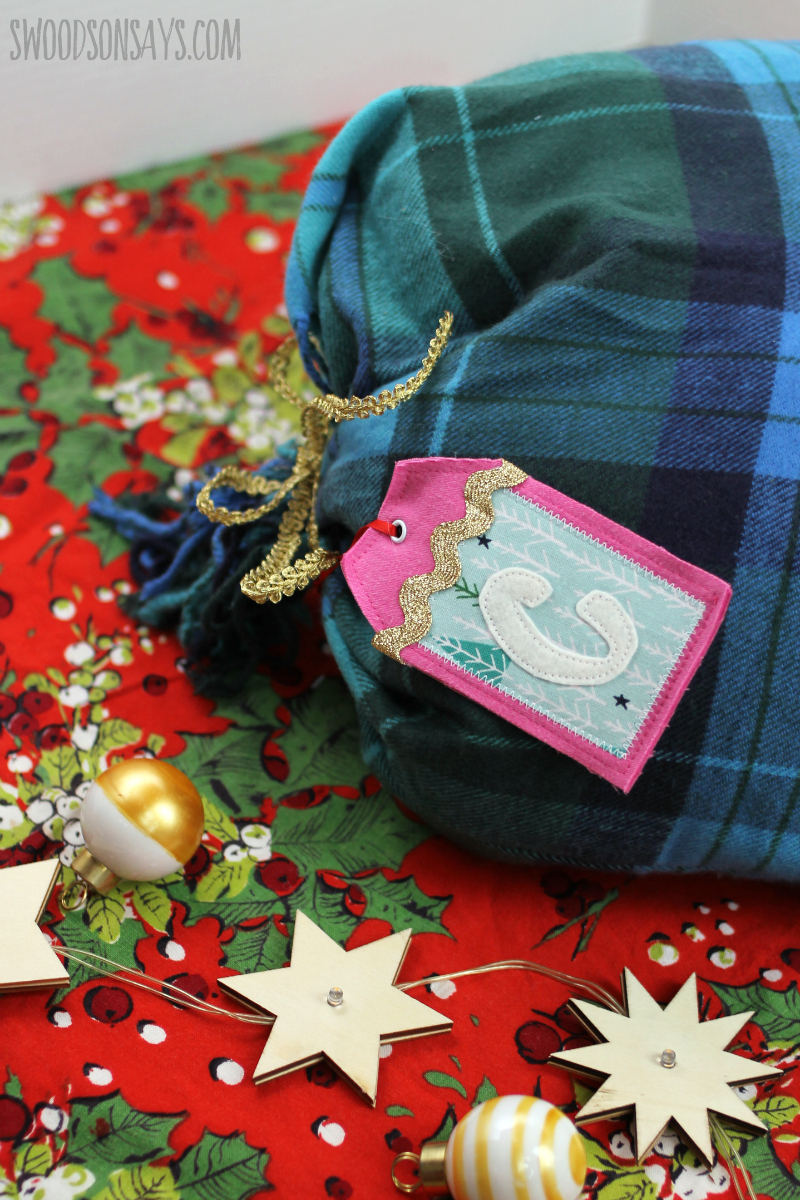
- How to make fabric gift tags, as seen in the pictures of this post
- Master list of Christmas DIY & craft tutorials
- Another upcycled wrapping idea, how to make furoshiki
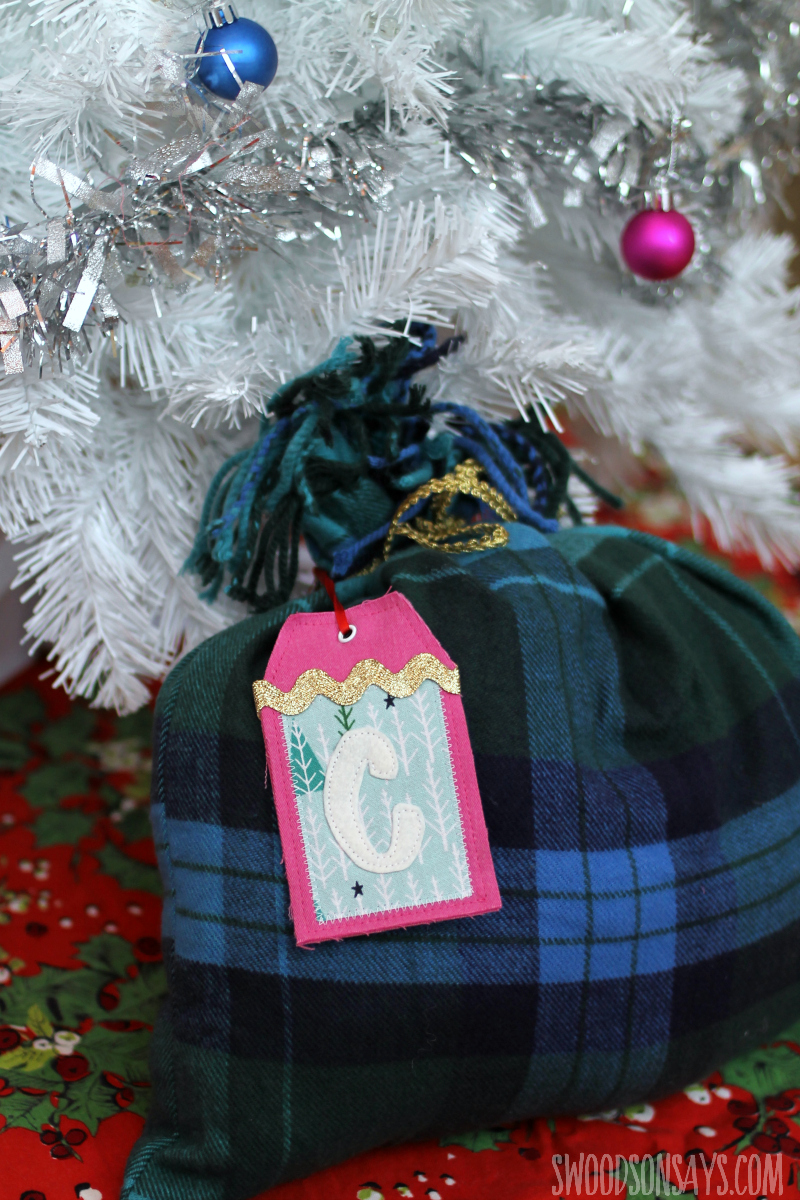
What do you think? Would this fit in under your tree? What else do you think is worth upcycling into a gift bag? I’d love to hear about how else you’re cutting down on waste during the holiday season!
Pin this upcycle sewing tutorial with this link or collage image:

How to sew a scarf into a gift bag
Supplies
- Old scarf
- Rotary cutter &quilt ruler or scissors & marking tool
- Golden braid or ribbon
- Sewing machine & coordinating thread
Steps
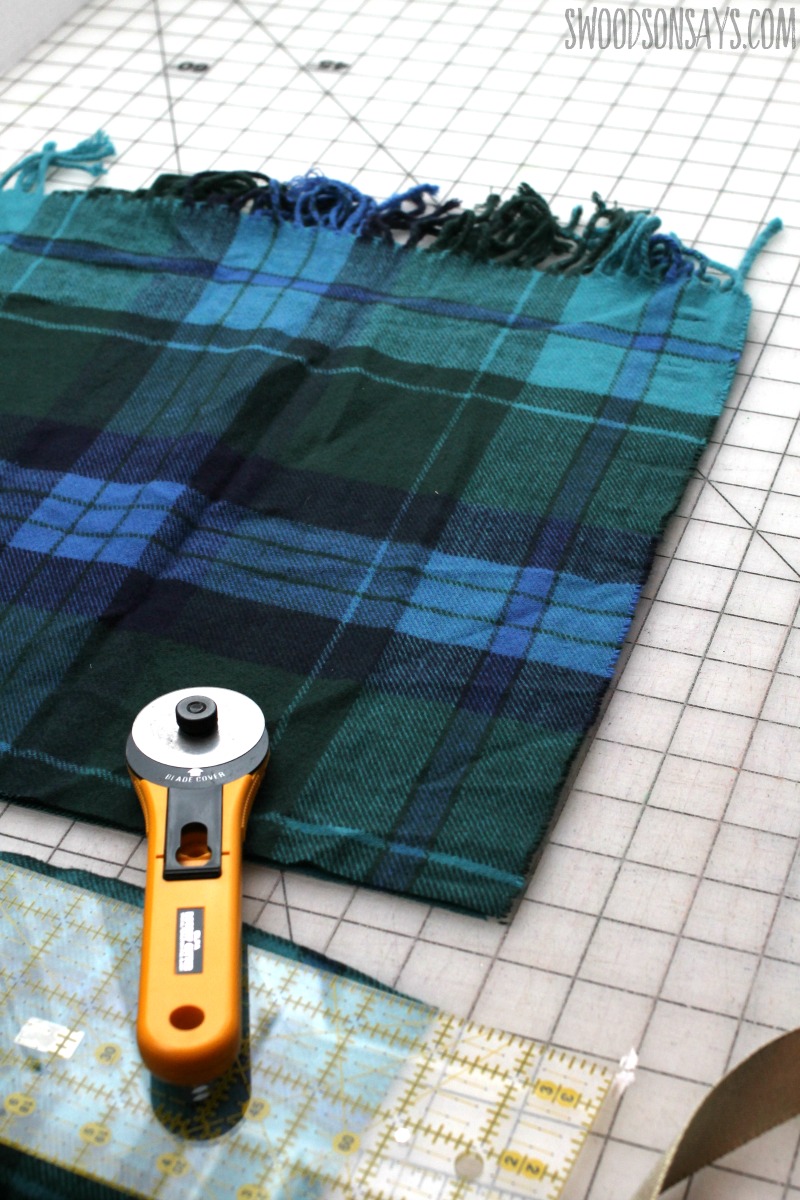
Step 1: Fold your scarf in half with the fringe meeting at the top. Chop off the bottom, however long you’d like! I went with roughly 13″ tall, excluding the fringe.
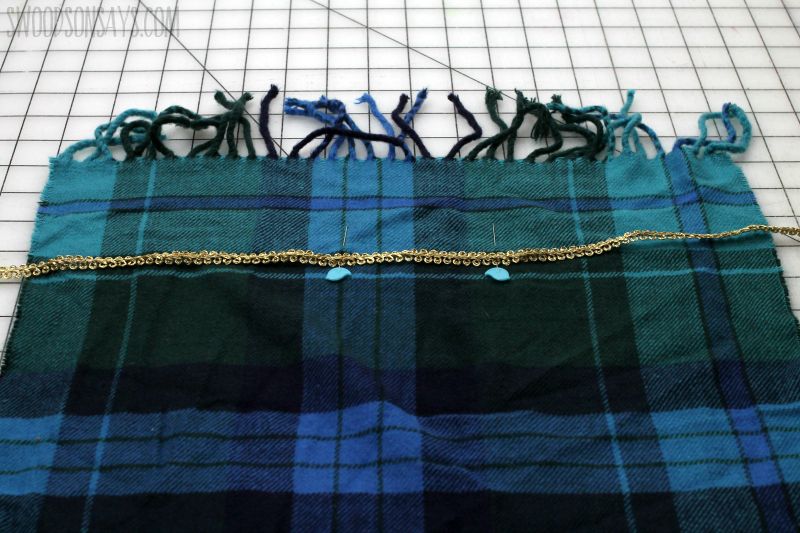
Step 2: Pick a piece of trim roughly 10″ longer than your scarf is wide. Center it and sew it on for 3 inches wide on the back, 3 inches down from the top.
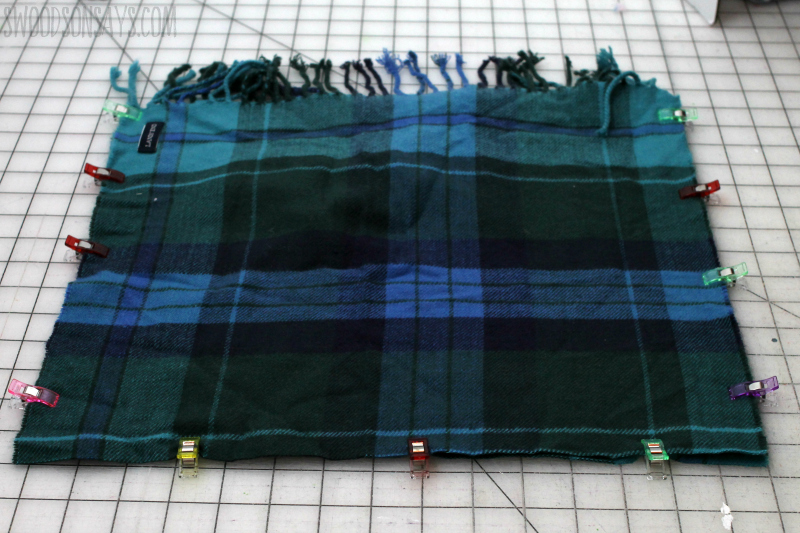
Step 3: Tuck the ribbon tails inside and put the 2 rectangle right sides together. Sew around all 3 sides without fringe. Turn it right side out and start using it, gathering the top up with one hand and tying the trim in a bow around it with the other!