
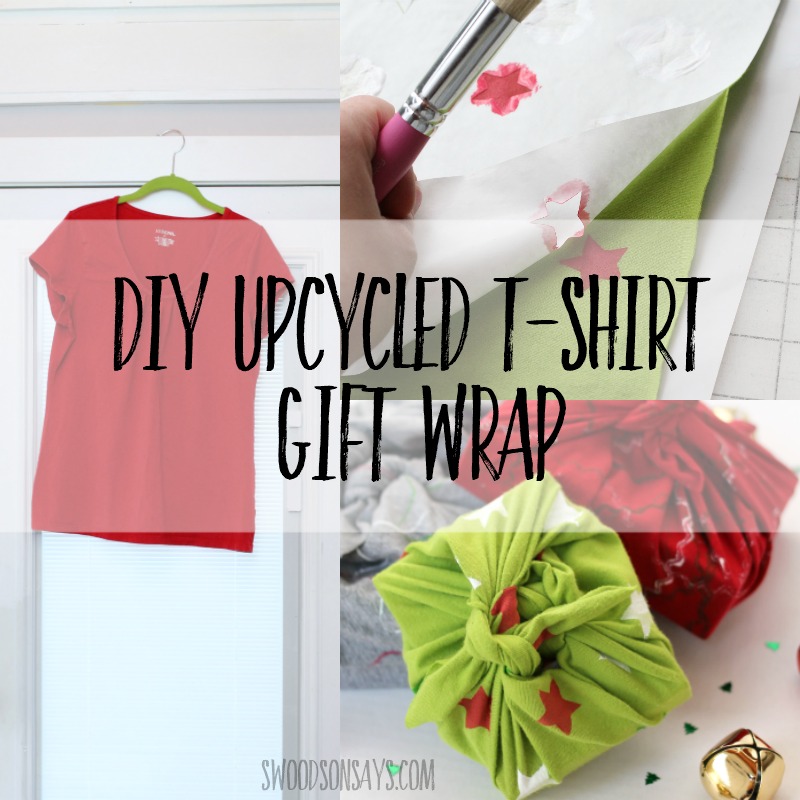
Trying to generate less trash this holiday season? Looking at a stack of stained, hole-y, or worn out t-shirts? I have a great tutorial for how to make furoshiki that will solve both those problems! This is day 2 of 12 Days of (upcycled) Christmas tutorials! Furoshiki gift wrapping allows you to wrap up your upcycled gift in upcycled gift wrap and reuse it year after year. Plaid Crafts gave me the fabric paint for free after I attended SNAP Conference, but all opinions are my own and this post isn’t sponsored.
I am very drawn to furoshiki, the practice of wrapping things in cloth instead of plastic or disposable paper. It is a symbol of traditional Japanese culture, which puts a focus on avoiding generating trash (read more here on the Japanese Ministry of the Environment).
If you like this project, you need to check out these posts too!
- 25+ ways to repurpose old t shirts
- Master list of Christmas sewing projects
- How to make a 5 minute gift bag out of a scarf
- How to make fabric gift tags, as seen in the pictures of this post
- Make an ornament as a gift tag! Master list of Christmas ornament tutorials here
Pin this tutorial for how to make furoshiki from old t-shirts with this link and photo:

How to make furoshiki from old t-shirts
Supplies
- Old t-shirts. The larger the shirt = the larger gift it will wrap! Ones with slight stretch are preferable but not required.
- Fabric paint – I used this brand
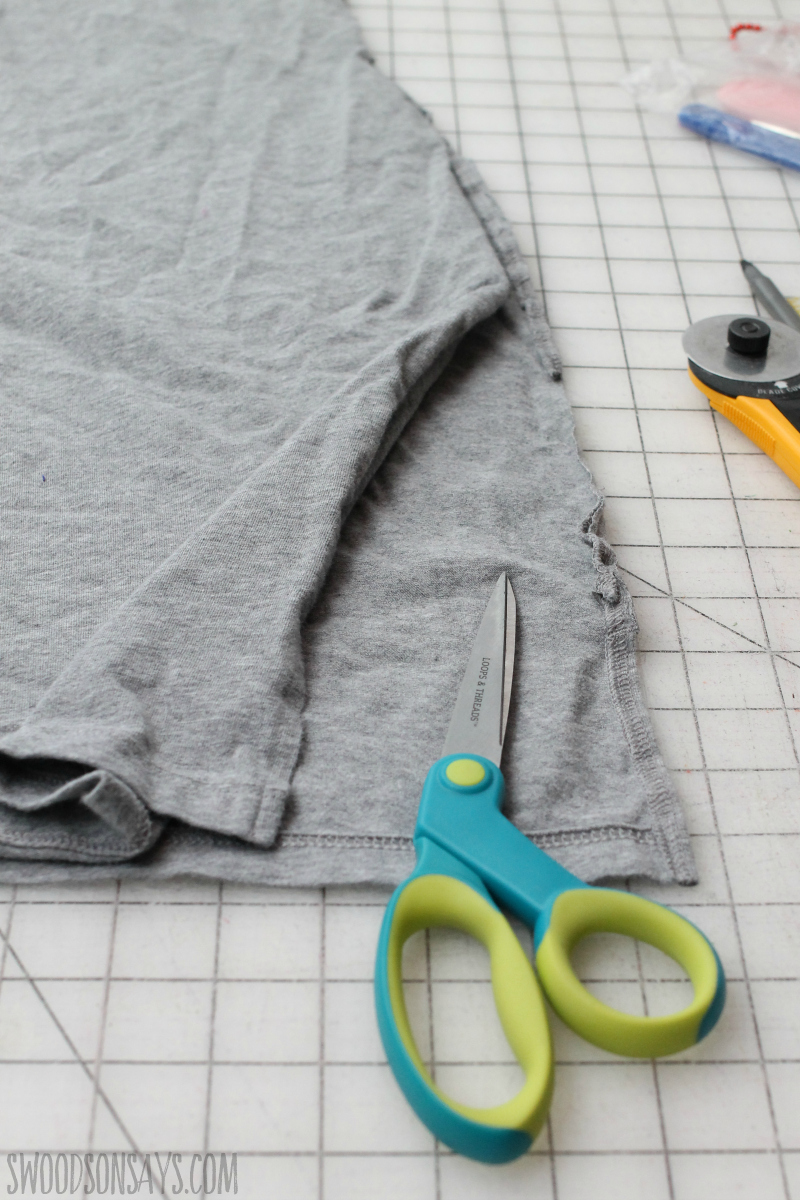
- Scissors
- Stencil, stamps, or freezer paper (see how to use freezer paper to create stencils here)
- Paintbrushes
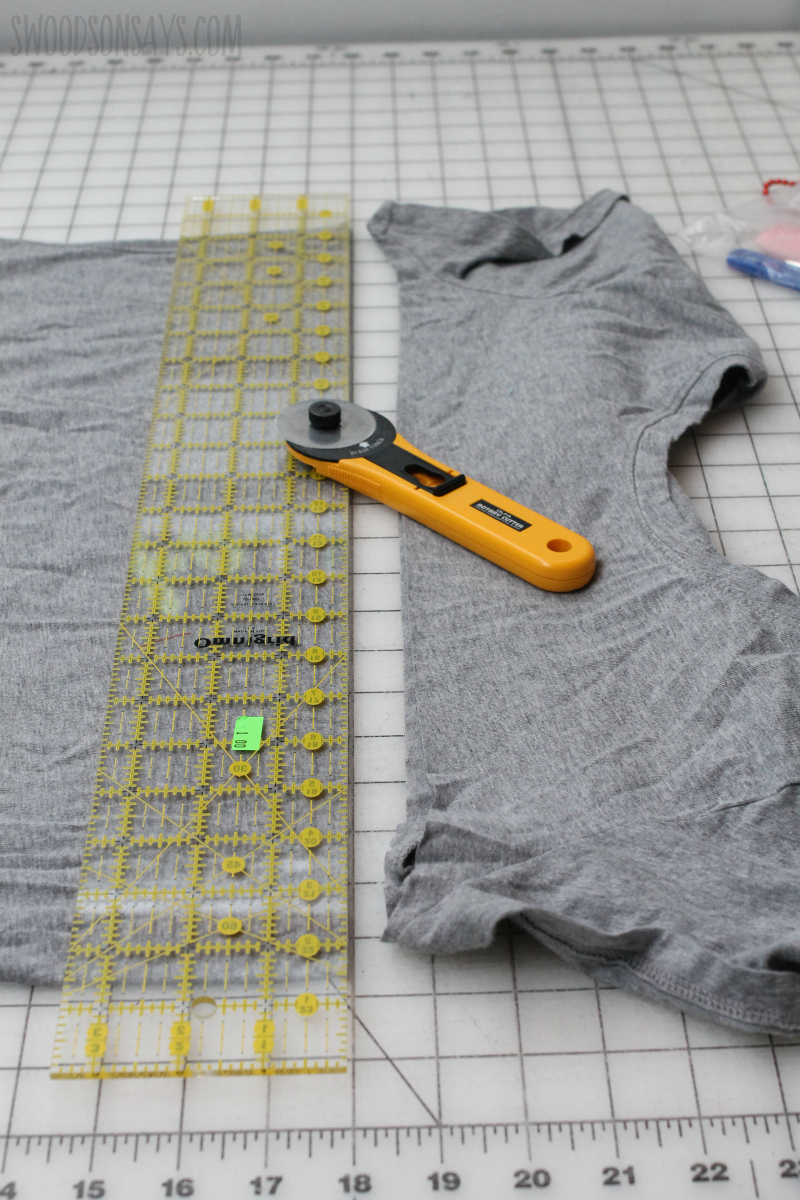
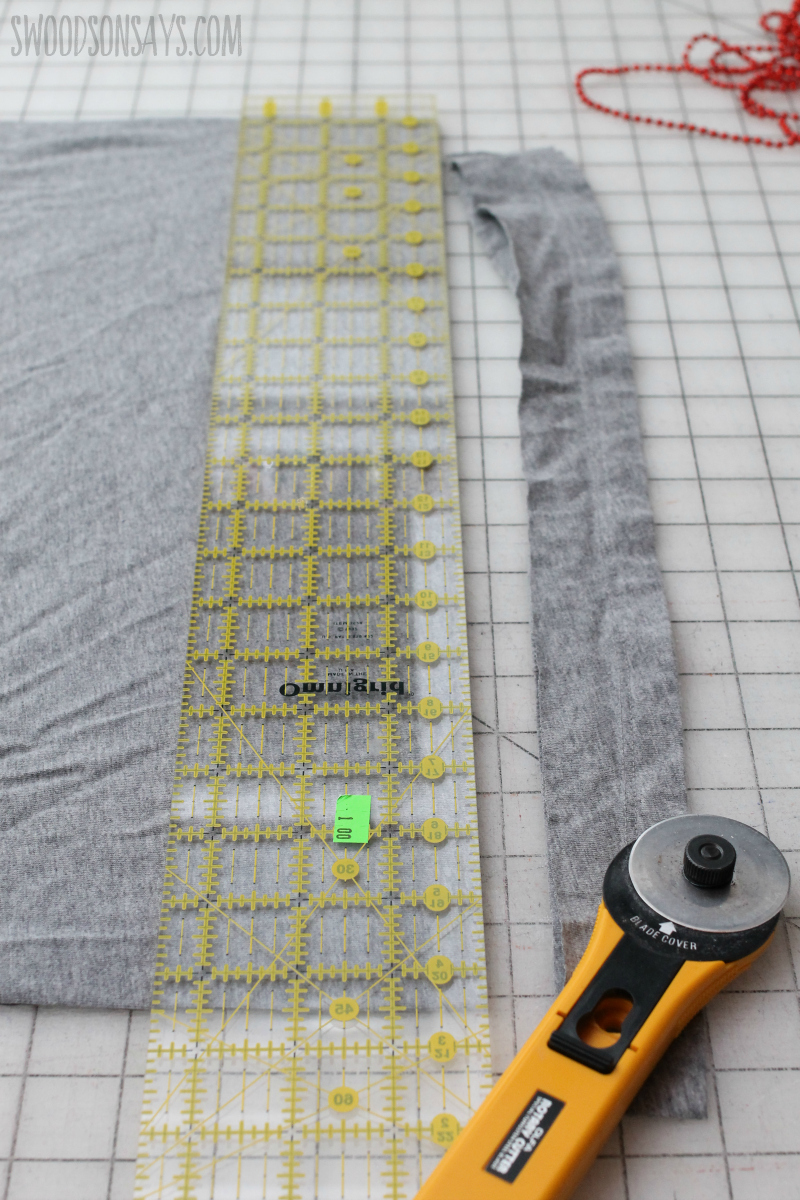
- Acrylic ruler
- Rotary cutter
Steps
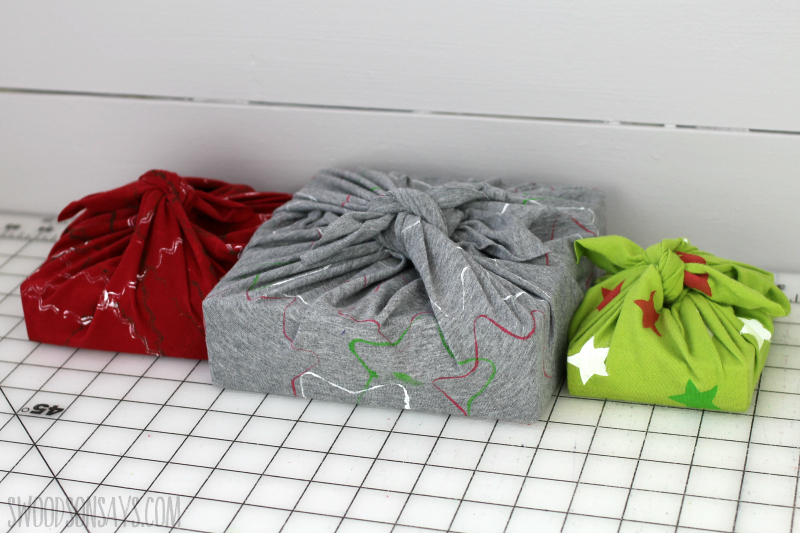
The furoshiki size dimensions I used for my three upcycled gift wraps were:
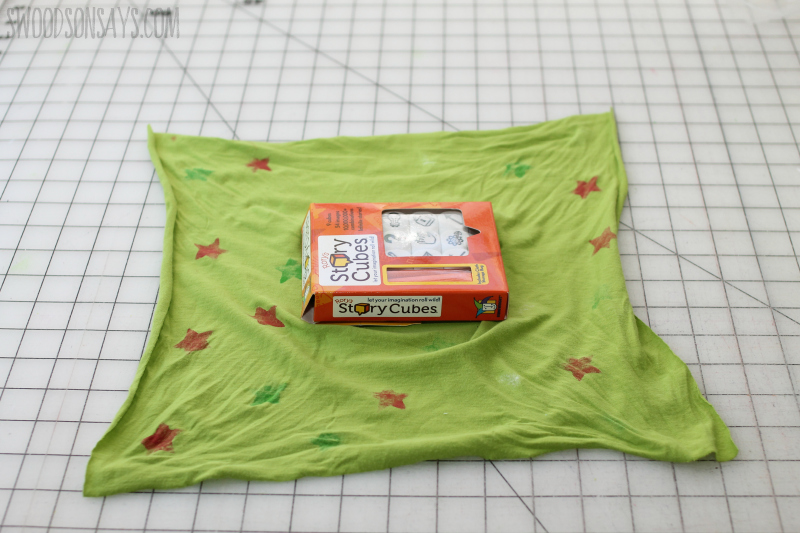
- Small (green)- 13.5″ square
- Medium (red)- 15.5″ square
- Large(grey)- 19.5″ square
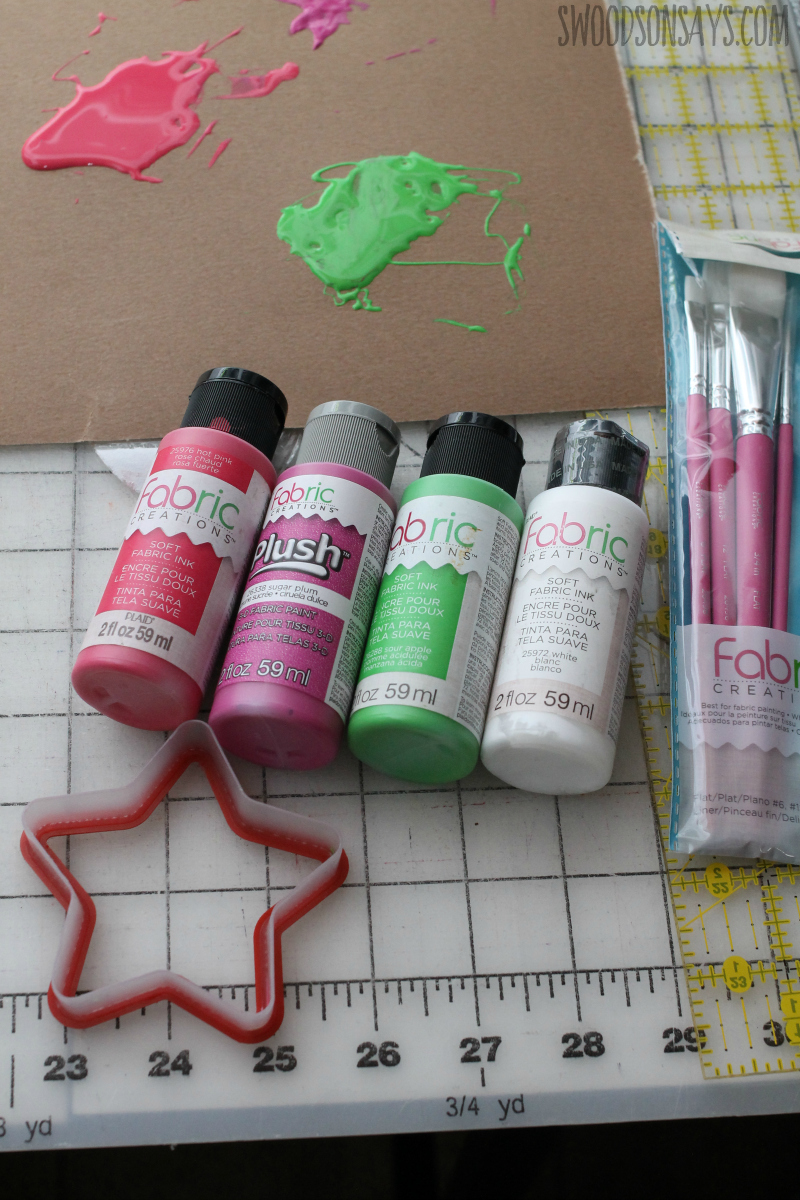
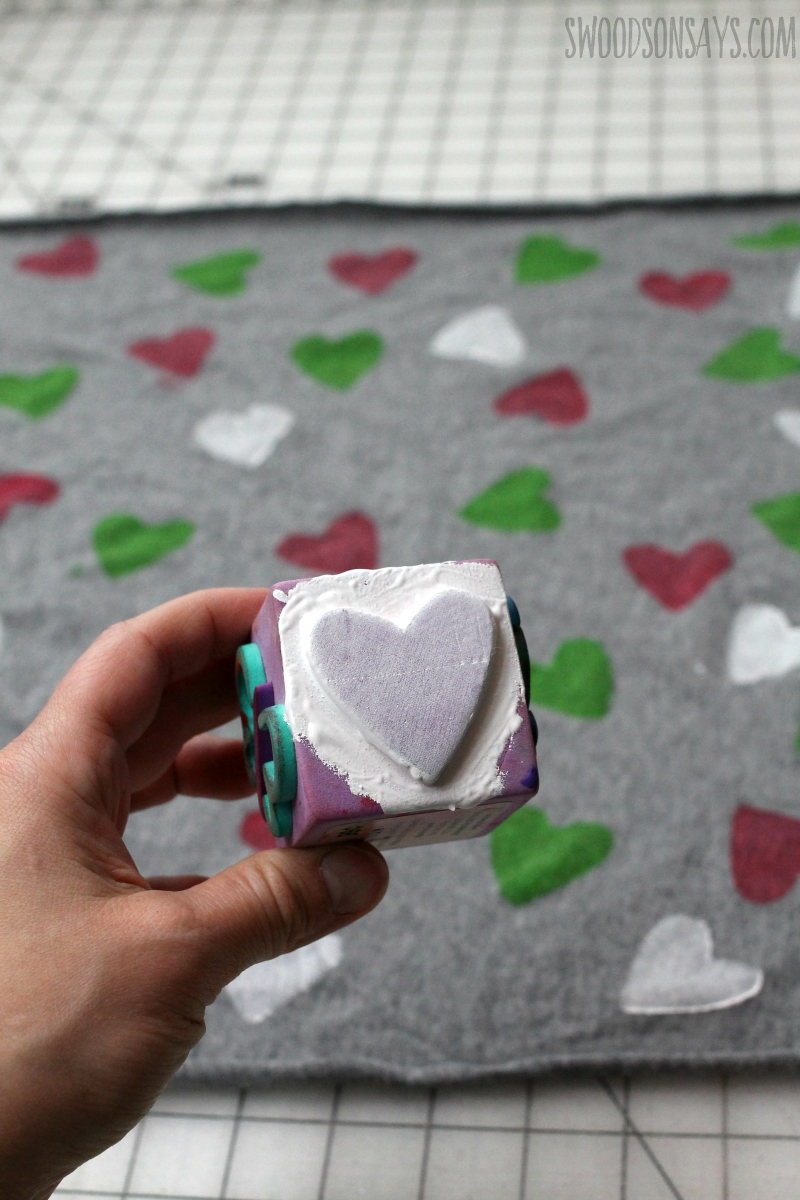
Here I used a nice fat foam stamp (little paper stamps don’t distribute the paint very well, I tried!)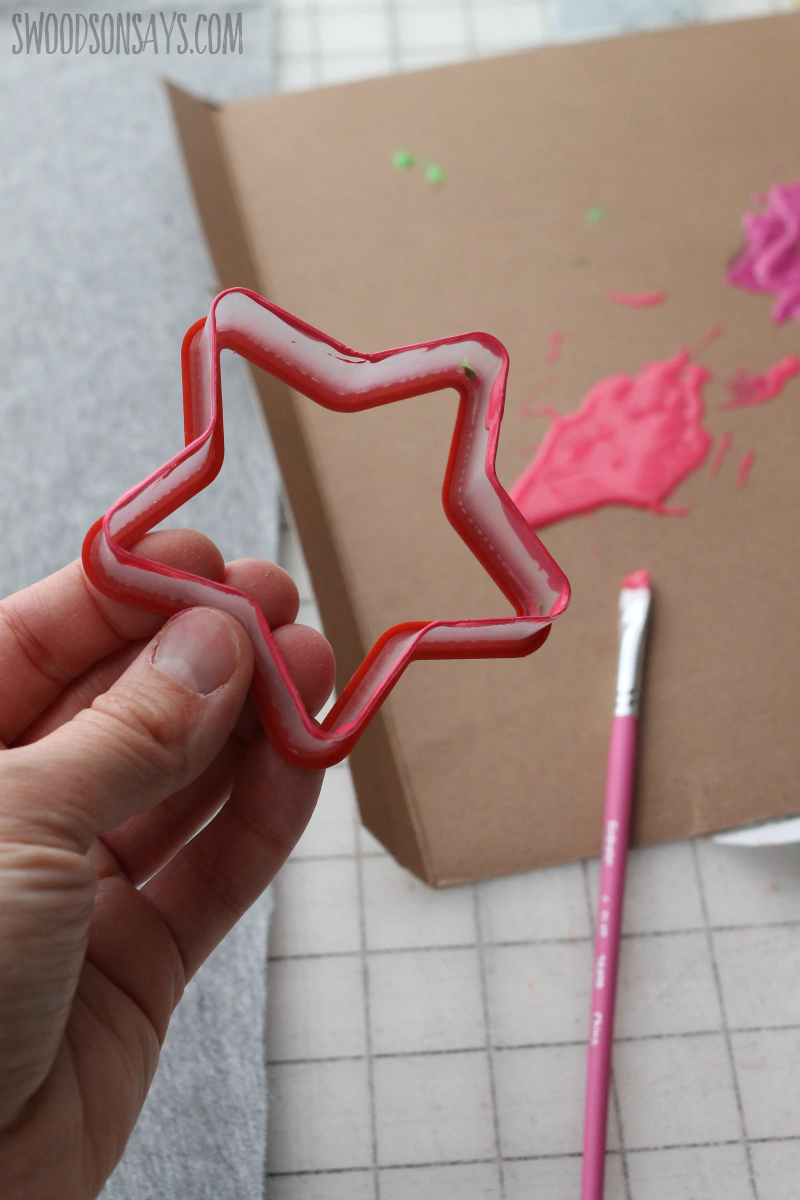
Here I used a cookie cutter as a stamp, this worked well and would be great to do with kids since it can’t collect a ton of paint.
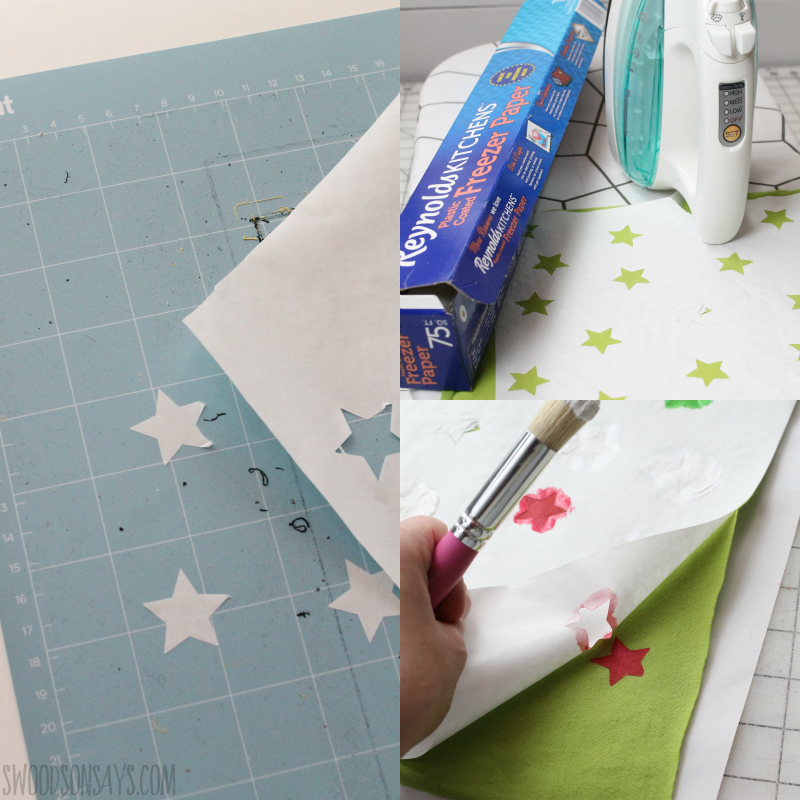
Last, I used freezer paper to make stencils too. A Cricut cut my stars out (see the review of my Cricut here) but you can use a craft knife easily too (full tutorial here).
Step 5- Follow paint instructions for drying/finishing with an iron, and you’re ready to wrap!
How to tie furoshiki
Step 1- Lay your gift in the middle of the cloth spread out.
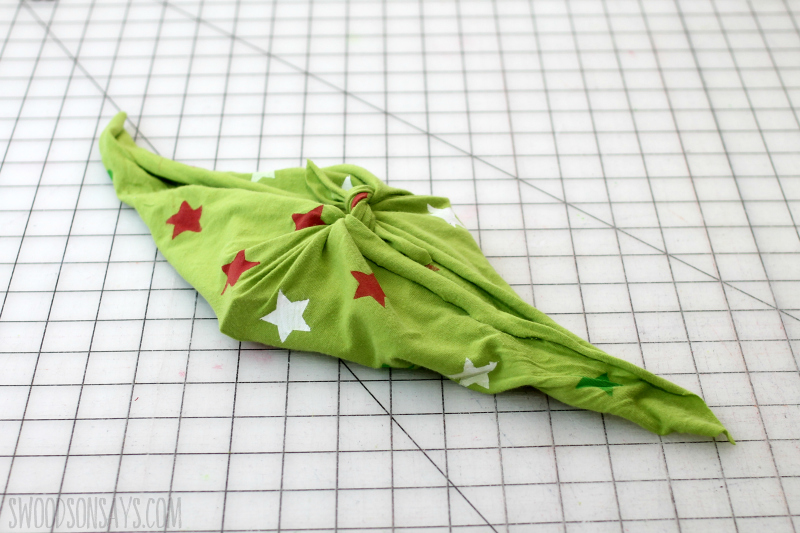
Step 2- Take diagonal corners and tie them in a knot, pulling tight.

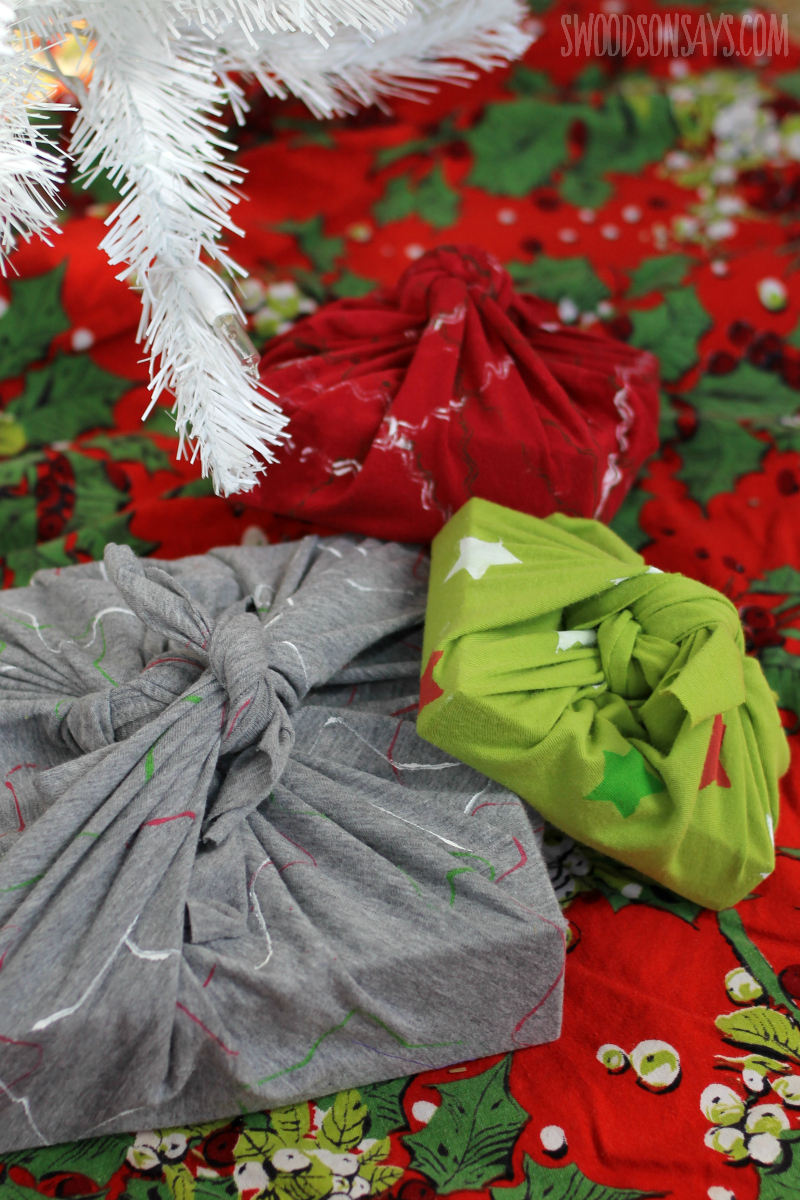
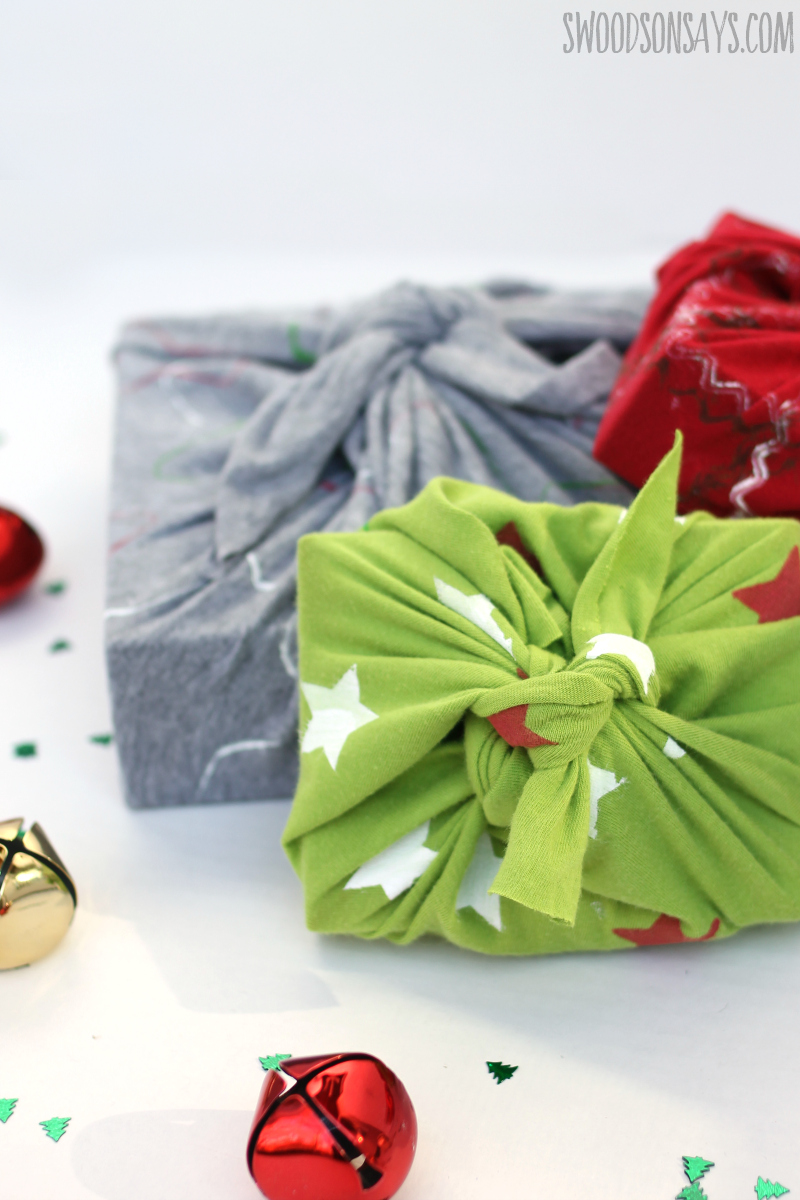
Step 3- Pull the remaining two corners over top, and tie in a knot. You’re done! What do you think of furoshiki gift wrapping?
Peggy
Friday 4th of December 2020
Sharing this with my crafty friends! I have been to Japan. This definitely a funky twist on what they do but the concept is the same...
Stephanie - Swoodson Says
Thursday 10th of December 2020
Thanks for reading and sharing Peggy! I hope I get to visit Japan someday :)
Lila
Monday 27th of April 2020
I think I would like to take it just one step further. I would like to give the gift of the T Shirt and buy/make a new shirt, (not cut it up) and tie it carefully and gently.
Stephanie - Swoodson Says
Sunday 12th of July 2020
great idea!