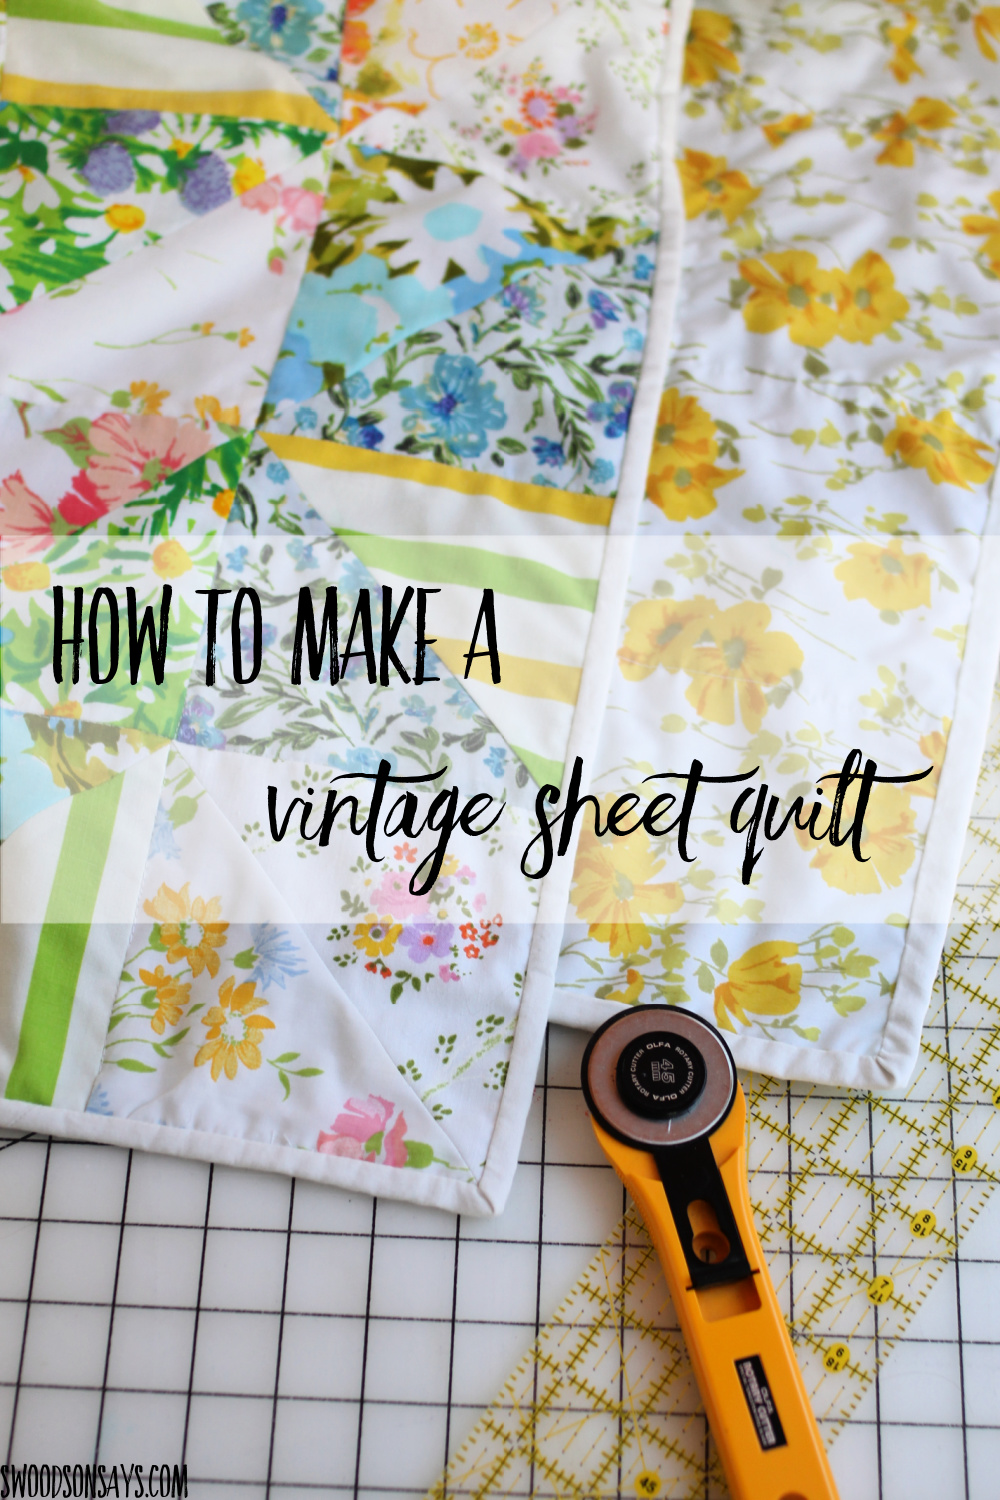
How to make a quilt using sheets – a beginner quilt sewing tutorial

Any sheet can be used as fabric to make a quilt, but it is especially fun to make a quilt from vintage floral sheets! I spent several weeks hunting down different vintage sheets (and then bought a few off ebay) and then dove in, making this in a monster-sewing weekend. I was left with a LOT of leftover sheet fabric to experiment with different designs in the future – sheets give you tons of yardage!
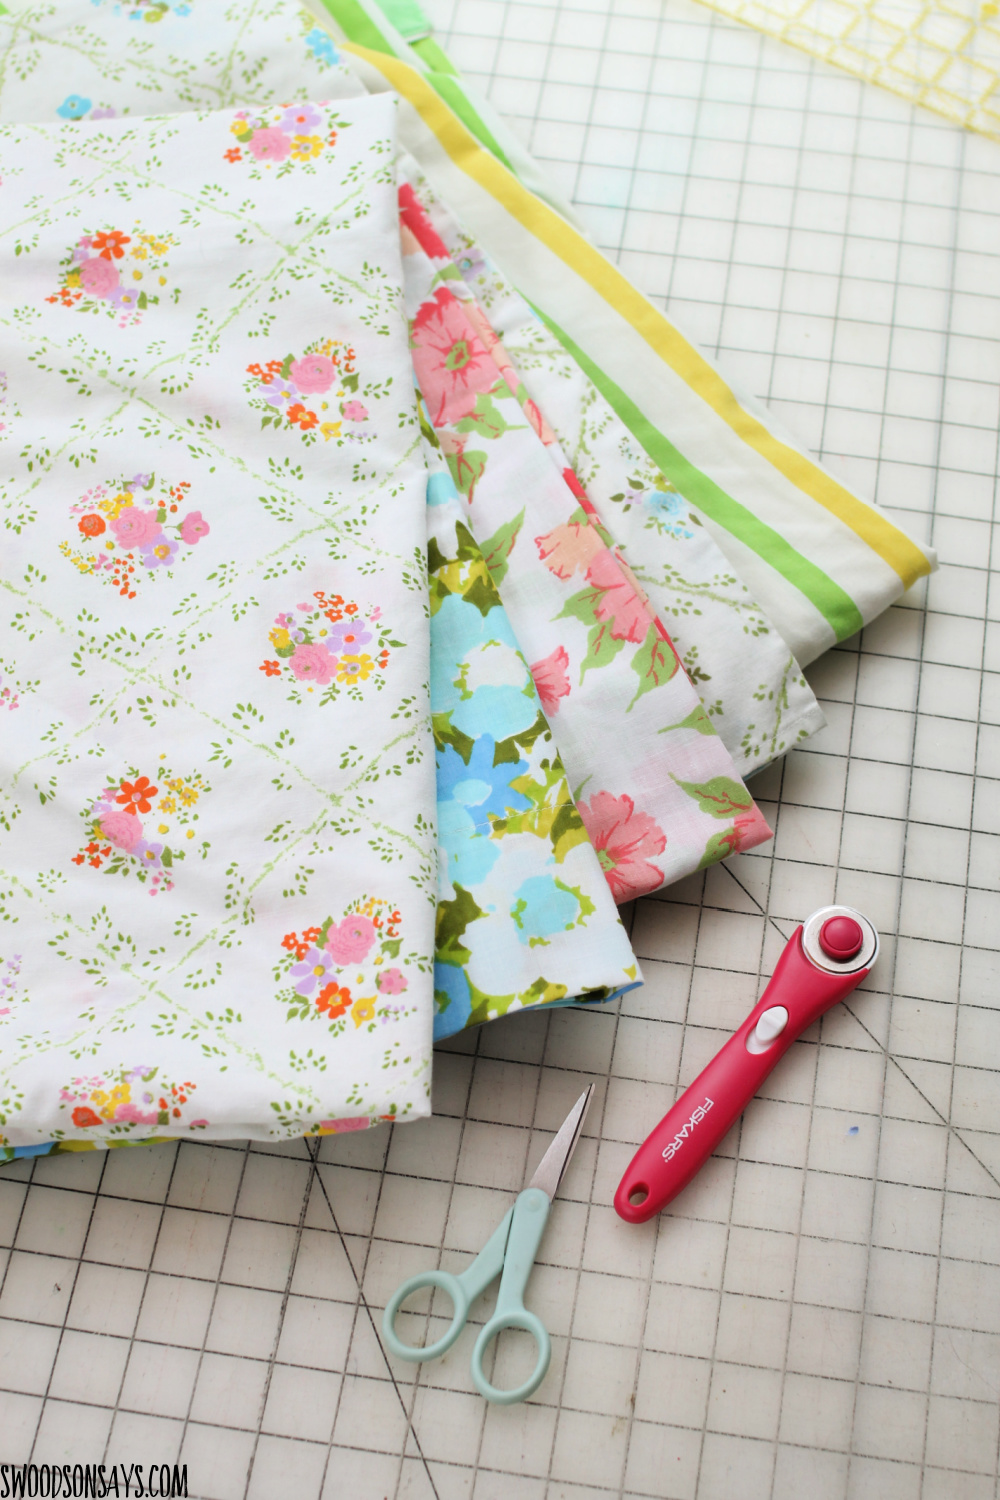
Here are a few of my favorite prints; I found lots of vintage florals in the pay-by-the-pound goodwill outlet bins.

I found it tough to get a good photo of this quilt in its entirety, the colors are so vibrant! But here is an overall view. I’m going to try again on an overcast day and maybe update this post later, but you at least get the gist. In retrospect, I needed to use a red value-viewer and spread those dark green florals out a little more, but a good reminder for next time.
I just love all these bright colors!! Plenty of the sheets had stains but it was easy to cut around them for my yardage.
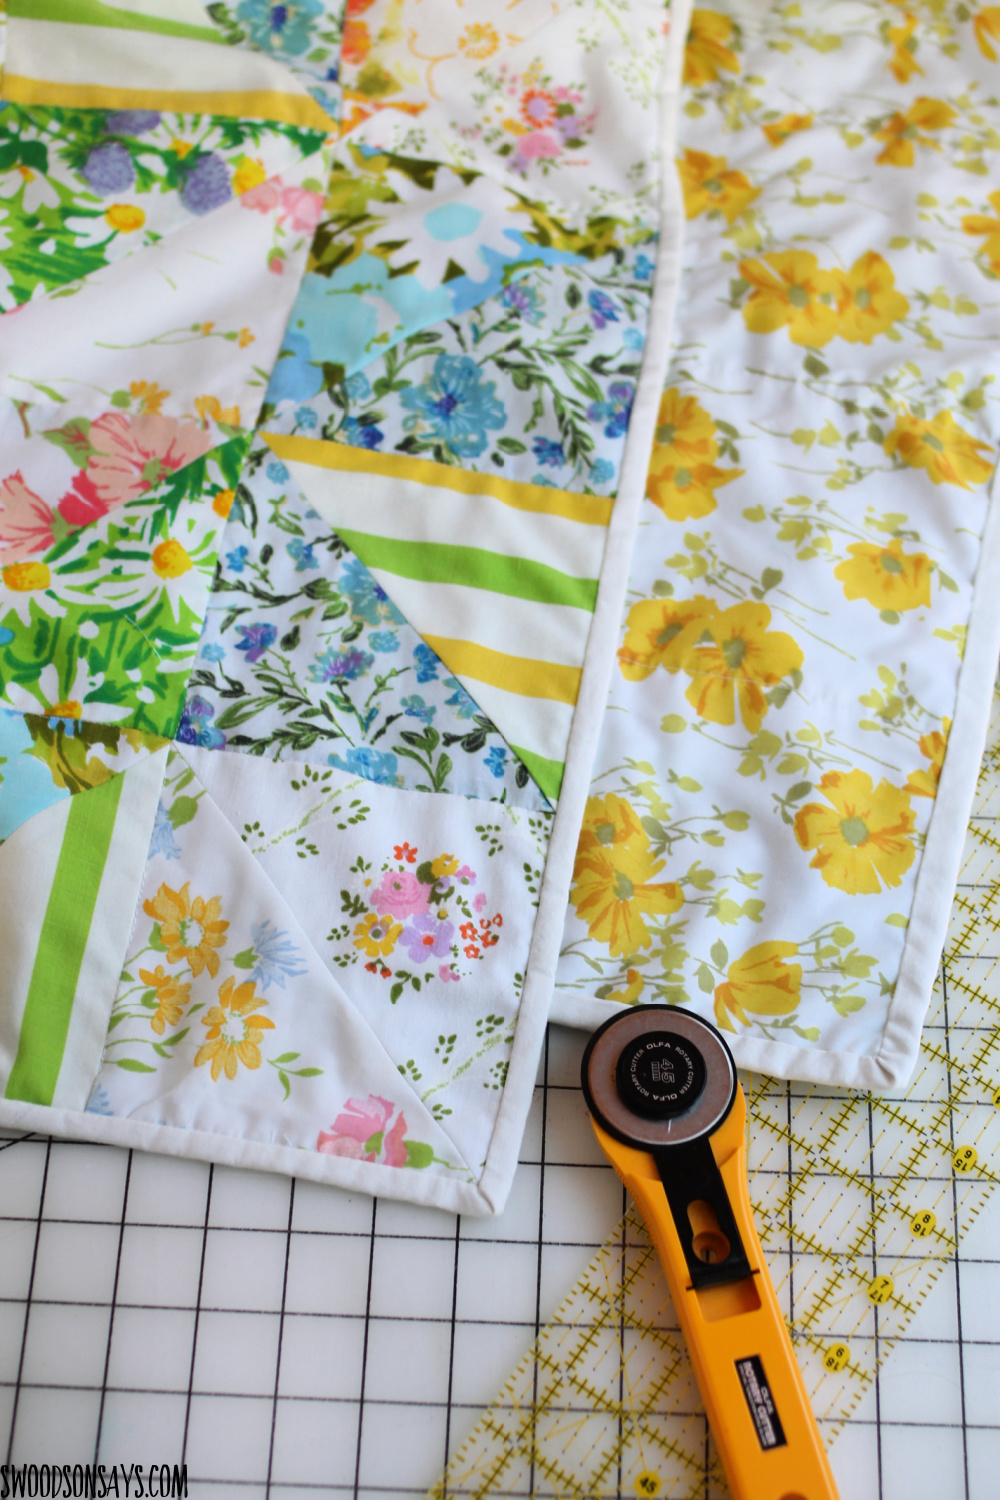
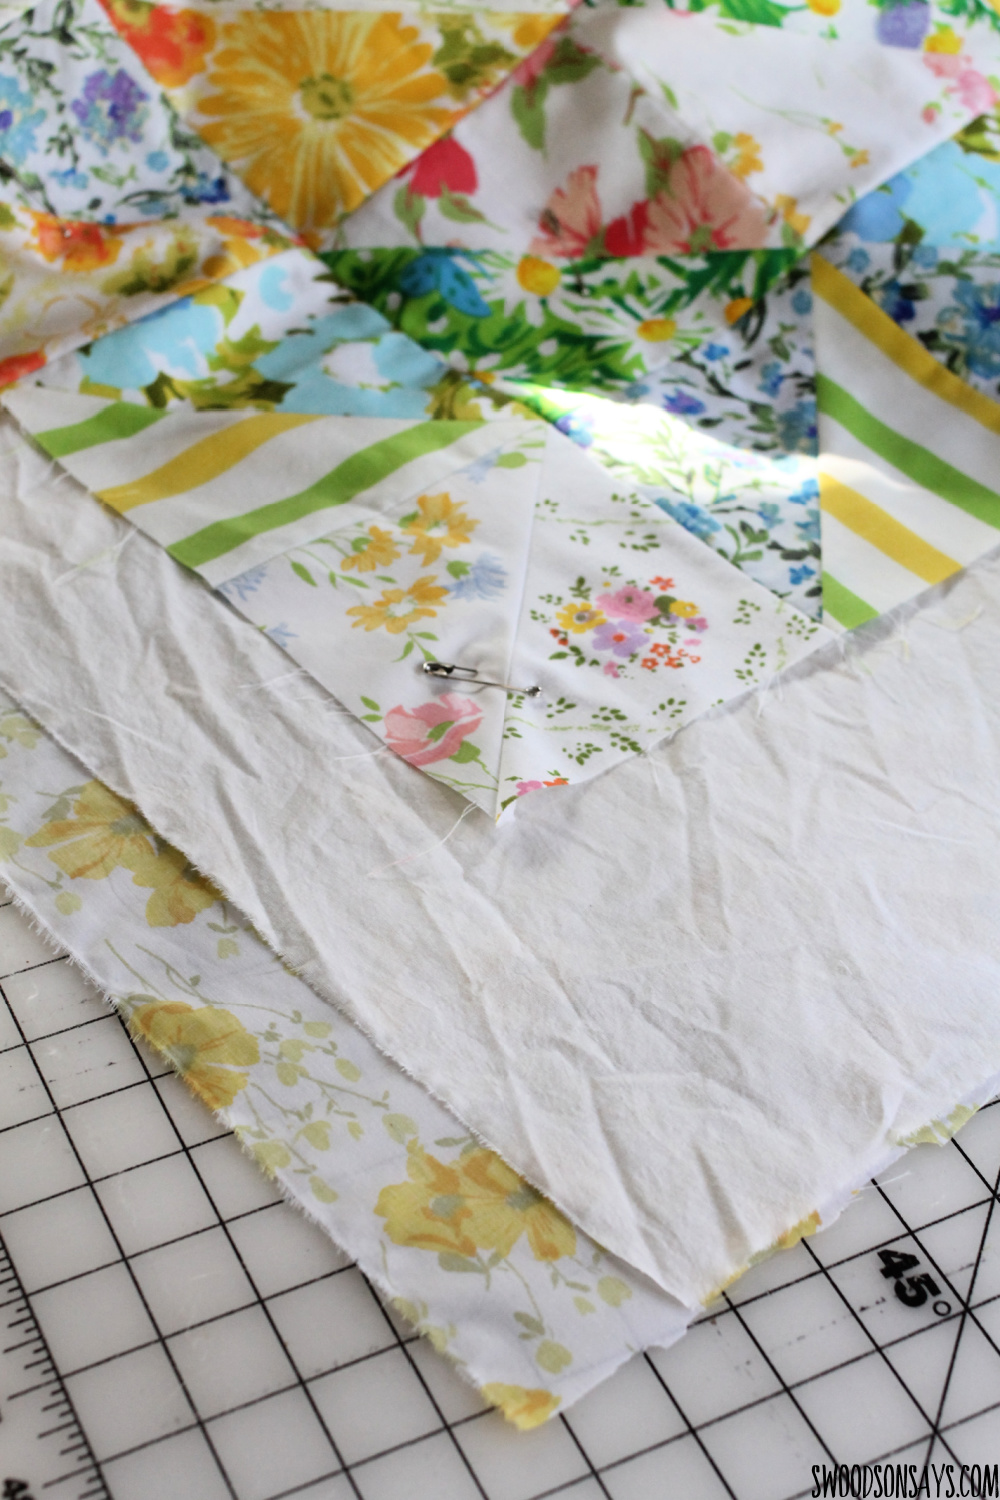
A surprise for you — I also used old sheets for the binding, “batting”, and backing! I love that this makes it a really nice summer weight, you don’t have to worry about quilting close together, and of course it’s super cheap.
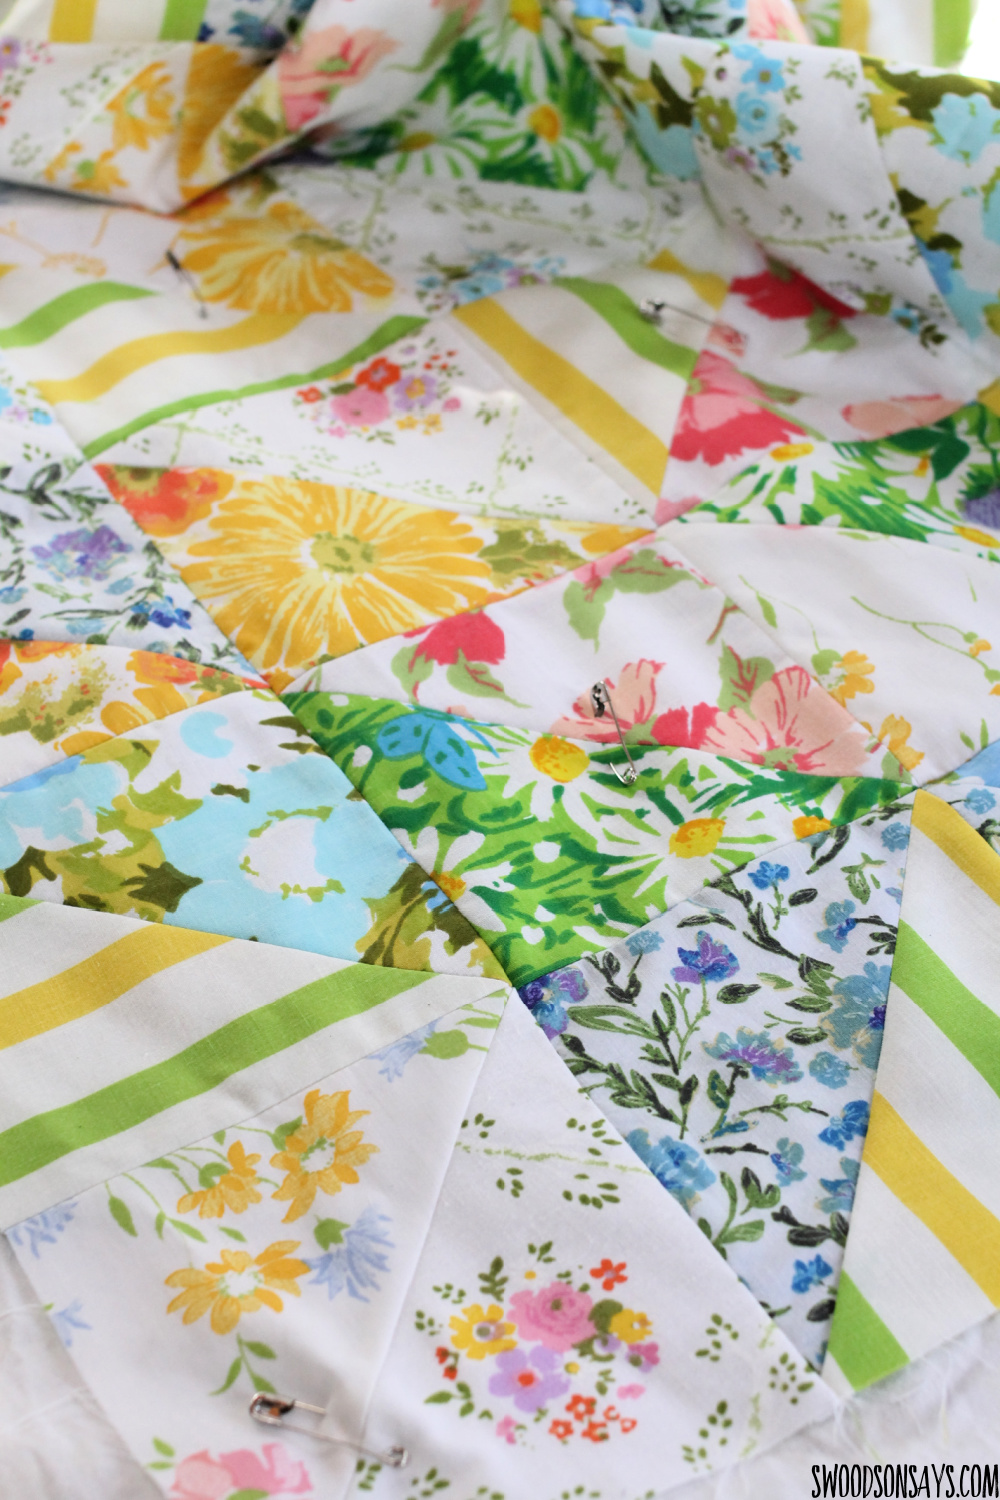
I just quilted with straight lines because that’s the best I can do at home, but it would be beautiful to see a quilt like this stitched with a floral or leaf motif, wouldn’t it!
If you like this post, check out these others while you’re here!
- 35+ creative quilt label ideas
- How to make a quilt from old clothes – 10+ ideas
- 10+ small quilting projects to make in a weekend!
- How to upcycle a crochet blanket into a pillow
Pin this tutorial for how to make a quilt using sheets with this collage image or link:
Ready to make your own? I swear it’s pretty simple!
How to make a quilt using sheets
Supplies:
- An assortment of 10 different prints of vintage floral & striped pillowcases or sheets – in this quilt there was 1 stripe used with 9 different florals. I thrifted for mine but you can find them on ebay or even pre-cut fat quarter bundles on etsy
- Light colored twin cotton sheet used as backing & binding fabric
- Light colored twin cotton sheet used as batting
- Walking foot– this is not required but makes quilting so much easier, it has feed dogs on top so everything pulls through easier!
- Iron
- Marking utensil
- Quarter Inch seam marker (optional but useful)
- Safety pins
- Scissors
- Rotary cutter
- 6.5” square ruler
Details:
- Finished size: 53” wide X 68” tall
- Seam allowances: ¼”
Cutting:
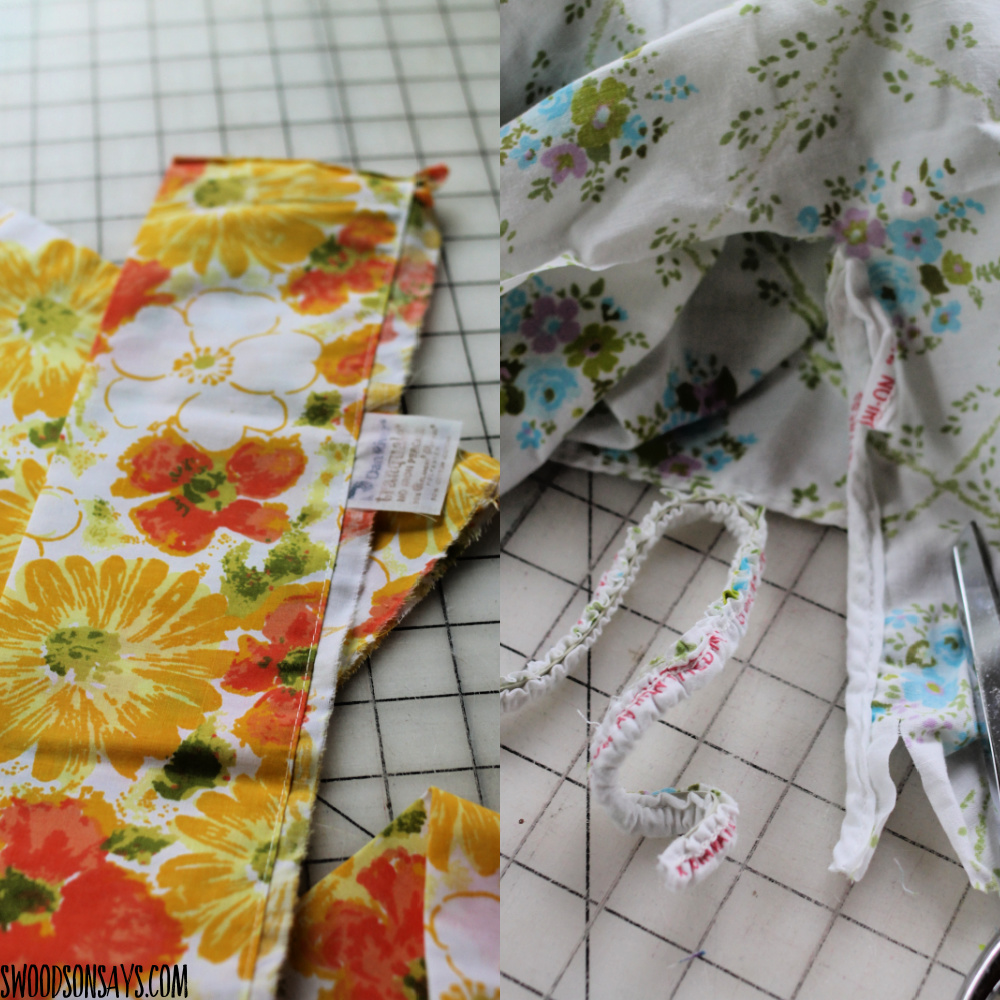
Step 1c- When working with vintage sheets, I like to cut and then rip all the elastic, hems, etc. first and then iron!
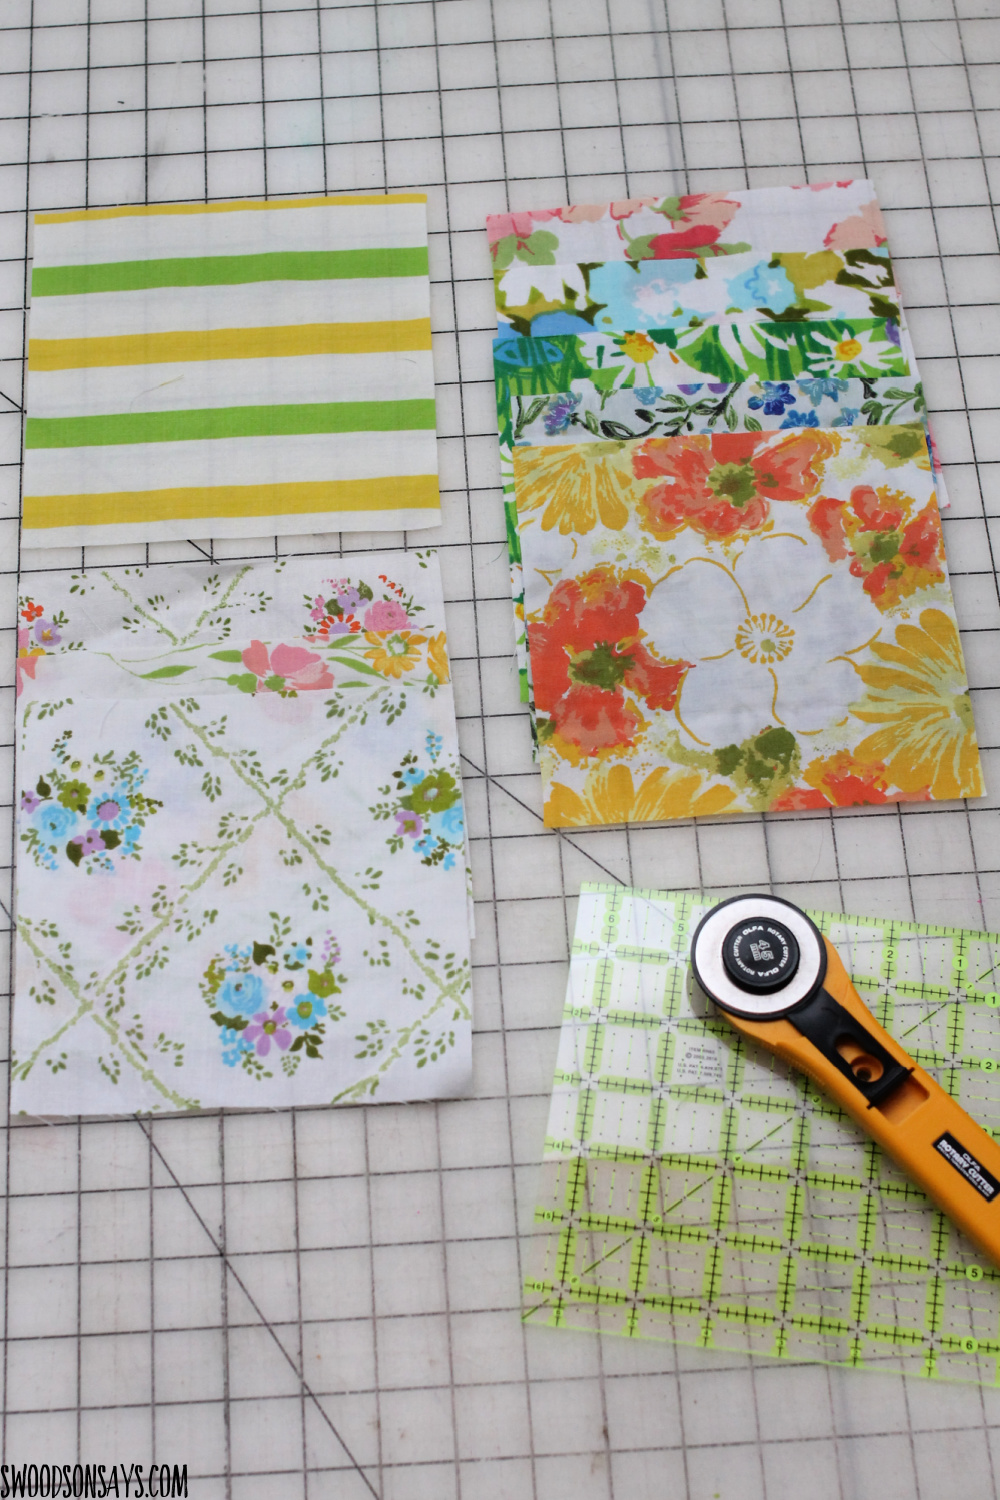
Step 2c- Cut 130 6.5” squares – This quilt used 24 striped squares & roughly 12 of each print (not all were used in the final product).
- Cut cotton fabric binding: 2 ¼” wide x 260” long
- Cut cotton fabric batting & backing: roughly 60″ wide X 75″ tall
Piecing:

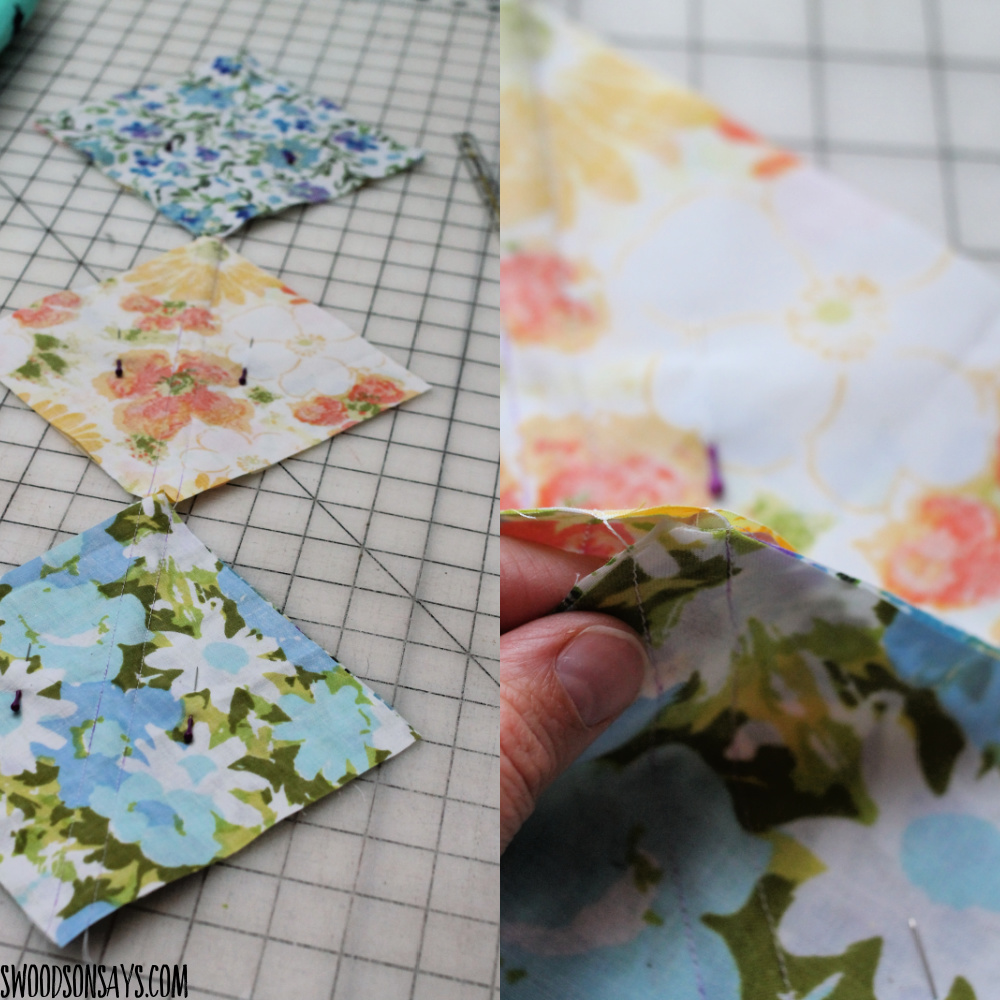
Step 1p- Lay different print fabric squares right sides together and line them up. Use your seam marker and draw out two lines ¼” away from the diagonal center line, pin to keep in line.
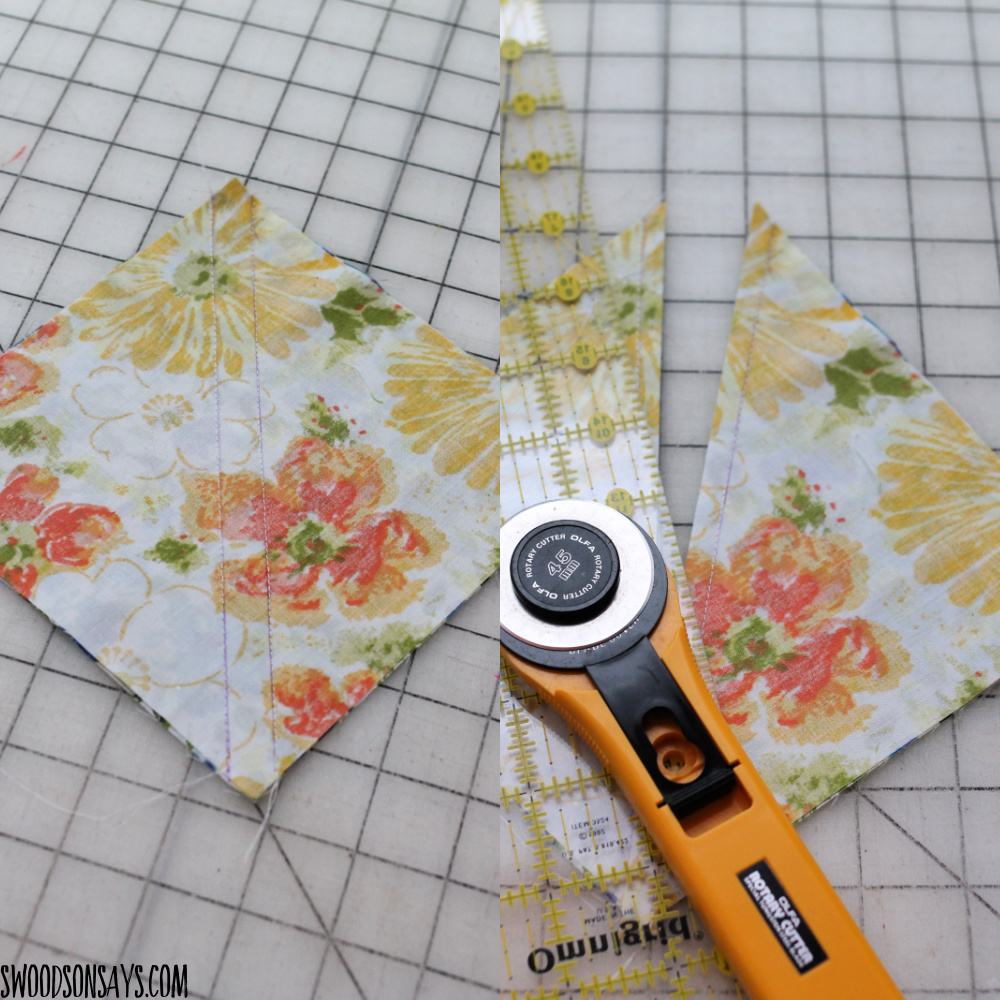
Step 2p- Sew along each line that you drew and use your rotary cutter to then slice down the diagonal center line. I like chain piecing for these – which you can see above!
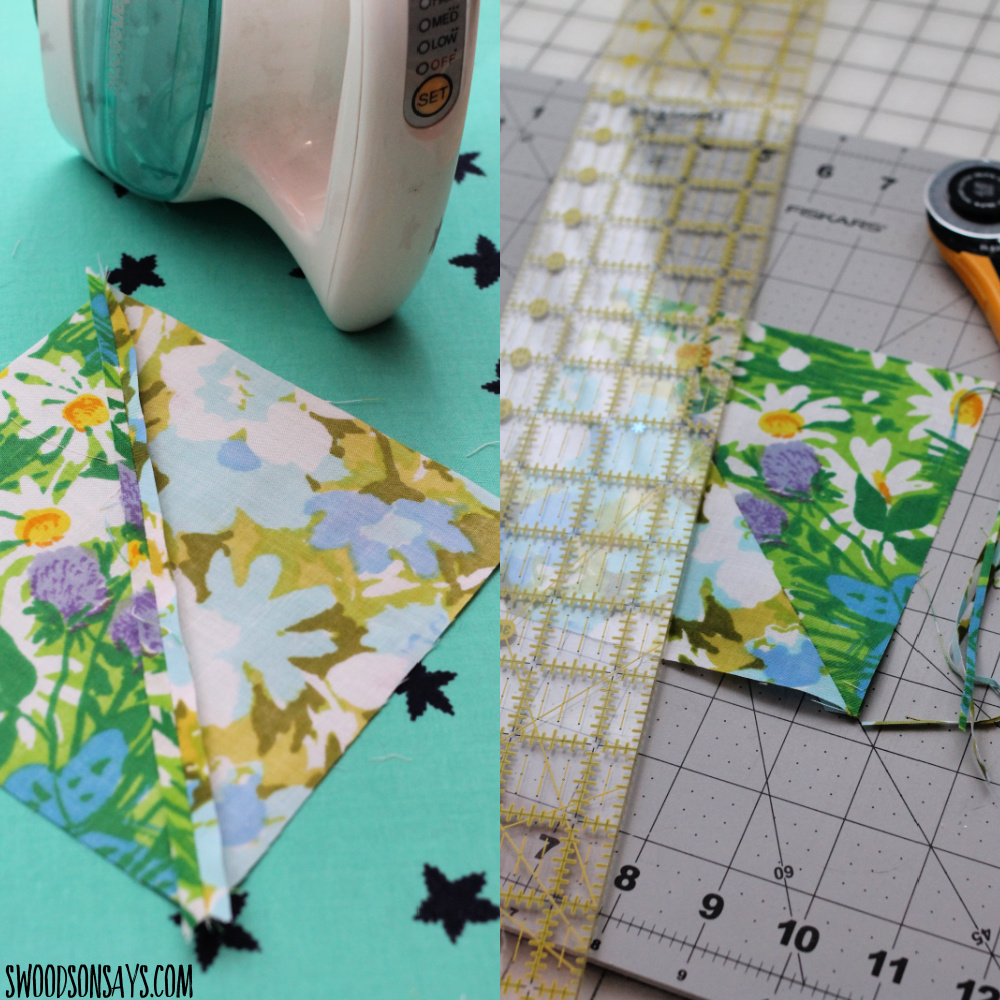
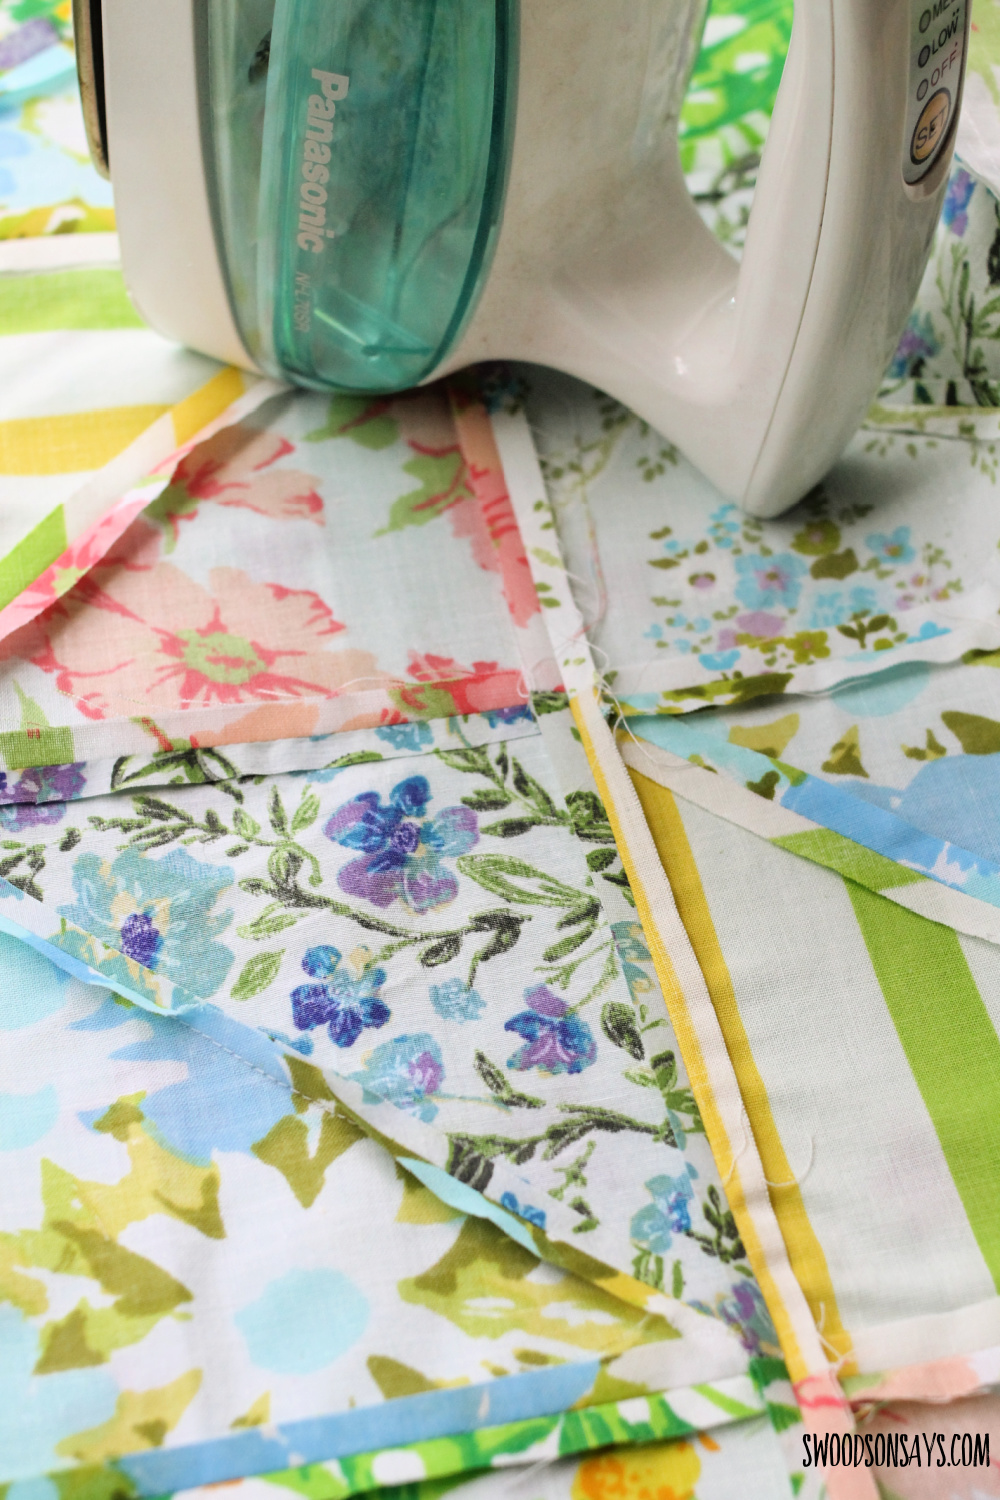
Step 3p- Take out the pins and press seams open. Trim squares to 5 ¾”, press.
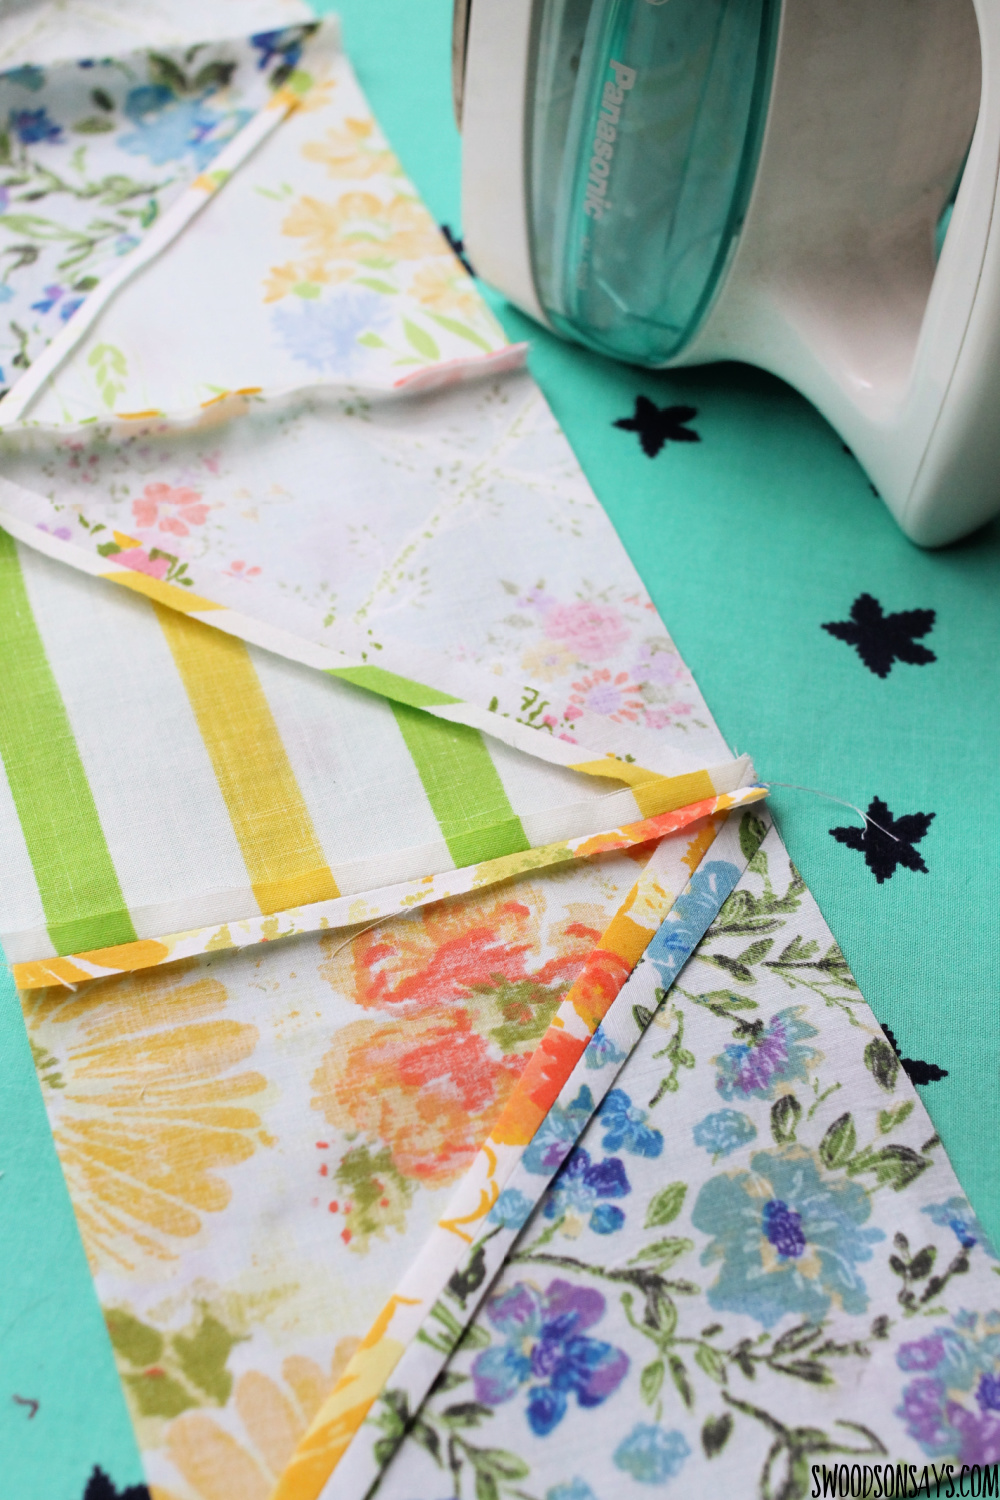
Step 4- Assemble squares in a random fashion, take a photo of the arrangement so you don’t forget. Then sew together in rows (1/4″ seam allowance) and then sew the rows together.
Finishing
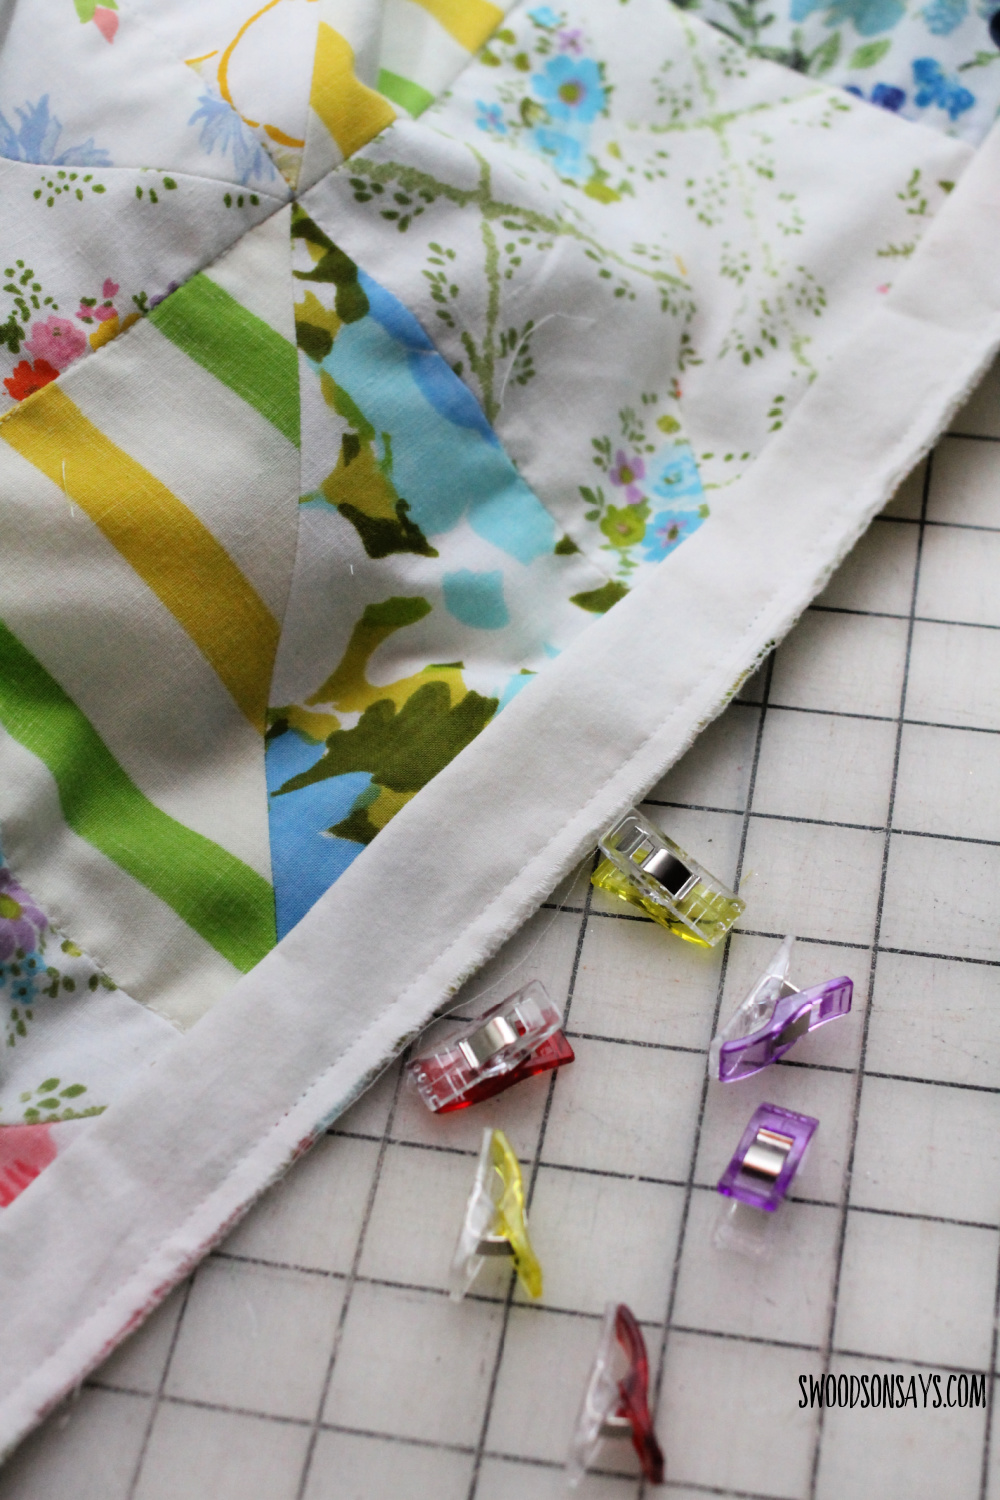
Step 1f– Sandwich the quilt top with the batting sheet in between and backing sheet wrong sides together, pin.

Step 2f-Square up the top and quilt as desired – an advantage of using a sheet as batting is that you can quilt as little or much as you’d like & bind. Wash, dry, and you’re done!