
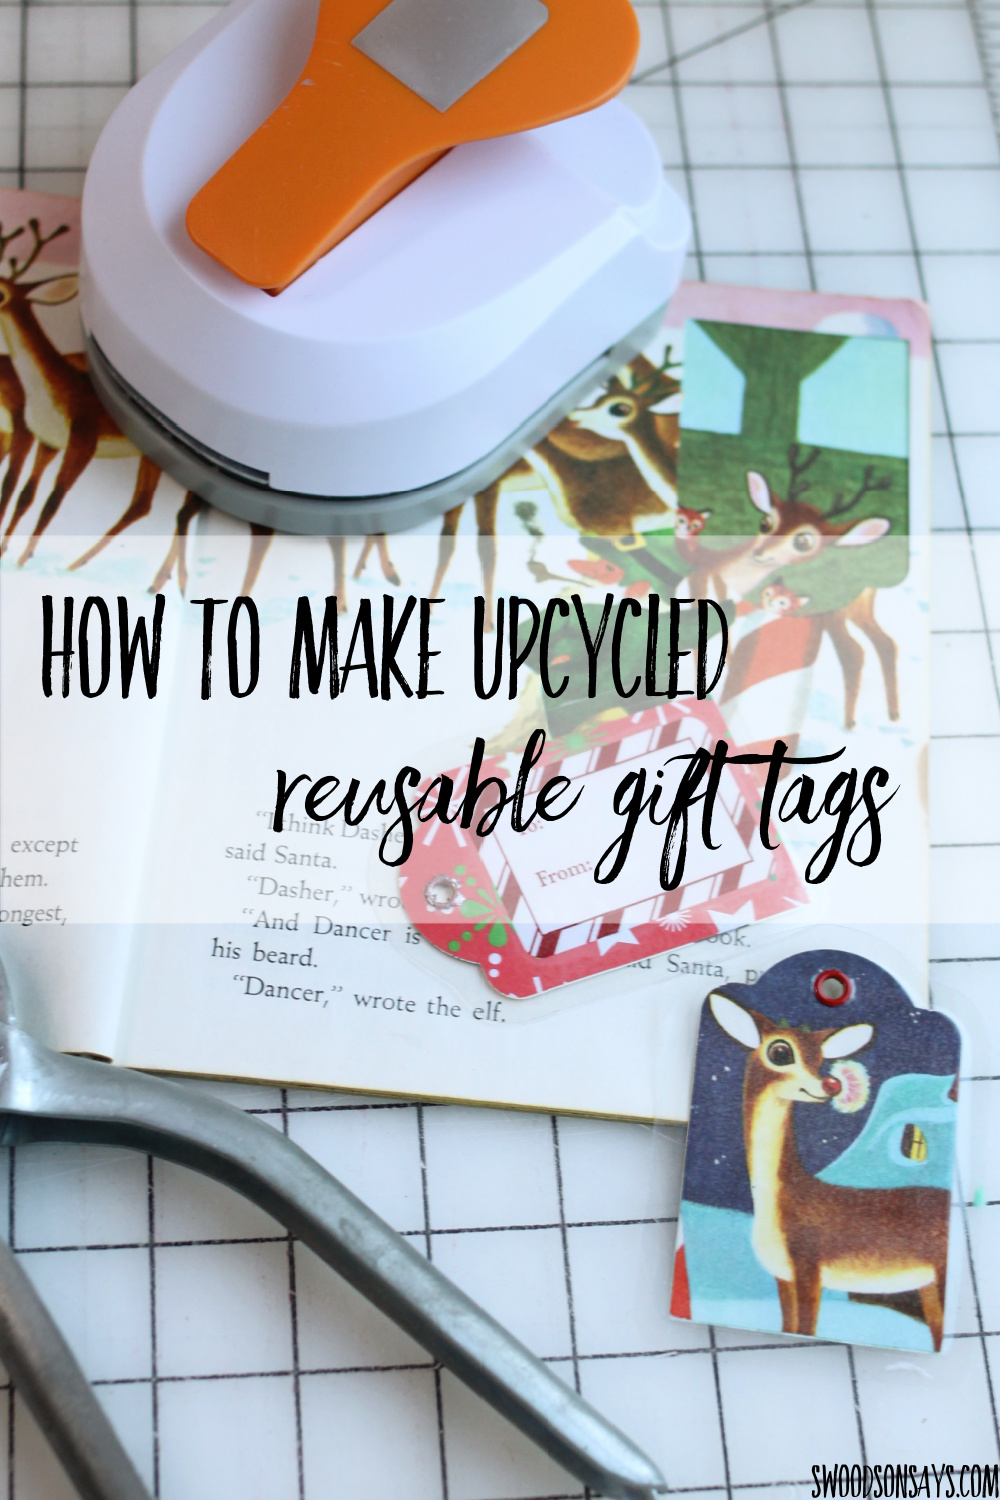
Use this upcycled gift tags diy tutorial and craft a trash-free Christmas! Upcycle old Christmas cards & books into reusable gift tags.
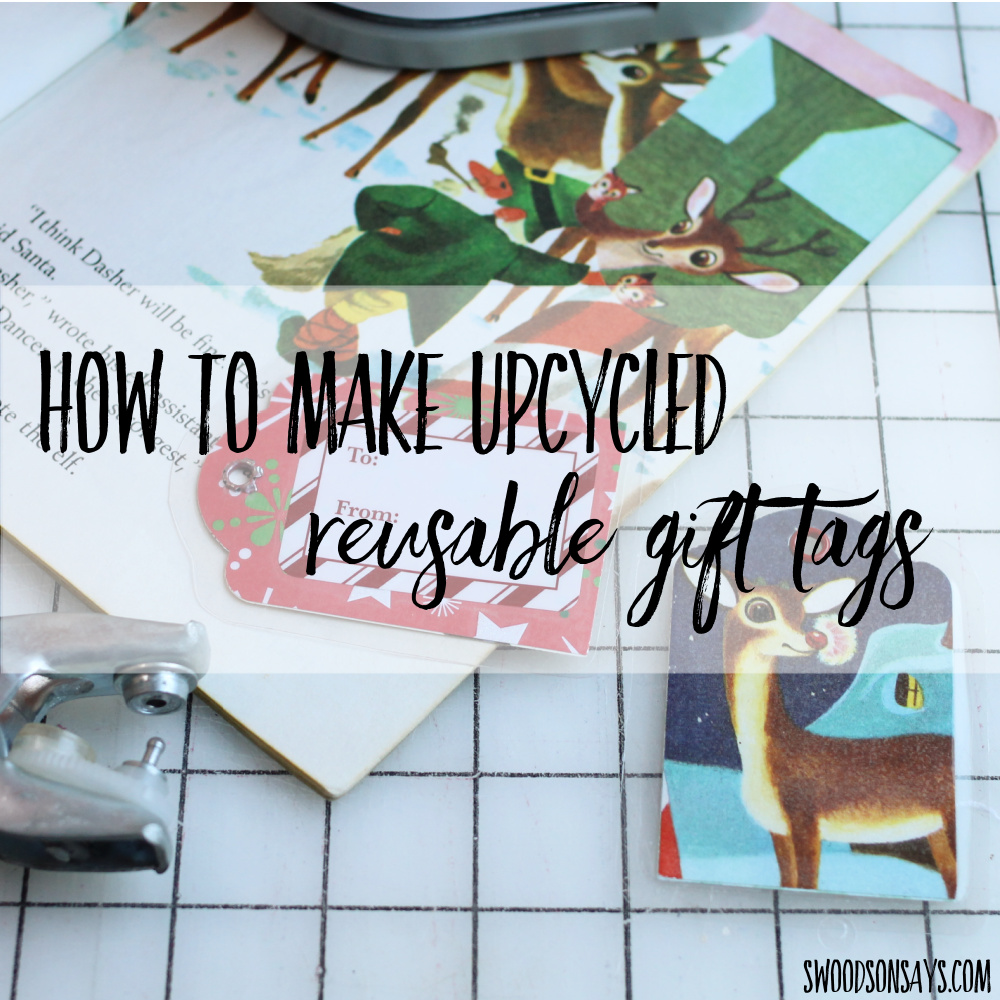
I’ve shared this idea in my newsletter and on social media, but I wanted to finally write a proper blog post with my upcycled christmas gift tags diy tutorial! These are fast and fun to make; if the lamination/plastic aspect bothers you, it’s very easy to leave it off. My kids are rough on stuff, so simple paper ones wouldn’t last very long but we’ve been using some of the initial laminated batch for the past 10 years without any trouble! I use a dry erase marker and they seem to stay on fine but commenters on Tiktok told me that you can use a sharpie, which won’t rub away, but can be removed with rubbing alcohol.
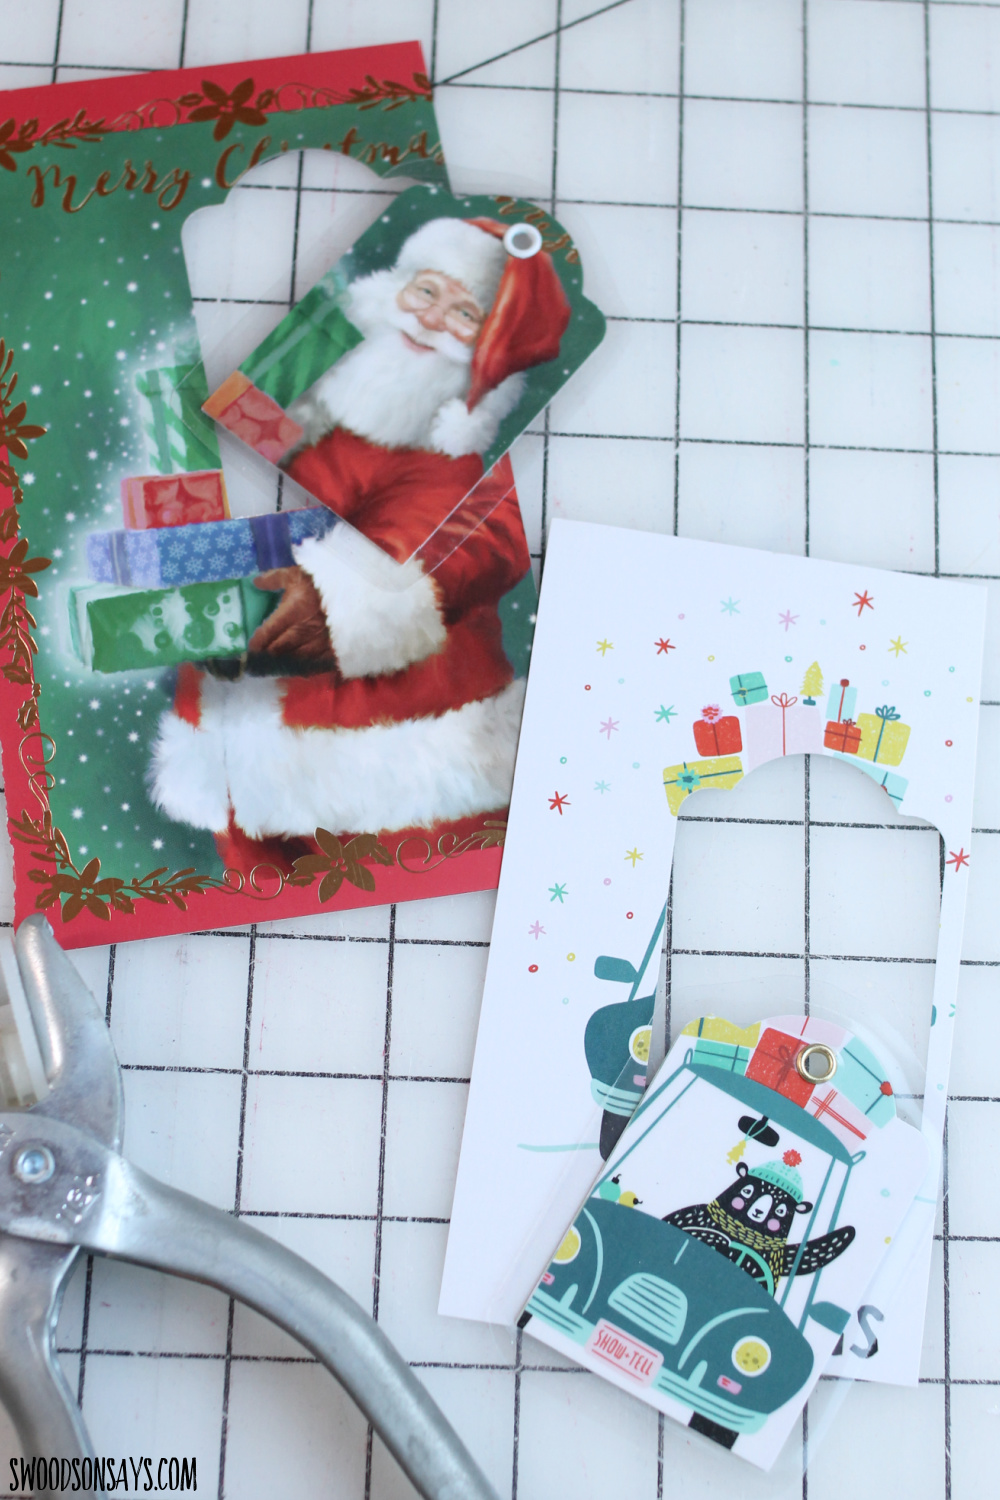
This is a great way to use up old holiday cards if you have them!
You can cut them freehand and just use a regular hole punch instead of fancy grommets, too.
If you like this post, check out these others while you’re here:
- 15+ Christmas card upcycling projects
- 10+ upcycled Christmas ornaments to make from old clothes
- What to do with old jeans – 45+ upcycle sewing tutorials
- 25+ upcycle sewing tutorials that make great gifts
- Upcycled fabric gift tag tutorial
- How to make bookmarks from old books
- 35+ easy crafts with old books
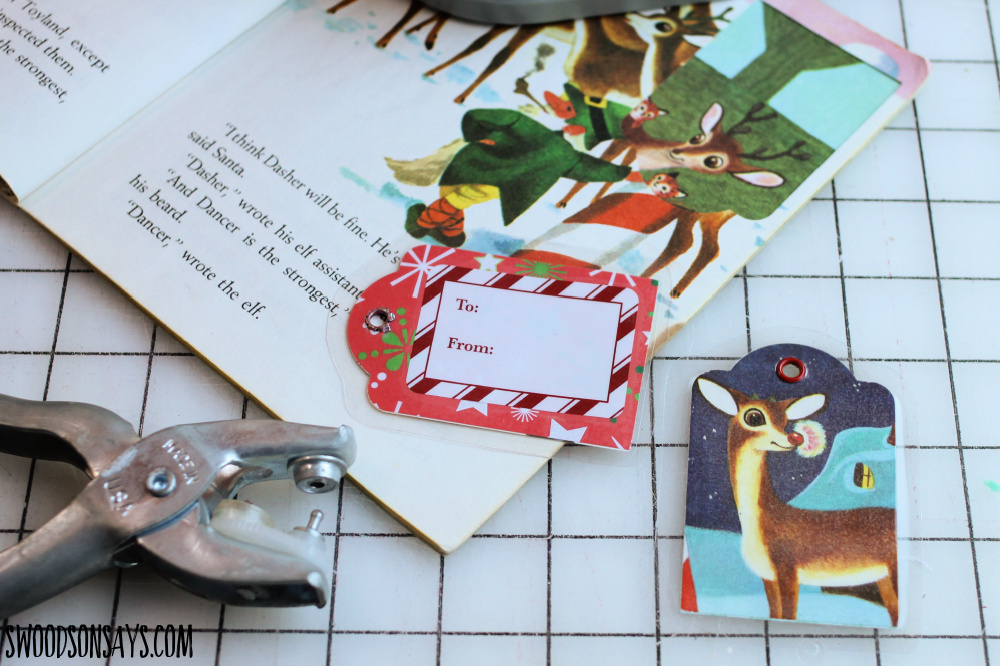
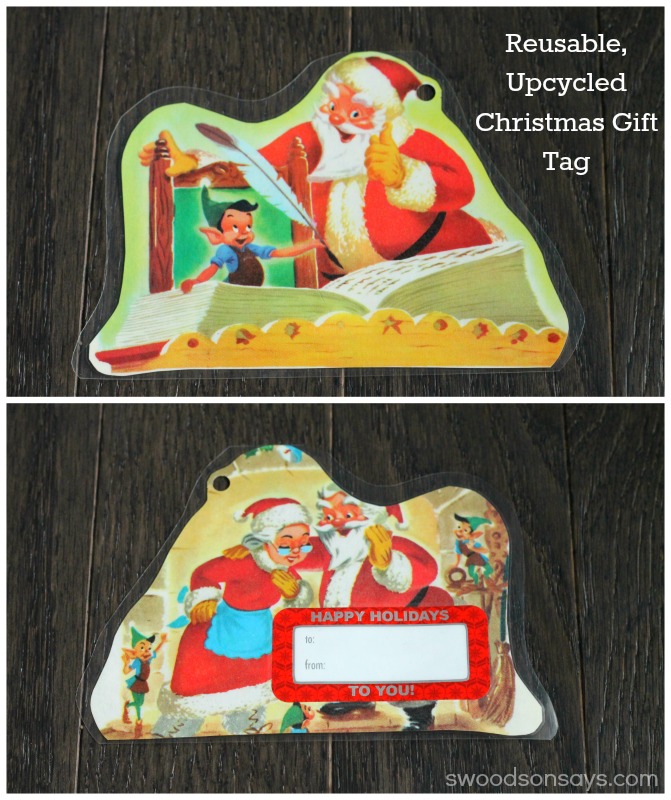
I had a lot of fun using this fancy tag shaped puncher that I found at a thrift store, picking the placement is half the fun! As I type this, I realize you could jazz up the pictures with paint pens too. These are from a vintage Christmas book that had the cover ripped off at the Goodwill Outlet bins.
Pin this upcycled Christmas gift tags diy tutorial with this link or collage image:
Want to make some? Here’s how!
Upcycled christmas gift tags diy tutorial
Supplies:
- Fiskars tag punch – I thrifted mine so this is a similar one
- Eyelet kit – optional, just makes it fancier
- Lamination machine – this is the same model I’ve been using since 2011, but it looks different now
- Boks or Christmas cards to upcycle
- Sticky labels
- Standard hole puncher
- Festive cardstock – optional, you can leave the back blank too
Steps:
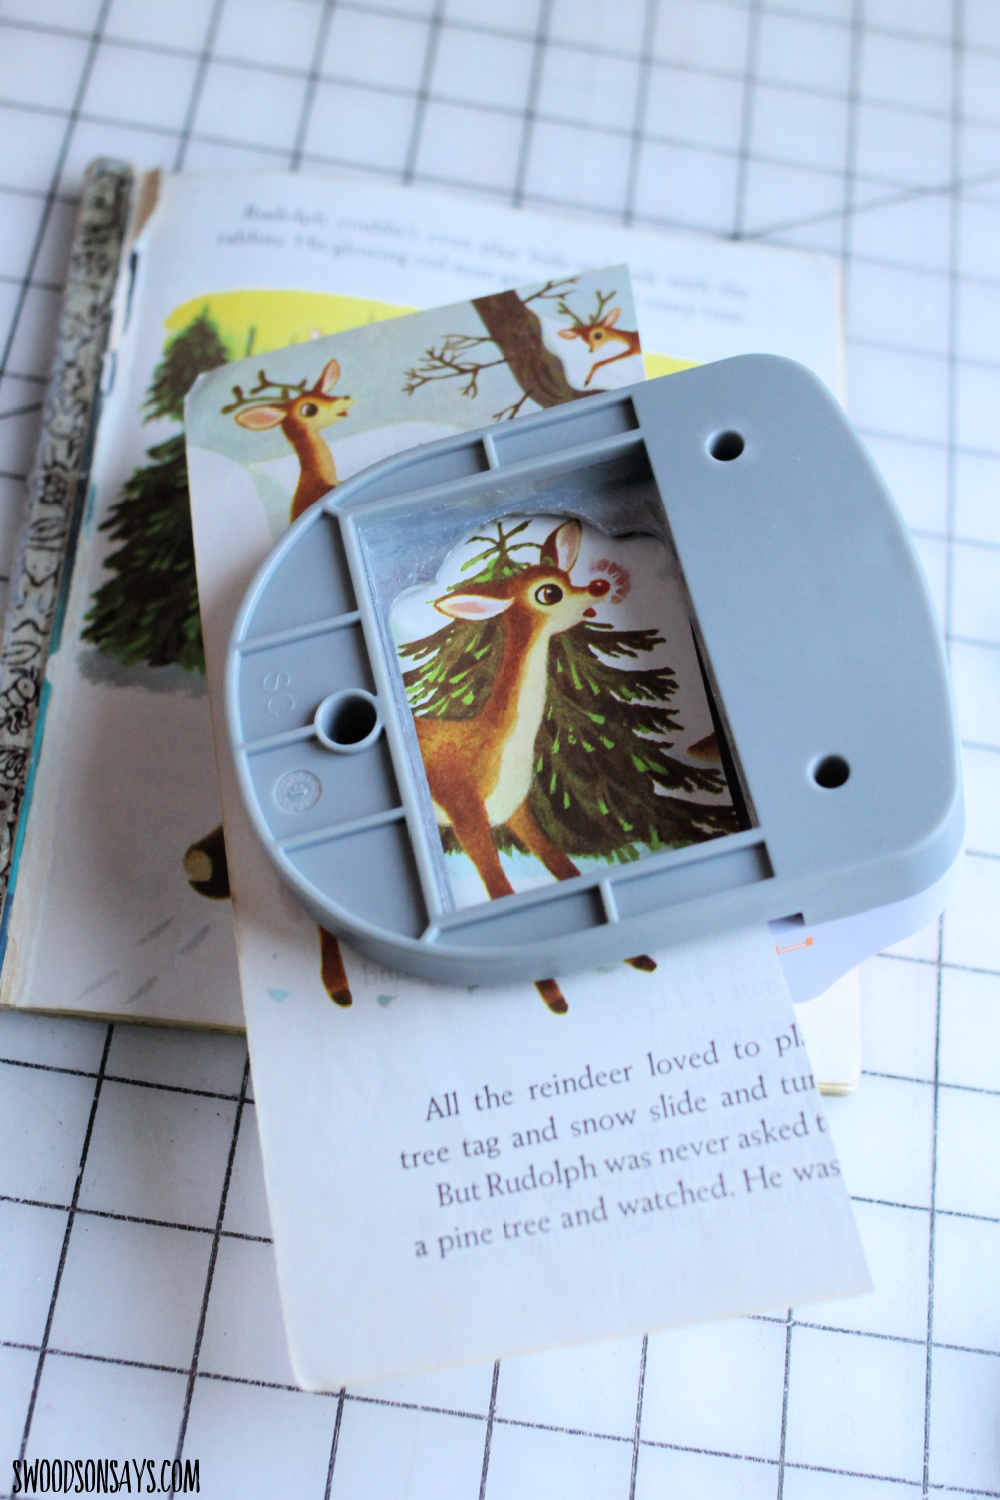
Step 1– Cut out your tags! I flipped the puncher over so I could see the design and position it clearly.
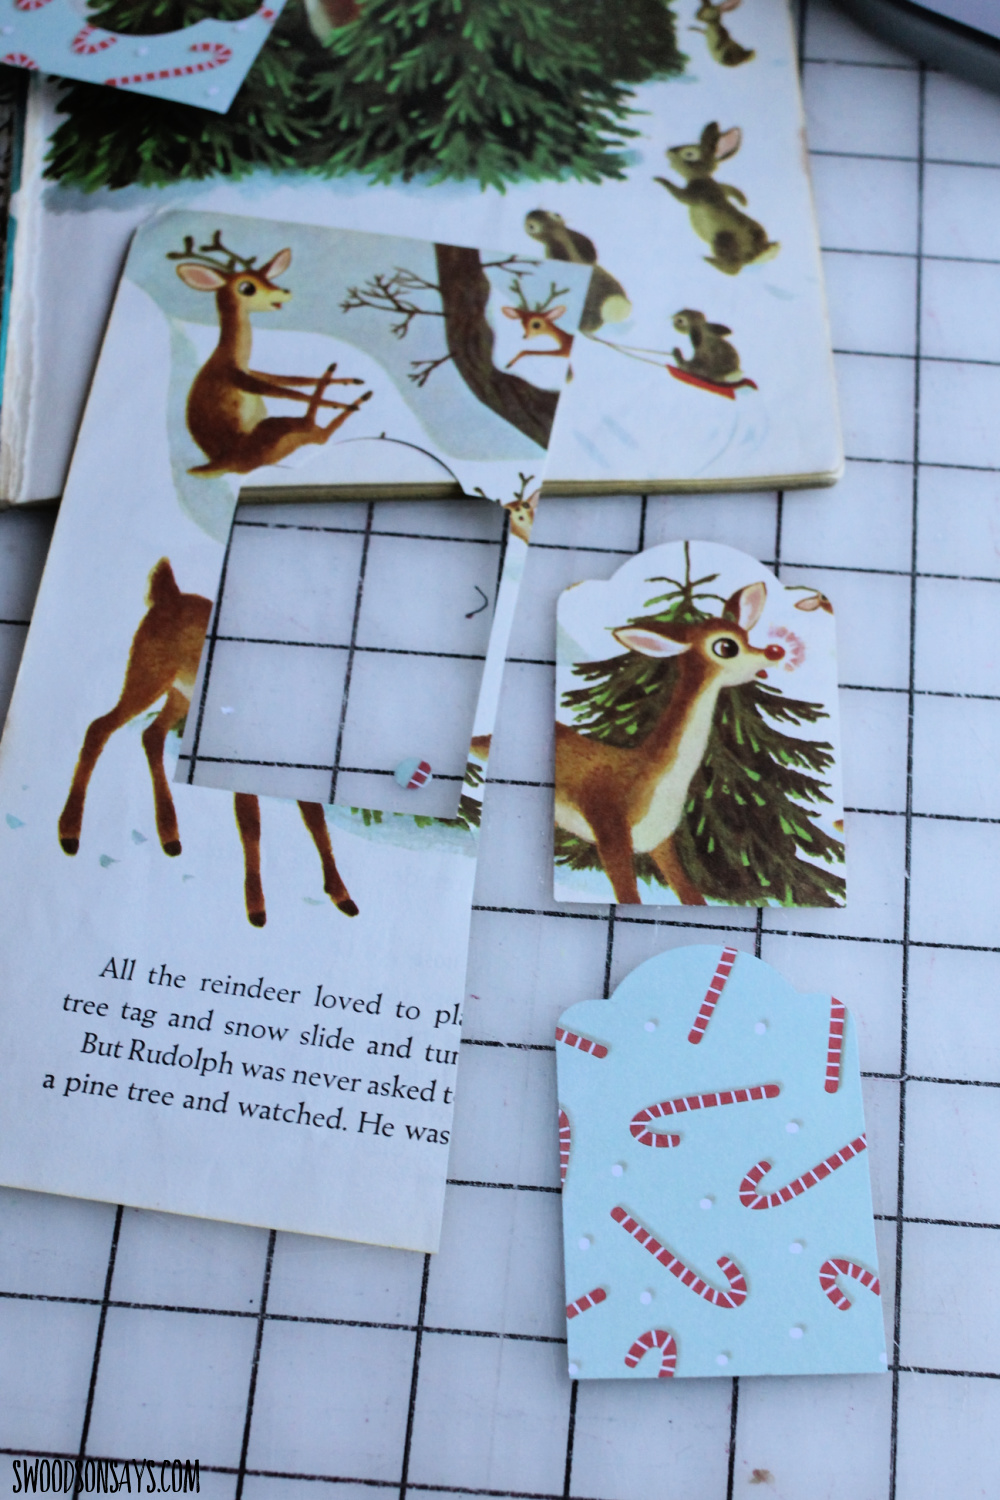
Step 2– Cut a matching backside and glue them wrong sides together.
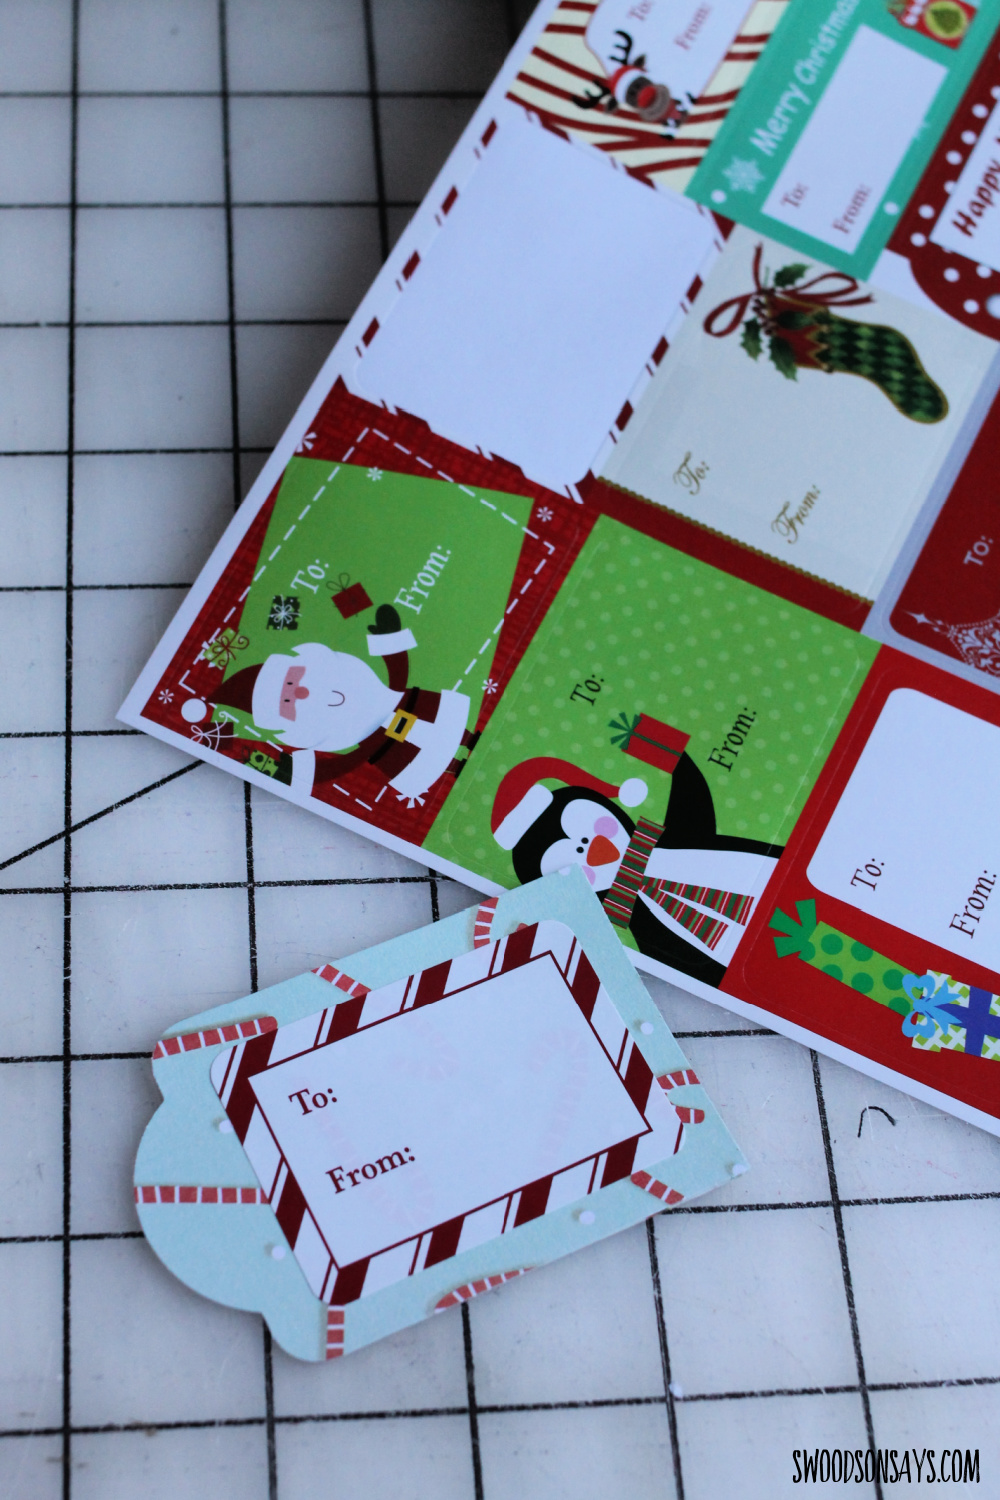
Step 3– Add a sticky label!
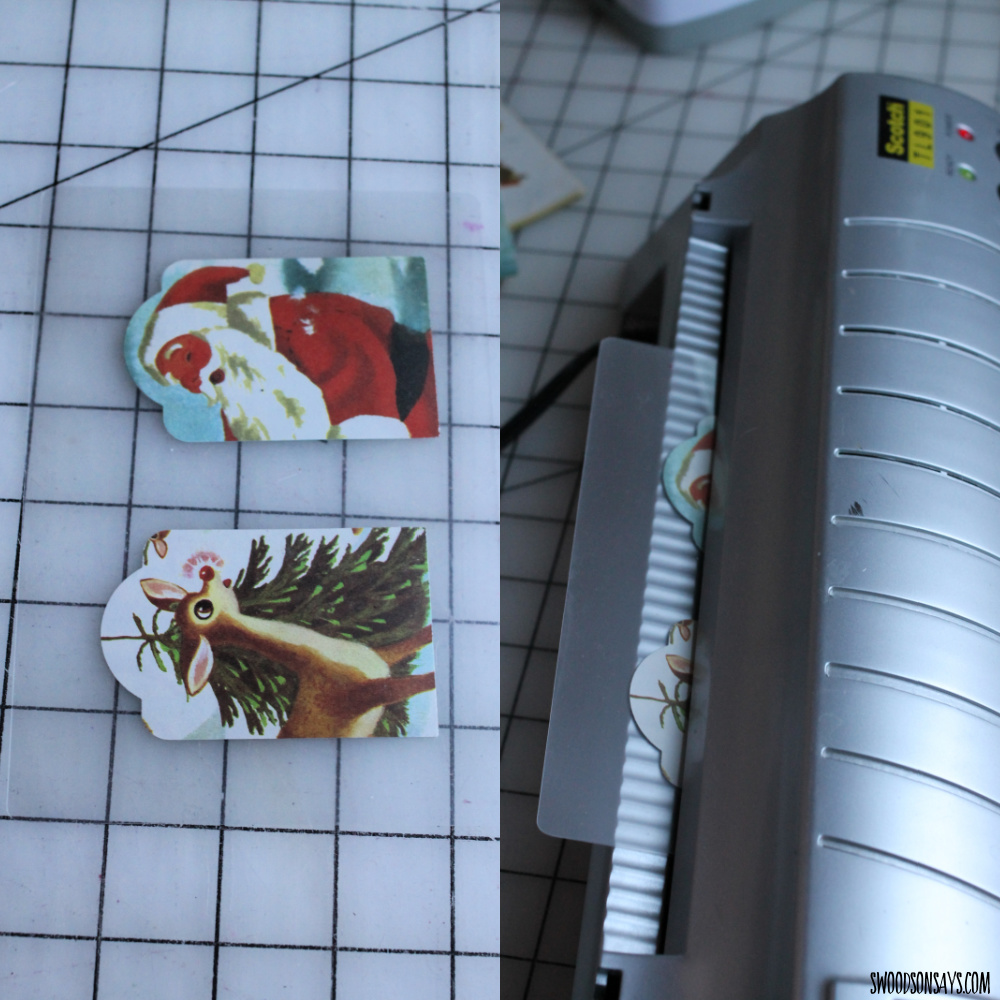
Step 4– Laminate and trim around each tag
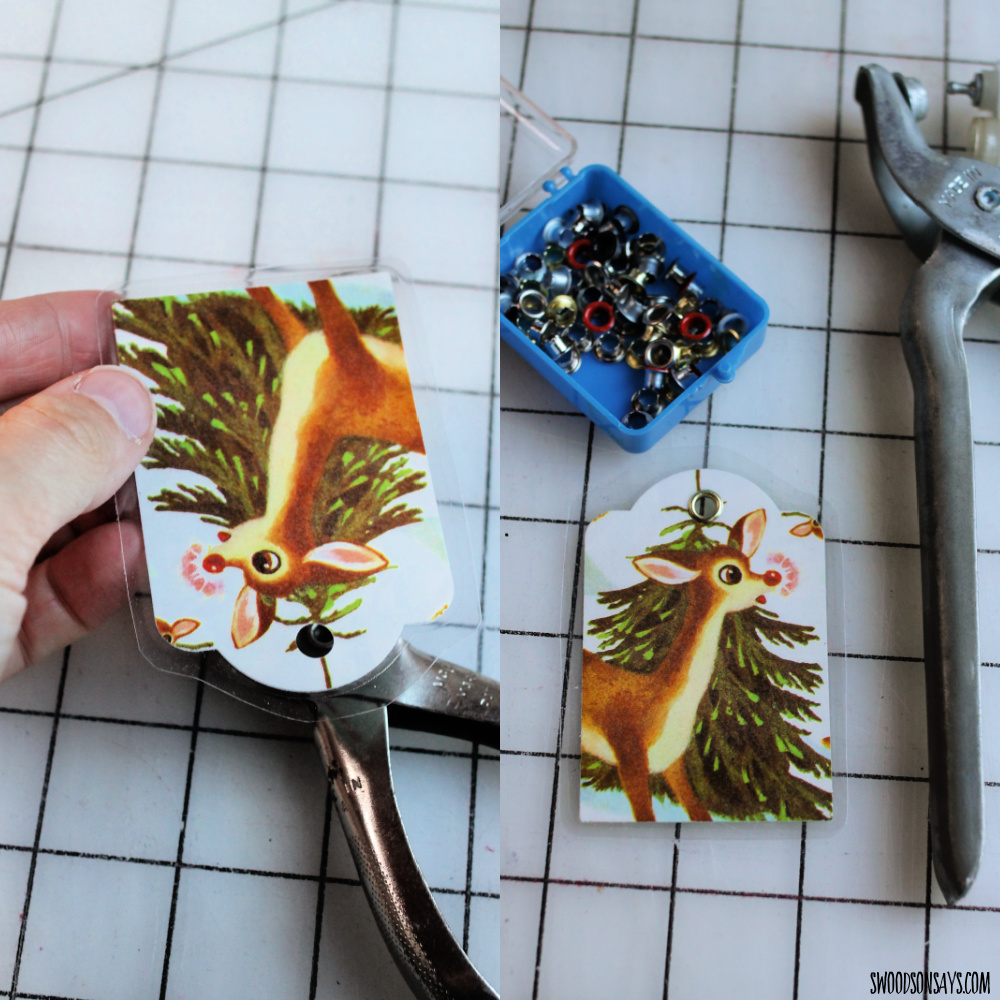
Step 5– Add eyelets if you want! I’m using some random thrifted ones, a modern kit would be much easier I’m sure.
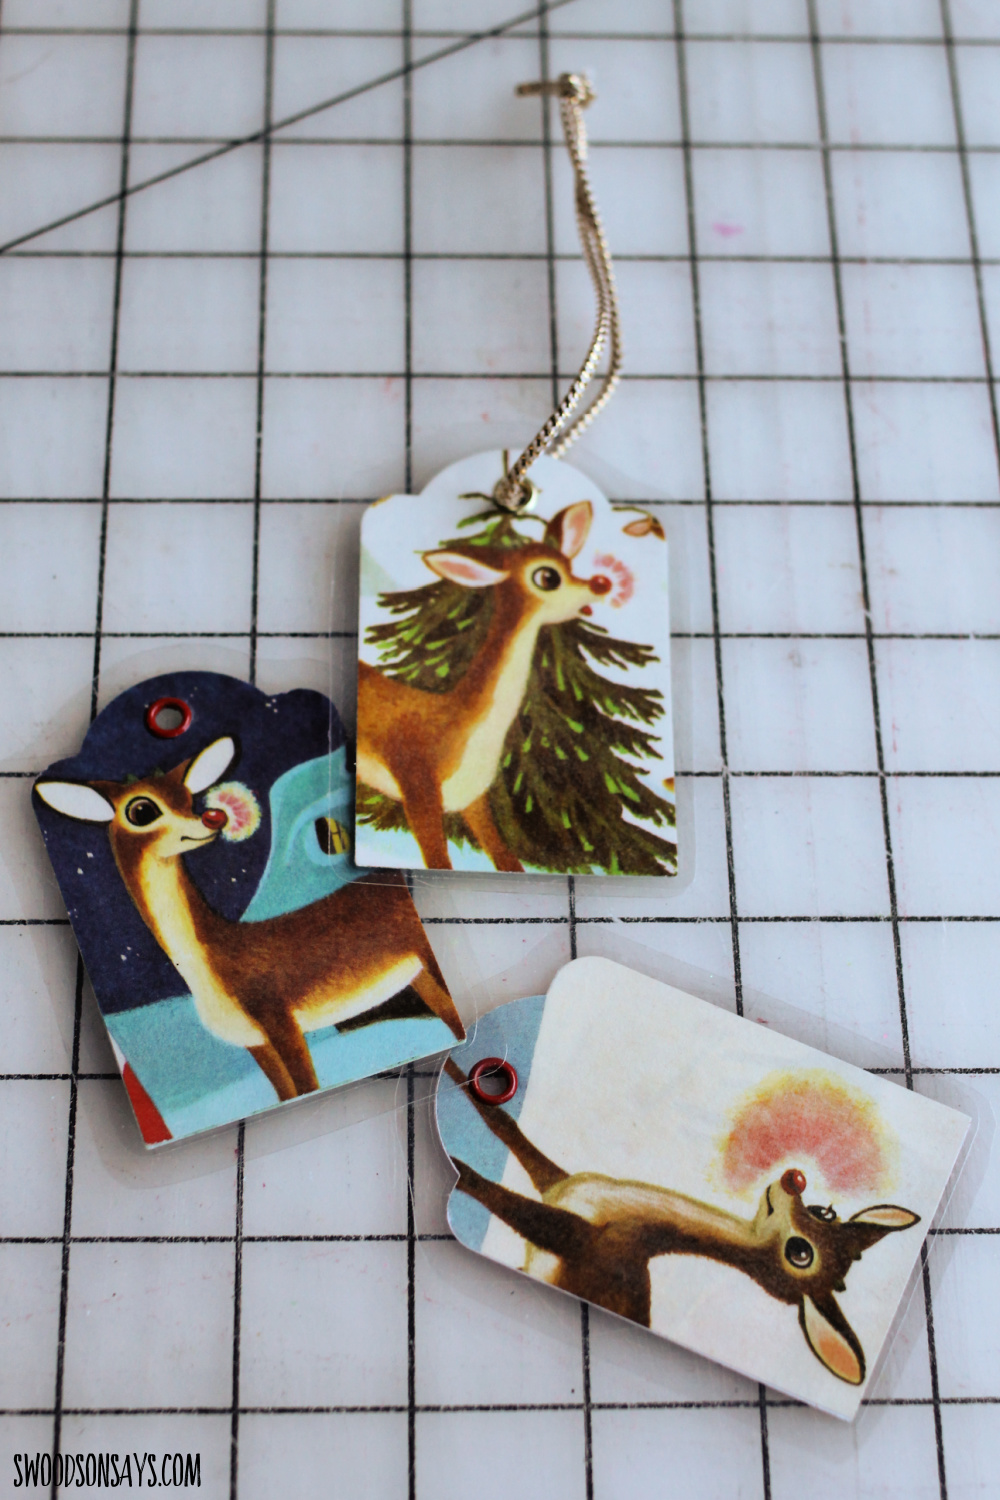
Tie some ribbon through and you’re done – perfect to add with one of these fabric wrapping paper alternative options.

Aren’t they cute!