
How to make bookmarks from old books – an easy upcycle craft with book pages.
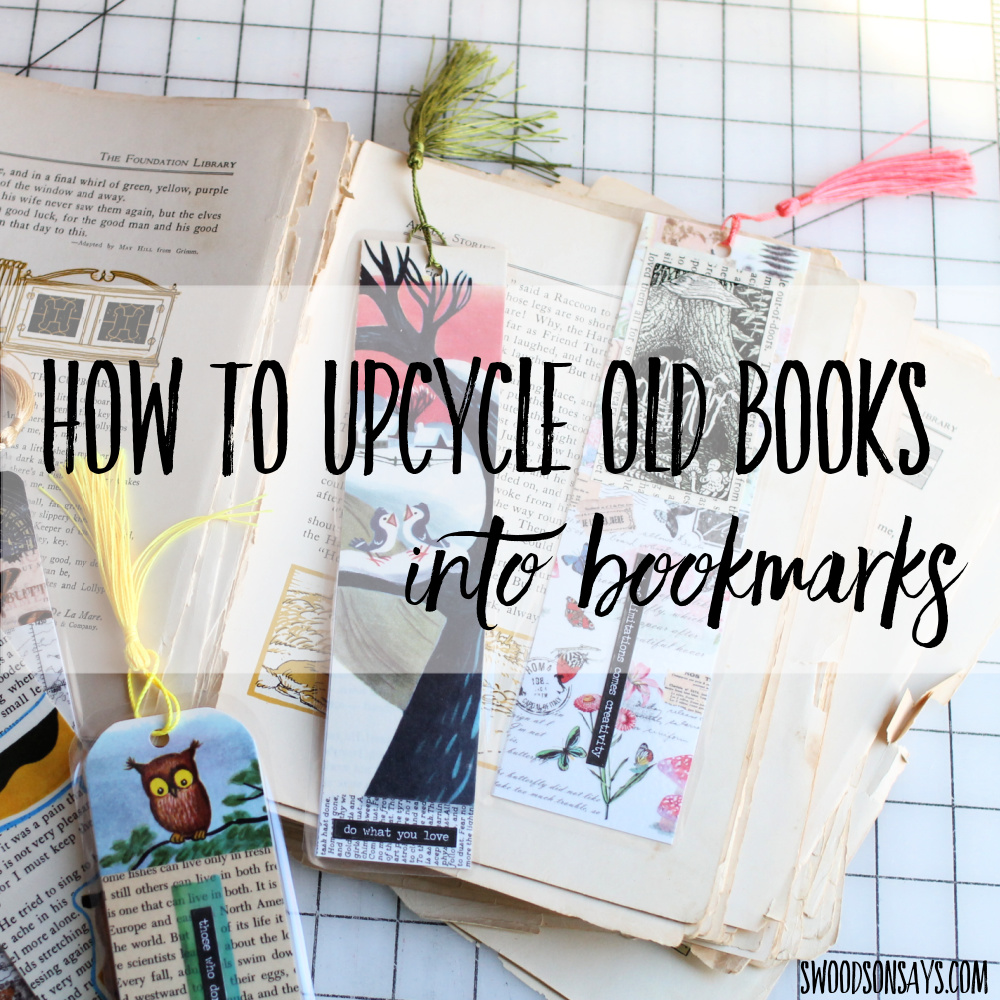
I cannot resist when there are dying, damaged books in the bins at my local Goodwill Outlet. The beautiful illustrations don’t deserve to end up trashed even if they aren’t readable anymore! I have so much fun turning them into something beautiful and useful, so now I’m sharing the creative inspiration for how to make bookmarks from old books so hopefully you can too!
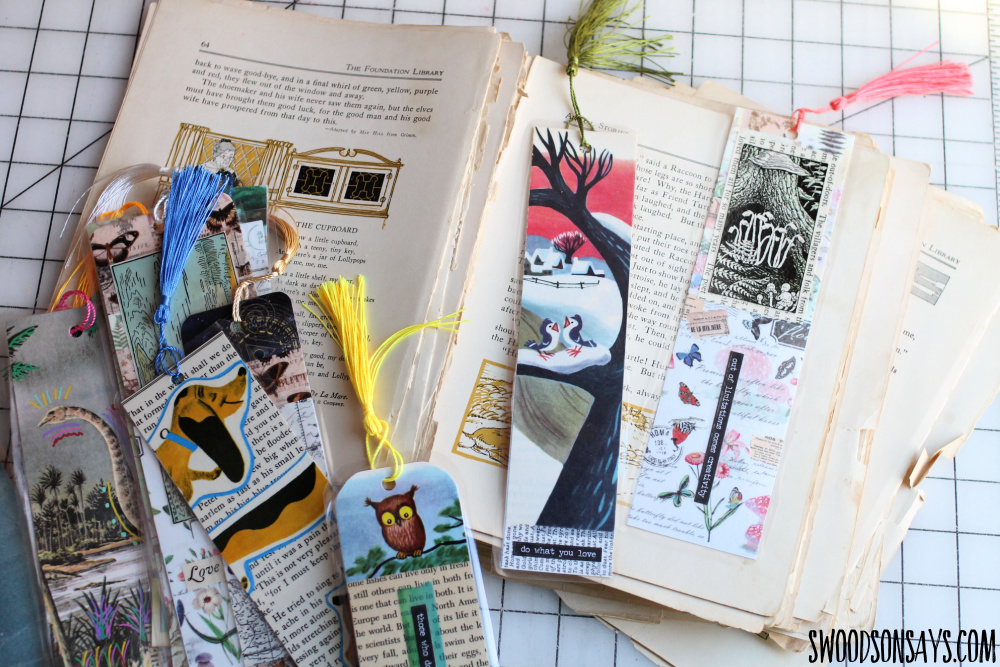
I’ll show you the different designs I made in this batch – here these are a mixture of washi tape, book pages, and stickers.

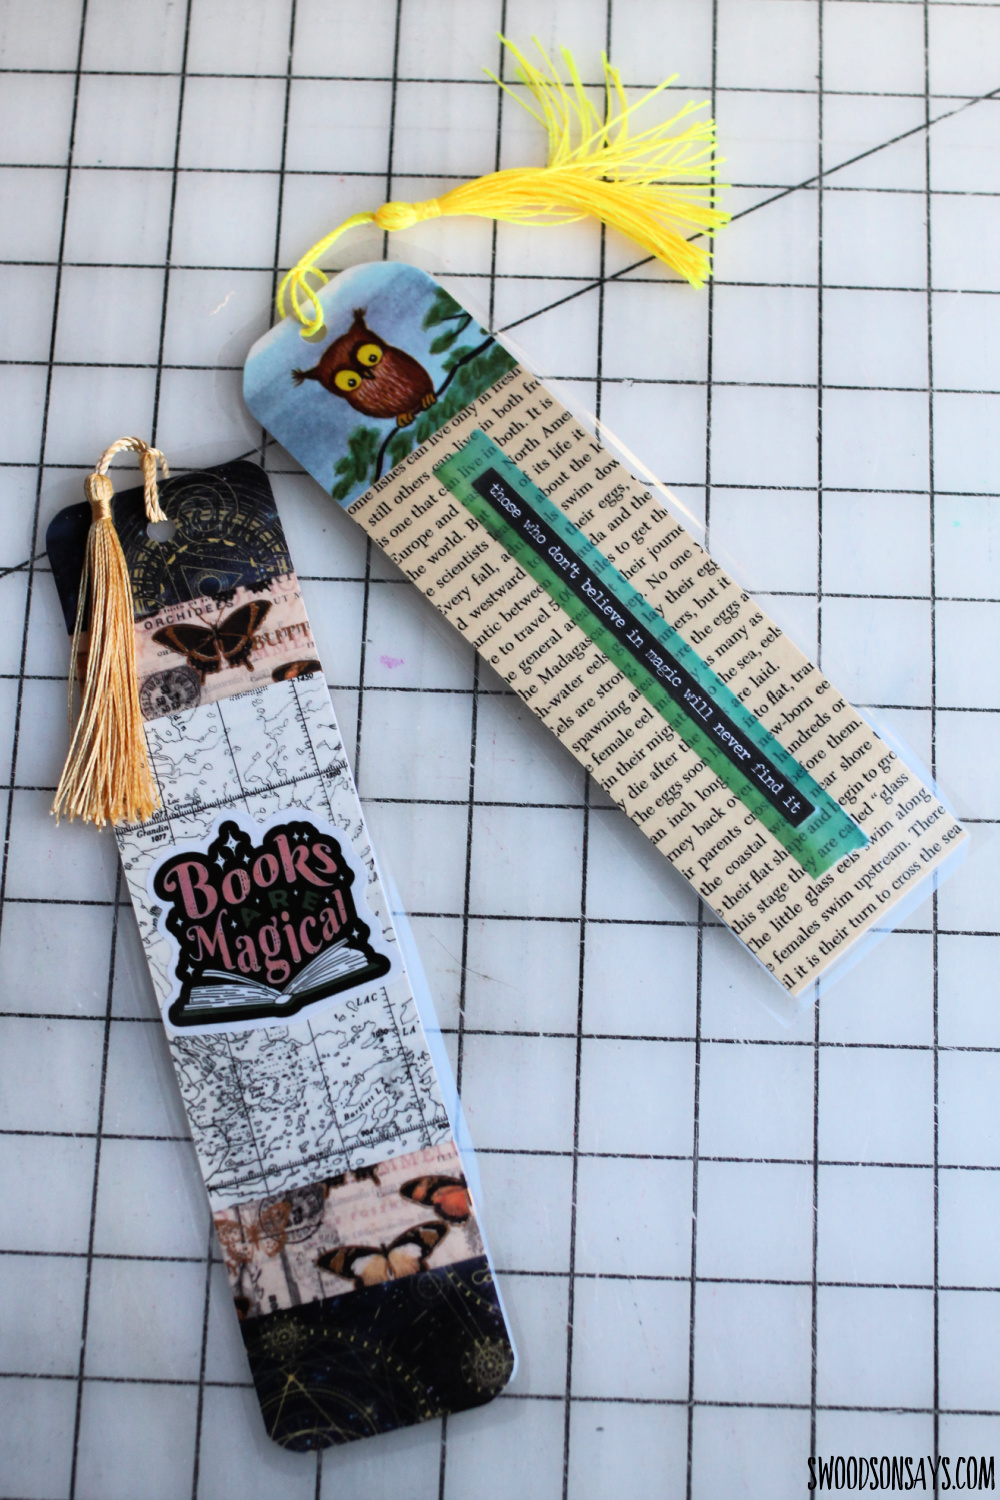
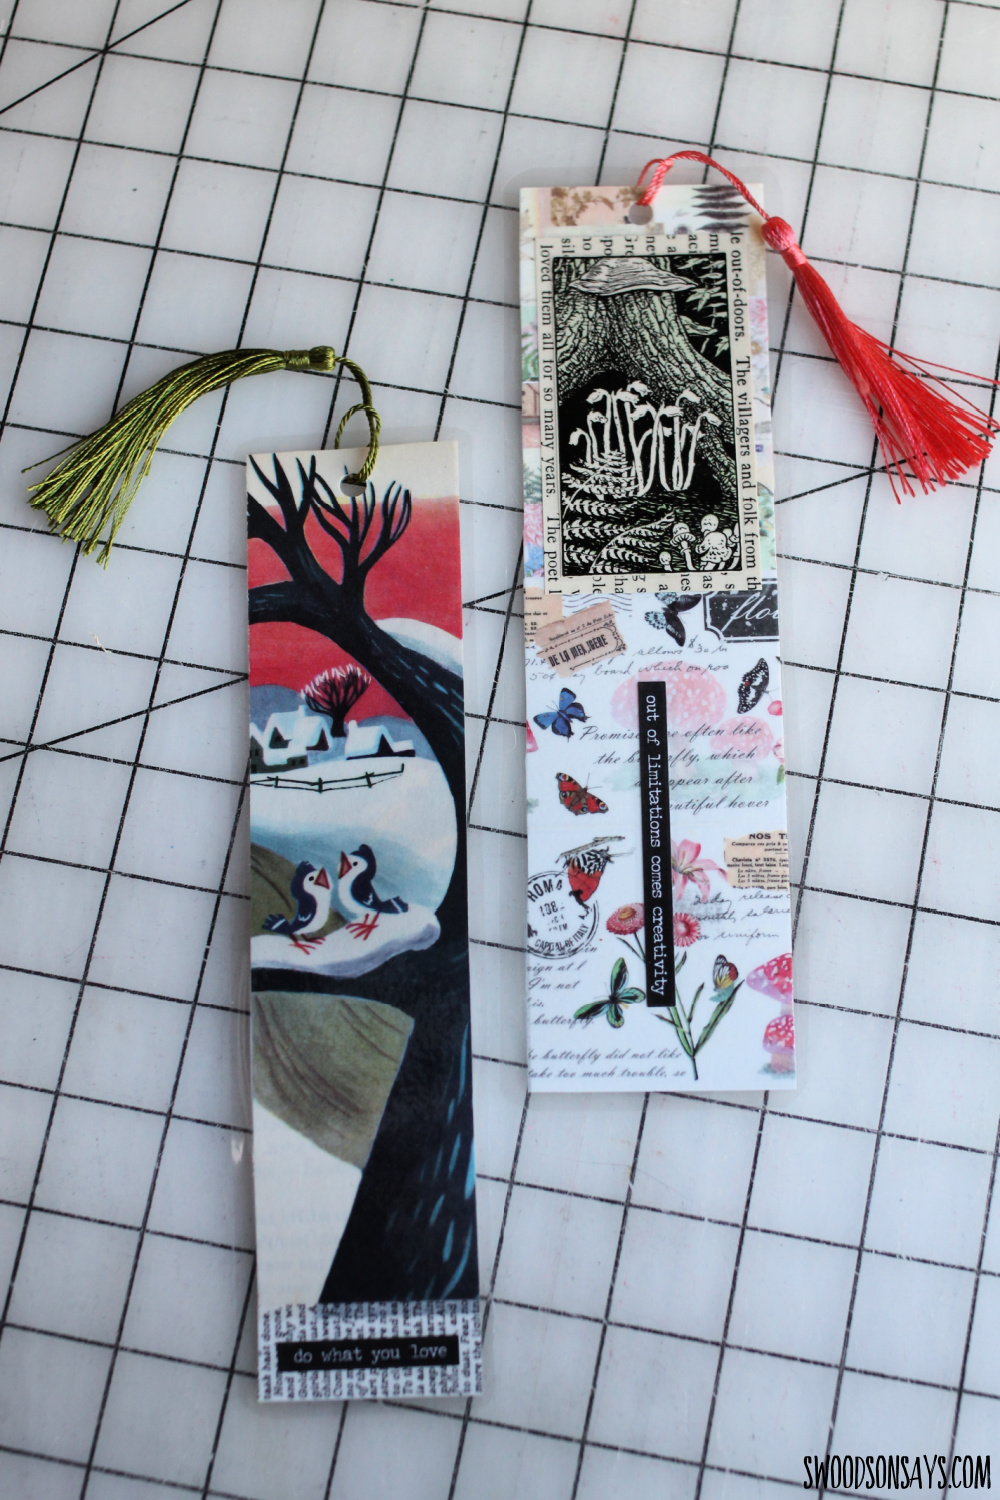
More washi tape and book pages – stamps would work really well here too, I was just too lazy to pull them out the day I was working on them.
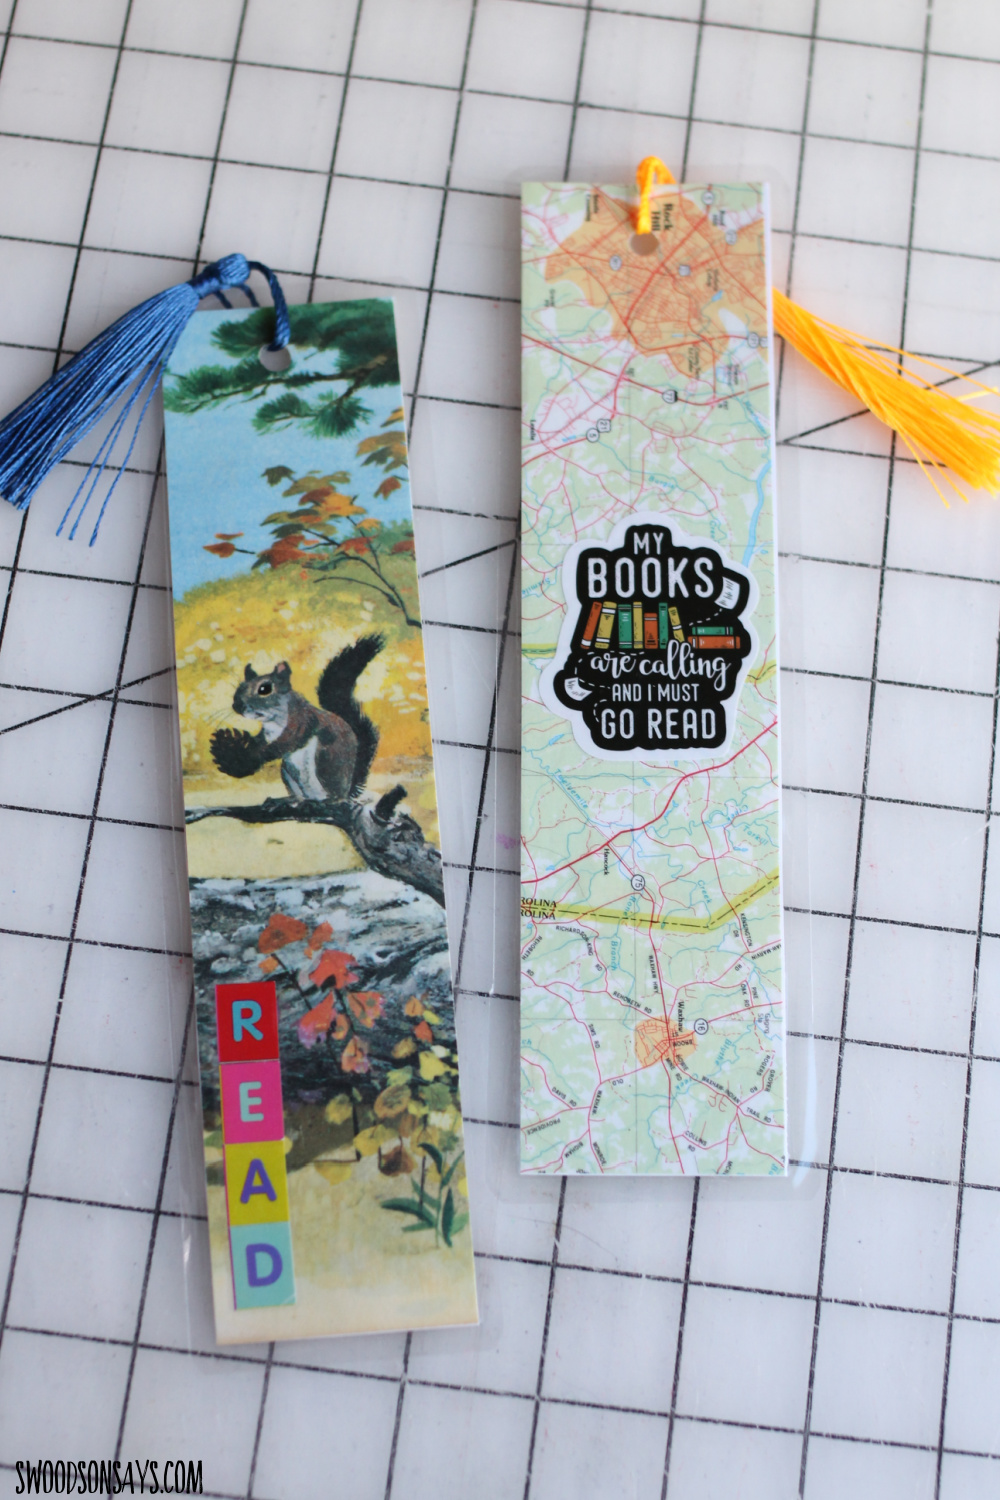
Some super simple ones with just pages and stickers.
I like these phrase stickers – fun fact, I had them in my cart and then found them also in the goodwill bins the next week!
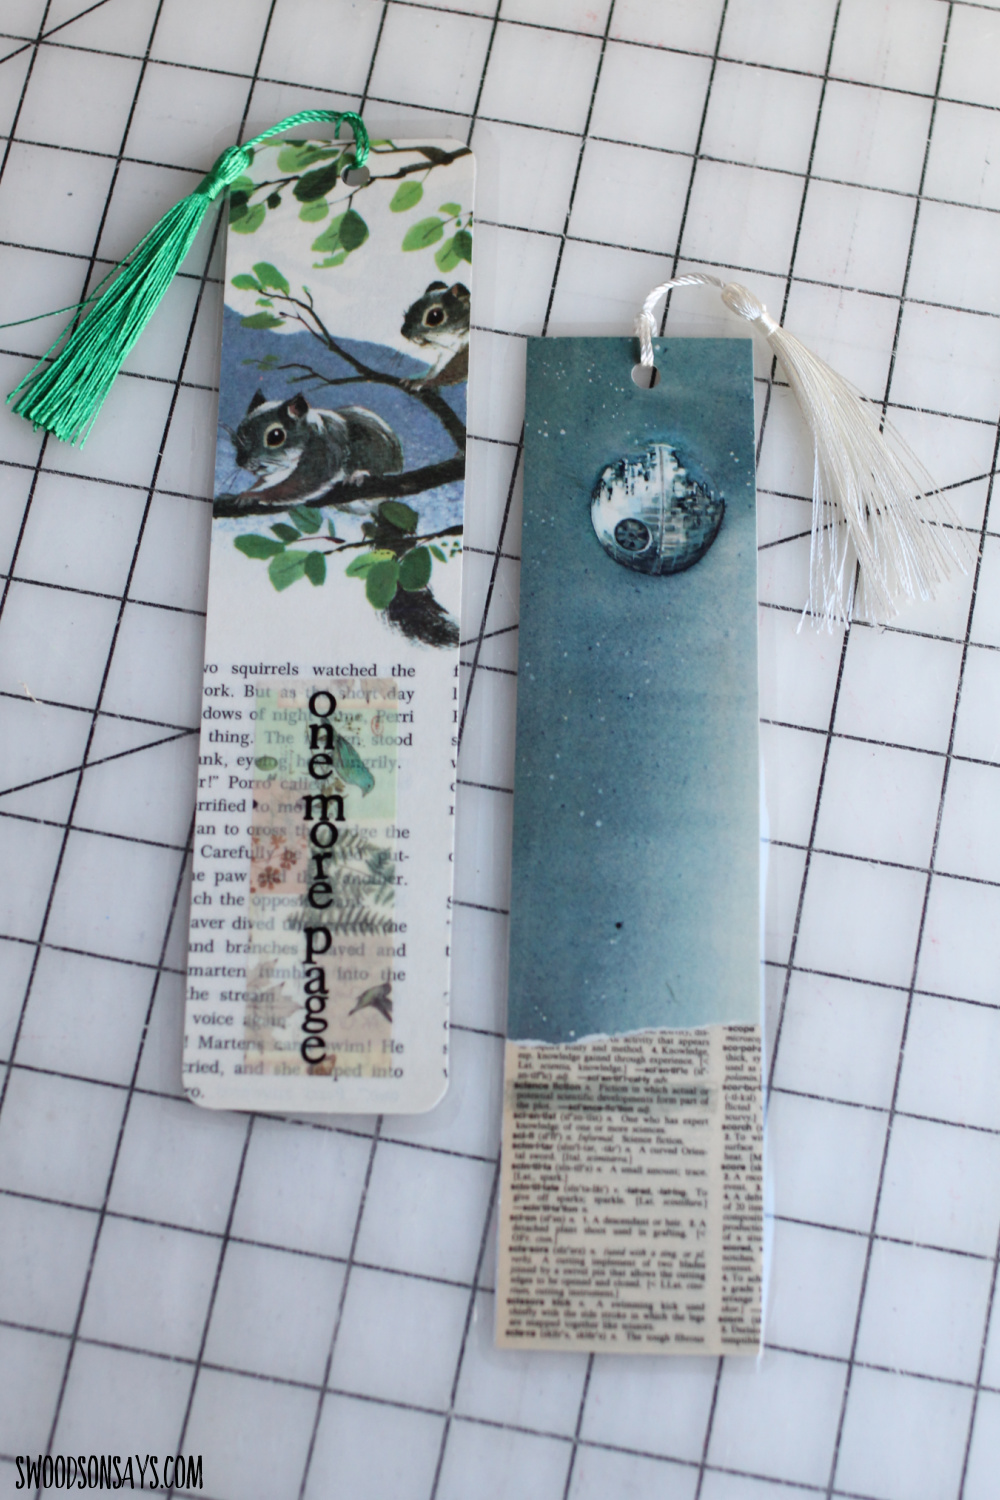
I couldn’t get the camera to focus on it for some reason, but I ripped out a dictionary page and highlighted ‘science fiction’ for the Star Wars bookmark – there is also glittery jelly roll pen outlining things that don’t pick up in a photo well.
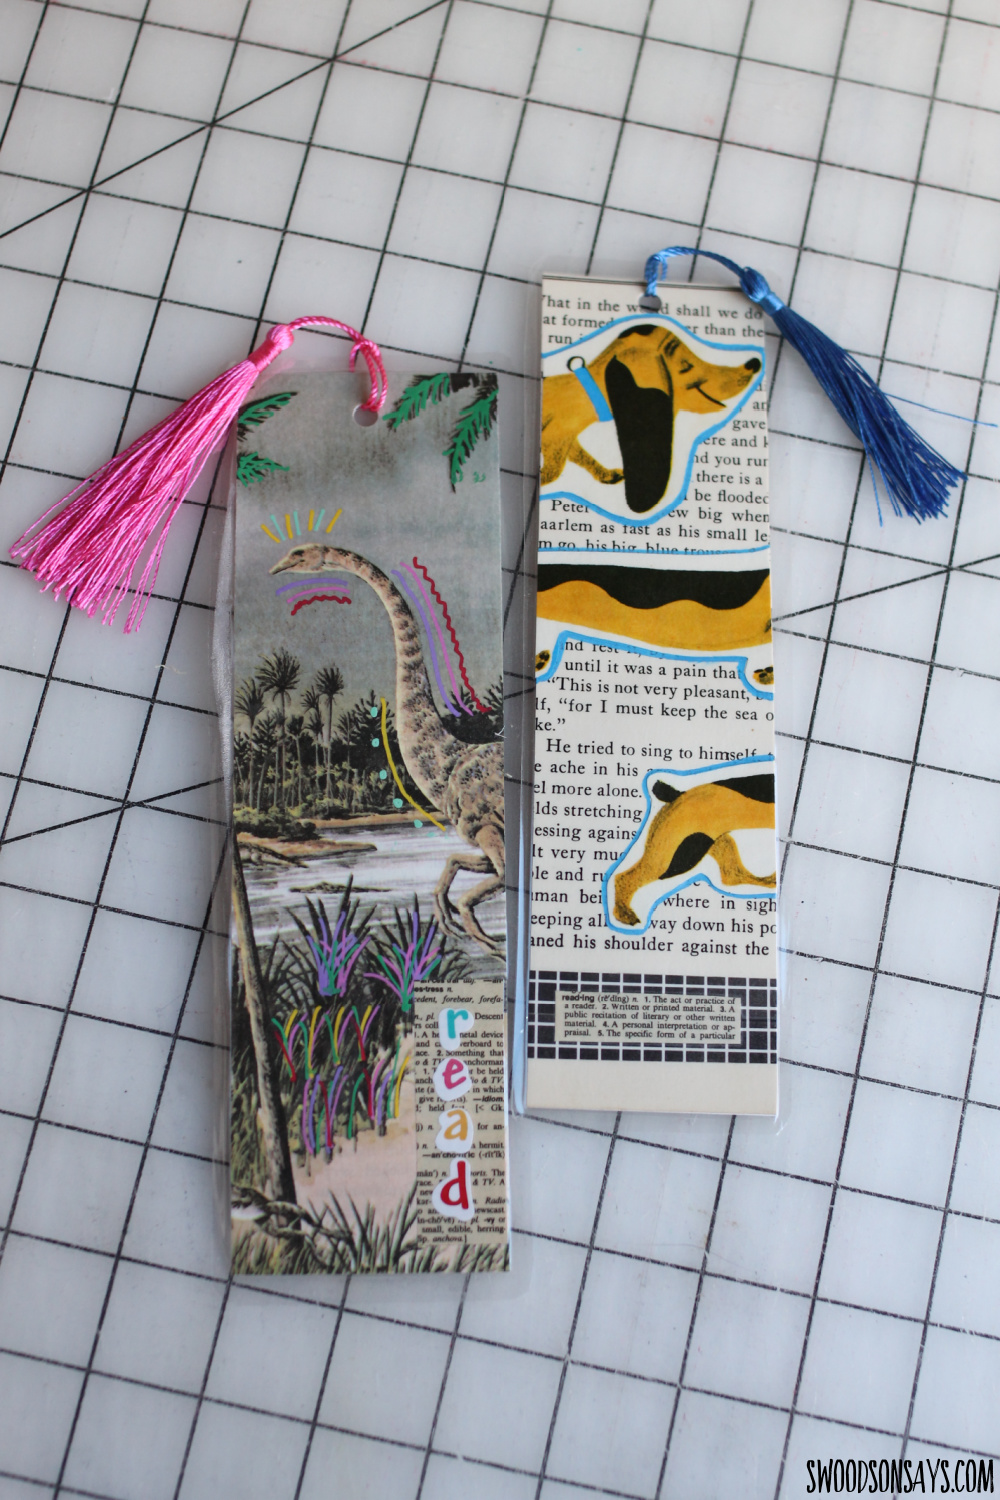
Here I used paint pens to jazz some of the designs up; the blue daschund is my least favorite of the bunch but still sharing for creative inspiration.
If you like this post check out these others while you’re here!
- 15+ things to stitch & sew for book lovers
- How to sew a bookmark – a beginner sewing tutorial
- How To Make A No Sew Fabric Bookmark
- Felt Mother’s day bookmark craft
- DIY Finger Painted Bookmark
- 35+ easy crafts with old books
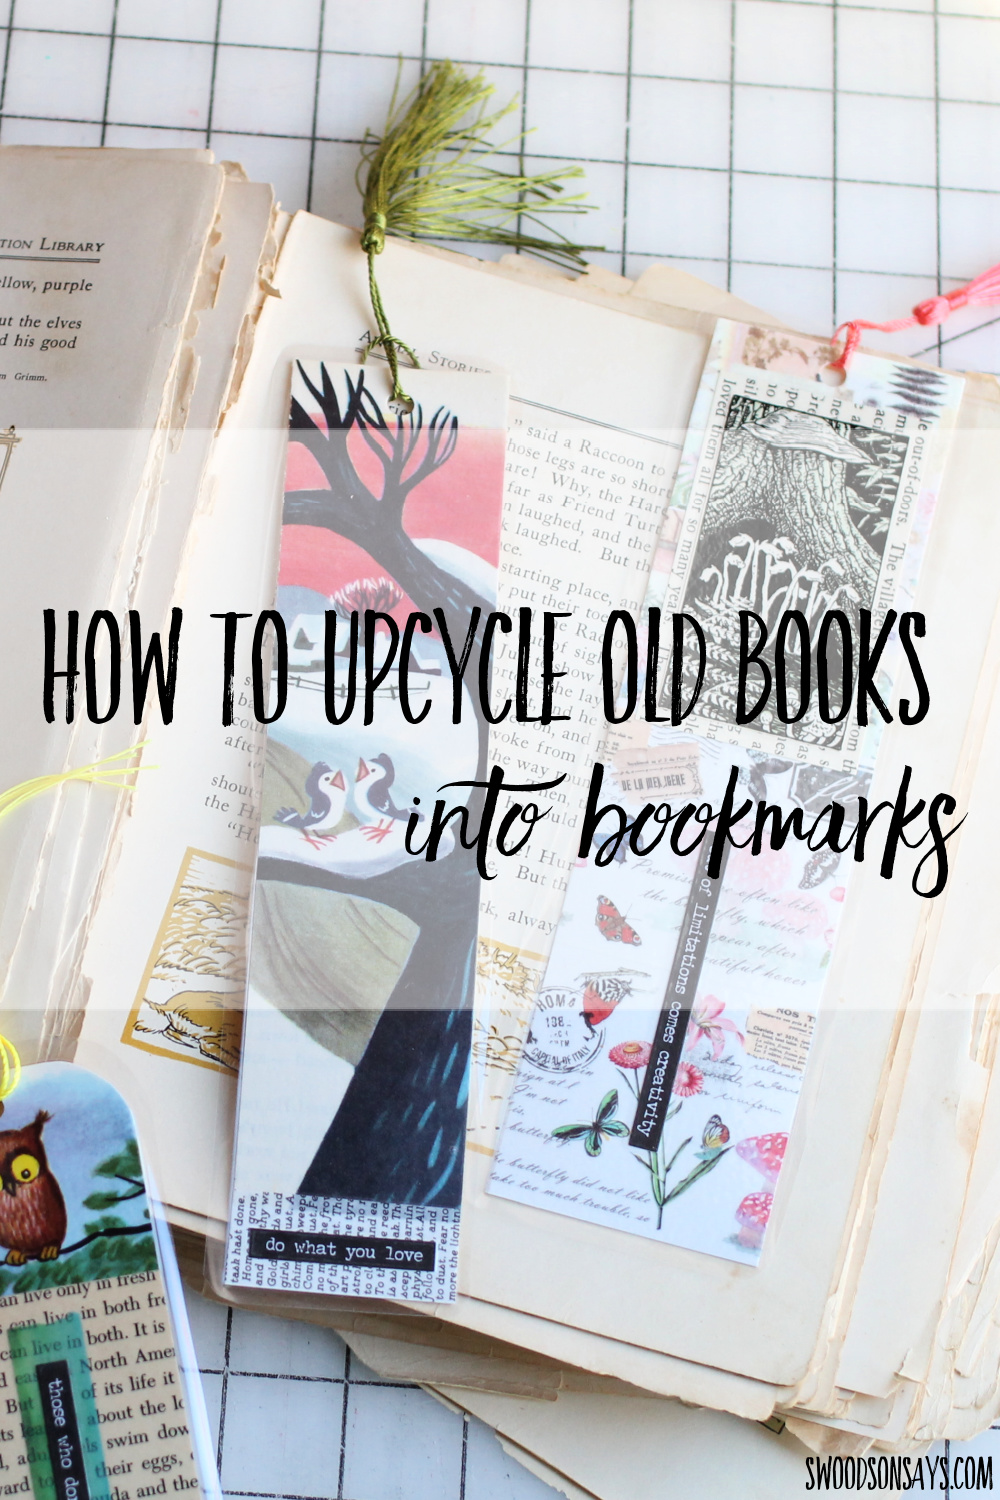
Pin this tutorial for how to make bookmarks from old books with this link or image:
Ready to see how they’re made? It’s pretty simple!
How to make bookmarks from old books
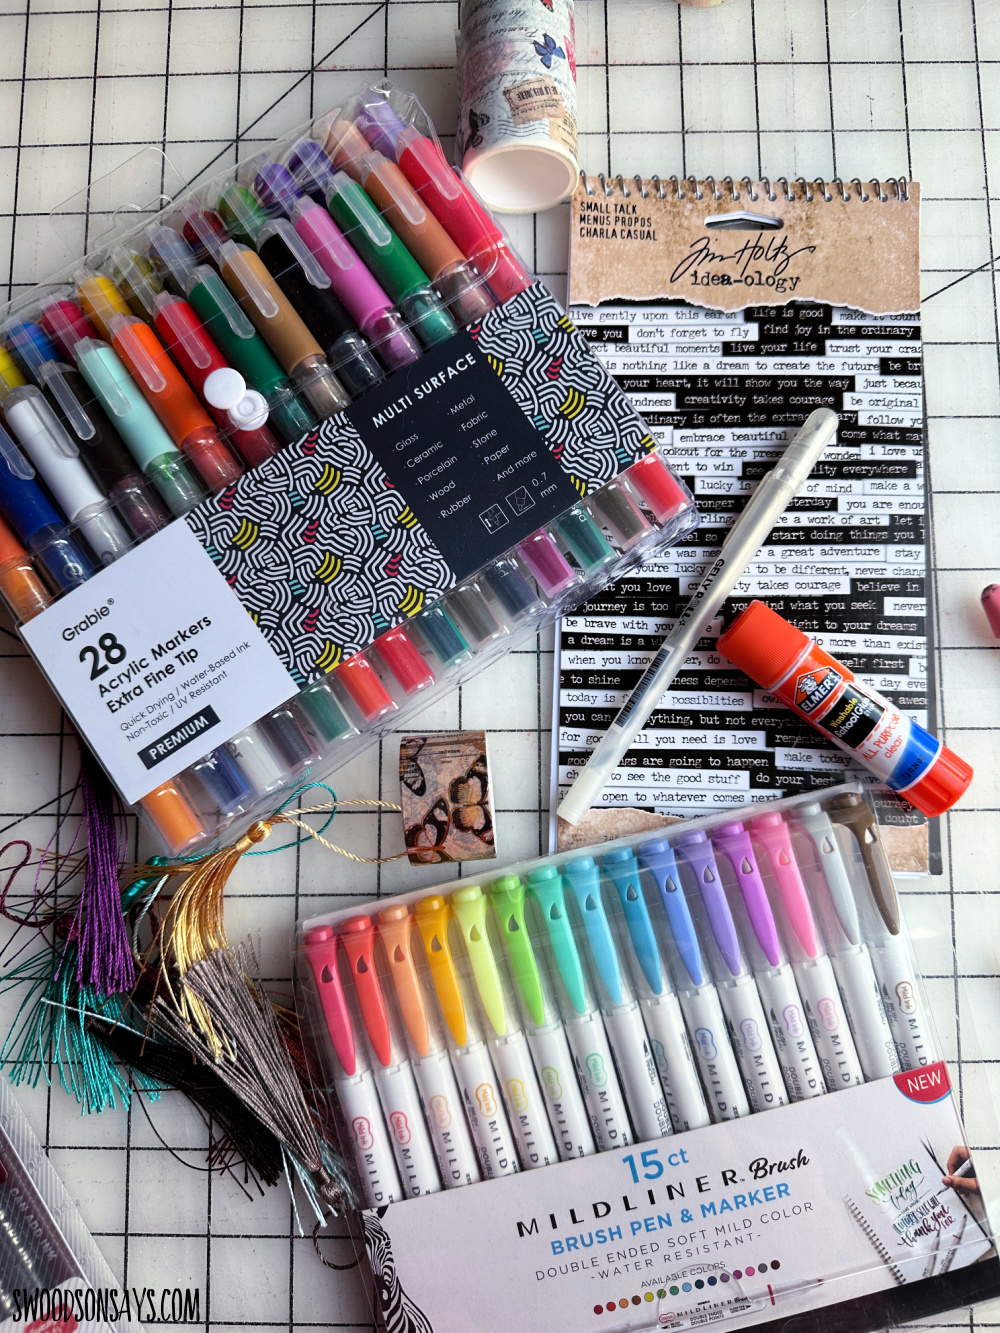
Supplies:
- Vintage books/magazines
- Scissors and/or paper cutter
- Hole puncher
- White cardstock
- Tassels
- Laminator
- Paint pens
- Highlighters
- Stickers – here is the bulk set of bookish ones I used but etsy has lots of fun individual ones supporting small artists too!
- Washi tape – here is the plant-ish super wide one I used often on this project
Steps:
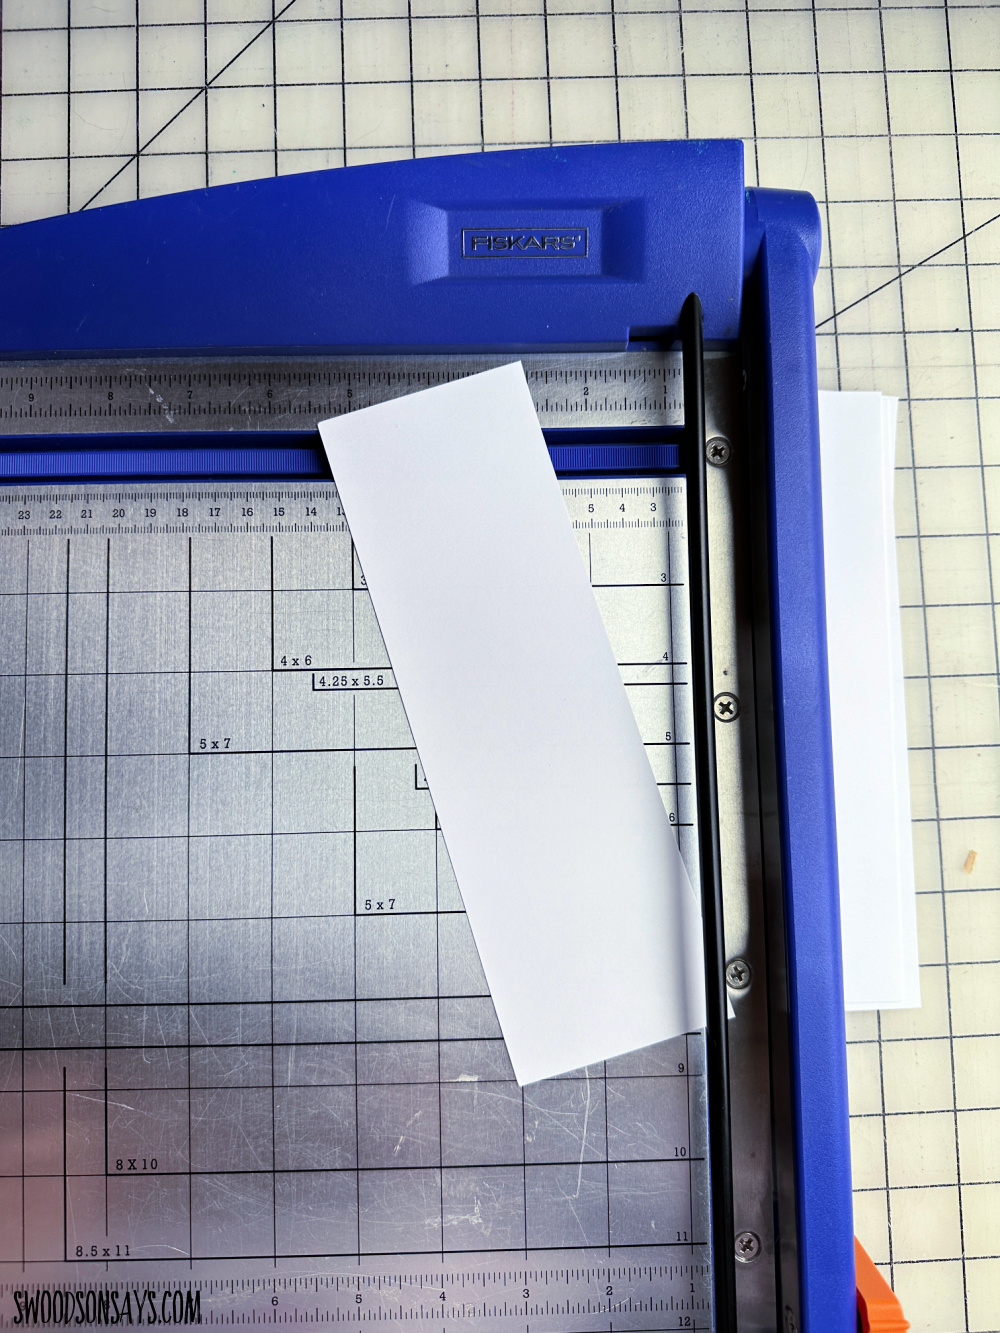
Step 1- Cut some base bookmarks from cardstock! I didn’t measure these, just chopped it up.
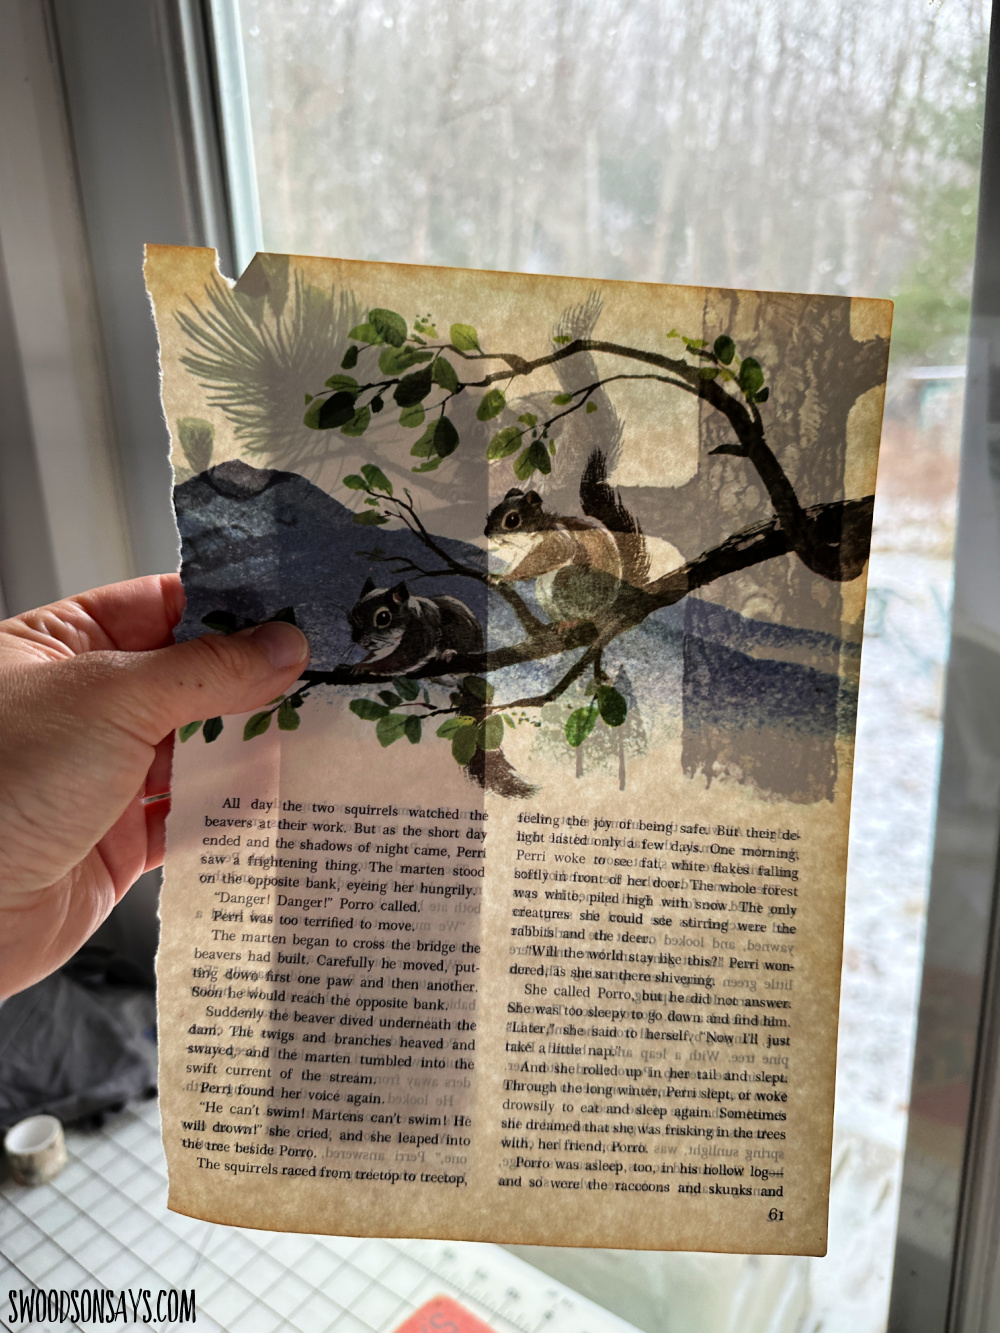
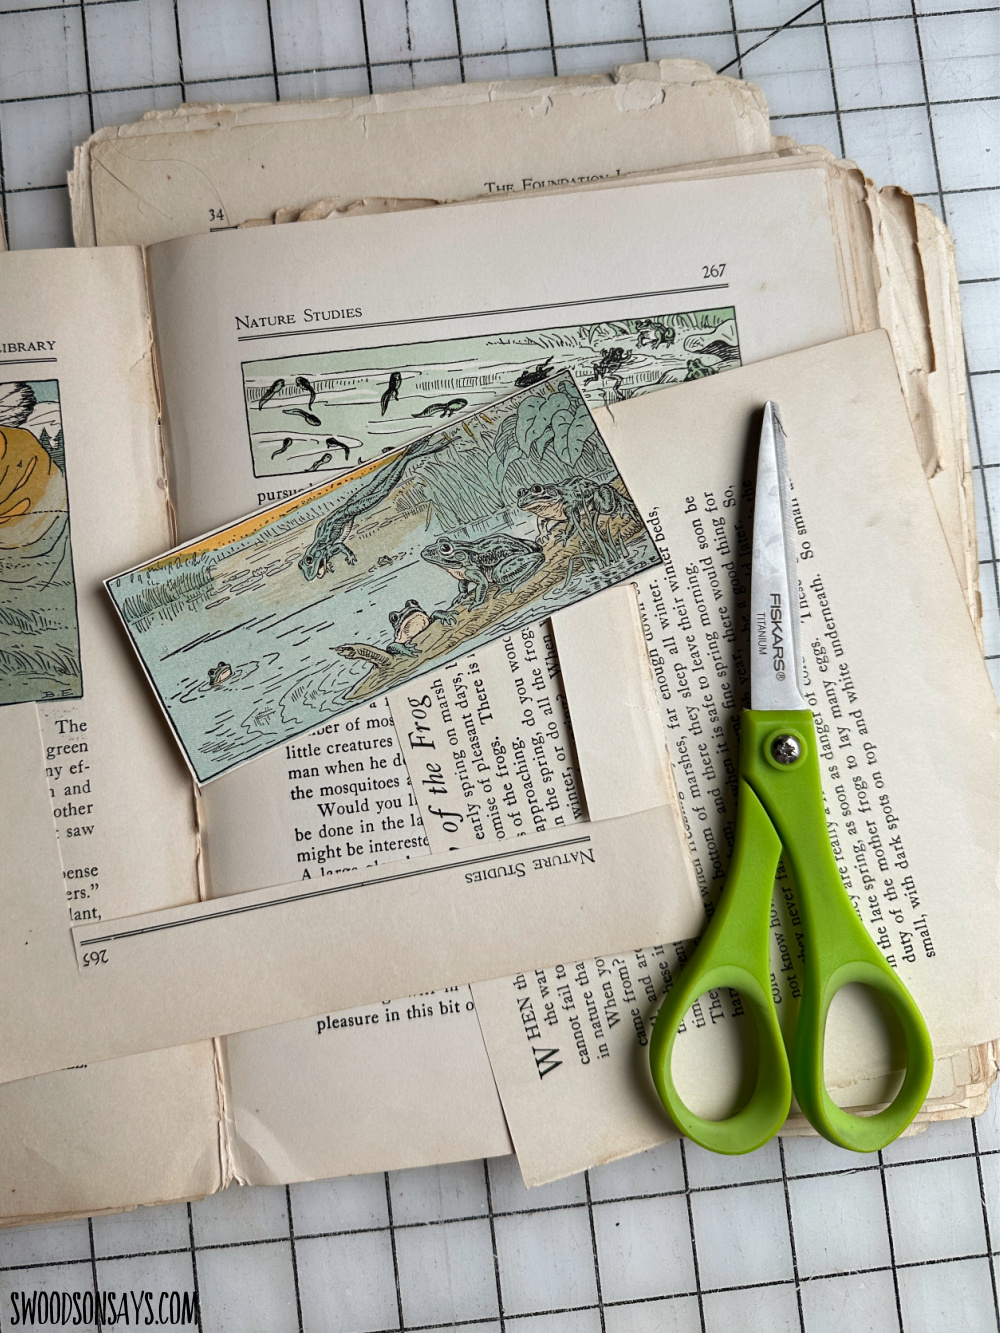
Step 2- Next is the fun part – cutting out the illustrations you want to include. I like holding it up to the window to get a sense of proportions before cutting.
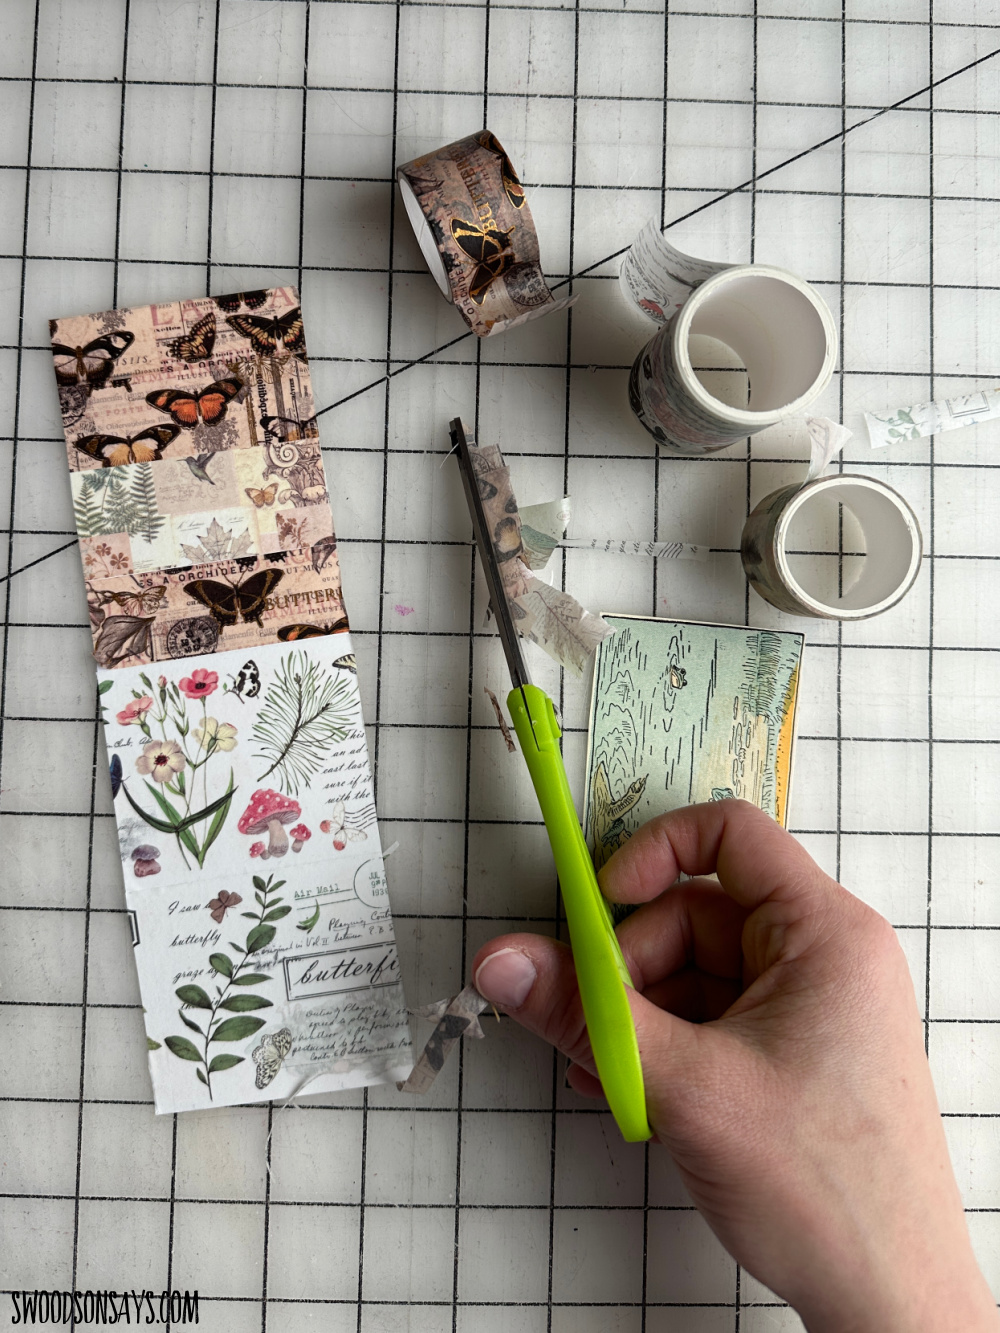
Step 3- Add some layers! Here is washi tape as a background; you could paint, stamp, use patterened cardstock, etc. Glue on the other accent pieces/stick on the stickers.
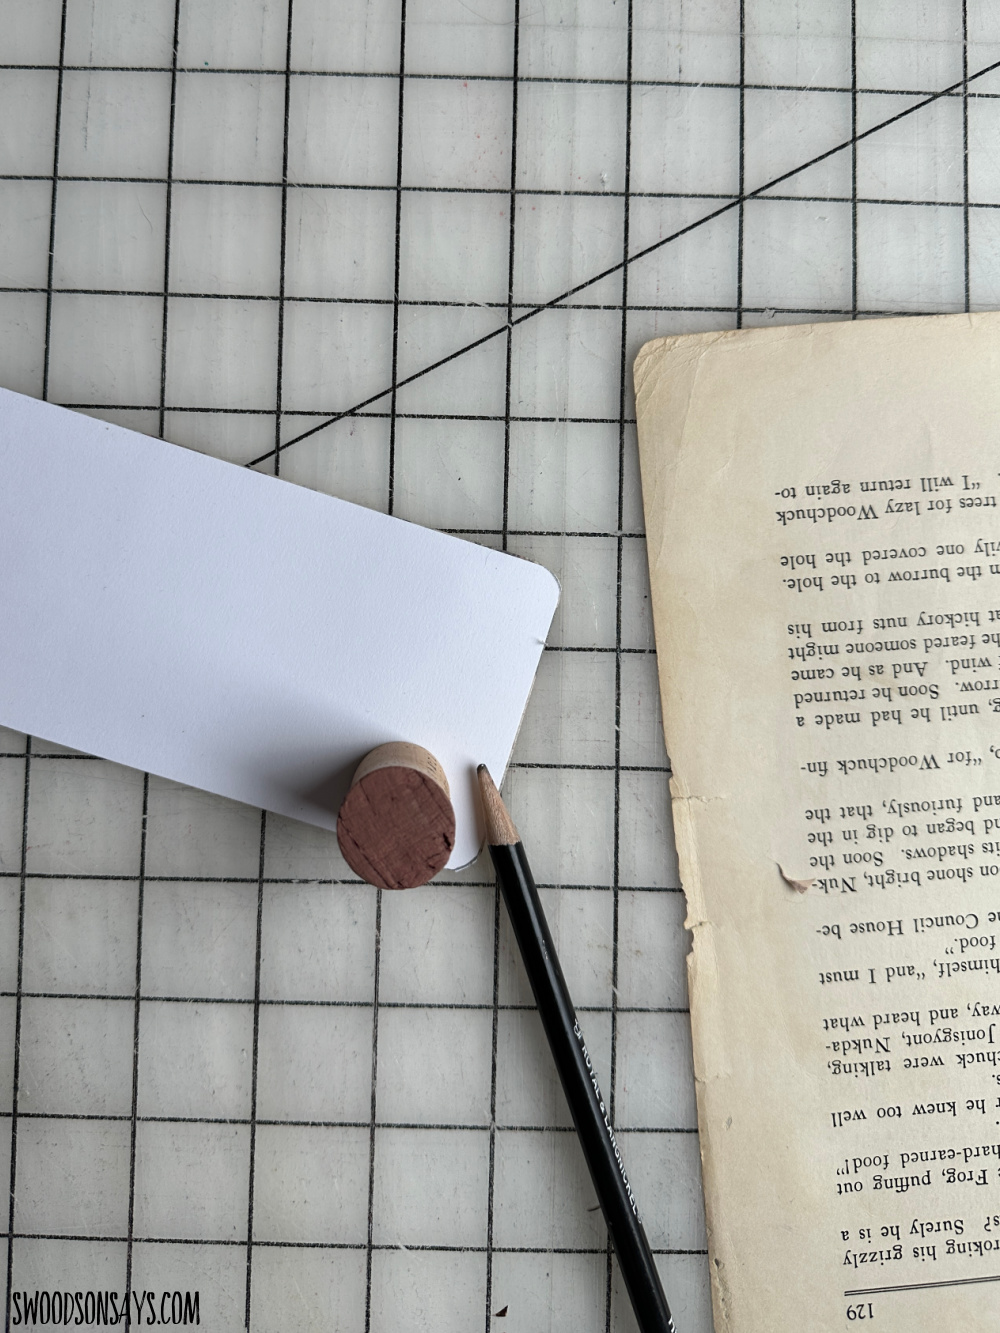
Step 4- optional – round corners if you’d like. You can buy a corner punch, which I did and cannot find it, or just trace something round as shown here. Also punch a hole at this point if you’re adding a tassel.
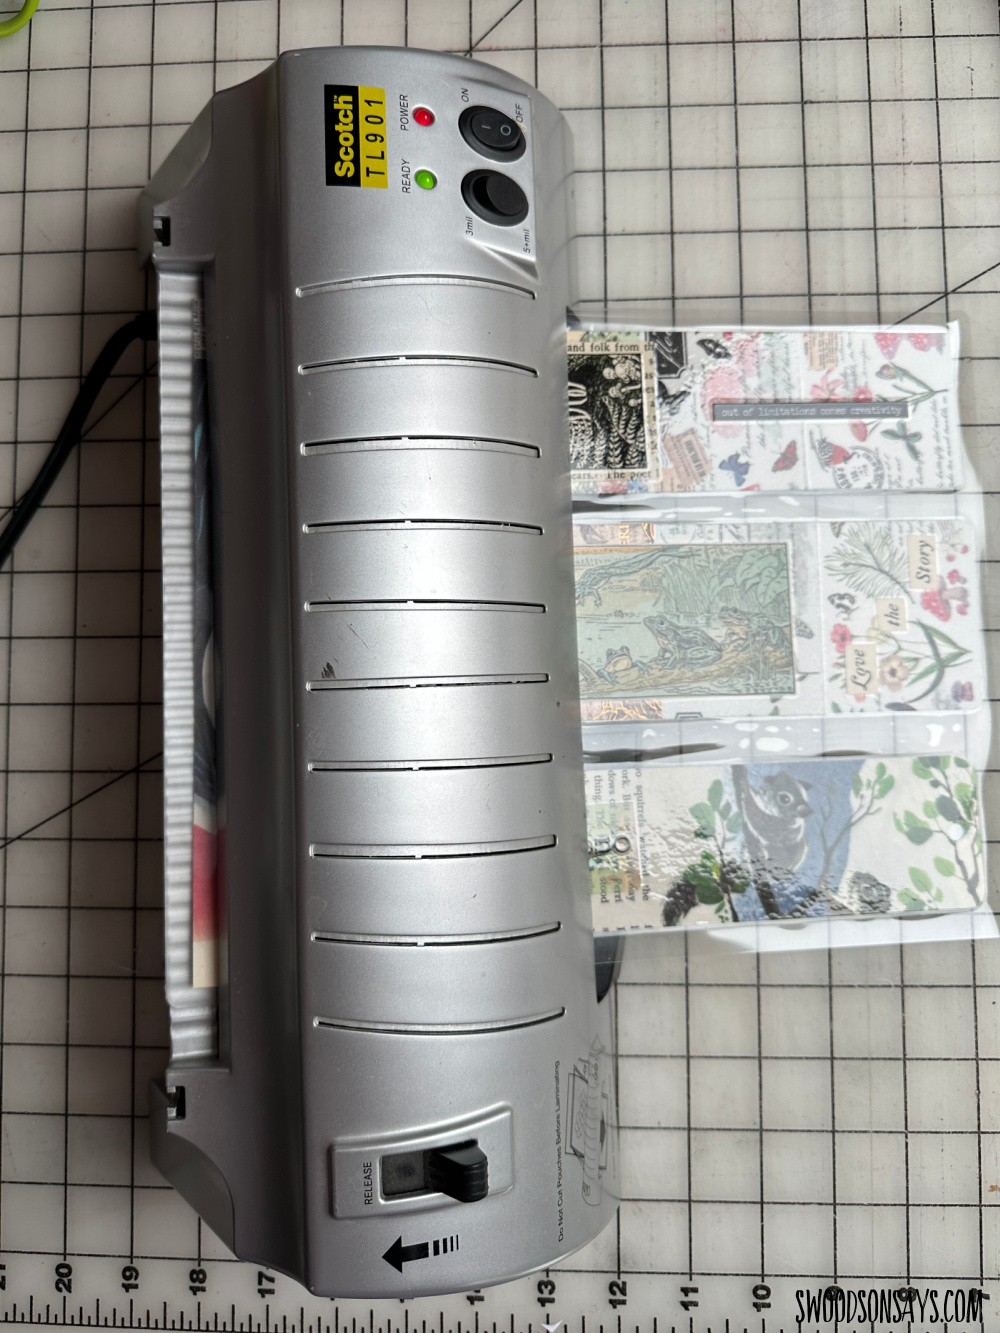
Step 5- Also optional, but I like laminating so they last a good long time!
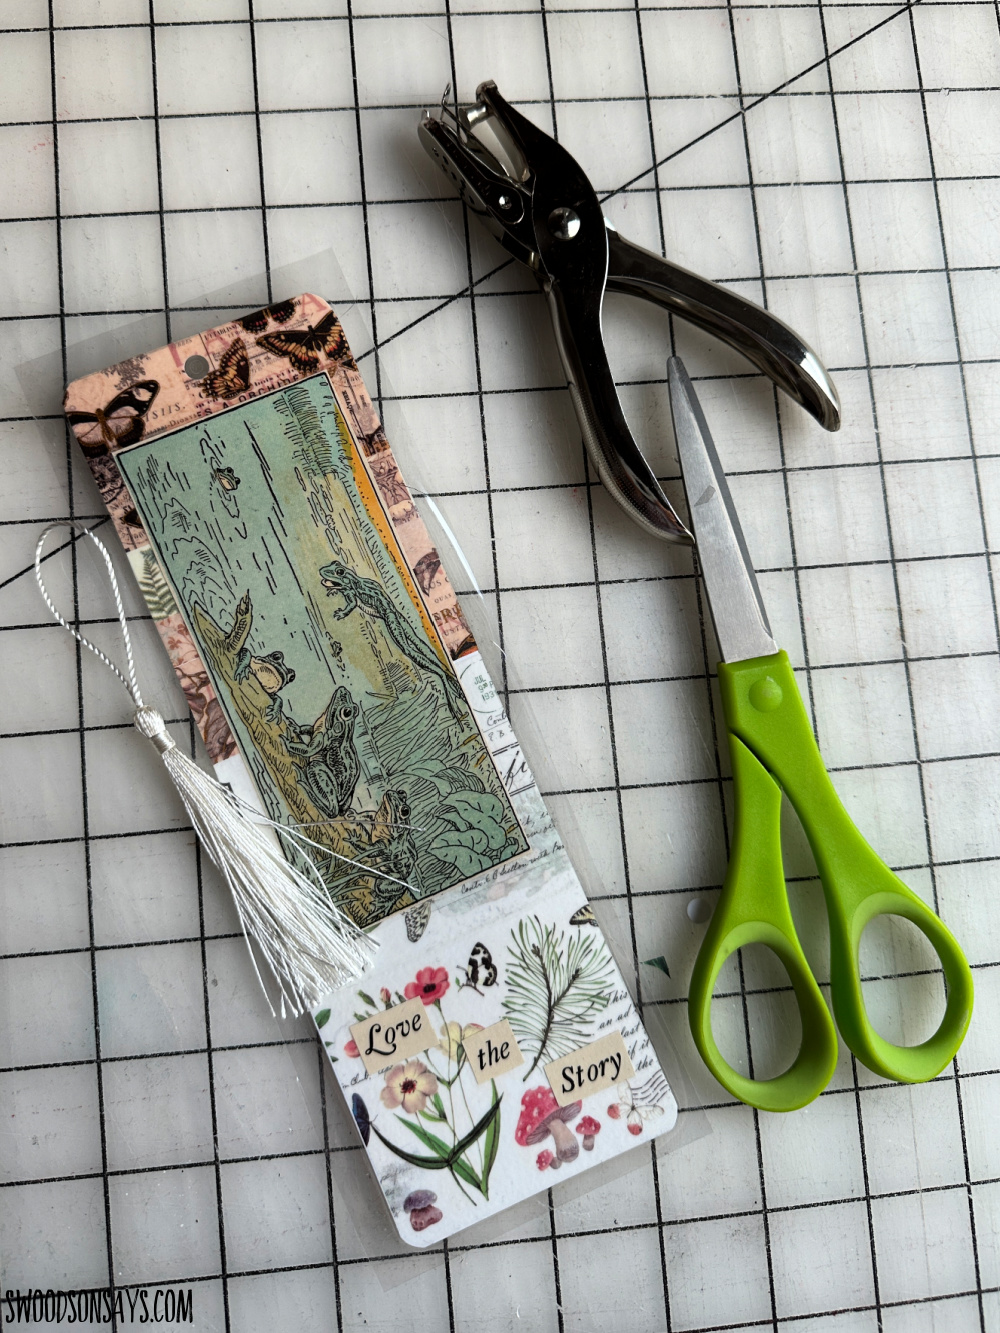
Step 6- trim the lamination and repunch the tassel hole – add a tassel! You’re done!
I think this would make a great group craft and for any ages, hope you get a chance to try it!
Janene
Monday 1st of June 2026
Very inspiring! Thank you for sharing.
Stephanie - Swoodson Says
Tuesday 14th of July 2026
that's sweet of you, thanks for reading and commenting!
Cathi
Wednesday 31st of January 2024
This is such a fun idea! My six-year-old is an avid reader and often has a a couple chapter books and a graphic novel going. I know he'd enjoy the project of making bookmarks. And I love the chance to use the laminator whenever I can. LOL