
How to upcycle a crochet blanket into a pillow – a beginner sewing tutorial
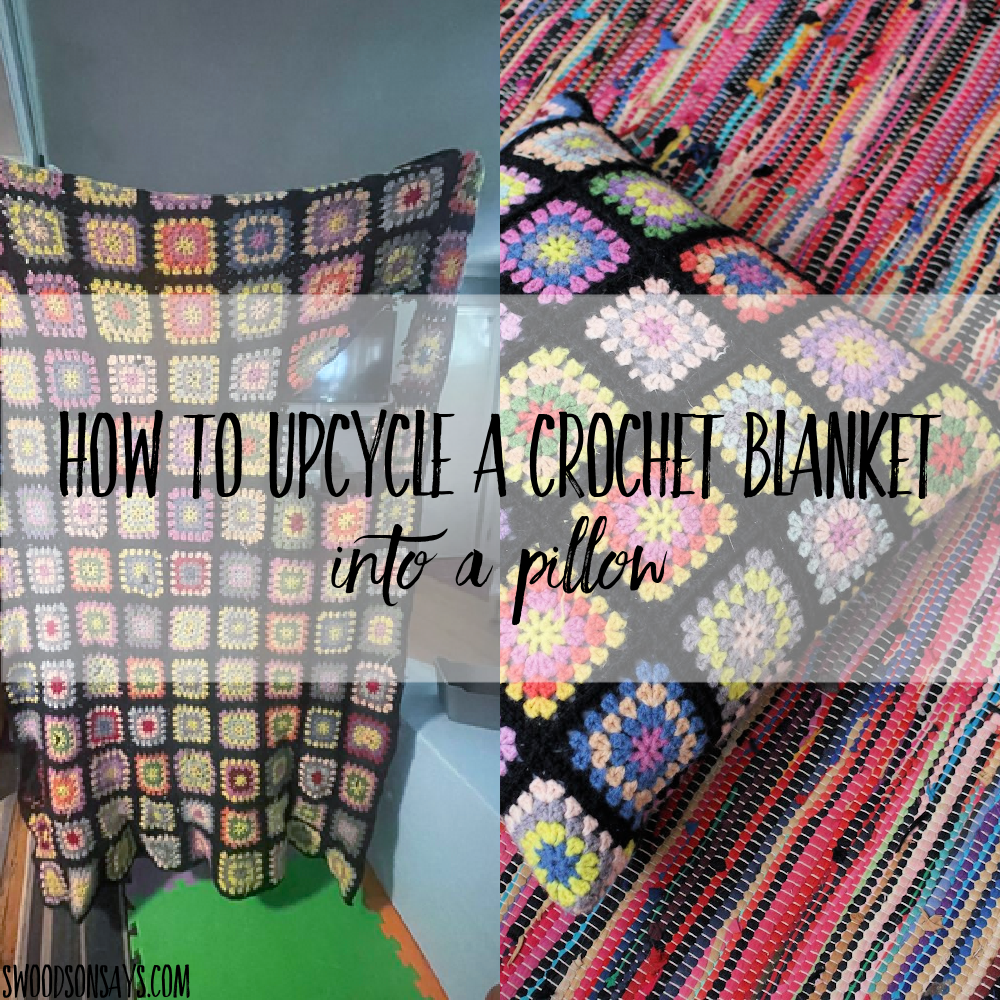
I’ve been keeping my eyes out for a fun crochet blanket at the thrift stores but never found one I loved the colors on… and then my local Buy Nothing facebook group popped up the perfect opportunity – a blanket with a big honking hole that needed new life! This was a really easy upcycle project and I thought I’d share the steps in case anyone wanted to recreate it.
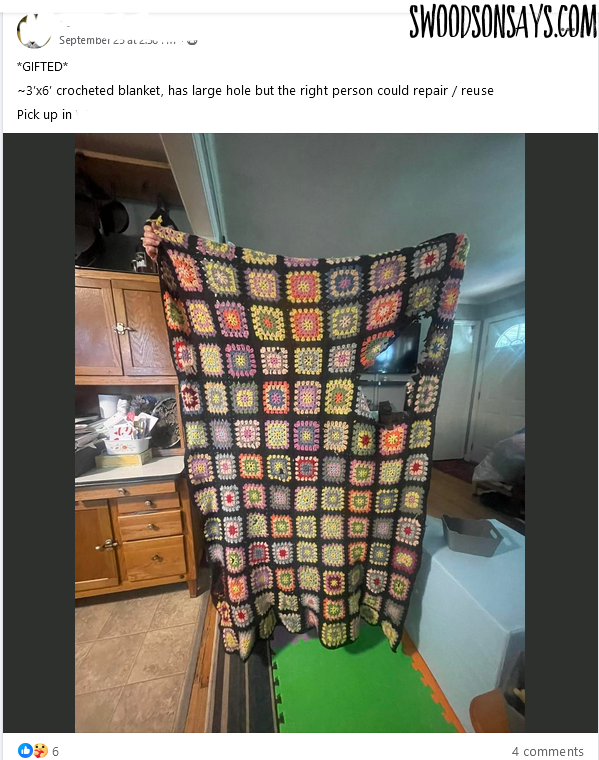
I’m so glad this person didn’t trash it! Here was the original post I saw.
I know *nothing* about knitting or crochet but this sure seems like it took a long time! I love the color choices.
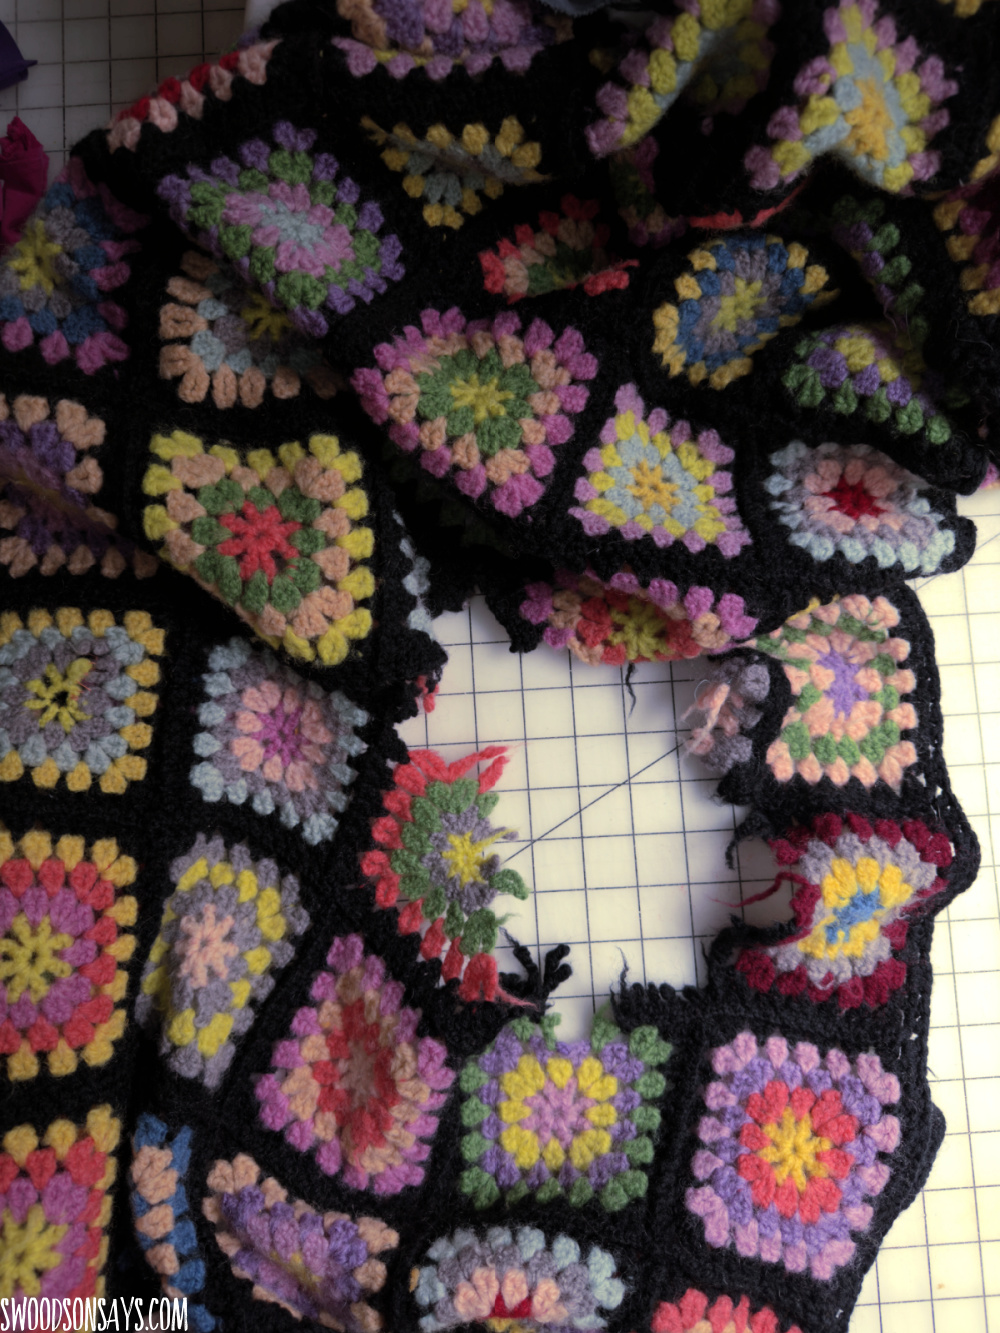
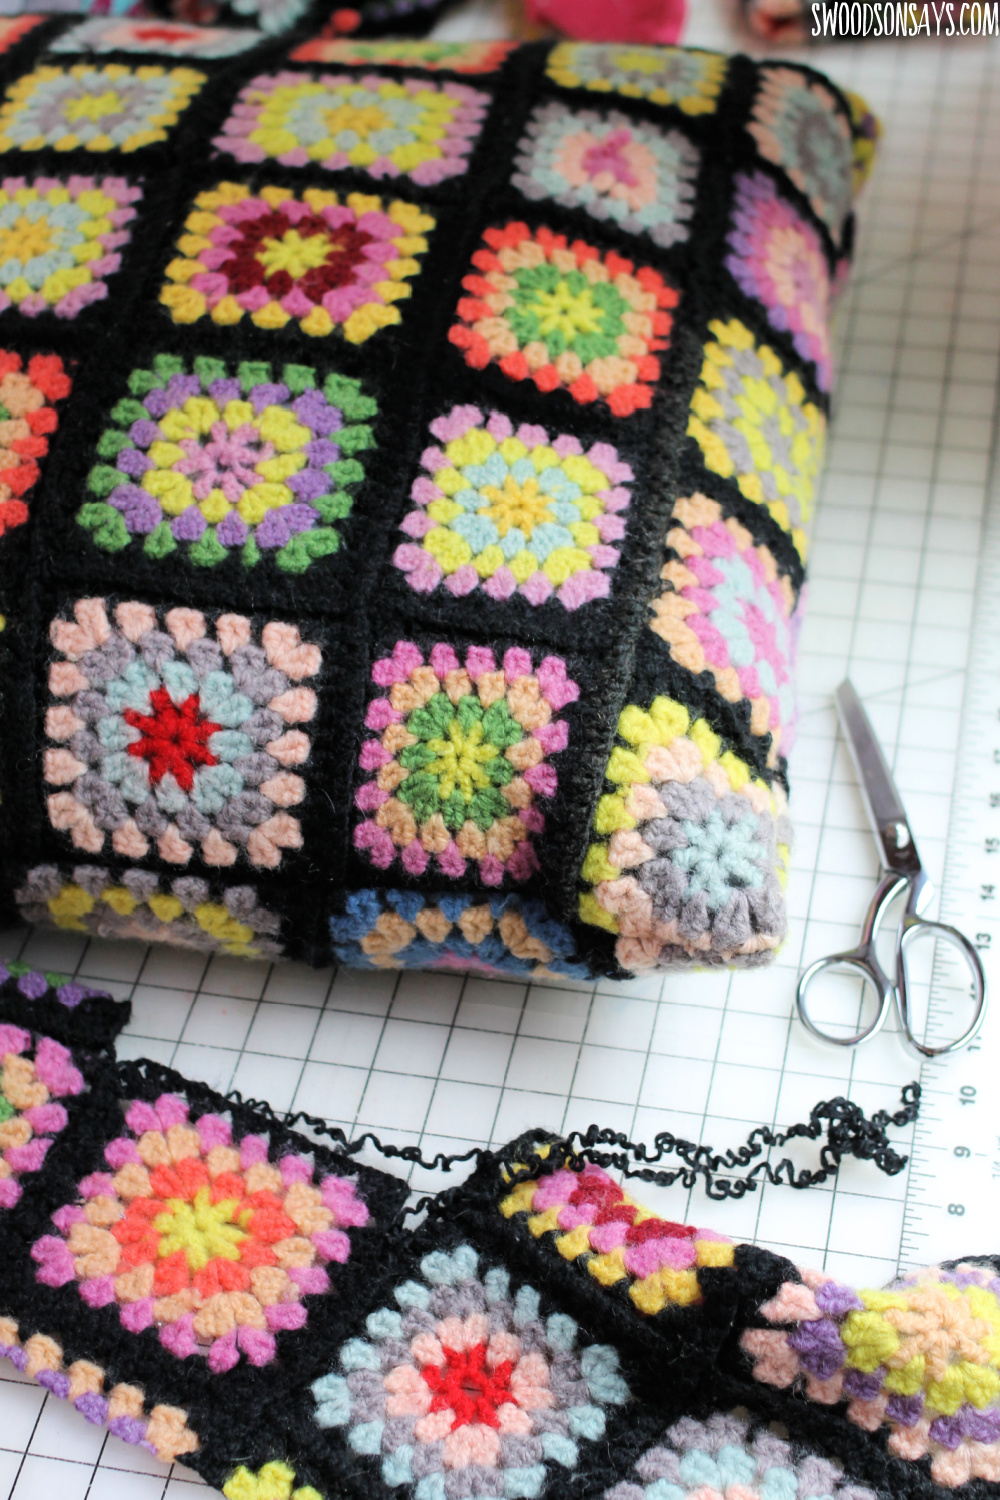
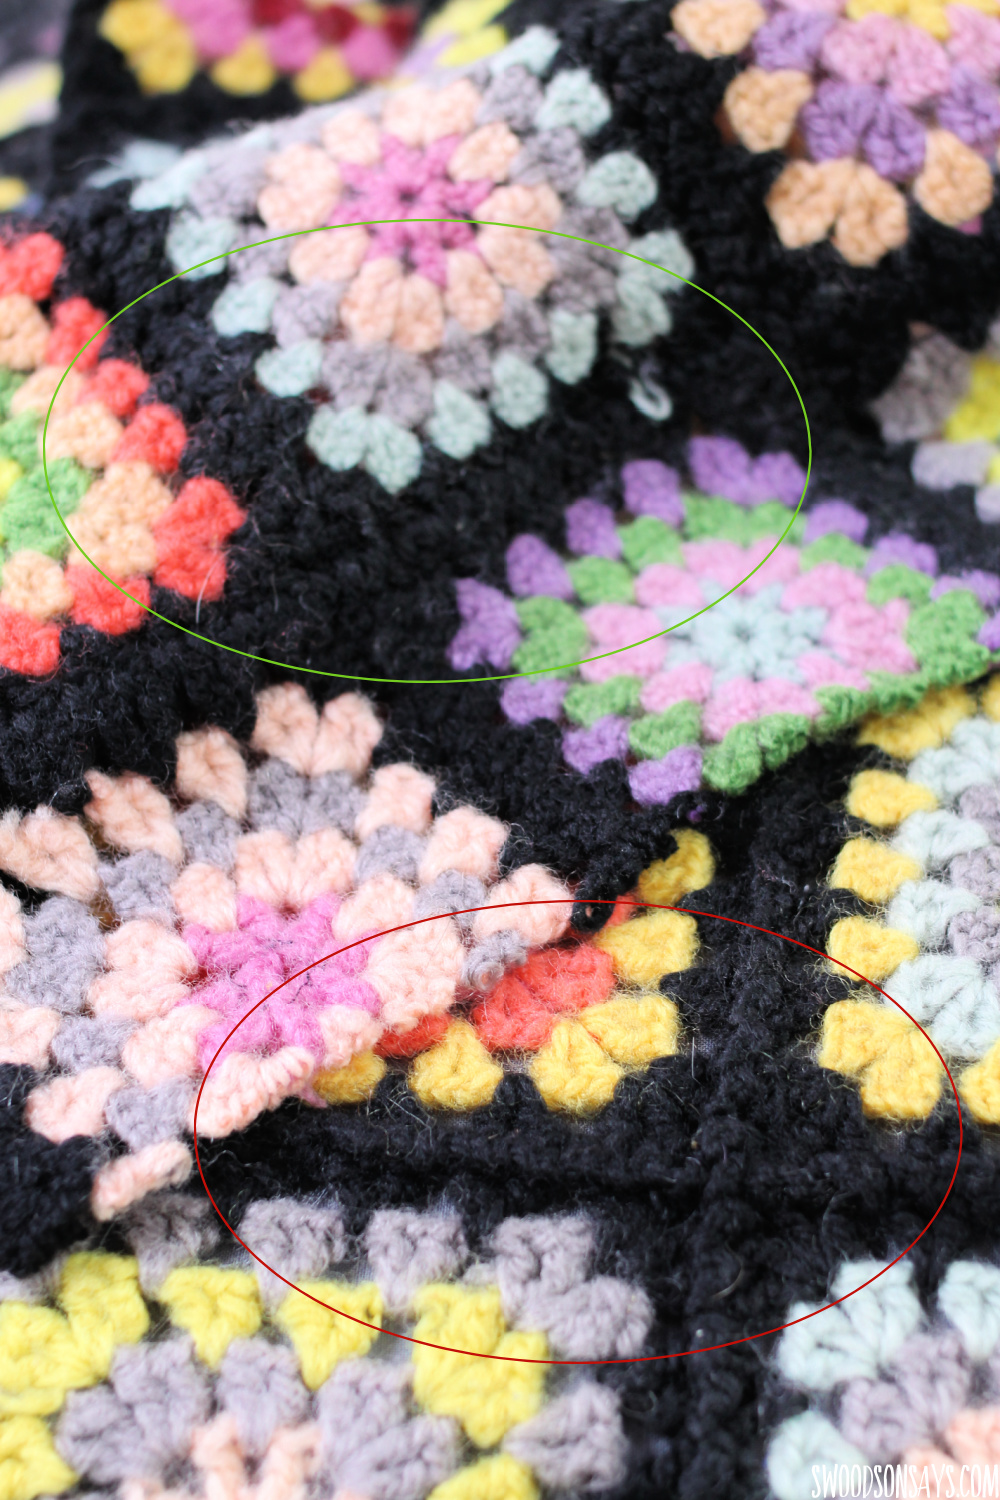
I didn’t realize at first that some of the smaller squares had holes to be mended as well – I initially thought about trying to cut all the squares apart and resew the intact ones back together but that took FOREVER to safely un-attach them. I don’t know what caused the big hole but it was a doozy!
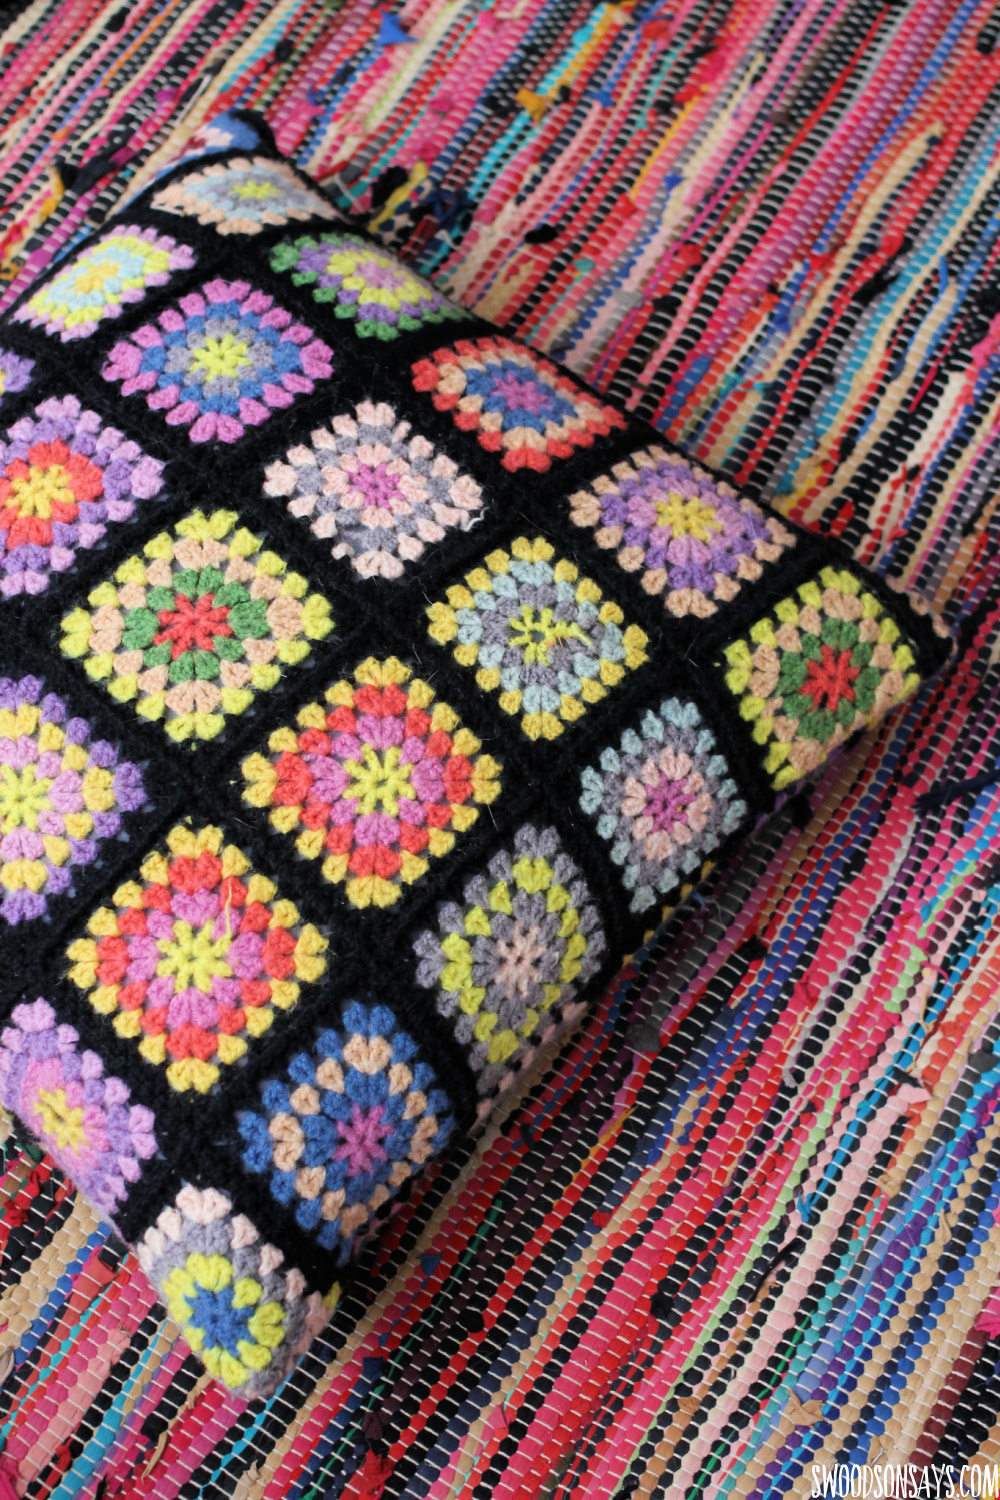
You can see one of the little mending jobs here, they tried to fix it with orange thread and I’ll go back in and cinch it up a little. No problemo! It is so cozy and home-y, I just love it. You can see my upcycled tshirt rug (that I bought!) and how it just matches the colorful, mismatch vibe.
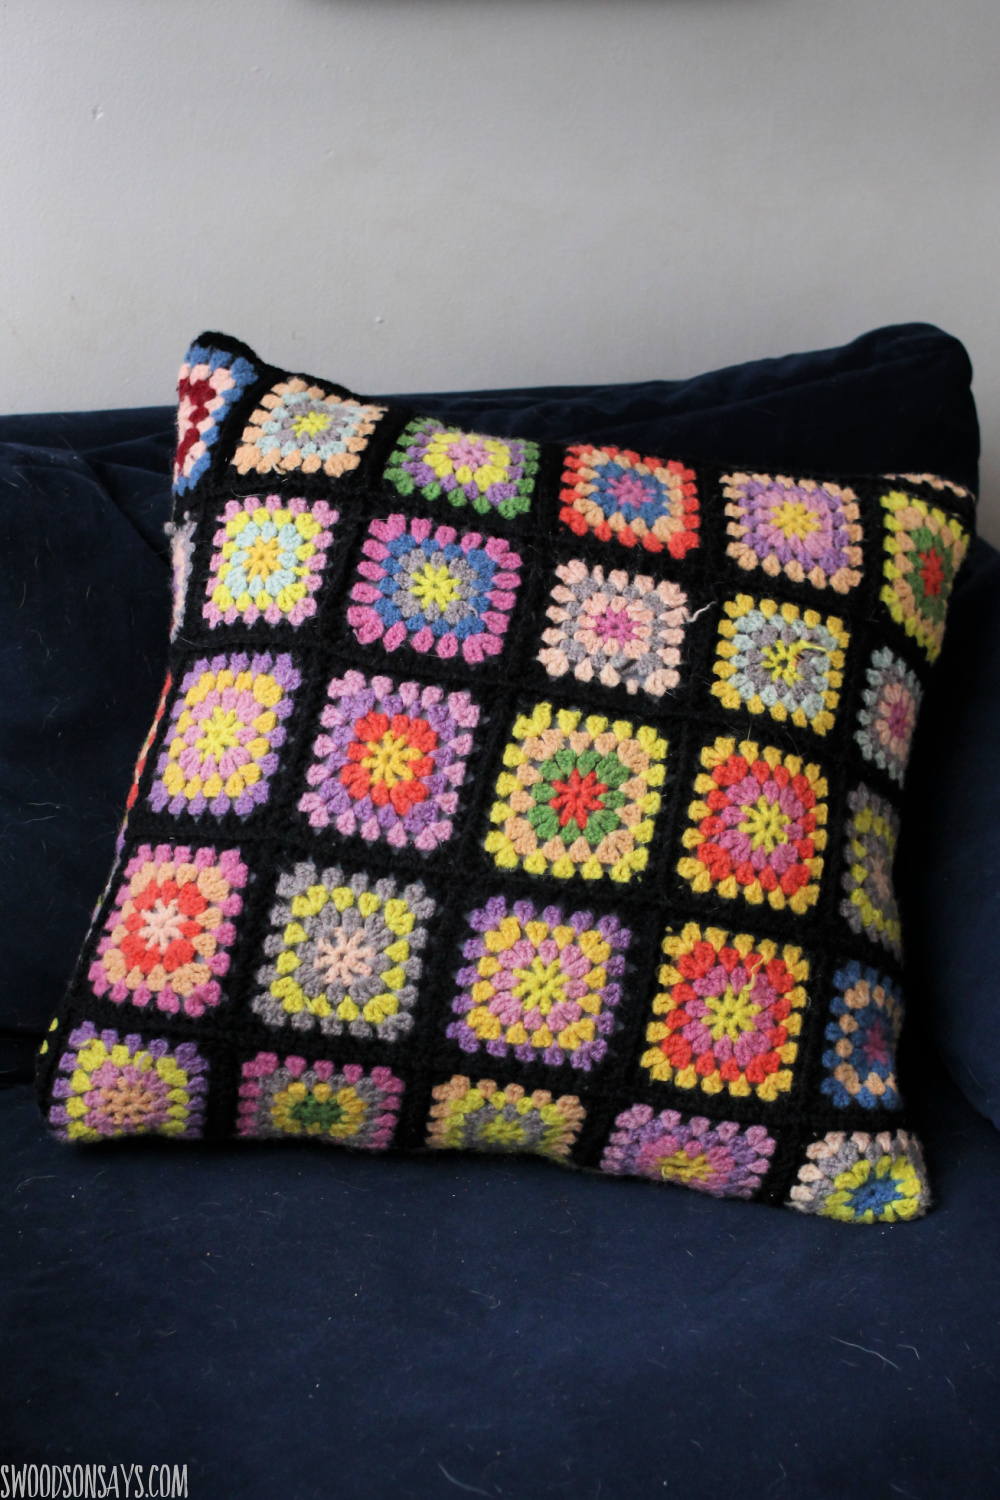
I should photoshop all the lint and pet hair off my velvet couch for this photo, but let’s be real, this is what my life with 2 kids and 4 animals looks like 99% of the time. It has been cuddle tested and approved by all of them!
If you like this post, check out these others while you’re here:
- DIY floor cushion tutorial (this is for a slightly bigger pillow and has a leather handle, otherwise pretty much the same!
- 25+ creative vintage linens repurposed projects
- How to make a quilt from old clothes – 10+ ideas
- What to do with old jeans – 45+ upcycle sewing tutorials
Pin this tutorial for how to upcycle a crochet blanket into a pillow with this link or collage image:

Ready to make your own? It’s pretty simple! I want to apologize for the weird coloring in these photos, I wasn’t sure I’d like the finished project so just took photos with my phone and they seemed to have had a weird cast to them. But, the steps are the same and easy to see, weird lighting aside 🙂
How to upcycle a crochet blanket into a pillow
Supplies:
- 24″ square floor pillow insert – mine were ones I had from years and years ago but you can order them on Amazon or, best yet, thrift them! they wash and dry just fine.
- Sewing clips
- 2 yards of quilting cotton – prewashed & dried
- Iron
- Crochet blanket- thrift one, ask in a Buy Nothing/Freecycle group, check on Facebook marketplace, or order one off ebay
- 22″ invisible zipper [Shop: Amazon ]
- Zipper foot
Steps:
First, I want to show you a mistake *I* made – I didn’t realize until I was done that there really seemed to be a “back” side where the ridges of the squares sewn together stuck out more. So, if you care, make sure that is the “wrong side” when you’re sewing together (I did not, and it’s fine, but that wasn’t a deliberate decision on my part).
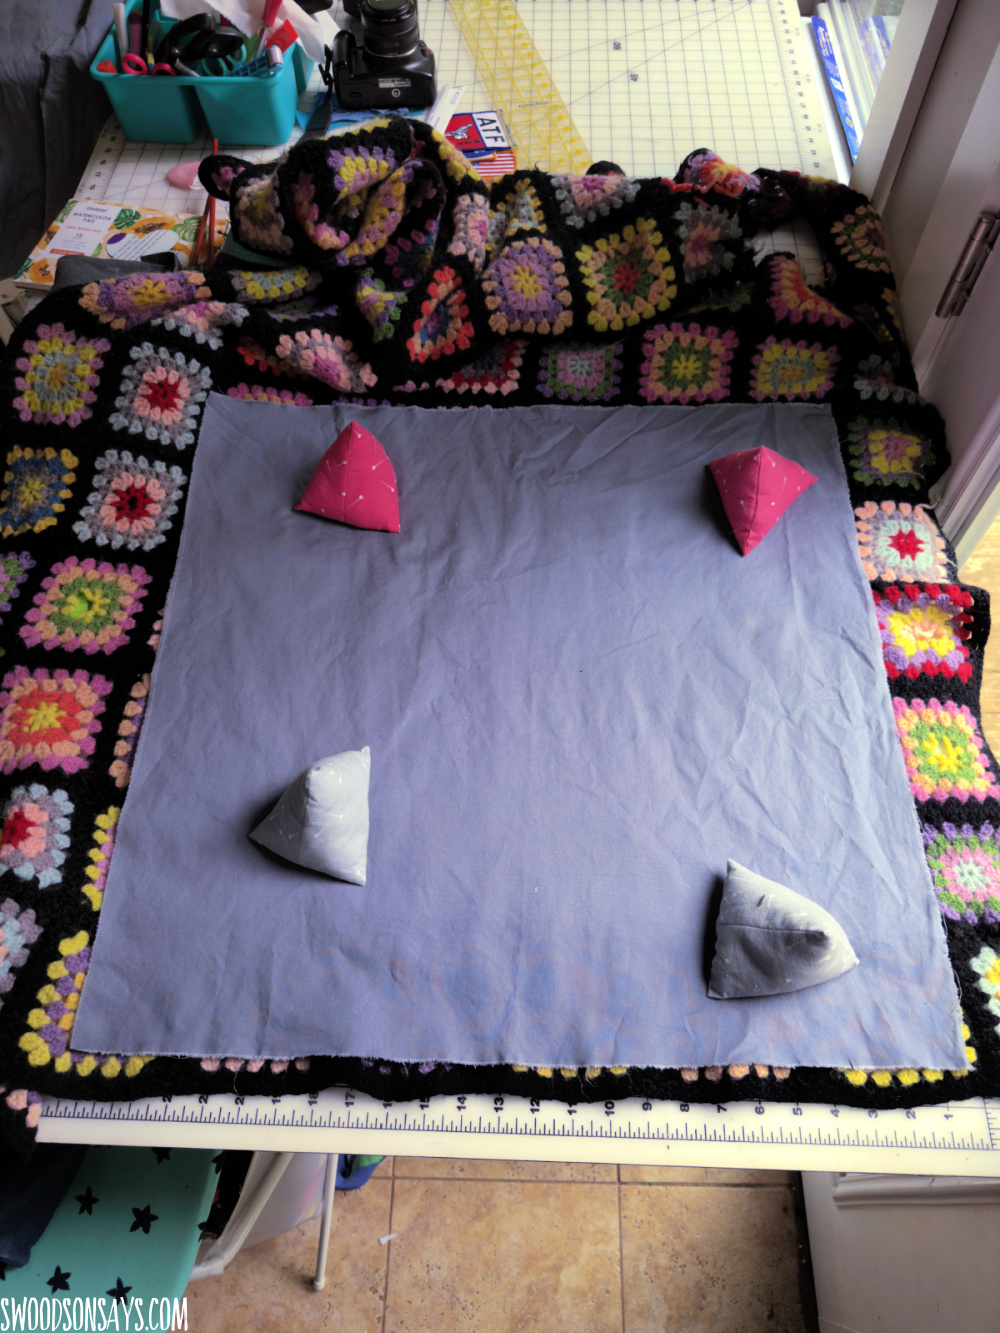
Step 1- You’re going to cut (2) 25″ square pieces (if you’re using a different size pillow – just add 1″ to whatever its size is). In an ideal world, this would be nice pretty straight lines on the blanket but mine was pretty distorted so I just rolled with it. (Also, shout out to my DIY pattern weights!)
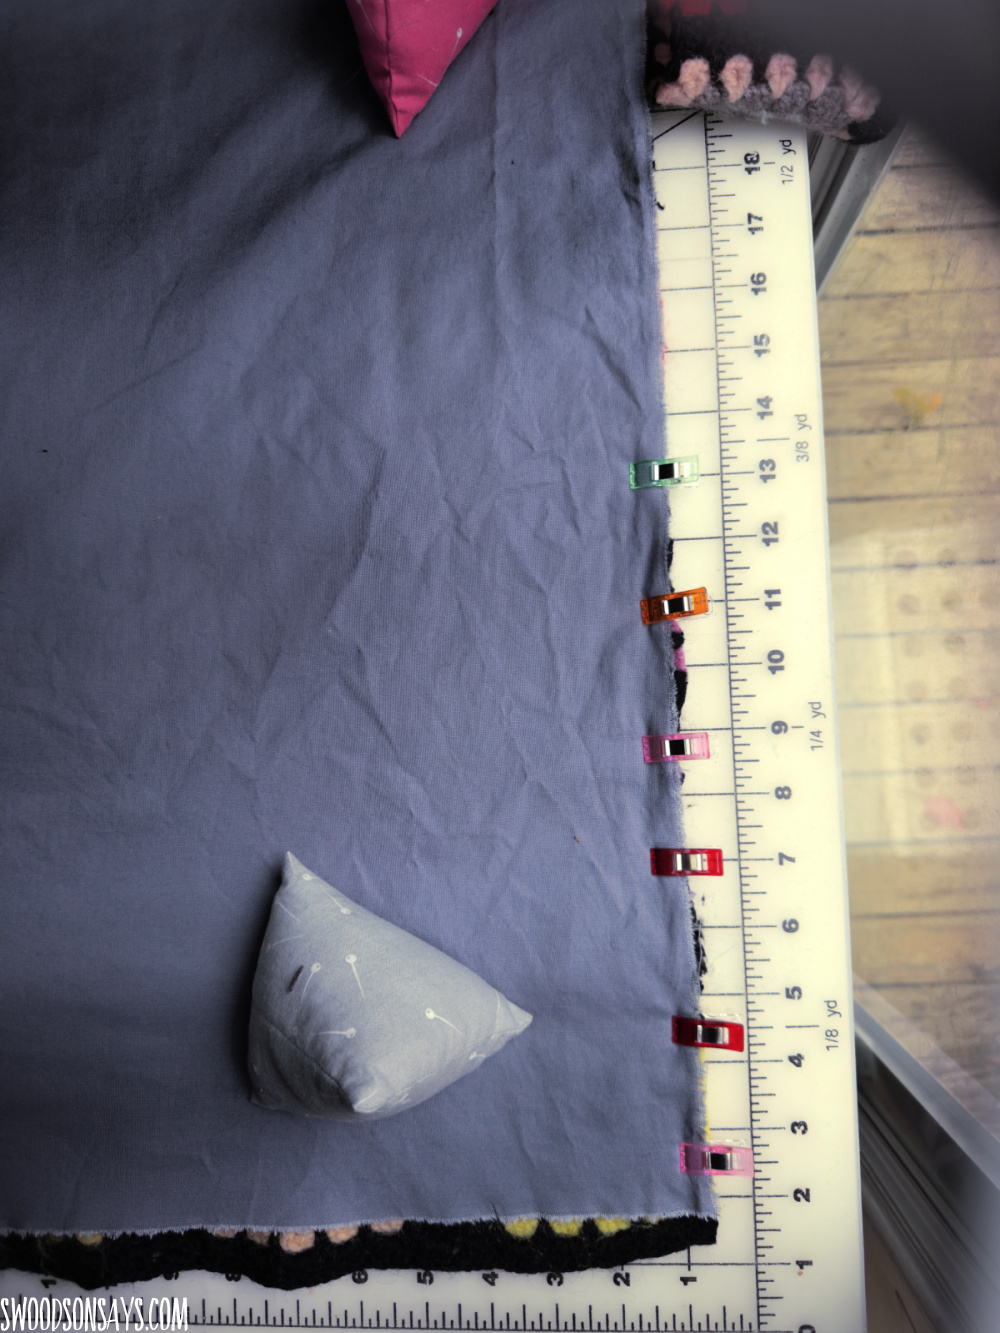
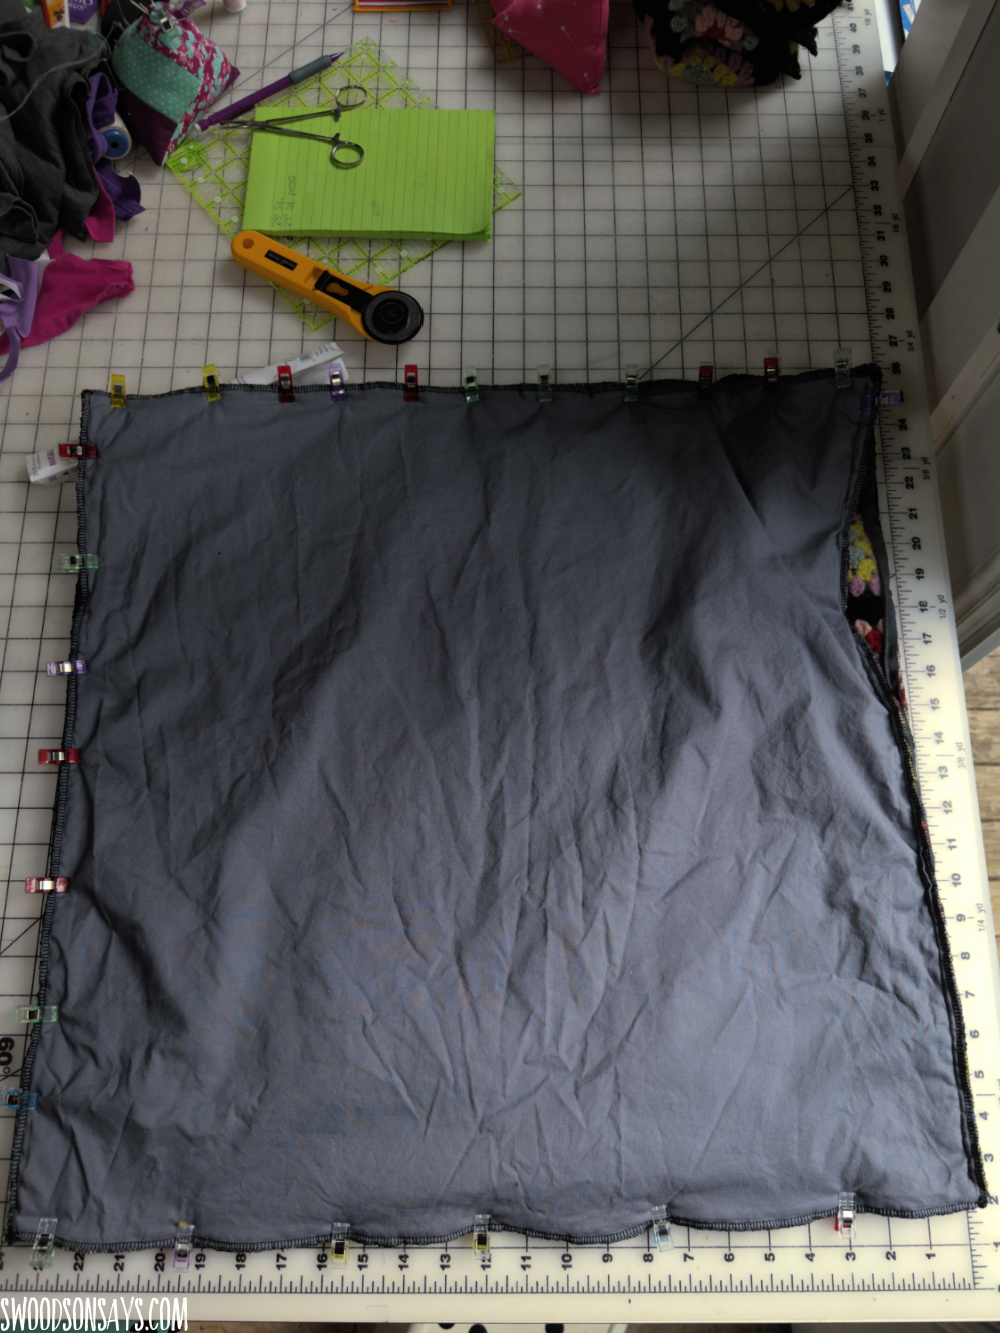
Step 2- Clip all the way around each square of fabric to the corresponding afghan square. If yours is not square, like mine, you may find you have to re-trim on one side like you can see I need to do here.
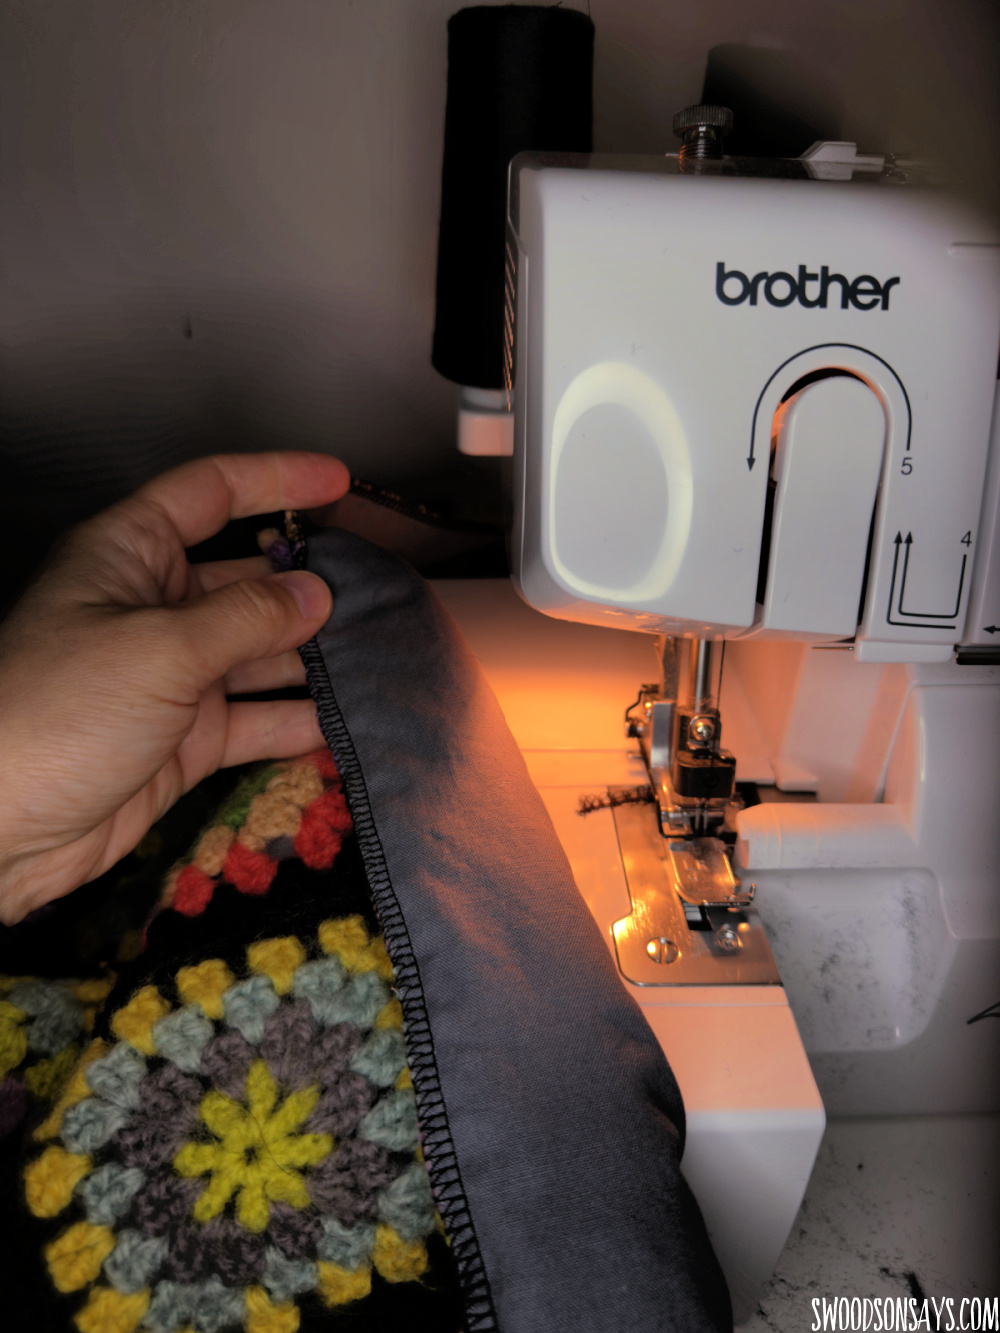
Step 3- Next, I serged the edges alll the way around each square. If you don’t have a serger, you could do multiple rows of straight stitching and a zig-zag stitch. Of all the crochet upcycle tutorials I’ve seen, people seem to skate past this and just sew like normal but there is no way that isn’t falling apart after a wash or two.
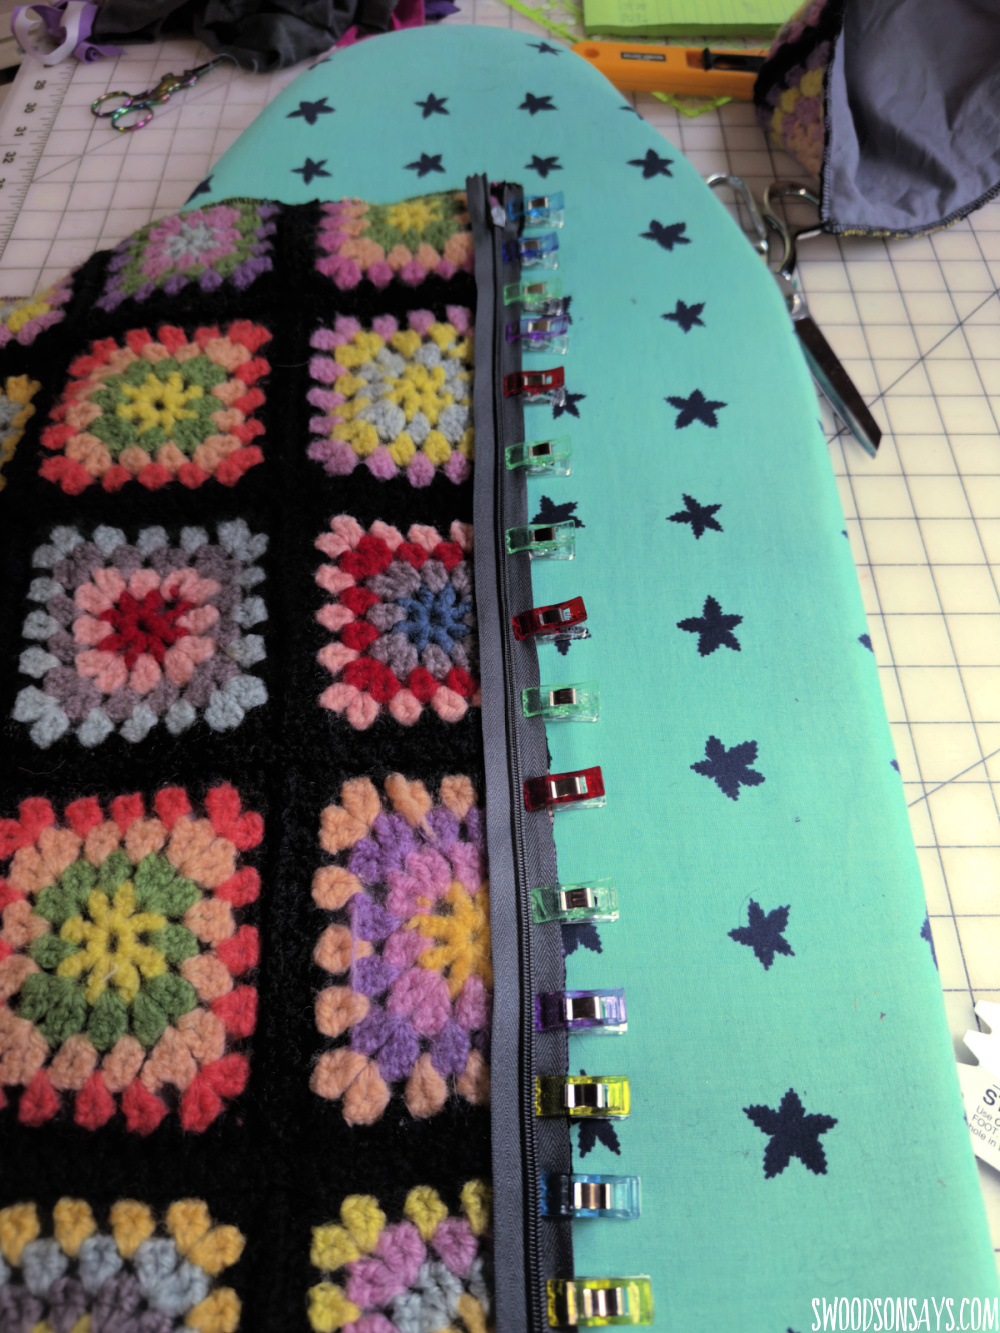
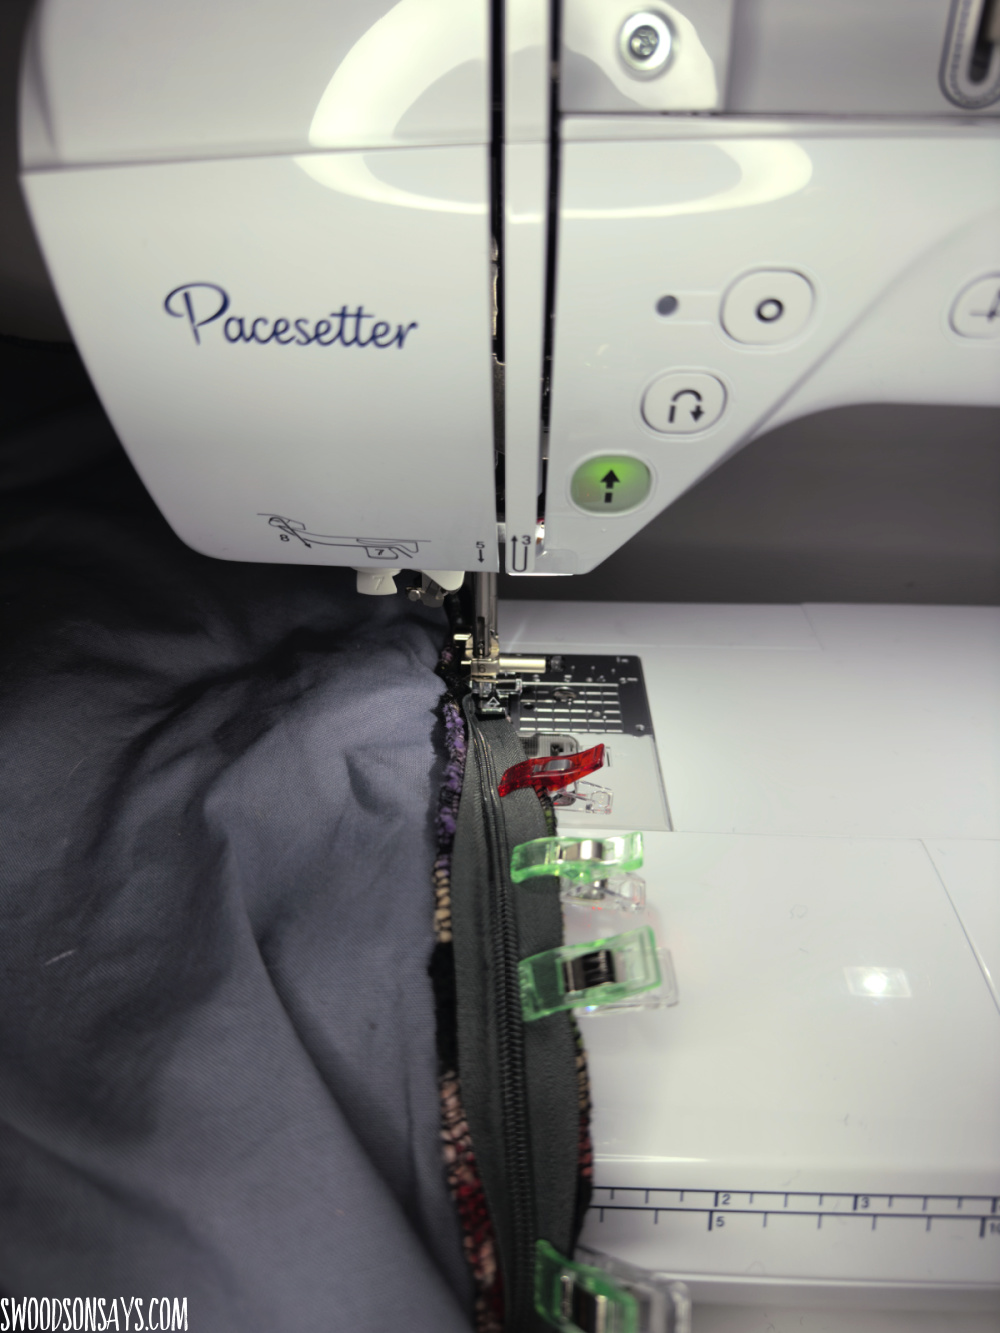
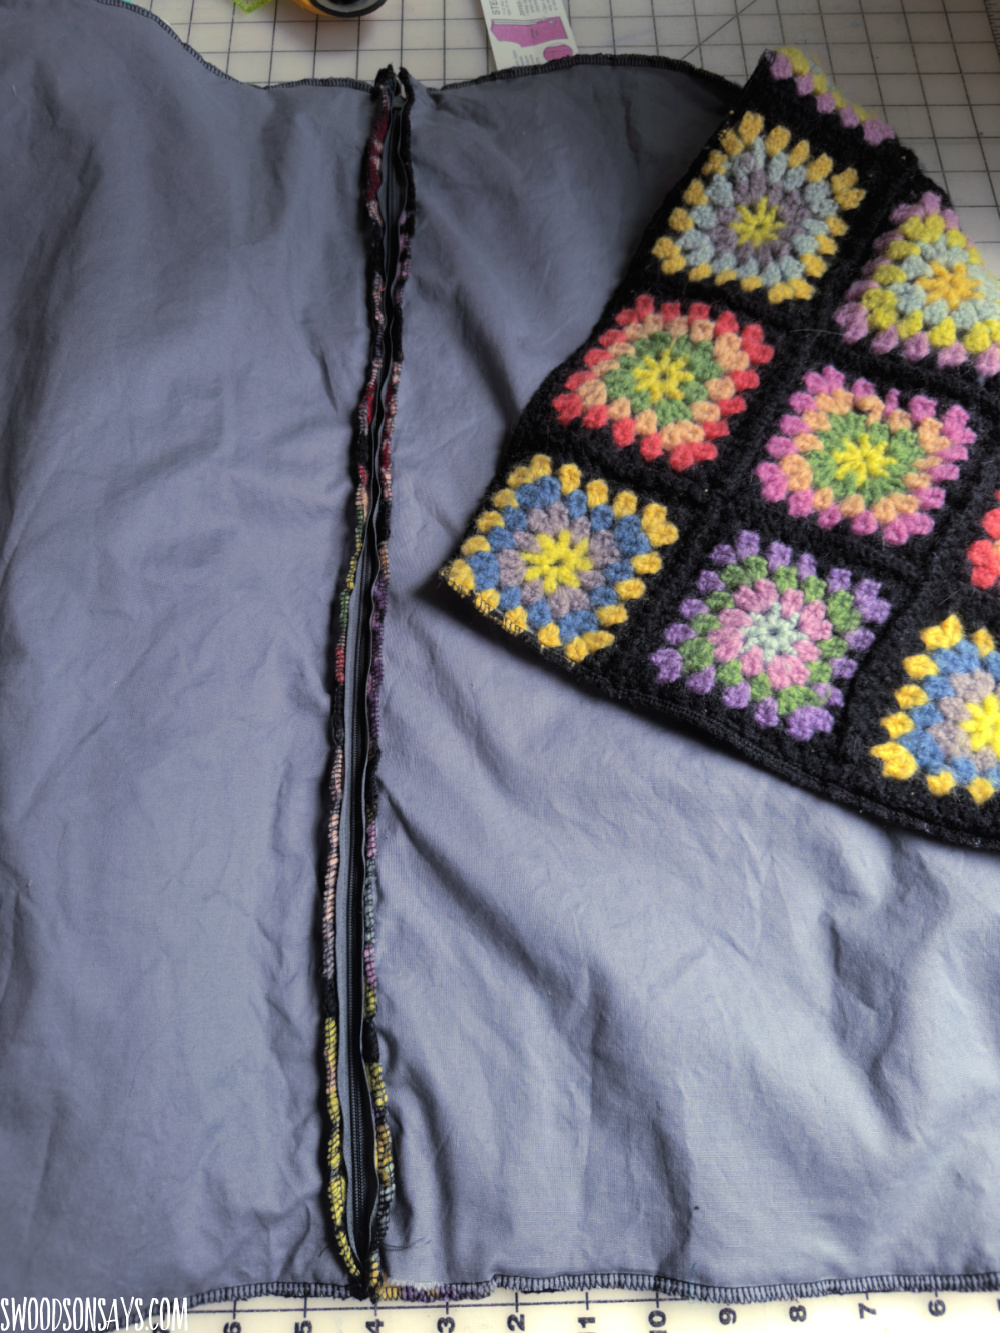
Step 4- Next, I inserted the zipper. If you have a not-even, skewed edge like I did, you may want to put the zipper on that edge so it’s more hidden 🙂 I did NOT use an invisible zipper foot nor did I try to make the zipper invisible with how thick and lofted the blanket + fabric square was, when I tried to do that, it just got caught in the yarn.
Step 5- Finish inserting the zipper – and make SURE to leave it halfway open for the next step!
Step 6- Clip all the way around the other 3 sides and sew with .5″ seam allowance from zipper end to zipper start. Turn right side out through the open zipper and you’re done!
I still have a few squares left, I’d love to hear what you think I should do with them!
Brenda
Saturday 28th of October 2023
You could make the rest into a really cool handbag. Like a slouch bag. I also thank you for being real as we have 4 cats and it is always a battle to keep the cat hair cleaned up.
Stephanie - Swoodson Says
Monday 6th of November 2023
Love that idea! 4 cats sounds like a party :) :) thanks for reading!
Mickey
Saturday 28th of October 2023
It came out lovely! Could you do a coaster set with the left over squares? Or a mug rug?
Stephanie - Swoodson Says
Monday 6th of November 2023
those are great ideas, I will have to experiment! thanks for reading!
Barbara
Friday 27th of October 2023
Beautiful! I have 3 of these afghans that my children really don’t want. The pillow is a great idea! (And thank you for the real-life lint and pet hair, we all have it!).