A week of upcycled craft camp ideas for middle schoolers!
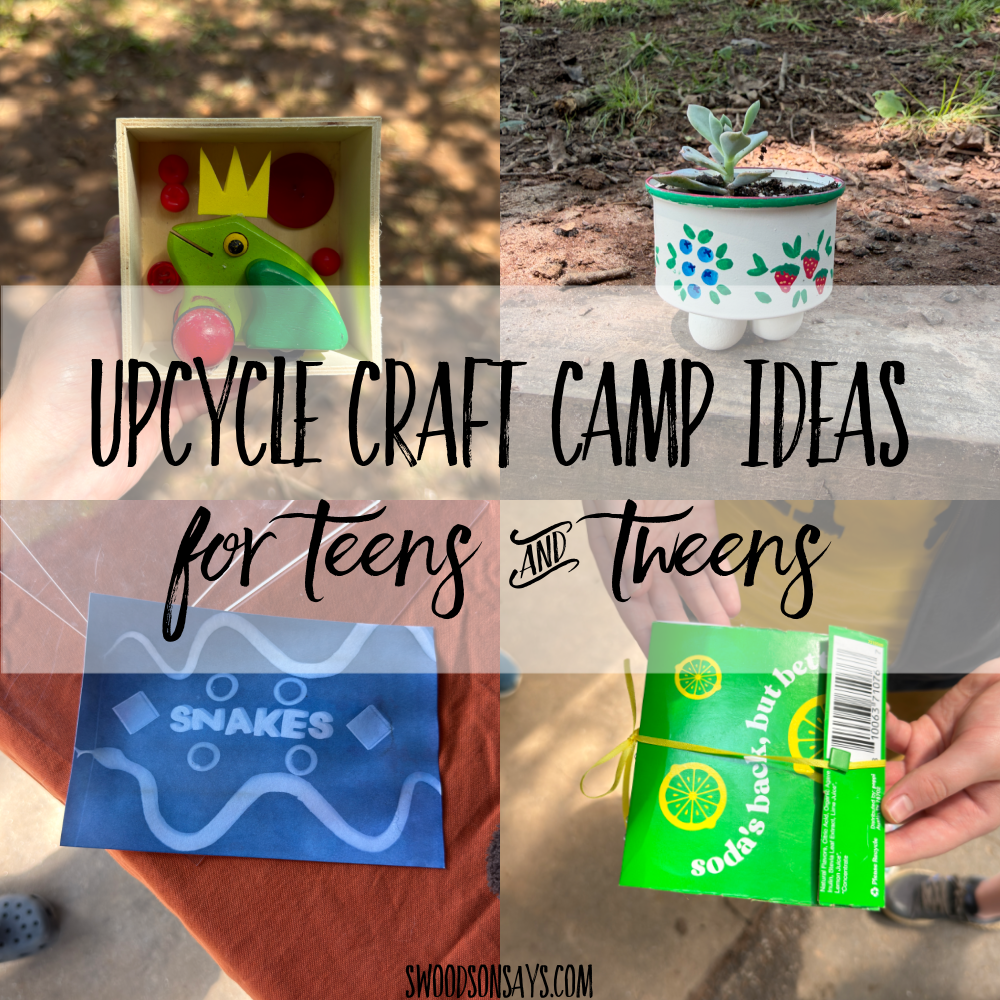
I’ve been running a “summer camp” for my kids’ secular homeschool group for a few summers now and this year’s theme was Trashcraft Camp! 5 days of crafts using mainly upcycled materials, two field trips, and lots of fun. I wanted to share what we did in a way that hopefully someone else could use the ideas for their own group crafts, regardless of if they live here in Asheville or not! I tried to tie one craft on each day in with a real artist, that information is at the very end of this post. I personally think most of these would work well for adults too, what do you think?
This post will not be as polished and photos won’t be as clear as many of my other tutorials – I did not prepare or document this week with the intent of sharing it in a blog post. Hosting and organizing 30 kids with hot glue guns didn’t leave me with a ton of free time with my camera, but I think this information will still be useful to anyone even without a ton of visuals and step by step instructions; all of the crafts are relatively self explanatory.
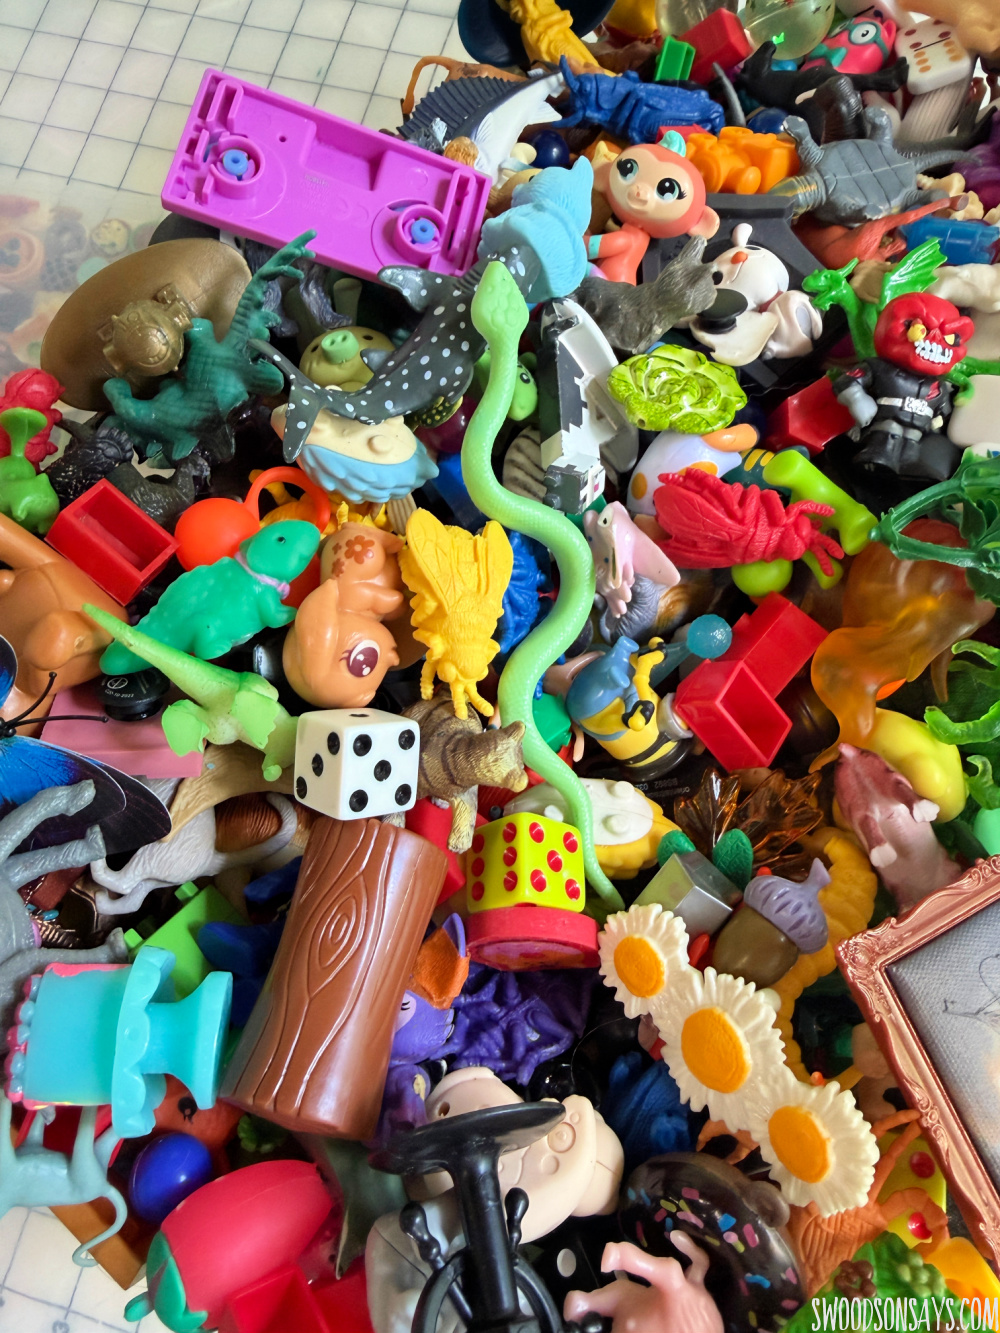
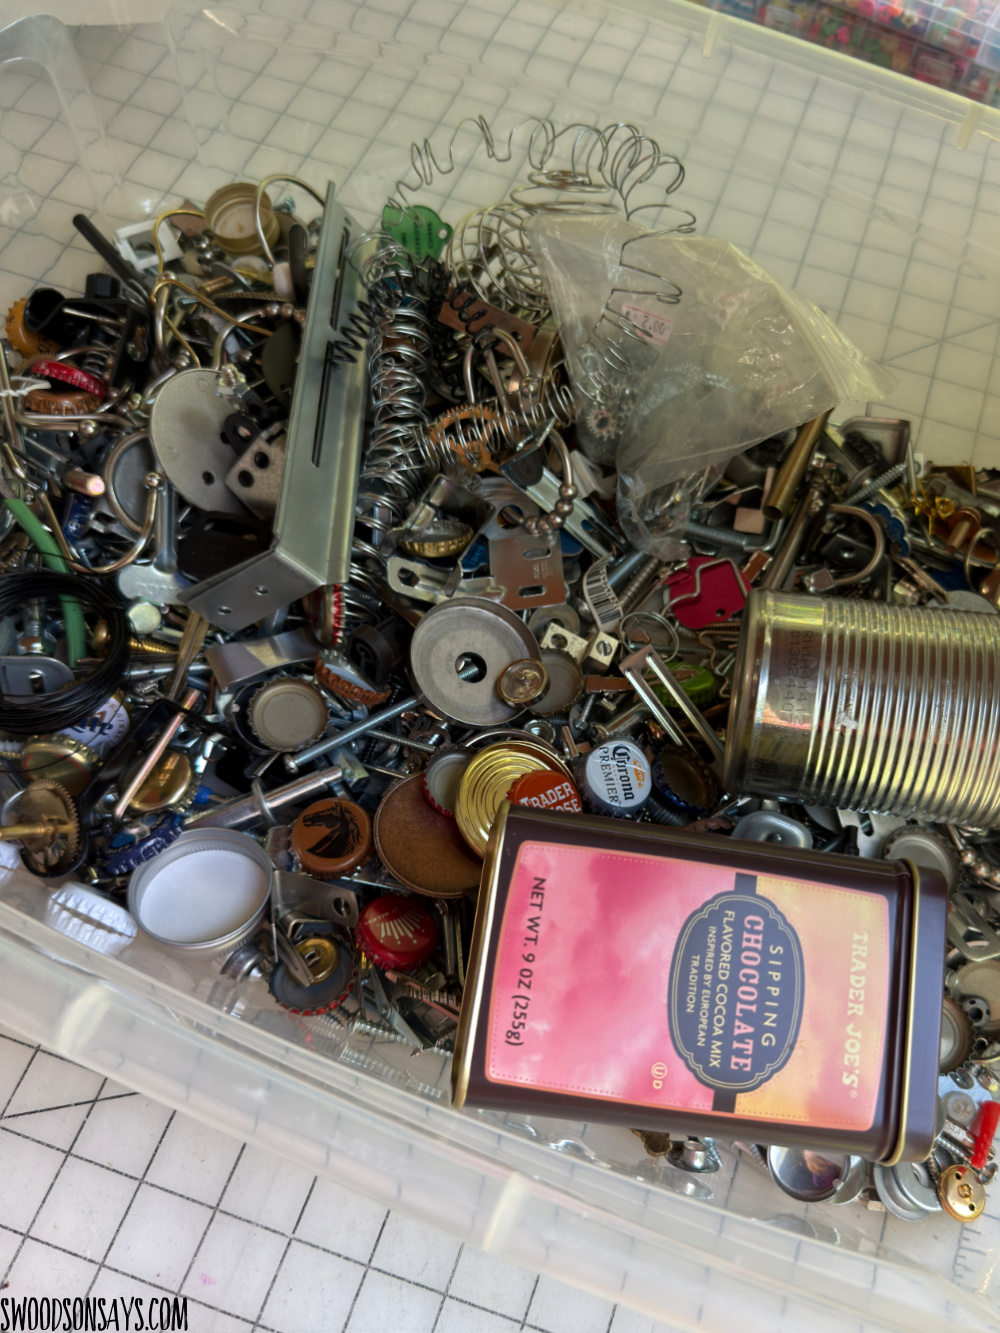
I collected materials for all these crafts for at least a year and my biggest hope that is if you decide to try any of them, you find a way to use secondhand supplies and don’t place a Temu order for trinkets and metal tea tins!!
Here are a few ways to get cheap or free trinkets, metal pieces, etc.:
- Post in your local Buy Nothing or neighborhood/parenting groups, asking for rejects. If you have someone picking up something from you that you sold or are giving away, mention to them that you’ll gladly accept random little toys and junk drawer paraphernalia! Since they’re already coming to your house, they might be happy to clean out their closet.
- Dig around in the Goodwill Outlet bins, where tiny things are super cheap and easy to find – if you’re not familiar, here is a primer.
- Look at normal thrift stores for bags of little trinkets, usually in the kids sections.
- Shop at your local creative reuse center, which will probably have game parts, tiny figurines, and metal bits and bobs. If you want help locating one near you, check out my list & map of creative reuse centers!
- Ask your friends, family, and neighbors to keep you in mind as they do a deep clean – I find that people are often thrilled for this type of stuff to get a second life instead of just ending up
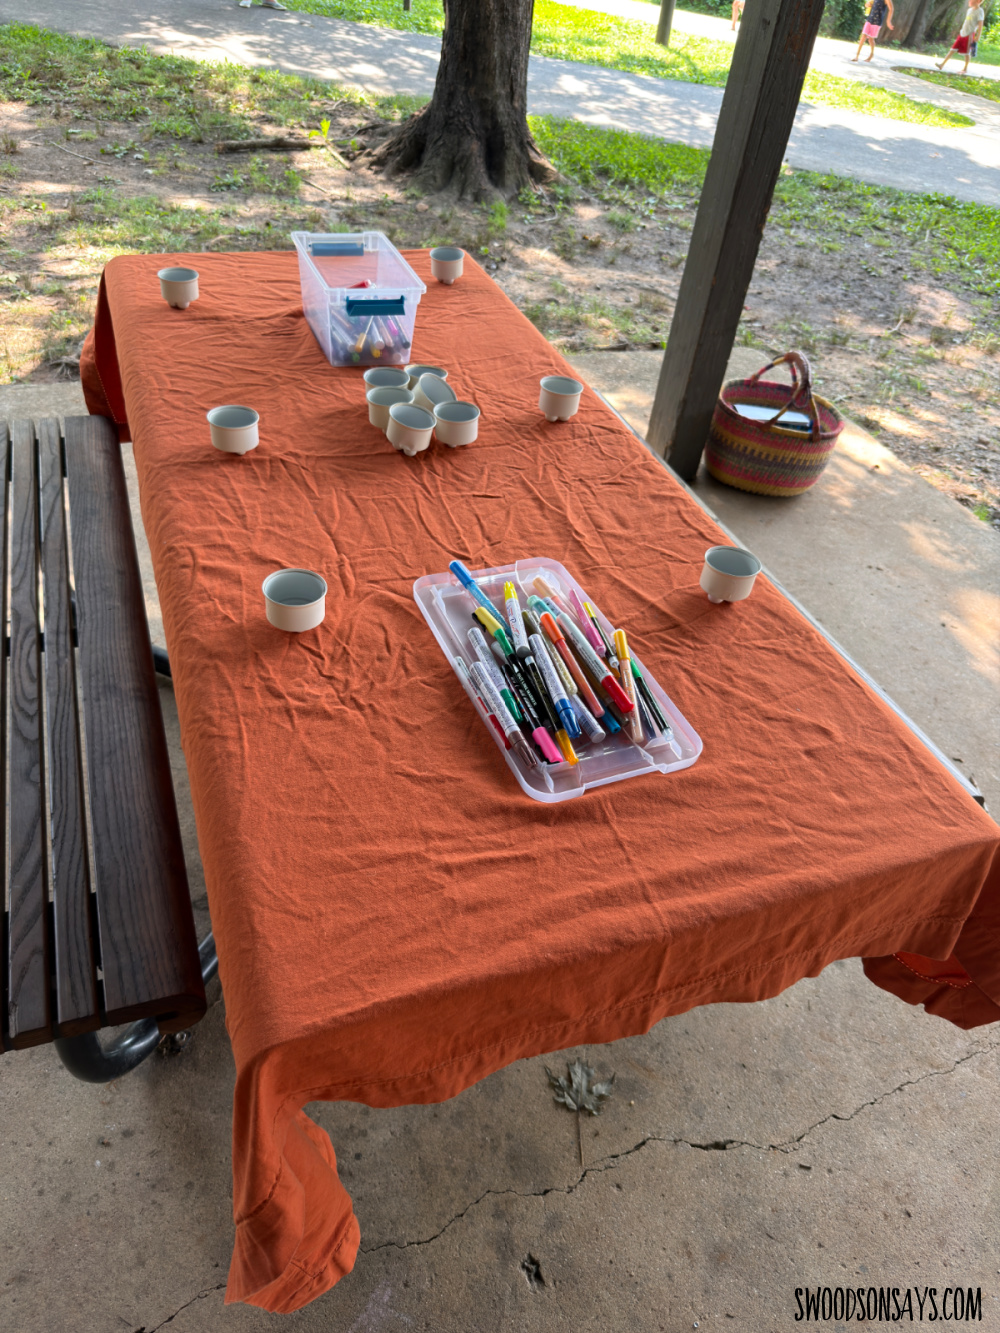
We held all the crafts at a local park, renting the covered pavilion. Unfortunately the more affordable park doesn’t have power – but anything with a glue gun, I plugged into a Jackery portable battery that I bought after living through hurricane Helene. All thrifted tablecloths – more to keep supplies from dropping between the slats than for aesthetics.
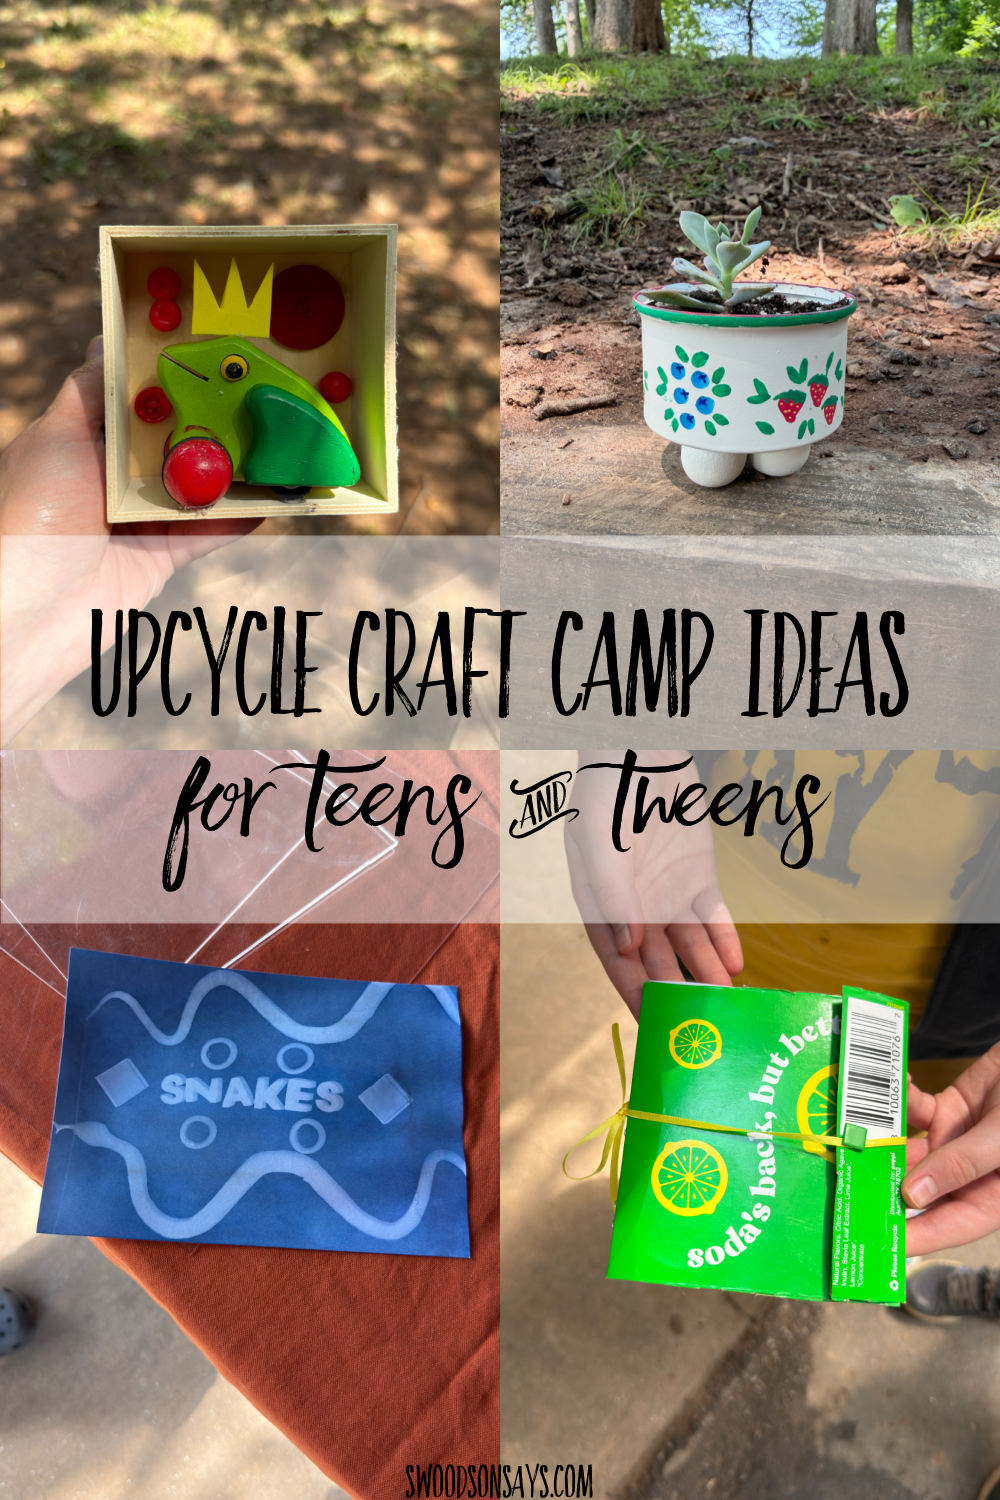
Pin this blog post with the image above or this link!
If you like this post, check out these others while you’re here:
- How to make a diy sewing kit
- 10+ upcycled jar lid craft ideas
- 15+ upcycled craft ornaments to diy
- 20+ upcycled thread spool crafts
Some overall thoughts on running group crafts for kids:
- Always make at least 1 example, preferably 2, do not skip this step!! It helps you identify pain points and also helps visual learners.
- Consider your audience’s skill level. This week was intended to bring together our overall group for some learning & fun – artistic skill levels varied widely so crafts had to be accessible without being boring.
- If finished projects will look similar, be sure to bring ziplocs & a sharpie or some other way to mark them so they don’t get mixed up!
- Low, wide project trays will help keep components from rolling around or being lost.
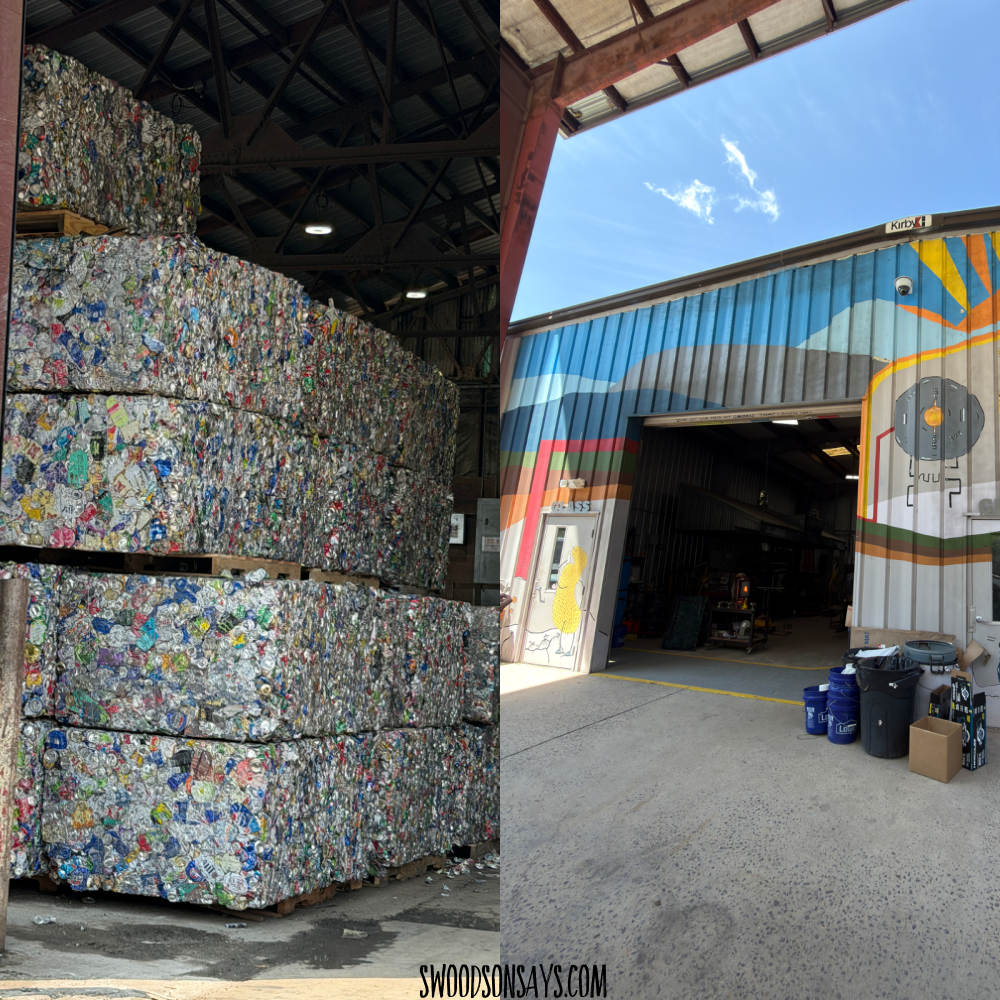
The two on-theme field trips we took were a visit to a local metal recycling center (Biltmore Iron & Metal Co.) and a nearby glassblowing & forge powered by an old landfill (Jackson County Green Energy Park). Other ideas are traditional recycling centers, an active landfill, or the studio of a local upcycle artist. You could also easily incorporate some trash pickup!
I share more about how the week was scheduled and some artist tie-ins at the very end of this post, but first I’m going to share the photos of each days’ crafts and the materials used to make them. Each day Monday-Thursday was focused on a specific material – Metal, Paper, Plastic, & Fabric! Our group had 30 kids and no electricity so that guided many of my choices- having a smaller group and/or spots to plug sewing machines in would open up a lot of other options for fabric for sure.
A week of upcycled craft camp ideas for middle schoolers
General supplies I had with me every day:
- scissors
- paper towels
- gluesticks
- power bank
- artist photo/work examples & related books
- work trays
- tablecloths
- first aid kit
Metal day:
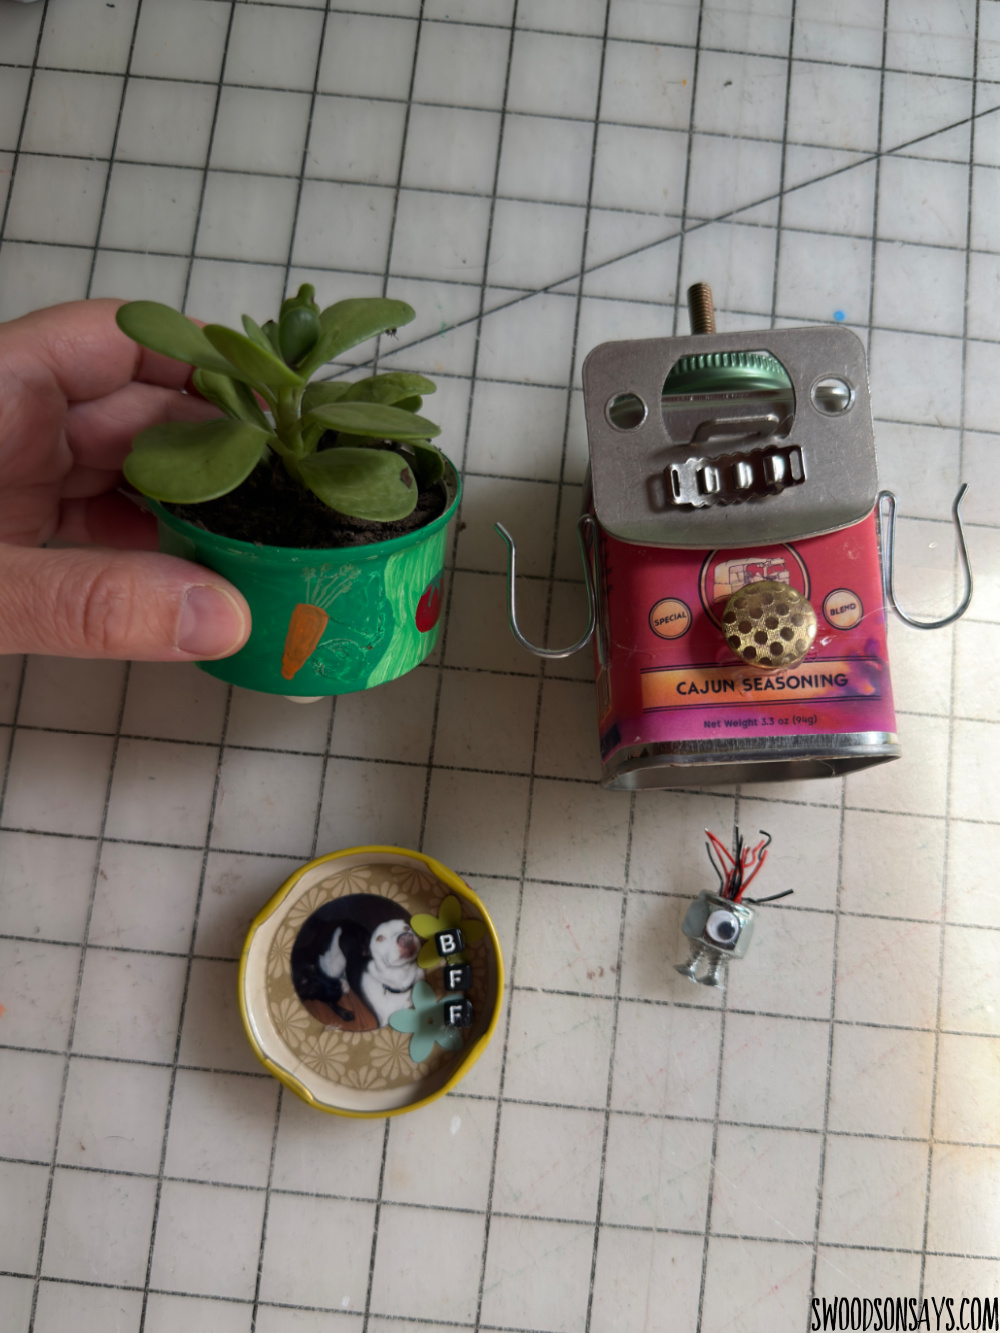
For metal day, we only had 3 crafts because we paired it with the metal reycling field trip! The components for all of these are pretty simple to get donated to you, which is always a win. We made jar lid magnets, upcycled robots, & turned old cat food cans into tiny planters.
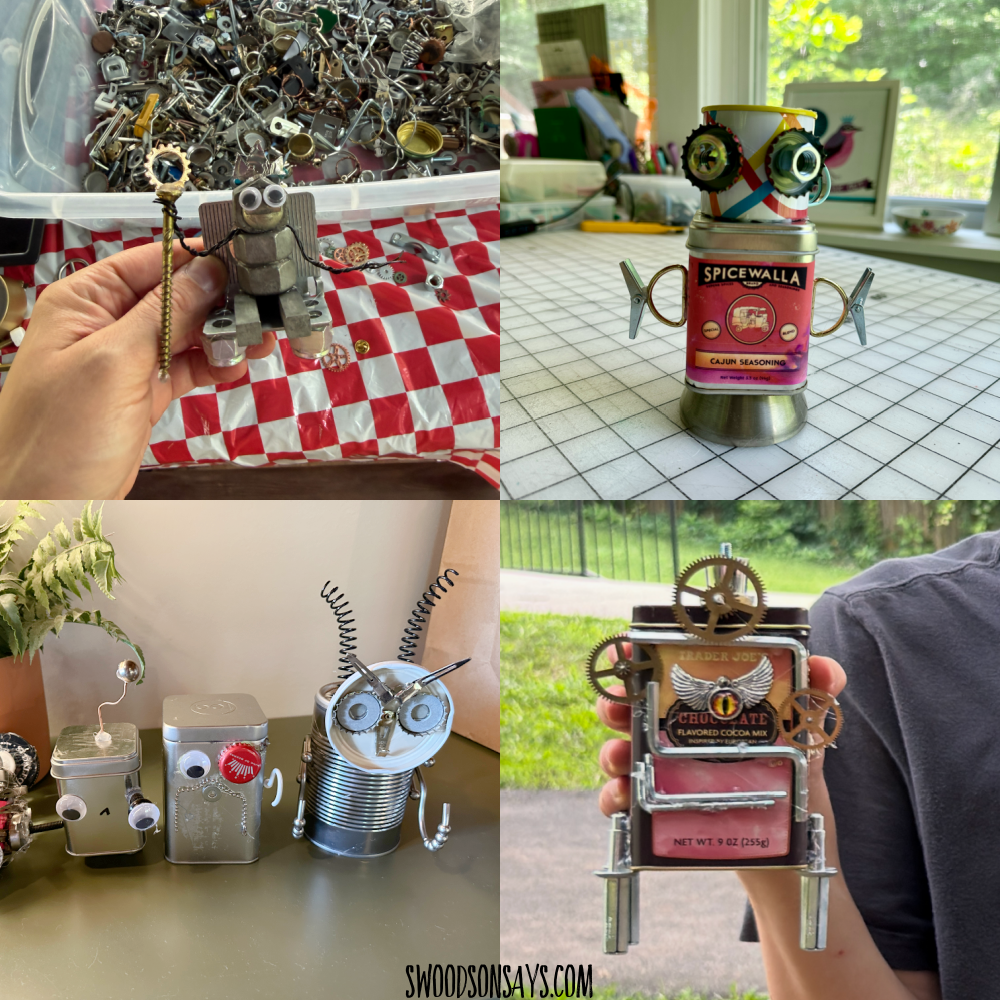
Upcycled Robots
This is the second time I’ve organized this activity for a group and both times went so well! You could easily mix in other upcycled pieces and types of material, but we mainly stuck with wood. Don’t forget to have a chat about being careful with metal pieces since they can be sharp. The process is self explanatory – you glue everything to the robot bases and make creatures! Sharpies, felt, or fabric would be another easy mix-in for these, picture making them tiny hats and drawing a face on.
Supplies I had on hand:
- googly eyes
- wire cutters
- wire – can be upcycled from old notebooks
- sharpies
- base/body pieces – these could be clean tin cans or metal canisters. Pretty tea tins were by far the most popular!
- loose metal pieces: think bottle caps, screws, nails, washers, broken jewelry, random junk drawer pieces
- hot glue
- glue guns
- project trays
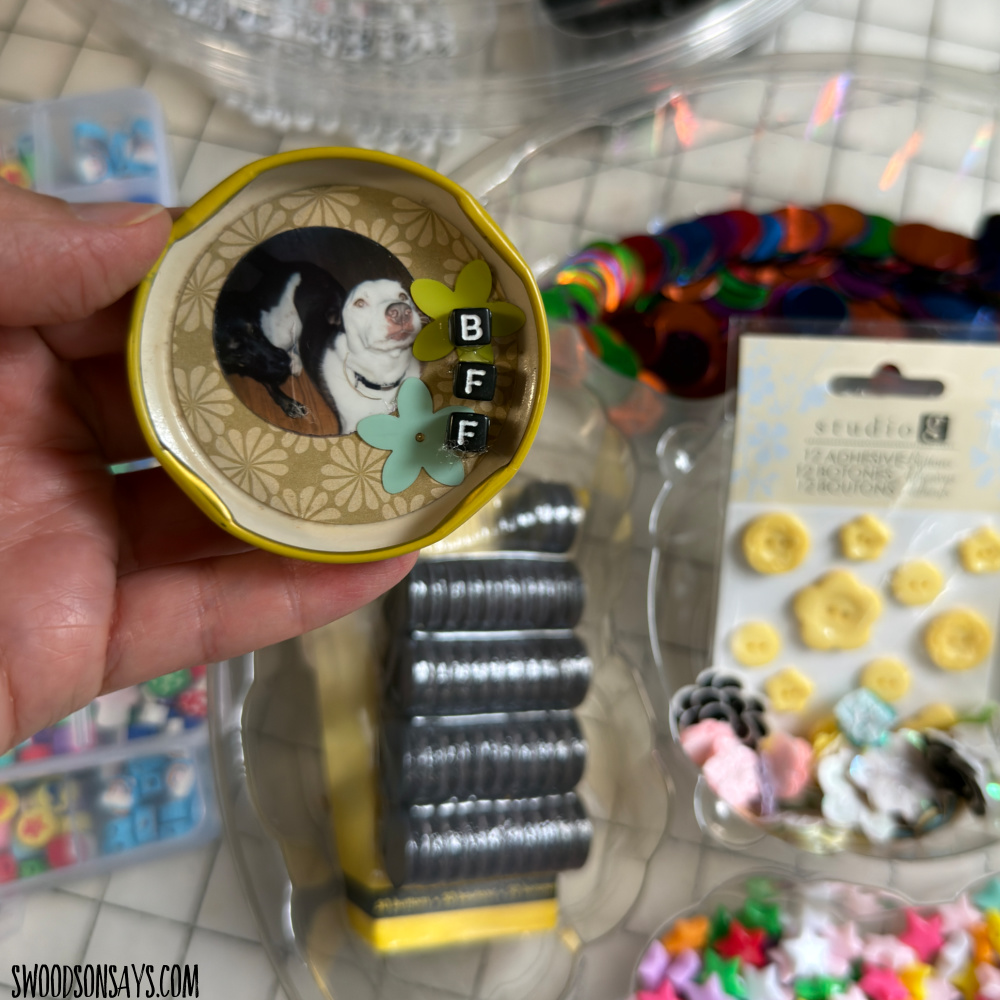
Jar lid magnets
I have a full tutorial for jar lid ornaments that are pretty much the same concept! Everyone used photos of them with their friends so not sharing any kid made ones, but the example I made with my dog can give you the idea. An important note on making these is that you want to glue the magnet on the back last, otherwise it is harder to balance and decorate the lid itself!
Supplies I had on hand:
- paper (for the background of the label)
- paper punches
- hot glue
- glue guns
- instax camera/film
- beads
- clean jar lids
- scissors
- collage materials
- magnets
- templates that fit the back of the jar, easily traced on to the background paper
- pencils
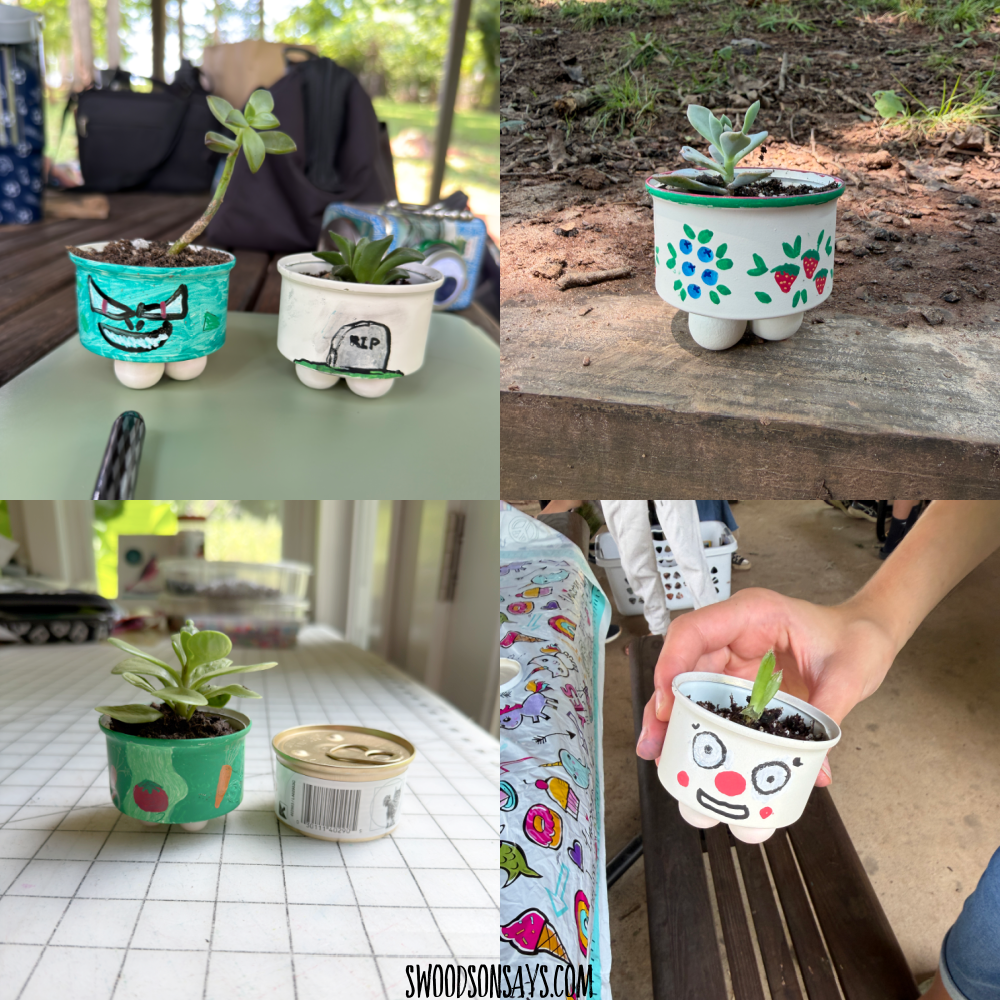
Plant pots
Another big hit! The hardest part of this project is finding tiny succulents; if you were really ambitious, you could buy a big one and trying to get a bunch of clippings rooted prior to the project. I hot glued 3 beads as a base to the bottom of spray painted/cleaned cat food cans and they worked so well! Considering having a mister bottle to spray the dirt before transferring to reduce spillage.
Supplies I had on hand:
- empty cat food containers – prepped with wood beads glued to the bottom & spray painted
- paint markers
- tiny plants
- dirt (along with a scoop to get it out)
Plastic day:
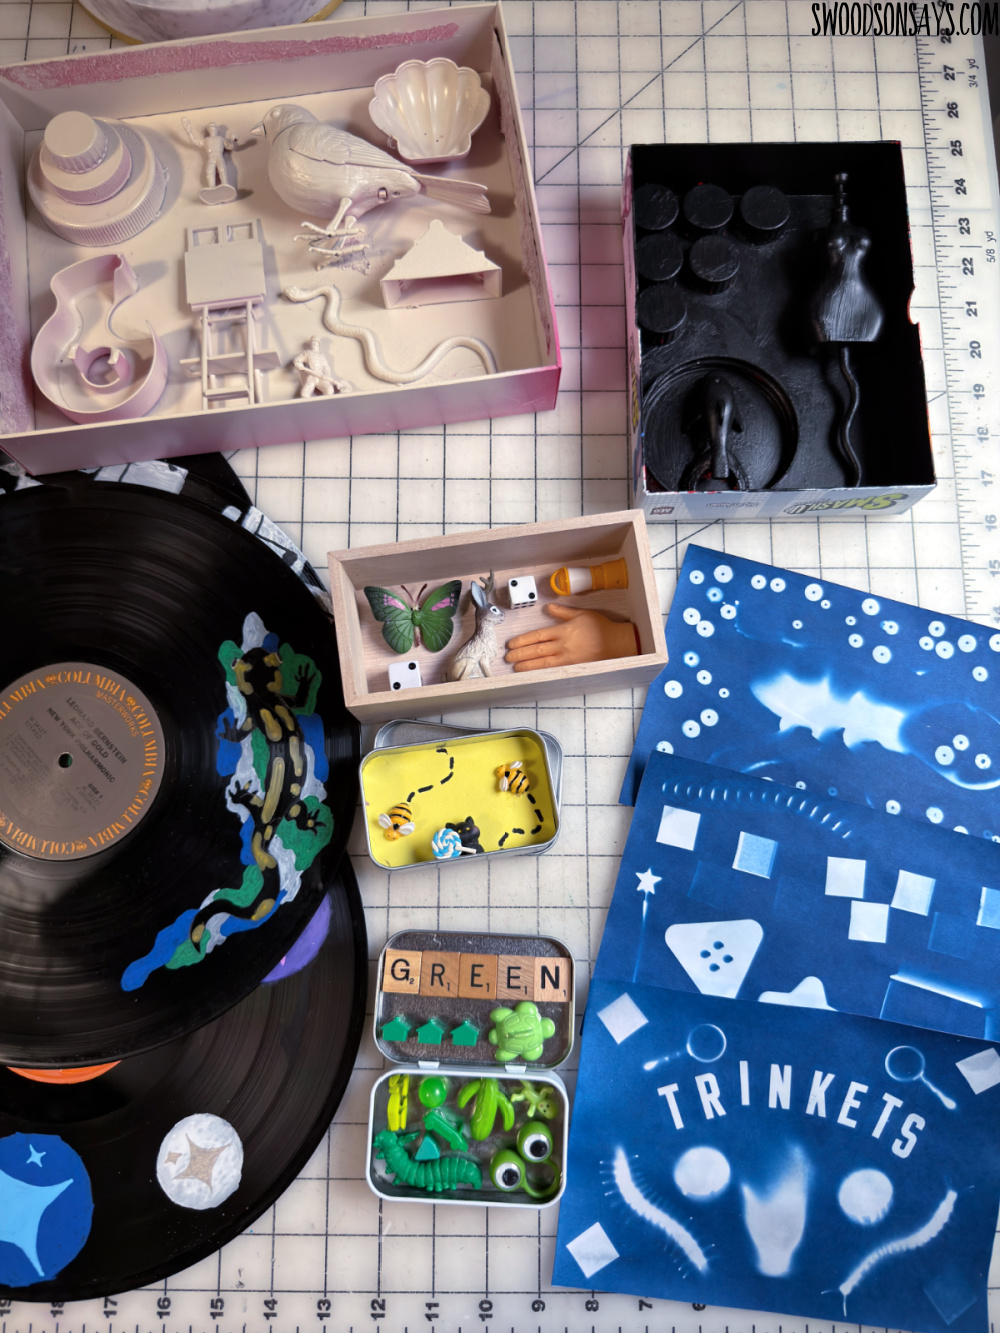
Arguably the most fun day to collect supplies for, plastic day was probably the most popular overall! I love little assemblages myself, there is just something about fiddling with shapes until it feels right. We made cyanotypes, trinket trays, painted vinyl records, and spray painted assemblages.
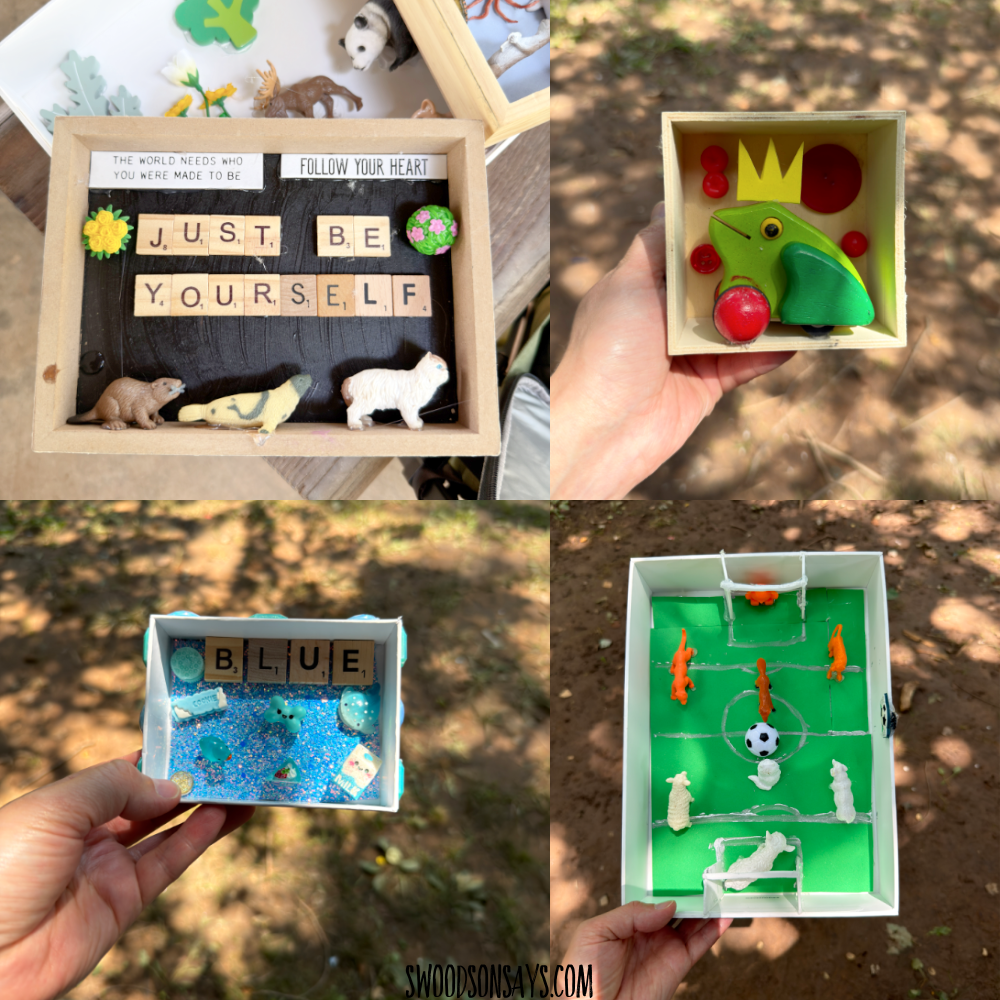
Trinket trays
I let kids choose between 3 different options for the base of this project and only got pictures of 2 of them – there were clean altoid tins, sturdy box lids (like from a board game or an ipad), as well as open wood boxes. Then I let them to go town with figurines, game pieces, foam, markers, and hot glue! This was such a hit. If you’re working with altoid tins, make sure that if kids want them to close, they leave enough room for the lid to close over top the bottom (my ‘green’ example above did not, so it had to stay open!).
Supplies I had on hand:
- tweezers
- beads
- trinkets
- board game pieces
- tins
- frames
- hot glue
- glue guns
- foam
- sharpies
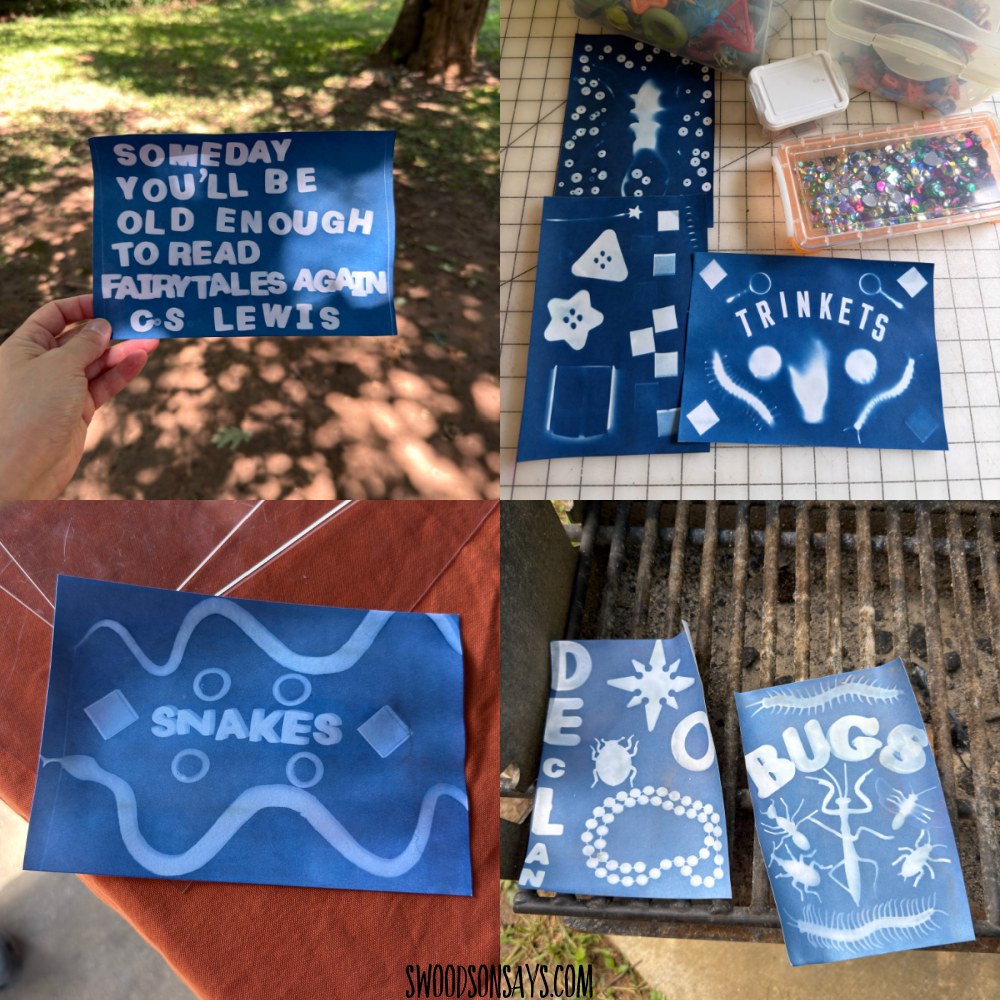
Cyanotypes
There are so many great ways to use cyanotype and it’s fun for all skill levels – the only hang-up is needing the sun to expose them (or a large UV light, which is less accessible but can be used indoors). This activity would work well with metal upcycle materials too!
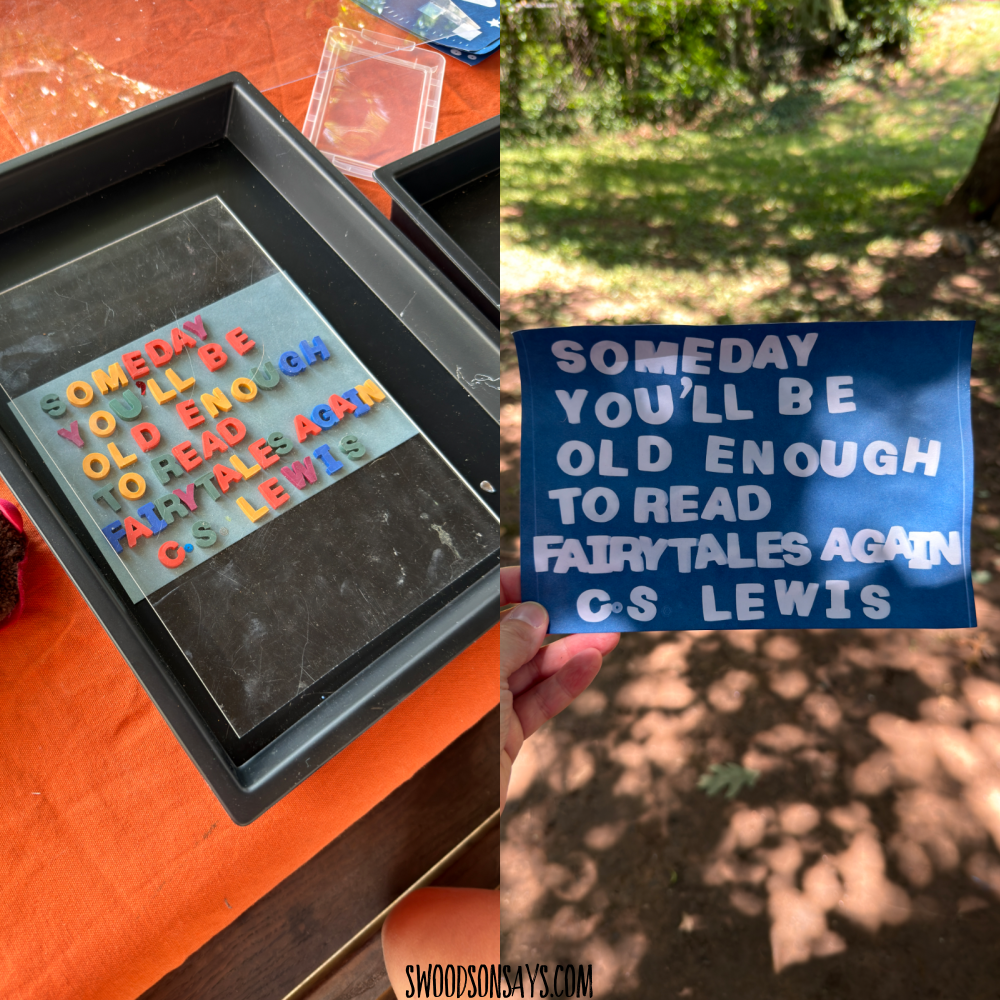
If you’re not familiar, the paper you can buy usually comes with instructions but you lay the paper out with 3D and 2D things placed on top, set it in the sun, rinse it off in water, and end up with a beautiful print! Here you can see the very popular fridge letters used to write a message.
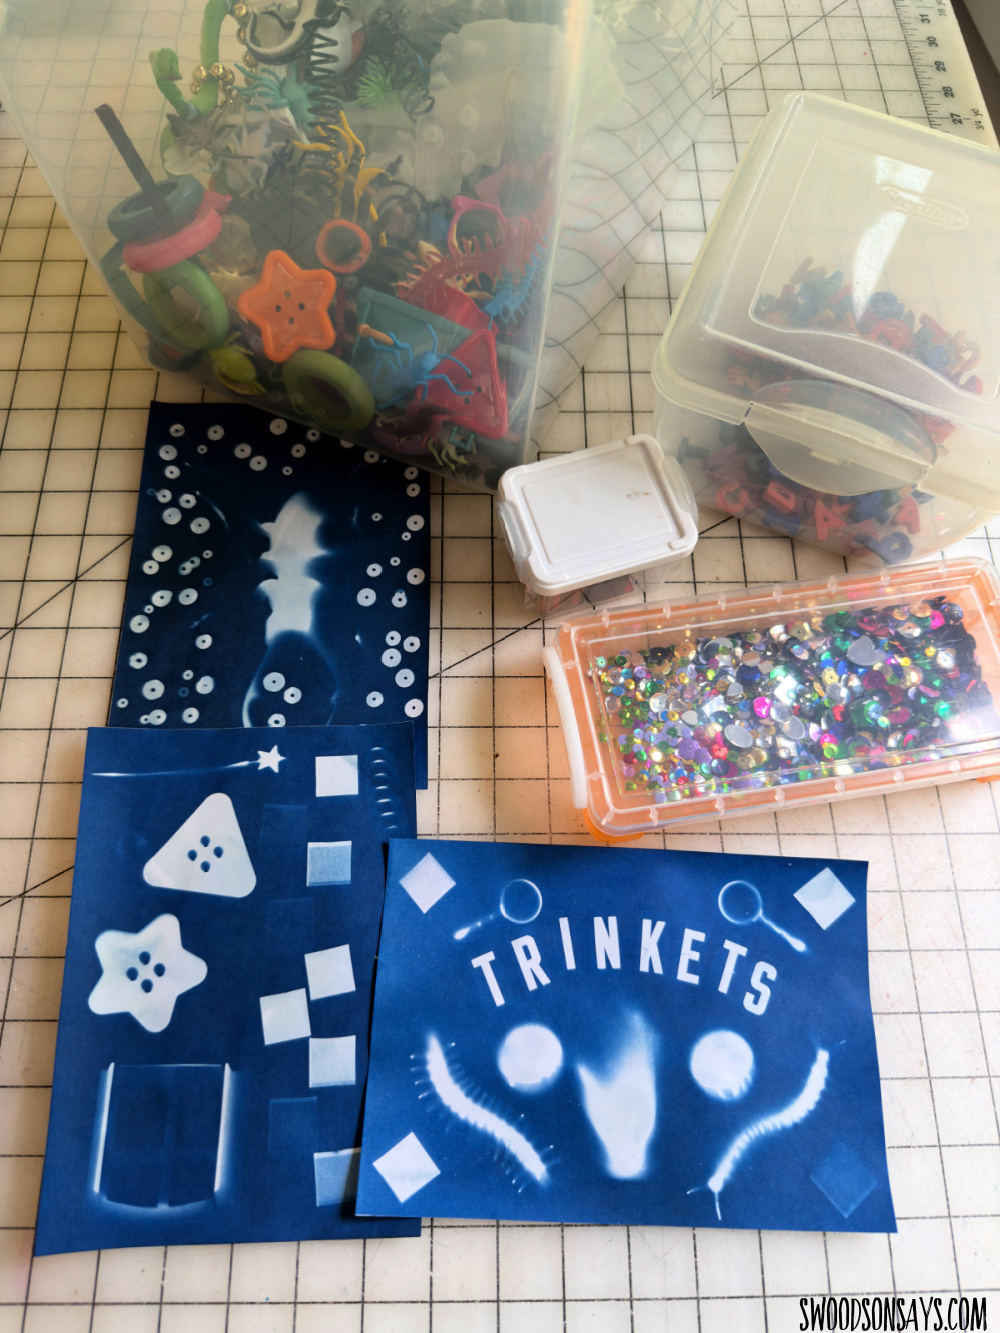
Including a shot of my examples so you can see some of the plastic junk I had available for kids – the flatter the better and clearer silhouette it will make! If you have kids with low frustration tolerance, I’d recommend testing all the materials yourself before including them. You can see in my top left example, the middle shape is a bug but it doesn’t really look like one! The angle of the sun can make a difference too.
Supplies I had on hand:
- flat plastic junk- fridge letters, buttons, sequins, acrylic shapes all worked really well
- cyanotype paper and acrylic sheets to hold in place when curing in the sun
- way to rinse with water
- pen for name
- trays to carry
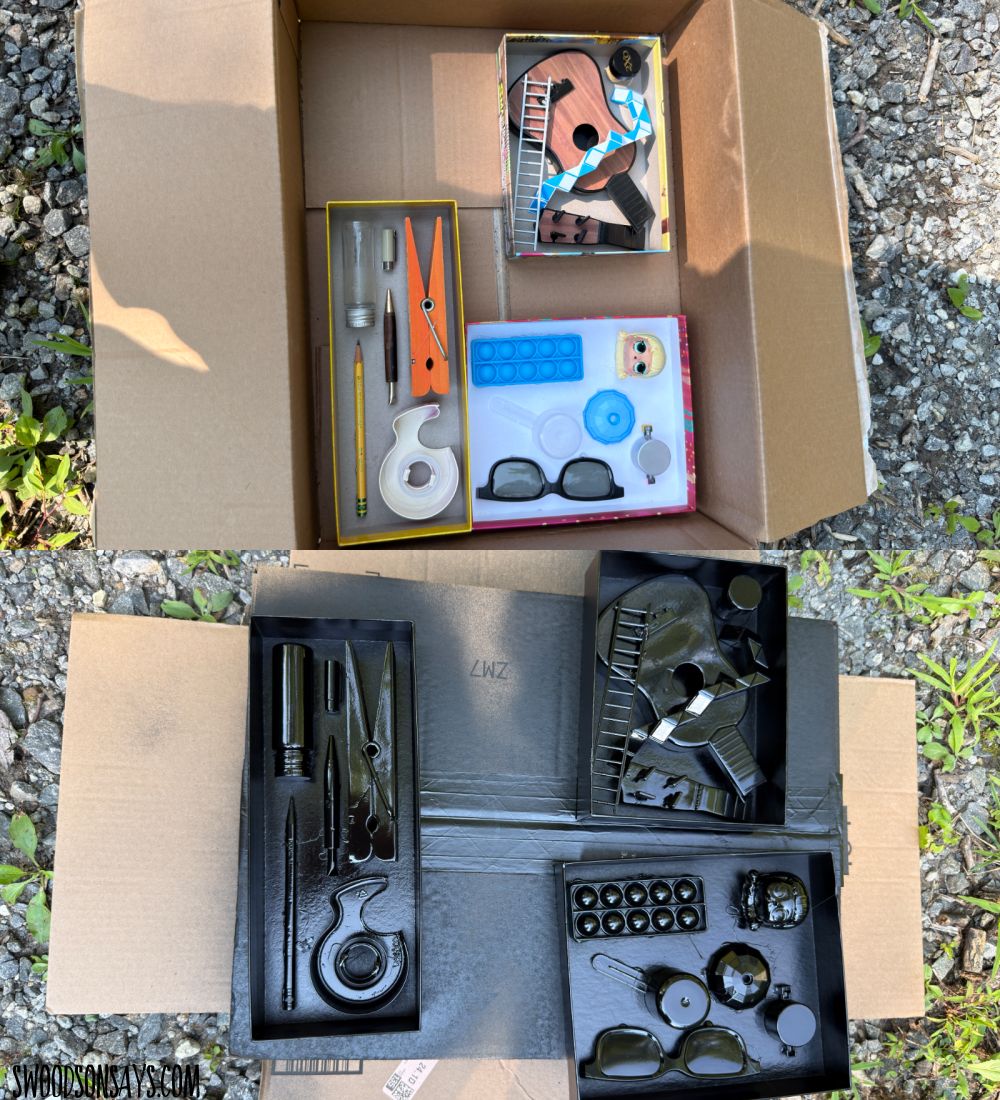
Assemblages
Instead of looking at the objects themselves, this project was all about shapes and potential! I had the kids assemble at the park and then took them home to spray paint and return the next day – the supplies were much ‘junkier’ than the other project, including literal trash if it had cool lines. One note is to talk to kids about removing hot glue strings/threads before painting if they’re particular, because they show up really well once painted.
Supplies I had on hand:
- sturdy box lids to act as the base – think old board games/ipads
- junk
- hot glue
- cutting tools for plastic
- spray paint
- hot glue guns
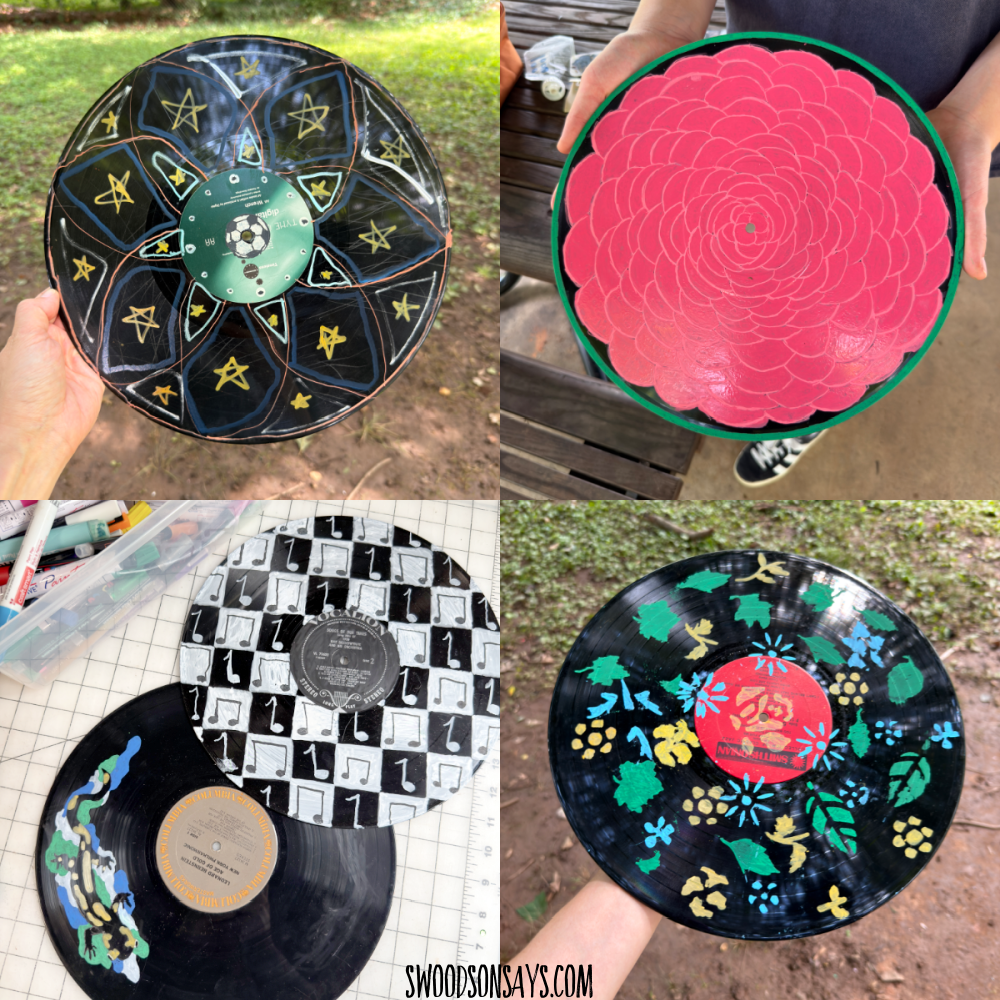
Records
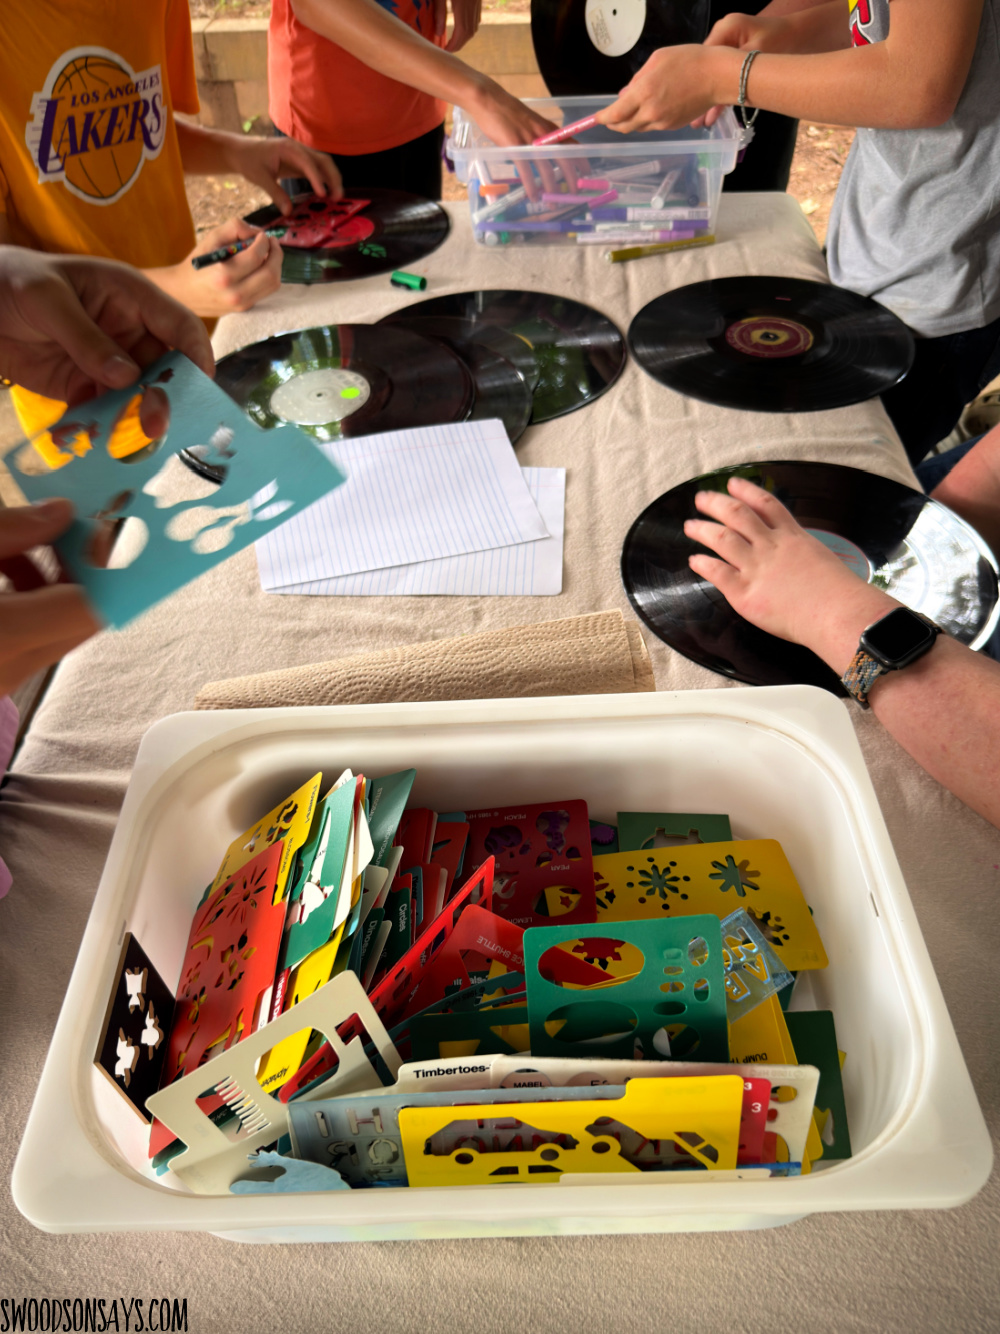
Pretty self explanatory but this went over really well! I highly recommend having examples of varying skill level – stencils and mandala-style designs were easy for the less artistic kids in the crowd.
Supplies I had on hand:
- old records
- paint pens – I have a big mix of brands but Poscas are reliable and this offbrand is more affordable but has held up well over the years
- rulers
- stencils
- scrap paper for sketches and testing pen colors
- paper towels/wet wipes to try and erase any mistakes while wet
Paper Day
I would say this was the least exciting day, probably because it felt the most familiar! Collage is so accessible and easy. I think upcycled papermaking and upcycled paper mache would be an amazing fit in this category but it simply would not work with the timing/group size that I had. I’m not sure why but I really did not do a good job capturing student makes from this day, maybe because they were all small and slipped into pockets or bags before I saw them!
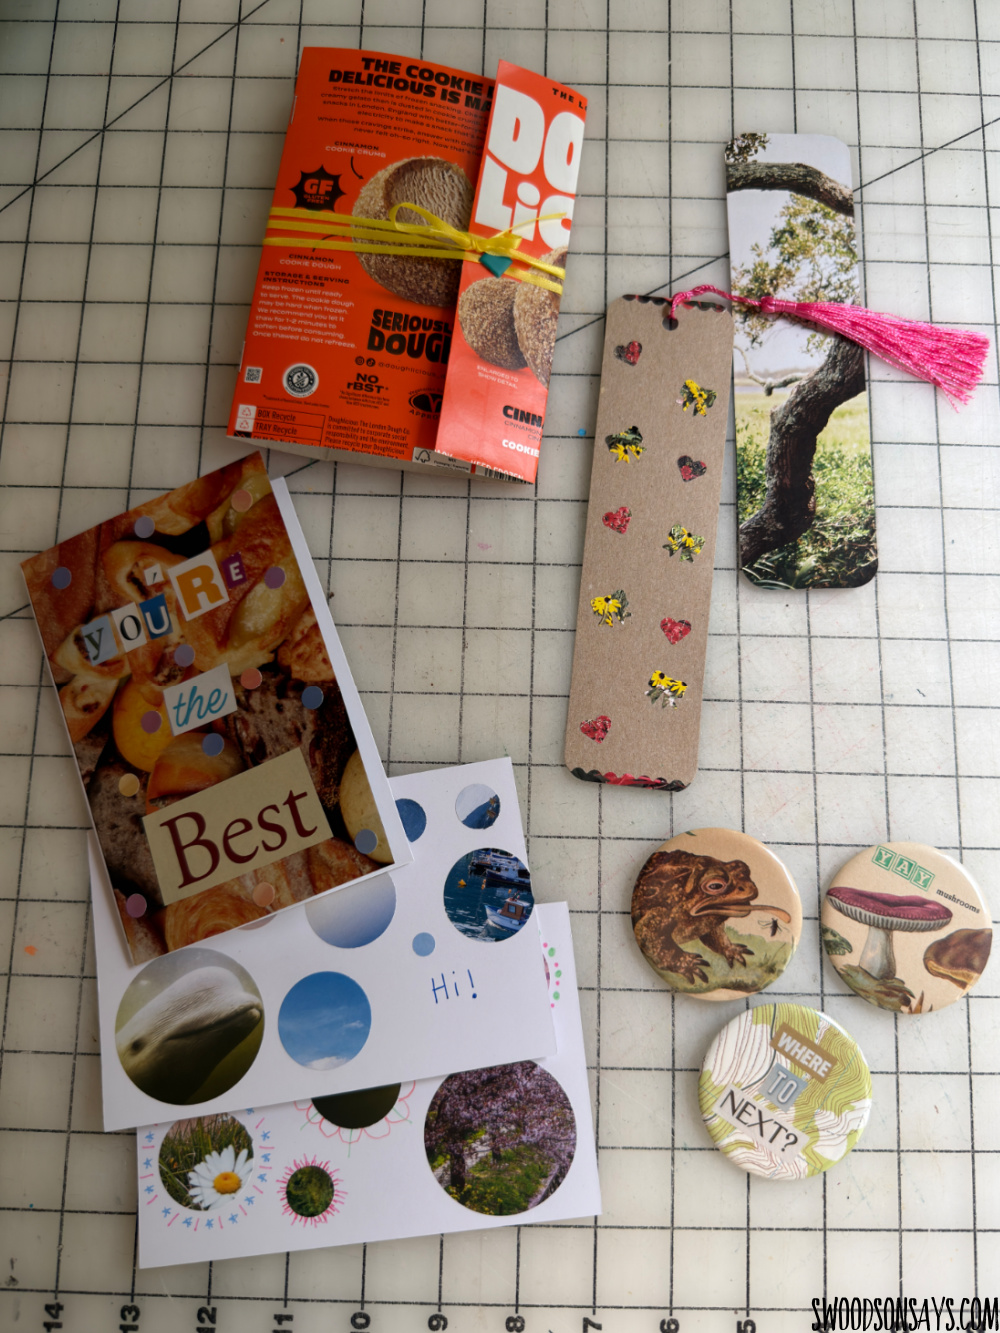
We made upcycled bookmarks, pin-back buttons, cards/postcards, and packaging cardboard notebooks!
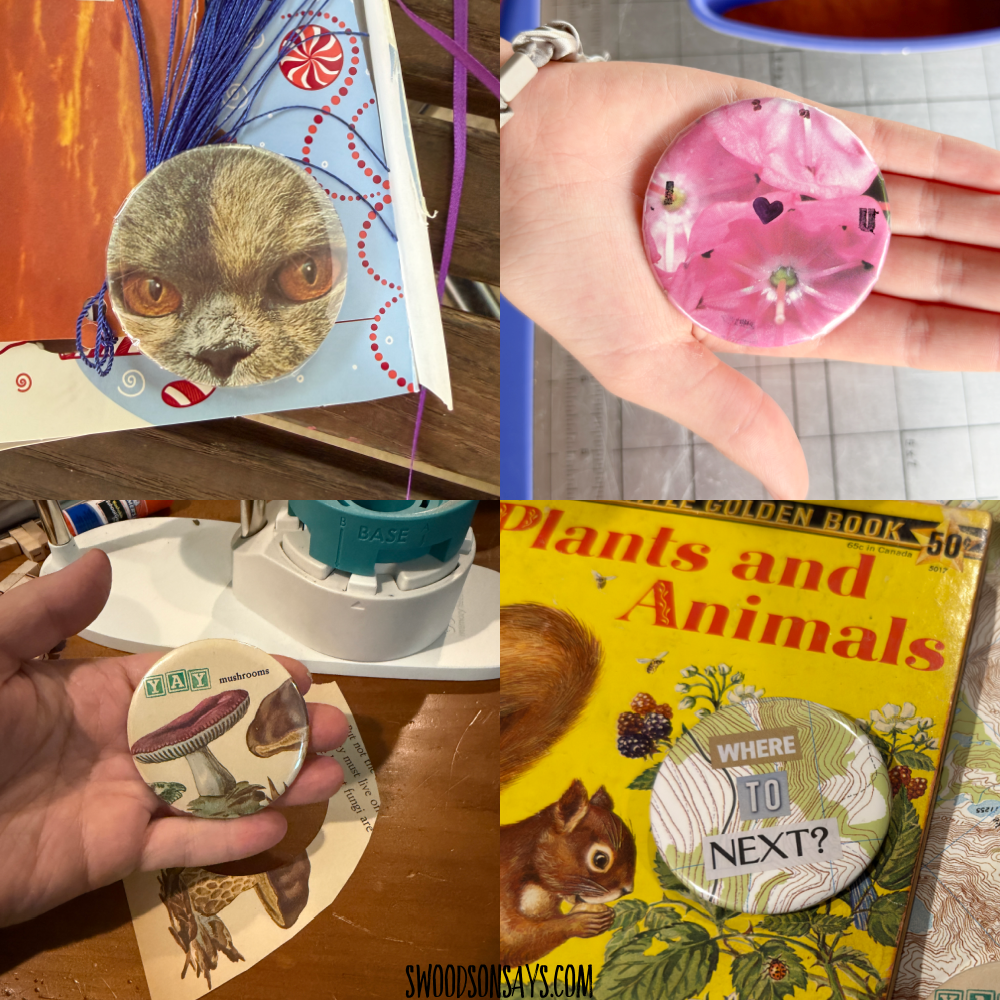
Buttons
I love saving old books with beautiful illustrations from the goodwill bins even if they’re falling apart- they’re perfect for crafts! Everyone loves flipping through and looking for the perfect illustrations. I suggest making a cut-out guide so kids can visualize how the edges are cut off, just cutting an empty circle in a piece of cardboard.
Supplies I had on hand:
- button maker
- books
- glue
- scissors
- stamps
- ink pad
- magazines
- fancy pens
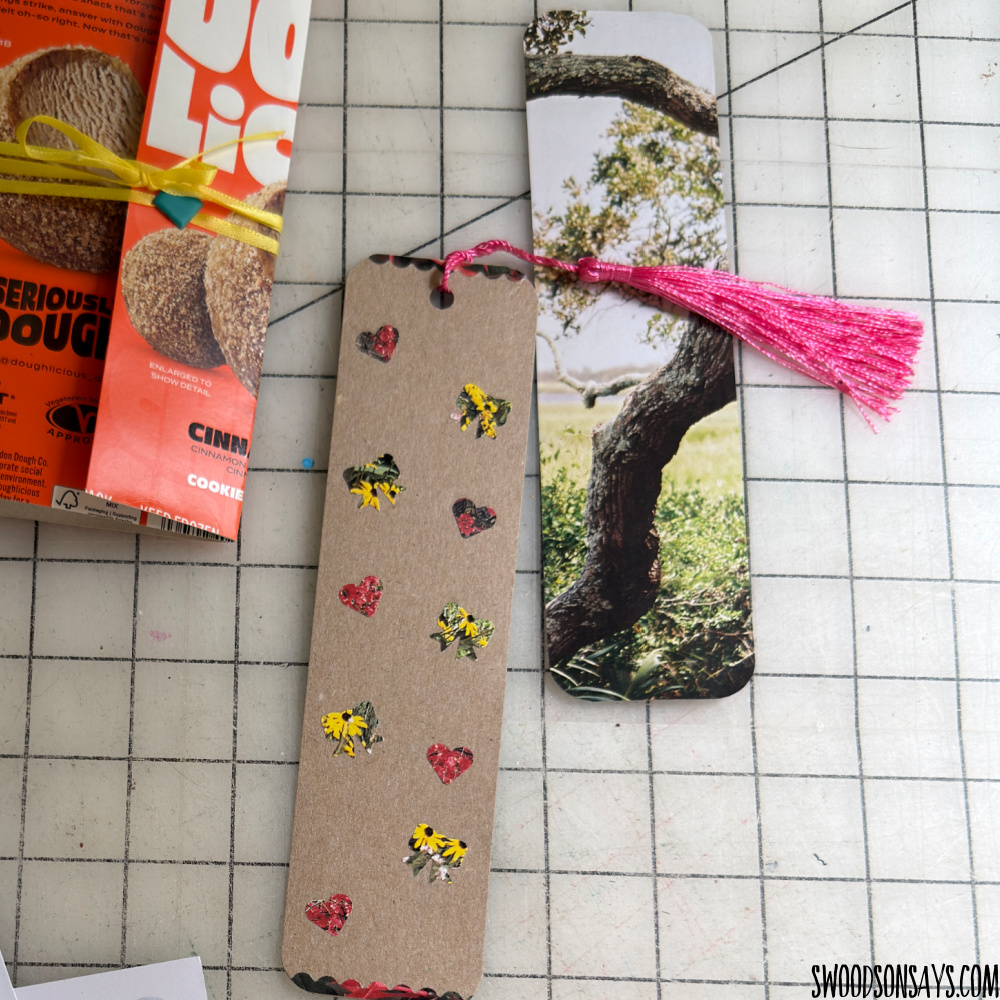
Bookmarks
As I have said in many different blog posts, I love bookmarks. They’re small, fun, and if you don’t want to keep it, you can surely drop it off at your local library’s “leave 1 take 1” bookmark bin!
Supplies I had on hand:
- paper punches
- blank bookmarks made from old food packaging cardboard
- glue sticks
- shaped scissors
- corner rounder
- hole punch
- tassels
- markers
- stickers
- lots of old magazines in difference sizes and shapes
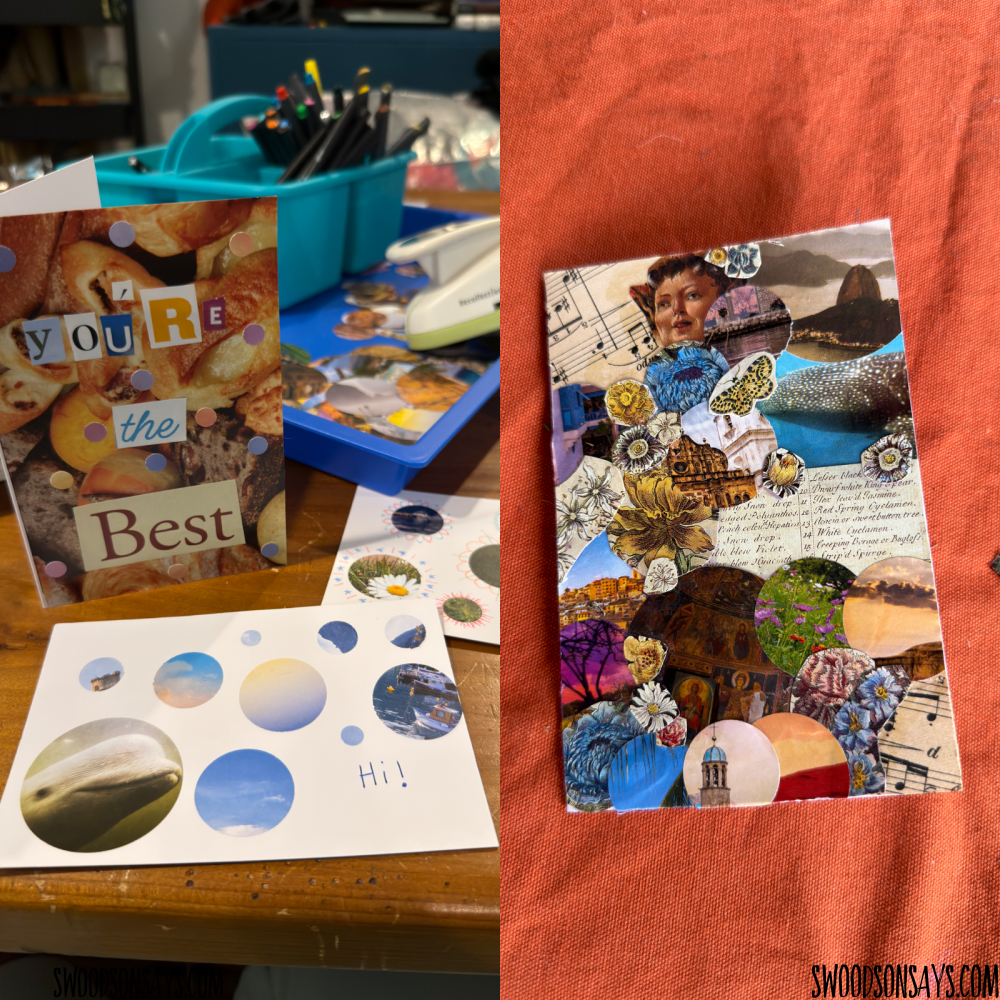
Another super simple one, but always fun! Consider asking if folks want stamps and envelopes and brainstorm ideas for snail mail recipients together if you want.
Cards/postcards
Supplies I had on hand:
- circle punches
- magazines
- scissors
- glue sticks
- rulers
- markers
- pencils
- blank cards/postcards
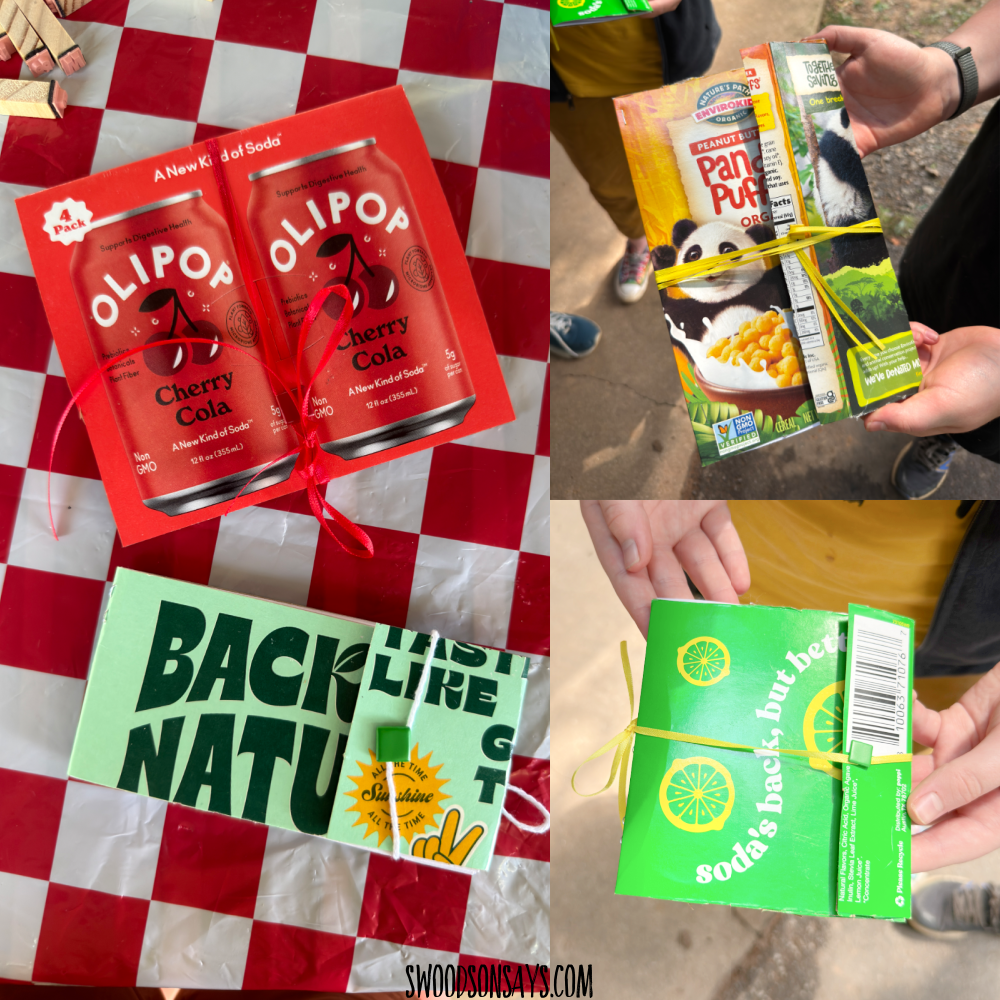
I borrowed this notebook idea from this tutorial that My Poppet Makes shared! I let kids trim their own cardboard and then figure out how to cut interior paper smaller, staple it, and fold the cardboard with an overlap. A cute little brad served as an anchor for tying the closure around and keeping the notes safe! You just poke the brad through, tie the ribbon in a knot around it, and it’s good to go.
Notebooks
Supplies I had on hand:
- old product cardboard
- long stapler (could also sew the bindings if you prefer)
- paper – I used scrap paper from other projects so it was all different size white printer paper that they trimmed down
- paper cutter
- pencils
- brads
- ribbon – lighter or fray check for the ends if desired
- twine
- awls
- bone folder
Fabric Day
In previous camps, I have brought one of my sewing machines and taken turns as a rotation, but with this size of group and no power outlets it felt impossible! It would be super fun to sew patches that they just stamped on, right then and there.
Sock puppets
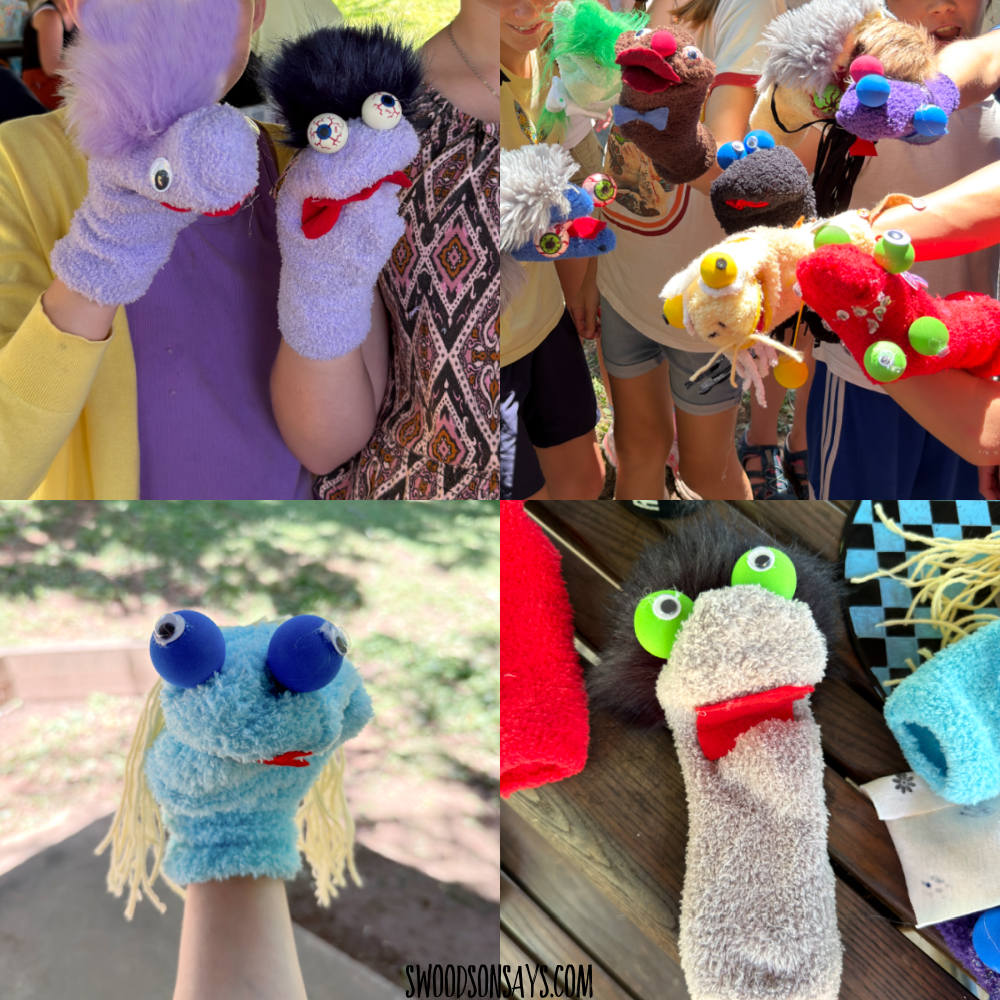
I want to note that I 100% stole/borrowed this idea from Michael Schupbach after taking a workshop with him at the Asheville Maker Faire this past year! Go check out his work – he makes much more involved and amazing puppets. I also want to note that clearly I did not use upcycled socks – I had trouble finding 30 of them that were clean enough to craft with but my hope was that they could be inspired to redo this project on their own single socks at home. You could hand sew instead of hot glue if you wanted, too!
Supplies I had on hand:
- socks
- soft foam ammo for the eyeball bases (and a few bloodshot foam eyeballs sourced from the bins)
- hot glue
- glue guns
- eyes
- faux fur
- felt
- feathers
- sharpies
- scissors
Bookmarks
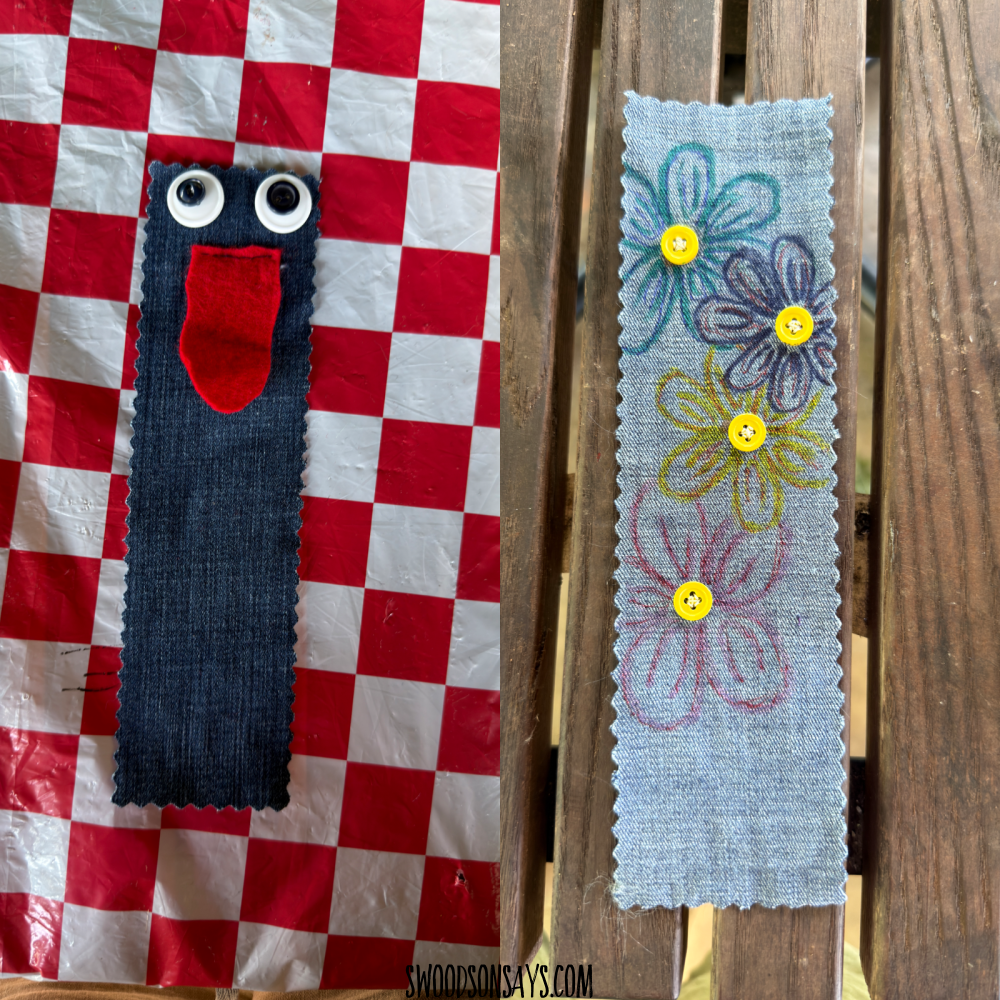
Another bookmark idea – this one was intended to practice sewing a button on! Missing buttons seem to be a common culprit for things ending up in the goodwill bins, even if they still have a spare in the inside tag so it felt important to practice this skill.
Supplies I had on hand:
- precut bookmarks made from old jeans, with pinked edges to reduce fraying
- buttons
- needles
- threads
- felt
- fabric markers or sharpies
**
Patches
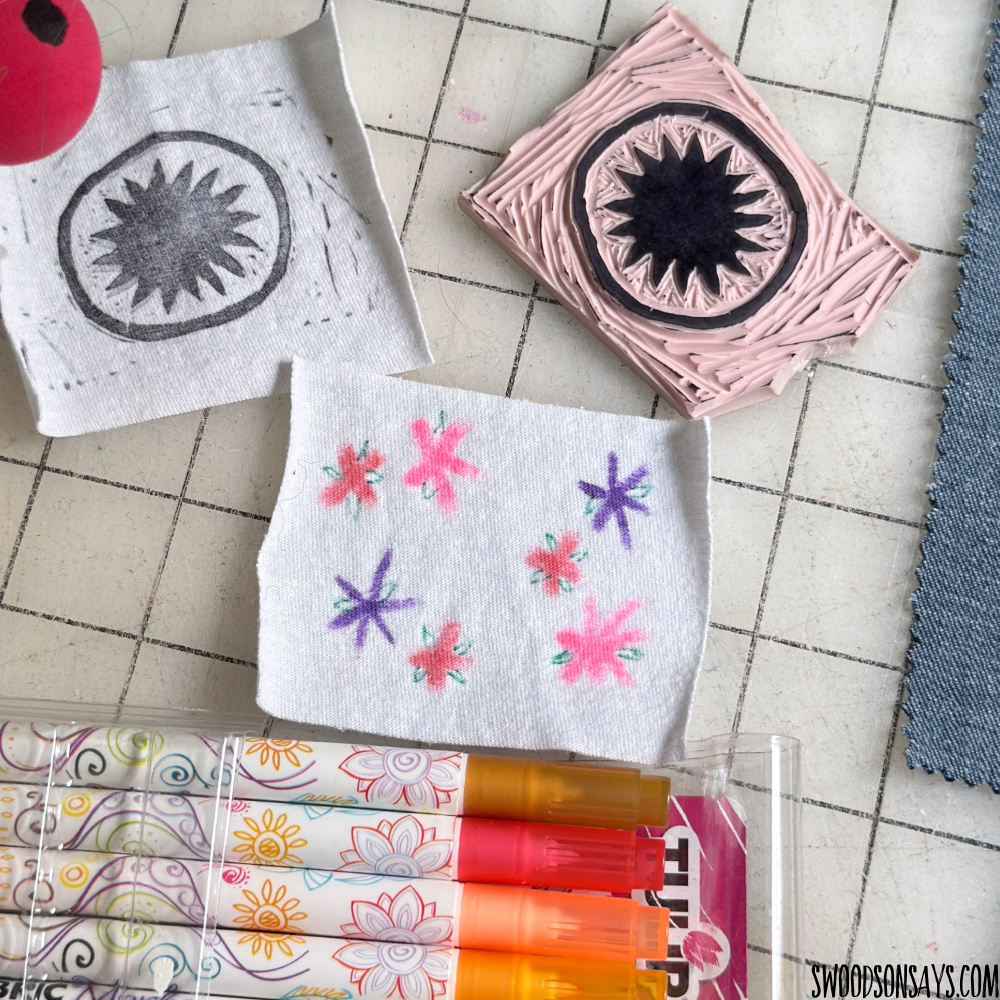
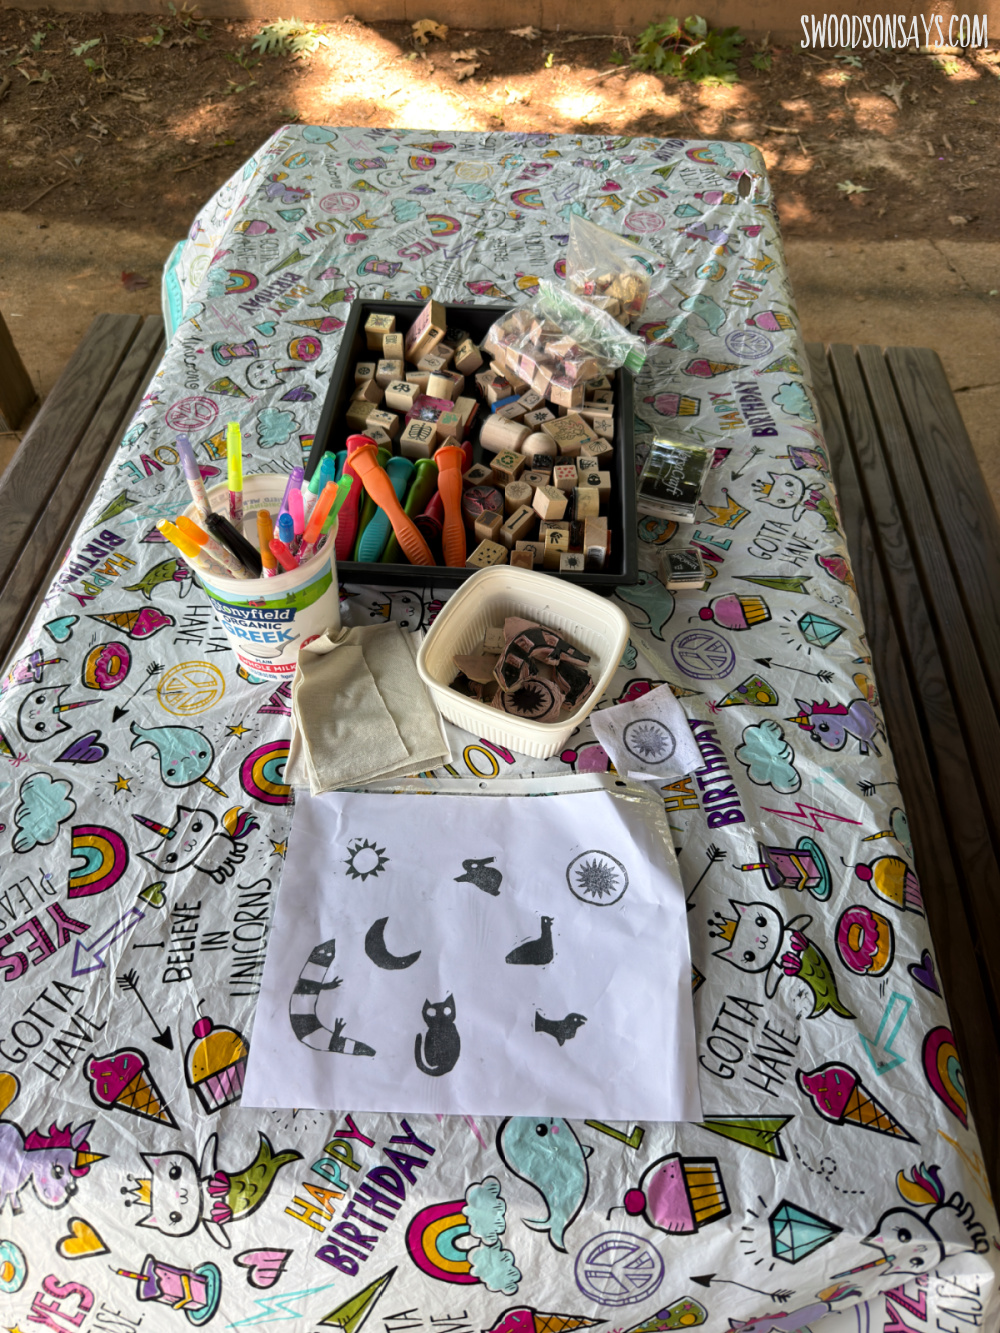
I wish I’d gotten some photos of kid patches because there were some super cute ones! My daughter and I drew & cut some custom stamps inspired by Harriett Powers but there were also fabric markers, all to decorate scrap knit fabric that would work as a patch to sew on for decoration or mending (or a third idea, keep scrolling!).
Supplies I had on hand:
- fabric markers
- stamps
- fabric ink
- scrap fabric
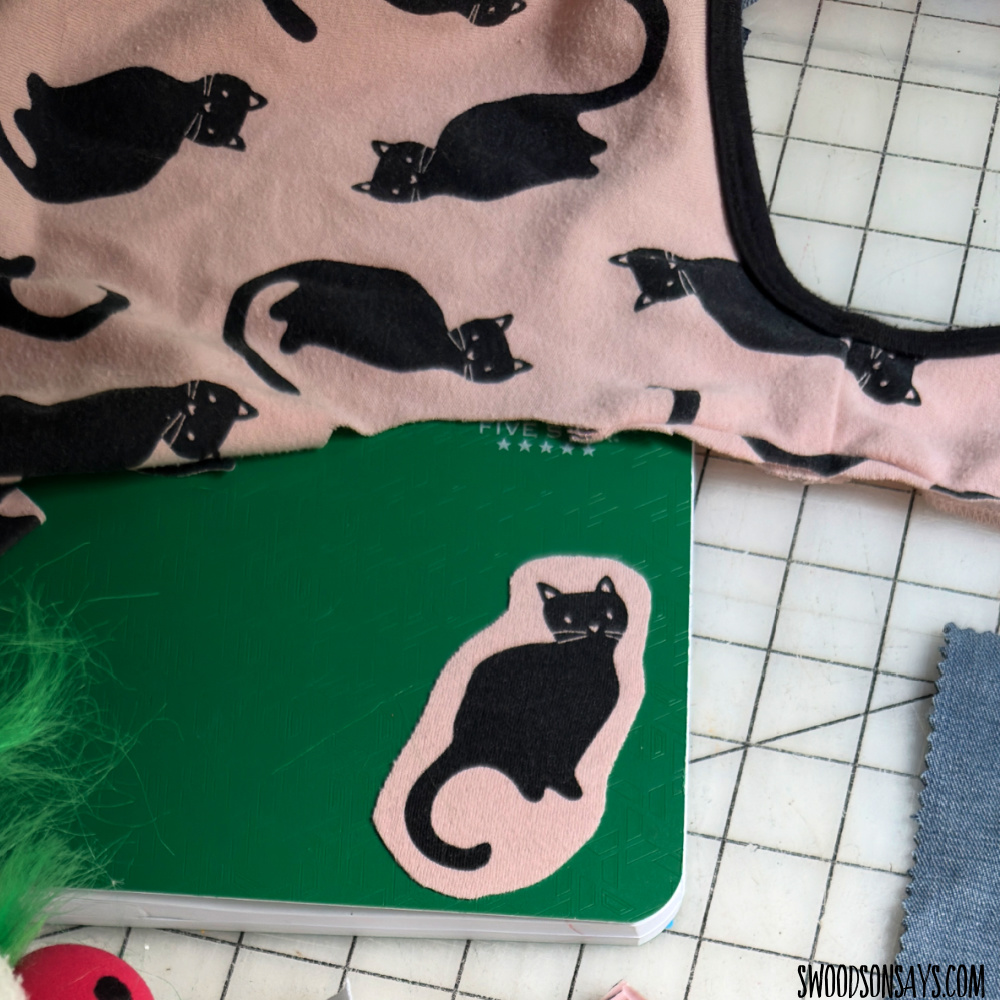
Fabric stickers
Supplies I had on hand:
- old clothes
- scissors
- double sided adhesive
Other camp notes
Prior to camp, I shared this document with families as an optional extension, connecting one activity each day with a professional artist! Some of the information is specific to Asheville but a lot of it is general, with a brief overview about each artist and their work – here is a google doc link for anyone who is interested. Monday was metal day connecting the upcycled sculptures to multi-medium artist Ruth Asawa, Tuesday was plastic day connecting the spray painted assemblages to sculptor Louise Nevelson, Wednesday was paper day connecting the dot collage to mixed media artist Howardena Pindell, and Thursday was fabric day connecting to quilter Harriet Powers.
We started each morning with a quick icebreaker/warmup game – some were pretty traditional but a fun one was playing a “headbanz” version of craft supplies! The crafts were all set up as stations with kids rotating themselves through freely and this worked fine.