
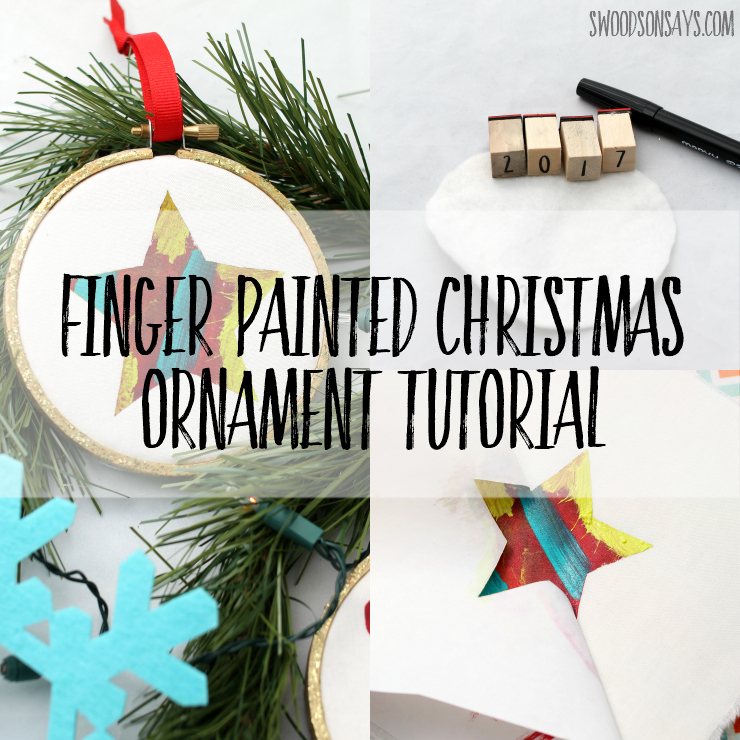
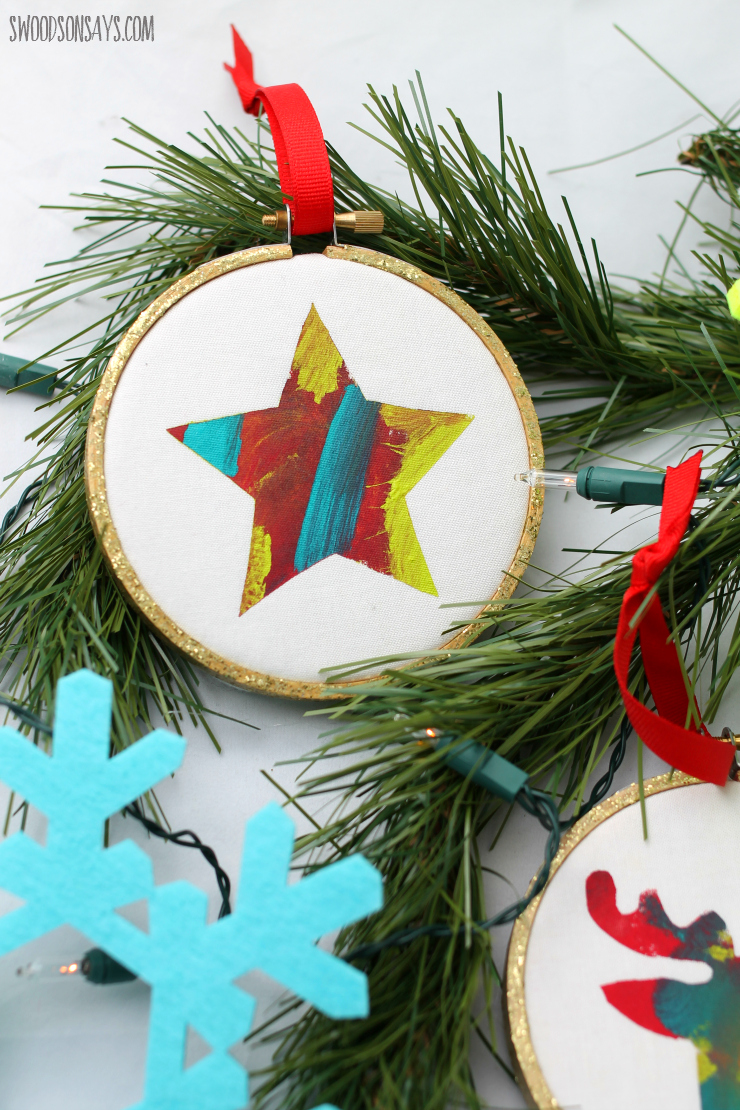
My kids are always making things, which I love, so they love to help make presents along with me. They had so much fun painting this Christmas banner with me, I decided to extend the concept and have them test an ornament that kids can make. Messy painting makes for clean, pretty ornaments with one special tool; they had fun making these and I love how they turned out for gifting to the Grandmas!
I’m sharing this tutorial as a part of a blog hop for kid-made ornaments, hosted by Crafty Mama in Me, so scroll to the bottom and click through to see other ideas for ornaments kids can make! I also have a whole post with more ideas of 20+ ornaments for kids to make!
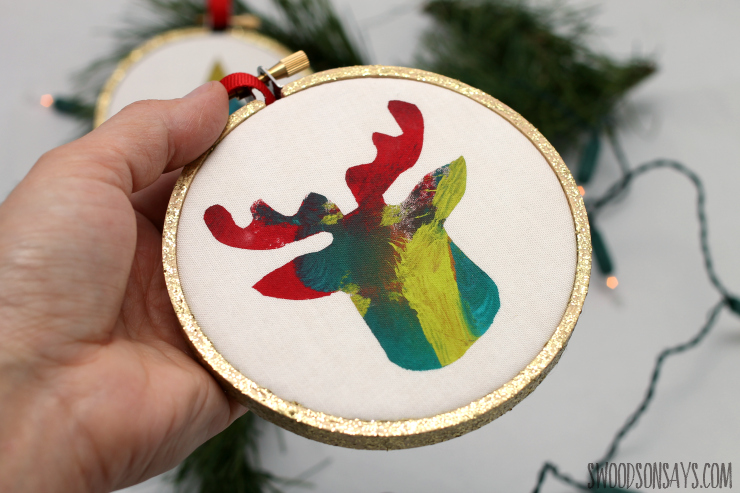
The moose is my favorite! We used three bright Christmas-y colors, I should have remembered that it works best if you let each color dry before adding another one (like I did with these finger painted bookmarks) but it still turned out okay.
There are so many graphic shapes that would work well with this technique, letters or monograms would be fun ornaments too!
Pin this tutorial for later with this link & image here:
Ready to make your own? It doesn’t get much easier than this!
How to make a DIY ornament that kids can make
Supplies
- 6″ Embroidery Hoop*
- Fusible Fleece* 1/4 yard
- Freezer paper*
- Plain white quilting cotton, 1/4 yard
- Paint – I used Martha Stewart Crafts® Soft Gel Watercolor Acrylic Paint in Poppy, Pool, & Granny Smith & Coarse Gold Glitter
- Iron
- Scissors
- Ribbon scrap for hanging
- Printed applique shape approximately 3″ square – I used applique shapes from my Christmas Baby Blocks pattern, but you can find lots of clip art on Google
- Craft knife or digital cutting machine
- Hot glue
- 1/4 yard of felt
- Small number stamps* and ink or pen (optional)
Steps
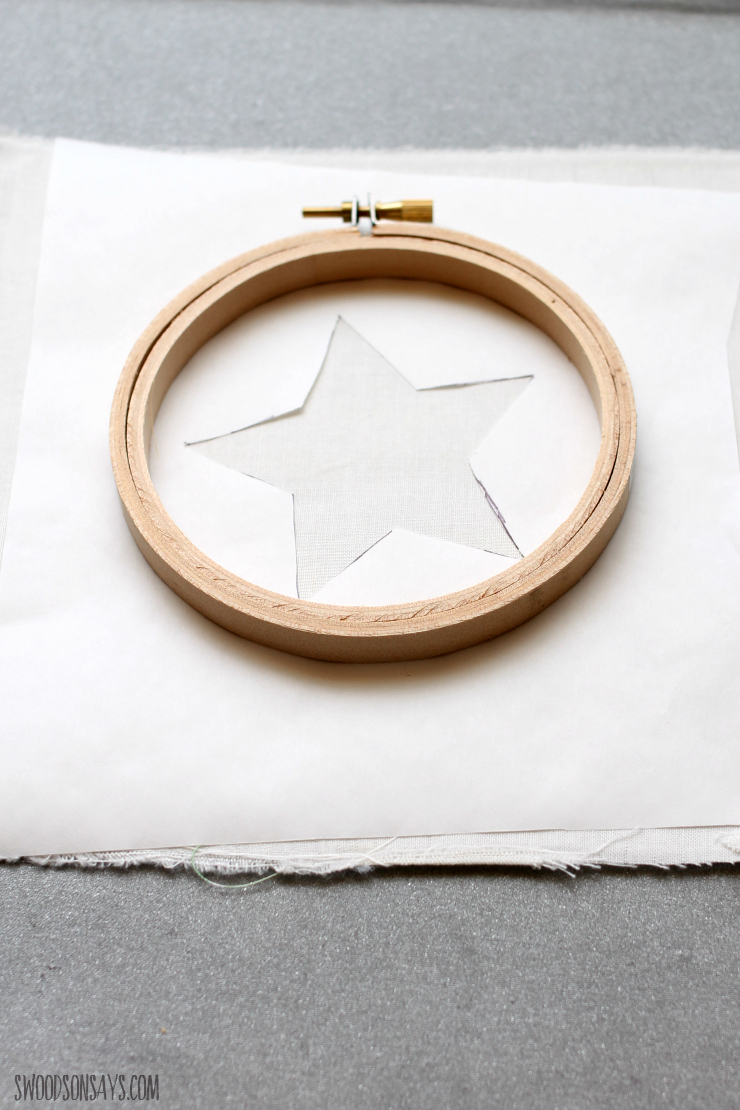
Step 1- Cut your fabric and fusible fleece into roughly 9″ square, fusing the fleece to the wrong side of the fabric per manufacturer instructions. Trace your applique shape on to the freezer paper and cut it out, with a craft knife or Silhouette/Cricut. Place it, shiny side down, on your quilting cotton’s right side (the side without any fleece, placing the embroidery hoop over top to make sure that you’re leaving enough fabric around each side before gently ironing it down, getting it to stick.
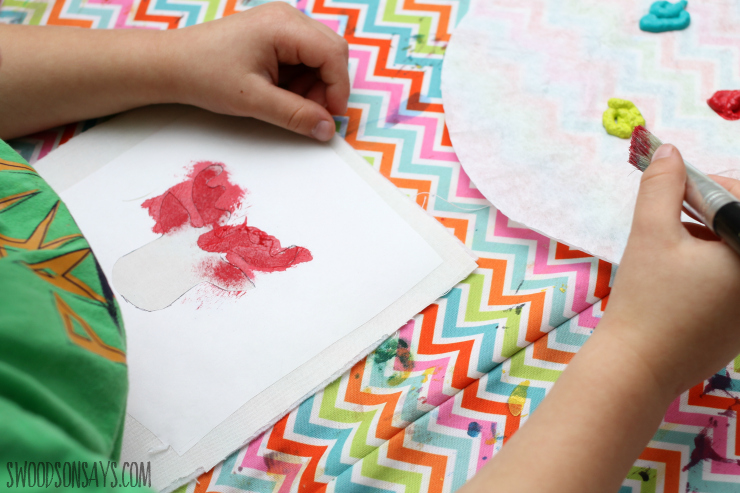
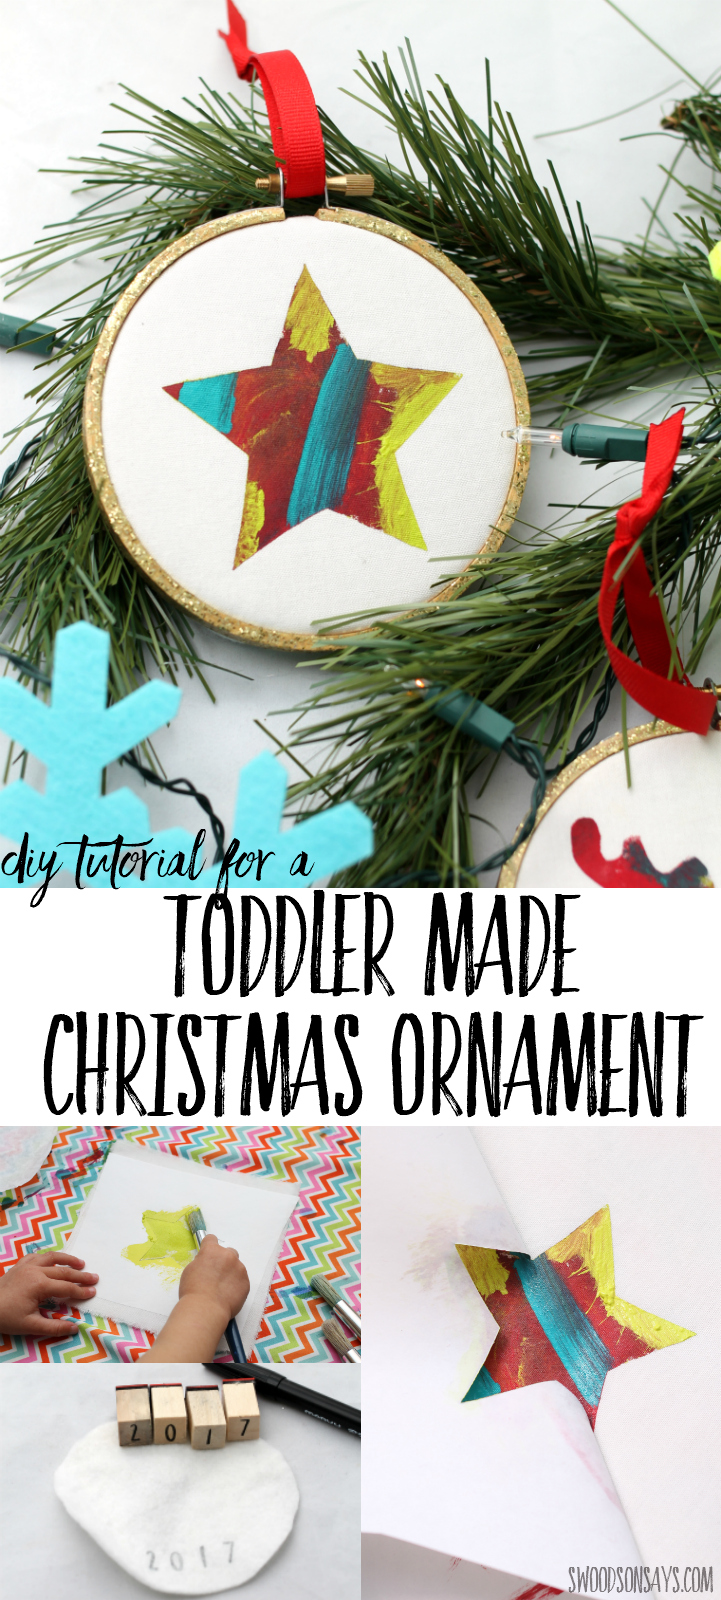
Step 2- Paint! The ironed-down freezer paper presents a barrier for paint, so let the kids go nuts.
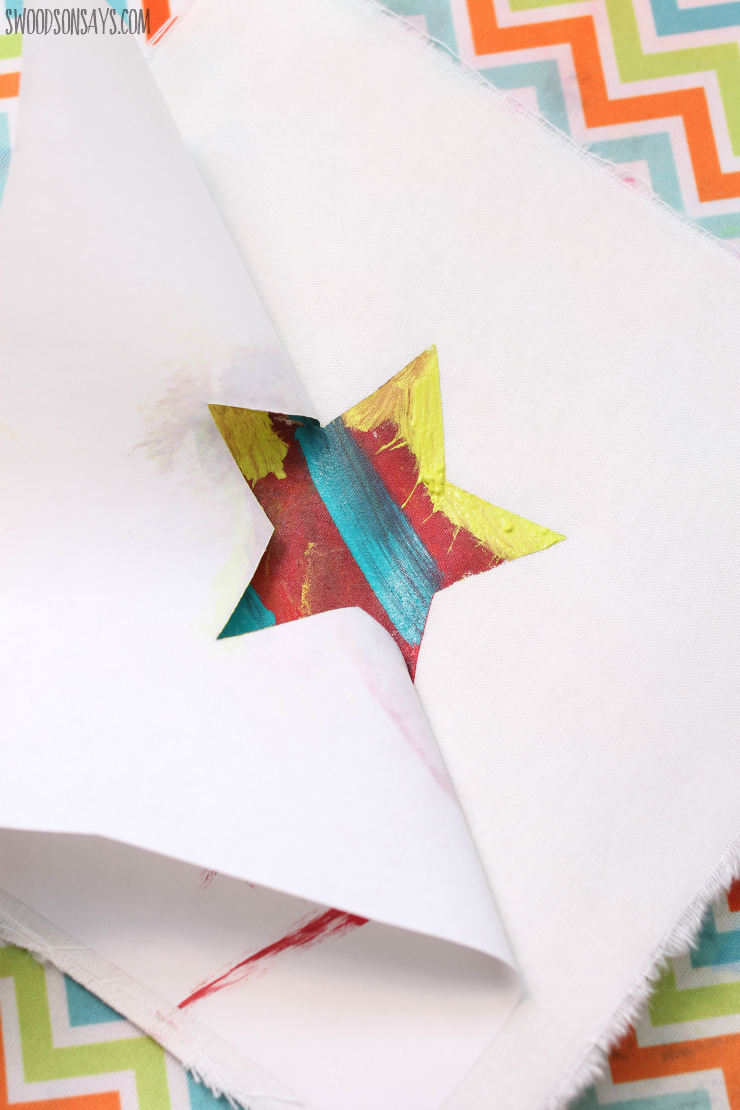
Step 3- Peel the freezer paper off while the paint is still wet for crisp edges, and let it dry. Now is a good time to get out your glitter paint and upgrade your hoop if you’re going to, I went with gold!
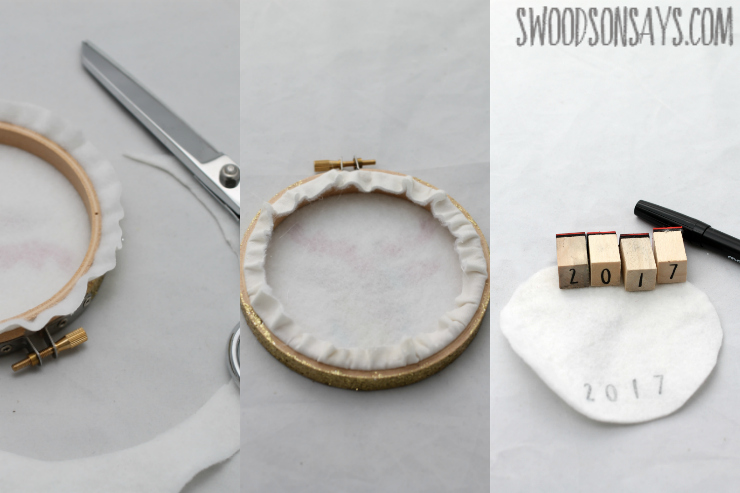
Step 4- Re center and snug up your design, and then trim away any excess, leaving about 1/4″ of extra around the hoop. Tuck this down around and hot glue it to secure. Use a pen or stamps to mark the year your kiddo made the ornament on the back (optional).
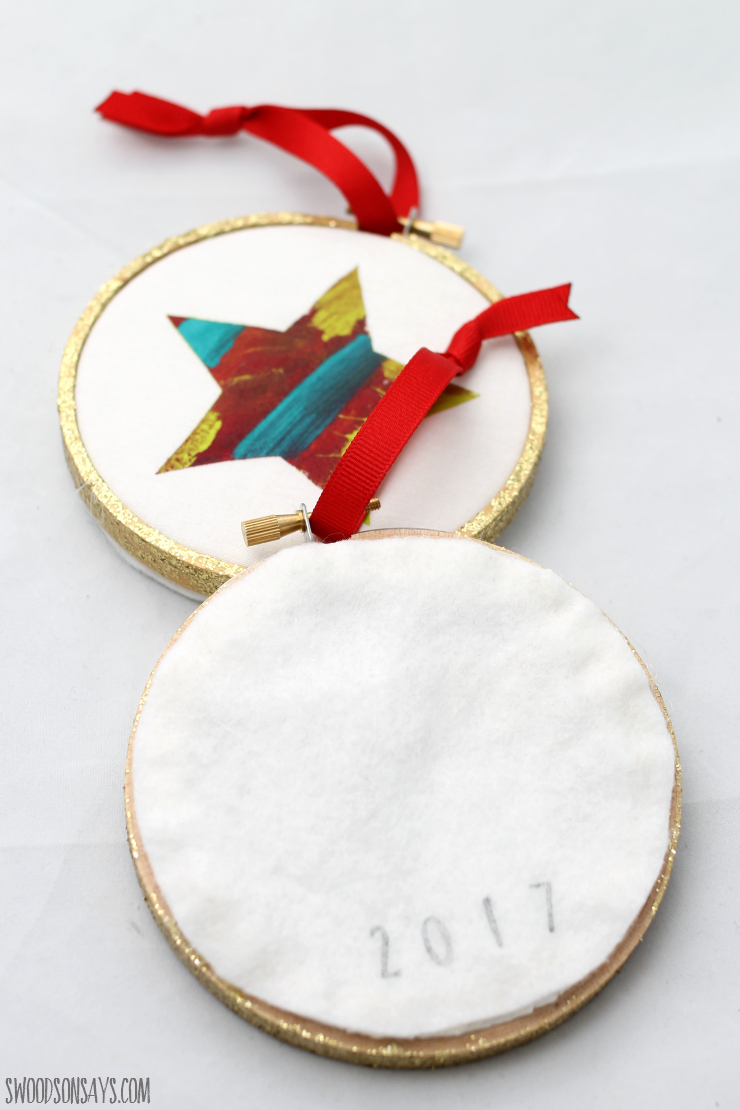
Step 5- Cut out a felt circle from your other piece and hot glue it on the back, covering up the messy inside! Tie a ribbon on it to hang and you’re done!
Check out all the other kid-made ornament tutorials at Crafty Mama In Me!
Marissa
Thursday 7th of December 2023
I love your stuff. I'm always looking for different things to do with my granddaughter while I'm watching her during the day.
Stephanie - Swoodson Says
Sunday 23rd of June 2024
Thank you for leaving this sweet comment!! What a gift to be crafty with her :)