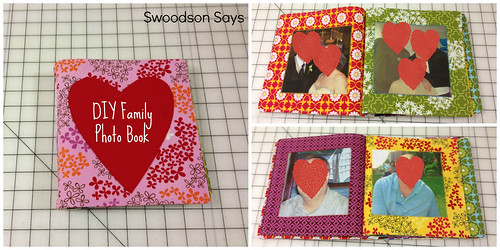
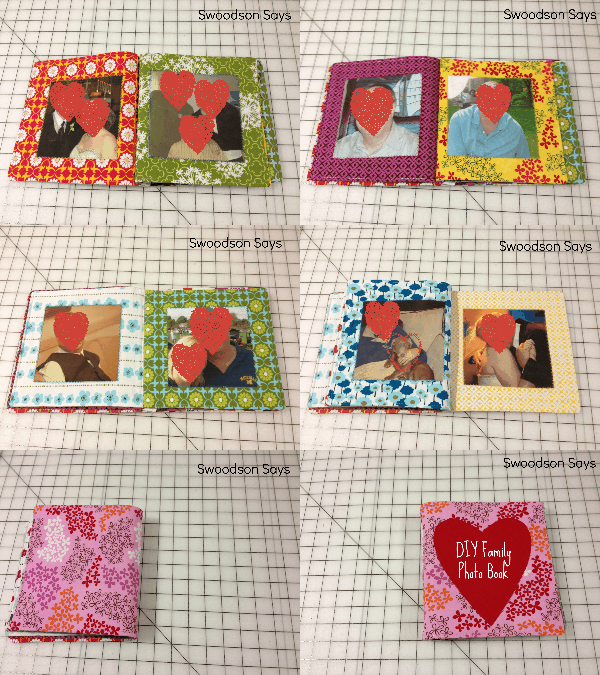
Taking on new projects always gives me a creativity boost, so I often find myself offering to help someone with their sewing requests. An online friend was looking to have a fabric book made with photos of a family member and linked to this example from You and Mie. You can check out her tutorial there and I’ll give you a brief run-down of how I made mine because I did it a little differently! (I know the heart stickers are distracting – but I wanted to protect her & her family’s privacy and blurring wasn’t cutting it)
Step One
Assemble your supplies! It depends what size you would like your pictures and book to be, but print off your photos first. I used printable photo fabric * and printed the photos as 5 X 5.5″ squares. Be sure to include space around the photos when cutting if you’d prefer to quilt the pictures in, like You and Mie did in the link above. I cut fabric squares roughly 9 X 9″ and used .5″ seam allowances. I used thick, single sided fusible interfacing on each page, cut the same size as the fabric.
Don’t forget to take into consideration that book-style requires a cover and even number of pages!
Step Two
Measure and iron all of your pictures in the middle of each fabric sheet. I appliqued a heart graphic on the front cover as well. Then iron on your interfacing to each sheet and trim any edges. I then did a zig-zag stitch around the edge of each picture to keep it nice and secure.
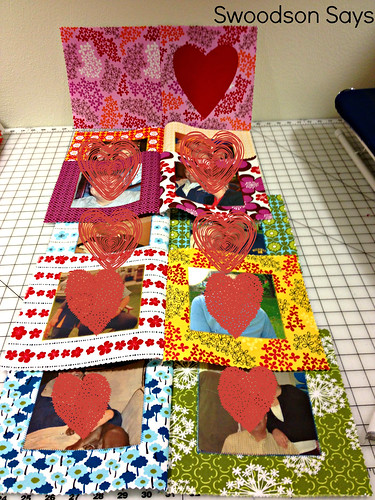
Assemble and figure out what will go where. When you are laying out your pictures, remember that even though you’ll be making double-sided, double page sheets, you’re sewing these book style. So it changes what pages will be across from one another once stacked atop each other and sewn in!

Step Three
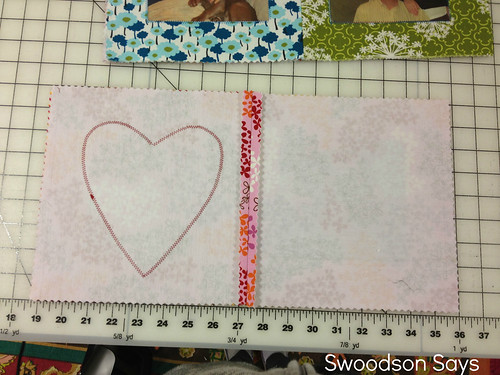
Sew each page set together, right sides together. Press the seam open flat.
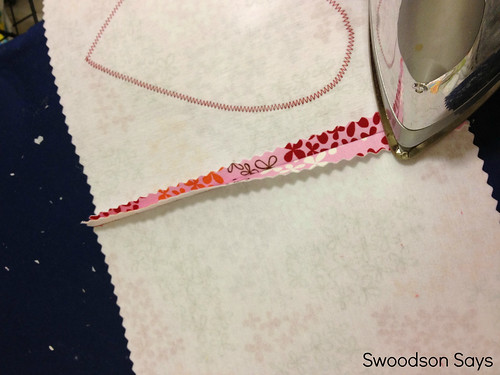
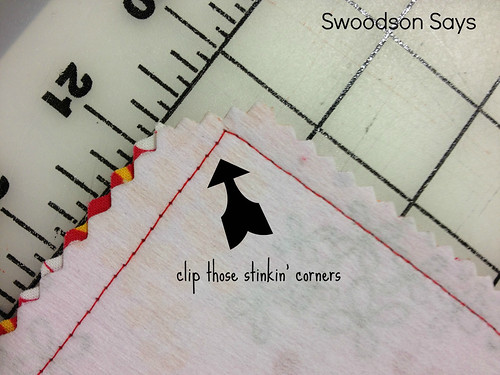
Once all your double pages are sewn and pressed, sew the pairs together, right sides together and leaving an opening about 2 inches wide to pull through. It seems like there is no way it will fit, but it will! Trim each corner before flipping right side out.
Step Four
Make sure to gently poke each corner out so it’s nice and sharp and then press each page and topstitch around the edges.
Step Five
Lay your finished page sets atop one another, centering the seams, and stitch together, like a book! I did a straight stitch and then a zig-zag over it for extra security.
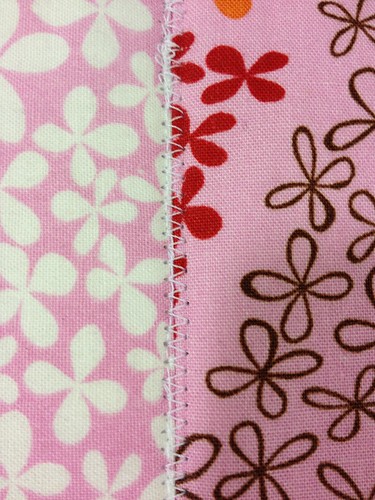
And Voila! A baby-friendly fabric book of your loved ones.
*affiliate link

Luanne Rushing
Friday 15th of May 2020
I love this and am trying it now. What did you use to print the pictures? I used Avery and when I ironed it onto a print fabric, the print showed through on the pictures.
Stephanie - Swoodson Says
Sunday 12th of July 2020
I used what I linked in the post! You could add fusible interfacing to the back or another layer of white fabric?