
I haven’t made a DIY fairy wand in the past because my kids are rough and wild; I figured that the stick would break in a day. A sturdy wooden kitchen spoon occurred to me as a cheap substitute so I designed a felt star topper for one! Busy Little Bird sponsored this free fairy wand sewing pattern post, which means she sent me the felt supplies in addition to compensation for creating the tutorial, and I’m really excited to share it .
Updating in 2019 – Busy Little Bird has closed! Unfortunately that means you can’t buy this exact bundle, but you can find similar wool felt bundles and felt leaves on Etsy!
If you like this free diy fairy wand tutorial, check out these posts too!
- 20+ creative toys to make for kids
- The cutest 25+ toys to sew for kids
- Favorite Hand Embroidery Tools
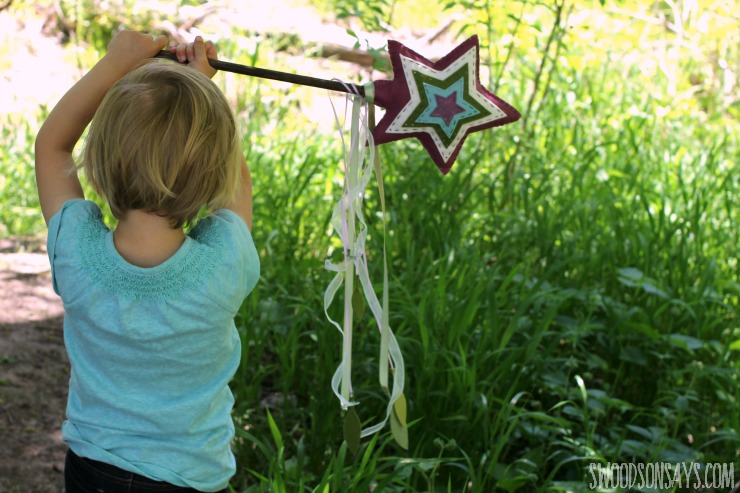
My daughter loved running her hands over all the embroidery, and ran around waving it at all the trees. I think this would make a pretty photo prop, too!
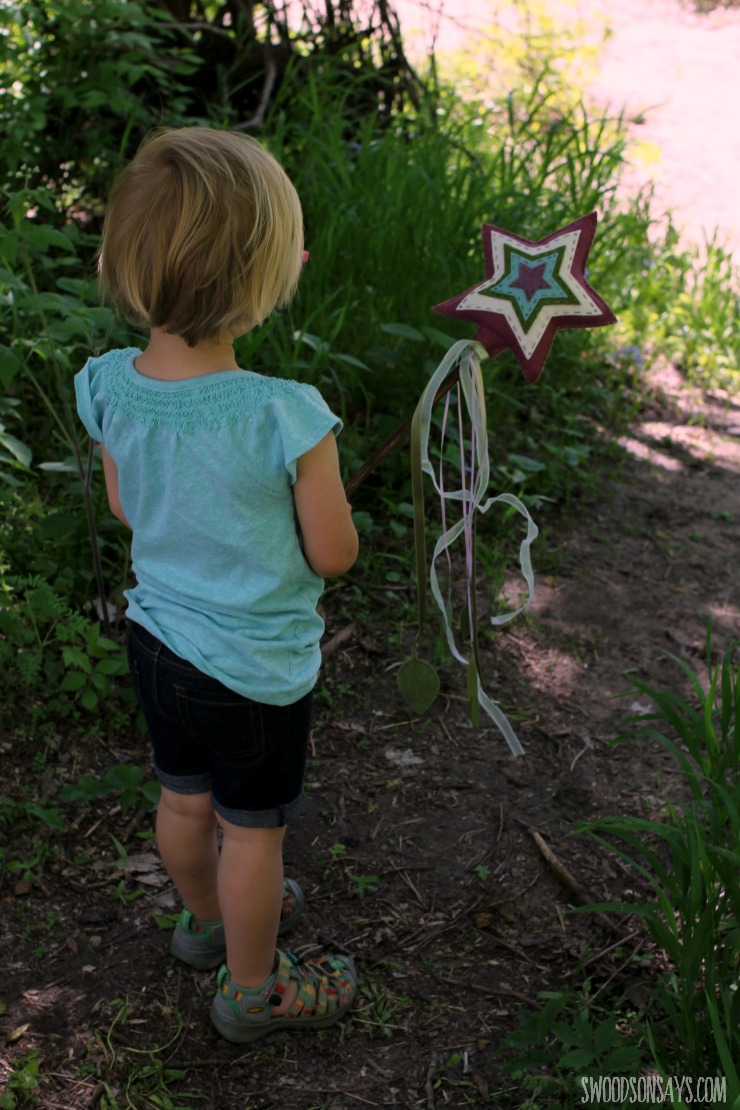
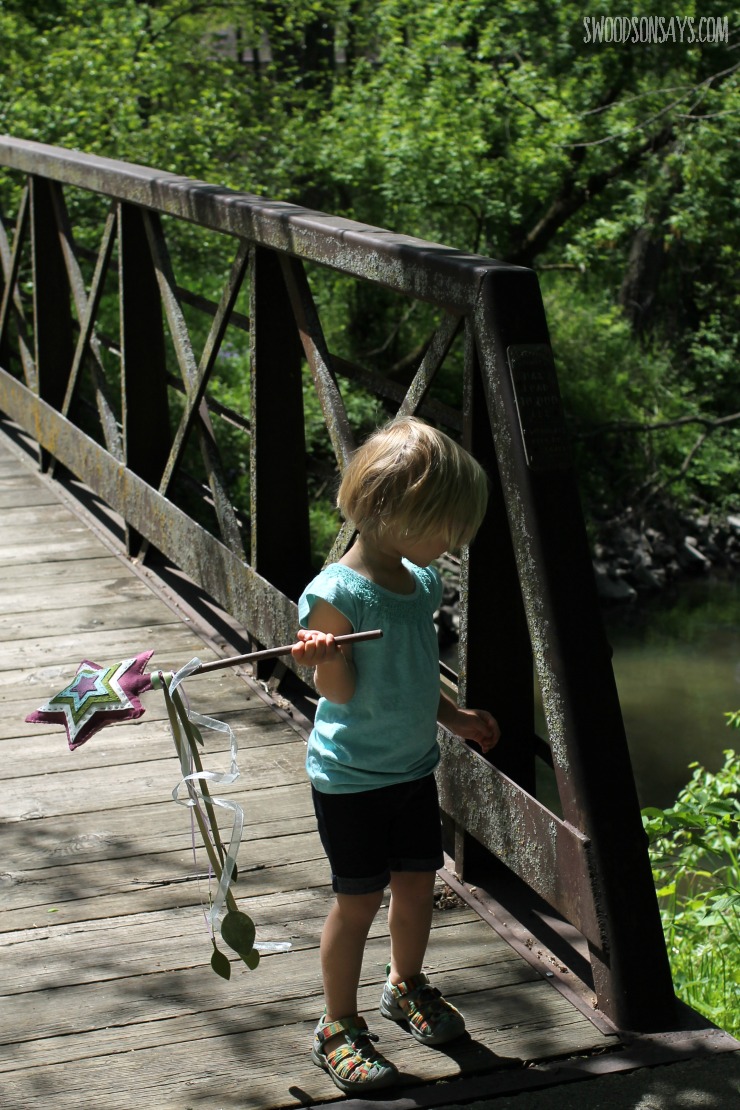
By the end of our walk, the ribbons were a bit bedraggled but the wand was still in great shape. One of my favorite things about handmade toys is how much longer they last! I just remembered this silk play cape that I made a while ago, it would pair perfectly with this diy fairy wand.
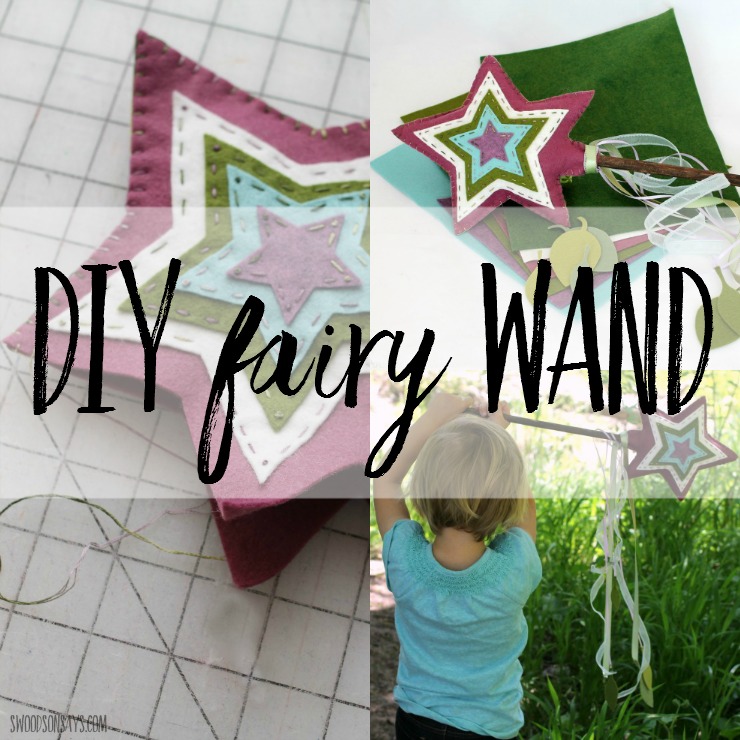
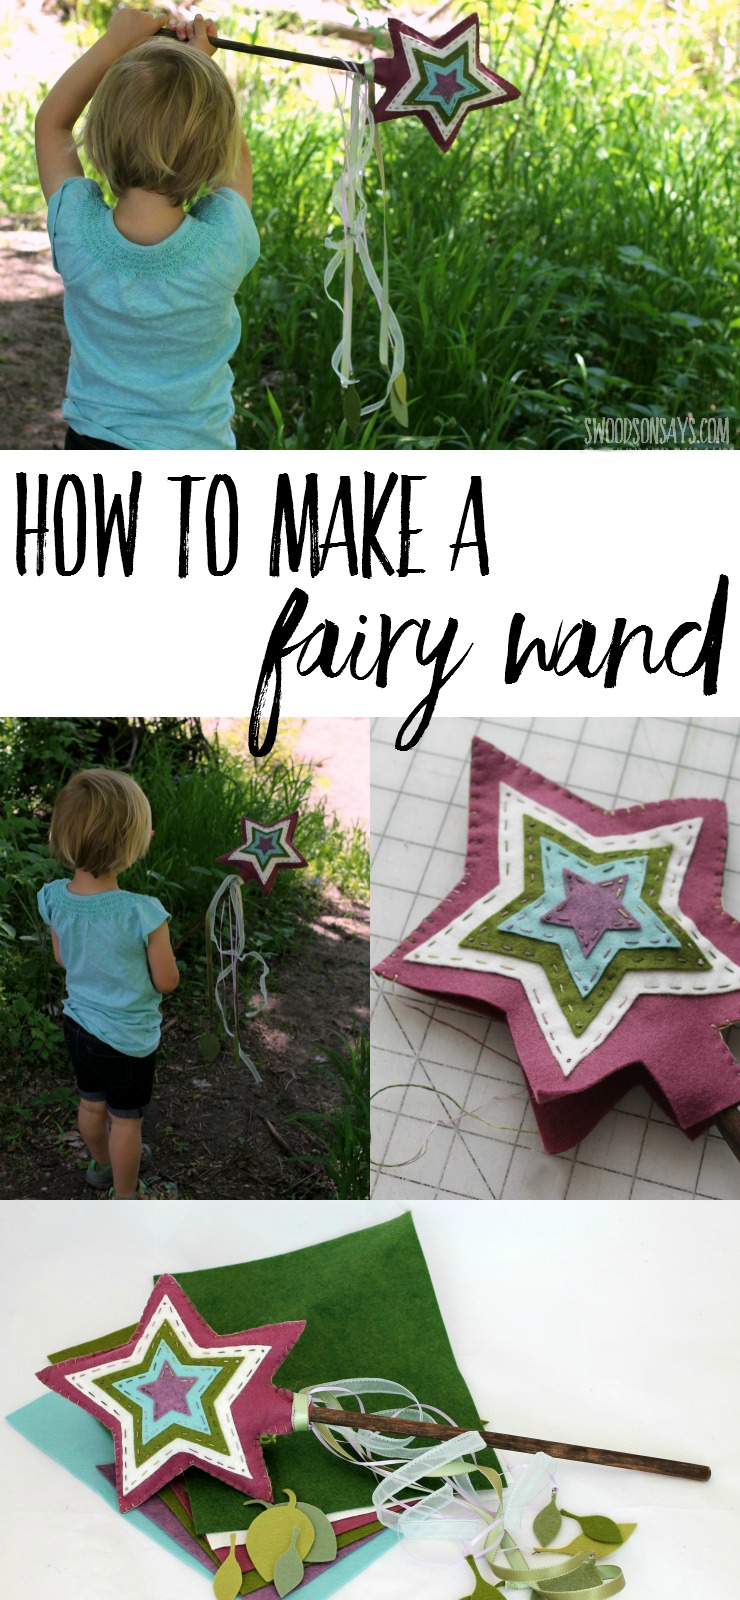
Pin this free fairy wand sewing tutorial for later using this link or collage image:
Isn’t that floss fancy? I had trouble finding any locally to try in the past, and loved stitching with it. Ready to make one of your own?
How to make a DIY Fairy Wand
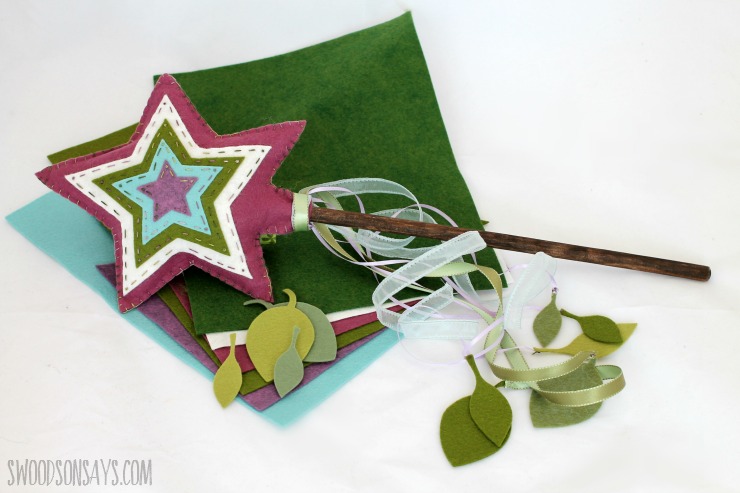
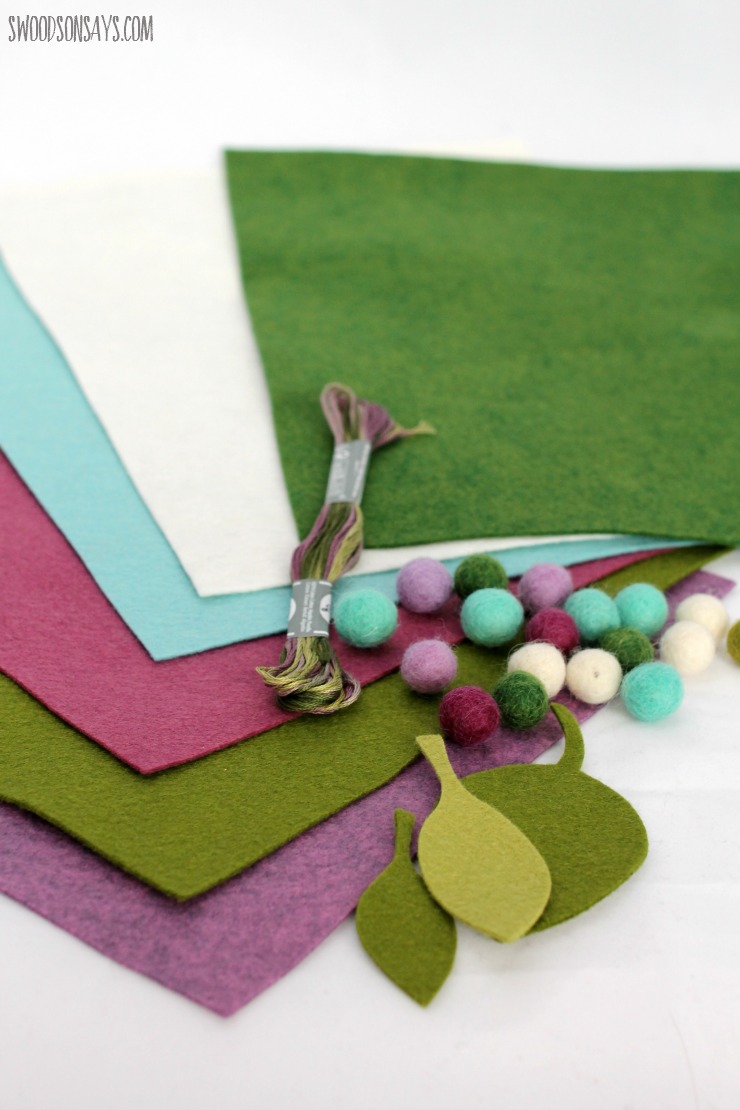
Supplies
- wool felt bundles
- DMC Coloris 4505 floss (Heather used here)
- felt leaves
- Embroidery needle
- Assorted ribbon
- Scissors
- Freezer paper, pen, and iron (or other tracing method)
- Poly-fill or other stuffing
- 16″ wooden spoon
- Wood stain marker (optional)
-
Wand pattern file-sign up for my newsletter and get the full pattern once you confirm your subscription! If you’re already a subscriber, you can access the pattern with the password in each newsletter, in the resource library.
Steps
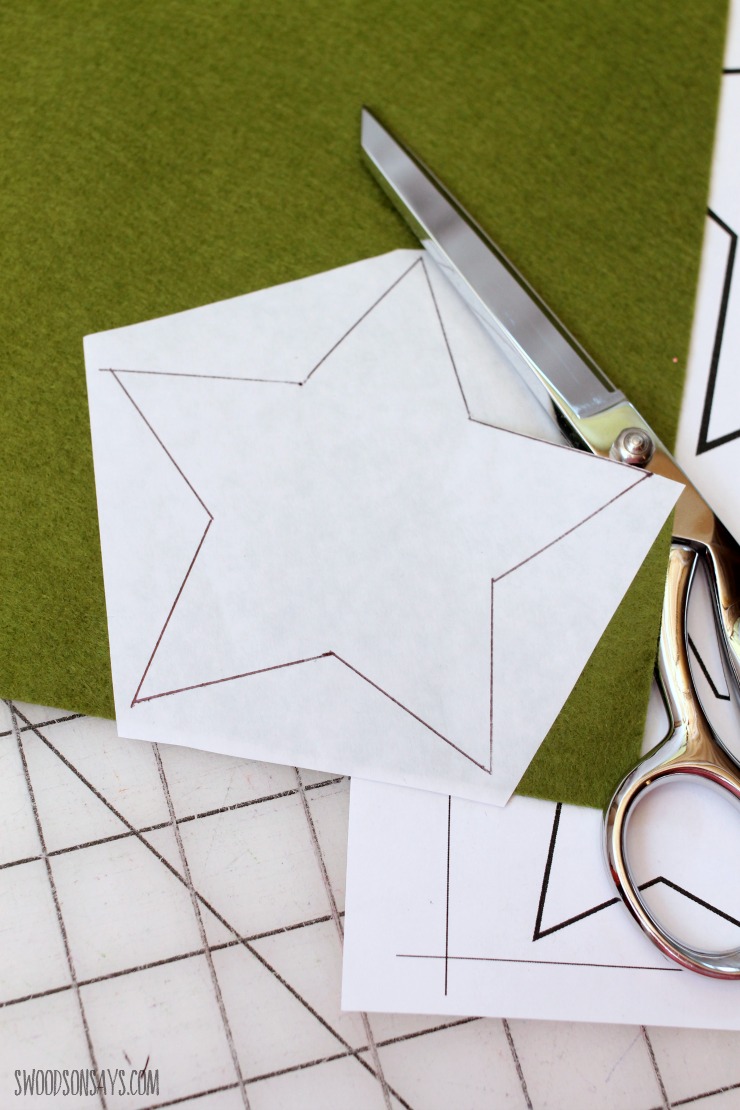
1- Cut out two of each star shape, from small to large. I prefer to use freezer paper for exact pieces – you trace the shape with writing on the dull side, cut roughly around, iron shiny side down, then cut out and peel off the paper. Works like a charm! You can use a different pattern tracing method if you’d rather, of course.
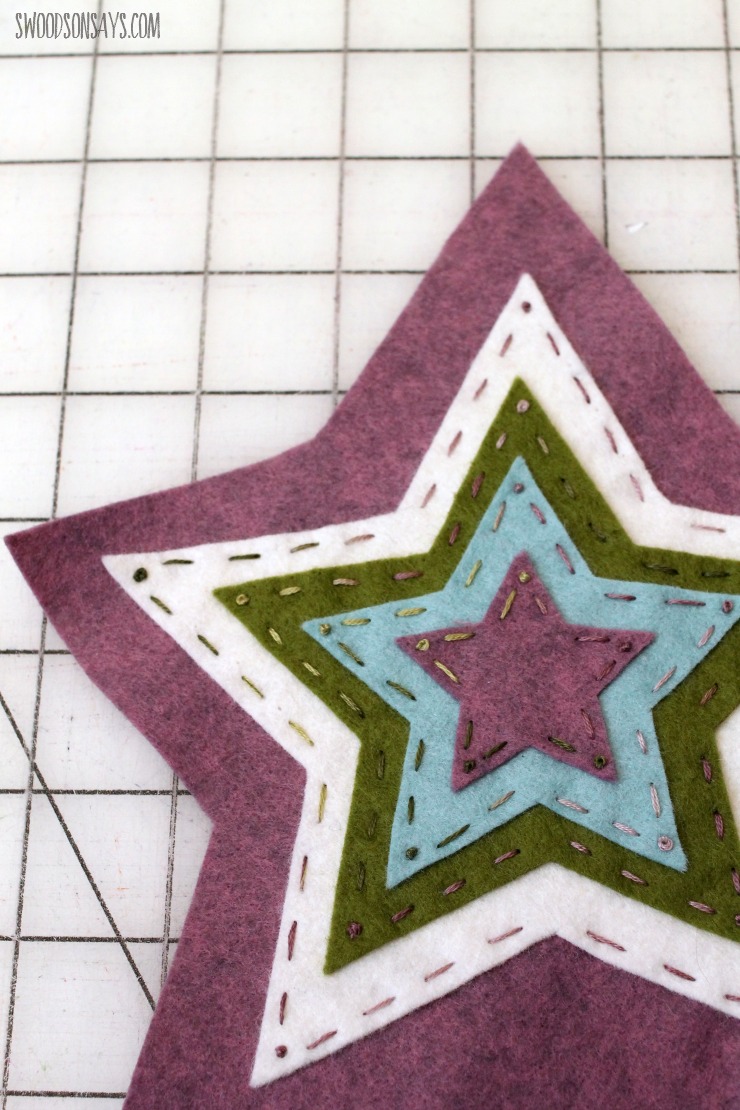
2- Stitch the stars together, starting with the smallest on to the next smallest. I did a combination of running stitches and french knots, but there is lots of room for creativity. Continue until you have 2 completed stars with all 5 layers together.
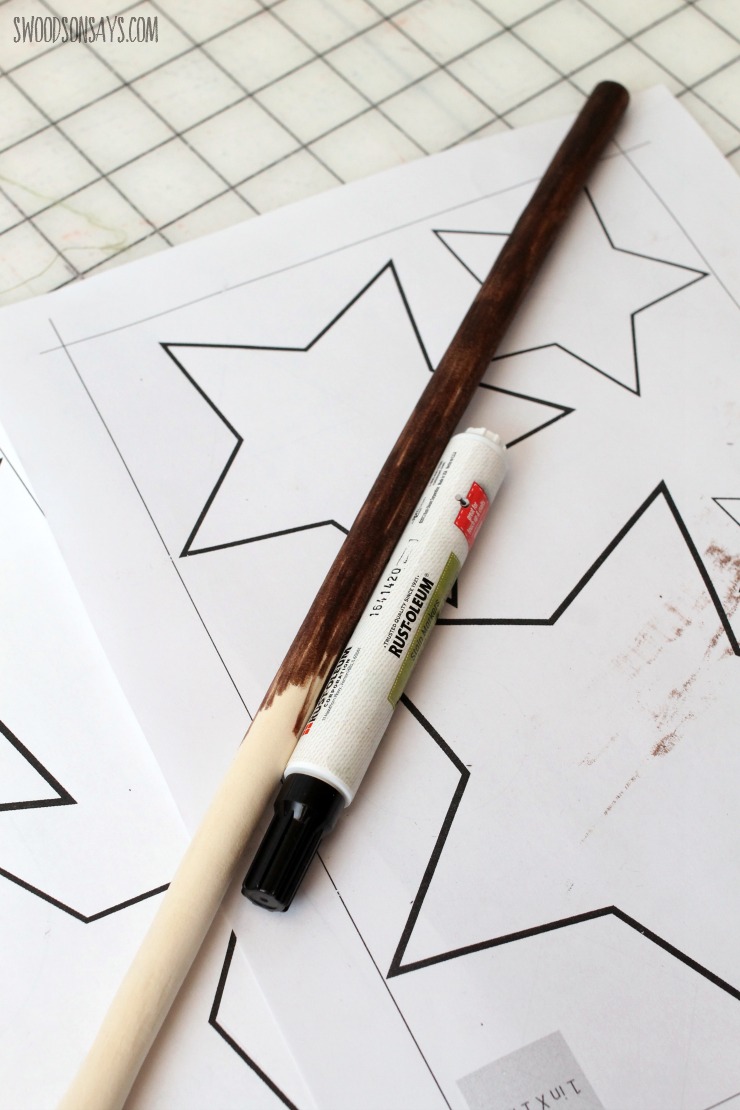
3- If you want to stain, color, or ribbon wrap the wooden spoon, do so now. I used a stain marker for a darker look, super easy (I originally bought it to stain embroidery hoops!).
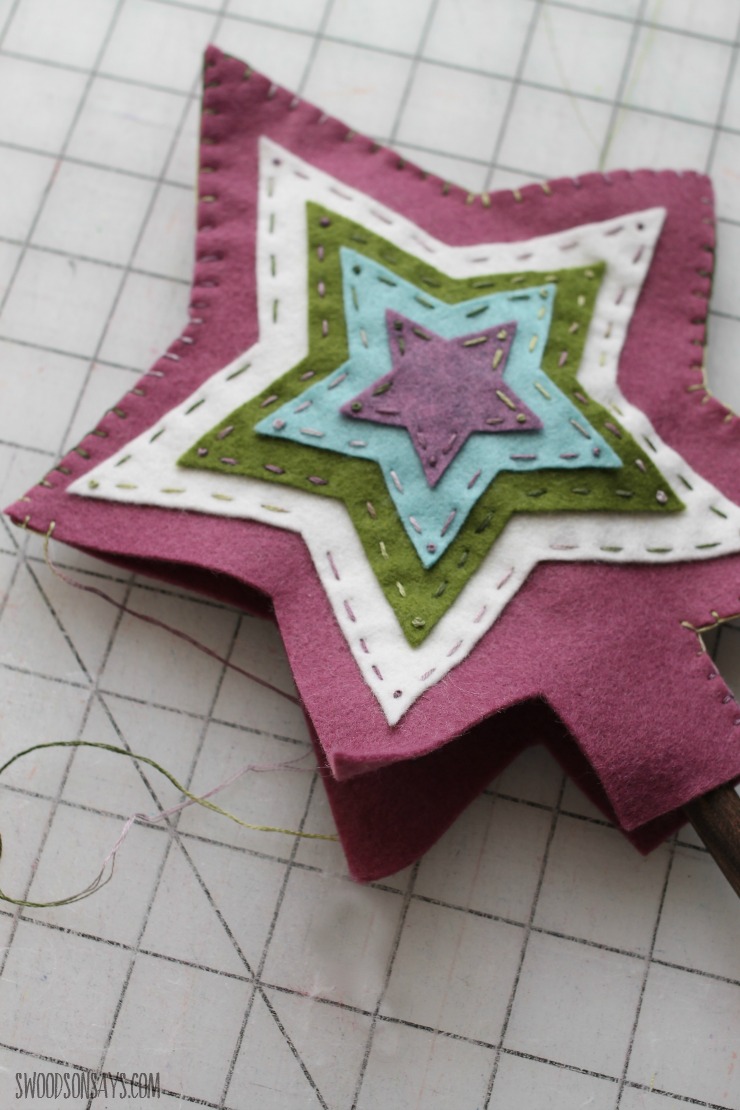
4- Put the two star base pieces wrong sides together and stitch 3/4 of the way around, I used a blanket stitch.
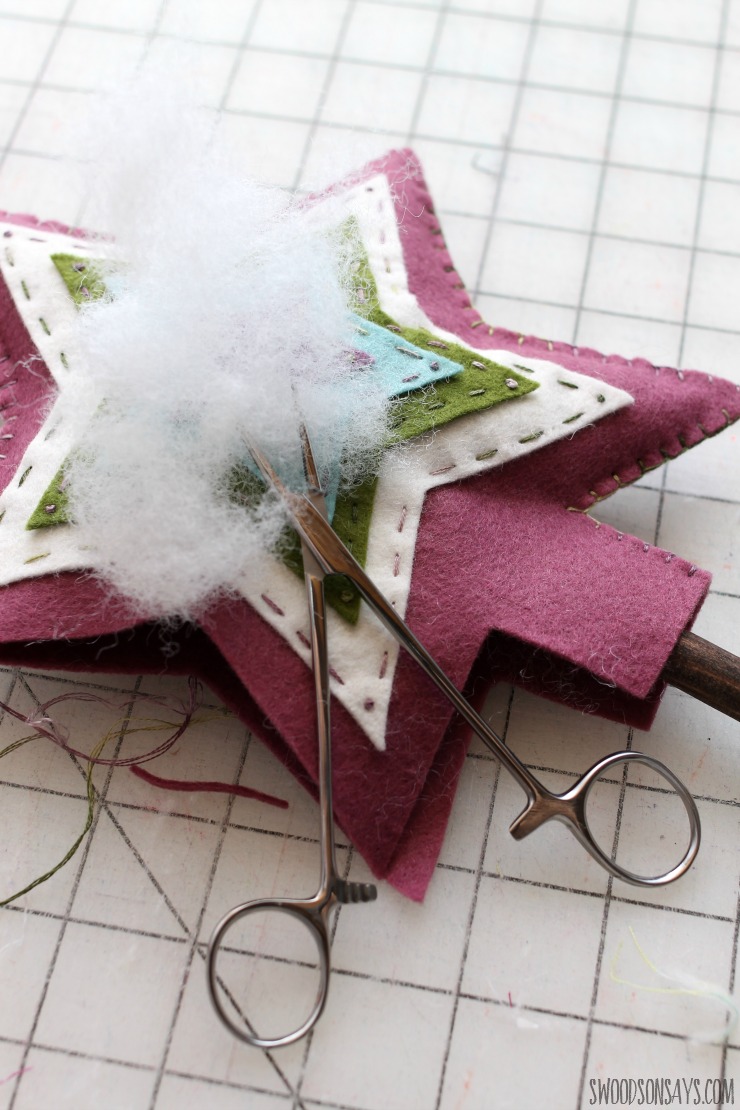
5- Lightly stuff the star’s points, and slide the spoon in. Center the spoon and continue to stitch down and around, filling in with stuffing as you go. I prefer to use hemostats* to put stuffing in, but it’s optional! Finish stitching until you reach the opposite base.
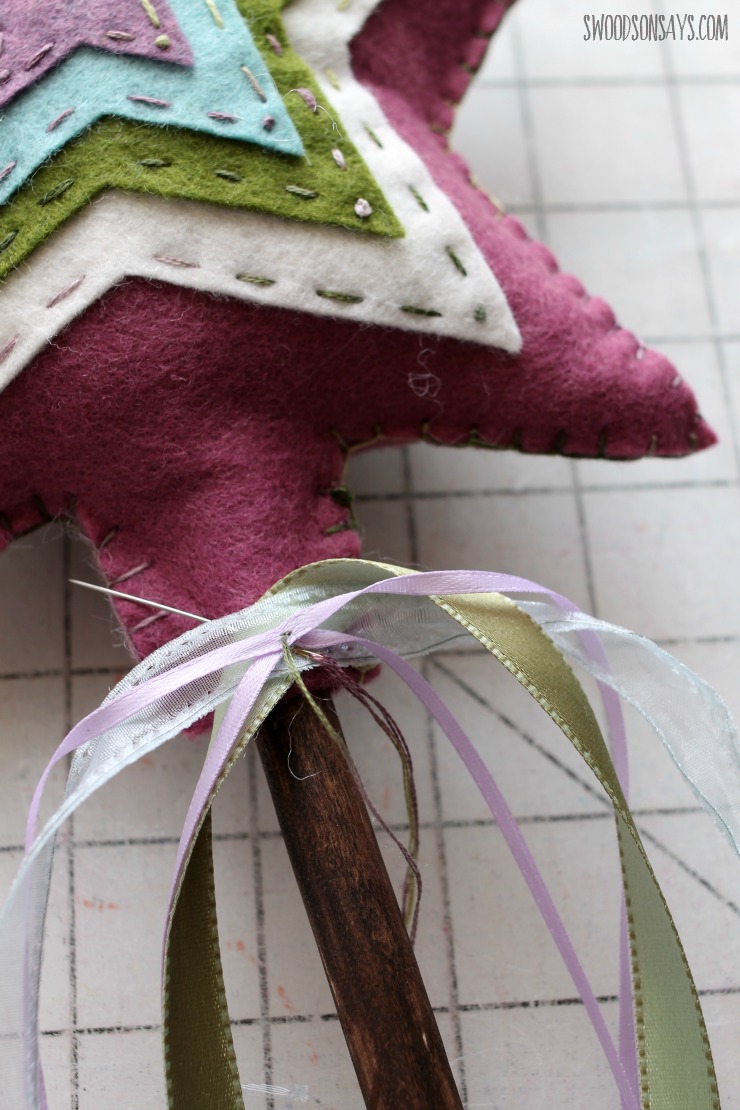
5- Cut your ribbon – I started off with 4 pieces all roughly 47″ long. Hand stitch them over where the wand and star meets.
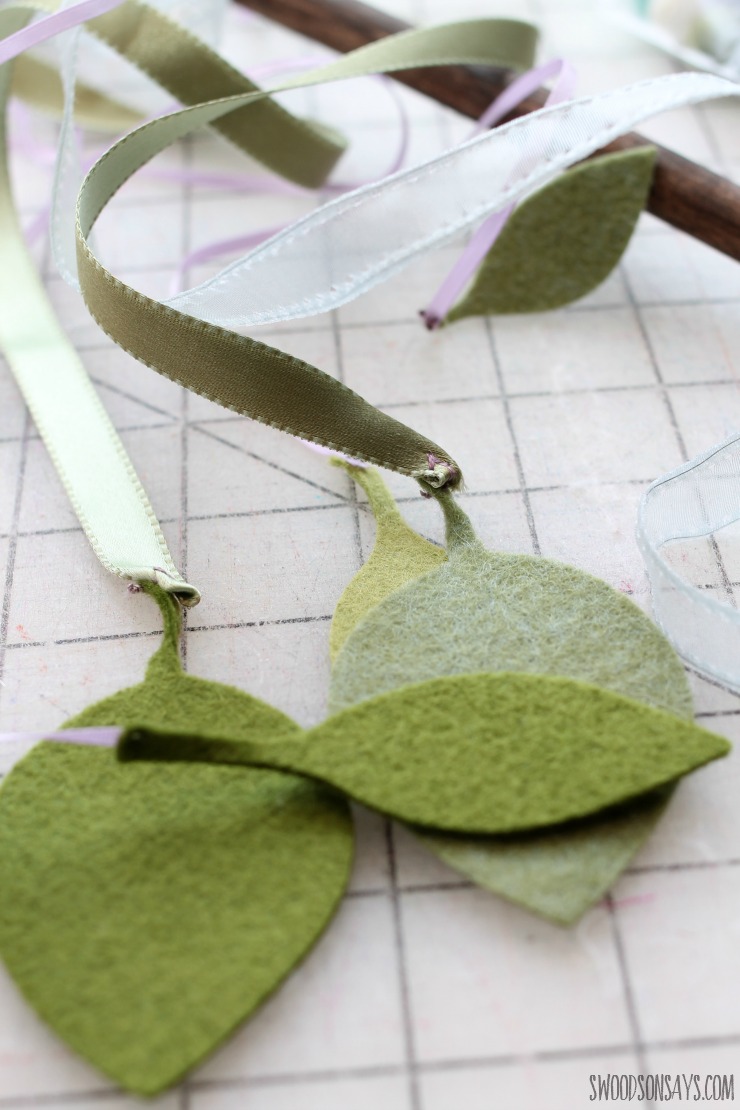
6- Hand stitch felt leaves to the ends of the ribbon, and you’re done! You can turn up the edges, use fray check, or use a lighter to seal them in order to prevent fraying. The stems are a bit delicate, so if your kiddo is prone to tugging on things, you might stitch them on in the middle of the leaf.
Turn your forest fairy loose with their wand!
Deanna
Wednesday 10th of May 2017
Such a cute project! Thanks so much for sharing the fun! :)
barbara maki
Wednesday 10th of May 2017
I love all your stuff thank you for all of it my granddaughter is going to love the one I am going to make for her
Stephanie - Swoodson Says
Sunday 14th of May 2017
Aw thanks for the kind words Barbara, if you make one I'd love to see it!