
I’m really excited to share this kid’s sewing project because it’s super, super easy, cheap, and kids LOVE it. I’ve used it in our homeschool co-op when I taught a sewing class, as a fun holiday party craft with a big group of friends, and of course all the time at home. Anyone can sew these! If you don’t have a sewing machine, it will take longer but you can easily hand sew them entirely. There are loads of options to make these more complicated as kids grow their sewing skills like adding 3-D ears, tails, embroidery, or textures. If you want to mix in some math, have them measure things out before they draw and sew!
I even have a video walk through if you want a start to finish visual.
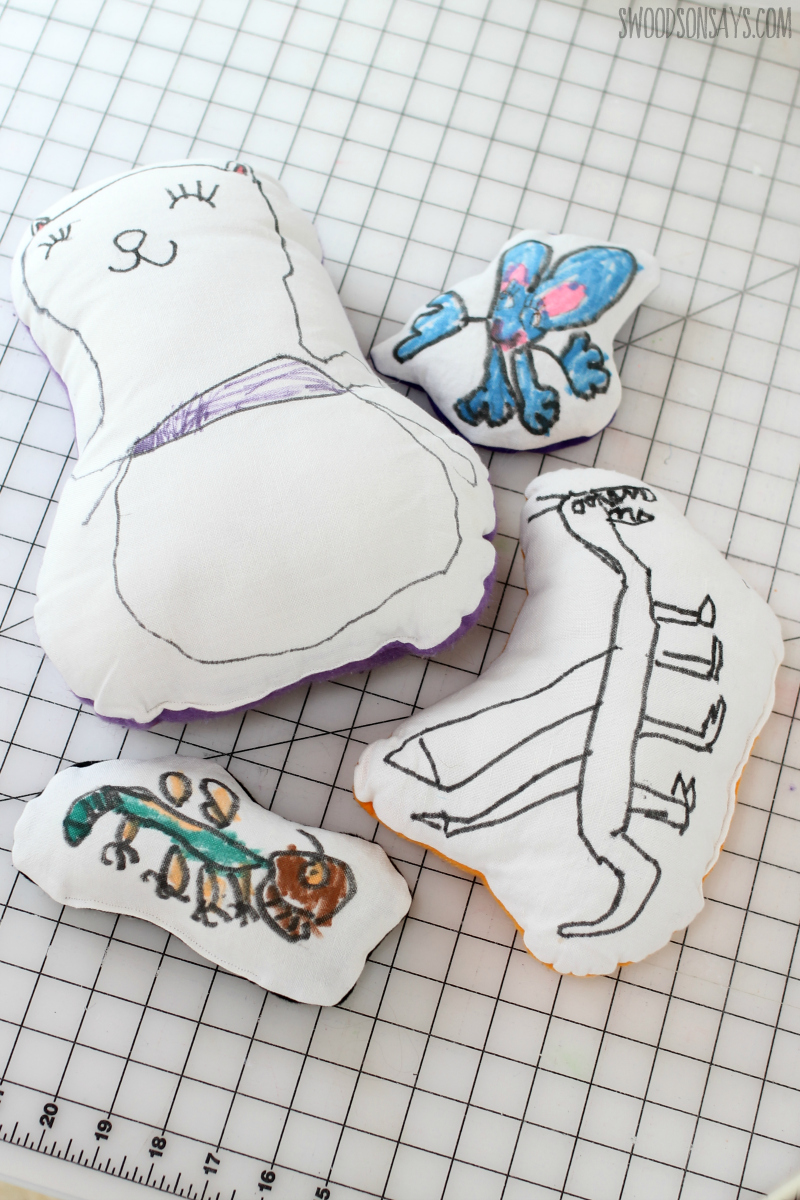
Here’s a set my kiddos made with a kitty ballerina, dragon, and two silly monsters.
Check these related posts out while you’re here:
- 20+ cutest sewing kits for kids
- The best sewing machines for kids
- 20+ easy sewing projects for kids
- The best tips for teaching kids to sew
- 10 free simple embroidery patterns for kids!
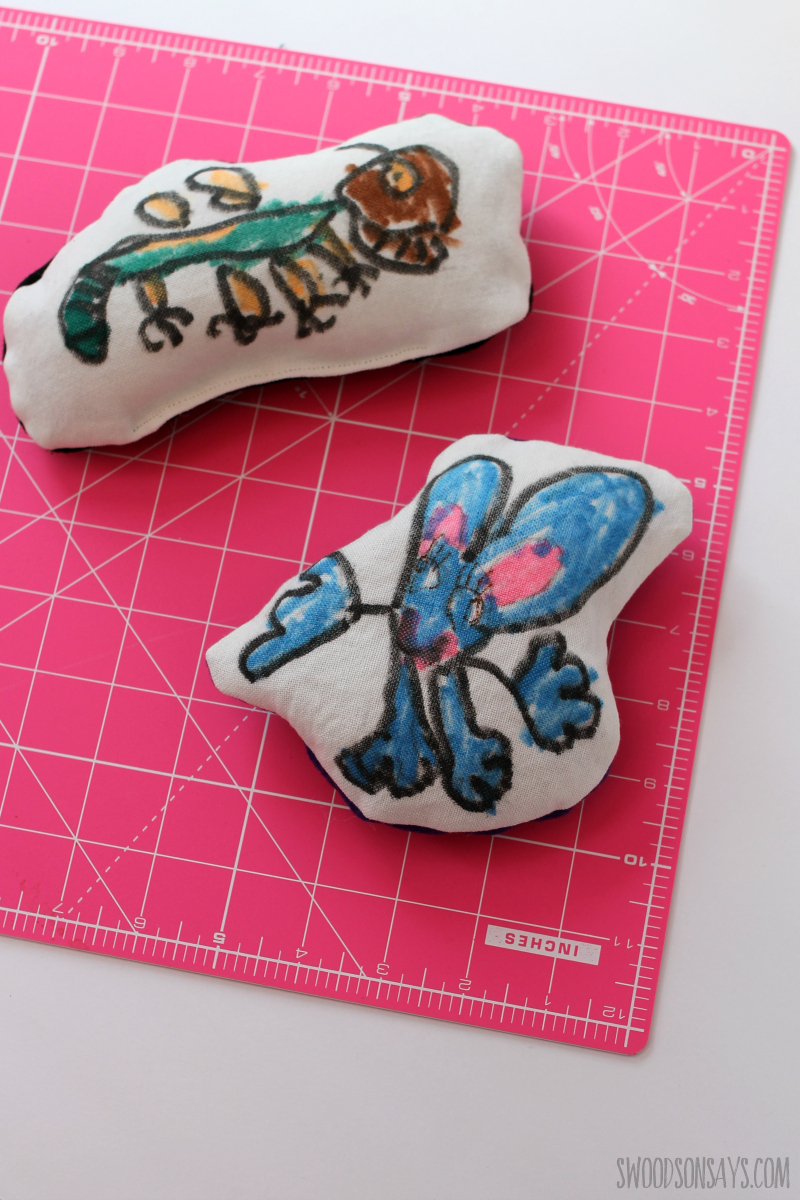
These are some of their favorite toys!!
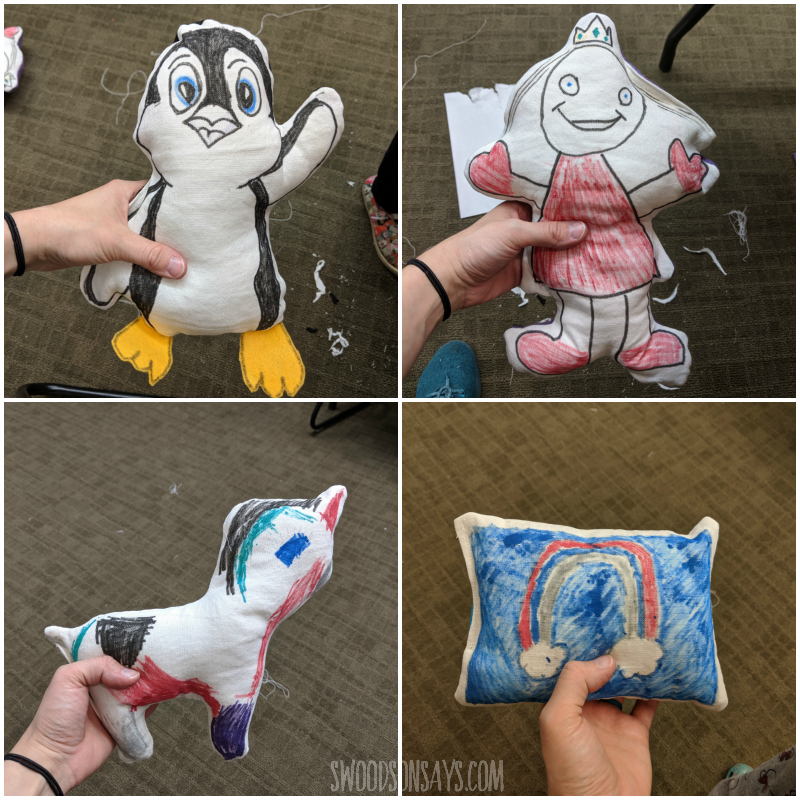
Here you can see some versions that other friends sewed with varying levels of detail, this is such a fun project.
Pin this sewing tutorial kids can make for later with this link or photo:
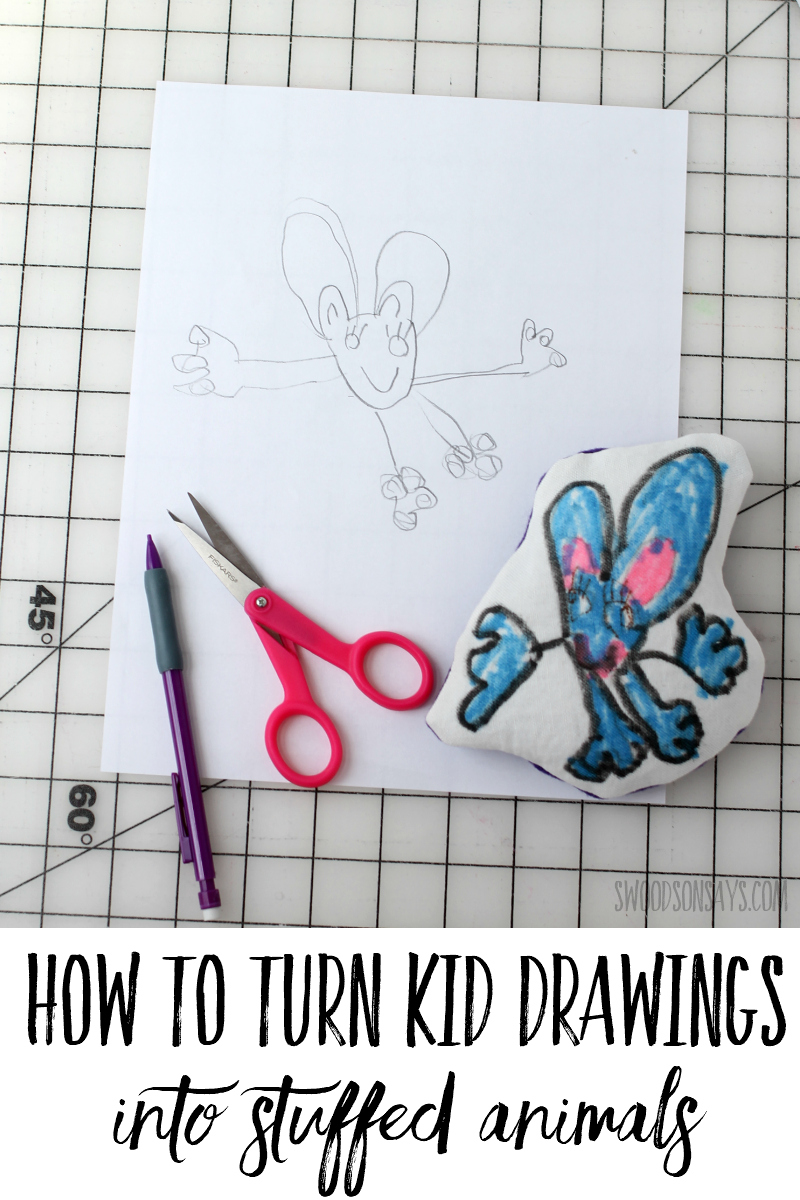
DIY Plush Toy – simple sewing project for kids
Supplies
- White canvas or thick cotton fabric
- Felt
- Stuffing
- Fabric markers – shop on Amazon
- Pencil
- Washi or painter’s tape
- Hemostats
- Quilter clips – shop on Amazon
- Hand sewing needle & thread
- Sewing machine (or can sew by hand entirely), check out my favorite sewing machines for kids
Steps
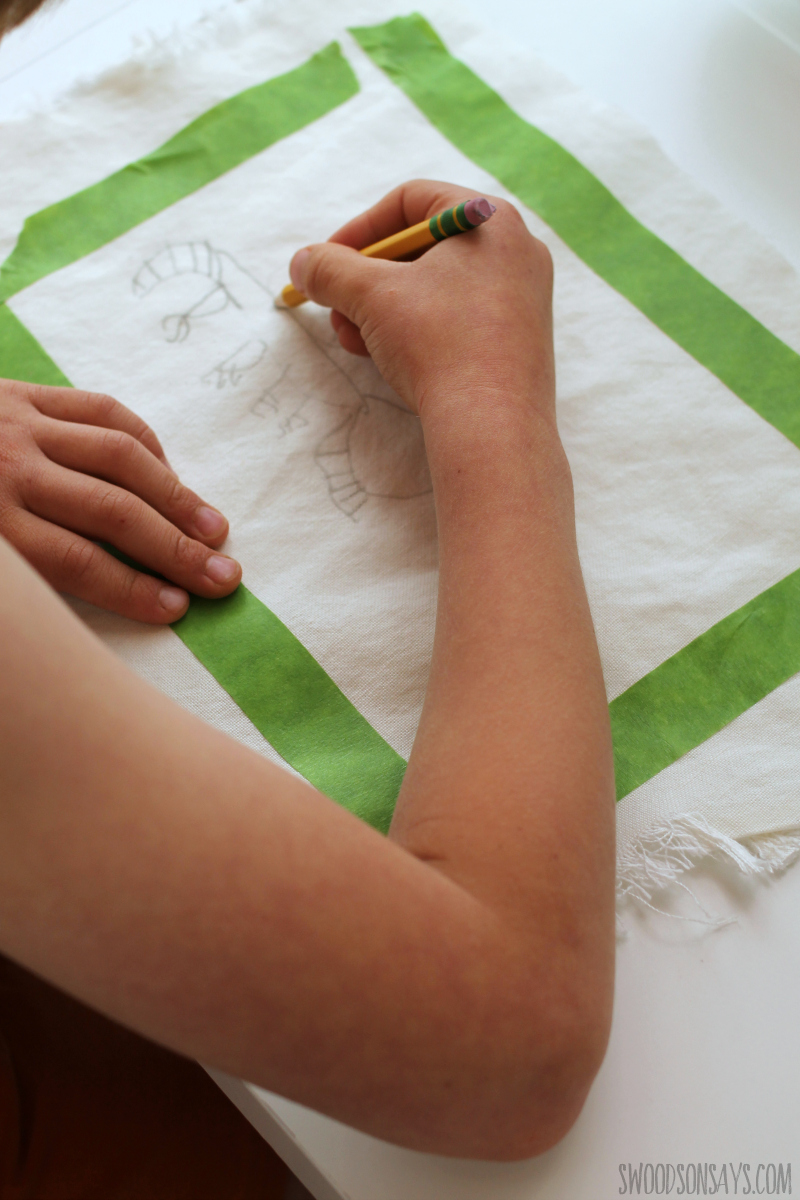
Step 1- Time to sketch! I like to use painter’s tape to mark off the edges; kids tend to “fill up the space” which leaves you no room to sew around the edges without cutting their picture off. A simple pencil will work just fine and wash off when you’re done.
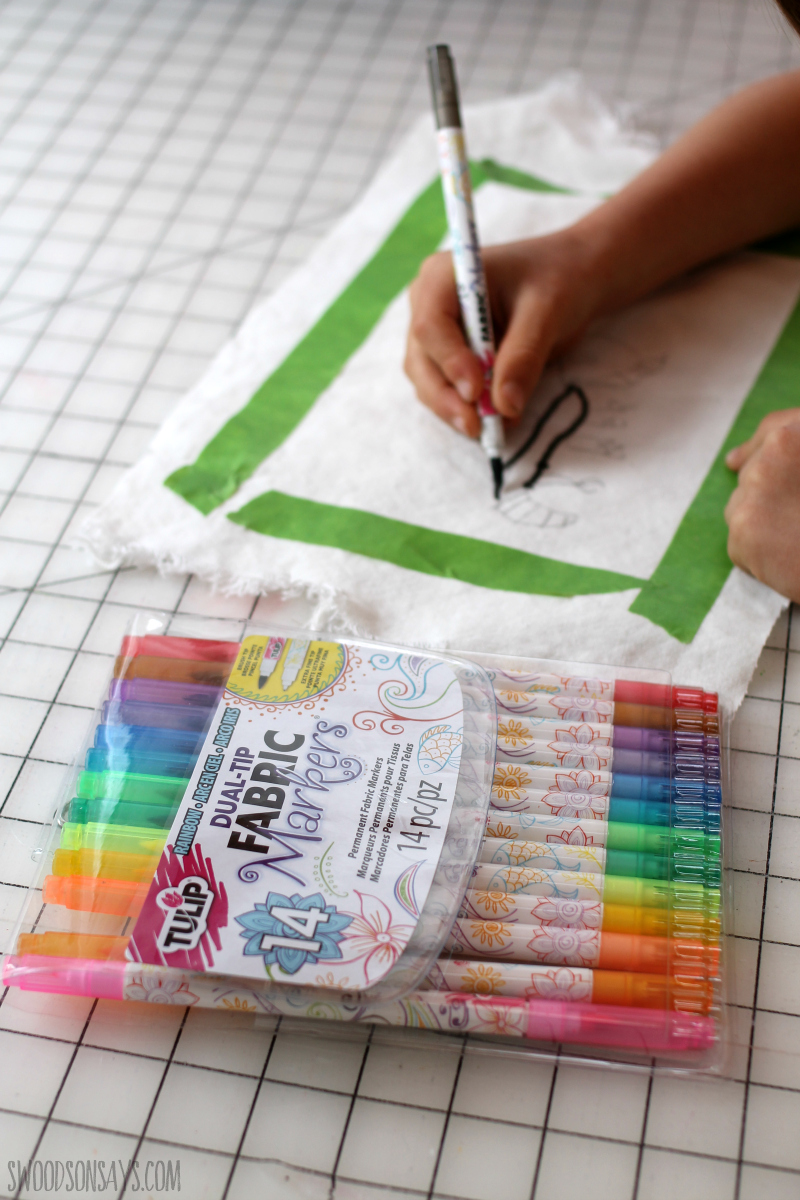
Step 2- Then fill it in with fabric markers. Follow the package instructions if they need to be heat set or wait a while before you wash, etc.
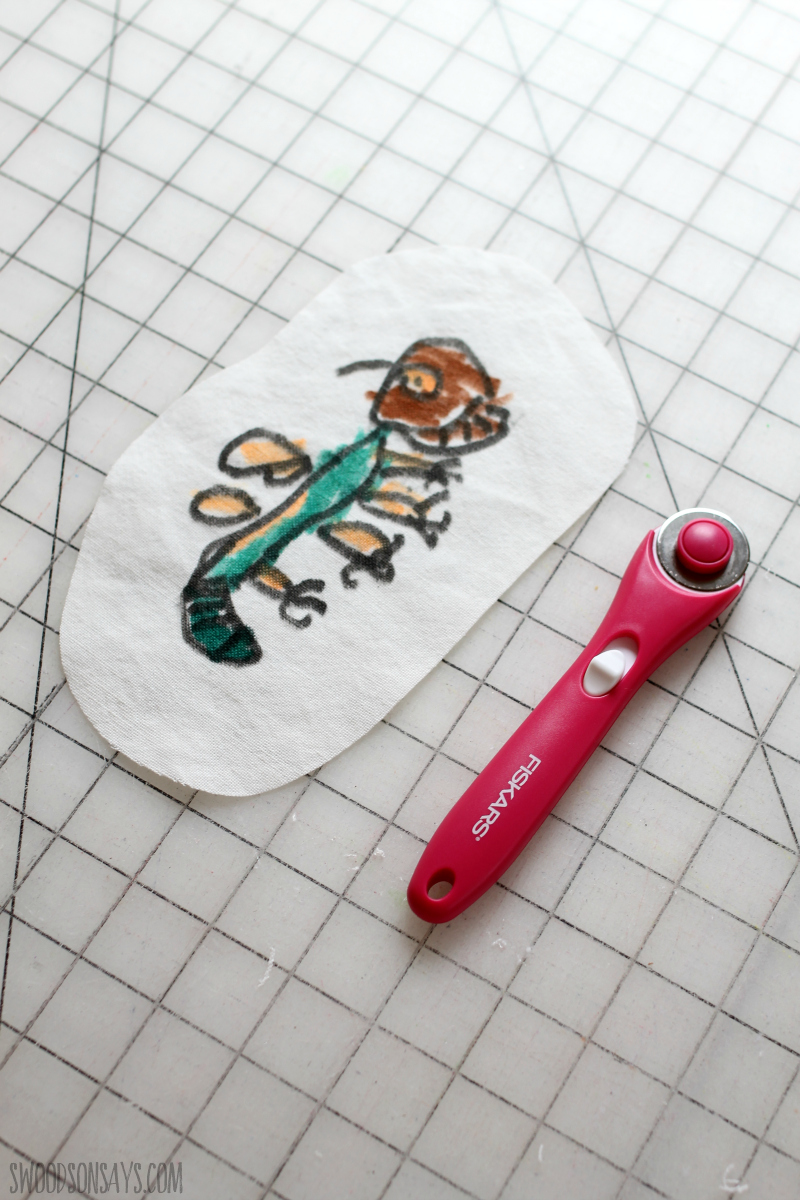
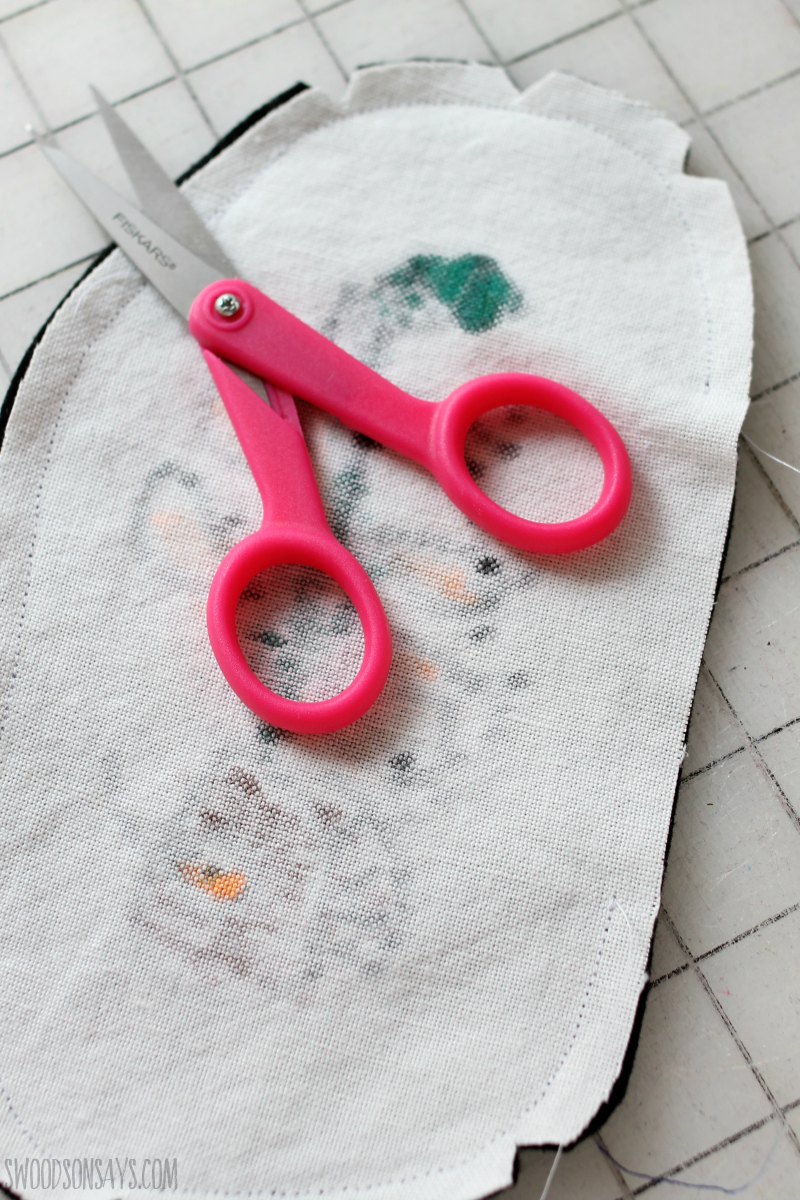
Step 3- Cut a shape around the drawing! I usually aim for .5″ extra around the drawing.
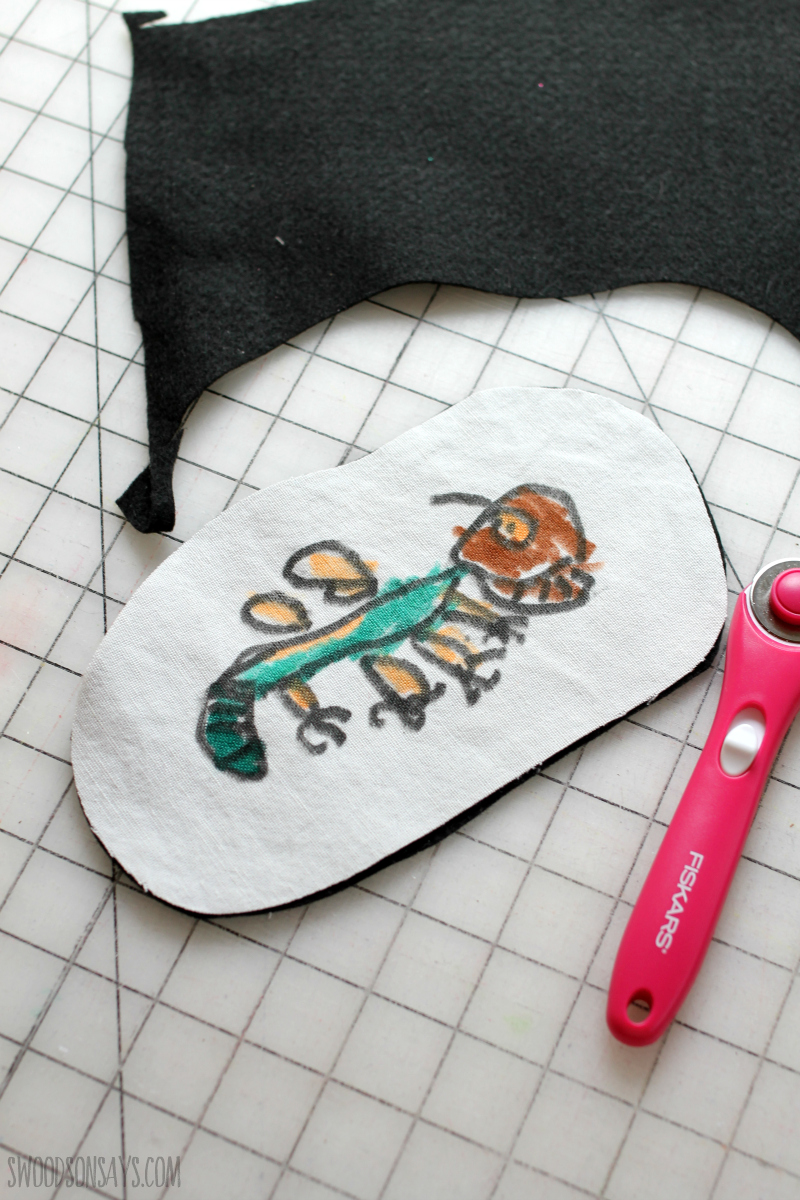
Step 4- Lay the cotton on top of felt and cut an identical piece.
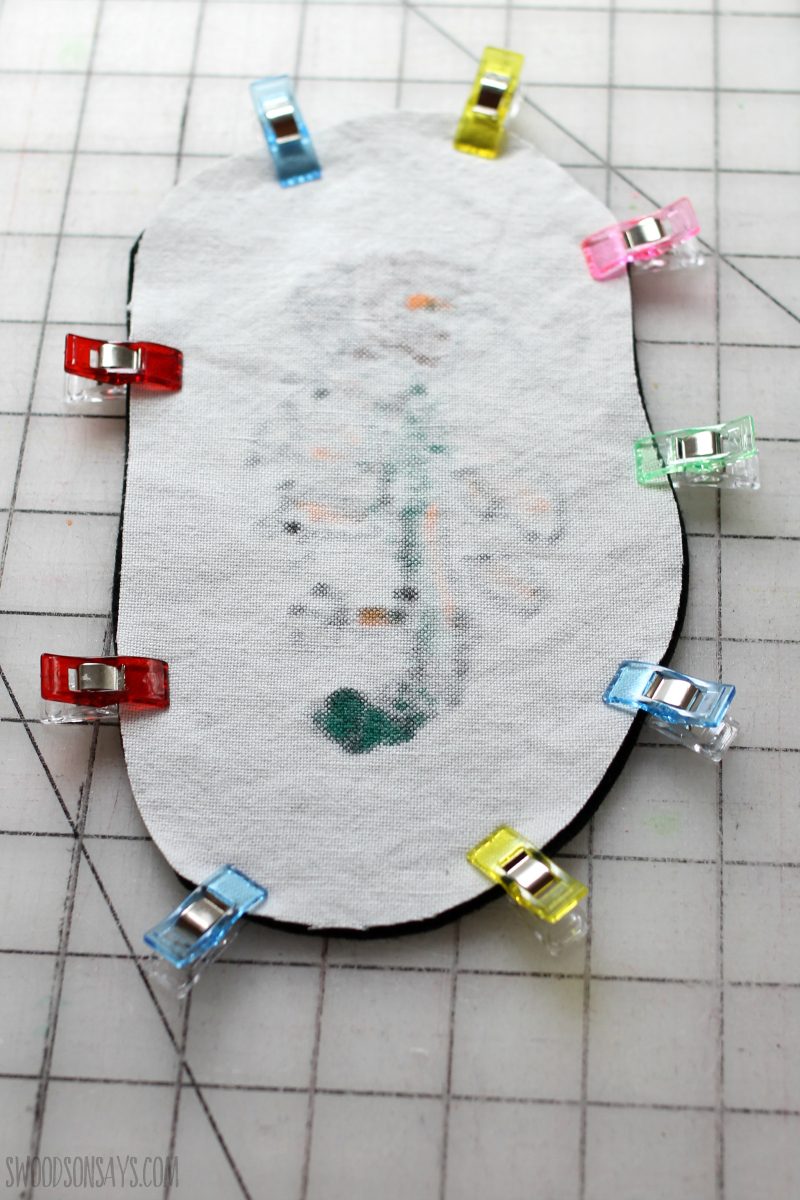
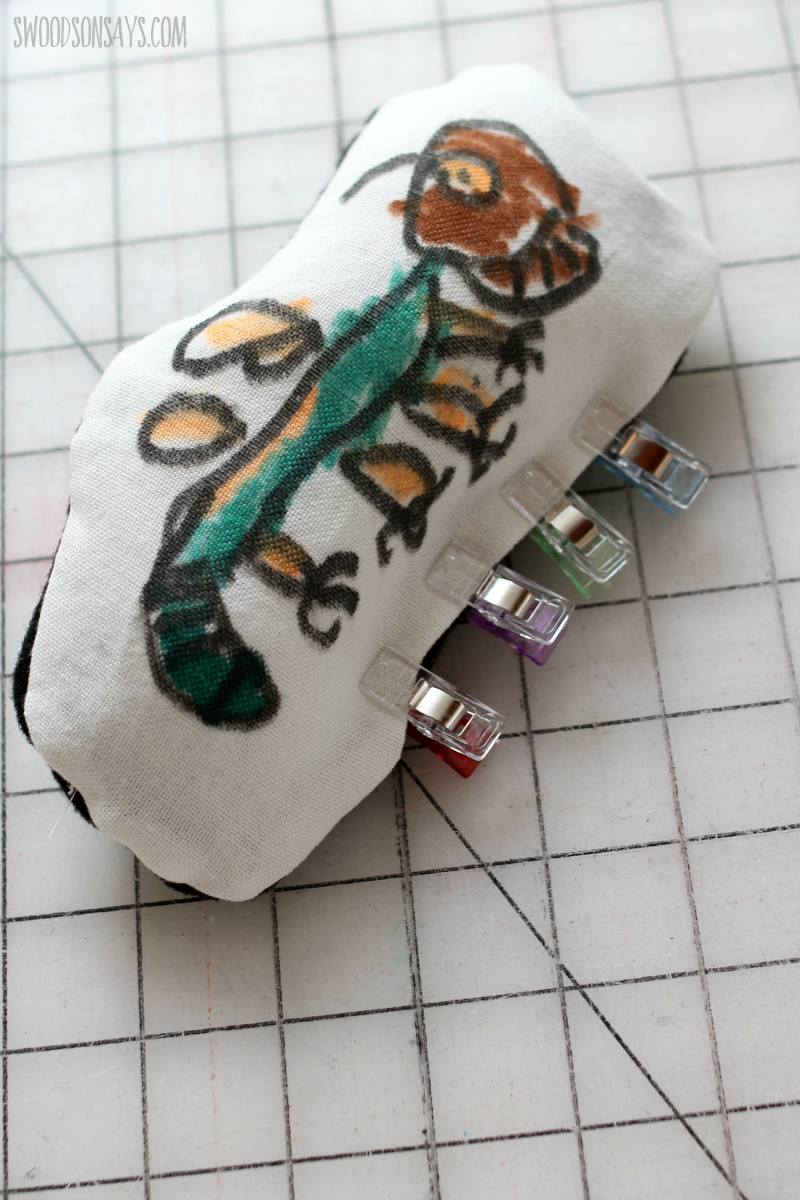
Step 5- Put the “right sides together” and pin, planning to leave a 2-3″ gap where you don’t sew (indicated here with the red clips).
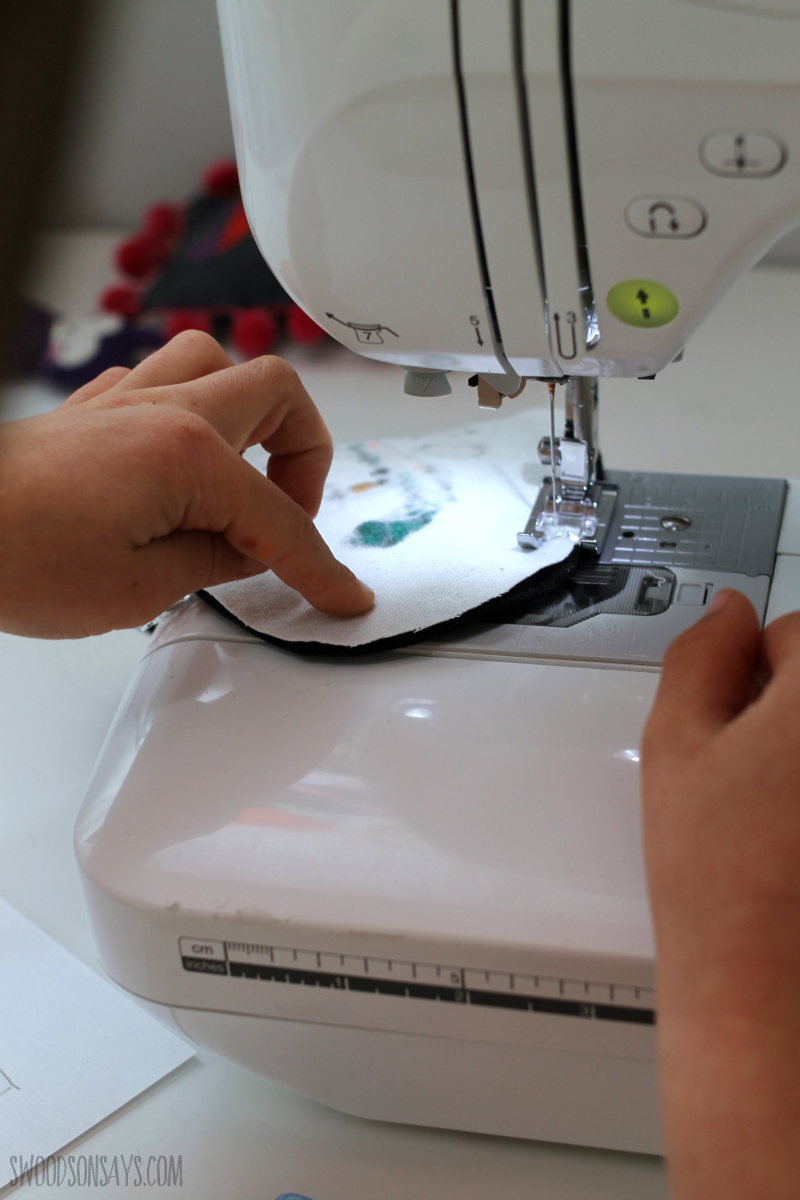
Step 6- Time to sew! Pick a seam allowance (distance from the needle to the edge of the fabric) and stick with it as you slowly pivot around the shape.
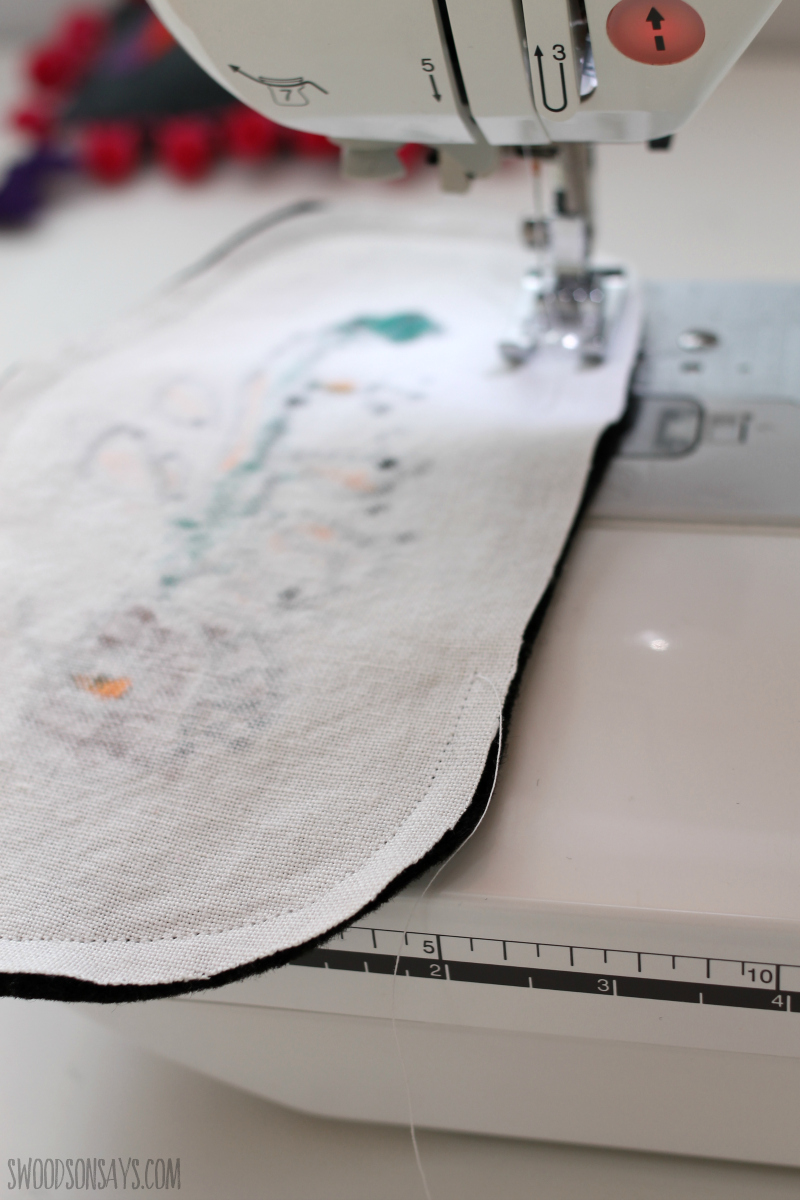
Step 7- Don’t forget to leave the gap! Take a few stitches back and forth at the beginning and end on either side where you’re stopping/starting sewing.
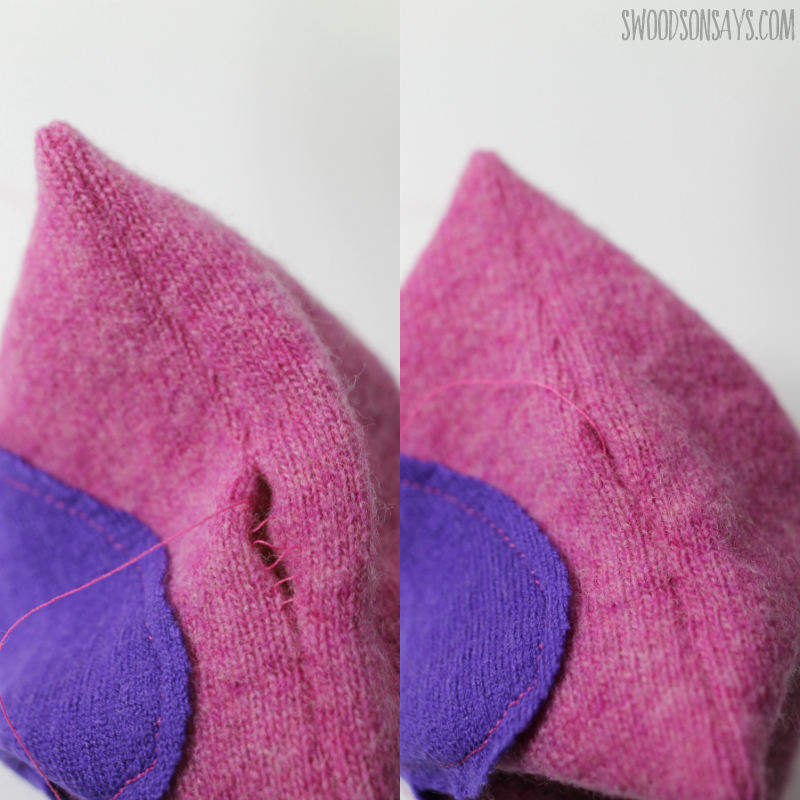
Step 8- If you have curves, clip them! Curves that go out need notches cut out and curves that go in need just single slits snipped. This helps the fabric lay flat when turned right side out. Turn it right out through the gap and gently press out all the seams. You can iron the stuffie now before you fill it, if you want a more crisp look.
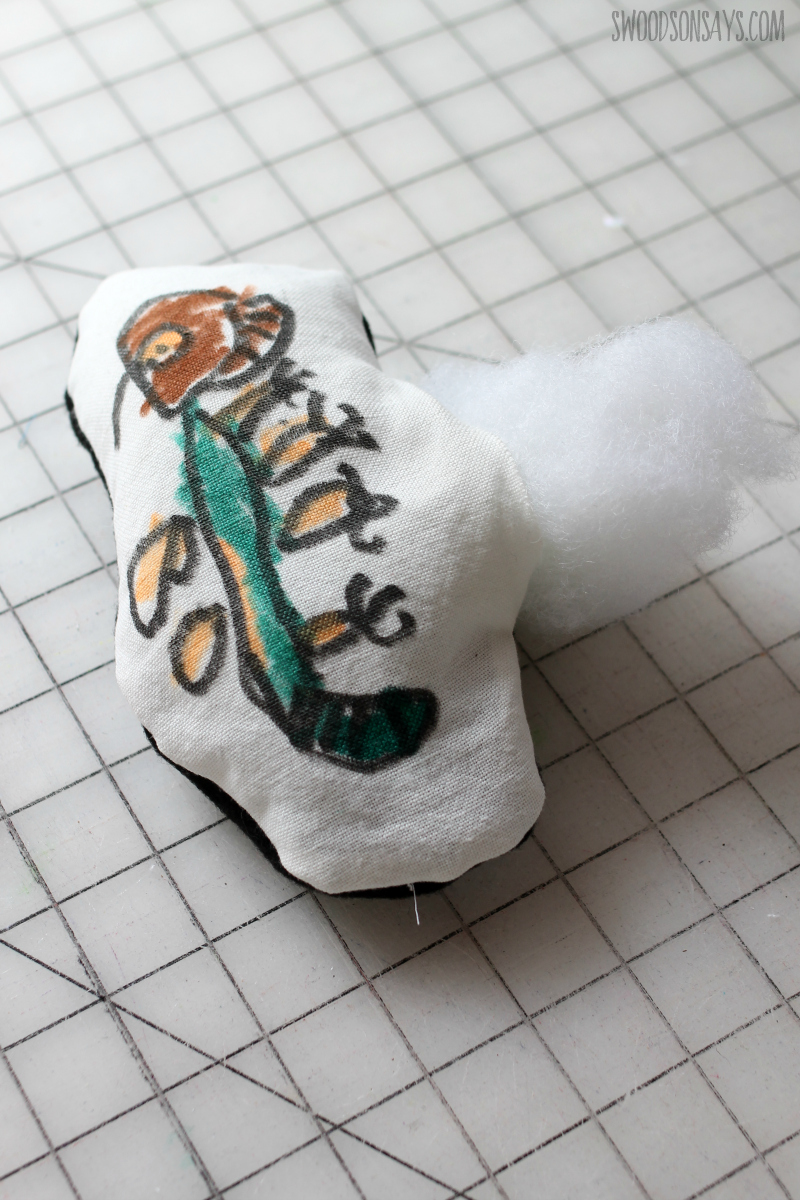
Step 9- Time to stuff! You can add in your fabric scraps if you’d like and some poly fill.
Step 10- Sew your opening shut! You can sew it by machine, let kids go nuts with hand sewing, or use a ladder stitch for an invisible close. You’re done!