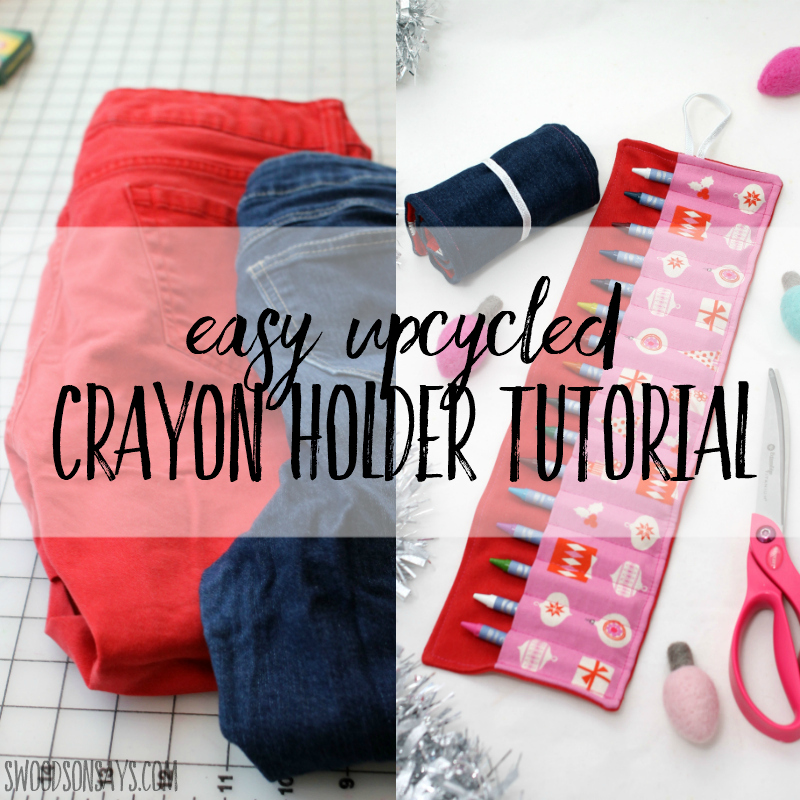
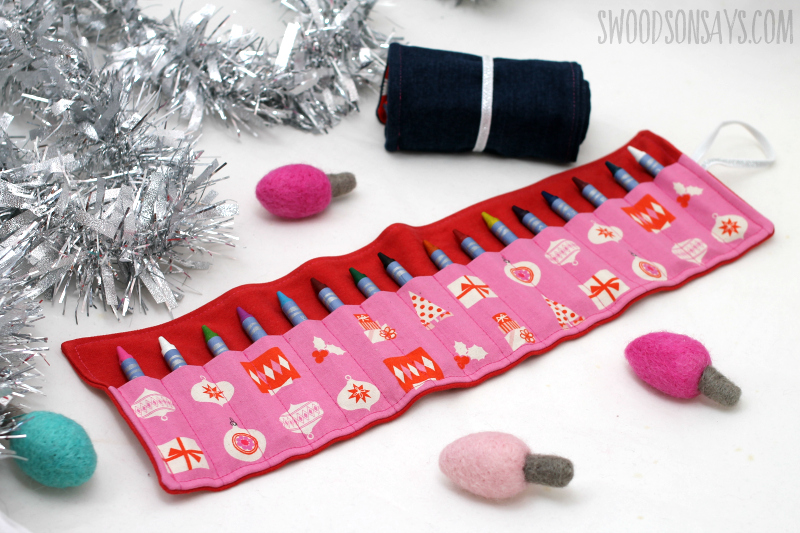
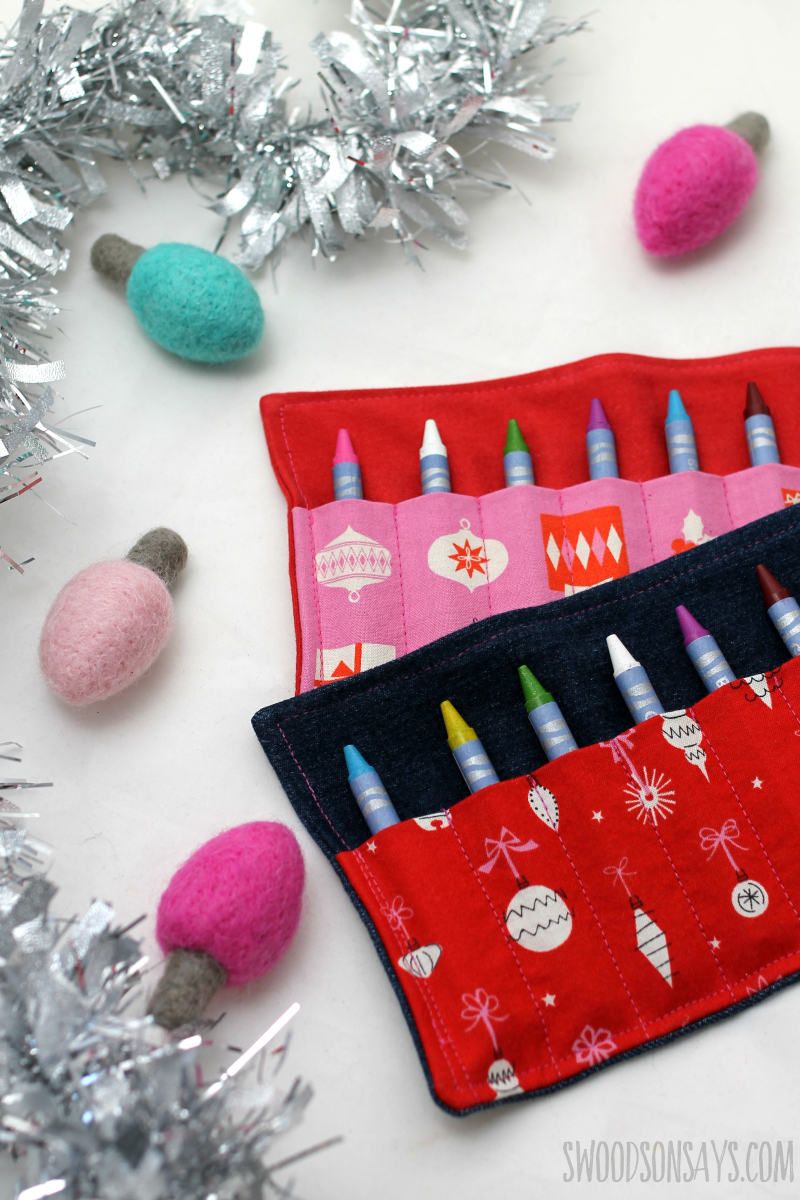
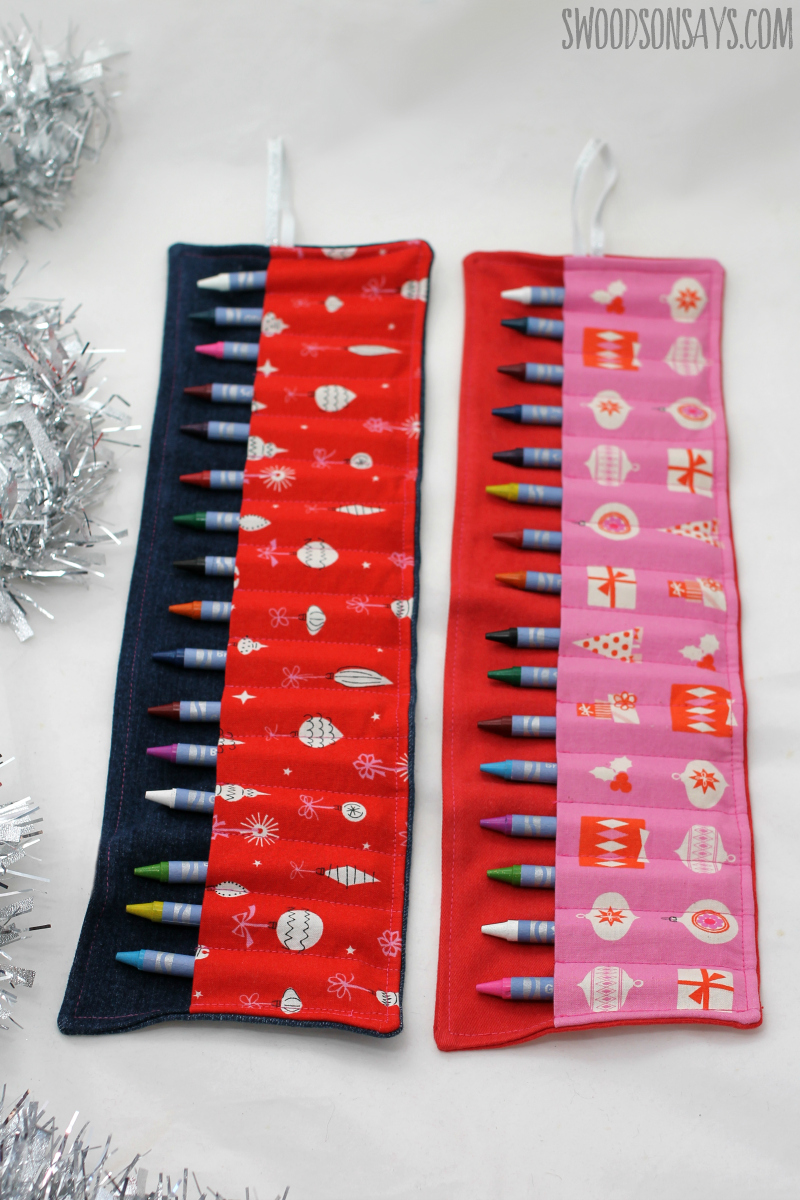
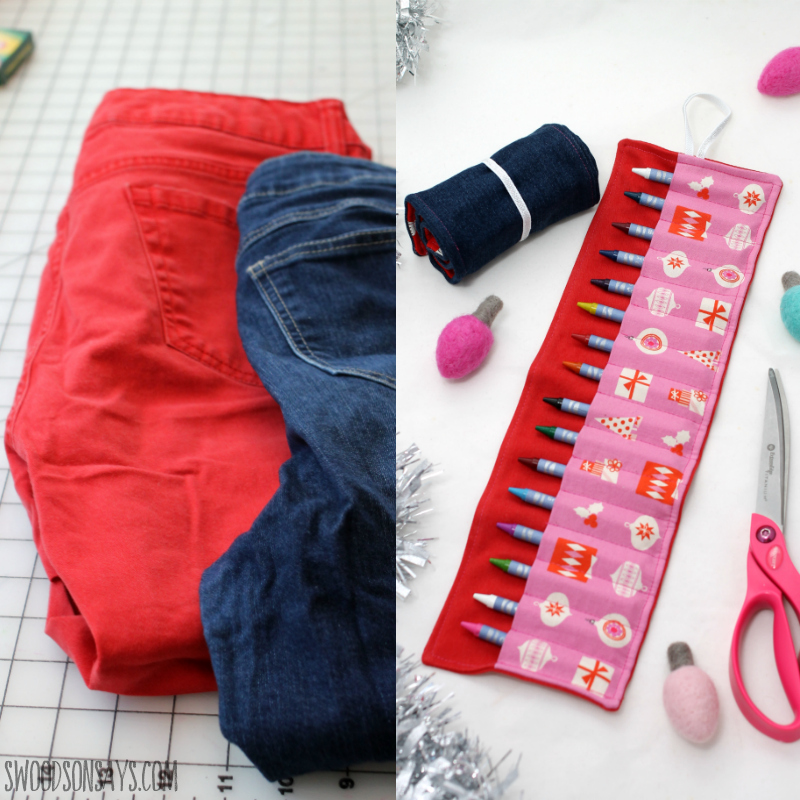
 I have a fun crayon holder diy tutorial to share today! This uses up old jeans and pretty new fabric, though you could easily upcycle a woven shirt to use as the accent as well. We do a fair amount of traveling but have never tried one of these for coloring on the go, so I’m hoping they will work out well. They’d be easily to personalize with applique or favorite fabric, and take maybe 30 minutes to sew from start to finish, making them great quick gifts!
I included this in my master list of handmade stocking stuffer ideas to sew; go check that post out for more inspiration!
I’m sharing this crayon holder diy as a part of Underground Crafter‘s Little Gifts Sew Along! There are 25 free sewing projects being shared all year long that are perfect stocking stuffer gifts. There are prizes for sewing along too, check out all the details here!

I sewed a tote with a crayon holding element a few years ago and the measurements were all off, it looked super wonky in the sample photo and my finished bag was no different. Rest assured, I sewed this in 4 different ways to make sure it was functional and double check my math!
If you like this post, you’ll probably like these posts too!
- Stocking stuffers to buy for sewists!
- Handmade gift ideas to sew for men
- All kinds of Christmas ornament tutorials
- 50+ free printable stuffed animal patterns
- 25+ upcycle sewing tutorials that make great gifts
- 45+ ways to use up old jeans
If you don’t have time to browse now, pin this easy upcycled crayon holder diy tutorial with this link or collage image:
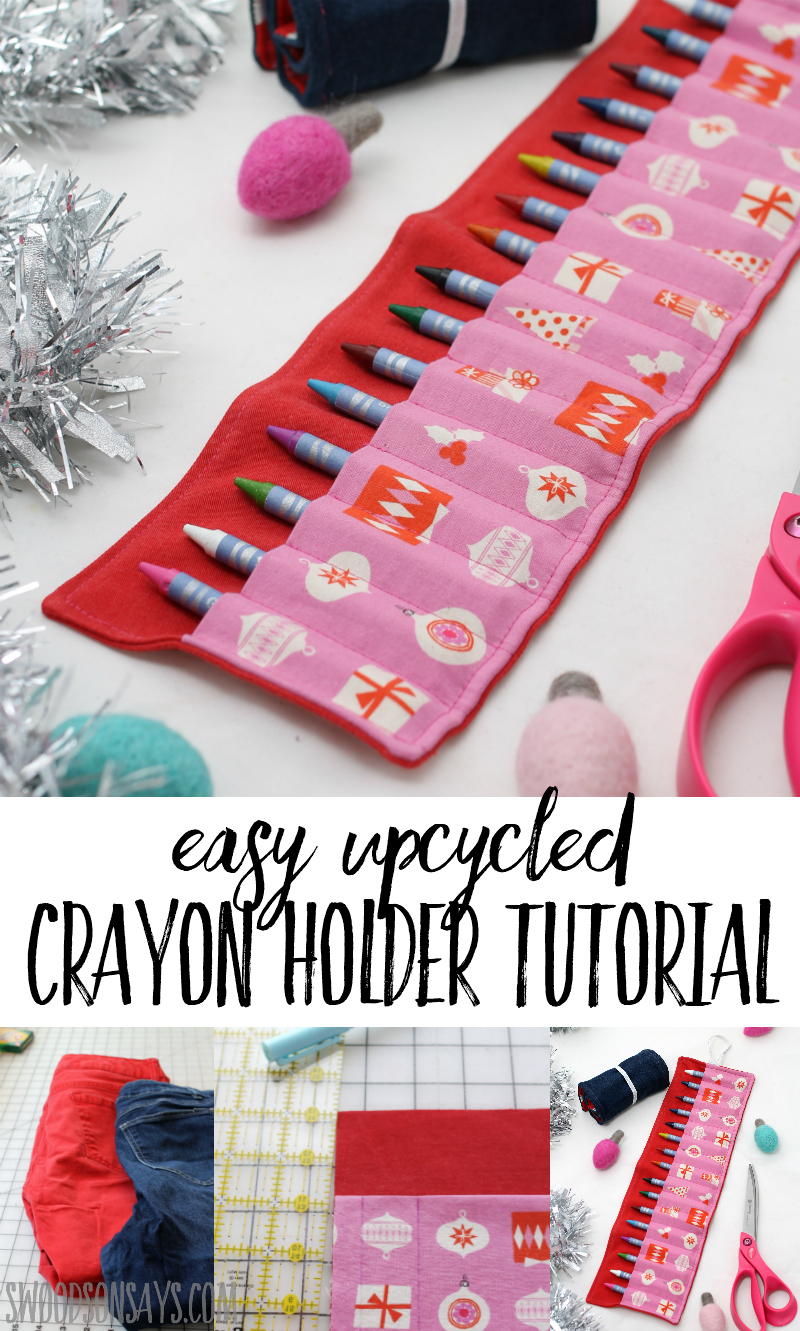
Crayon holder diy
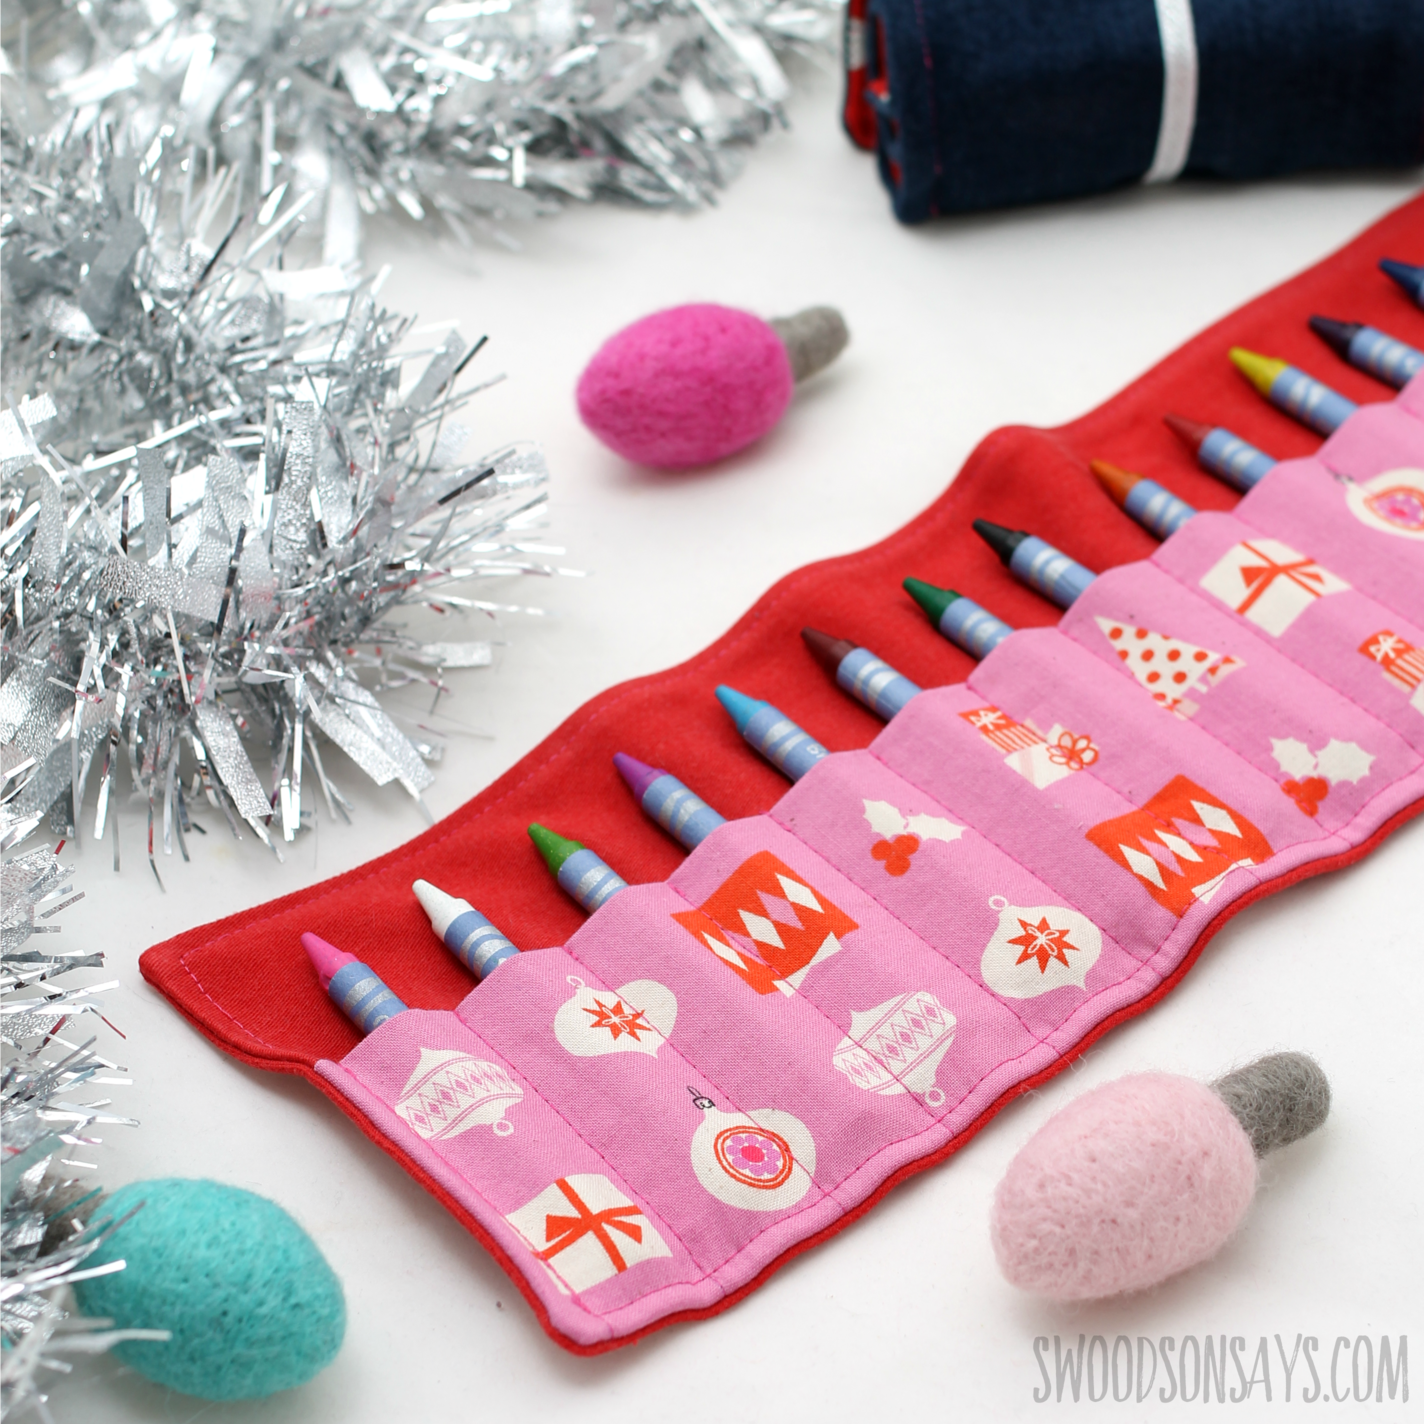
Supplies
- Fat quarter of cotton fabric – I used old prints from Cotton + Steel
- 1 pair of old jeans
- 1/4″ elastic – I used a metallic version
- Acrylic quilt ruler
- Rotary cutter
- Marking pen
- Coordinating thread
- Clips
- Iron
Steps
Prepare!
- Cut 7″ piece of elastic
- Cut 1 piece of woven cotton that is 17″ long & 6.5″ tall. Be mindful of your print and how it will look folded in half, lengthwise!
- Cut 2 pieces of denim that are 17: long and 5.25″ tall.
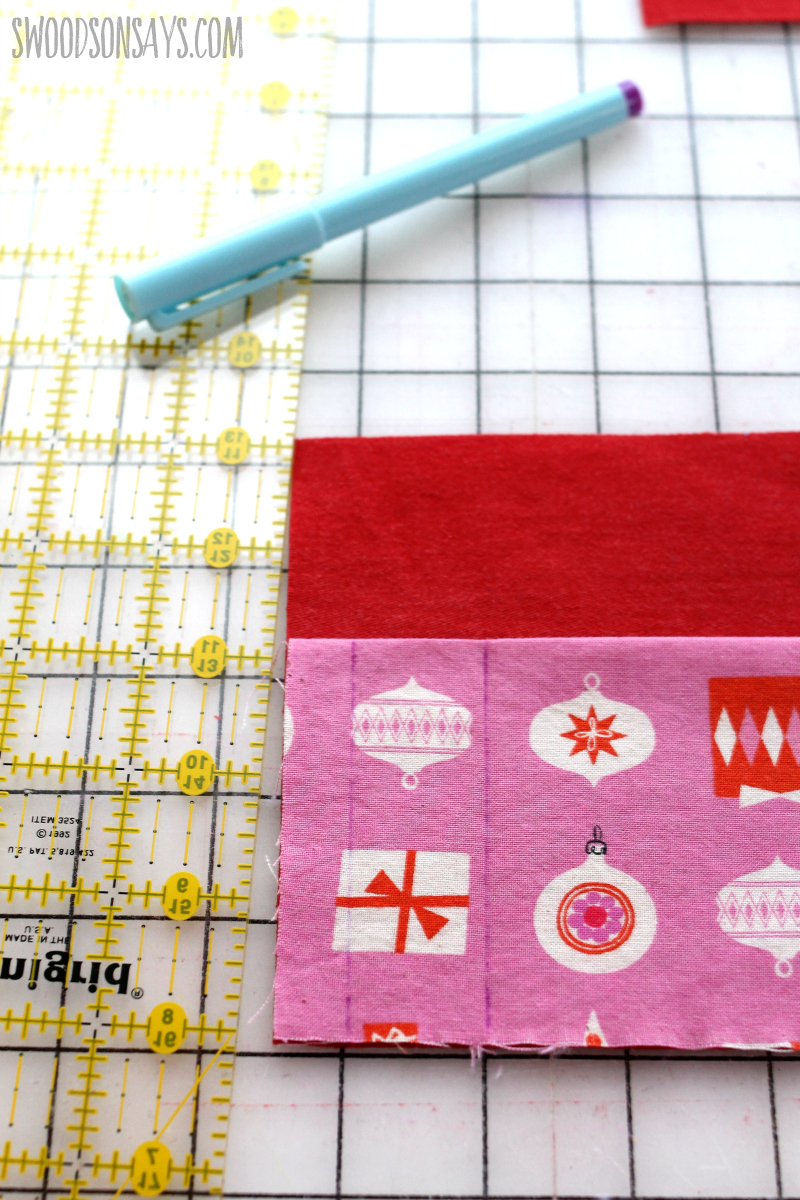
Step 1- Press all fabric pieces nice and flat. Fold the cotton piece in half, lengthwise, and press, laying on the right side of the denim. Start from one side marking out 1/2″ and then 1″ from that marking, until the end when you will have another 1/2″ left over. stitch on these lines, taking a few stitches back and forth near the folded edge.
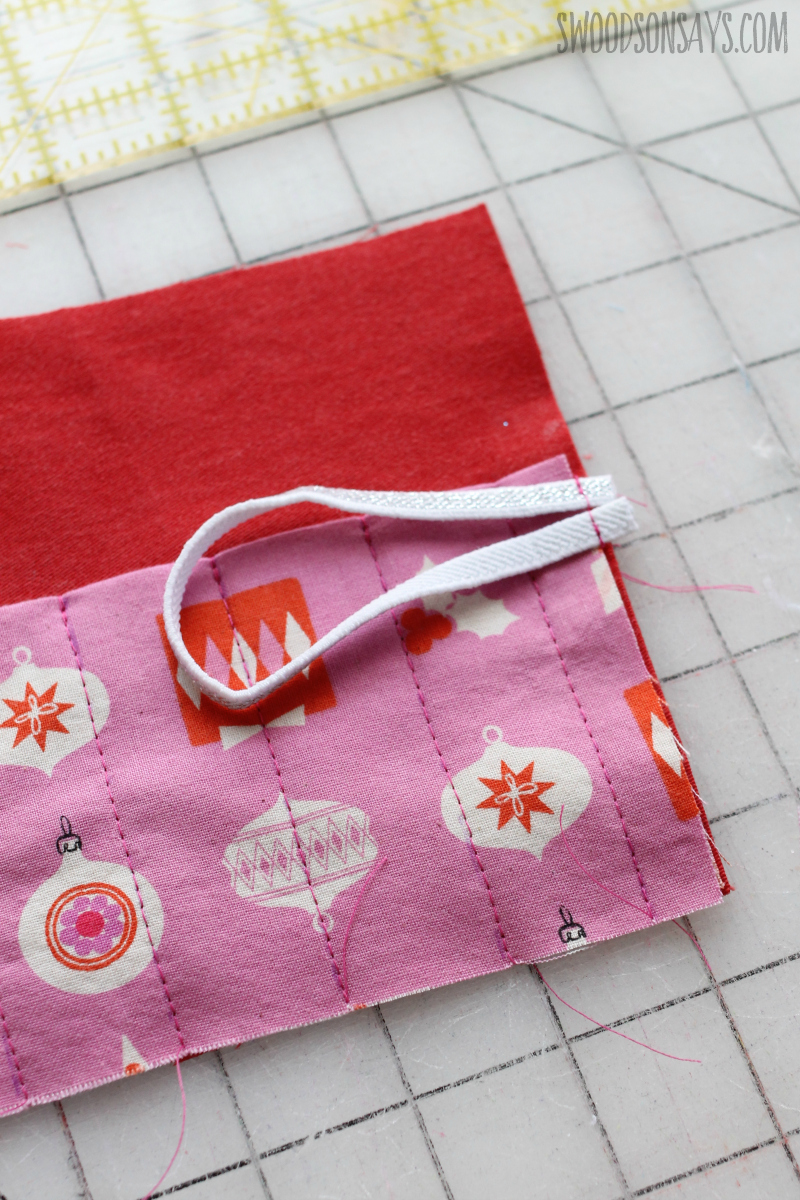
Step 2- Loop the elastic in the middle of one short side, with a little overhang so it doesn’t slip. Sew right along the edge.
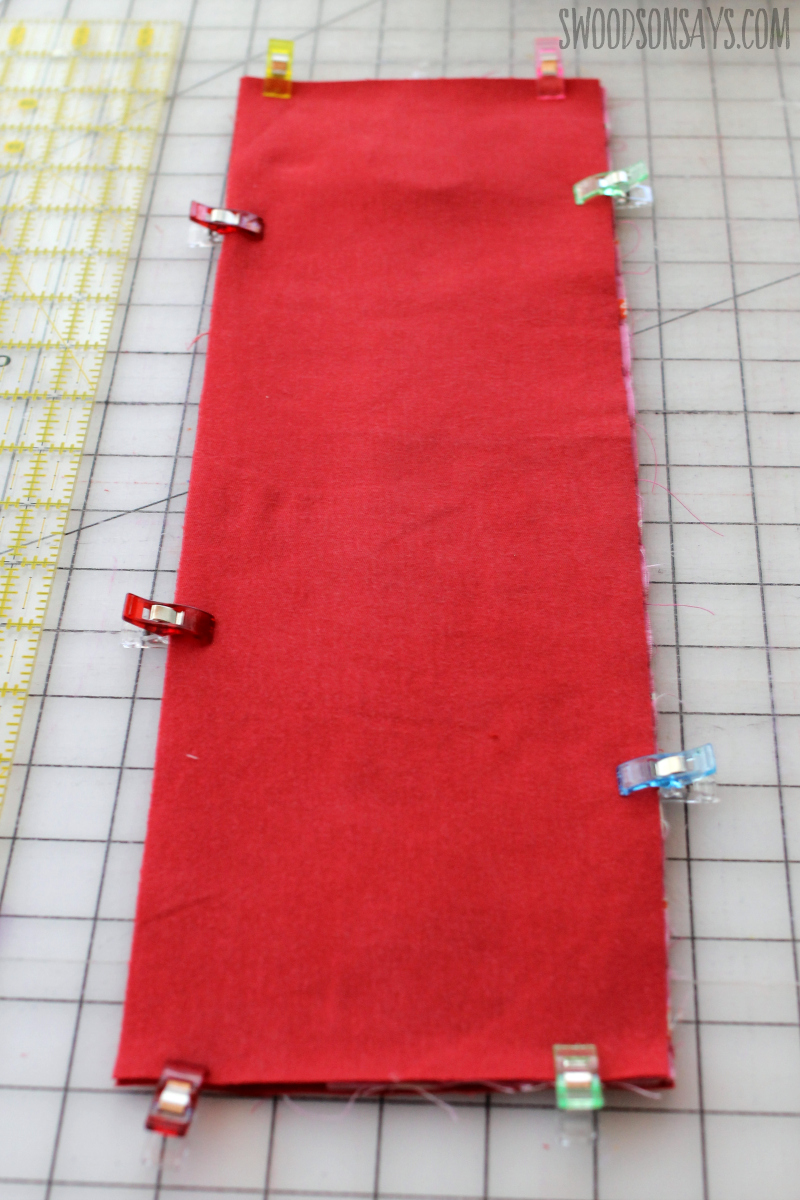
Step 3- Layer the other denim piece right side down, sandwiching right sides together. Sew with 1/4″ seam allowance all the way around, leaving a 4-6″ gap somewhere on the top or sides where it is only two layers of denim.
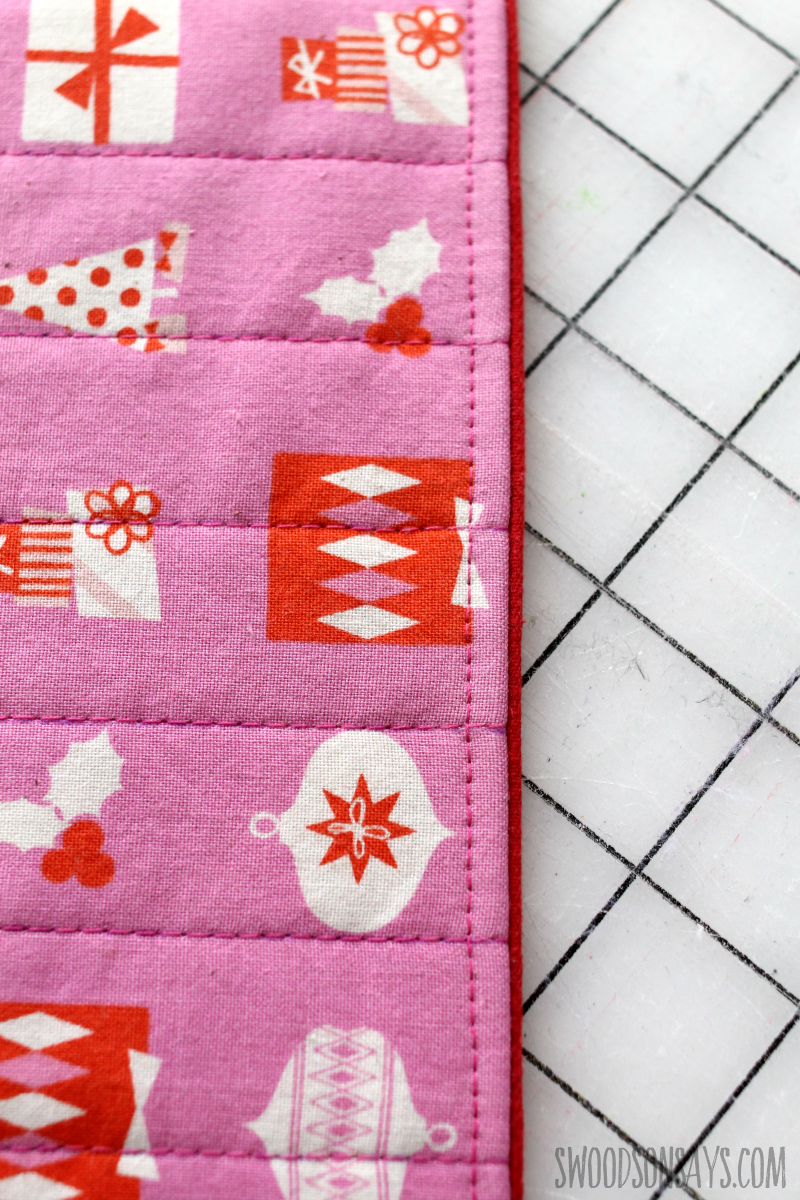
Step 4 – Pull the holder right side out through the gap, press the raw edges in. Press the entire project and topstitch around the edges, and you’re done!

Aliza
Tuesday 26th of October 2021
I used this idea for holder for crochet hooks!
Stephanie - Swoodson Says
Tuesday 4th of July 2023
love that!!
Zuzanna
Tuesday 10th of December 2019
I now have a stocking stuffer for my daughter-in-love. It turns out, as a child, a crayon roll is something she yearned for after a class mate return to school with one after Christmas. Thank you, Stephanie, for your clear and concise tutorial. Wishing you the gift of many new creative ideas!
Stephanie - Swoodson Says
Tuesday 10th of December 2019
Zuzanna, you are so kind to leave such a sweet comment! Yay! I would love to see a picture if you have one, it's always nice to see my tutorials sewn up :)