
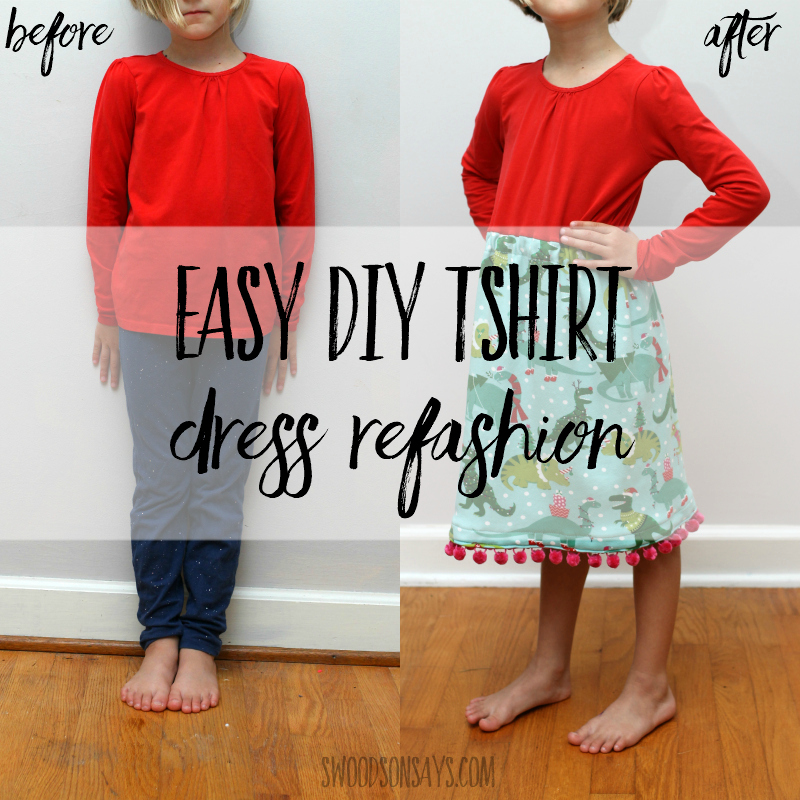
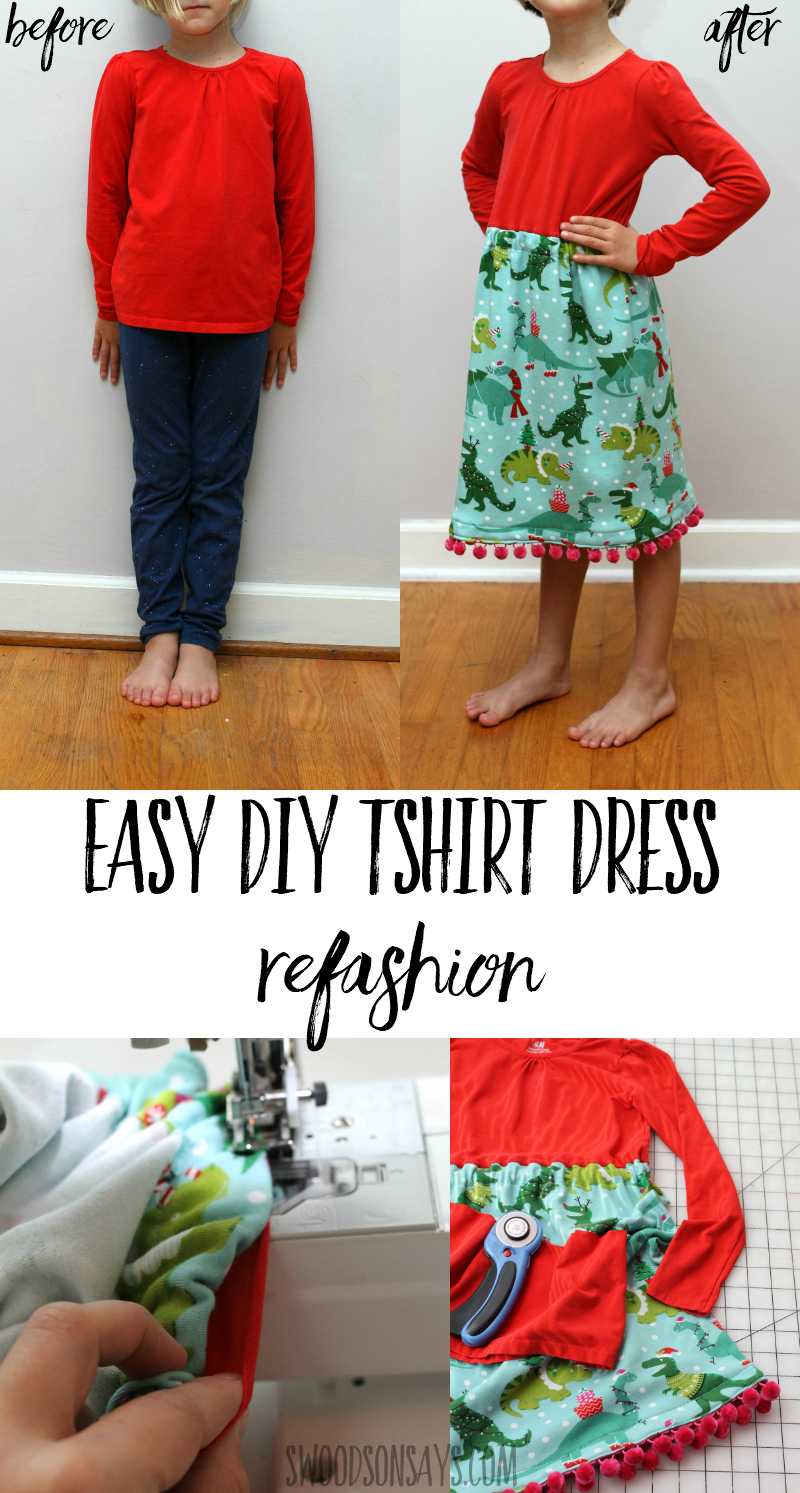
I’m super excited to share this diy tshirt dress refashion today! My daughter has been begging for more dresses but they aren’t as easy to find secondhand as t-shirts. In an hour or less, it’s easy to turn a tshirt into a dress with a few seams and some fresh fabric. This is a great way to refashion shirts that are too short, stained, or simply too plain. I paired it with a super cute new holiday knit from JOANN’s Doodles line, they came out with some adorable options this year like llamas, narwhals, unicorns, and sloths!
This post was sponsored by JOANN, which means they supplied materials and compensated me for my time, but all opinions are my own.

I wasn’t sure if the pom-pom trim was too much but my four year old insisted so who am I to say no! This process turned the shirt from blah into super fun and it was a cheap way to make her a holiday dress for when we go see The Nutcracker next month!
If you like this post, check out these other posts while you’re here!
- 13+ T-shirt refashion ideas
- DIY sewing skirt to leggings tutorial
- How to add a pocket – 3 free sewing templates
- How to upcycle adult shirts into kid shirts
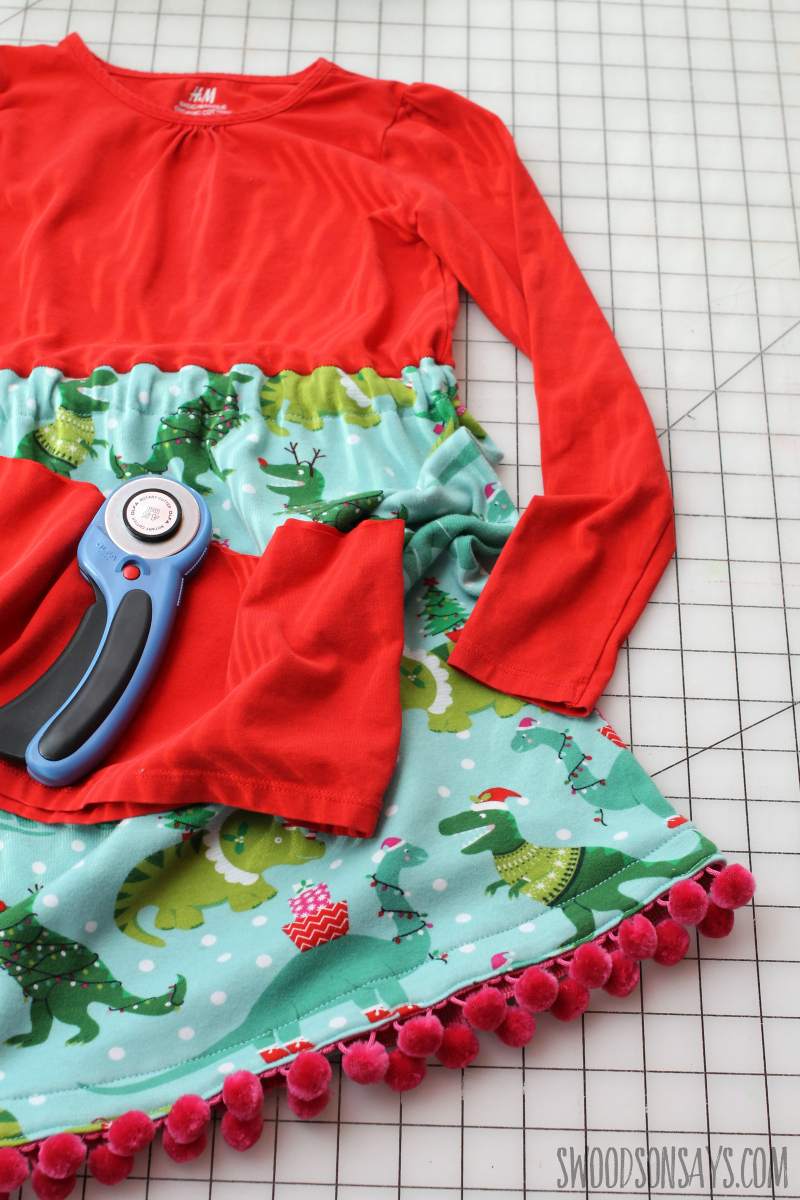
There are a few different ways to handle this type of refashion; I used a casing method that you could alternately add grommets/button-holes too and make it a drawstring waist as well! I was going for a faux-separates look, like a shirt tucked into a skirt without the actual fuss of that.
Pin this diy tshirt dress refashion tutorial for later using this link or collage image:
Ready to make your own?
Diy tshirt dress refashion
Supplies
- Rotary cutter
- Acrylic quilt ruler
- Length will depend a bit on the size you’re working on, but for this roughtly 5/6 size dress I needed 3/4 of a yard – of this adorable dinosaur knit fabric.
- Pink pom pom trim
- 7/8 or 1″ wide elastic
- Bodkin
- Ballpoint needles
- Clips
- Fray check or a lighter
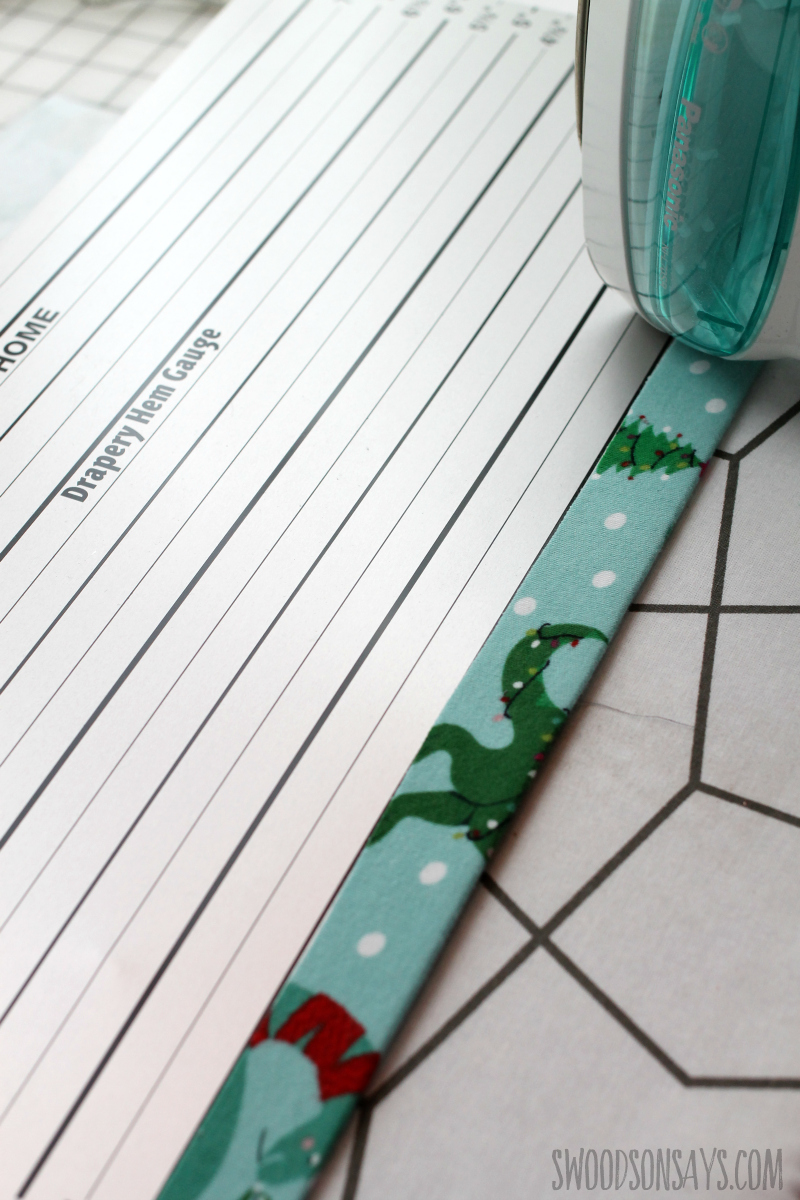
- Hem gauge (optional)
Steps
Before all else, PREWASH YOUR FABRIC! Dry it in the manner you plan to dry the finished dress. For reference, my daughter is roughly in a size 5/6 so you may need to tweak measurements accordingly.
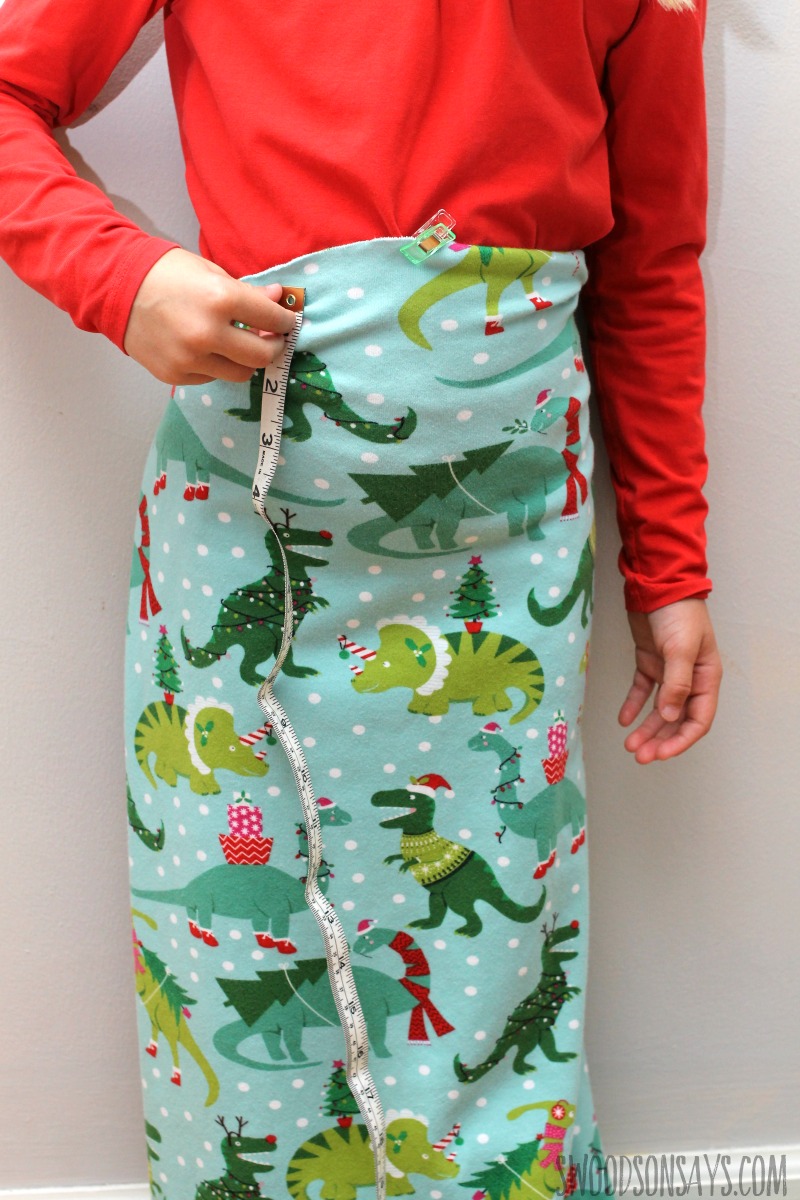
Step 1- Put the t-shirt on your kiddo and put a mark or clip where you’d like the waistline to be (remembering you’ll have a 1/4″ seam allowance as well). Measure the length to see how long you’d like it to be (remembering you’ll have an extra 2″ for the hem and extra 3″ for the waist channel). 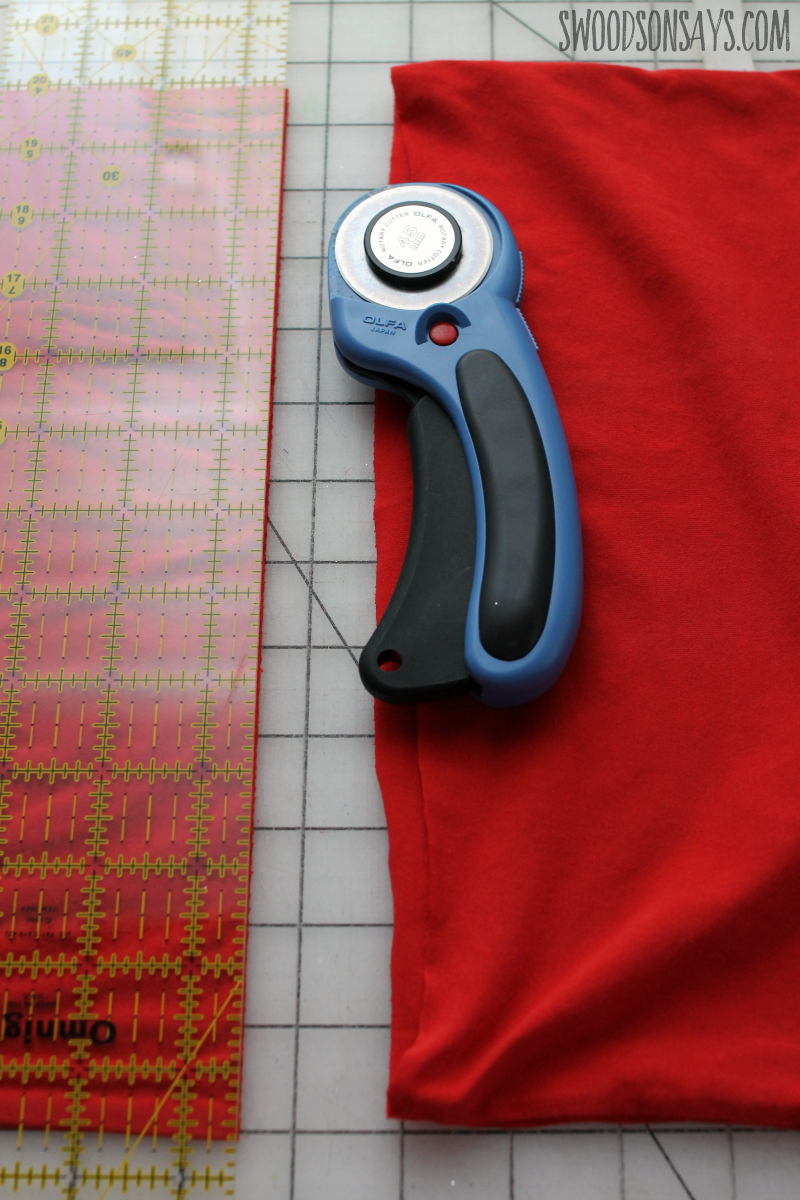
Step 2- Cut off where you left your mark!
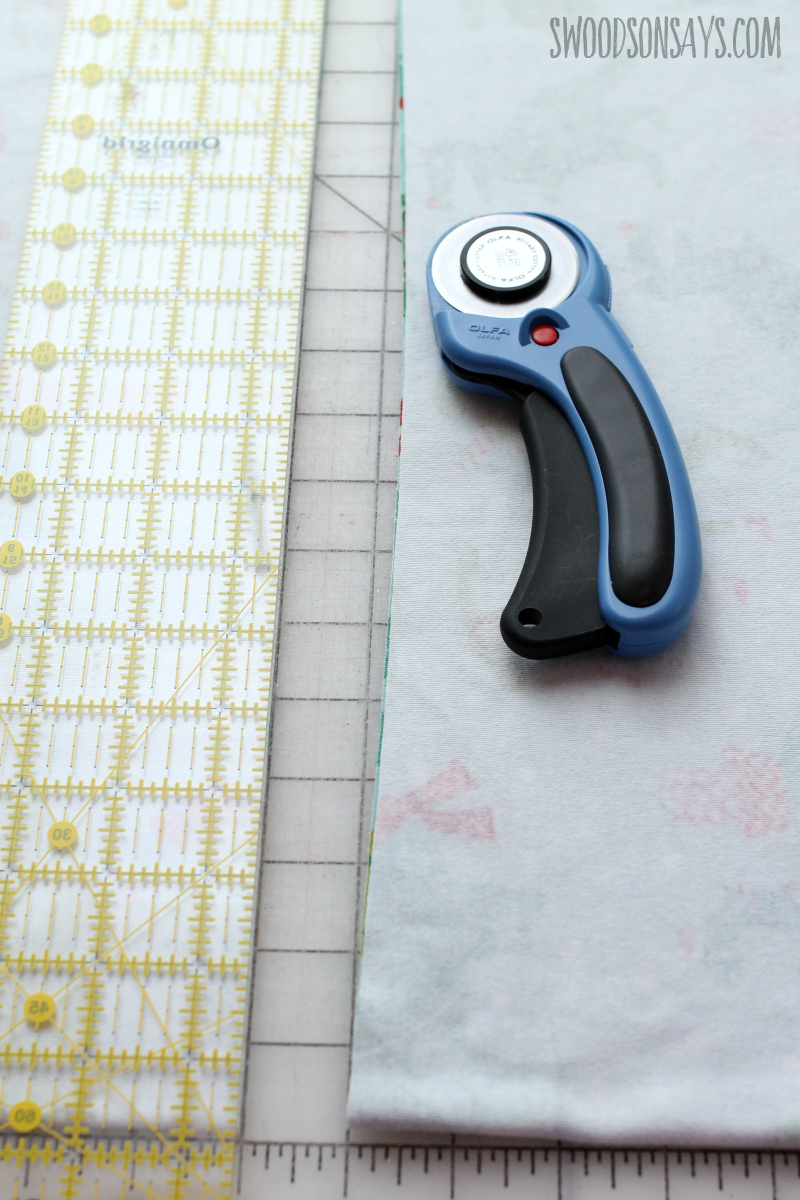
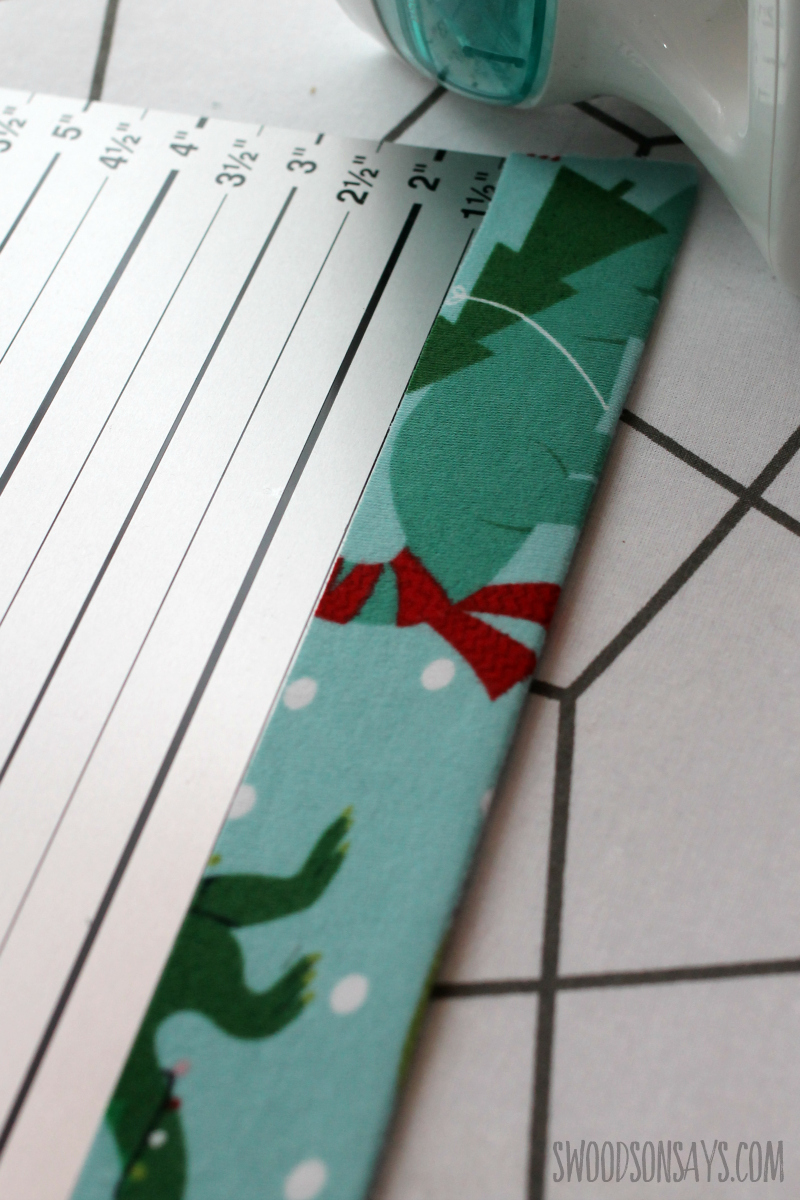
Step 3- Cut your skirt fabric to length! My skirt was 20″ long & 36″ wide. Pay attention to your print if it is directional, and that the stretch is going right to left. That left 12″ of extra fabric to gather in, which is a pretty modest gather as you can see from the ‘after’ photos.
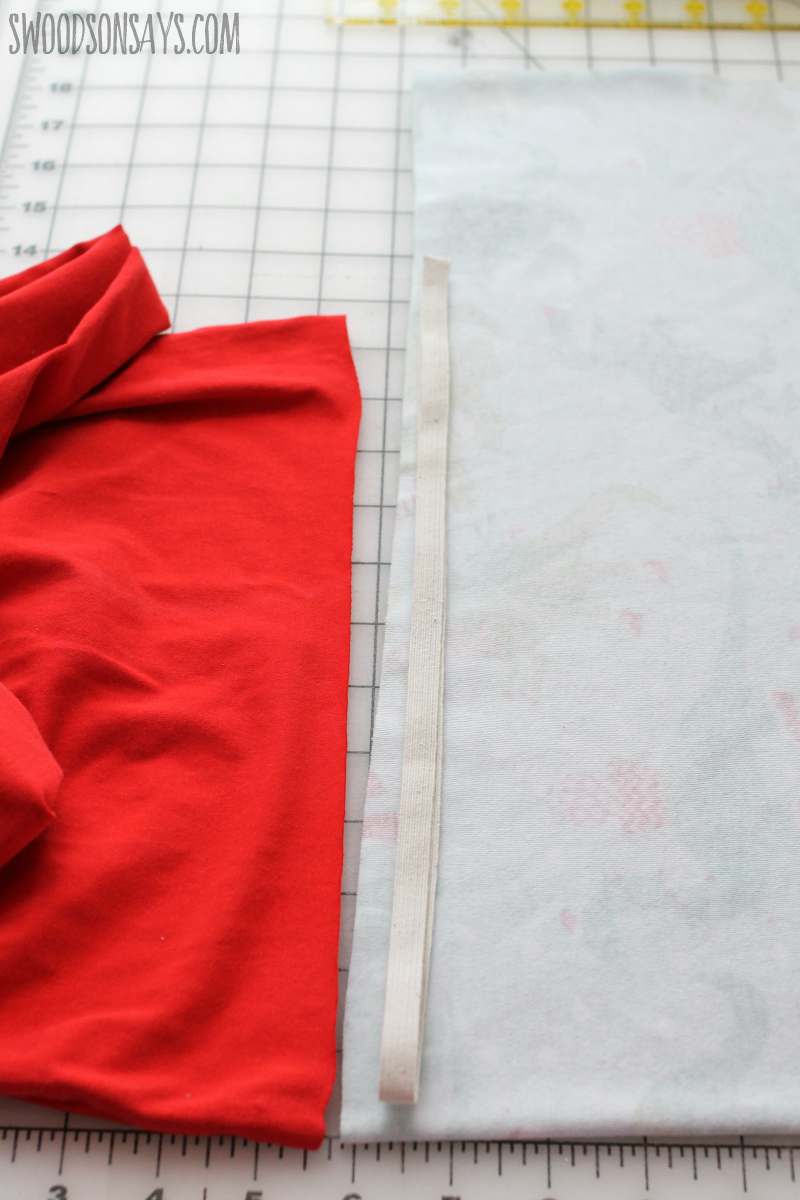
Step 4- Cut your elastic! I cut mine the same length as the bodice and added 2″ to overlap.
Step 5- I prefer to press hems in the flat, and sew them in the round. I pressed a 1.5″ hem at the top, for the elastic channel, and a 1″ hem at the bottom, for a hem.

Step 6- Sew the side seam, using a serger or a stretch stitch.

Step 7- Clip or pin them in the round and then sew the top and bottom hems.
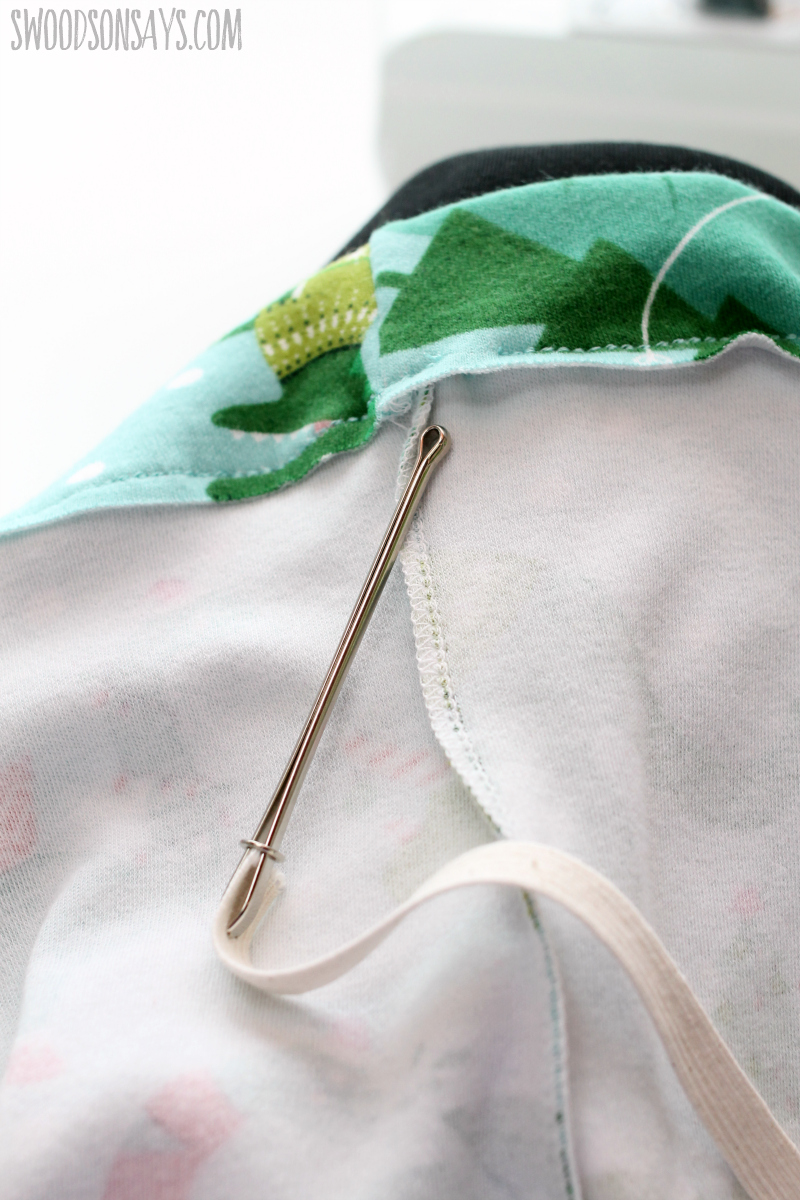
Step 8- Seam rip a small opening in the waist channel, and insert your elastic.
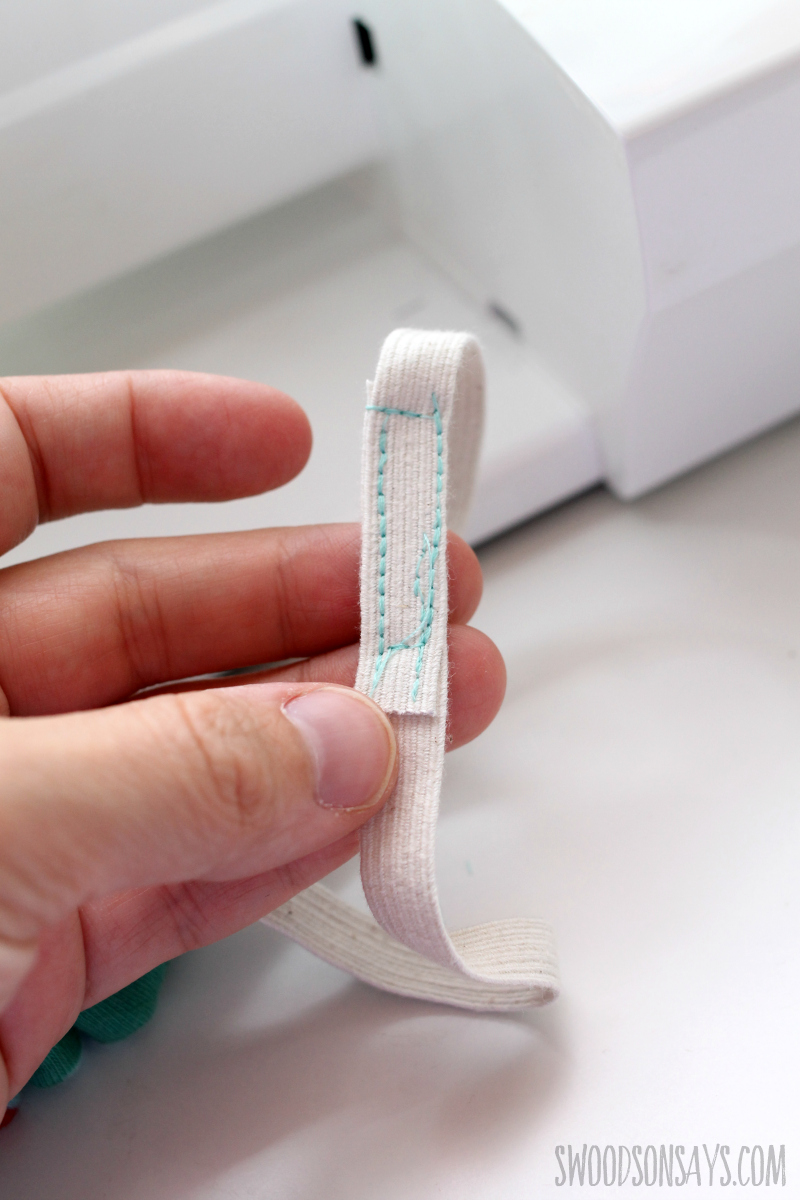
Step 9- Make sure there’s no twisting and overlap the ends, sewing to secure. Sew the opening in the seam shut.
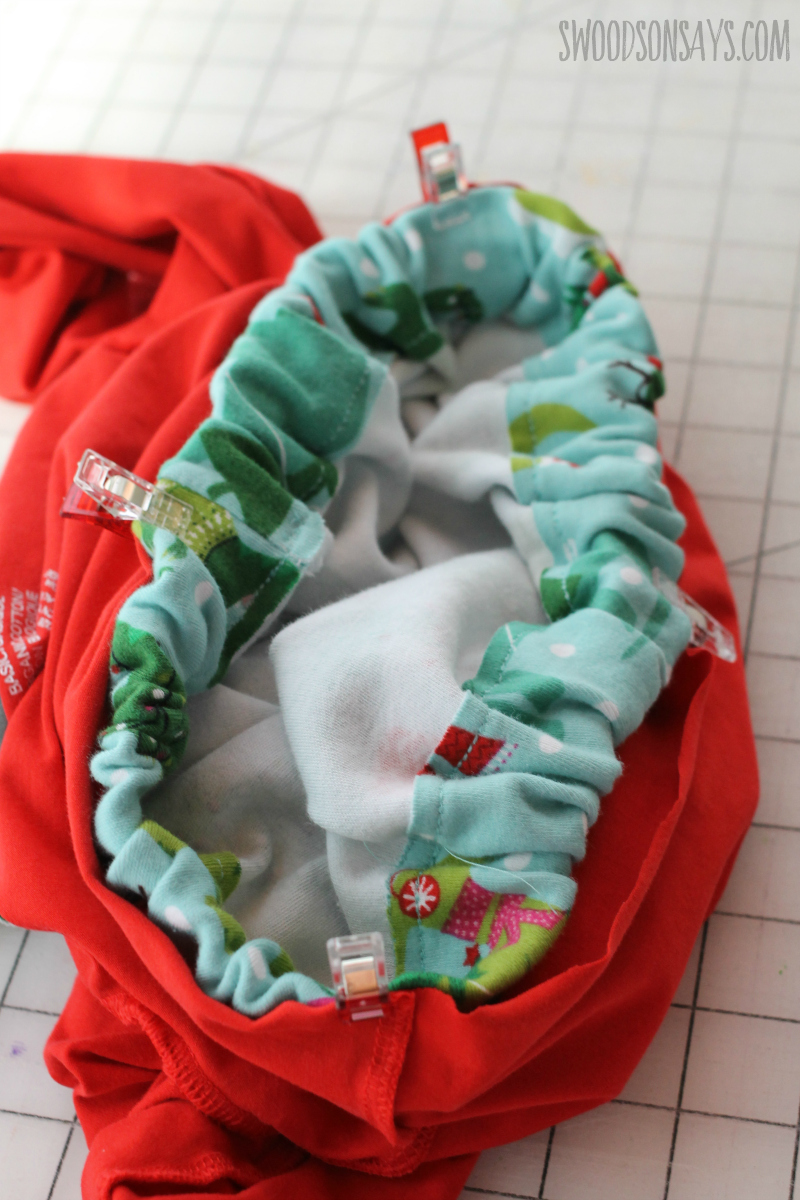
Step 10- Mark the front center, back center, and side seams with clips on the skirt and the shirt with right sides together. Align the back center seam of the skirt with the back center of the bodice, and clip the other corresponding points so the fabric is evenly spread out. Sew this seam, gently easing the skirt fabric to match the bodice fabric without stretching the bodice. If you’re new to this, sew it first with a basting (super long) stitch before the final seam with a stretch stitch or serger.
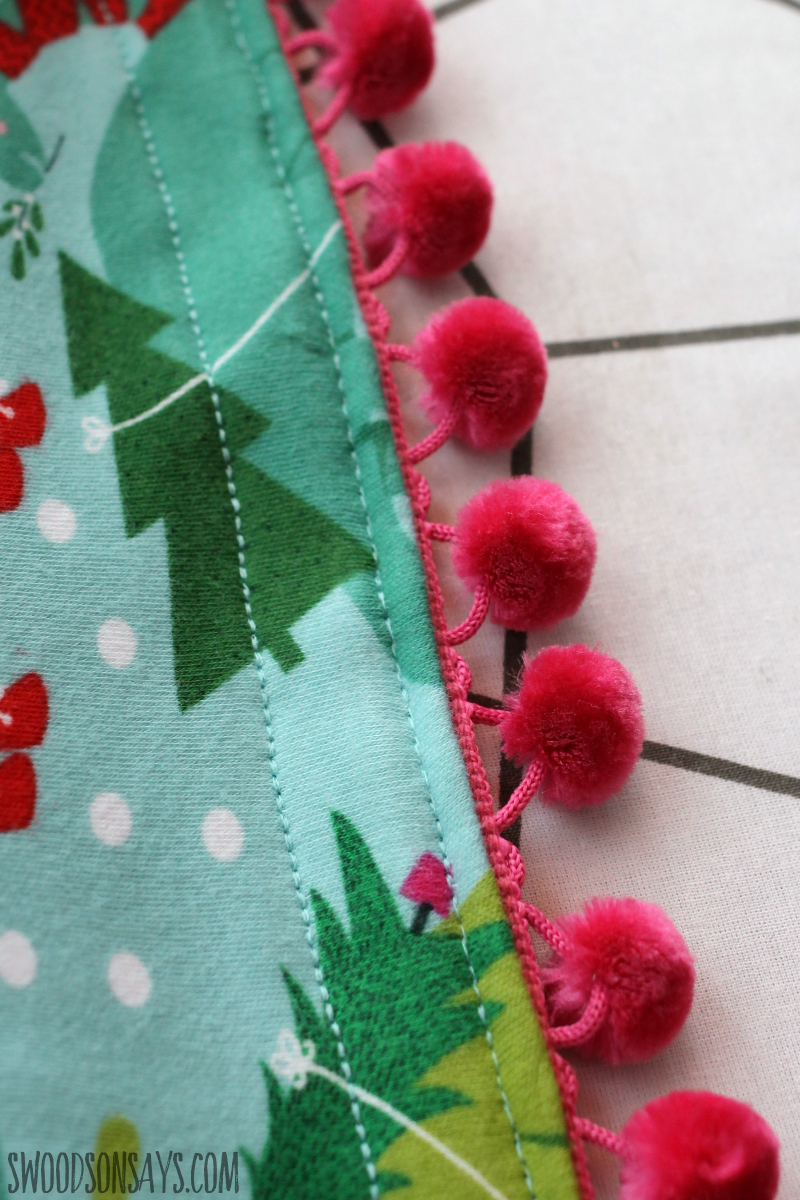
Step 11- Stitch the hem and press everything, and you’re done! If you’re adding pom-pom trim, use a lighter to melt the edges or fray check to secure them.
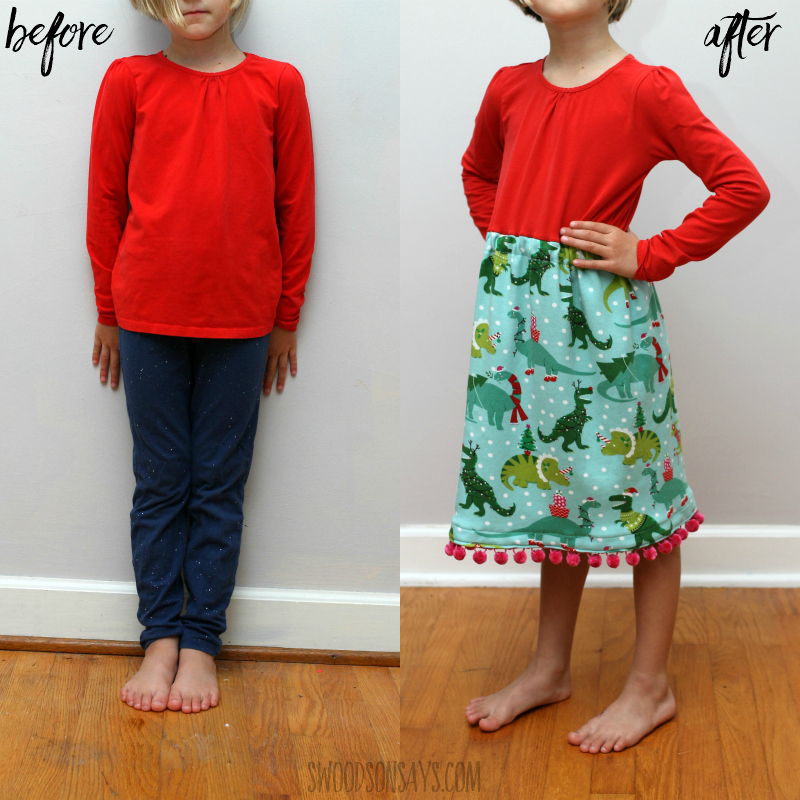
You’re done! This was so fun, I think I’ll definitely be making more styles like this!