I might have already told this story somewhere, but Diane from Crafty Pod is a gem. Back in 2013, when I decided to pour more energy and effort into blogging, I saw her tweet about a plastic canvas blog hop. I had no idea what plastic canvas was, or really what a blog hop entailed, but I tweeted back and signed up! She didn’t ask for how many followers I had, or make me promise to X Y or Z, just welcomed me aboard. I made some cute little animal ears, that I’m still proud of, and had such a good time; it was a fabulous “welcome” into the creative blogging community.
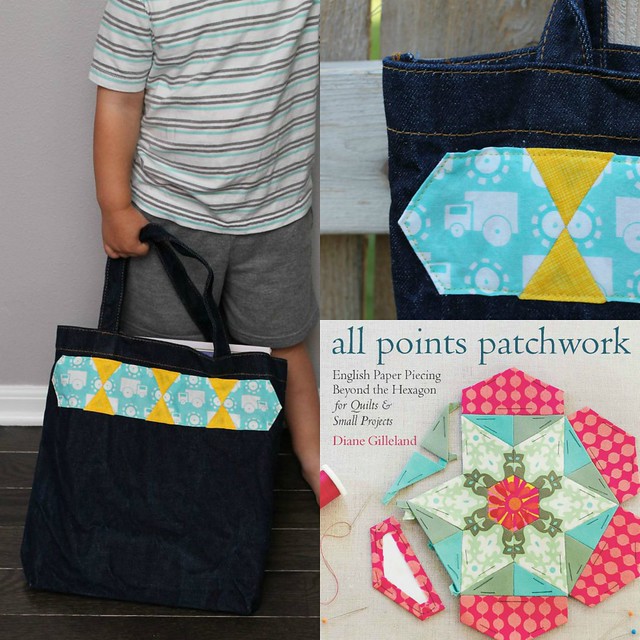
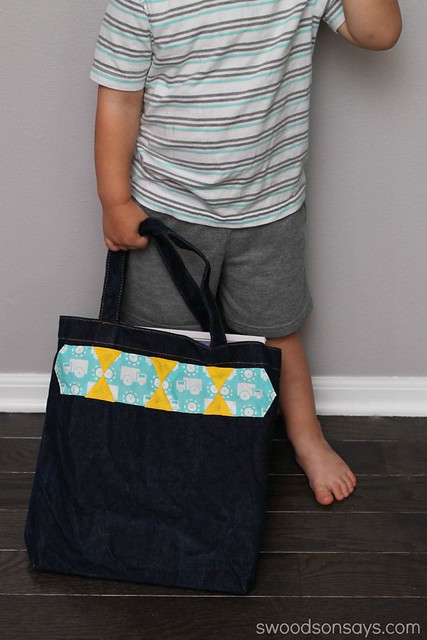
So, I’m excited to be a part of the EPP borders blog tour for her newest book, “All Points Patchwork: English Paper Piecing beyond the Hexagon for Quilts & Small Projects”! I made an English Paper Pieced (EPP) border and sewed it on to a little denim tote bag, for my son to use as a library bag.
{This post contains affiliate links, indicated by an asterisk*. Please refer to ‘legal stuff’ in the top menu for more info.} I received an electronic copy of the book for this post, but all thoughts and wonky angles are my own.
This is my second EPP project – my first attempt was a part of my Try Something New Every Month project: a little hexie mug rug. I am so drawn to the geometric angles of EPP, and the fact that I can do it while my kids play (unlike using my machine) makes it that much more appealing.
I received an e-copy of All Points Patchwork: English Paper Piecing beyond the Hexagon for Quilts & Small Projects* – it’s a beautiful book with a slightly different style than all my other sewing books. Instead of being a “project” book it’s more of a process book – Diane takes an in-depth look at how to create your own EPP patterns, sewing tips for the different shapes, and gives visual inspiration with beautiful finished project images. She even has instructions for drafting your own shapes with a compass – but I wasn’t quite that ambitious and used the provided templates and my copier (For your reference, my hexies are at 150% and the equilateral triangles are -60%).
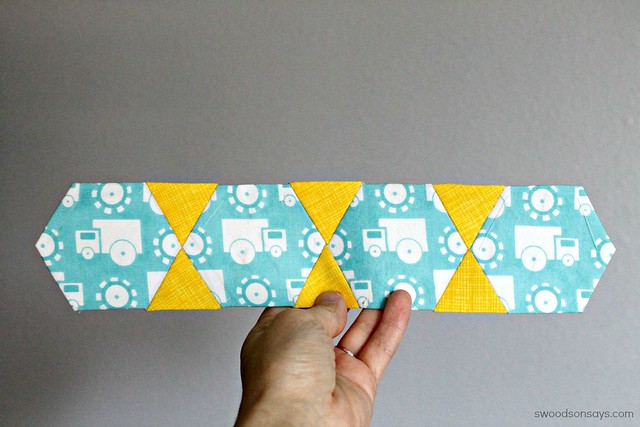
I know part of EPP’s appeal is that it makes perfect points easier to attain… but clearly mine are not quite there. I’m an honest crafter though – I’ll resist the temptation to photoshop those edges straighter, ha! It was both intimidating and exciting to think of a border on my own – the “look” of EPP can change so much depending on the fabric that’s used, and I opted for graphic and bright with trucks from Moda Grow With Me & the yellow Painter’s Canvas. I love “half handmade” DIY projects so adding an EPP border to a store bought tote was right up my alley.
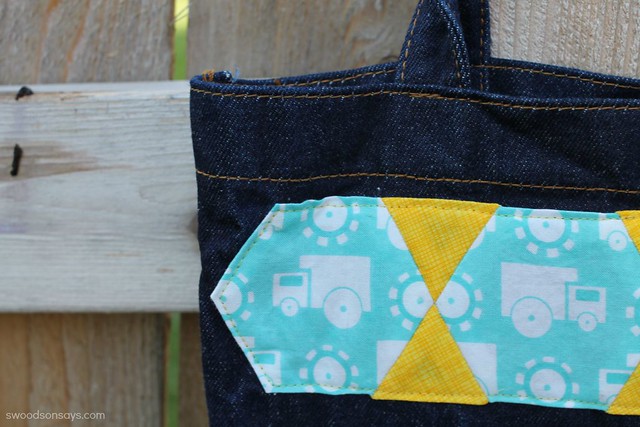
Two tips I learned from the book were the “1 inch rule” – that basting through the paper was a better bet when the sides got longer than that. I also used fusible tape cut into small slices on the back (instead of over the entire border, which would’ve been lumpy) to keep it in a straighter line. What I did not account for was how difficult it was to sew thin EPP pieces to thick denim, especially over the free arm since the tote was already made. I made it work though!
This book is such a great resource, especially for beginners like me who want a resource to get started, but also for folks who are experienced but maybe haven’t branched out from hexies or want to make something more unique than a mug rug!

Katy M.
Thursday 20th of August 2015
SUPER cute! I love the border on this. And I totally went back to sneak a peek at your ears tutorial. ADORABLE!
Ellyn
Saturday 8th of August 2015
Love what you did with the hexies! I'm intrigued by the book & have put it on my wishlist. thanks for the review
Stephanie - Swoodson Says
Saturday 8th of August 2015
Thanks Ellyn! Let me know what you think of the book :)