
Growing up, my Mom always made little Valentine’s Day gifts and cards for us and I’ve tweaked that tradition into making a DIY Valentine’s Day Shirt for my kids instead. I appreciate having a fun little holiday to break up the winter blahs, put up some festive decorations, and have an excuse to eat candy. I haven’t blogged each year’s shirt (and one year my Mom made them!) but in the past I’ve shared a dump truck valentine shirt and an upcycled valentine shirt.
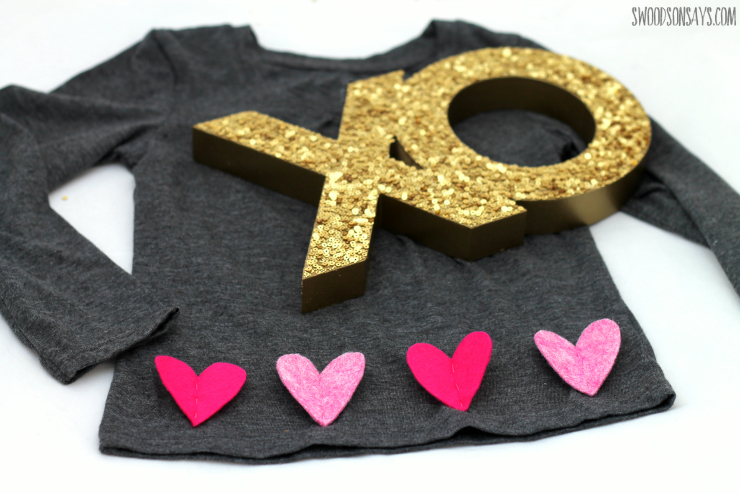
We are living in an AirBNB while we wait for our house purchase to close, so my crafty supplies are pretty limited. This was easy, fast, and requires very little, which was perfect for our current set-up.

My daughter was excited to have a shirt that matches some of the little felt kitties I’m sewing for Valentine’s Day, too! You can get that free cat softie pattern in this post.
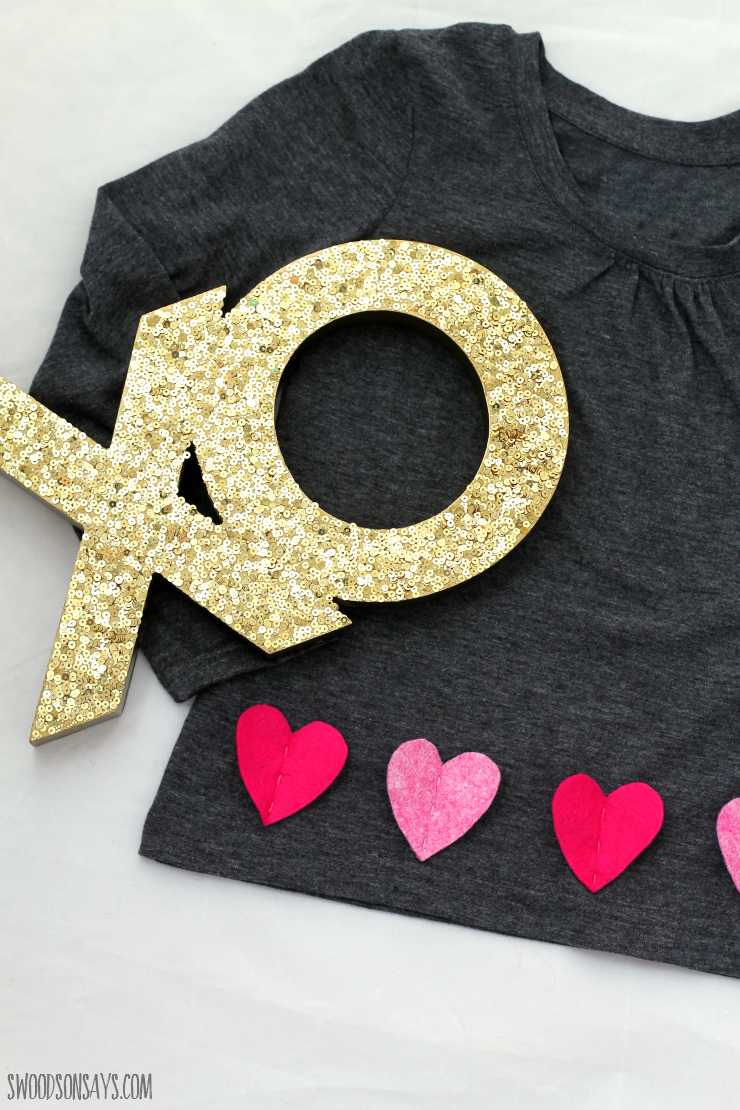
I came up with this project as a part of Craft Lightning Week. 3 different blogs; The Country Chic Cottage, Laura from Laura’s Crafty Life, and 30 Minutes Crafts, are hosting for a week to create a different 15-minute craft project each day. This week, all the projects are made using FELT, so click through below to see what else everyone else made!


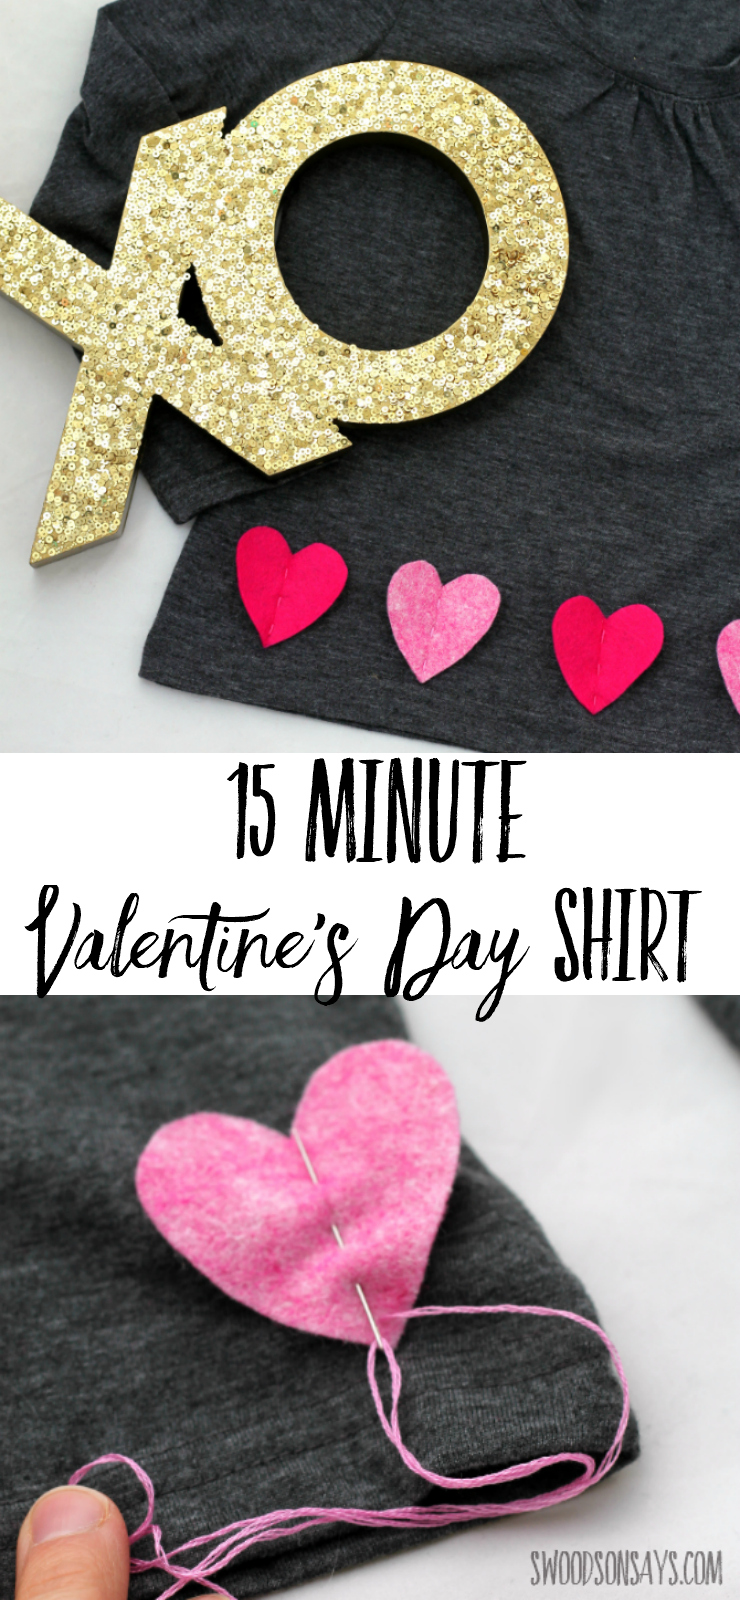
I initially thought about appliqueing them on the traditional way (stitching around the edges) but I love the 3-D effect that the simple hand stitching down the middle lends, don’t you? Ready to make your own?
How to make a DIY Valentine’s Day Shirt
Supplies
- Transfer method for the pattern (I used freezer paper*!)
- Needle
- Embroidery floss
- Scissors
- Wool blend felt – for this project I used felt from Busy Little Bird* IMPORTANT – you need to prewash and dry the felt however you plan on washing/drying the finished shirt. Wool felt will shrink significantly, so if you aren’t prepared to wash on cold and hang dry, you need to prewash and dry the felt before you cut shapes out!
- Iron
- Blank shirt -I try to find these in thrift/consignment stores but this one is off Amazon
- Free heart template PDF (optional; you can just draw hearts if you’d prefer!)– sign up for my newsletter and get the full pattern once you confirm your subscription! If you’re already a subscriber, you can access the pattern with the password in each newsletter, in the resource library.
Steps

Step 1- Transfer your pattern! I traced the hearts on to freezer paper (shiny side down) but you could also cut freezer paper to fit a regular piece of printer paper and iron it on, or buy pre-cut printable freezer paper sheets*. I used 4 hearts for this shirt, but you could go crazy and cover the whole front if you’d like.
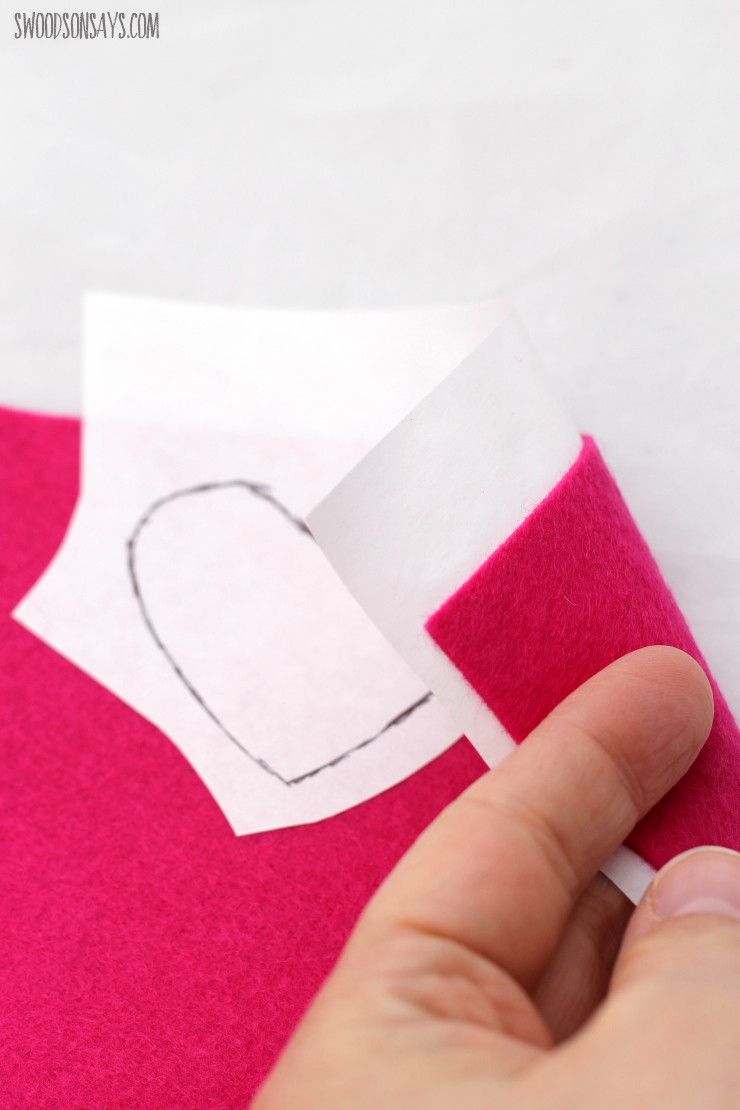
Step 2- Cut roughly around each heart shape, and iron it on to the felt, shiny side down.
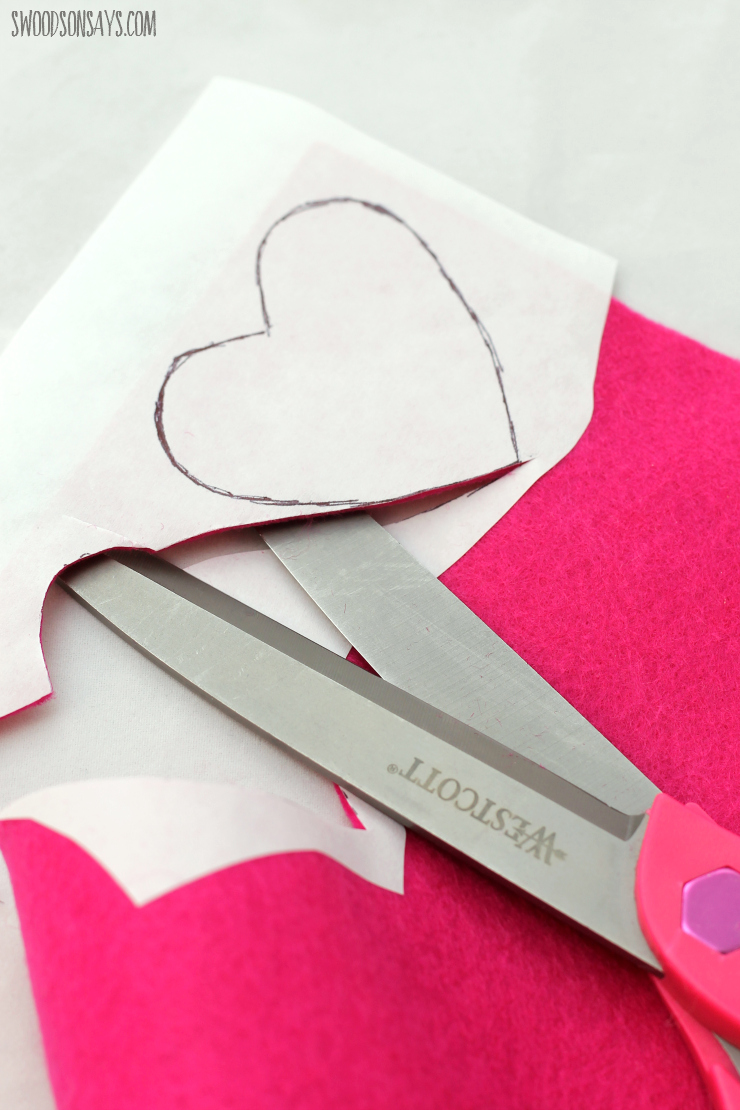
Step 3- Cut exactly on the lines, and peel the freezer paper off when you’re done. Isn’t that the easiest way to cut wool felt shapes!

Step 4- Iron each heart in half, creating a crease. Stitch up that crease, placing them spaced evenly from the edges and one another. I used 3 simple running stitches and knotted underneath on each end. Repeat for the other hearts, and you’re done! A super simple DIY Valentine’s Day Shirt.
Pin it for later here:

Laura
Thursday 1st of February 2018
This shirt is adorable!
Stephanie - Swoodson Says
Friday 2nd of February 2018
Thanks Laura!
Angie Holden
Thursday 1st of February 2018
This shirt is too cute and I love them just stitched down the center!
Stephanie - Swoodson Says
Friday 2nd of February 2018
Thank you, and thank you for hosting Angie!