
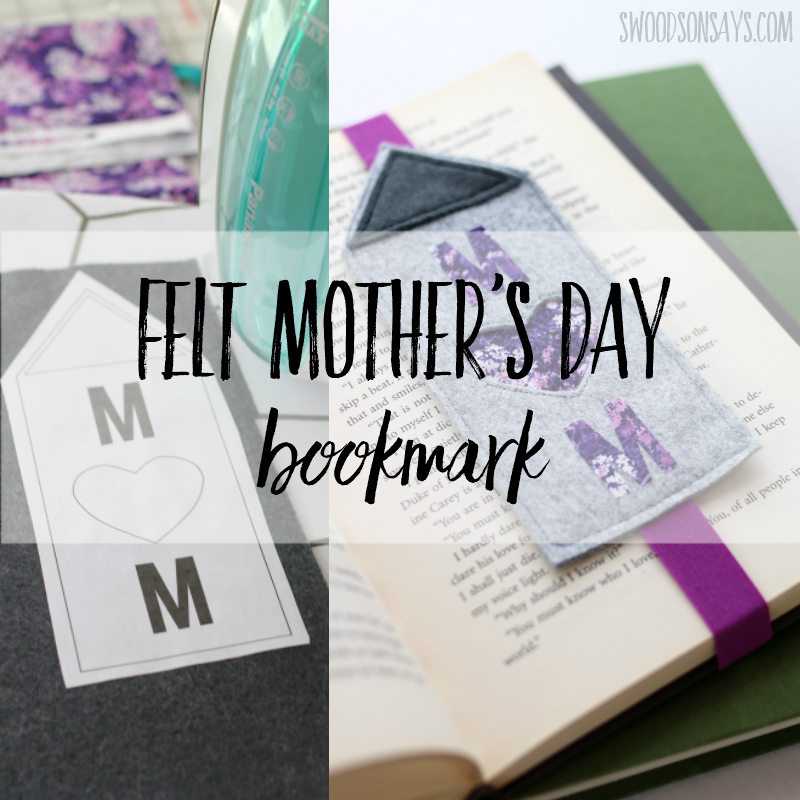
 Bookmarks are one of my favorite fast crafts. They’re small, easy, and make great gifts. As my kids get older and into being read longer books, I am finding we are always hunting for more of them! I thought I’d share this felt mother’s day bookmark craft so I had a few new ones to keep and give to the Moms in my life this year! This post was sponsored by JOANN, which means they supplied materials and compensated me for my time, but all opinions are my own.
JOANN was where my Mom always took me to find fabric for her own projects, so that makes it extra special to take my kids there with me. They’re also the only fabric store option that has carts! So much more parent friendly than smaller stores that you have to herd them through on foot.
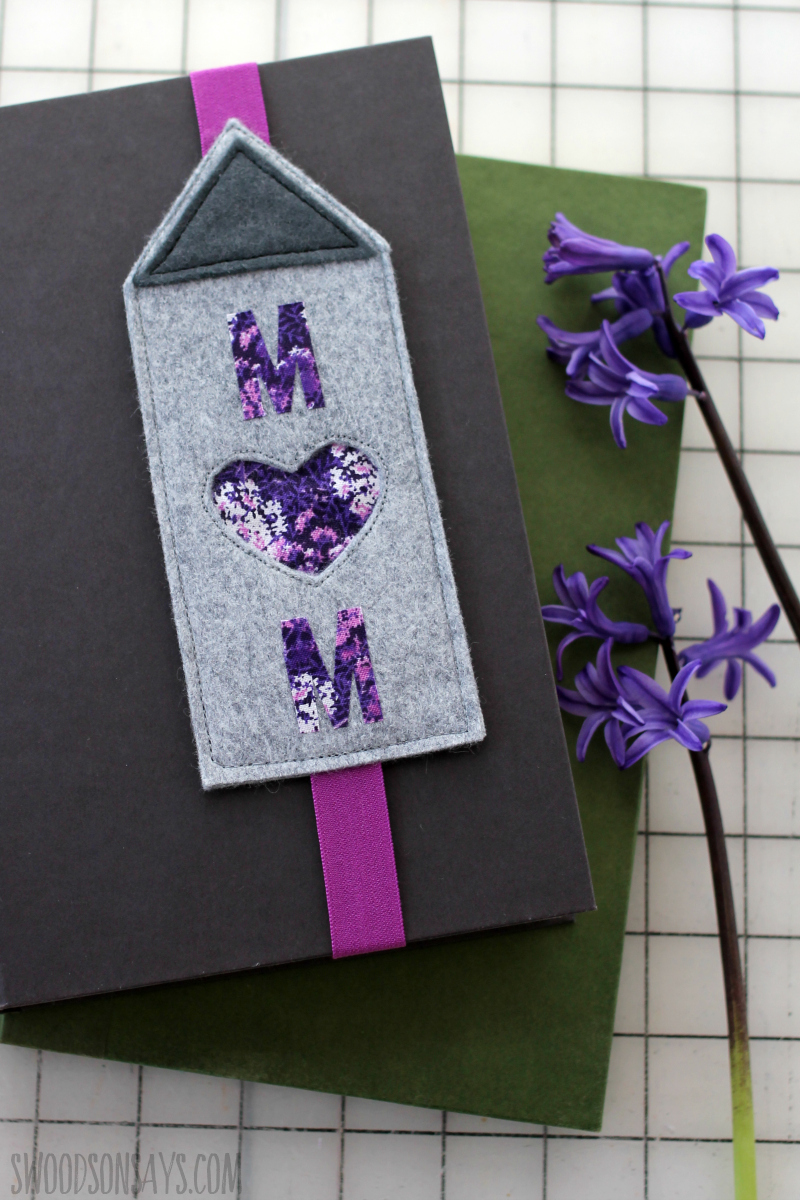
The elastic makes this bookmark secure, it can’t drop out even when my kids are using books stacked as a ramp, or carrying them around, etc. JOANN has a bunch of fun colors and styles, so sky’s the limit with coordinating fabrics and color schemes.
If you would like more Mother’s Day craft inspiration, check out these posts!
- How to make a fabric tray as a gift
- Hand embroidered gift from my son
- Mother’s Day hand embroidery projects
With the right glue, you could probably make these no-sew as well! You’d just have to applique the heart instead of reverse applique like shown here.
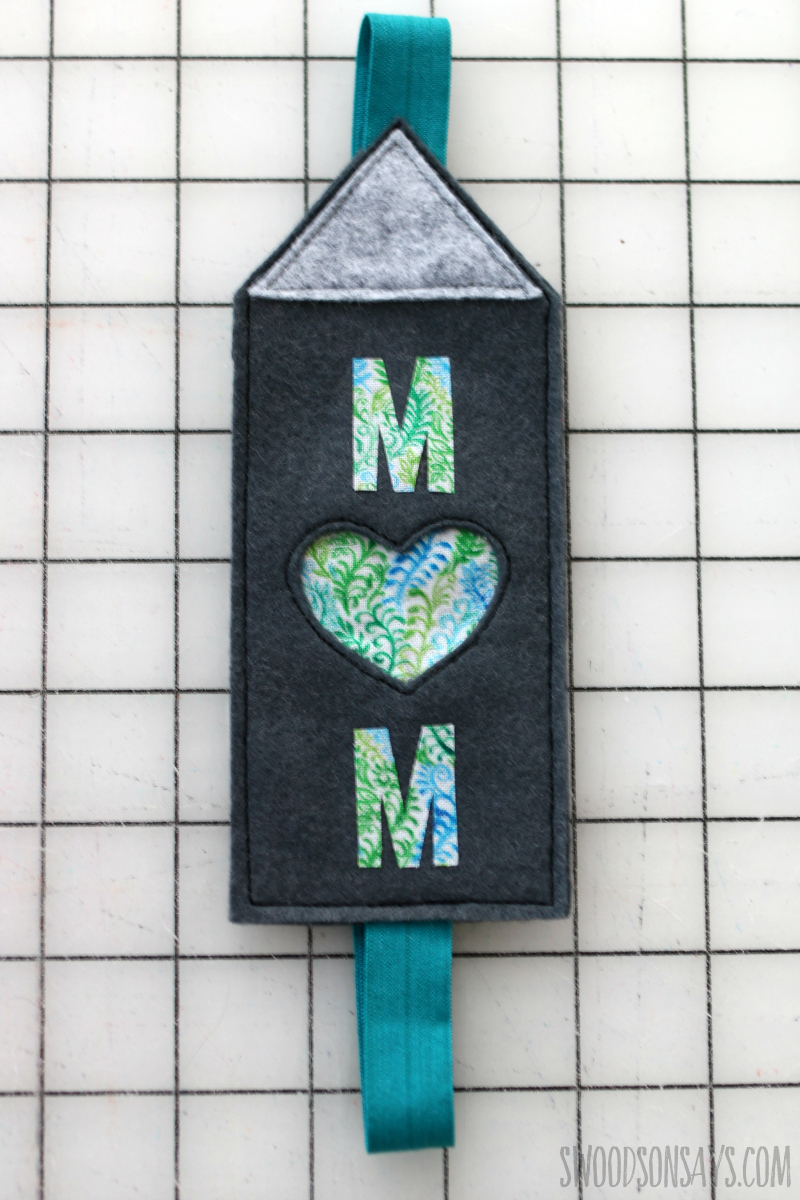
I had to do a green version for my Mom, that’s her favorite color. She is good at gardening so this vine-y print caught my eye.
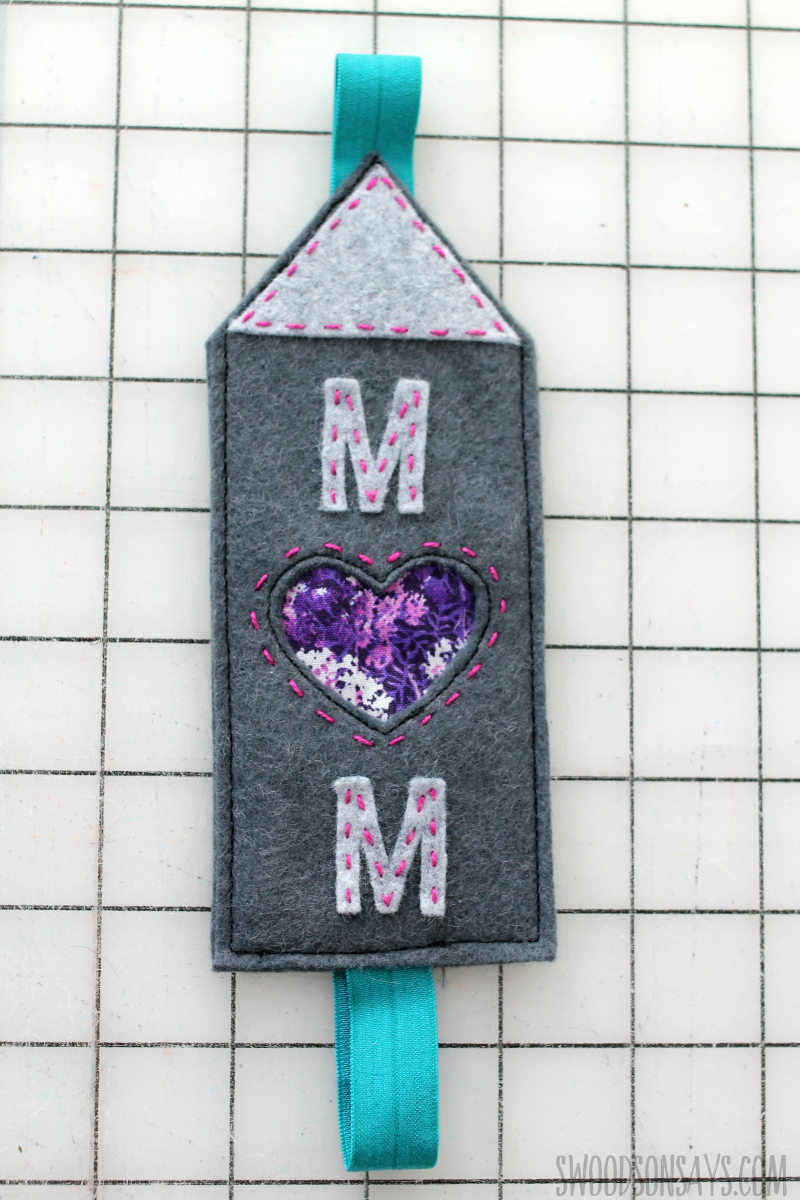
I experimented with using felt letters and some hand stitching as well. I prefer the cleaner look but thought I’d share in case you wanted to consider it for your project!
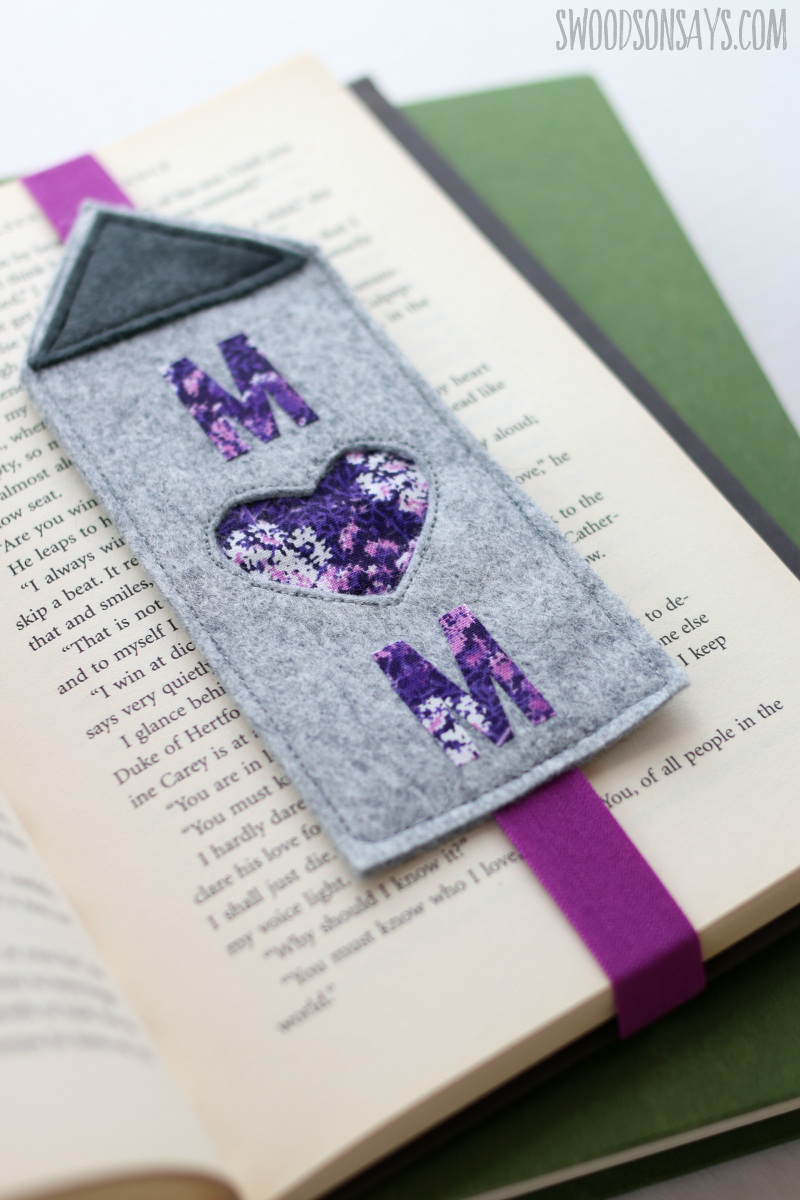
Pair this DIY felt bookmark with a book you think they might like and you’ve got a great gift! Ready to make your own?
Pin this mother’s day bookmark craft for later with this link or collage image:
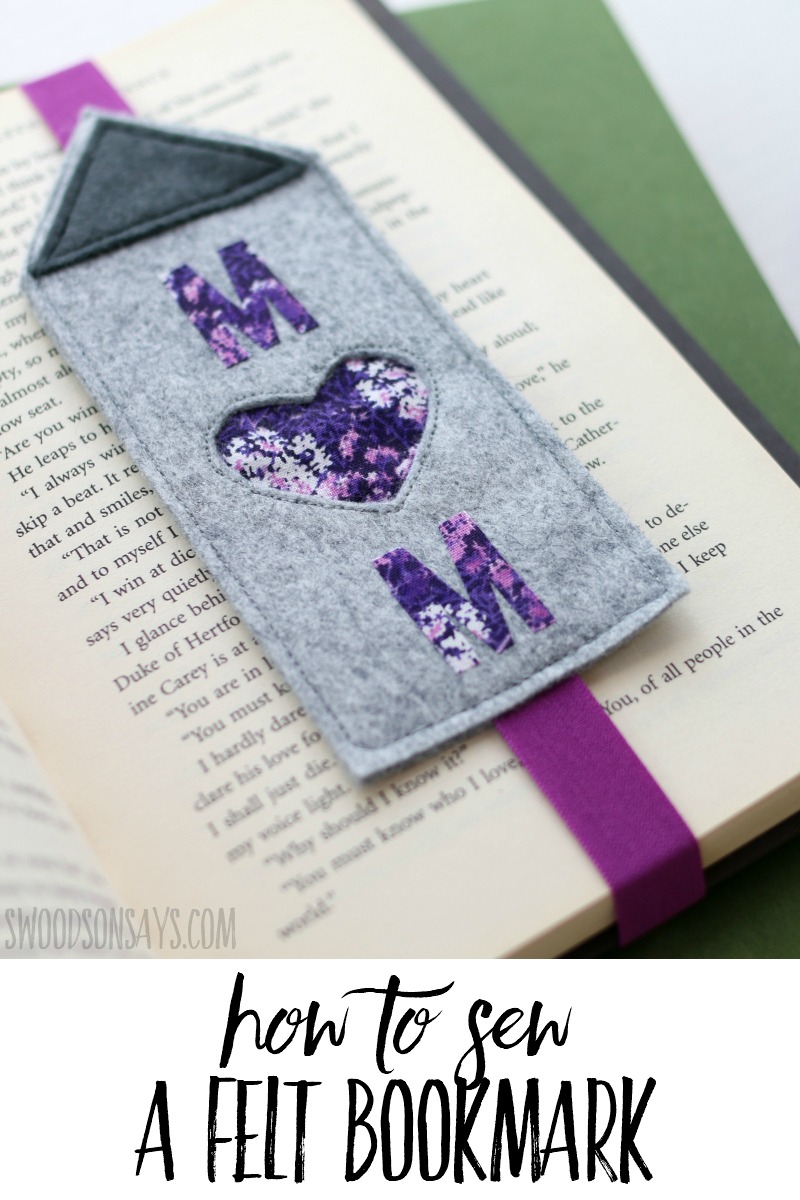
Mother’s day bookmark craft
Supplies
- (2) 1/4 yard wool blend felt cuts, in two different colors
- 1/4 yard small scale cotton print
- Coordinating thread
- Freezer paper sheet- optional but ideal
- Heat n bond super hold
- Pearl cotton -optional
- Embroidery needle
- Elastic (I used and prefer fold-over elastic like this because it comes in fun colors)
- Duckbill/applique scissors
-
Bookmark template-sign up for my newsletter and get the free download once you confirm your subscription! If you’re already a subscriber, you can access the pattern with the password in each newsletter, in the resource library.
Steps

Step 1- Cut out (2) main house pieces and (1) roof piece from felt. I used freezer paper sheets to print the templates – you just iron it on, cut on the line, and peel off!
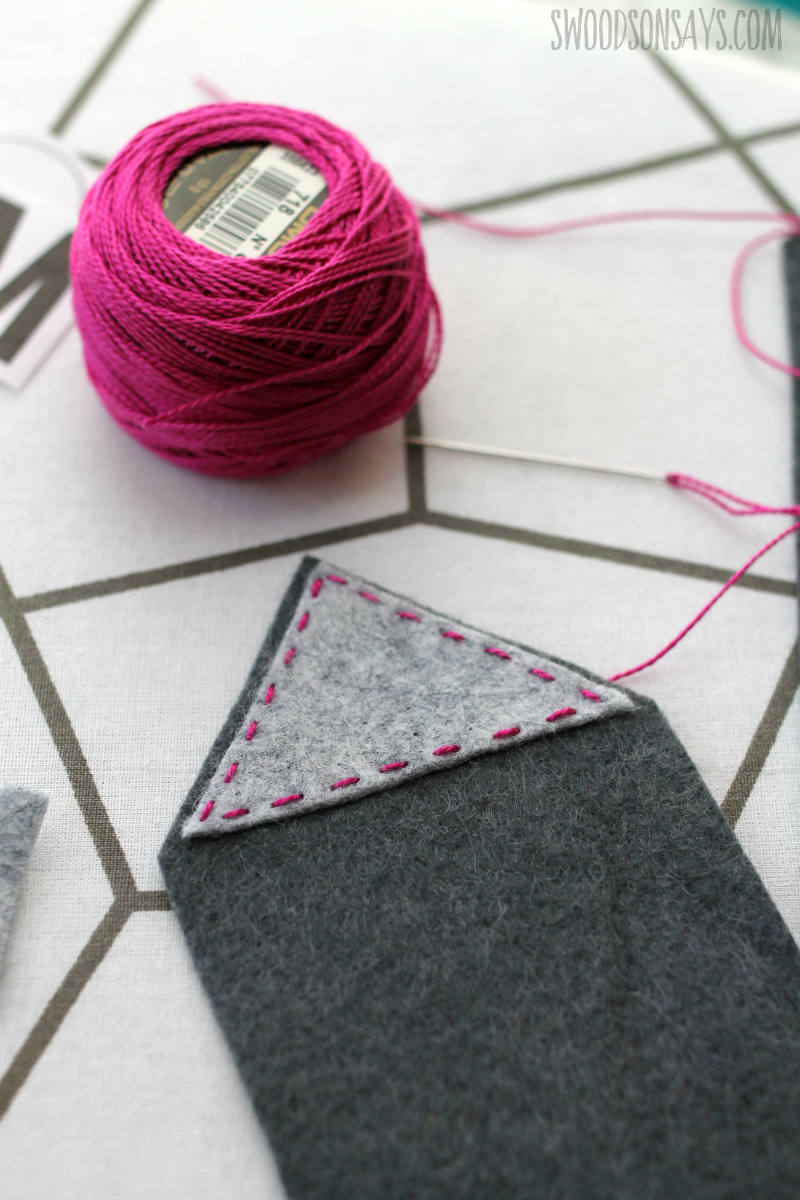
Step 2- Stitch the roof piece on to the backing piece. You can do this by hand or machine, or glue it!
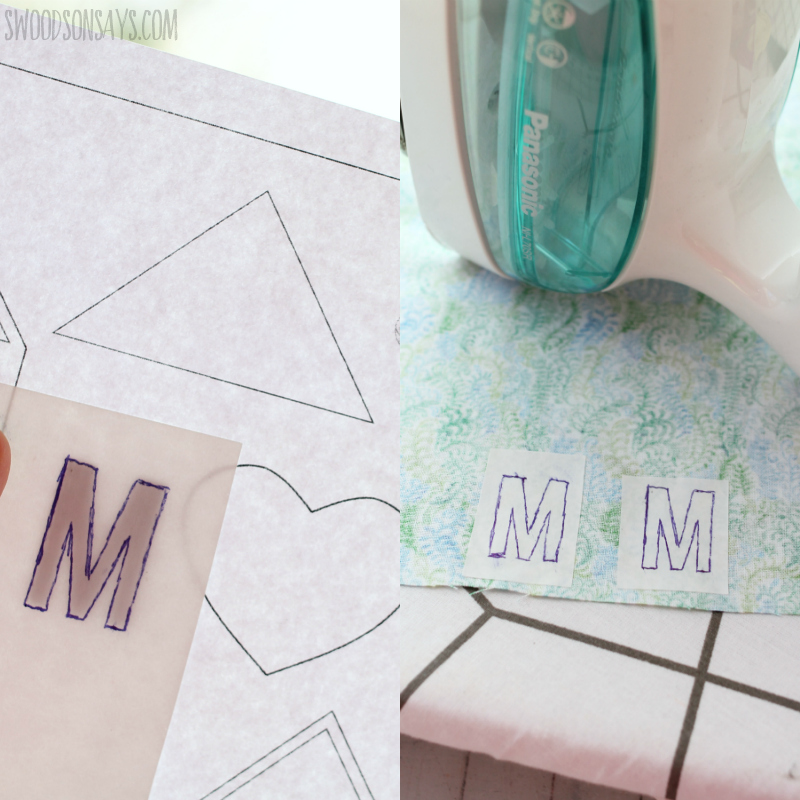
Step 3- Create your Ms! First, trace or print them on to the paper side of the heat n bond. Iron on as directed to the wrong side of the fabric, cut out, peel off the back, and iron again to adhere. Alternately you can use the freezer paper and cut out felt letters (woven cotton will fray apart if used without the fusible transfer paper).

Step 4- Adhere your letters! If using the heat n bond super hold, no sewing is necessary. If you prefer to stitch them down, use a dab of glue first and then sew. Iron the freezer paper heart, roughly cut around, in the middle. Use a ruler to align if necessary.
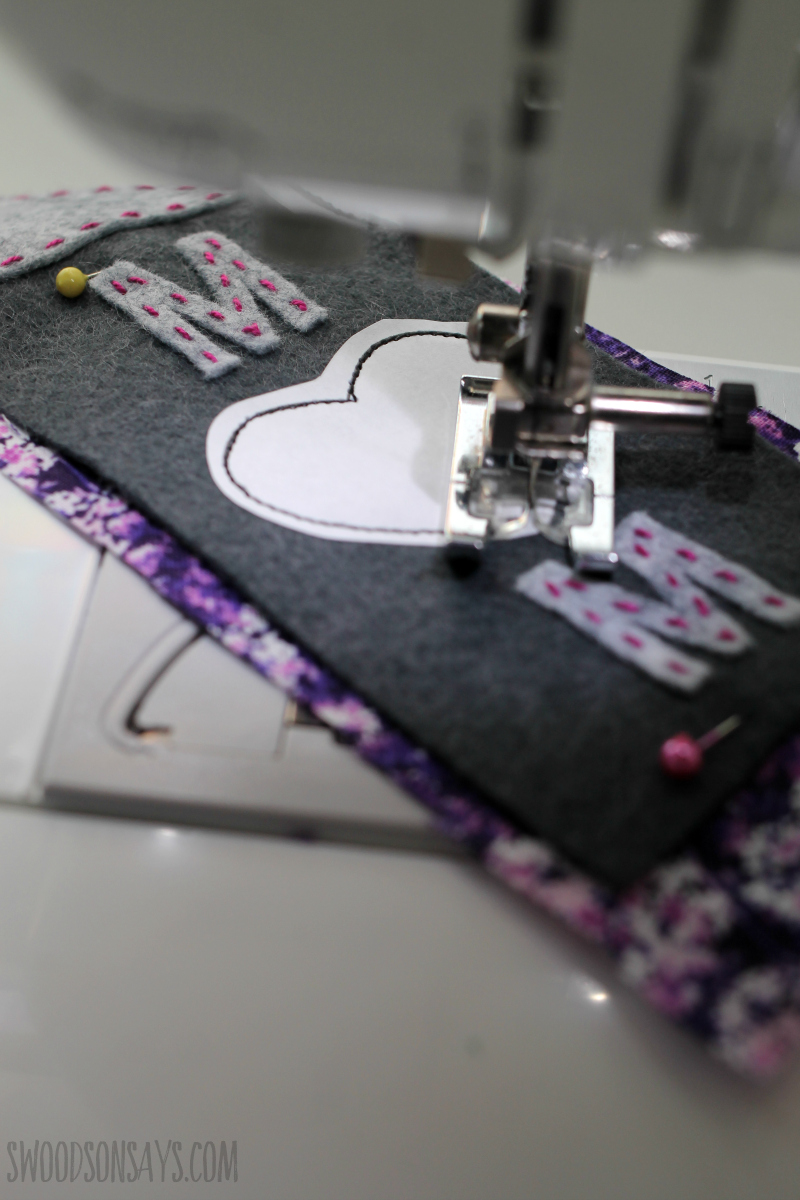
Step 5- Layer a large scrap of the woven fabric behind the house and pin at the top and bottom. Slowly stitch on the line around the heart, and then rip the freezer paper off when you’re done.
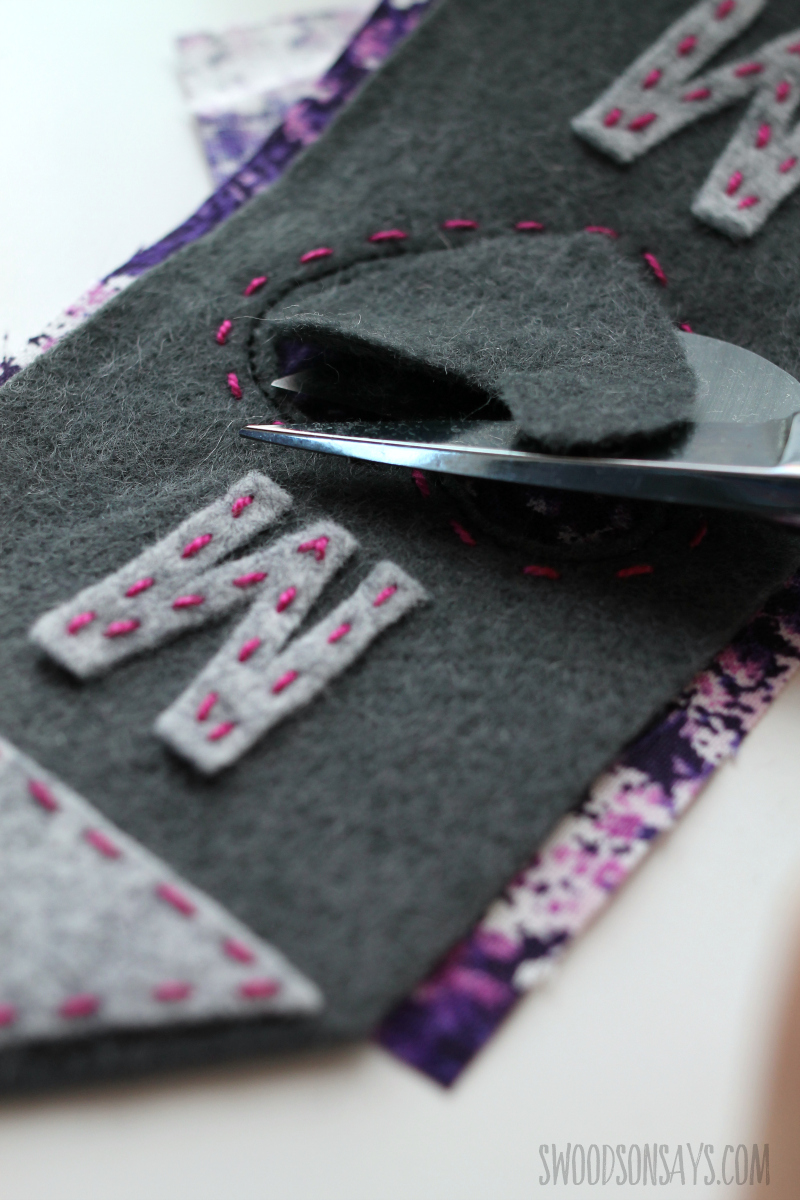
Step 6- Carefully pinch up the felt part of the heart and snip, cutting the top layer on the inside of the stitching without cutting the fabric beneath. I used duckbill or applique scissors to make it easy, they have a special blade to keep from cutting the bottom layer of fabric! Trim the excess cotton away from the back so it doesn’t show on the sides, too.
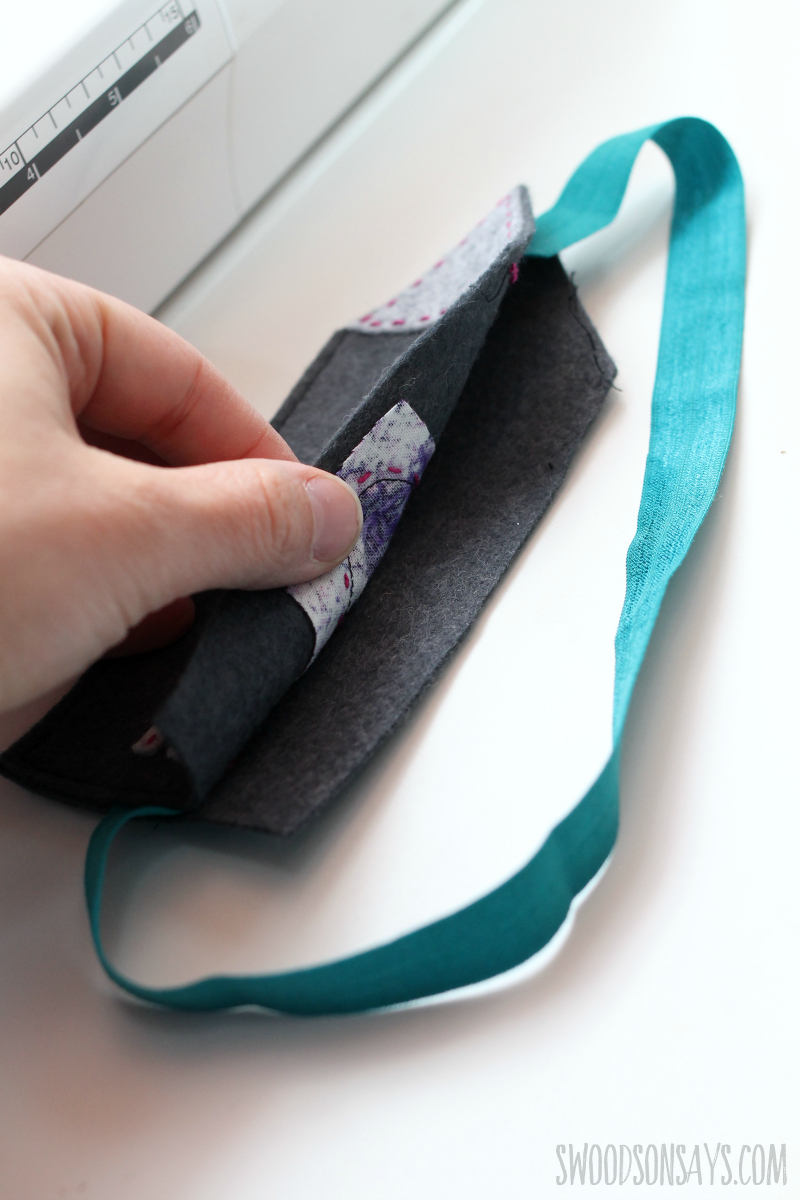
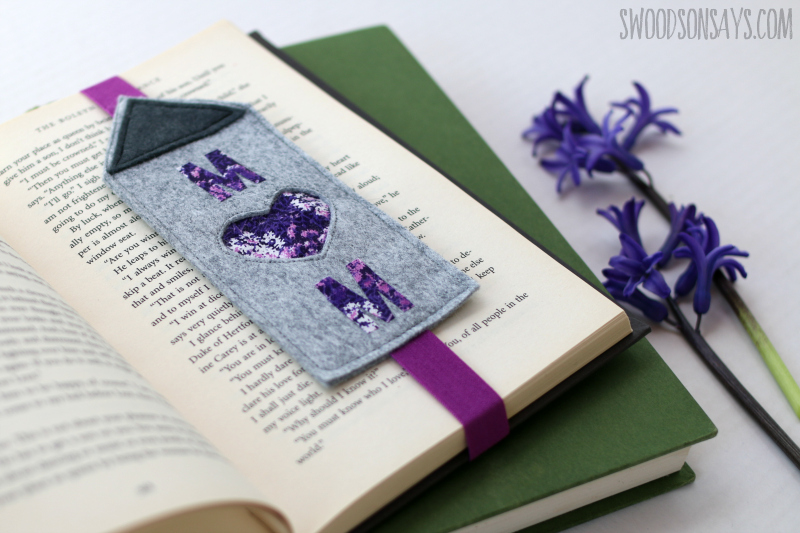
Step 7- Cut a piece of elastic approximately 13″ long (for bigger, hardback books!) and pull it an inch inside, centered inside top and bottom, and stitch all the way around the edges. You’re done!
Sara
Tuesday 16th of April 2019
Super cute and something I would actually like to receive! I think my daughter would really enjoy making this and it's simple enough for a preteen :)