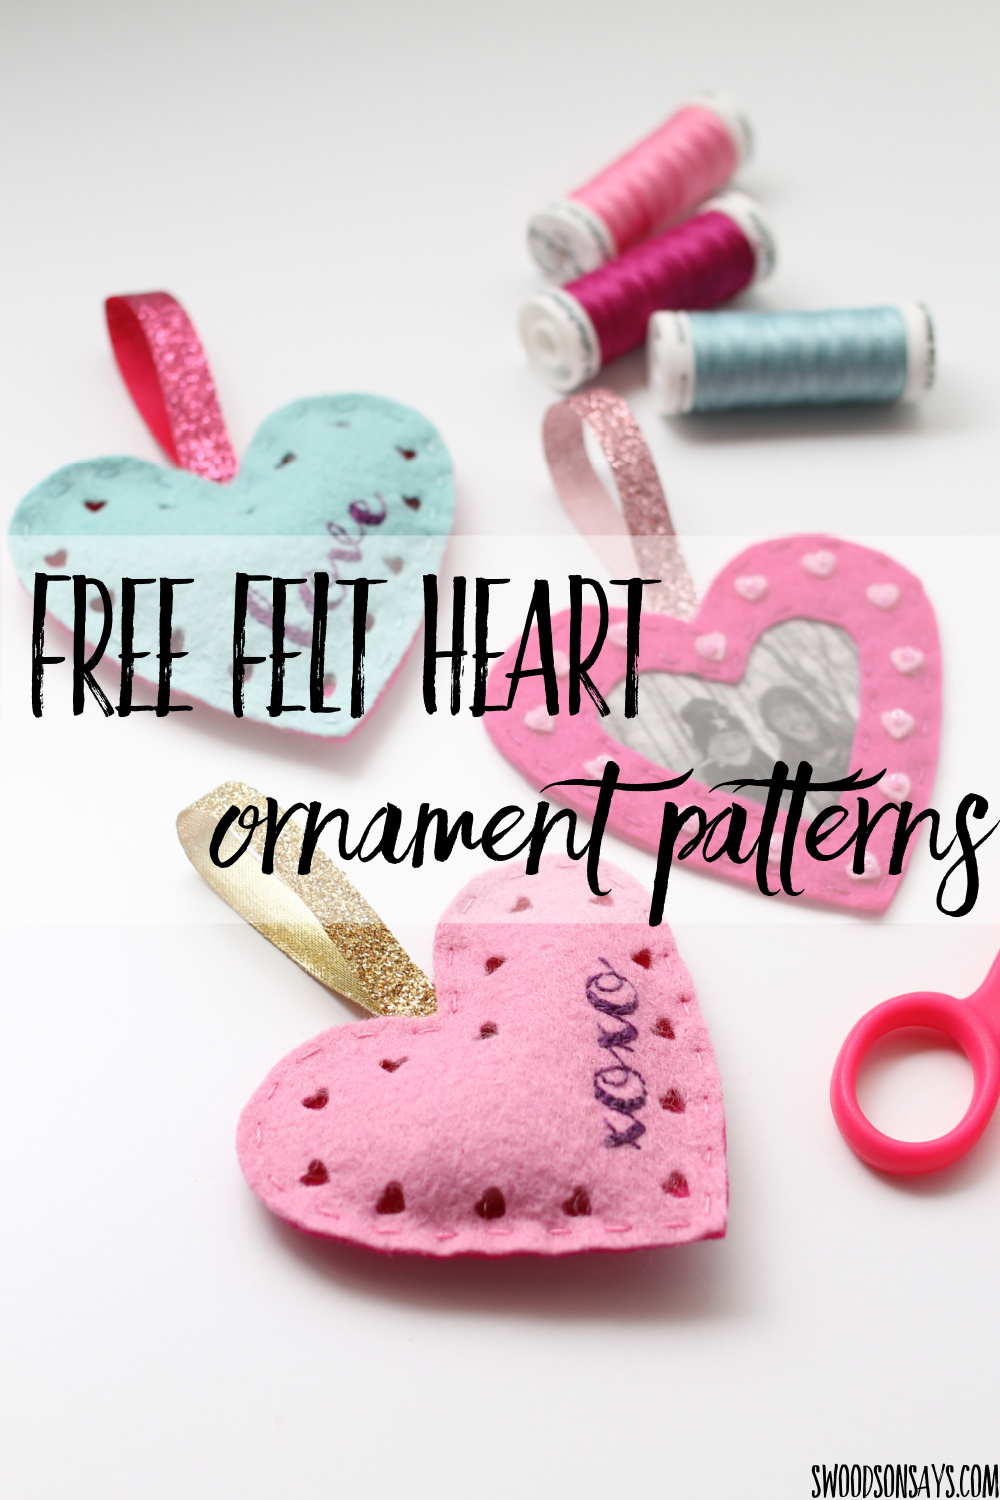
Download this free felt heart ornament and make fun felt Valentine’s Day decorations or hang them on your Christmas tree!
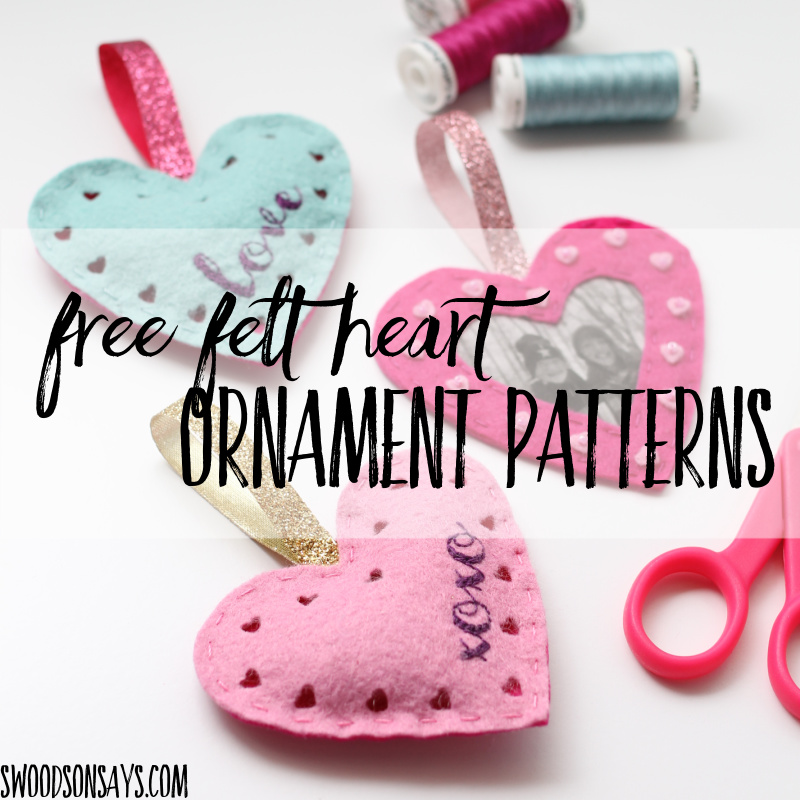
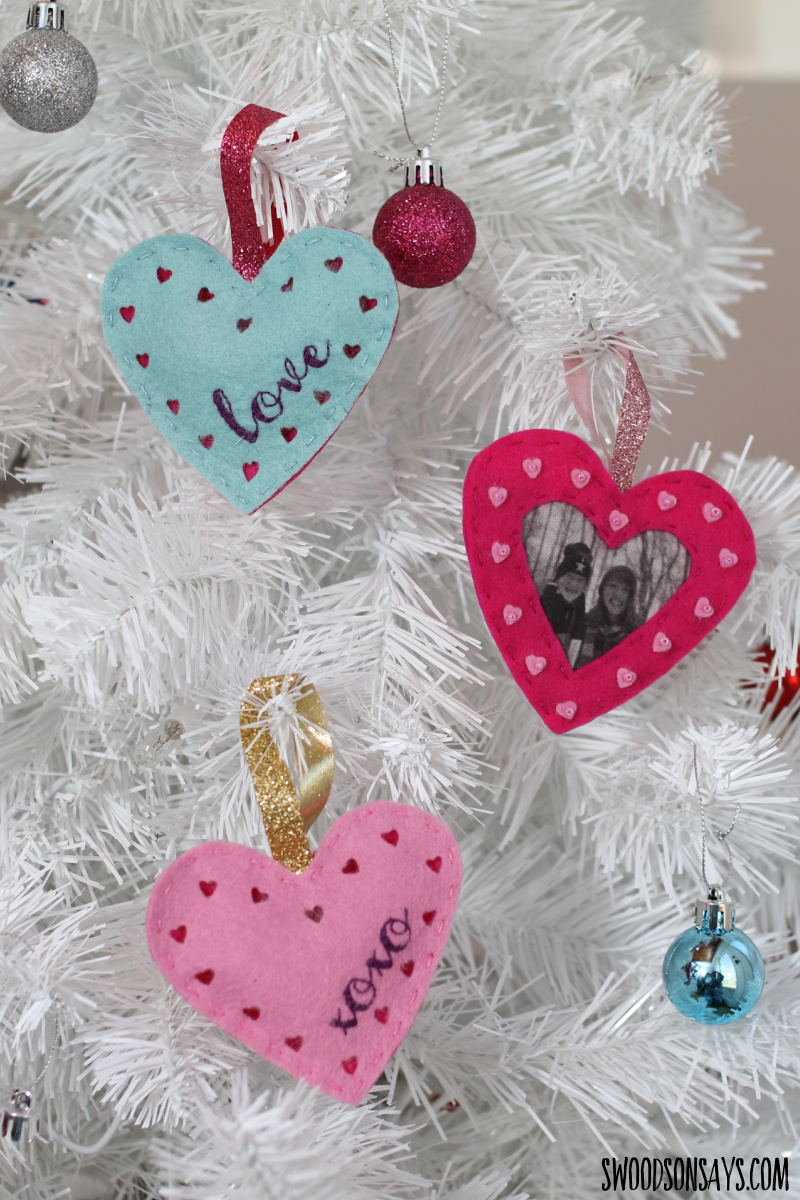
I drag out taking down Christmas decorations each year because it feels so blah afterwards; this year I decided to amp up my Valentine’s Day decor and put it up right after! I’m sharing a free felt heart ornament pattern with two different hand embroidery designs and a photo inset option; these are quick to stitch up and would look great as a garland, hanging on decorative branches, or just turn your Christmas tree into a Valentine tree!
If you like this post, check these out while you’re here!
- 12+ felt heart ornaments to make
- 15+ Valentine cross stitch patterns
- 15+ Valentine’s Day hand embroidery patterns
- 15+ Easy DIY Valentines day t shirts
- 20+ Valentine felt projects to sew
- 15+ cutest Valentine’s Day Projects to Sew
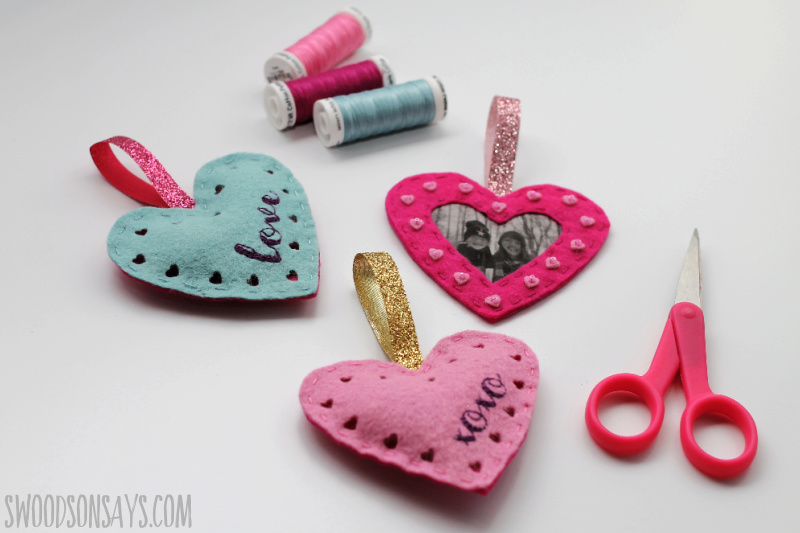
I had fun making the little peek-a-boo heart edge but you could also stitch all of those instead of the cut-outs.

First is a simple ‘Love’ text design, with hot pink felt peeking through.
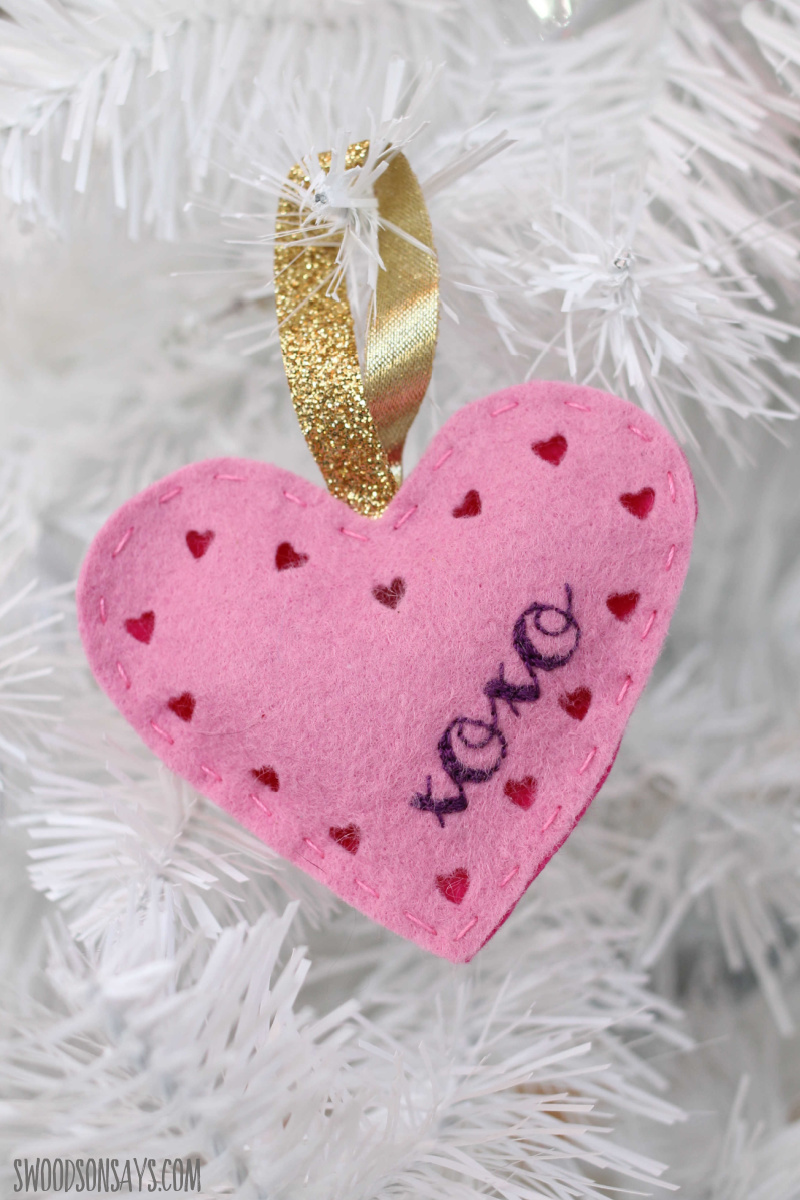
Next is a fancy script XOXO, also with hot pink peeking out.

And last is a photo option! I used a shot of my sweet nieces printed on fabric; you could also do a scrappy background or handdrawn design similar to this diy Christmas ornament tutorial I’ve shared in the past.
Pin this free felt heart ornament pattern for later with this link or photo:
Ready to make your own?
Free felt heart ornament
Supplies
- Wool blend felt in solid colors – I use this shop’s stuff all the time
- Fabri-solvy/stick & stitch: Sulky – Amazon – Etsy
- My favorite embroidery needles: Amazon – Etsy
- Embroidery floss – I’m using Sulky petite cottons here: Sulky – Amazon – Etsy
- Microtip scissors: Amazon
- Seed beads: Amazon – Etsy
- Plain glue stick + fabric glue
- Heart hole punch
- Printable fabric sheets
- Glittery ribbon
- Stuffing
- PDF pattern-sign up for my newsletter and get the free download once you confirm your subscription! If you’re already a subscriber, you can access the pattern with the password in each newsletter, in the resource library.
Steps
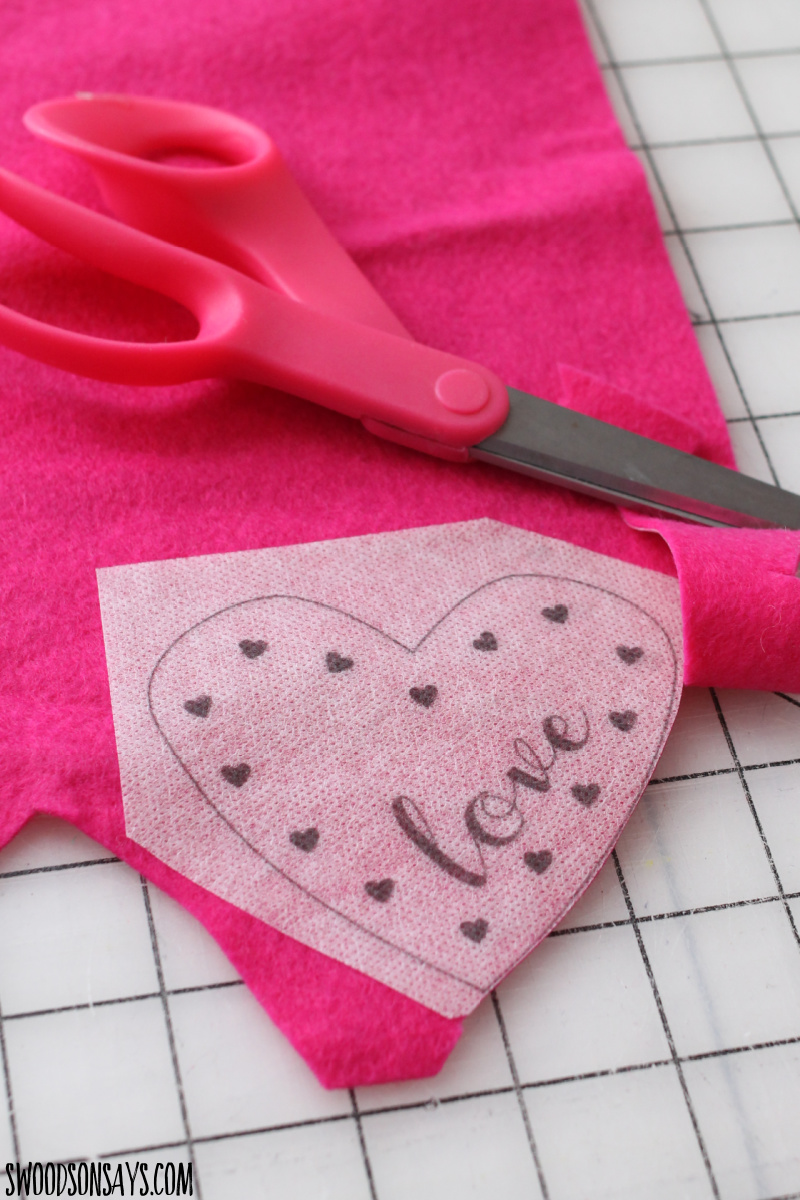
Step 1– Use the pattern to cut out a plain heart from the backing felt; this is the color that will show through the front.
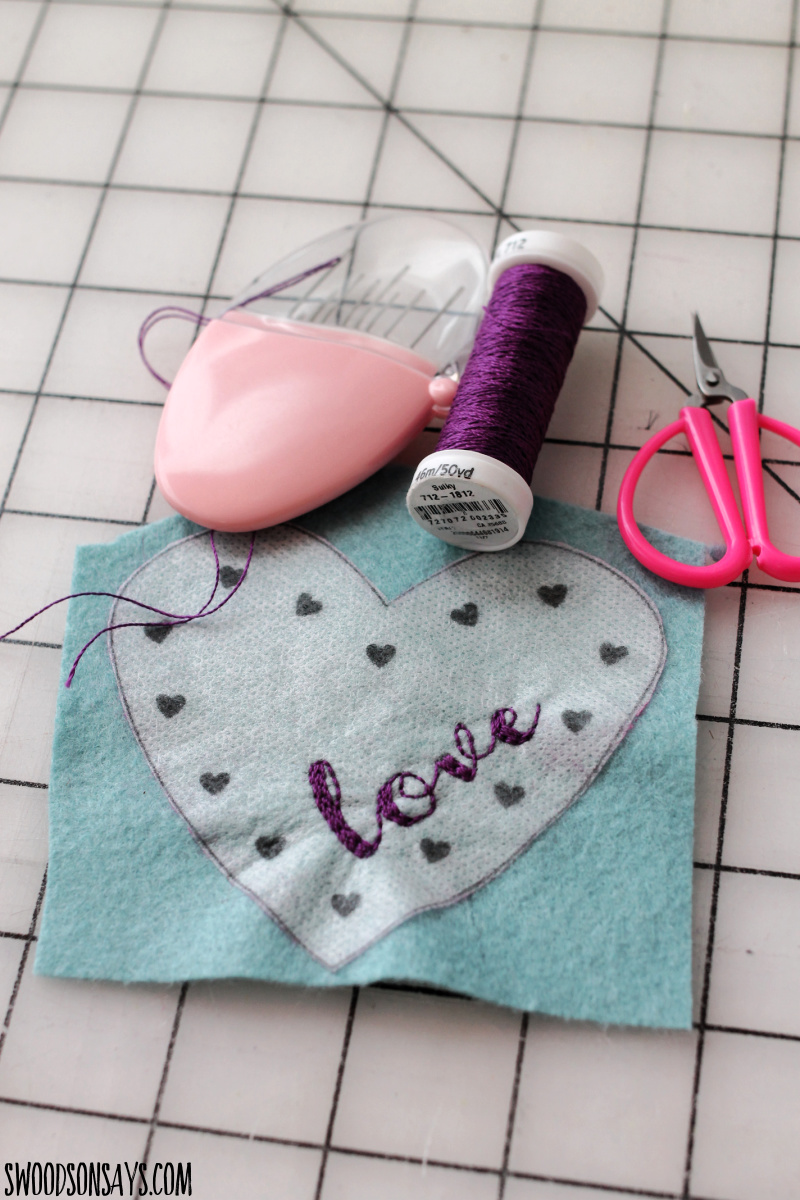
Step 2- Stitch the text! I used a simple brick stitch and backstitch.
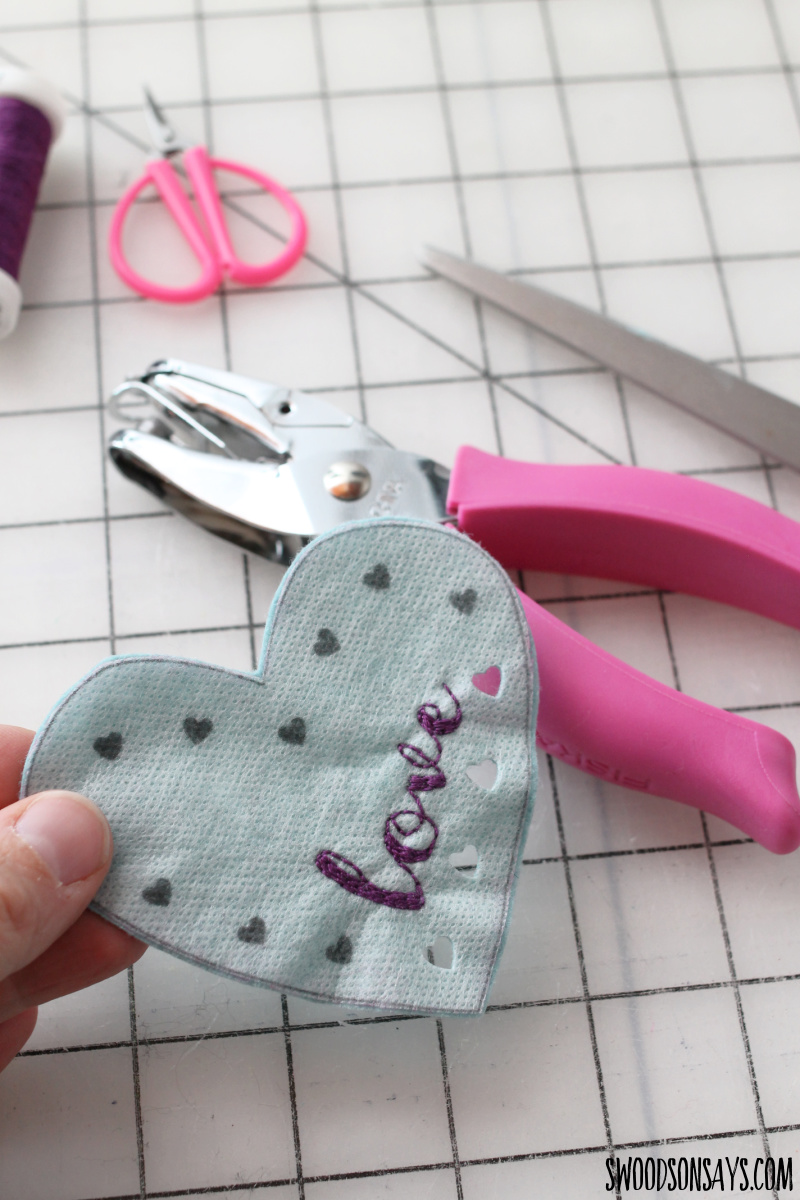
Step 3- Punch out the hearts! You could also stitch them if you don’t want to use a hole-punch but then the back felt won’t show through.
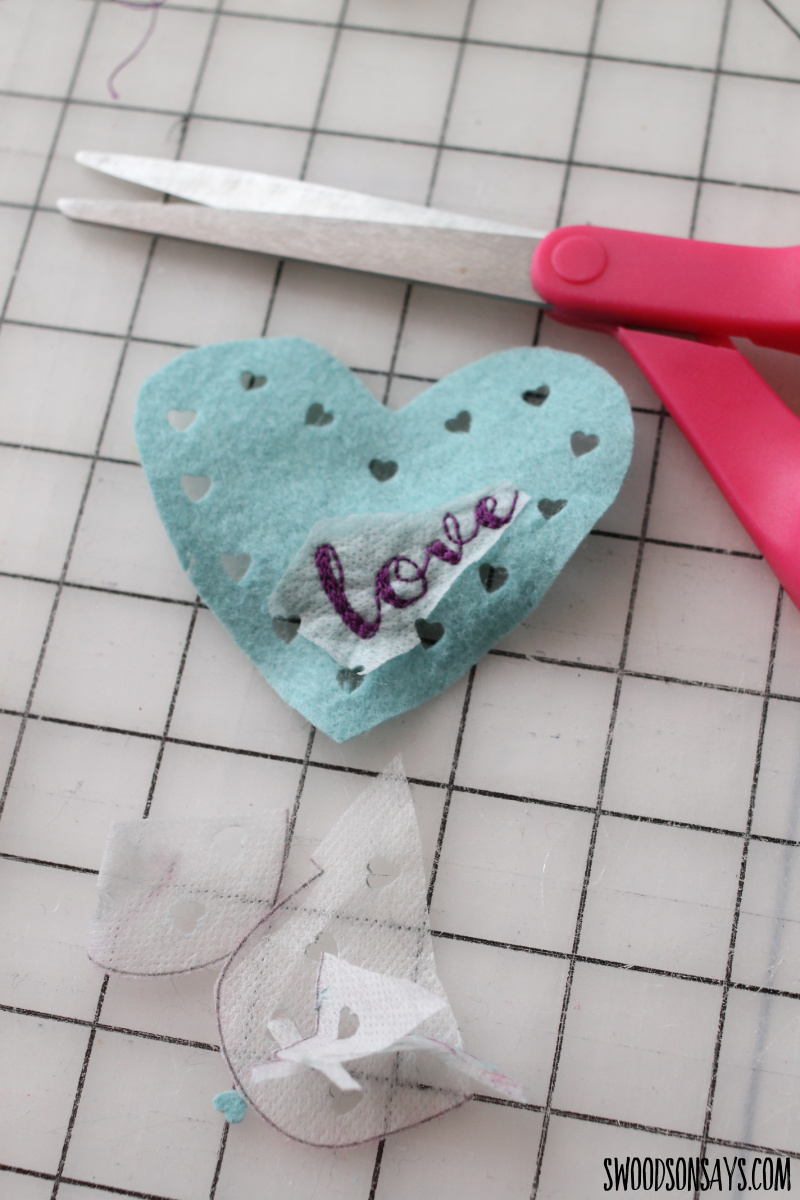
Step 4- Trim off the excess Stick N Stitch and then wash it away under the water; you can see more detailed photos of this step here. Let it dry overnight.

Step 5- Cut a ribbon hanger and use fabric glue to stick in the middle, making sure to keep it up high up enough that it won’t peek through the heart cut-outs (just lay the overlap on top to check it before gluing).
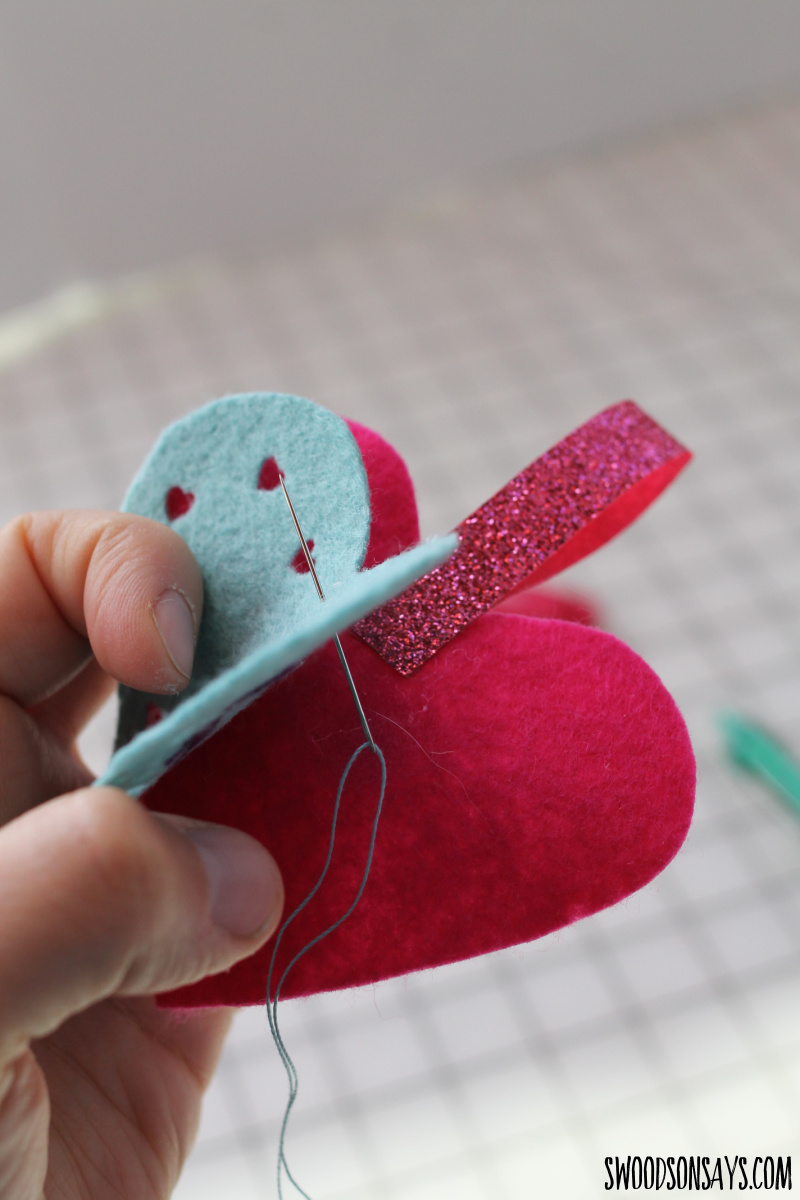
Step 5- Time to stitch! I like to hide the beginning knot by pulling through the middle, and then I did a running stitch around the edge, stopping with about 1 inch left.
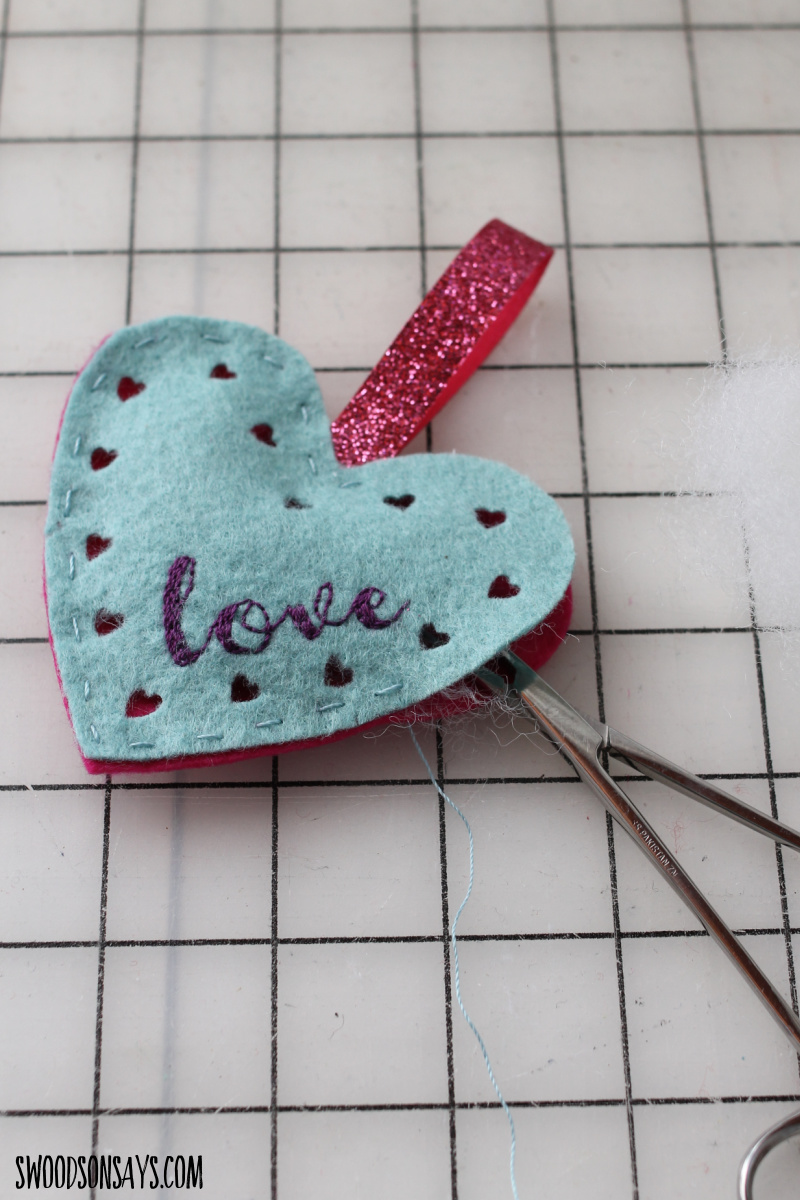
Step 6- In that last inch, gently insert some stuffing so it doesn’t show through the cut-outs, then finish stitching and you’re done!
Photo heart instructions
Note that I was okay with this being a little floppy, with no stuffing it has less ‘heft’ than the other two. You could add a third layer of felt to the back and add stuffing if you wish; or experiment with layering it under the photo fabric gently.

Step 1– Use the pattern to cut out a plain heart from the backing felt; this is the color that will show through the front.
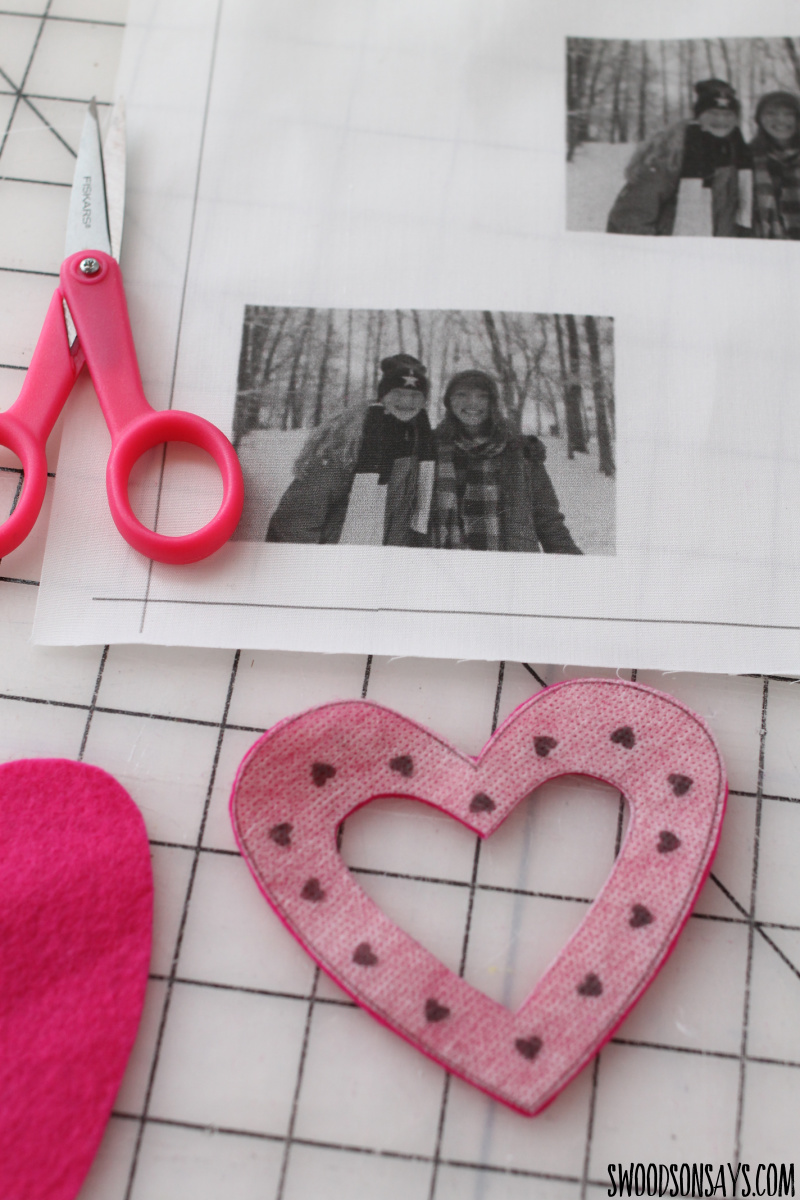
Step 2- Print your photo on to the fabric and then use the pattern to cut out the front overlay. If you wanted to stitch or hole punch the hearts, you could use the pattern to do so!
I sized the photo 7.86 cm wide and 5.9 cm high; but keep in mind you’ll have to play with it to see what shows through the cut-out, I suggest printing a tester of normal paper before adjusting and using the fabric sheet.
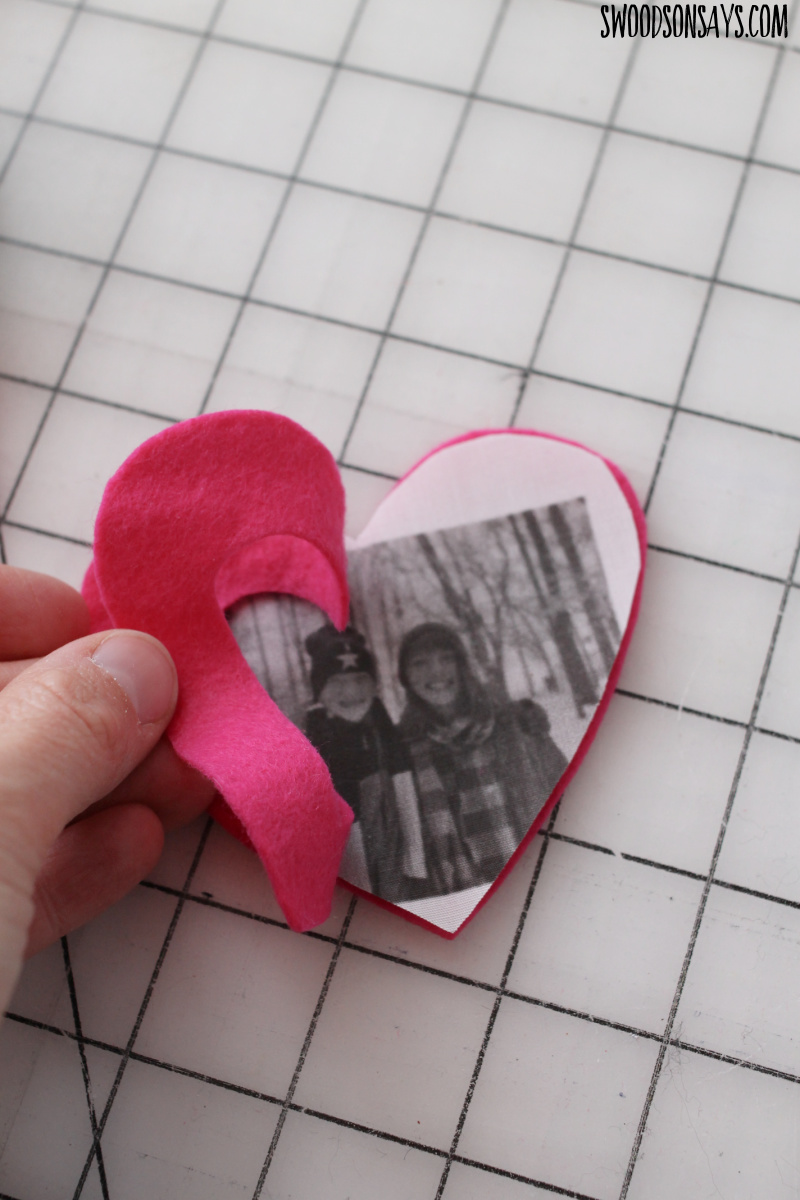
Step 3- Trim the photo fabric to make sure nothing will hang over the edges.
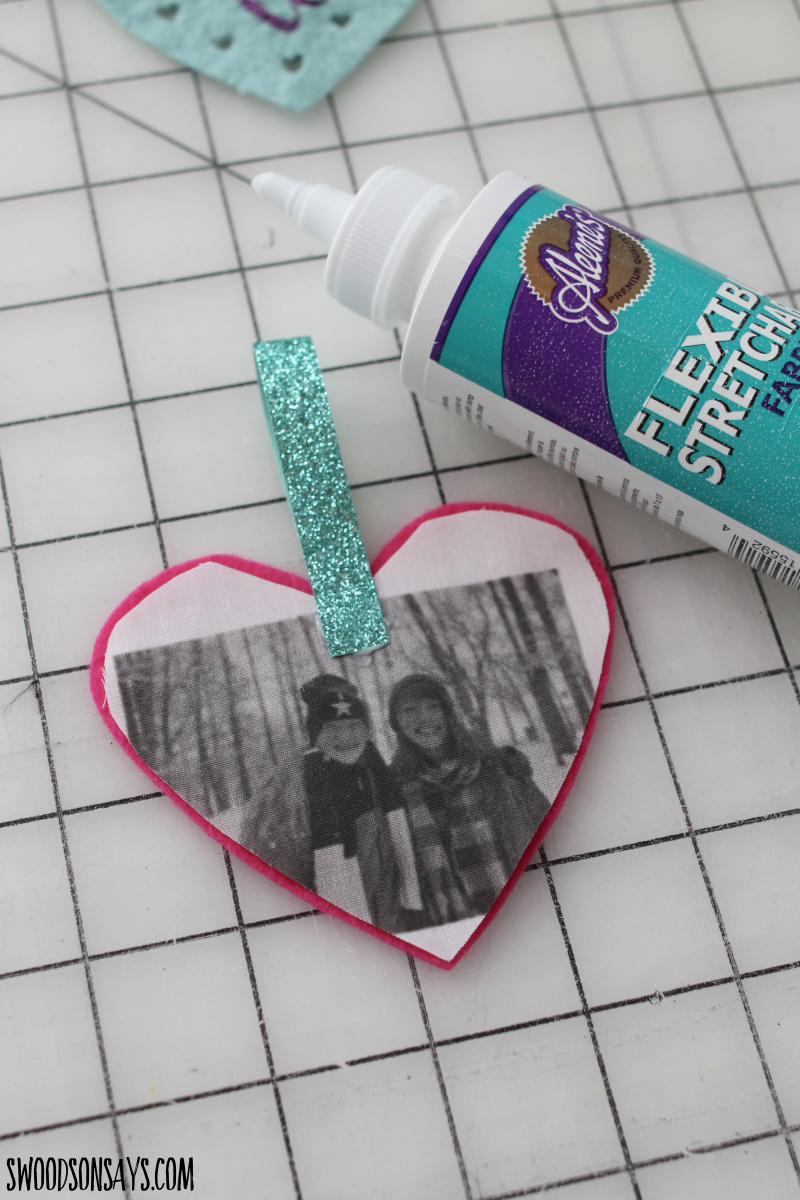
Step 4- Cut a ribbon hanger and use fabric glue to stick in the middle.
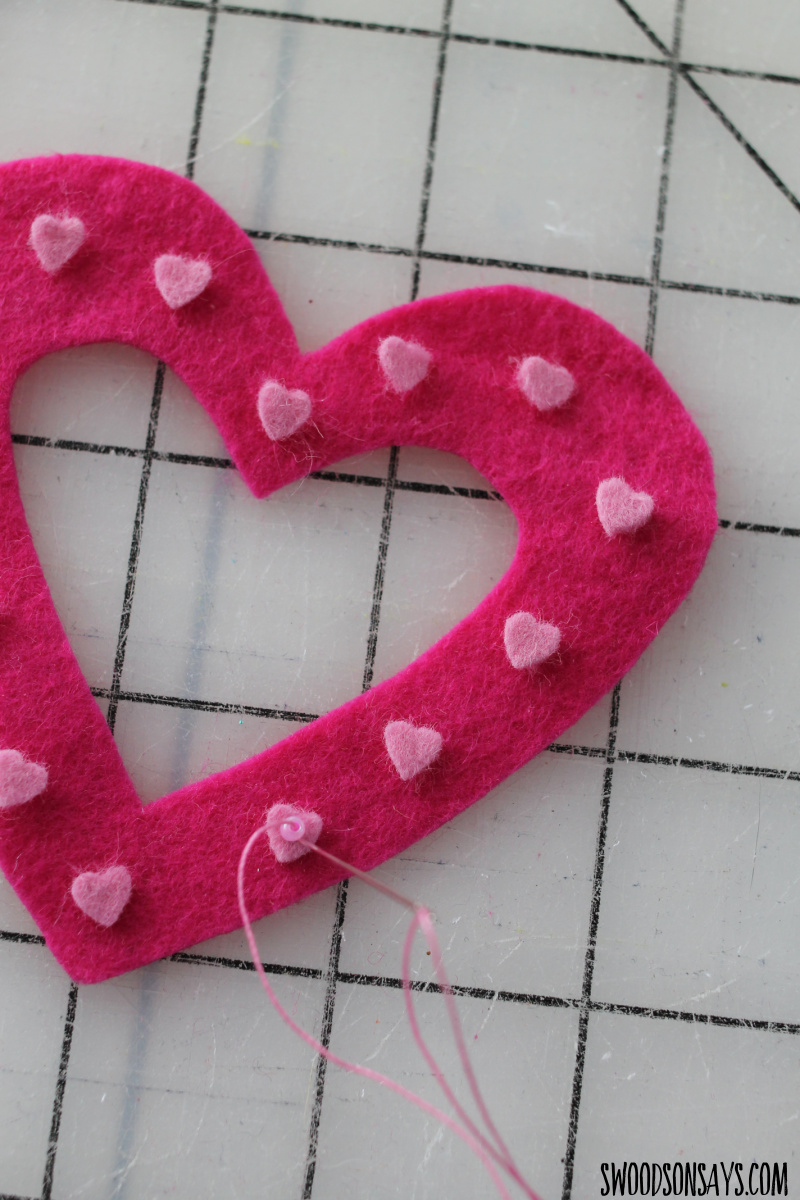
Step 5- Peel off the overlay pattern, no need to wash it off if you didn’t stitch through. Time to sew the hearts on! Just thread a seed bead on top and go back down below the bead.
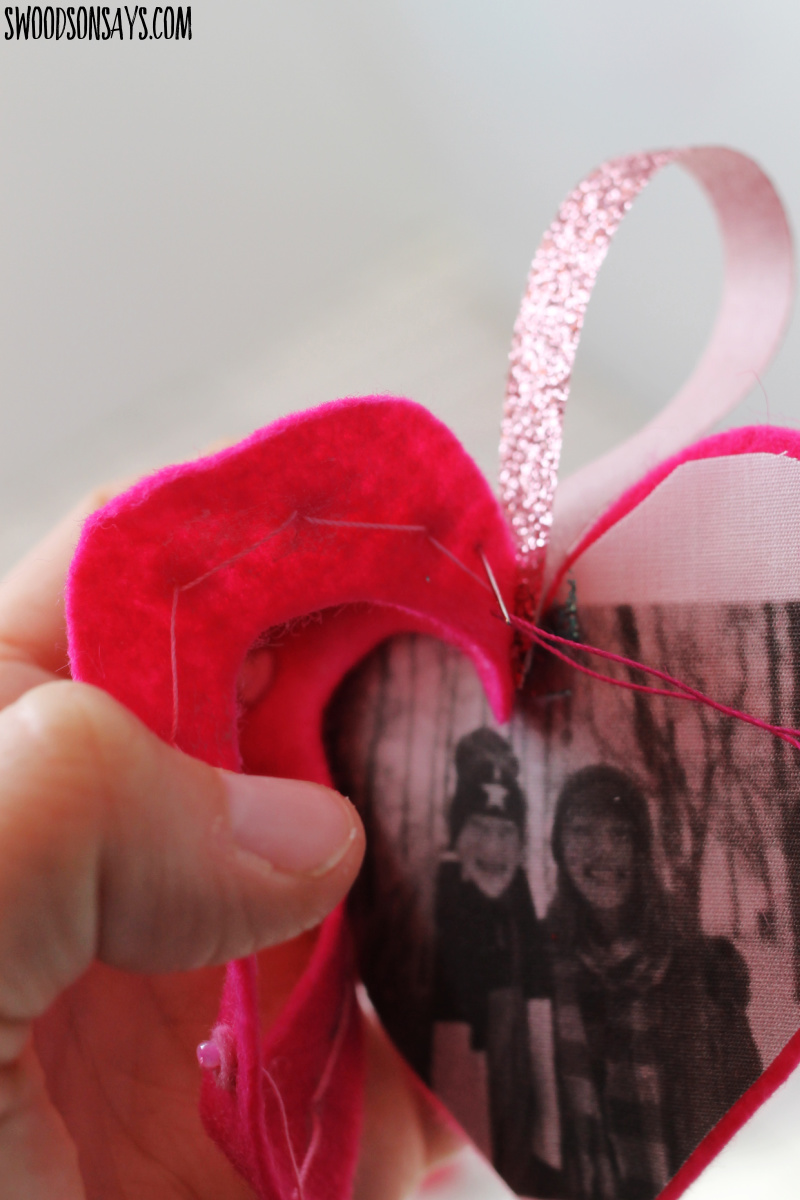
Step 6- Time to stitch! I like to hide the beginning knot by pulling through the middle, and then I did a running stitch around the edge, and then around the inner heart as well. You’re done!
