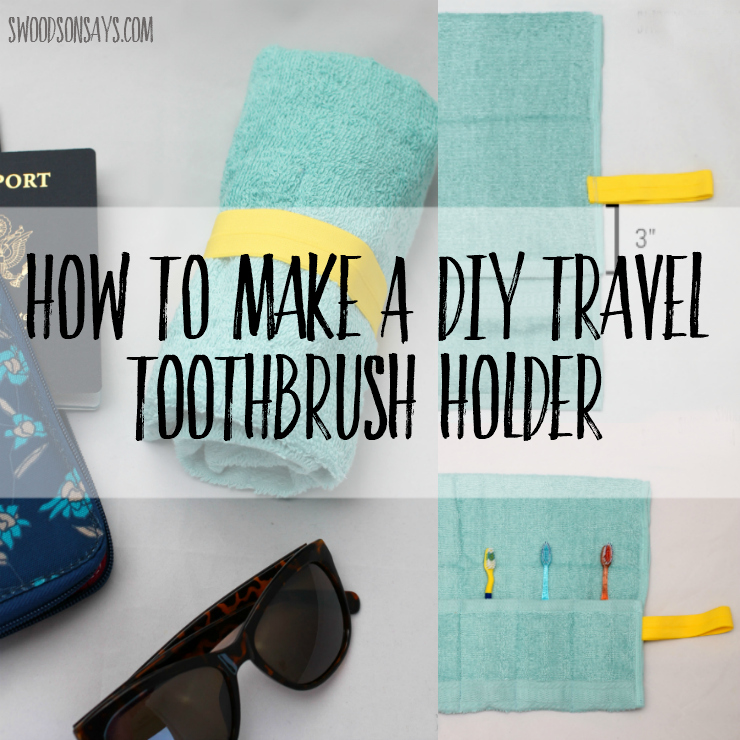
We loved to travel before we had kids and are just now starting to venture out again now that they are 2.5 & 5. Our first plane ride is coming up so this was perfect timing to share a tutorial for a roll-up DIY Travel Toothbrush Holder that the whole family can use! We were using four different plastic toothbrush holders, which became a real pain trying to match up all the tops and bottoms when we were packing up to leave.
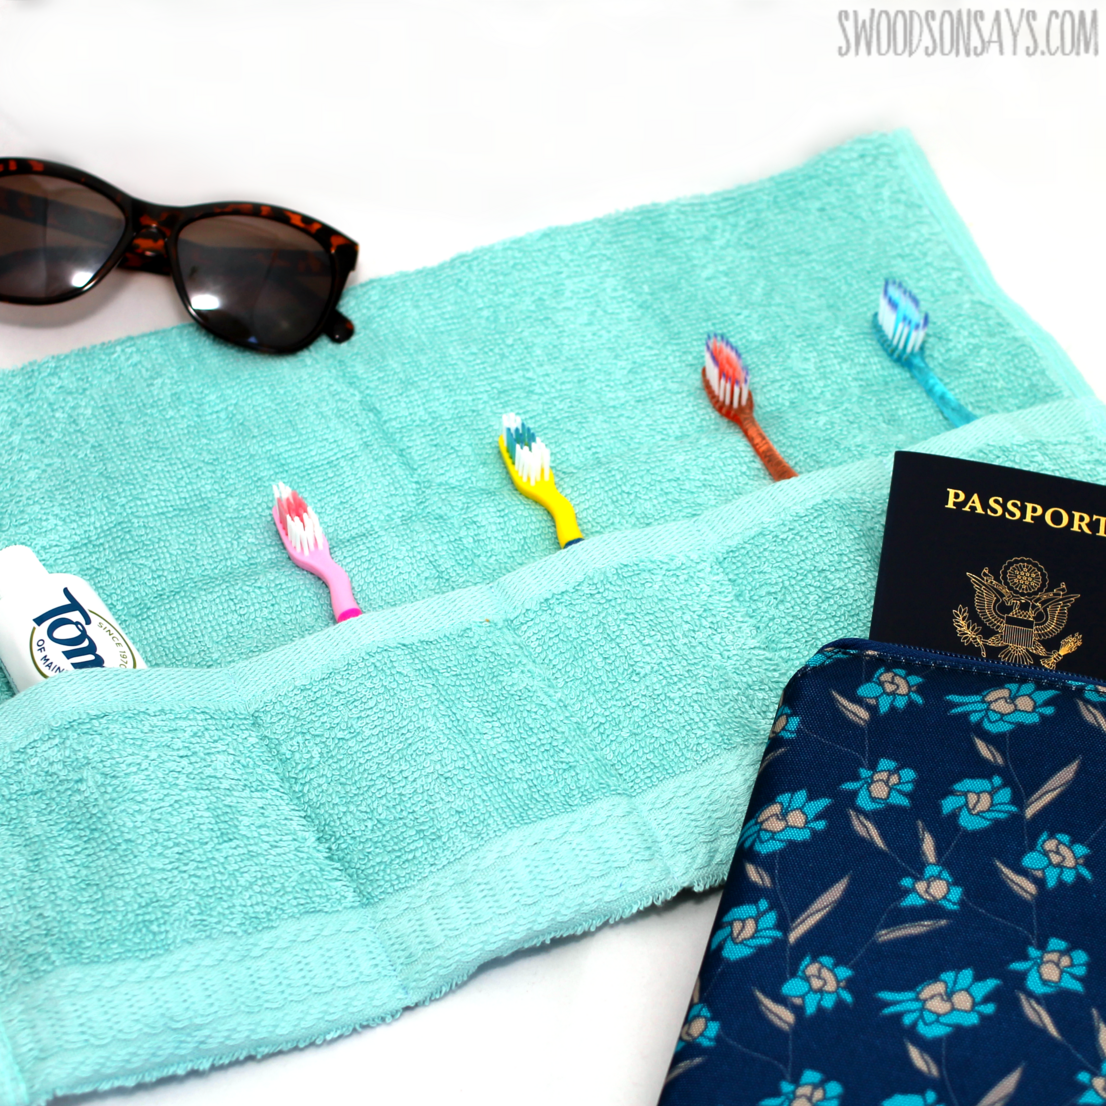
DIY Travel Toothbrush Holders are an easy way to upcycle towels and keep them out of the landfill, and I think it will work better than the plastic ones. I used a bigger towel and folded it over so it really keeps everything in my bag dry and the extra towel layer can absorb better than a single washcloth.
If you like this post, you should check out these too!
- 20+ easy beginner sewing projects – this is included on there!
- I love traveling with this giant carpet bag that I sewed
- Kid’s travel pillow sewing tutorial
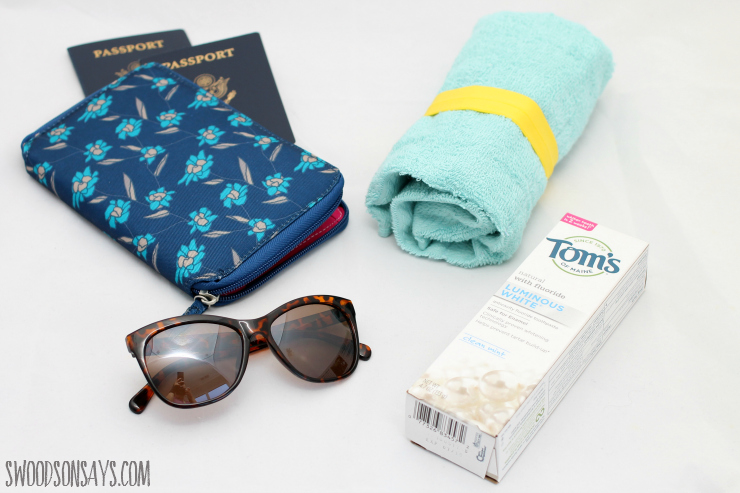
This post was originally sponsored by Tom’s of Maine® via Collective Bias; at the time we used their products, we always avoid artificial dyes and they don’t use them. I’ve since updated/edited this post but want to be clear that they initially paid me to write it!
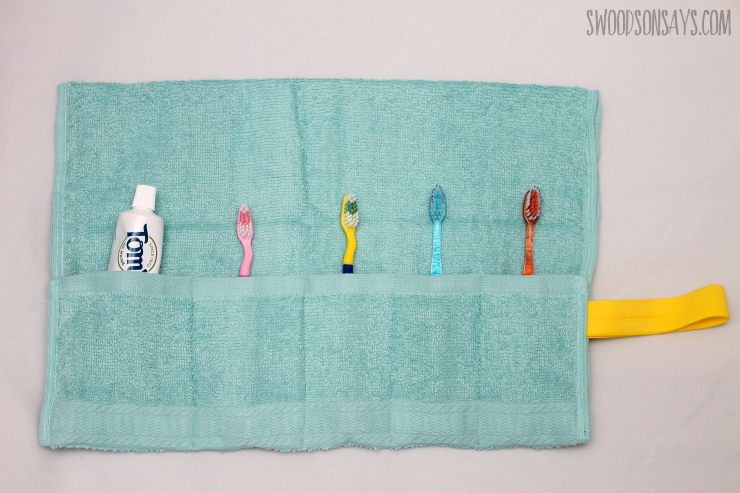
I’m looking forward to try this out when we visit Seattle soon! We often leave really early in the morning so I opted for an easy elastic loop instead of ties, I am not a morning person. Ready to make your own?
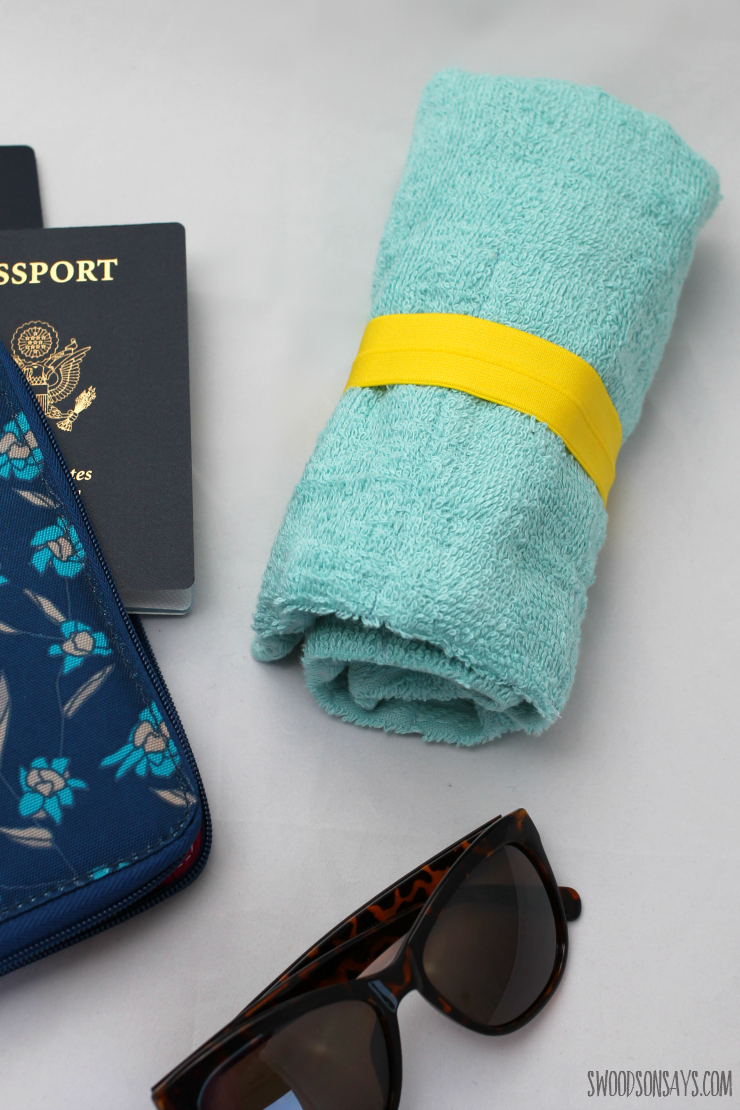
Pin this diy travel toothbrush holder tutorial for later using this link or collage image:
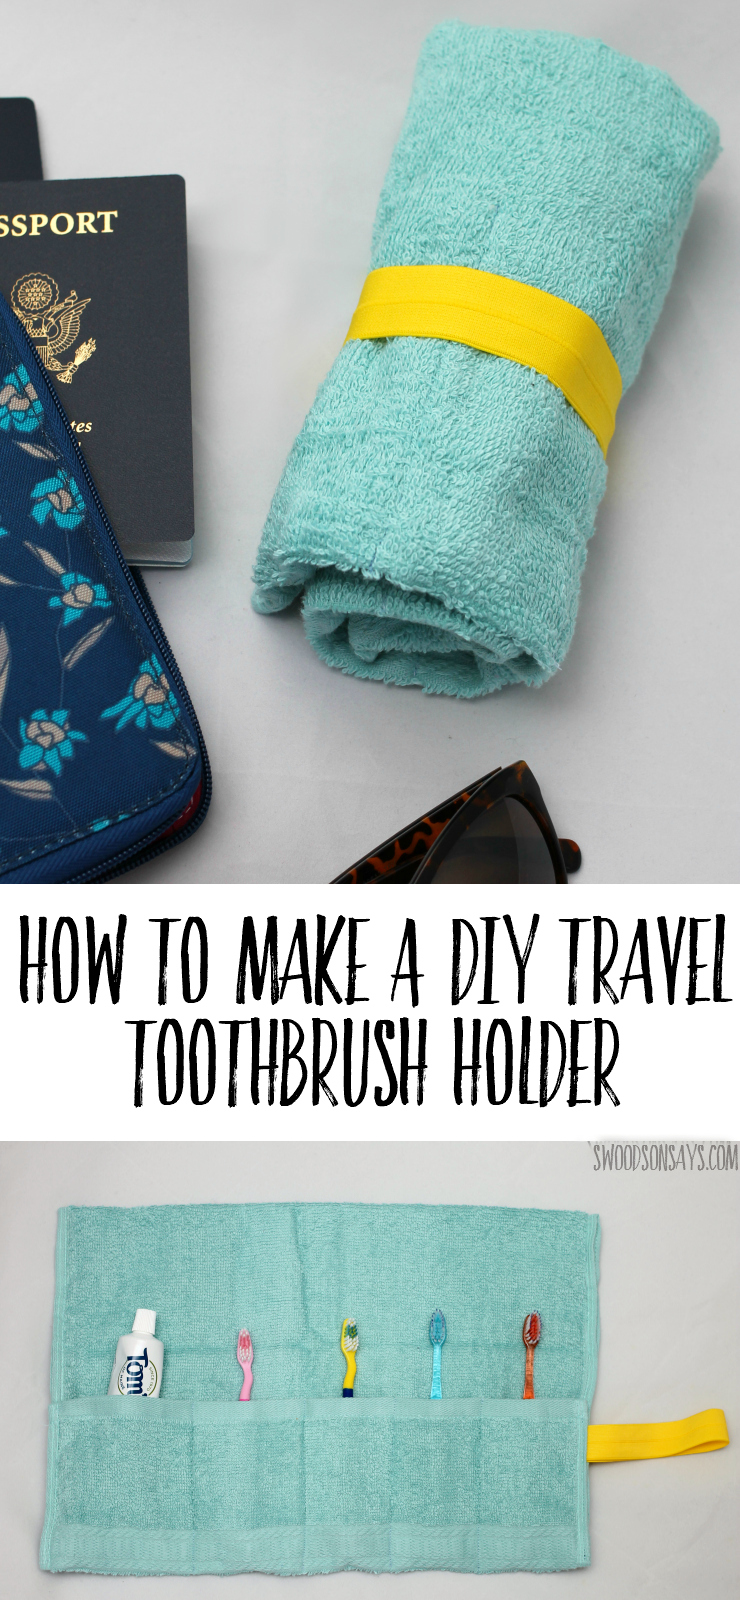
How To Make A DIY Travel Toothbrush Holder
Supplies
- Hand towel (mine measured 16″ wide by 26.5″ tall
- (1) 10″ long piece of 1″ wide elastic (I used FOE – fold over elastic)
- Pins
- Sewing machine /coordinating thread
Steps
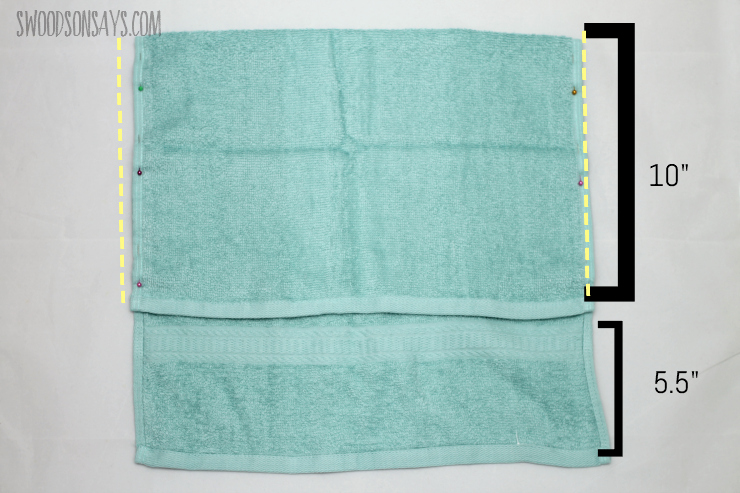
Step 1- Fold your towel down with the same dimensions as shown, leaving about 5.5″ inches as a single layer at the bottom. Pin and sew along the edges of where there is a double fold, shown in the yellow lines.
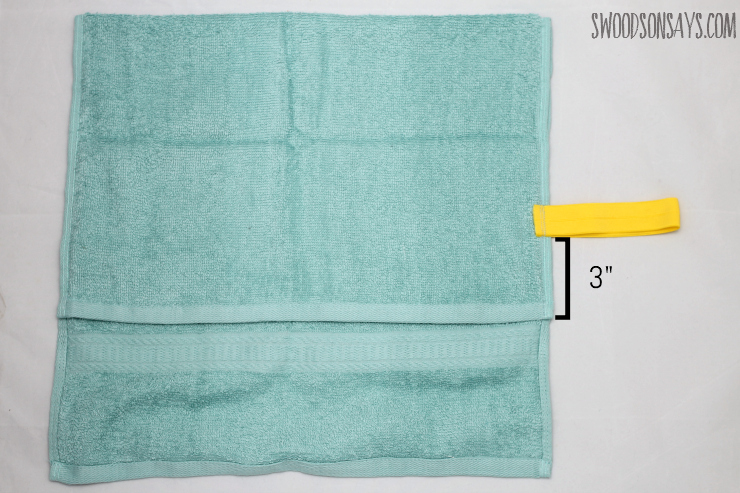
Step 2- Loop your elastic in half and sew it 3″ above the double-fold edge, sewing several lines back and forth to secure it.
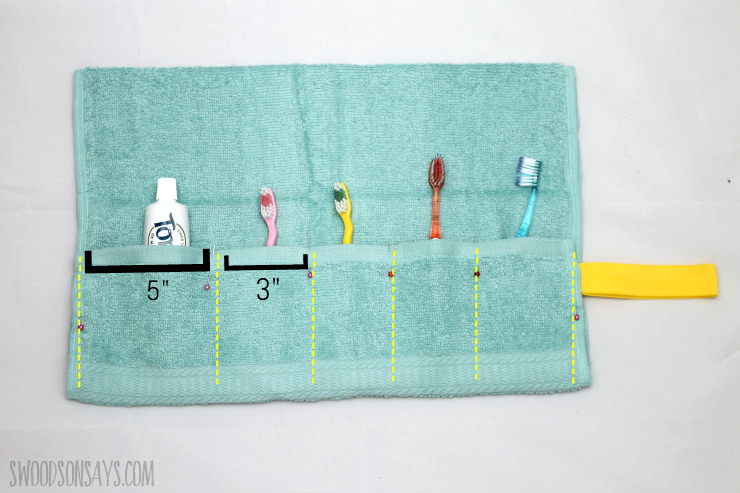
Step 3- Fold the single layer up to create a pocket and lay in whatever toiletries you’d like to include, pinning for distance. I used one 5″ slot and roughly 4 3″-ish spots for toothpaste and four brushes. Sew along the lines you’ve created.
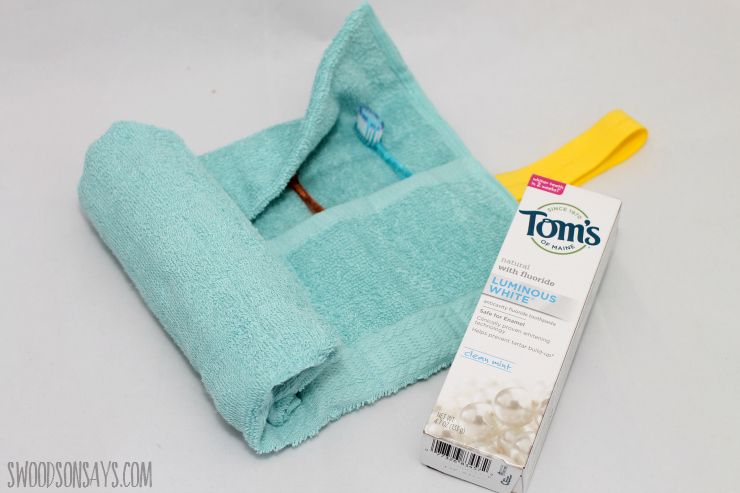
Step 4- When you’re ready to go, fold the top of the towel down to cover the toothbrush heads, roll it up, slide the elastic loop over and you’re done!

Kelly
Friday 13th of October 2017
This is such an amazing life hack!!! #client