
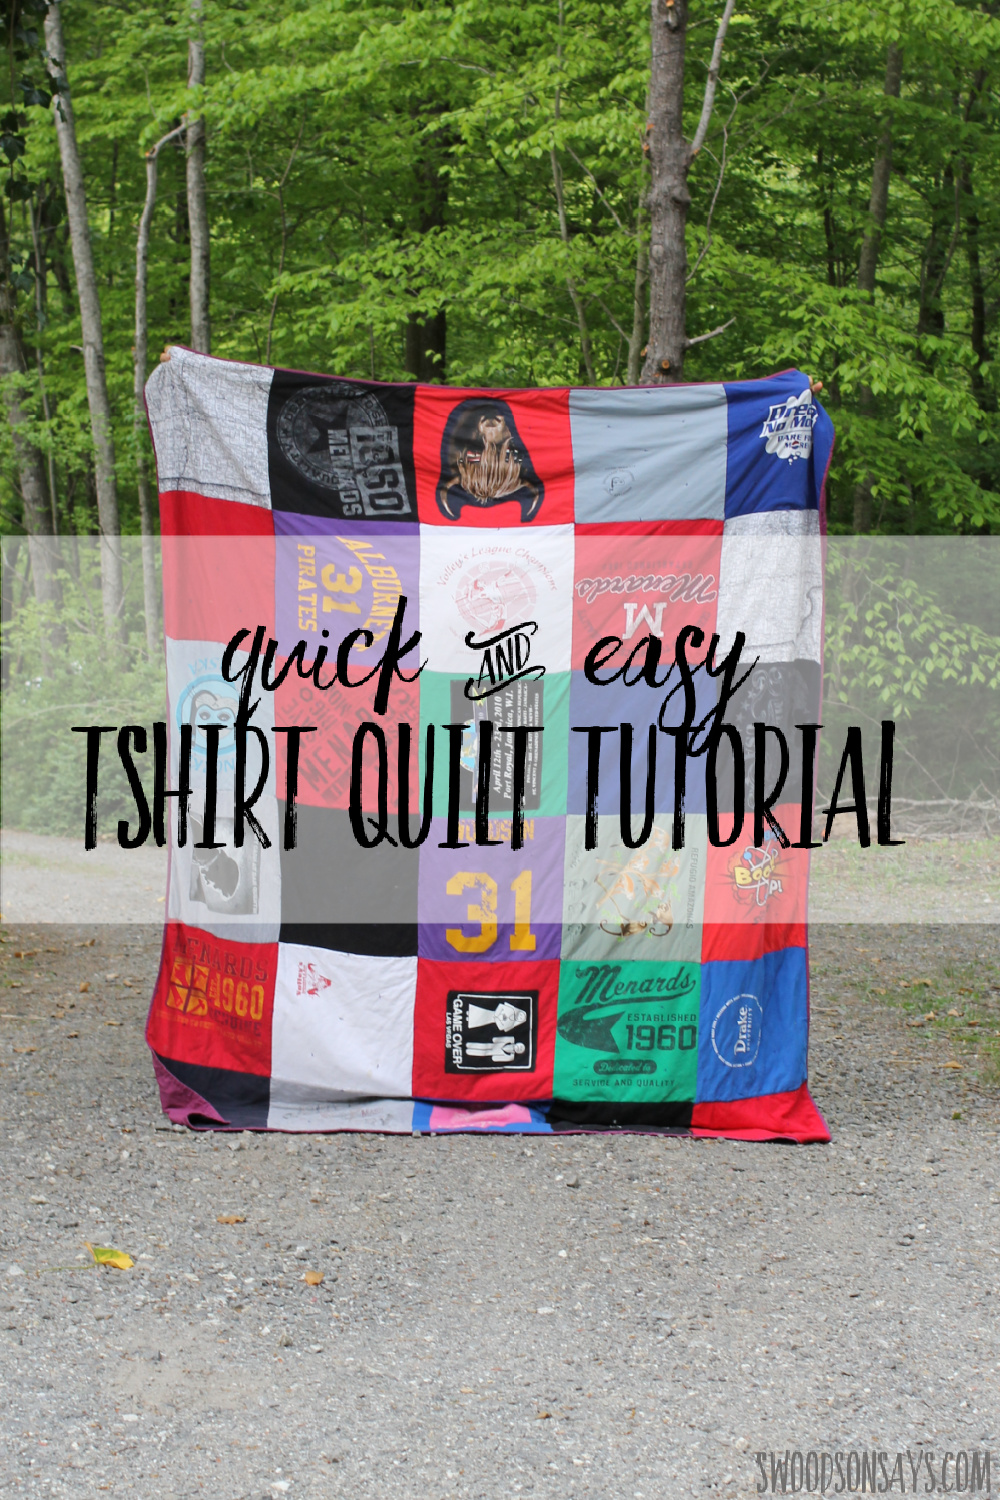
How to make a tshirt quilt without interfacing – an unprofessional, quick and easy way to make a tshirt quilt!
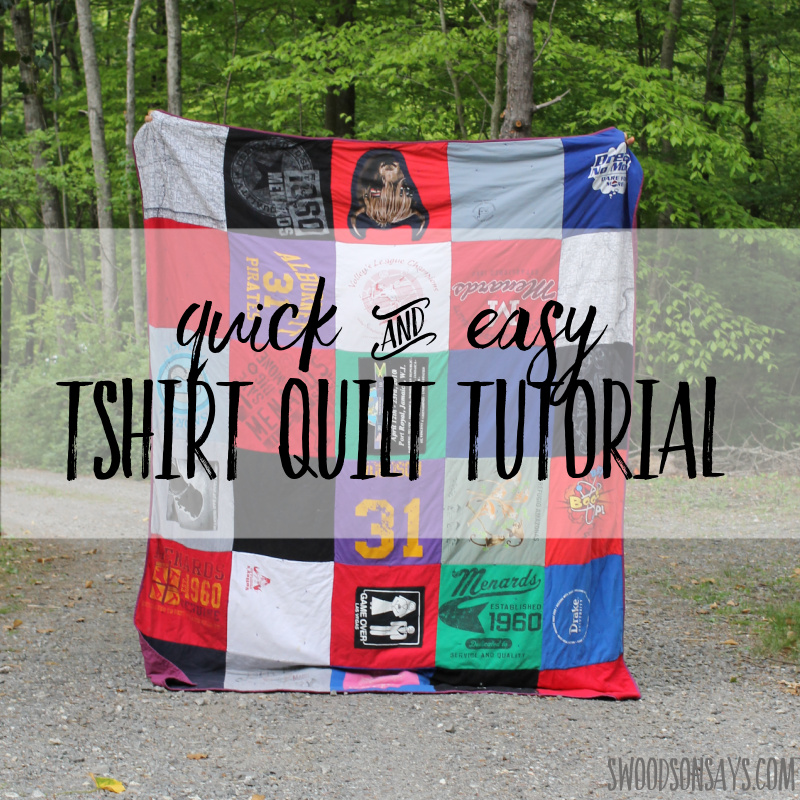
So, my husband would happily wear ratty, hole-ridden tshirts until they literally disintegrate off his body. I will always mend holes but eventually they’d be beyond repair and he’d begrudgingly agree to get rid of them. Except for “getting rid of them” actually meant being squirreled away for the past 8 years or so, waiting to be reincarnated as a tshirt quilt and now I’m sharing how to make your own!
It took me a while to get around to making this for two reasons; 1. I hated the idea of adhering all that interfacing by hand but didn’t want to buy a heatpress and 2. I was overwhelmed by how many shirts I had ended up with. There are some tshirt quilts that are ART and so detailed and pretty, I knew if I tried to do anything complicated it would take even more years with so much material to work with. I couldn’t find anything “quick and dirty” so made it up as I went along. We’ve now tested the quilt for a full year and I can vouch for its construction, so I’m sharing the tutorial if you want to turn a bunch of old tshirts into a quilt but don’t want to mess with fussy layouts or interfacing.
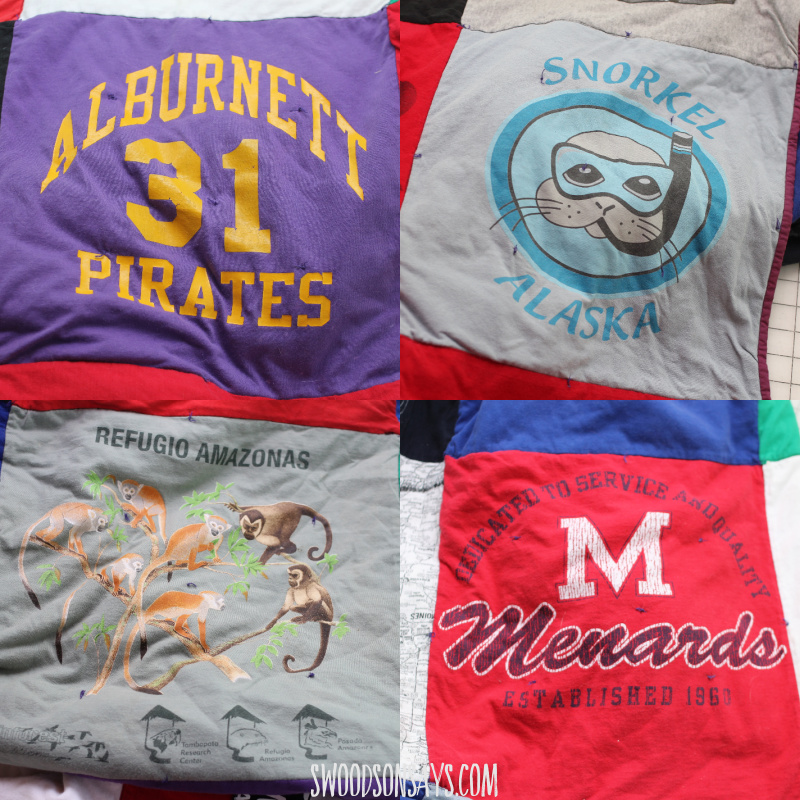
The quilt has tshirts that he had worn in high school, tshirts from our honeymoon to Seattle/Alaska, our post-graduation trip to Peru, and lots of free-after-rebate Menards shirts (which is basically fast fashion, I don’t think we’d be doing those even if we lived by one now!).
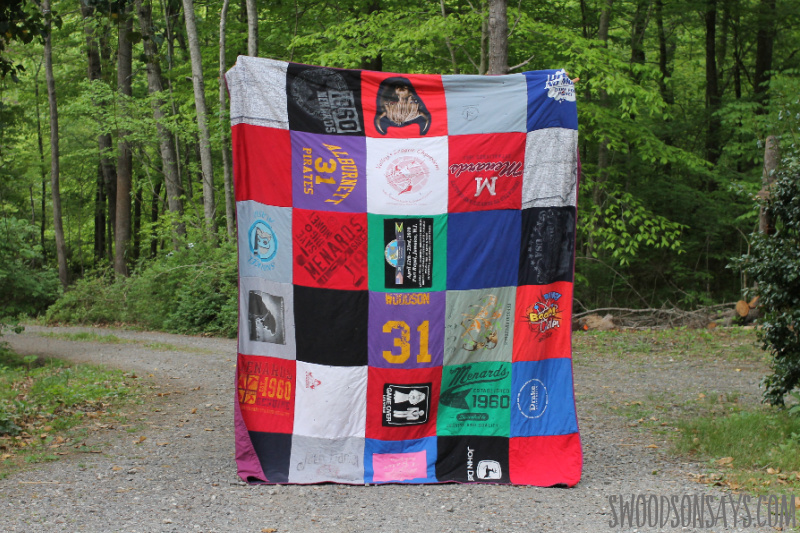
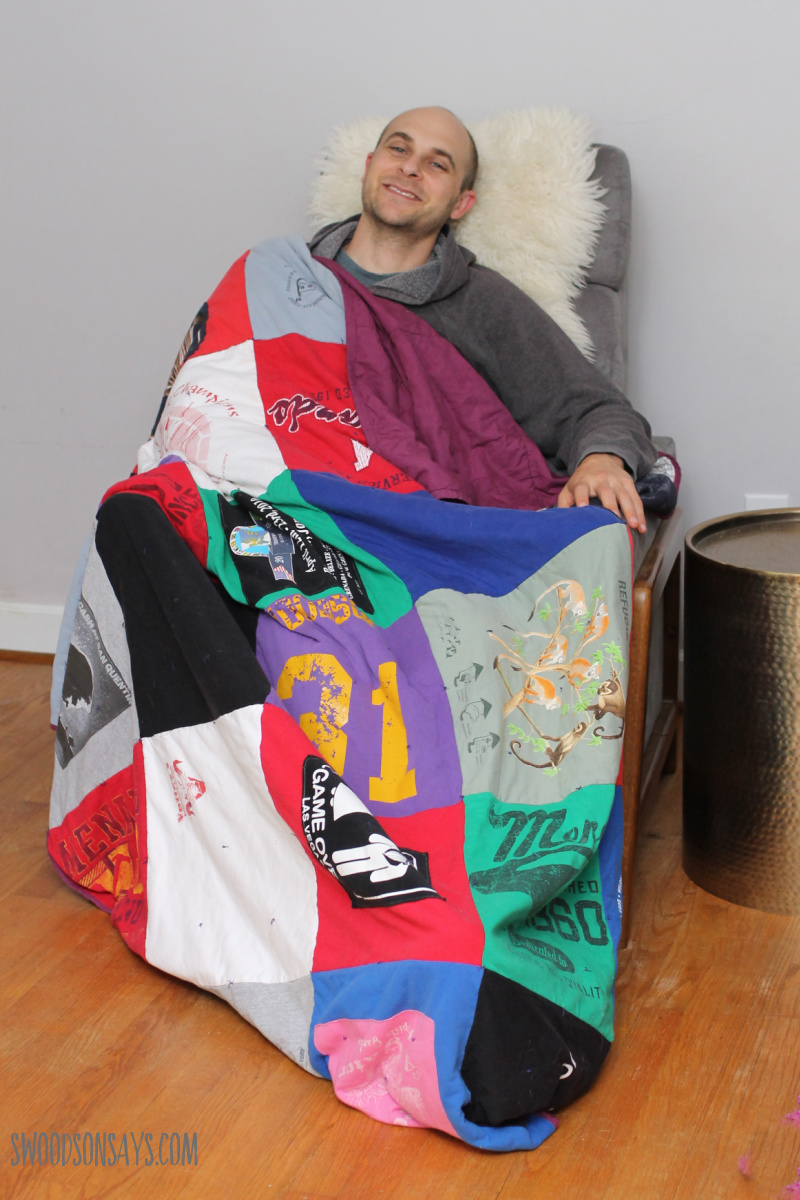
The finished quilt is gigantic! My husband is over 6′ tall and struggled to hold this sucker up, it is so cozy and huge. Without interfacing, the quilt overall is floppier and the edges aren’t as crisp and clean but I’m not fussy about that when it’s structurally strong!
Check out these other posts while you’re here!
- How to make a quilt from old clothes – 10+ ideas
- How to turn upcycled flannel shirts into a cozy quilt
- Sewing tips for beginners -15 mistakes to avoid!
- 25+ ways to repurpose old t shirts
Pin this tutorial for how to make a tshirt quilt without interfacing with this link or photo:
how to make a tshirt quilt without interfacing
ready to make your own?
Supplies
- Starch (fragrance free, it’s not healthy to breath artificial fragrance!) [Shop: Amazon ]
- Iron
- Curved safety pins [Shop: Amazon ]
- atting (this is my favorite) or a flat sheet for the middle
- A flat sheet for the backing & binding
- 20″ square acrylic ruler [Shop: Amazon ]
- Rotary cutter
- Lots of large tshirts – my finished quilt is 30 squares; it will depend how big the shirts are and if you want some plain squares how many tshirts you need.
- Fusible transfer like Heat N Bond – only if wanting to transfer smaller decals that don’t fit on to the 20″ square [Shop: Amazon ]
Steps
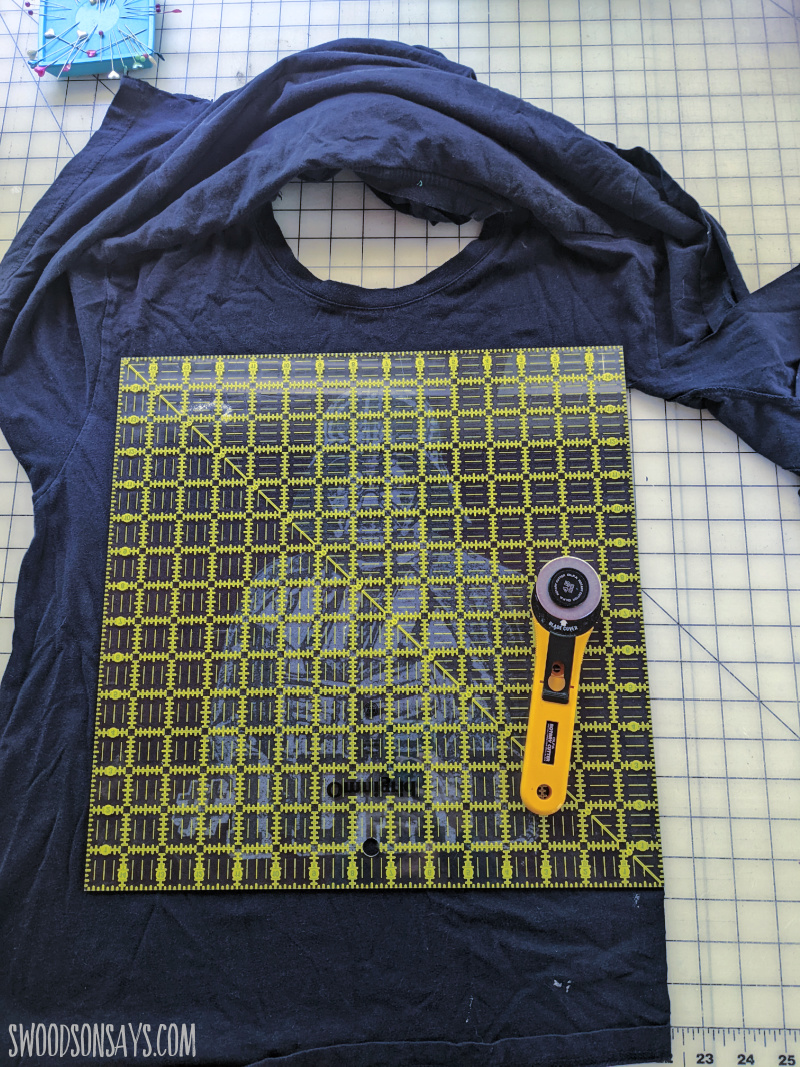
Step 1- Spray best press on the tshirts and let dry, iron briefly. Cut up the side seams of every tshirt and then use your 20″ ruler to cut out designs and plain squares.
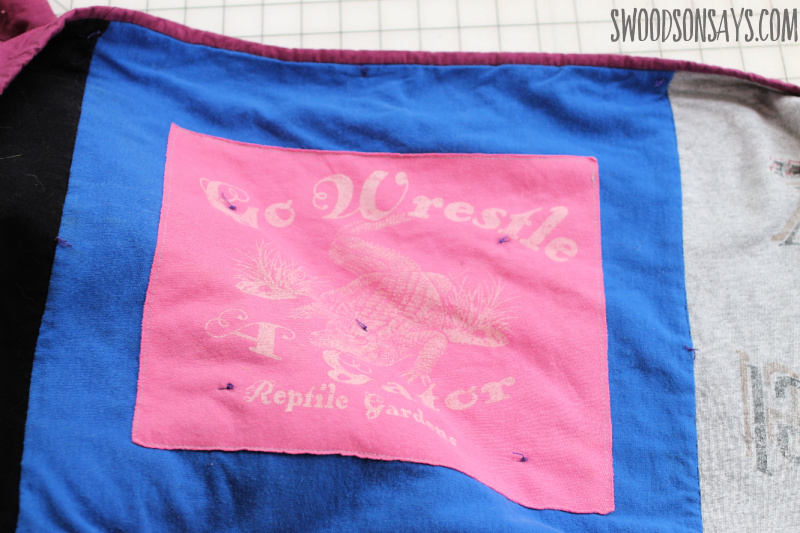
If you have smaller decals that won’t work with the full 20″, use Heat N Bond to cut them out and applique them on to a plain square (if you’re not familiar with applique, check out this post!)
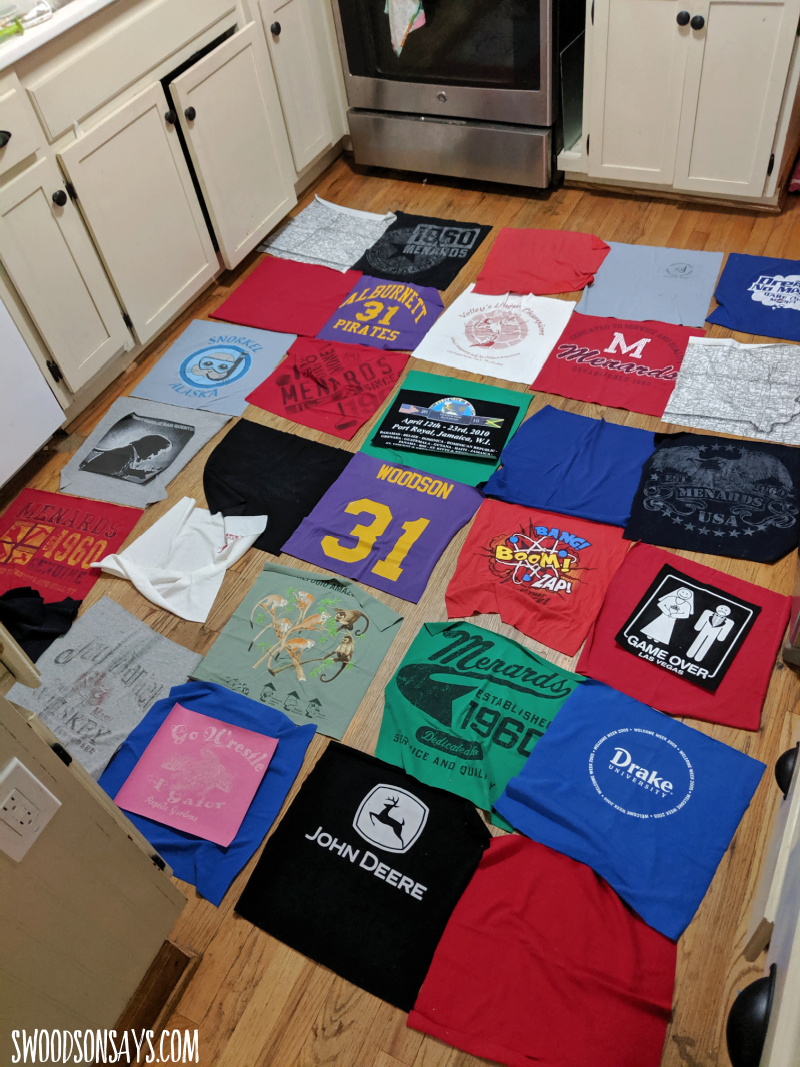
Step 2- Lay them all out! Play with color and layout to get the quilt how you’d like it to look. Then slowly sew the squares together going row by row or column by column, then sew those all together. I used a 1/4″ seam allowance and pressed seams open as I went.
A mini step, I didn’t have batting wide enough so I stitched two pieces together with a zig zag down the seam!
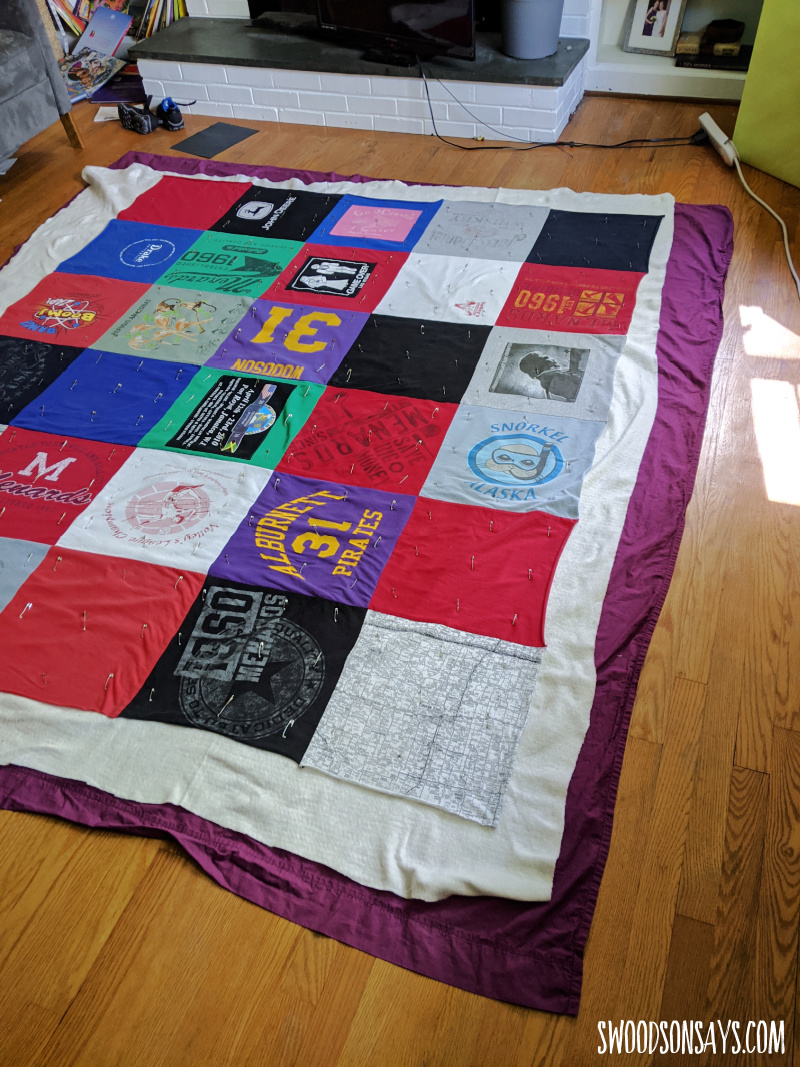
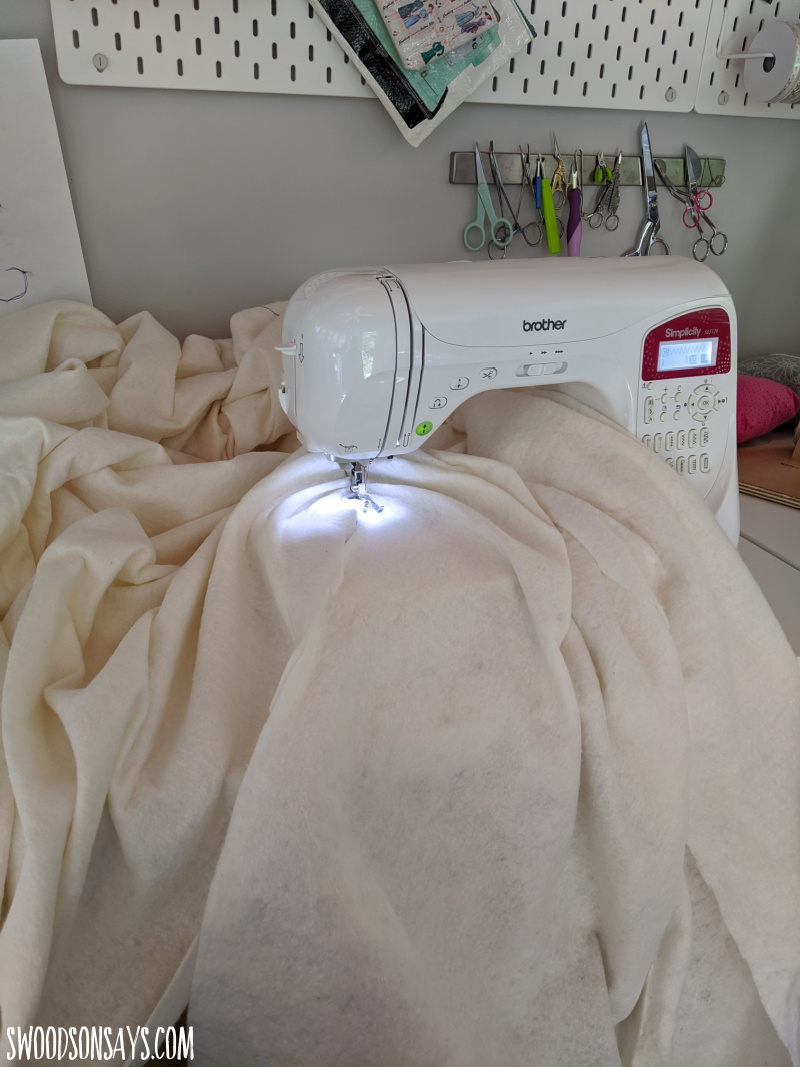
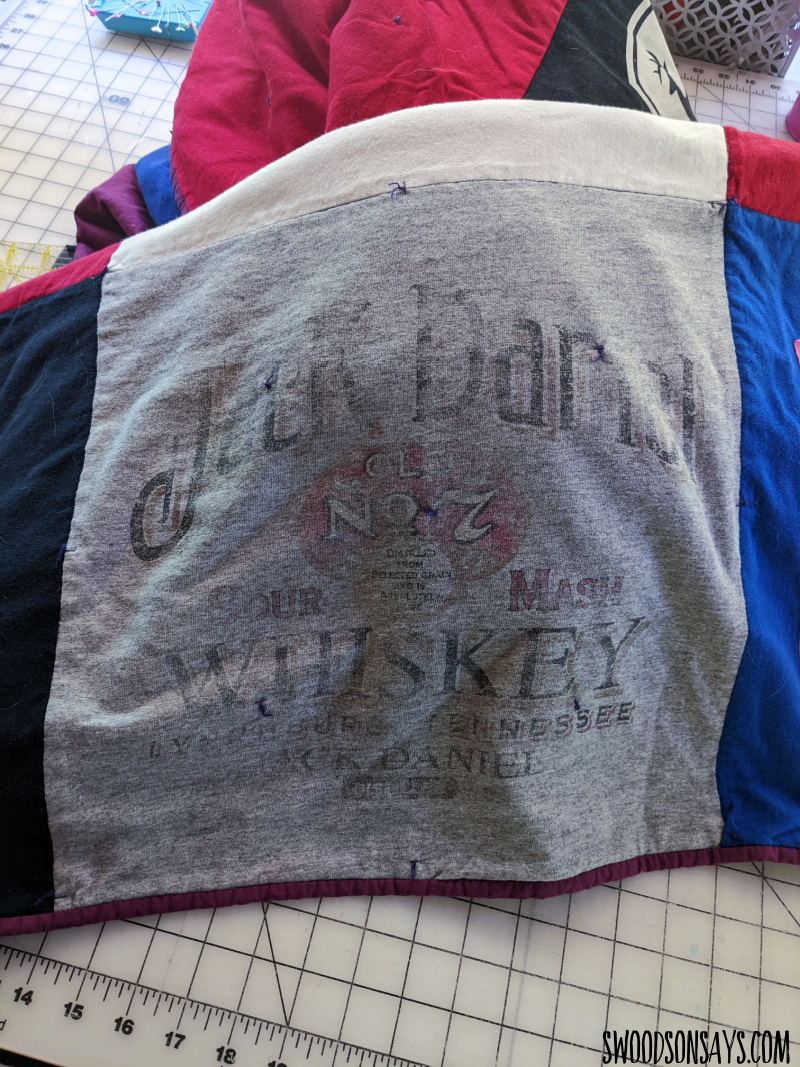
Step 3- Make a quilt sandwich! Put your top on top, facing out, then the batting, and then a sheet on the bottom. The batting & sheet should hang out from under the sides by a few inches. Safety pin in place, working from the center out and smoothing often to make sure no folds or ripples are getting trapped between the layers.
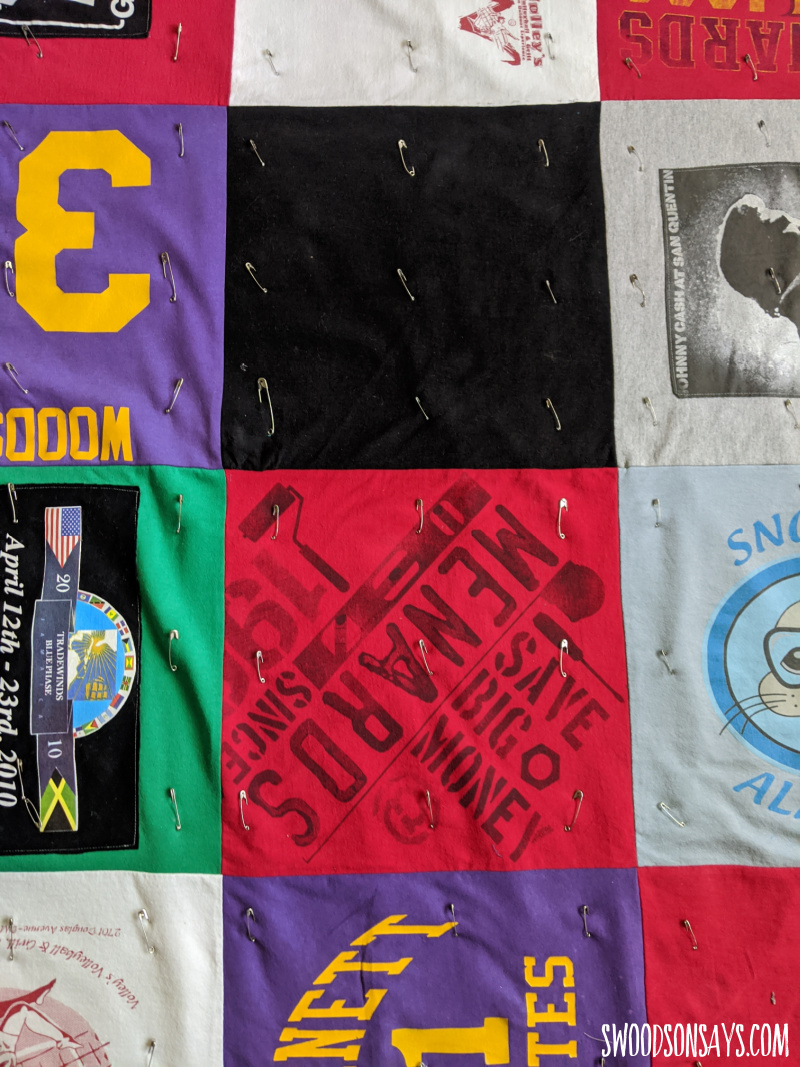
This is how densely I safety pinned!
Step 4- Sorry, my photo for this step seems to have evaporated!! I then quilted with my walking foot, following the horizontal and vertical seams. Using an acrylic ruler, I squared up the four corners (you can see a tutorial for that here on another blog) and used my serger to go around all 4 sides for a clean, tight edge.

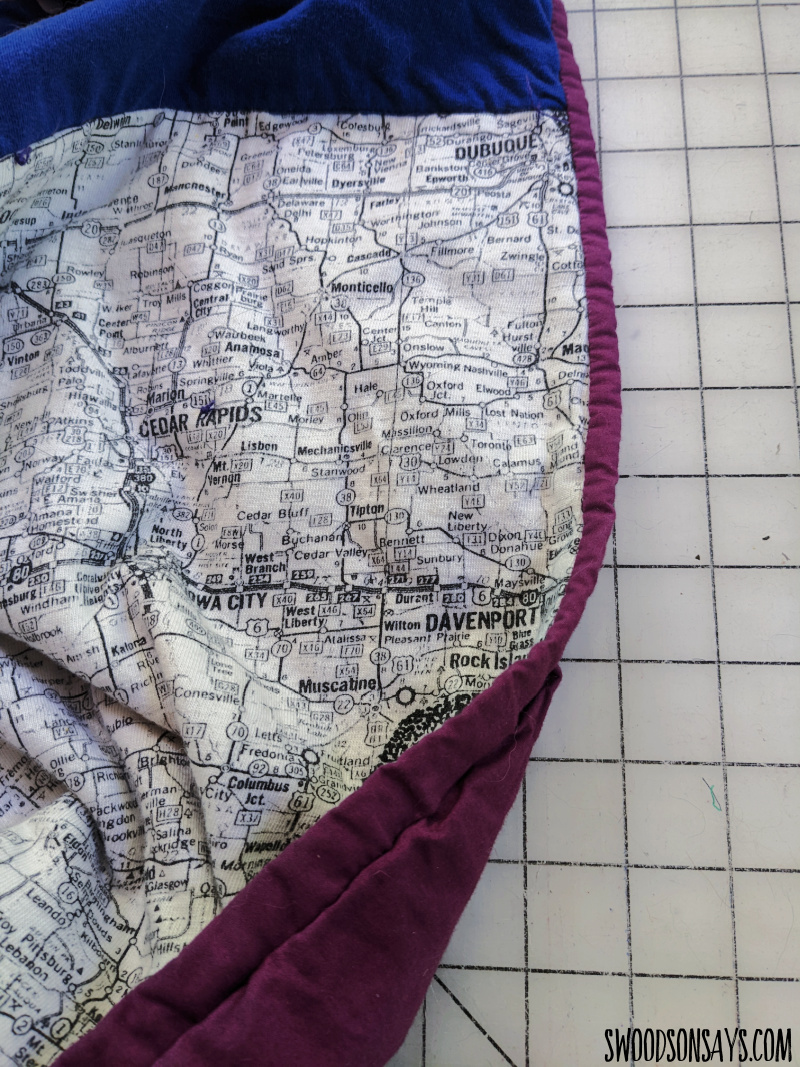
Step 5- Time to sew on binding! I follow this binding tutorial method and cut strips off my sheet excess for the binding.
Step 6- I used cotton embroidery floss to hand quilt some X’s in between the machine quilting lines, so the batting wasn’t unquilted anywhere further than a few inches apart (every batting has a different recommendation for how far apart quilting needs to be – OR use another sheet and avoid the whole issue!). Wash, dry, and enjoy!
Bonnie
Sunday 22nd of March 2026
I made mine this same way and it was so easy! I love how it still stretches and snuggles around you the way most quilts done.
Dana
Tuesday 14th of January 2025
Are you in Iowa?! I noticed the Alburnett Pirates T shirt.
Stephanie - Swoodson Says
Tuesday 21st of January 2025
My husband is from Alburnett - we both went to Drake University and lived in Des Moines after college :)