
How to mend a hole in a quilt with applique – see how to mend a quilt with this simple sewing tutorial.
Quilts are so precious so it feels extra horrifying to spot a hole in them! My mom made this quilt top originally and didn’t like how wonky it was, so I rescued it from her perfectionism and (poorly) quilted it with a sheet as batting and another sheet as backing. It’s such a lovely summer weight and we all love using it, even if it isn’t a color scheme I’d normally choose. Two of the blocks started to pull apart a few months ago and I finally took 15 minutes to mend it with a method I haven’t shared on here before!
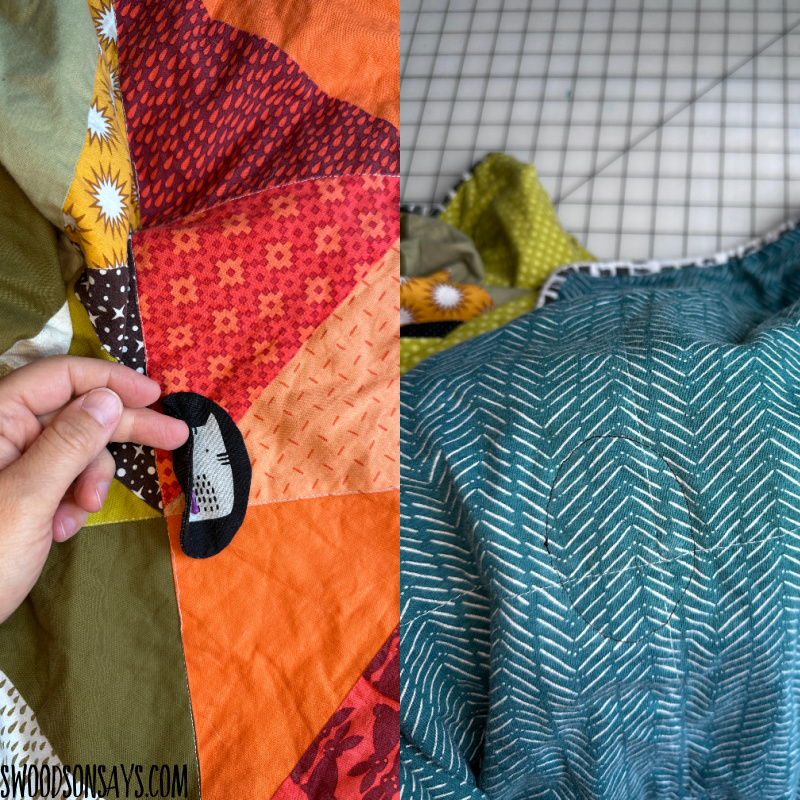
I’ve shared lots of applique mending in the past, but this method has no exposed raw edges. You can totally do raw-edge applique with woven cotton and quilts, like I did for most of this quilt, but I wanted a different look on this mend.
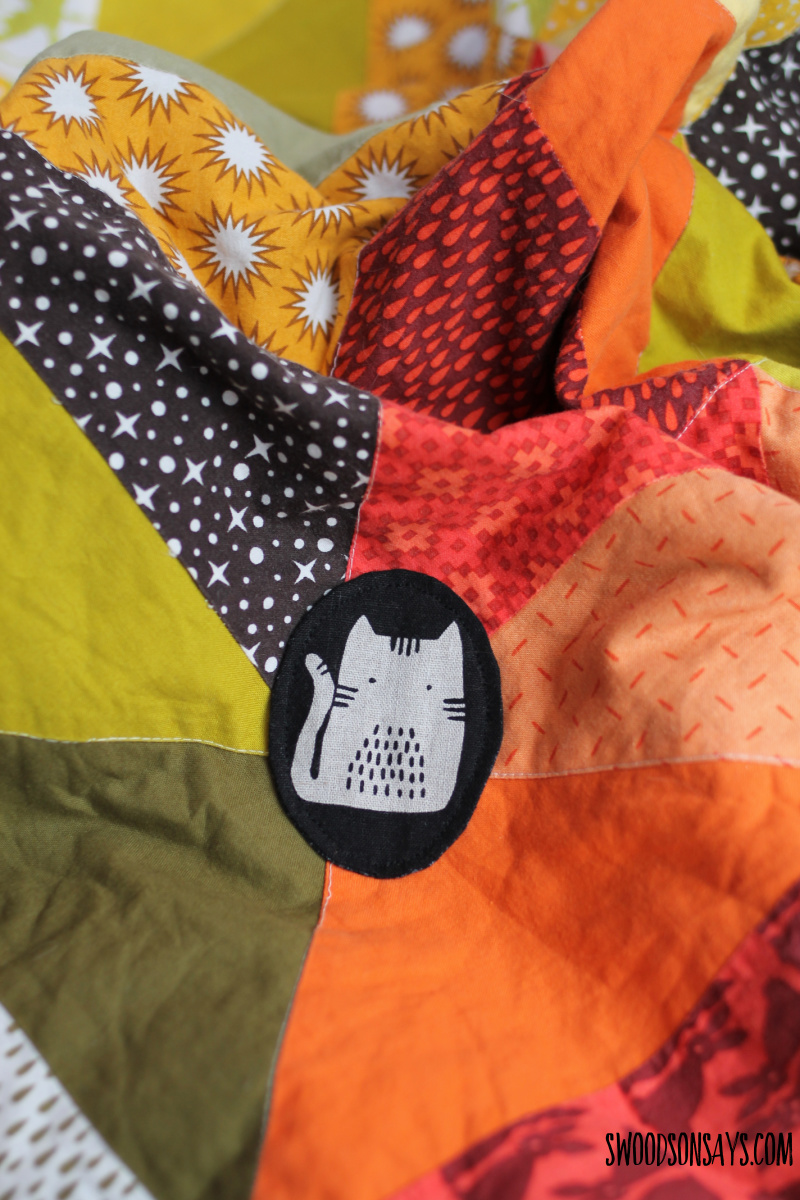
My oval is not perfectly symmetrical but that is user error, not the method’s fault. This mending method could be applied to anything really, if you don’t like fraying or raw edges give it a whirl!
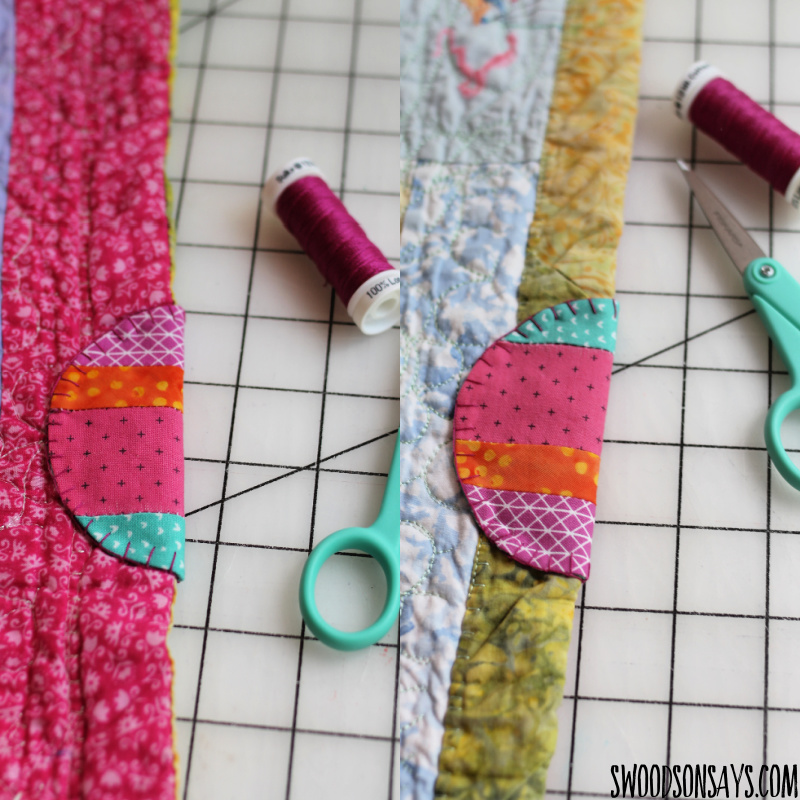
Here is a patchwork version that I made recently and then hand-sewed on, isn’t it fun! Same technique as below, just a patchwork “top” and blanket stitch all around.
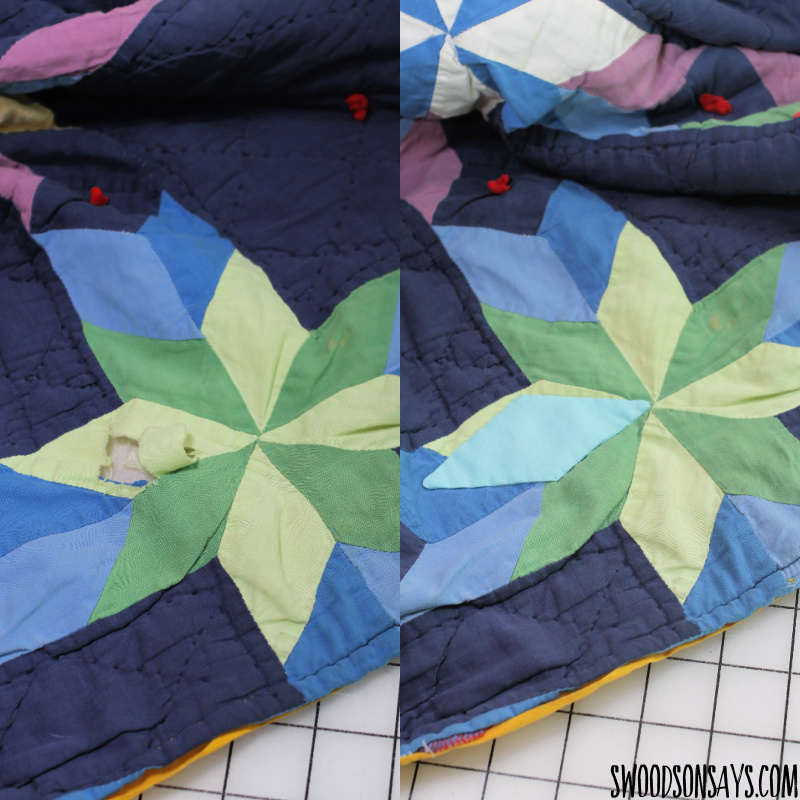
Also used the technique here, with a diamond, on this slowly disintegrating quilt of mine from middle school!
If you like this post, check these out while you’re here!
- How to mend a hole – 20+ creative inspiration & tutorials
- 20+ creative ways to hide stains on clothes
- 35+ creative quilt label ideas
- How to make a quilt from old clothes – 10+ ideas
- 15+ modern cat quilt patterns to sew!
Pin this tutorial for how to mend a hole in a quilt with applique with this link or image:
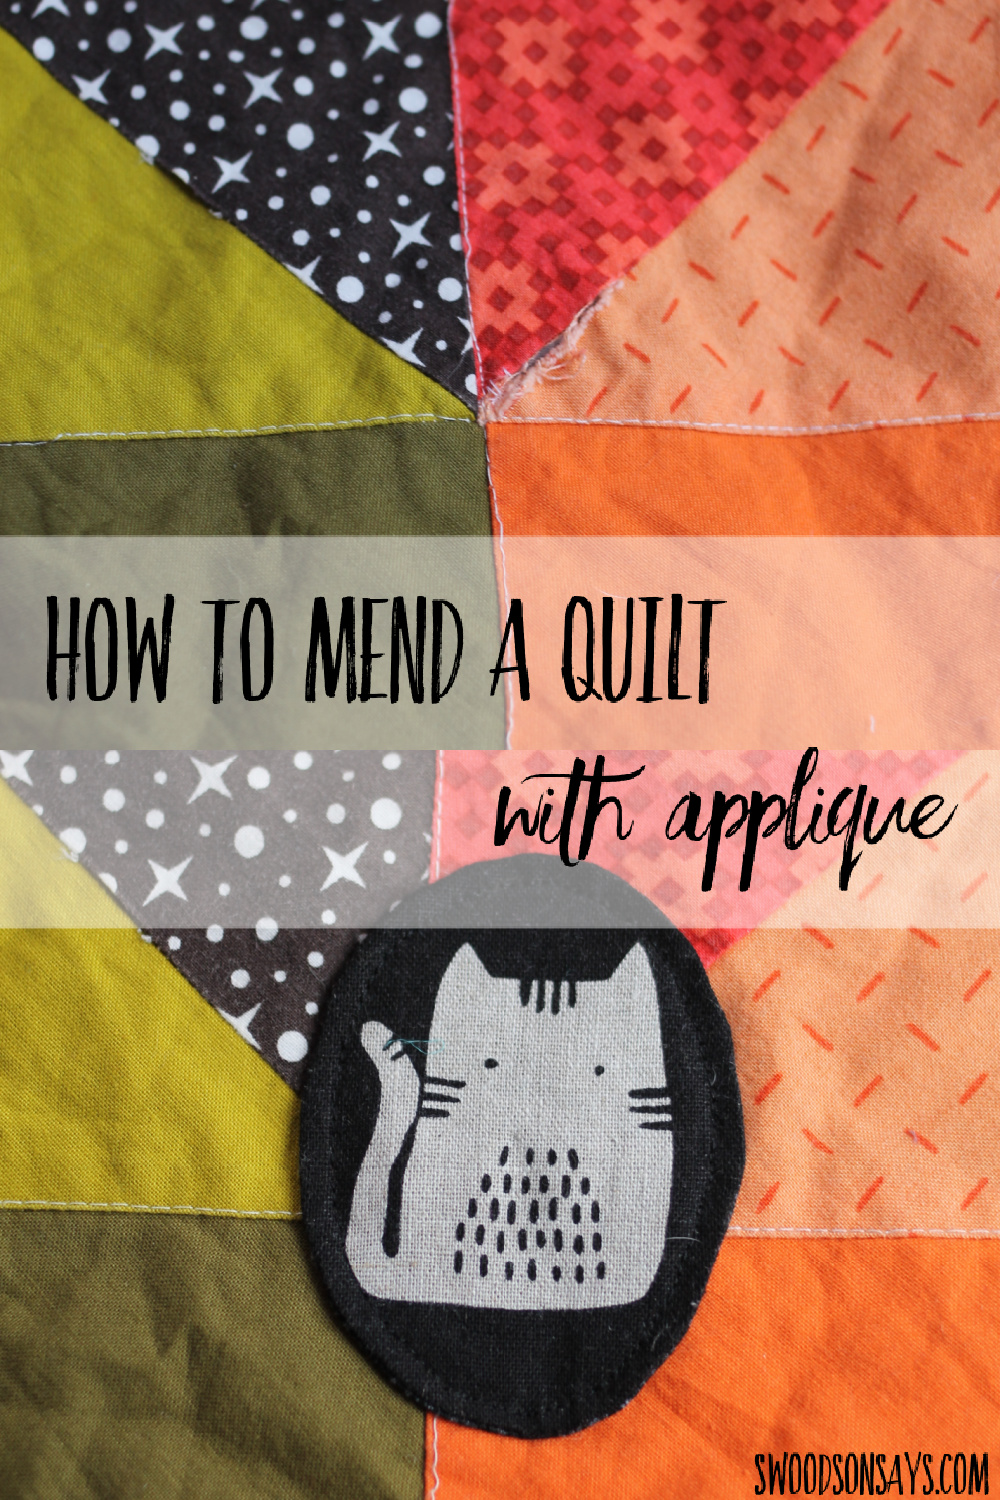
How to mend a hole in a quilt with applique
Supplies
- Woven cotton to make the patch with – this is from the Cats and Dogs Andover line by Sarah Golden, I don’t see it in black anywhere but it is in stock in pink/yellow/white.
- Some type of marker – a sliver of dry soap works well but here I was fancy and used this chalk liner
- Scissors
- Something blunt to push out the edges
- Sewing supplies – machine or hand
Steps
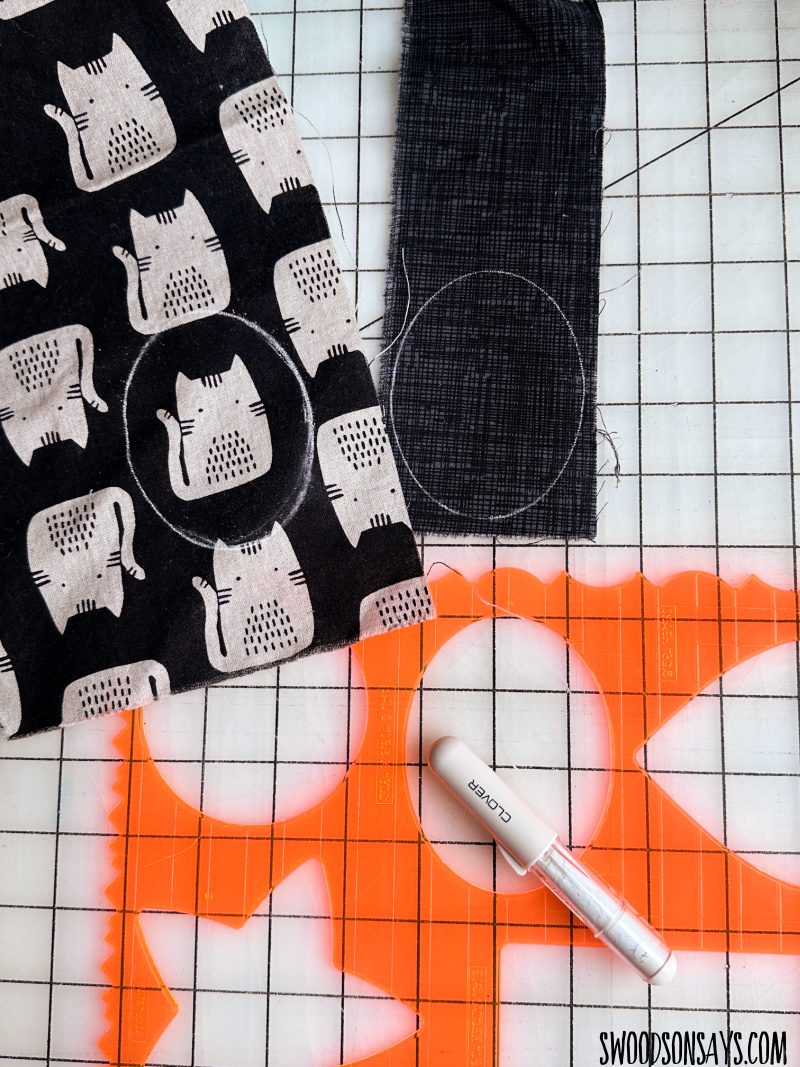
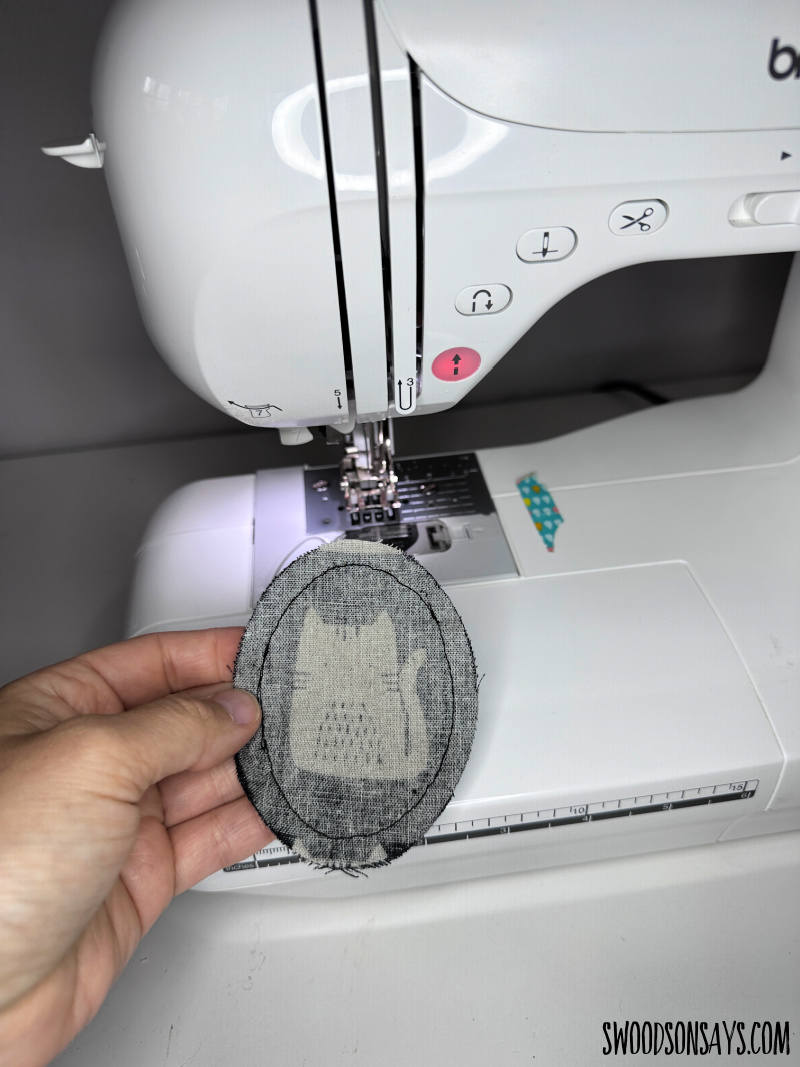
Step 1-1. Cut out two identical shapes that are larger than the hole you’re covering, keeping in mind you’ll also lose some size with 1/4″ seam allowance all the way around.
Step 2-
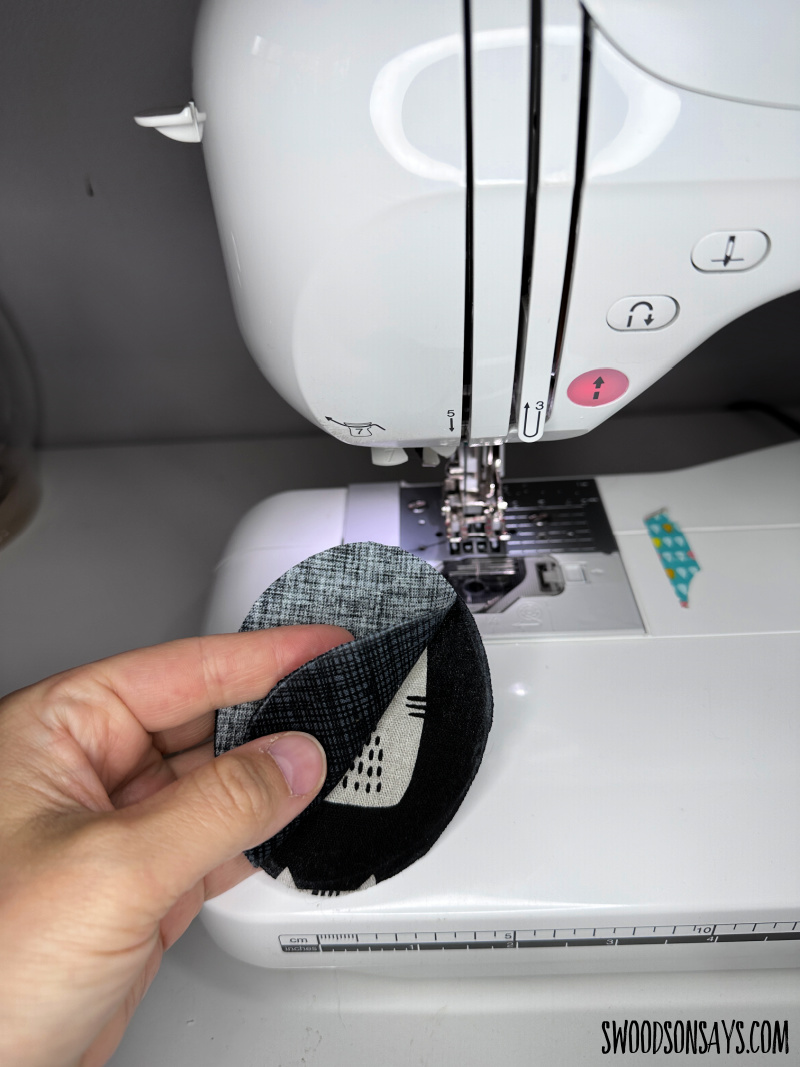
2. Sew them, right sides together, all the way around.
Step 3-
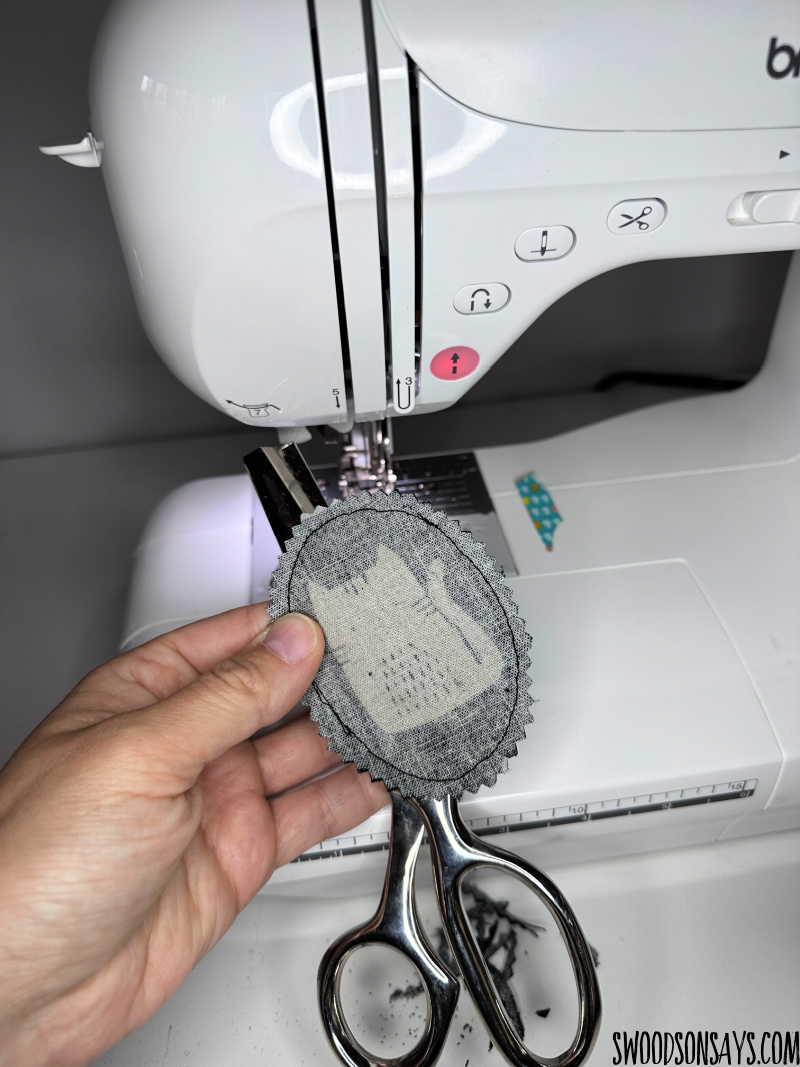
Step 4- 4. Cut notches all the way around the oval or cheat and use pinking shears.
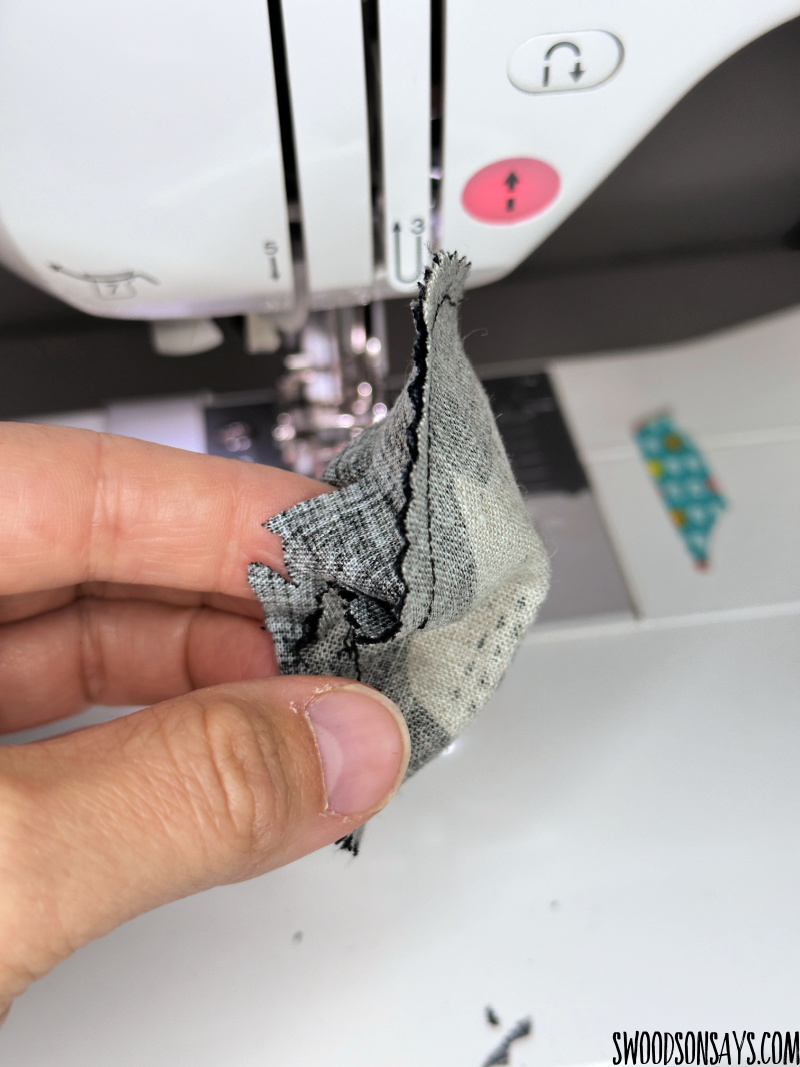
Step 5- 3. Snip a small opening on the BACKSIDE shape and gently pull it right sides out through the hole.
Step 6- Use something blunt to push all the edges out nice and smooth, press.
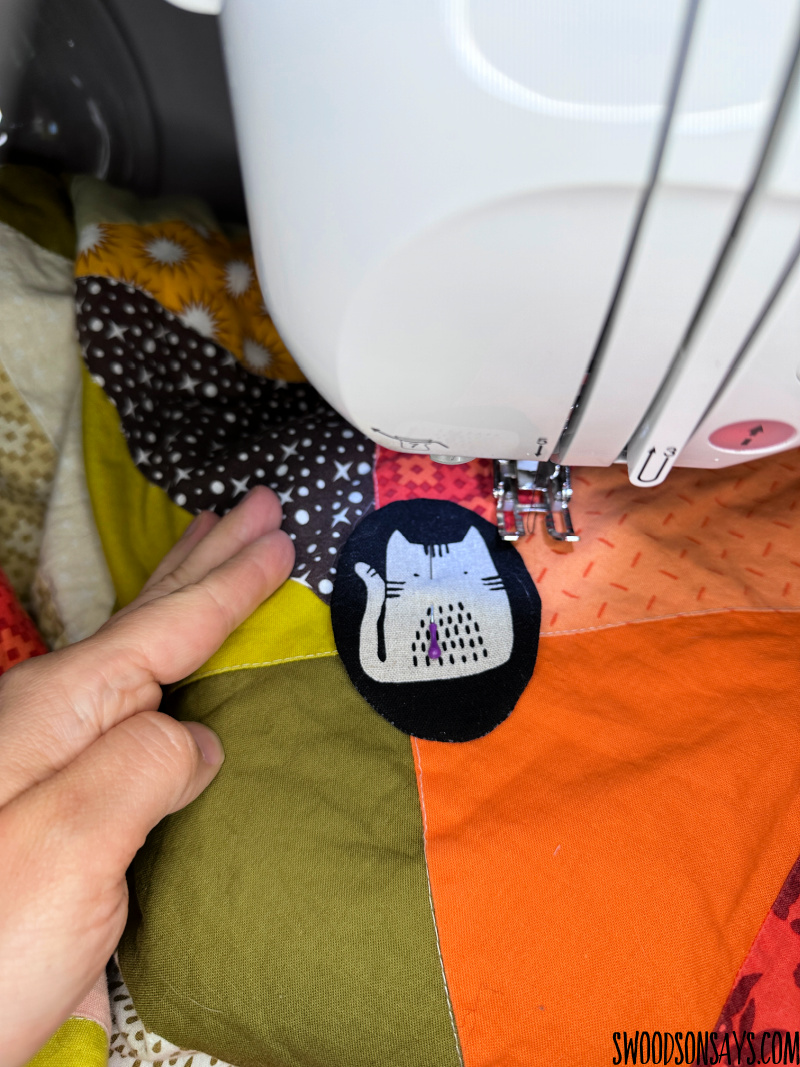
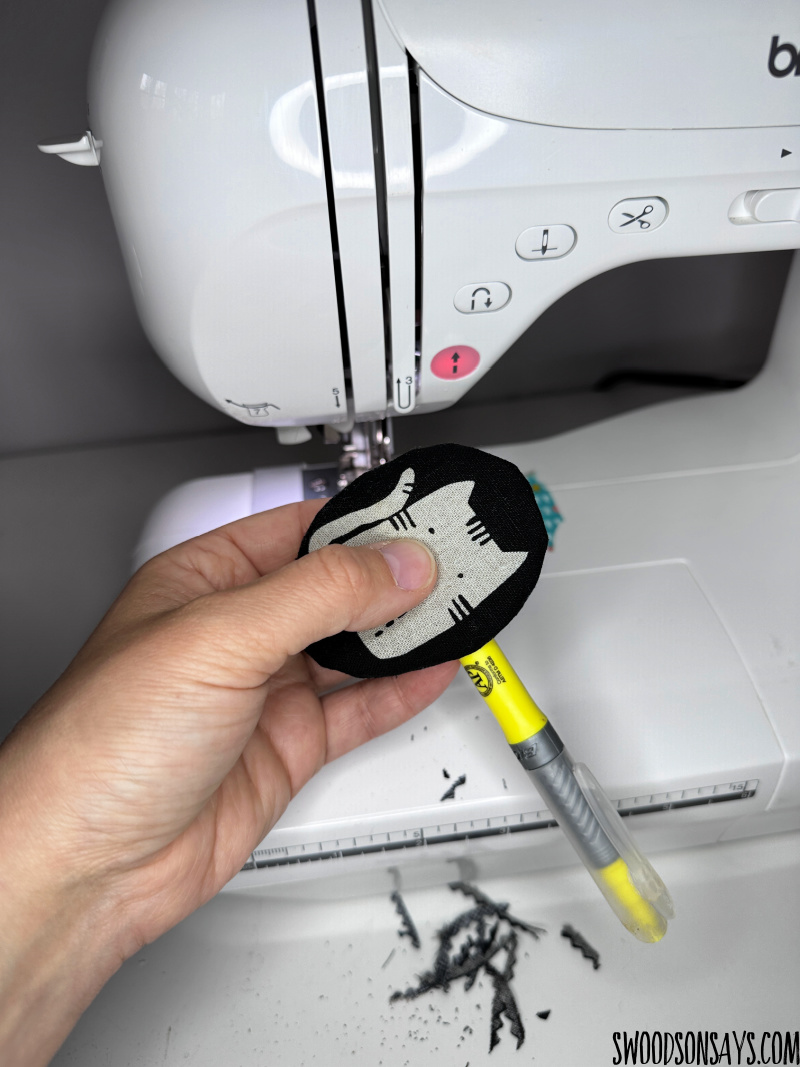
Step 7- 5. Stitch your patch on, back side down, by hand or machine! If you use a machine, you’ll see the backside of the stitching on the bottom of the quilt; if you sew by hand you can just go through the top layer and keep the backside intact.
Jessica
Monday 1st of September 2025
This perfectly solves my problem! I wonder if it could work with a heart shape? Thank you!
Stephanie - Swoodson Says
Monday 1st of September 2025
I would trial with cheapie fabric first, but there is no reason why it wouldn't work! The trickiest part would be the top and bottom with the sharp point/curves, I hope it is a great fix for you :)
Marlene Clausen
Friday 1st of August 2025
Applique is also my go-to method for "fixing" piecing oopsies that show up only when it is "too late" to replace the offending piece of a block or a block. I simply piece another block from orphan pieces/blocks or left over fabric, applique over the errant block and re-quilt as it was previously quilted. Another mending approach, is to make the applique as you describe and if the mending fabric is way off from the original, embroider a design on it and repeat the process randomly scattering the appliqued fabric and embroidery across the quilt. To make the fix look intentional, quilt over the patch(es) replicating the quilting as close as possible to the rest of the quilt.
Stephanie - Swoodson Says
Saturday 2nd of August 2025
Those are great ideas Marlene, thanks for sharing!!
Carolyn Huffman
Saturday 15th of April 2023
Thanks for this post, Stephanie! I’d learned this method years ago when I was making little stuffed kitty pins to sell but needed a reminder of the how-to. I never thought of using it to mend a quilt and I do have a few that need mending due to sharp kitty claws so I’ll have to give it a try. I suppose it could also be done to mend a tear in clothing or give a new look to a clothing item by adding a little appliqué accent. And why not stuff it a little to give the appearance of trapunto?! Love your ideas and look forward to your posts!
Stephanie - Swoodson Says
Tuesday 4th of July 2023
yes, could work with clothes for sure too! adding stuffing to make it 3d is a fun idea, thanks!!