
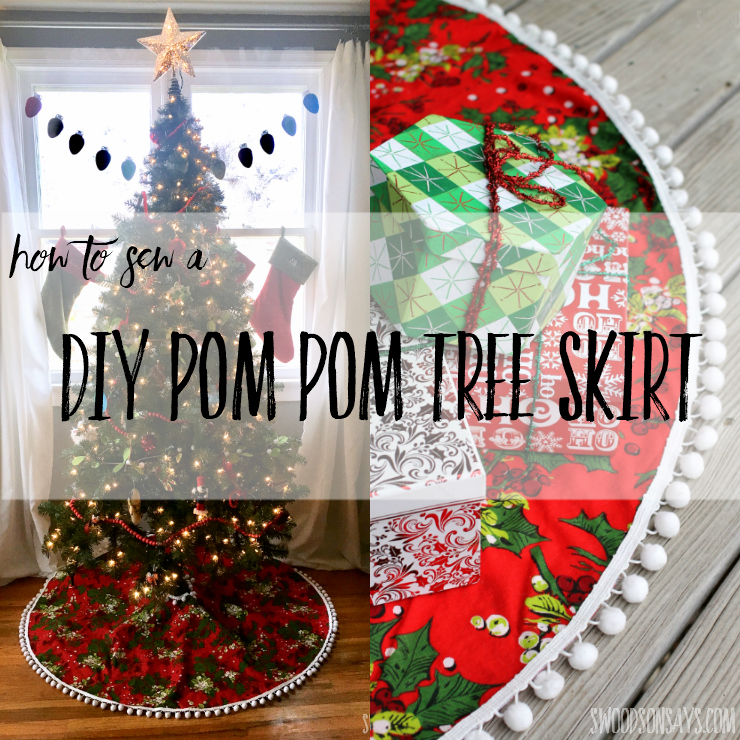
You don’t need a pattern to cut and sew a tree skirt! I have an easy tutorial for how to sew a diy pom pom tree skirt; it will take longer to pick your fabric than to finish this fun Christmas sewing project. I worked on this while visiting family, without my usual tools or fast Internet access, and I’m so thrilled with how it turned out. This was a gift for my friend but I have plenty of pom-pom trim left over so I might need to make one for myself, too!
Do you need more Christmas sewing ideas? Check these posts out!
- 25+ Christmas tree skirts to make
- Stocking stuffers to sew
- Master list of Christmas ornament tutorials
Her decor was a mix of traditional and modern, with several elements already up and hanging. I spent an embarrassing amount of time looking on Google and Pinterest for a pre-existing pattern or tutorial that I thought would be a good fit. Finally, she suggesting doing something in one fabric instead of patchwork or applique, and it clicked! It’s always fun to hear what she needs and then make it work, like this mixer cover I made her a few years ago.
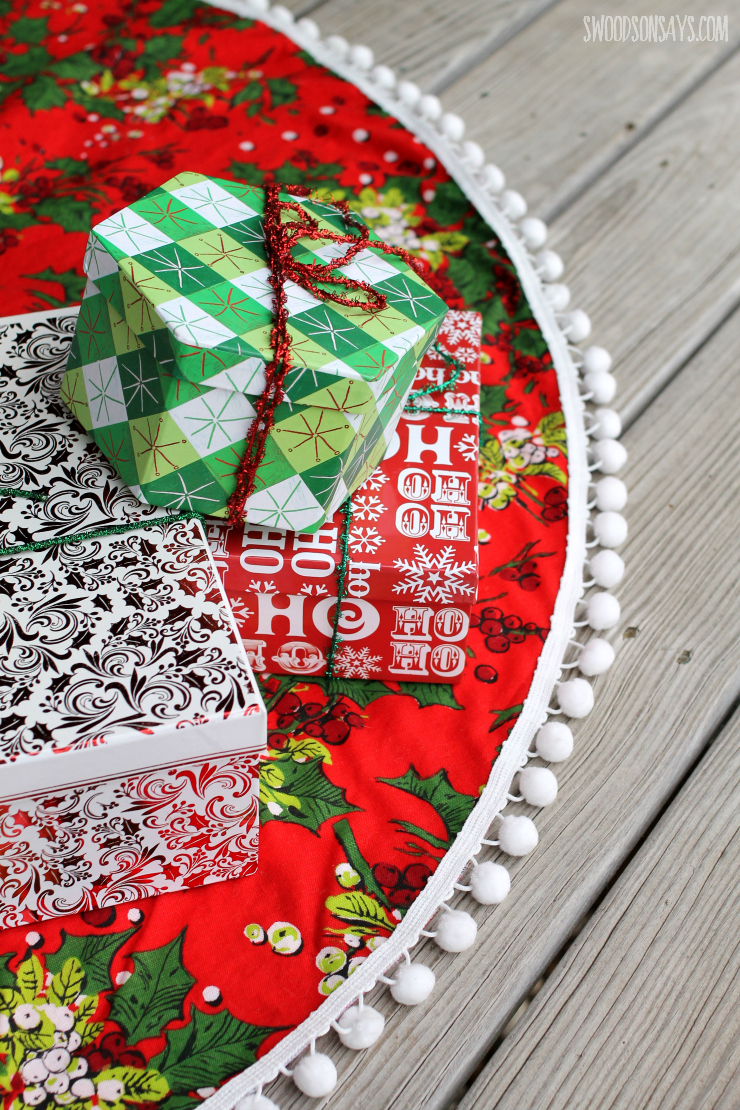
I found this beautiful vintage Christmas home decor fabric on Etsy (there isn’t any more left, otherwise I’d link it!) and the colors matched her decor perfectly. I love that pop of lime!

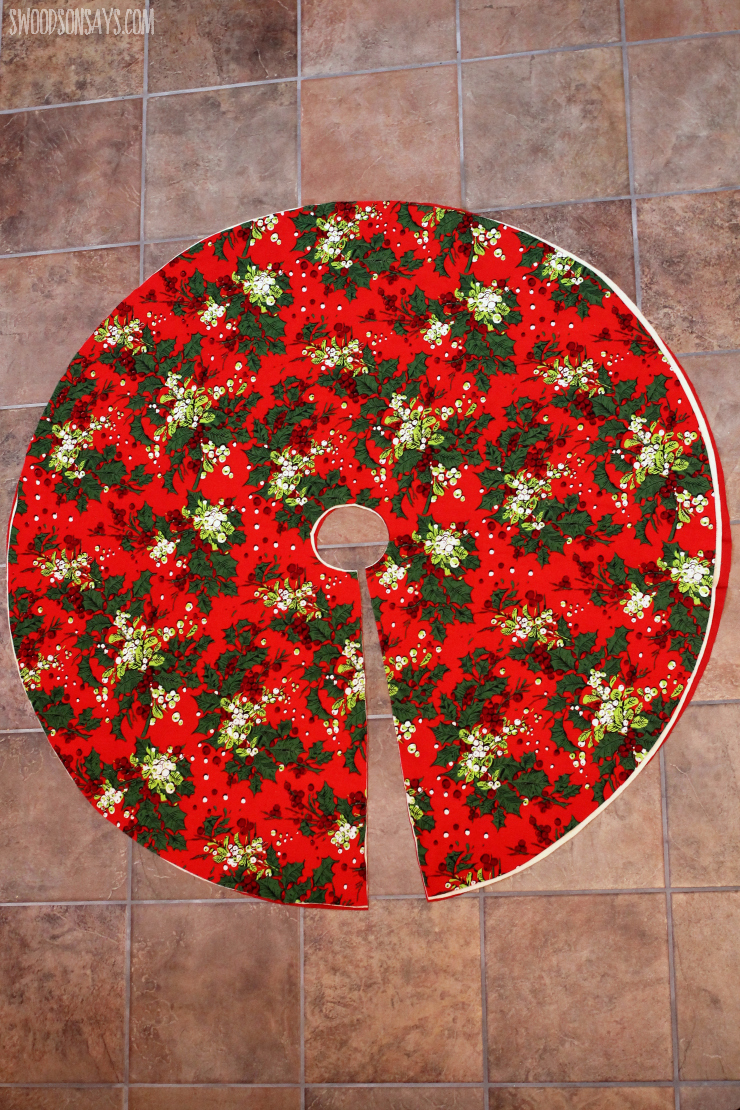
Doesn’t it look nice! She bought a “slim” tree so I wasn’t sure what size to make it, but I copied the standard size tree skirt that I had in the house and I think it fits well.
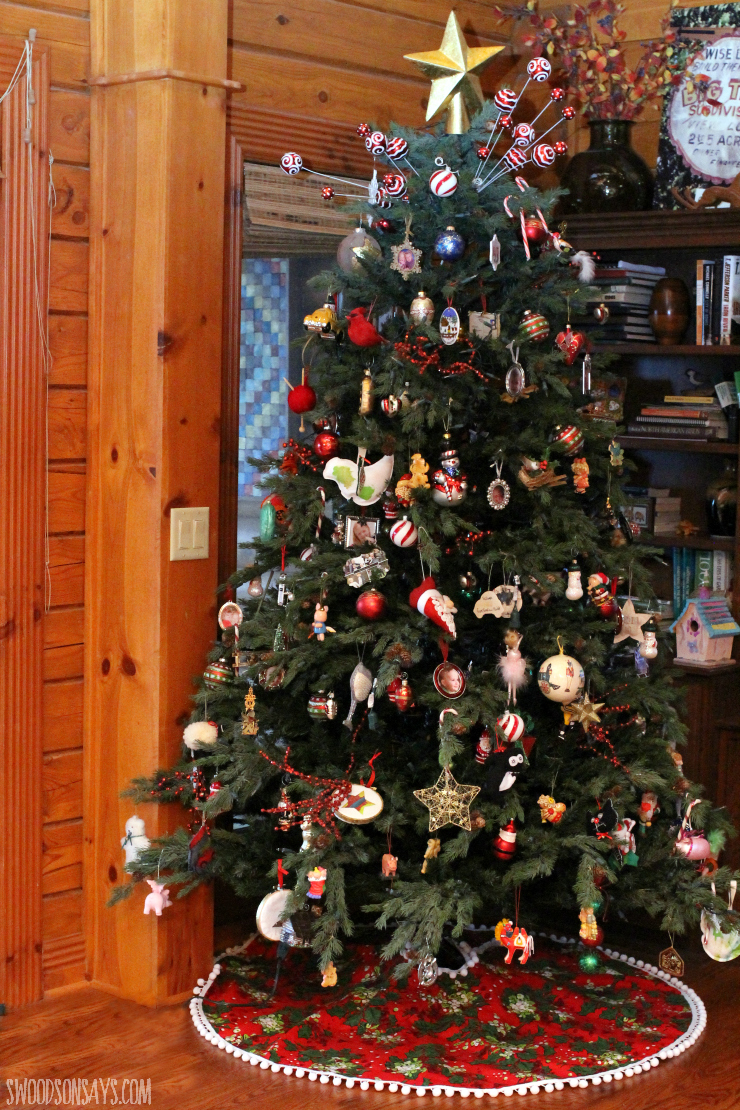
Here you can see it used under a standard width tree that is a little taller, it still looks good!
There is some flexibility in this tutorial; some tools that I used were simply to make my life easier. I also chose to add a wool felt layer in between, to give it a little heft and not slide around under the tree. You could also quilt the layers or go nuts and add applique alongside the pom pom trim!
You can pin this Christmas tree skirt tutorial for later, using this link and image:
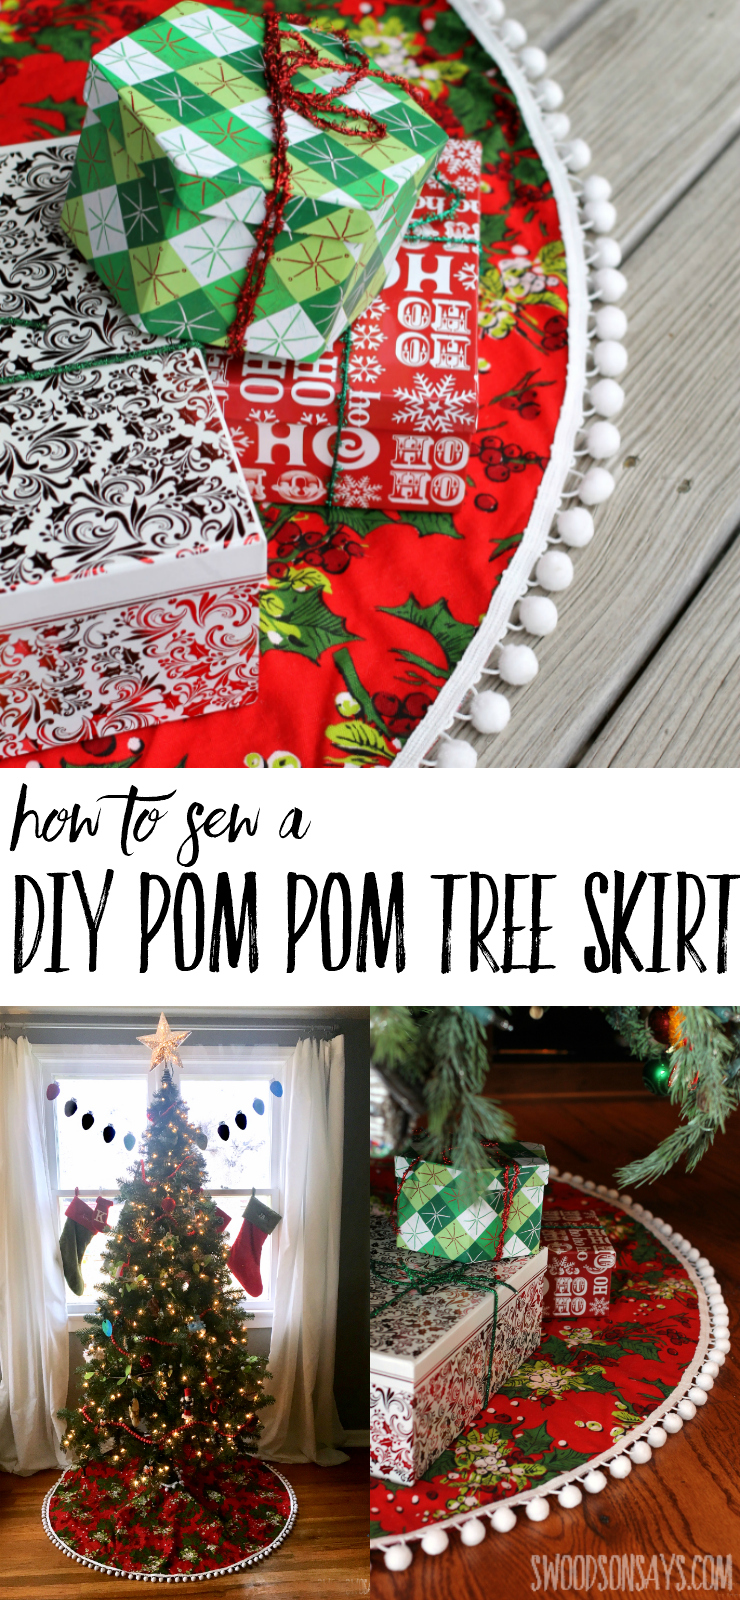
How To Sew a DIY Pom Pom Tree Skirt
Supplies
- 1.5 yards of home dec weight fabric (The fabric I used was 52″ wide)
- 1.5 yards of batting
- 1.5 yards of home dec weight or wide back quilting cotton for the bottom (if you’re using a quilting cotton for the top, you can use a quilting cotton for the bottom, it just needs to be the same width)
- 1 hook & eye closure* (optional)
- Fray check*
- Safety pins
- Coordinating thread
- Scissors
- Pen
- Long piece of twice, measuring tape, etc. & masking/painter’s tape
- Sewing machine & coordinating thread
- Walking foot (optional- this is a foot that screws or clicks on to your sewing machine and “feeds” the material through on top just like it does on the bottom, and makes it easier to attach bulky trim)
- Serger (optional – I love my Brother 1034d*!)
- White pom-pom trim – super cheap on Amazon*
Steps
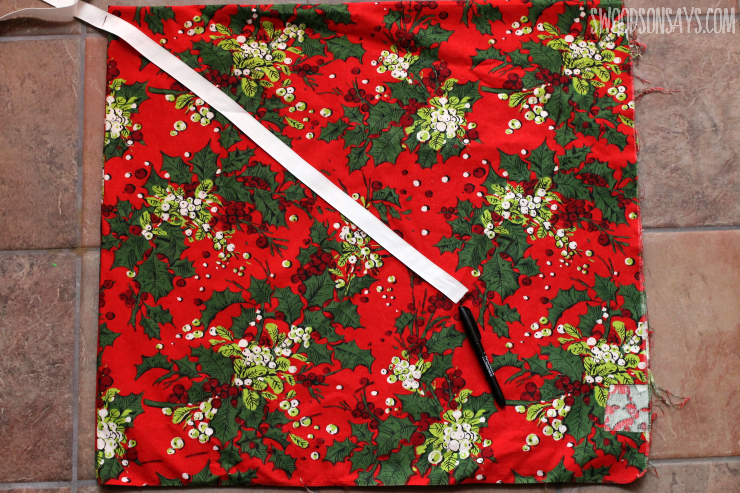
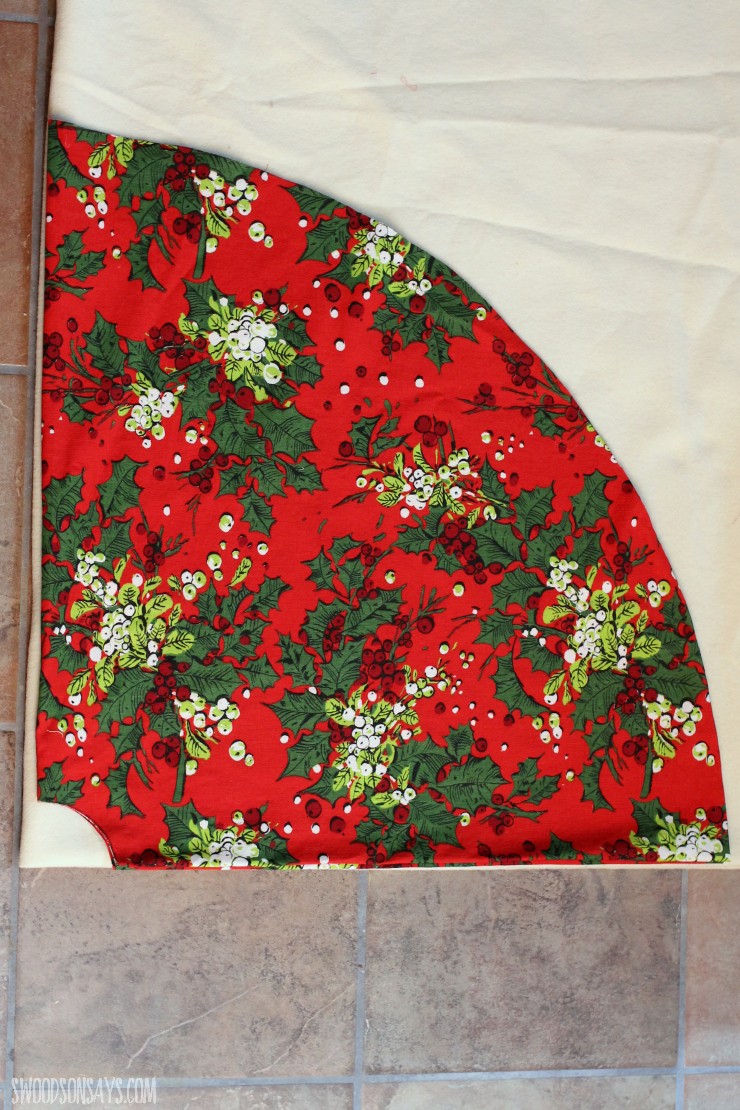
Step 1- So, normally I really resent it when a tutorial goes on about how you don’t need a pattern, doesn’t give any specific numbers, but I’m about to do just that. Your finished tree skirt can only as wide as the width of your fabric. Fold your fabric in half lengthwise and then in half width wise, leaving you with two open sides and two folded sides. This way we can trace a quarter of a circle and only cut that part, opening it up to a full circle. You can use a piece of twine, or in my case elastic, which will be half the diameter of the finished circle, aka the radius. This is at 25″ (remember this is a home dec fabric, that is 52″ wide, so the diameter will be 50″ or 25″ X 2).
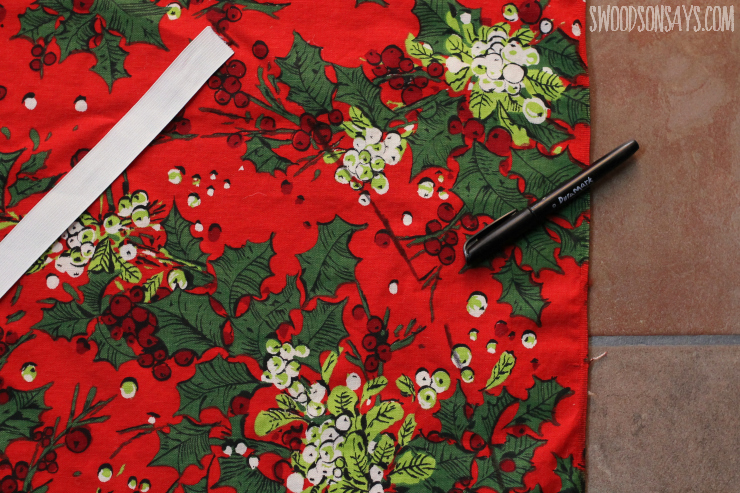
Step 2- Slowly move your twine/elastic, keeping it at the same length with a safety pin or just holding it tight, and make a mark along the edges.
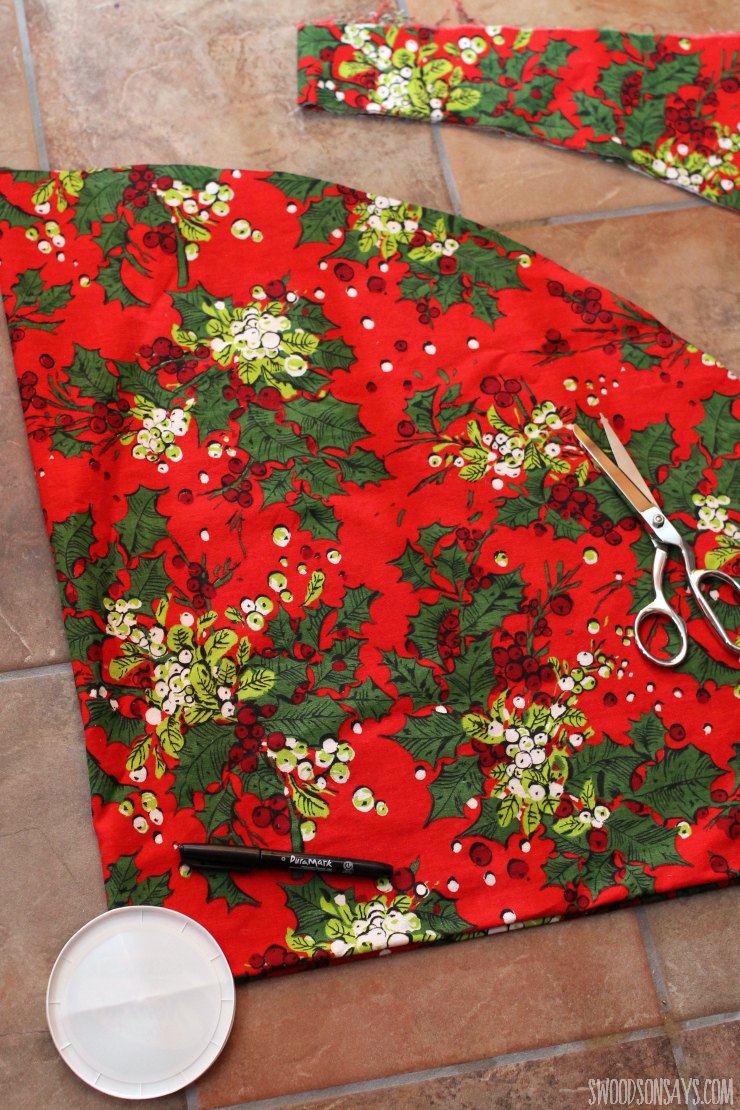
Step 3- Cut along the inside of that mark, all the way up. Use a lid/plate/bowl to trace and cut out a 1/4 of a little circle on the inside (where the tree “trunk” will go.
Step 4- Fold your batting the same way as you did the top fabric, and use the top fabric circle as a template to cut out the same shape. Repeat Step 4 with the bottom fabric.
Step 5- Sandwich the three layers together, and cut a small wedge out of all 3. I didn’t measure this, just eyeballed it. Safety pin all three layers together so they stay in place, using a few safety pins every few inches, just like basting a quilt.
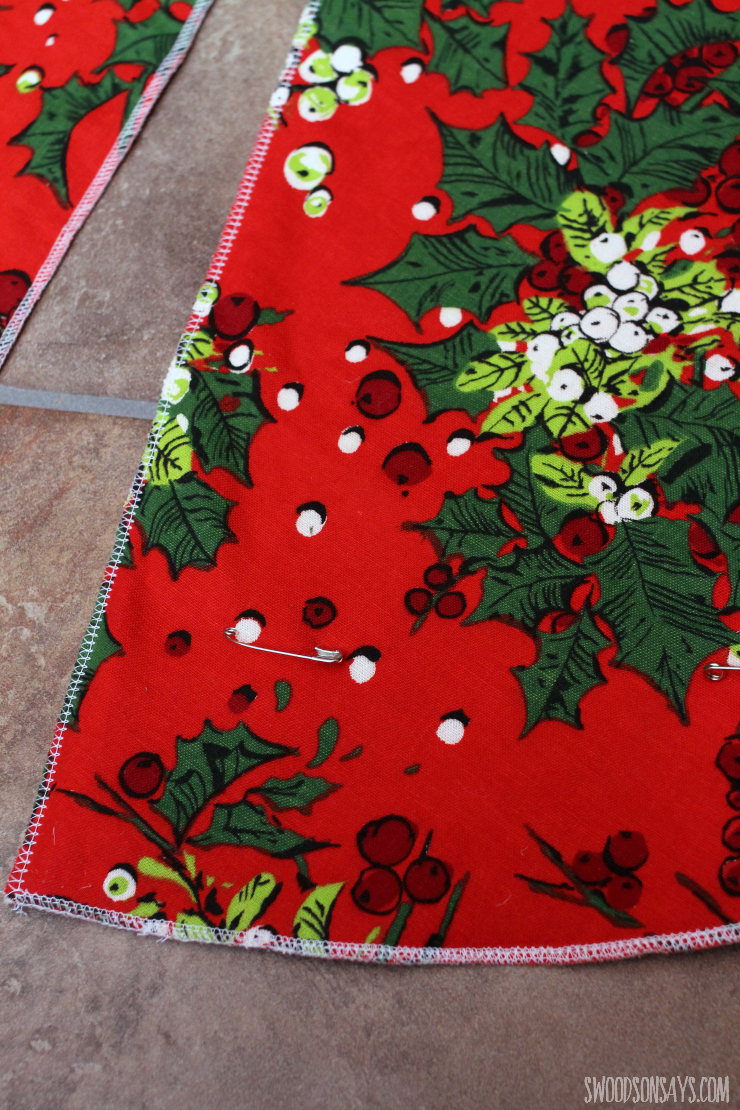
Step 6- I used my serger to finish all of the edges. If you don’t have a serger, you could use pinking shears, or do two rows of straight stitches. It will be covered up, so this is simply for durability’s sake, since unfinished cotton will fray around the edges.
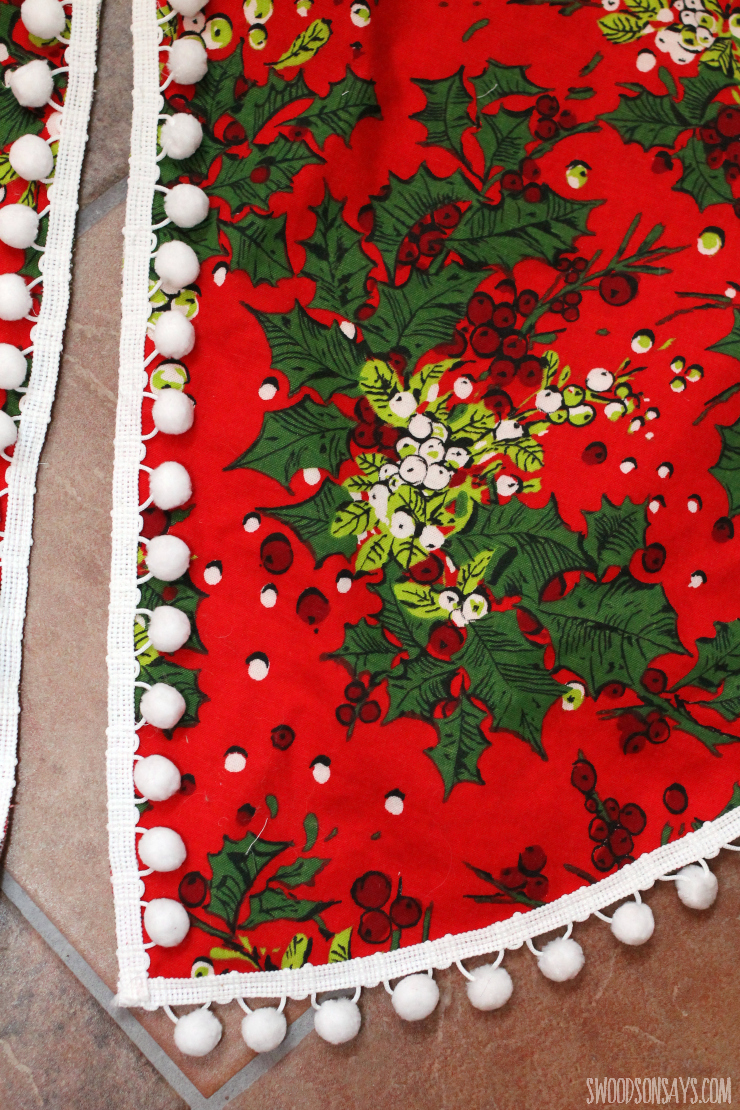
Step 7- Sew your pom pom trim on! Be sure to face the poms away from the wedge opening, or they will overlap and look weird when closed (ask me how I know). I used my walking foot to work through the heavy layers; if you don’t have one, I’d suggest easing up on the presser foot pressure and using your hands to gently feed the fabric.
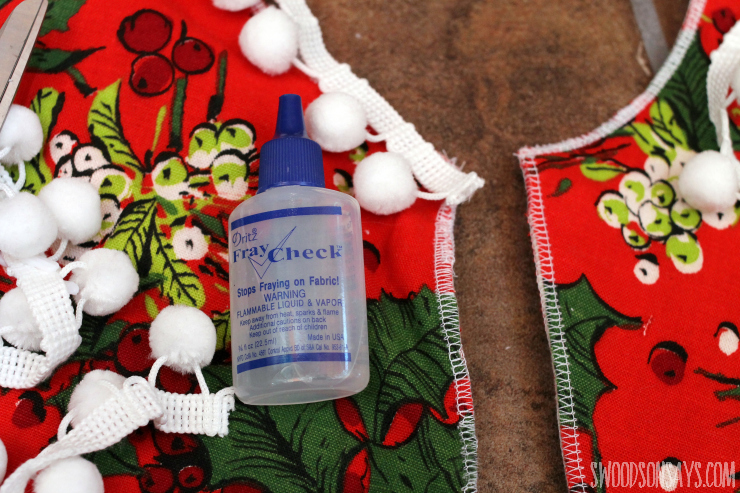
Step 8- I opted to cut the raw edges of the trim flush with the edges instead of folding over and sewing, to reduce bulk. I then applied Fray Check to all raw edges of pom pom trim.
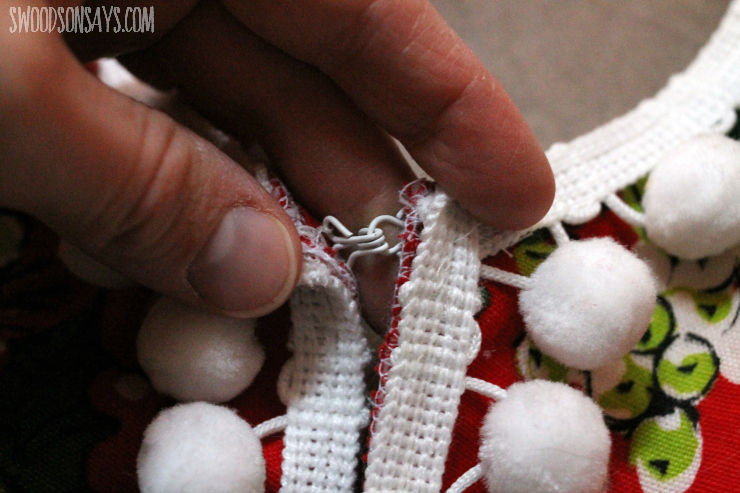
Step 9- I know ties are a more traditional closure but I didn’t want to interfere with the poms. I hand sewed a hook & eye closure at the very top, to keep it from slipping down. You’re done!

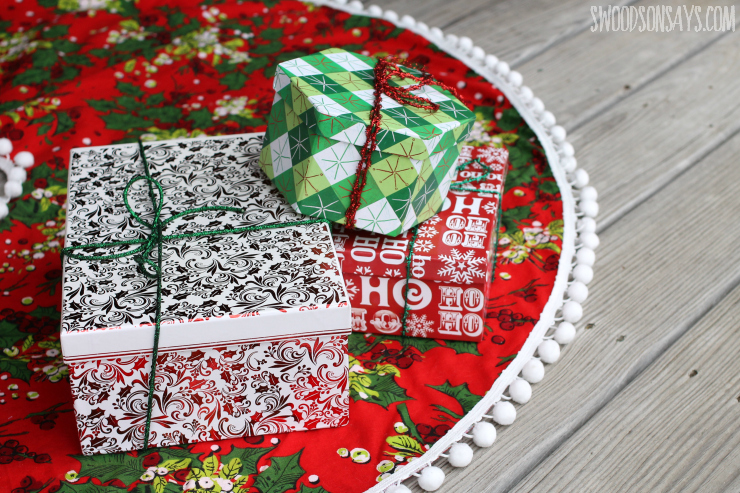
Doesn’t that look pretty? I am excited to make a DIY pom pom tree skirt for myself next year!
Julia
Saturday 15th of November 2025
Thanks for this tutorial! I got mine mostly done. Tip for pom-pom trim: Dollar Tree carries it at Christmas time, so it is super cheap (and three colors - red, white, green).
Stephanie - Swoodson Says
Monday 17th of November 2025
glad that it helped you out and thanks for sharing that tip!!
Doris
Tuesday 12th of October 2021
Looks very pretty. I'm going to make the red chrisstmas tree skirt.
Carol WARNEKE
Friday 13th of November 2020
Thank you for this easy tree skirt instructions. My daughter asked me about making her one so now it will be super easy.
Stephanie - Swoodson Says
Monday 16th of November 2020
So glad to hear it, happy sewing Carol!!
Alison Lodder
Thursday 12th of November 2020
Absolutely love it. I will be cutting mine out in a few minutes after I have found a pom pom trim online. This is a perfect project for a gift for friends but I will make one for myself first. My daughter is home from university for Christmas so it will be great to have new decorations xx
Stephanie - Swoodson Says
Thursday 12th of November 2020
Yay Alison! I hope you love how it turns out :)
Elise
Saturday 15th of December 2018
How many yards did you use of the pom pom trim just on the outside?
Stephanie - Swoodson Says
Monday 17th of December 2018
About 2 yards!