
How to sew an ice cream cozy pattern with a free pdf pattern!
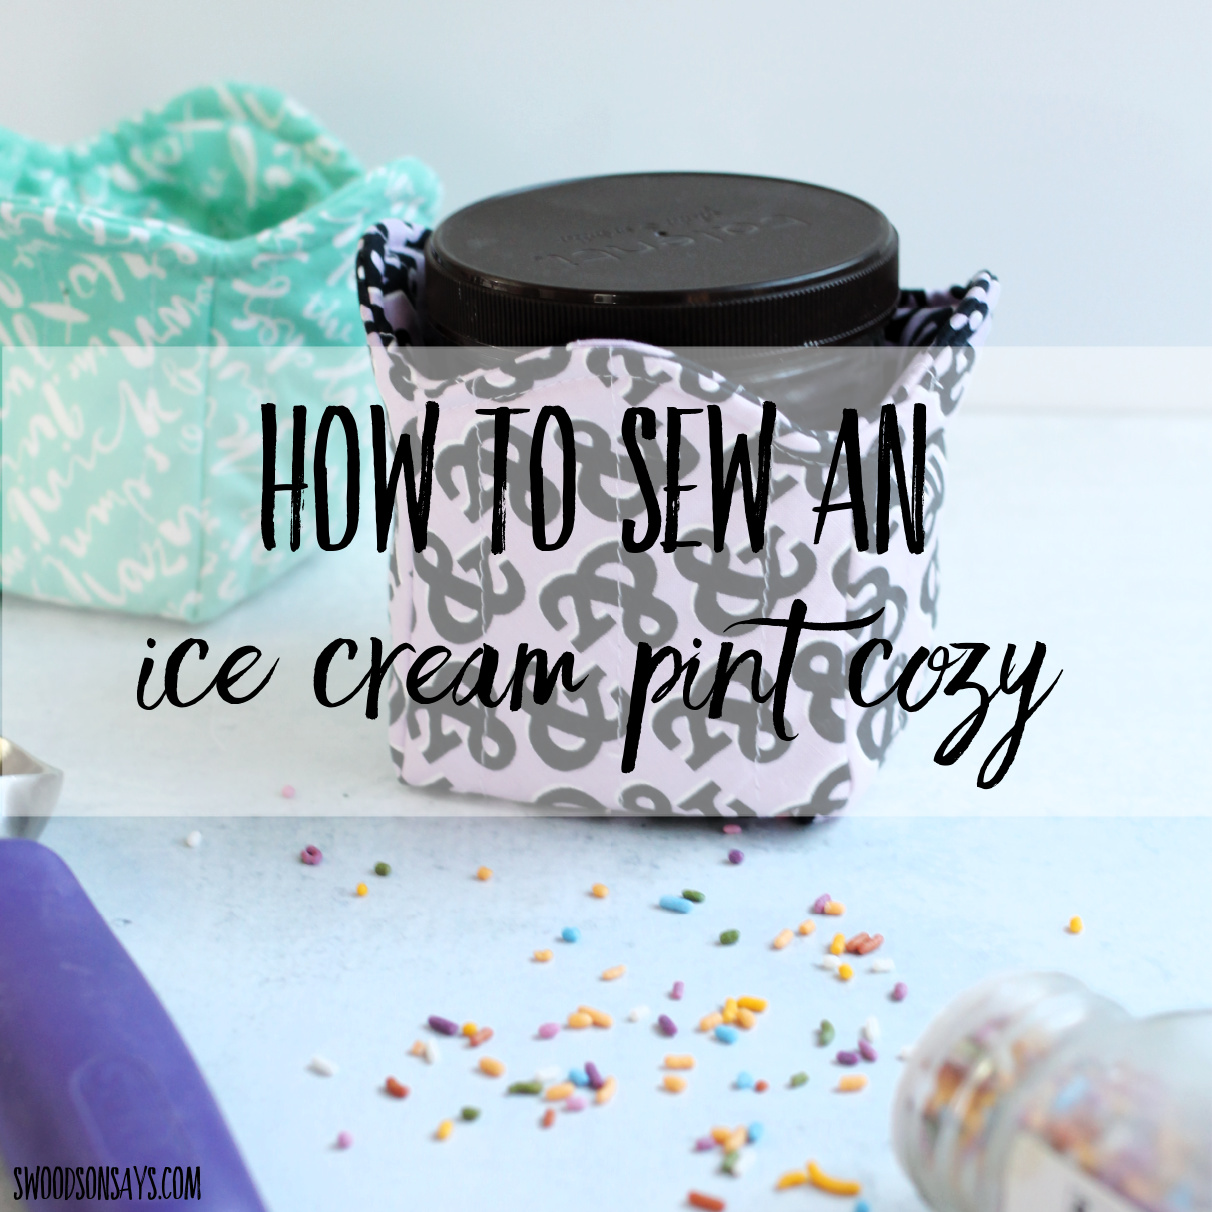
My family are all year-round ice cream enthusiasts but once the temperature drops below 75 degrees, my hands get too cold to join them. While I don’t always eat straight out of the container, I couldn’t resist making it a little easier when I do! This is a super simple sewing project to make a cute little cozy, and the pdf pattern is free for all my newsletter subscribers! I tested these with Talenti gelato as well as Ben & Jerry’s ice cream and they work like a charm.
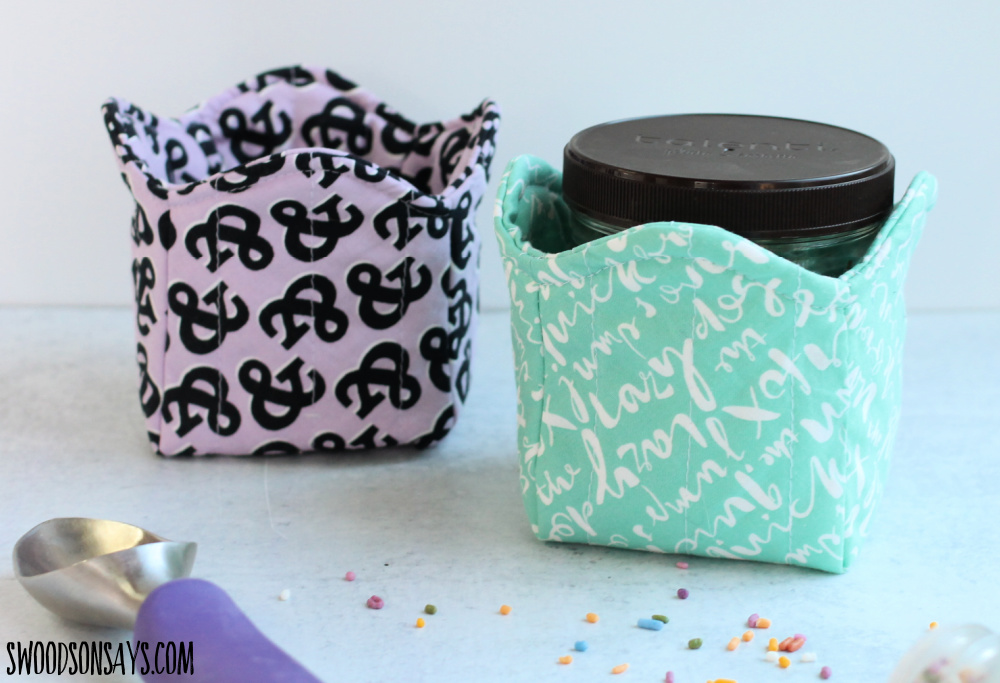
The finished cozy is roughly 4” wide X 4.25” tall! You could patchwork together and make it a true scrapbuster, but it doesn’t require much fabric at all.
If you like this post, check out these other while you’re here!
- Beginner sewing supplies list – what to buy on a budget!
- Sewing tips for beginners -15 mistakes to avoid!
- 20+ Easy beginner sewing projects
- 35+ Handmade stocking stuffer ideas to sew
Pin this post on how to sew an ice cream cozy pattern with this link or image:
Ready to make one for yourself?
How to sew an ice cream cozy pattern
Supplies:
- ½ yard of quilting cotton
- ½ yard of batting
- Coordinating thread
- Iron
- Sewing machine
- Scissors
- Rotary cutter
- Acrylic quilting ruler
- Hera marker or other quilting line marking tool
- Free ice cream cozy sewing pattern –sign up for my newsletter and get the free download once you confirm your subscription! If you’re already a subscriber, you can access the pattern with the password in each newsletter, in the resource library.
Steps:
Everything is sewn with 1/2″ seam allowances!
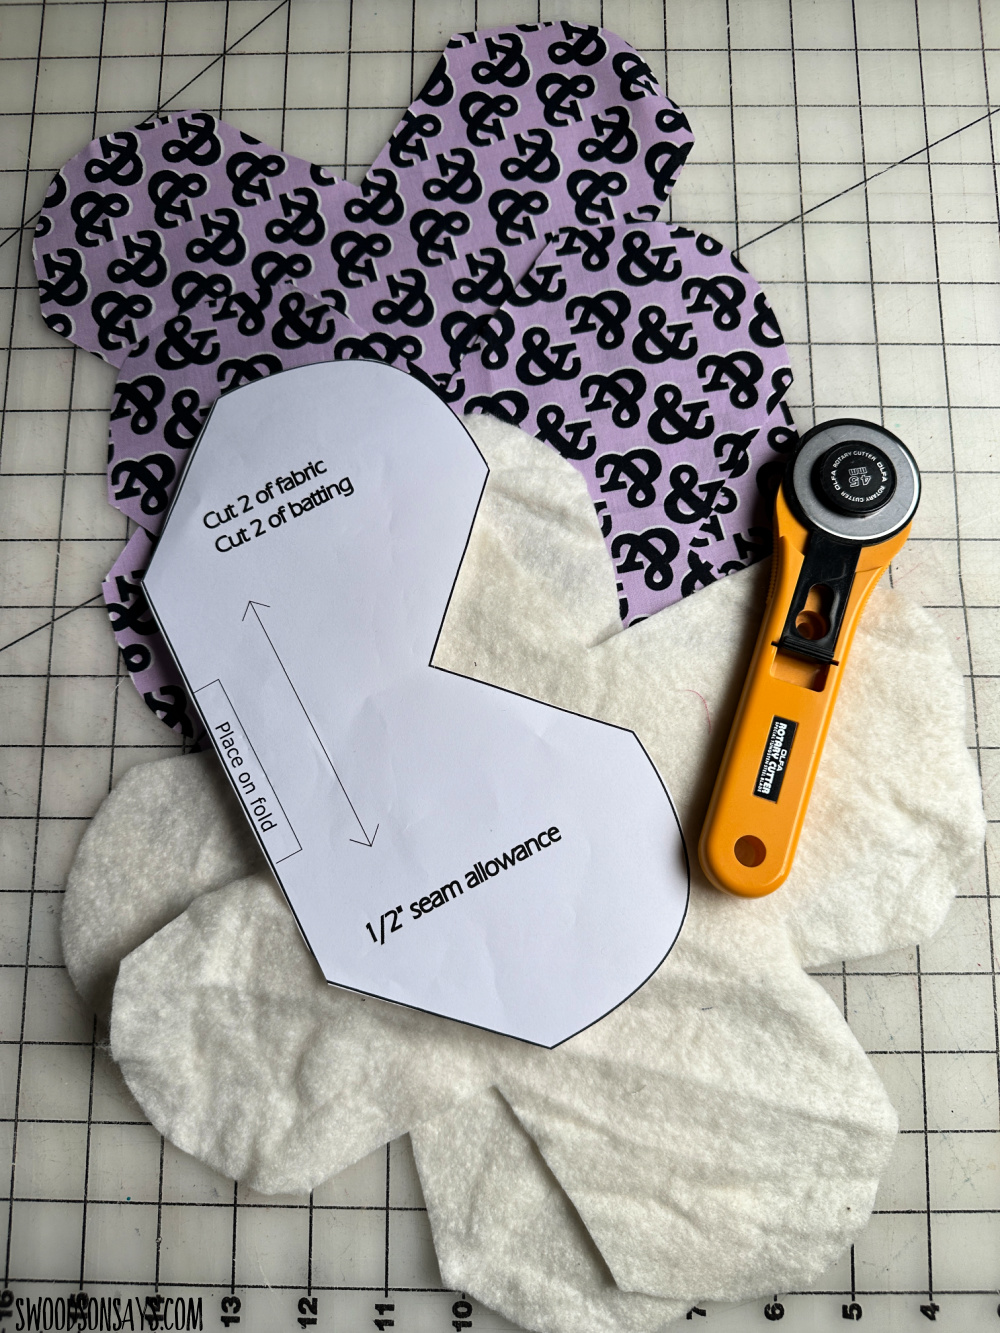
Step 1- Cut (2) pattern pieces of quilting cotton, paying attention to any directional prints. Then cut (2) pattern pieces of batting.
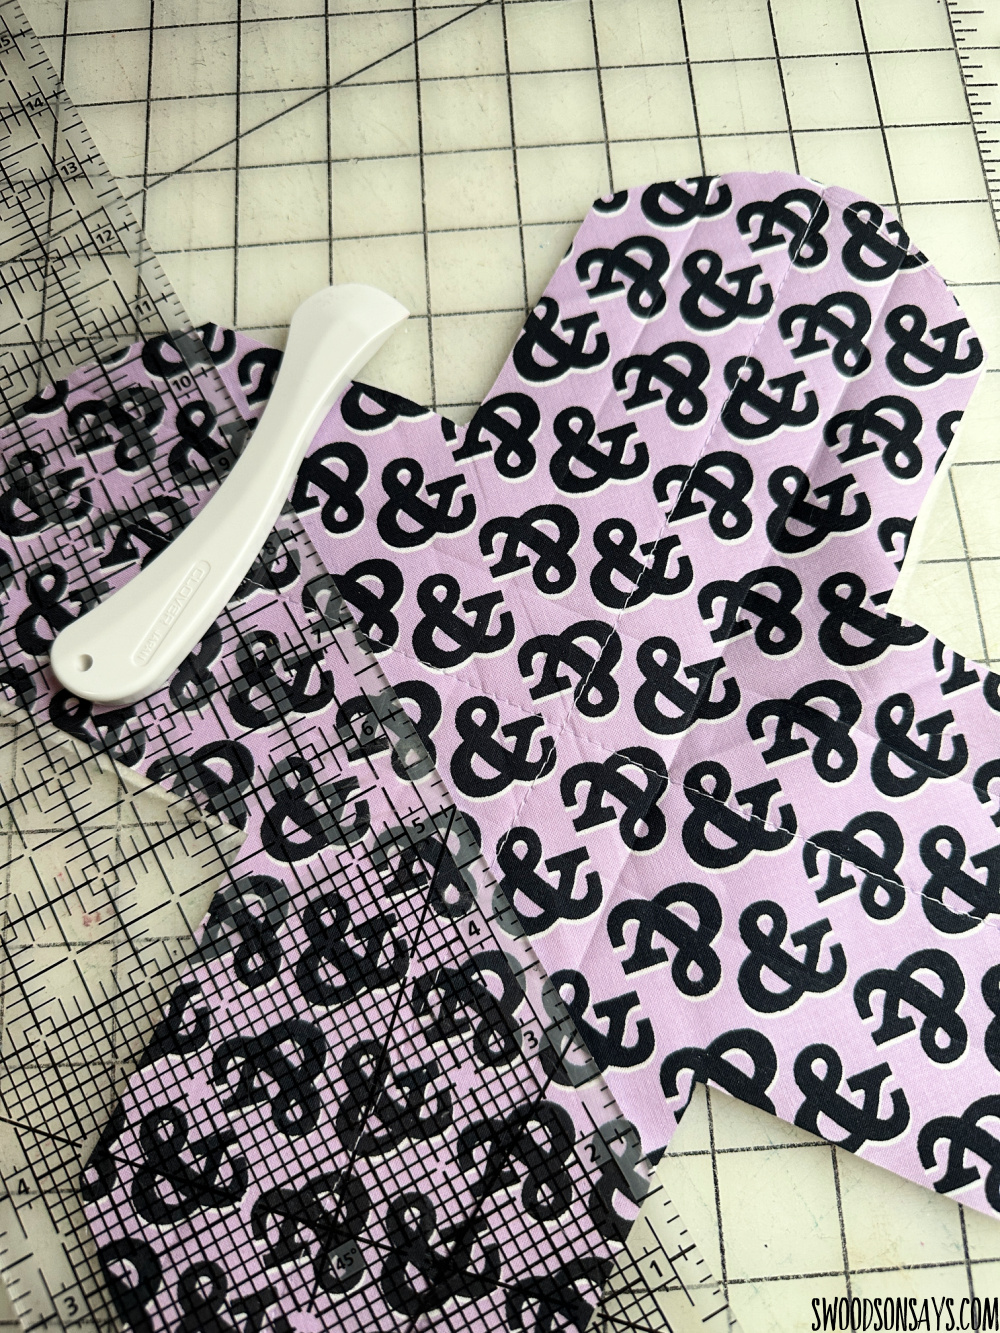
Step 2– Lay one pattern piece, right side up, on top of the matching batting. Mark quilting lines and quilt as desired. Repeat for the second pattern piece.
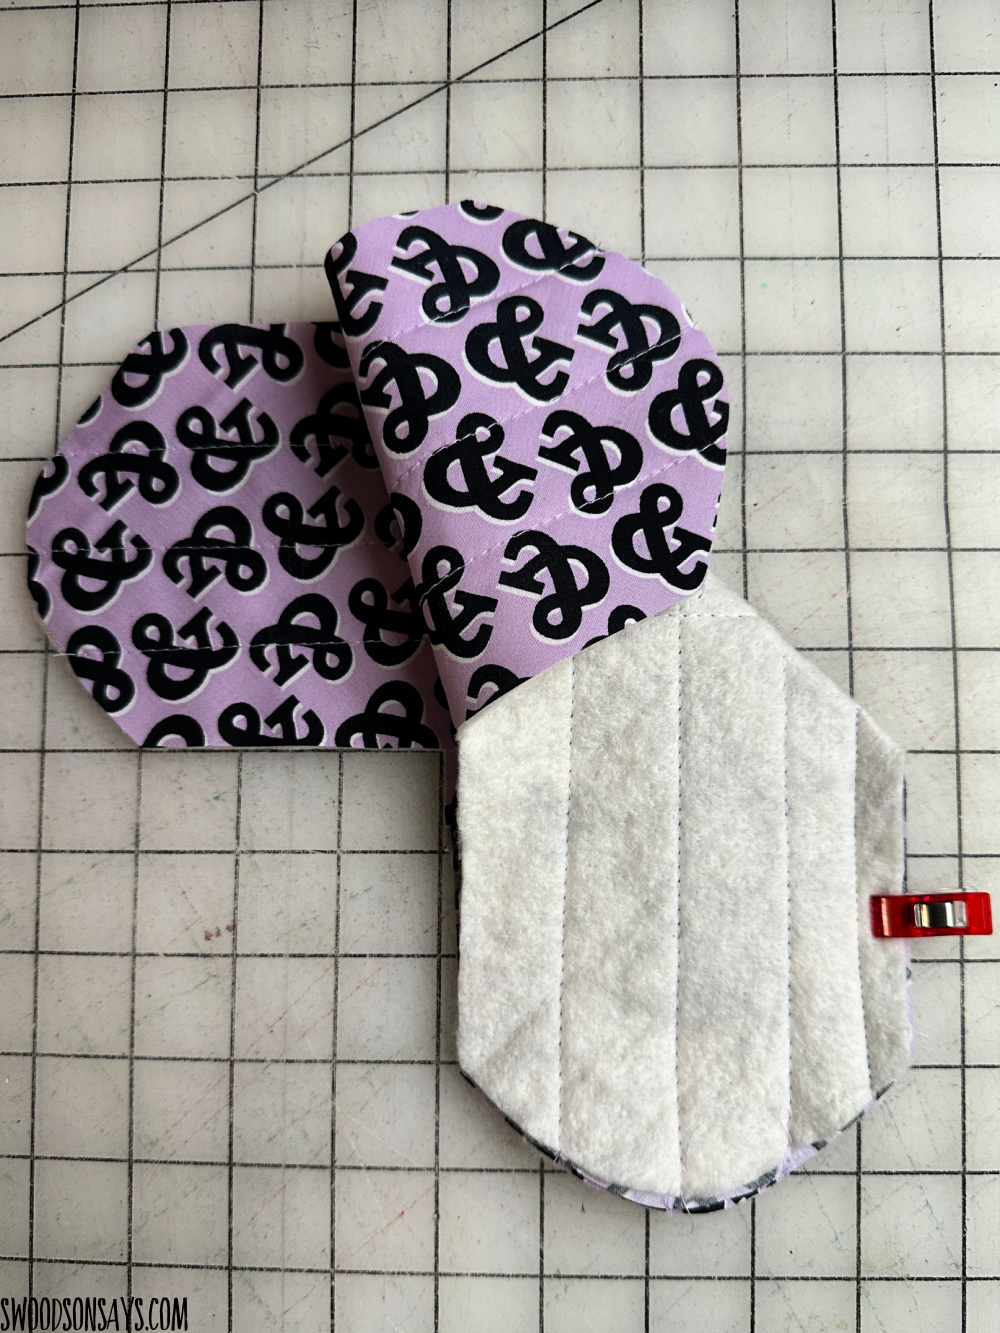
Step 3– Fold one set of short, straight edges, right-sides together, and clip or pin.
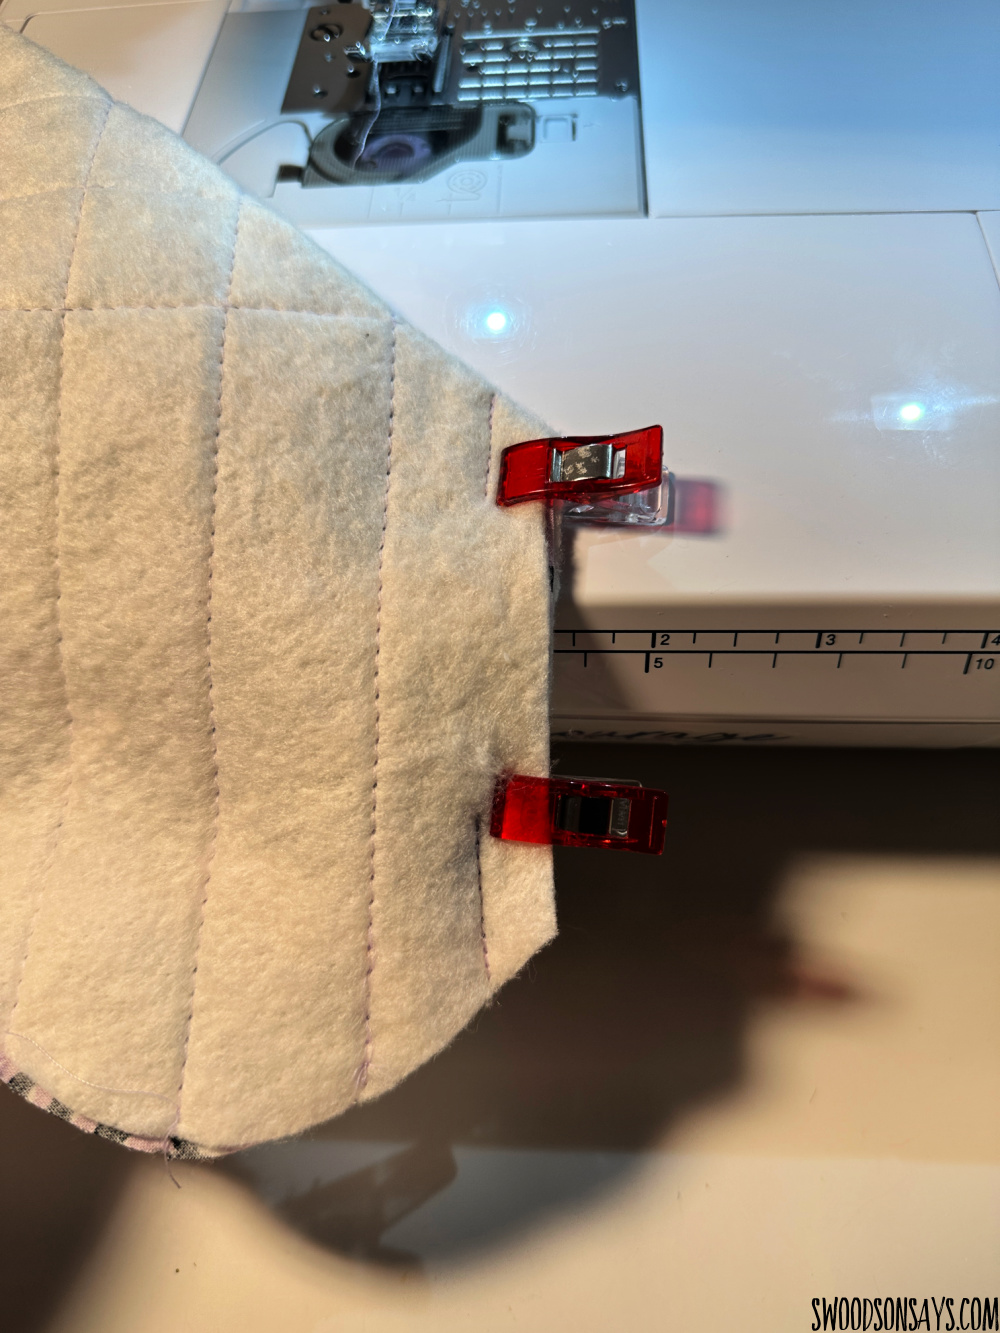
Step 4– Using a ½” seam allowance, sew the edges together leaving a gap roughly 1.5” wide. Be sure to take a few stitches to stop and start both seams to secure the stitches.
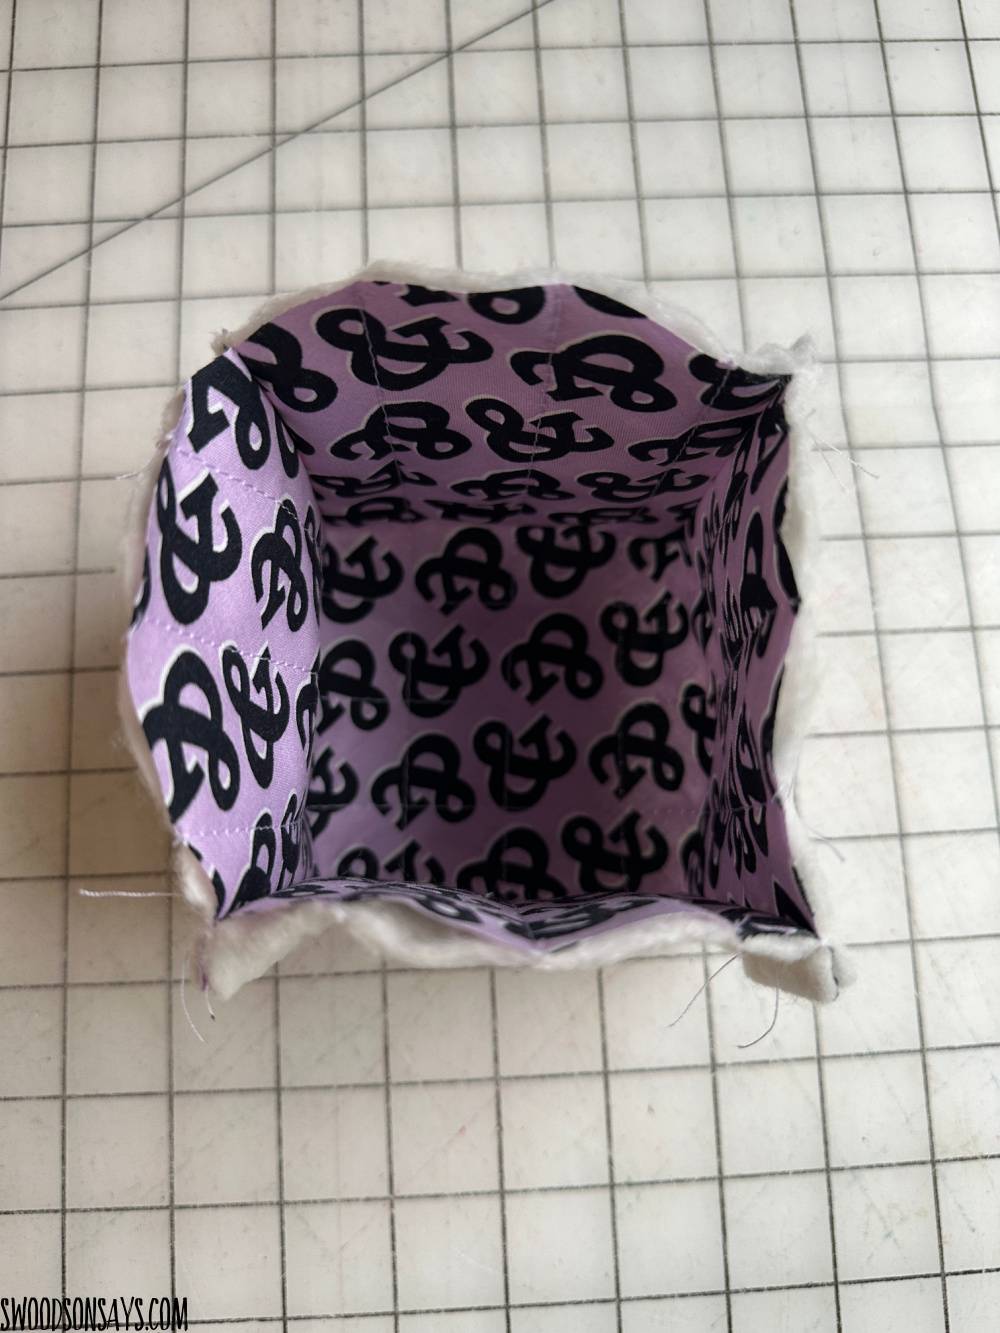
Step 5– Sew the remaining 3 short, straight edges together, forming a box. For the second pattern piece, sew all 4 straight edges together (no gaps) to form a second box.
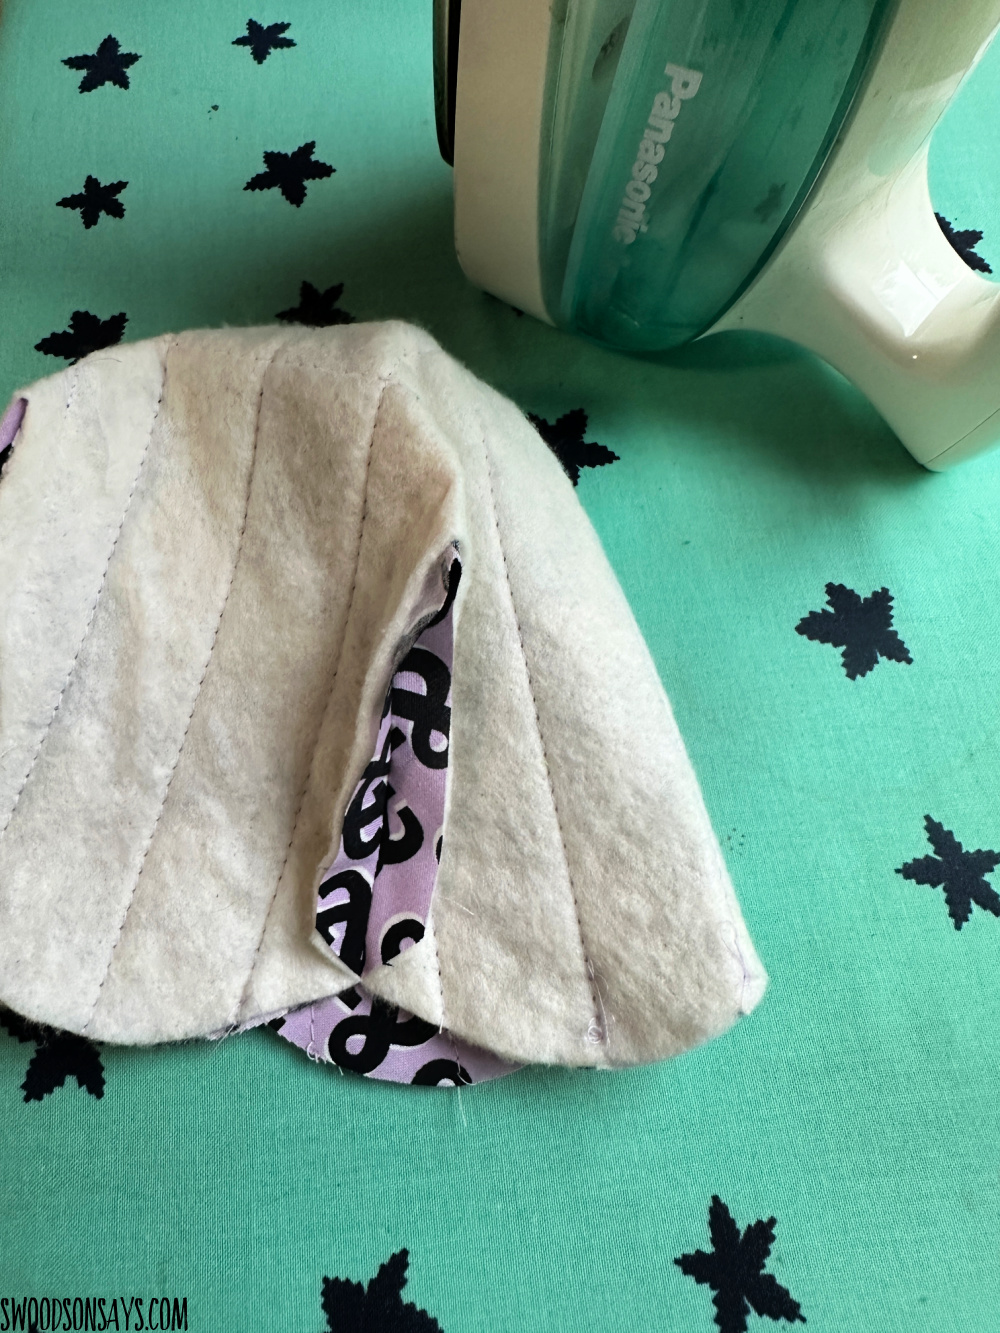
Step 6– Press all seams open with an iron.
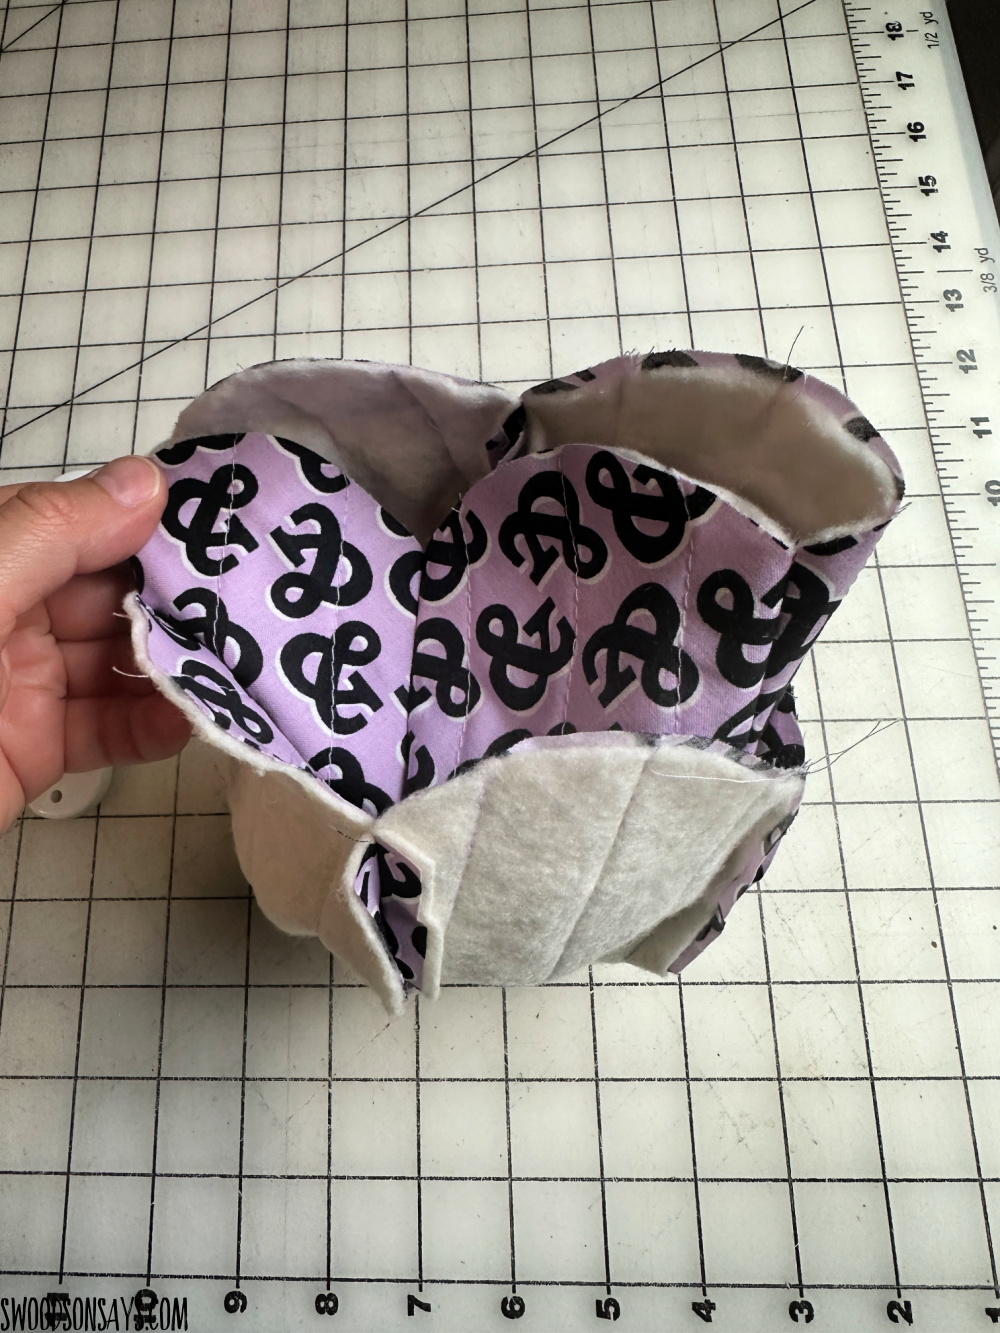
Step 7– Turn one pattern piece right side out and nest it inside the other, so right sides are facing each other. Adjust so all the side seams & curves are matching and pin or clip.
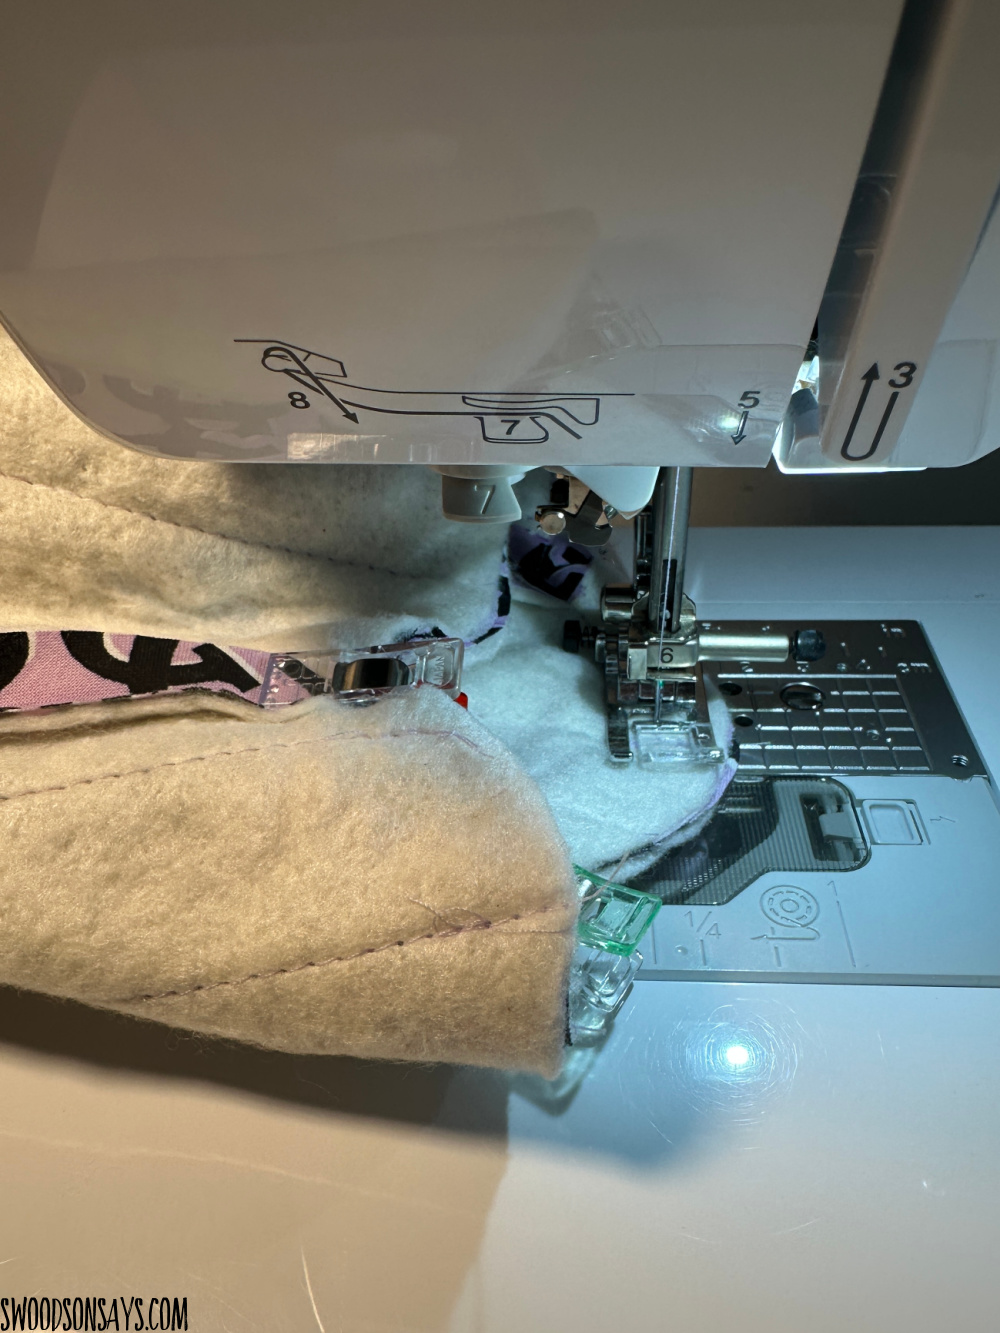
Step 8– Sew the top curves with ½” seam allowance, all the way around.
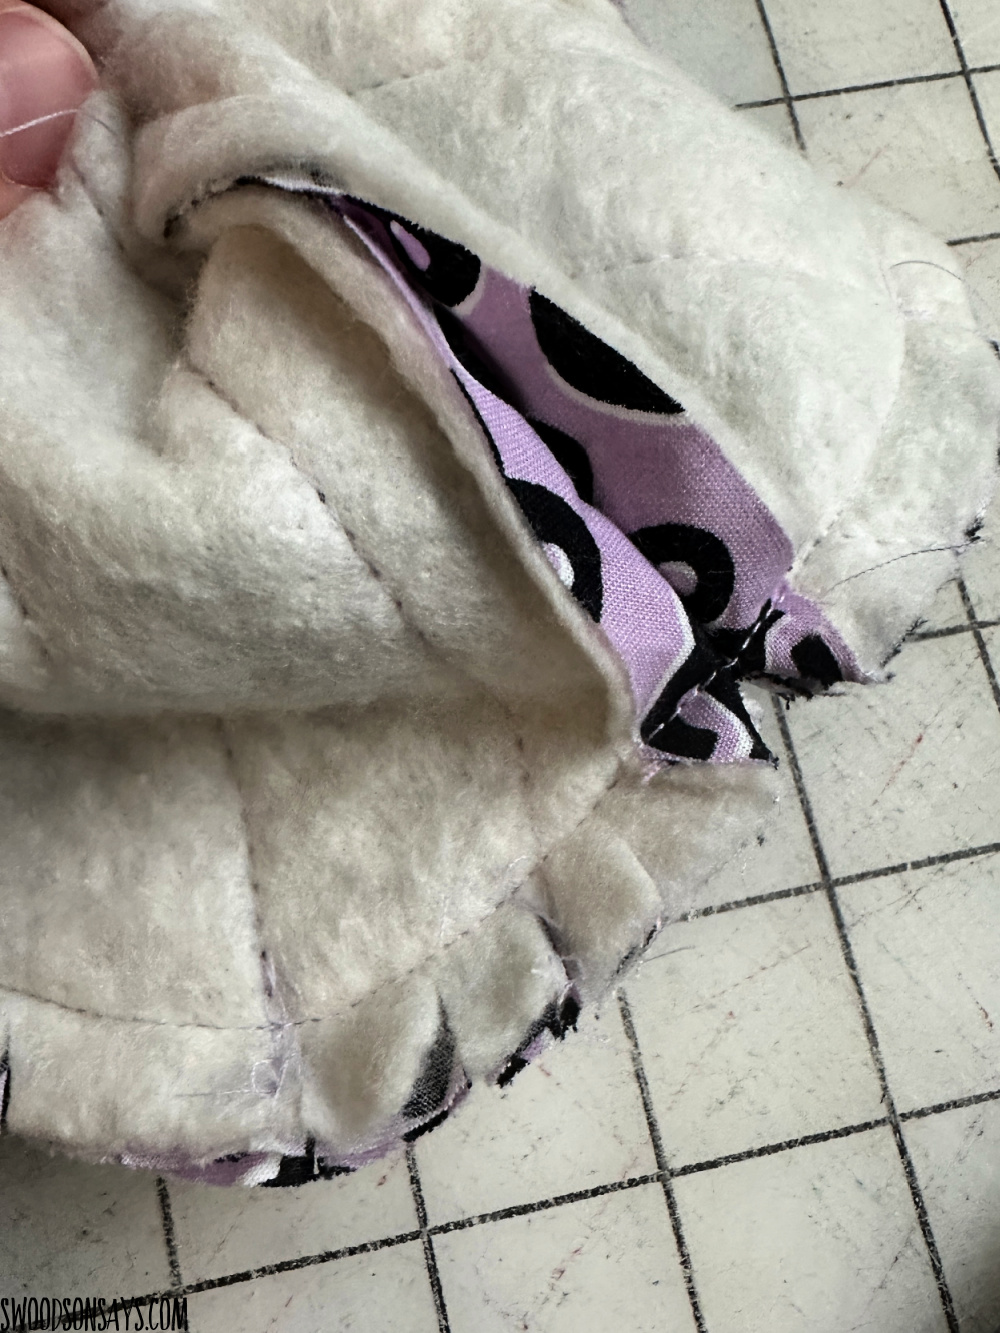
Step 9– Clip along the seam allowance, making sure not to cut through the stitching, all the way around.
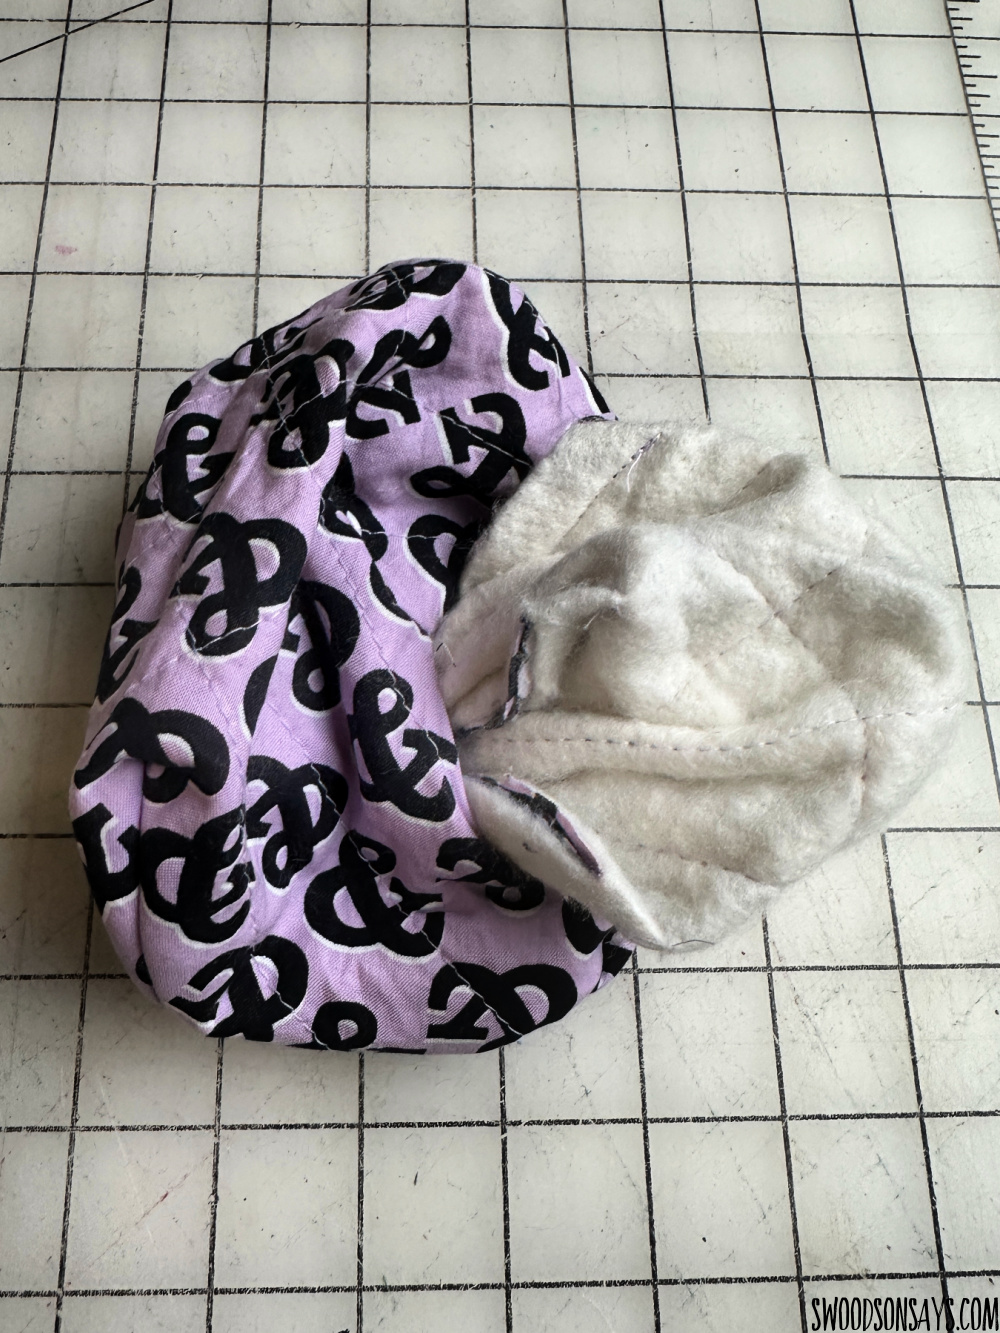
Step 10– Gently pull the interior piece through the gap left in the short side back in step 3. Push out all corners and edges carefully from inside the gap. Press seams with an iron if desired.
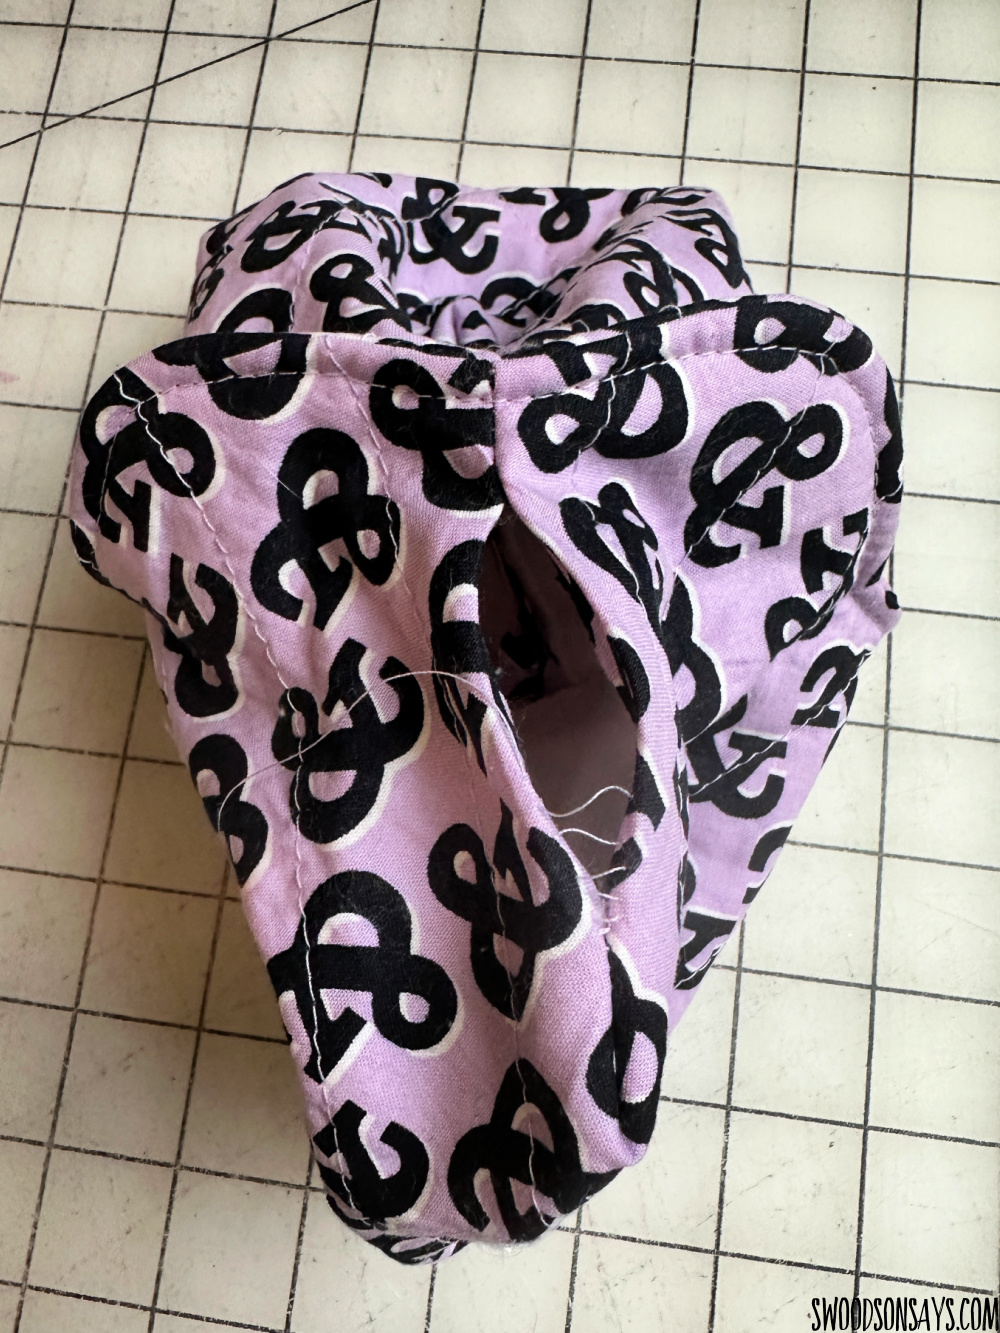
Step 11– Hand sew the gap opening shut with a ladder stitch or press together and machine stitch closed.
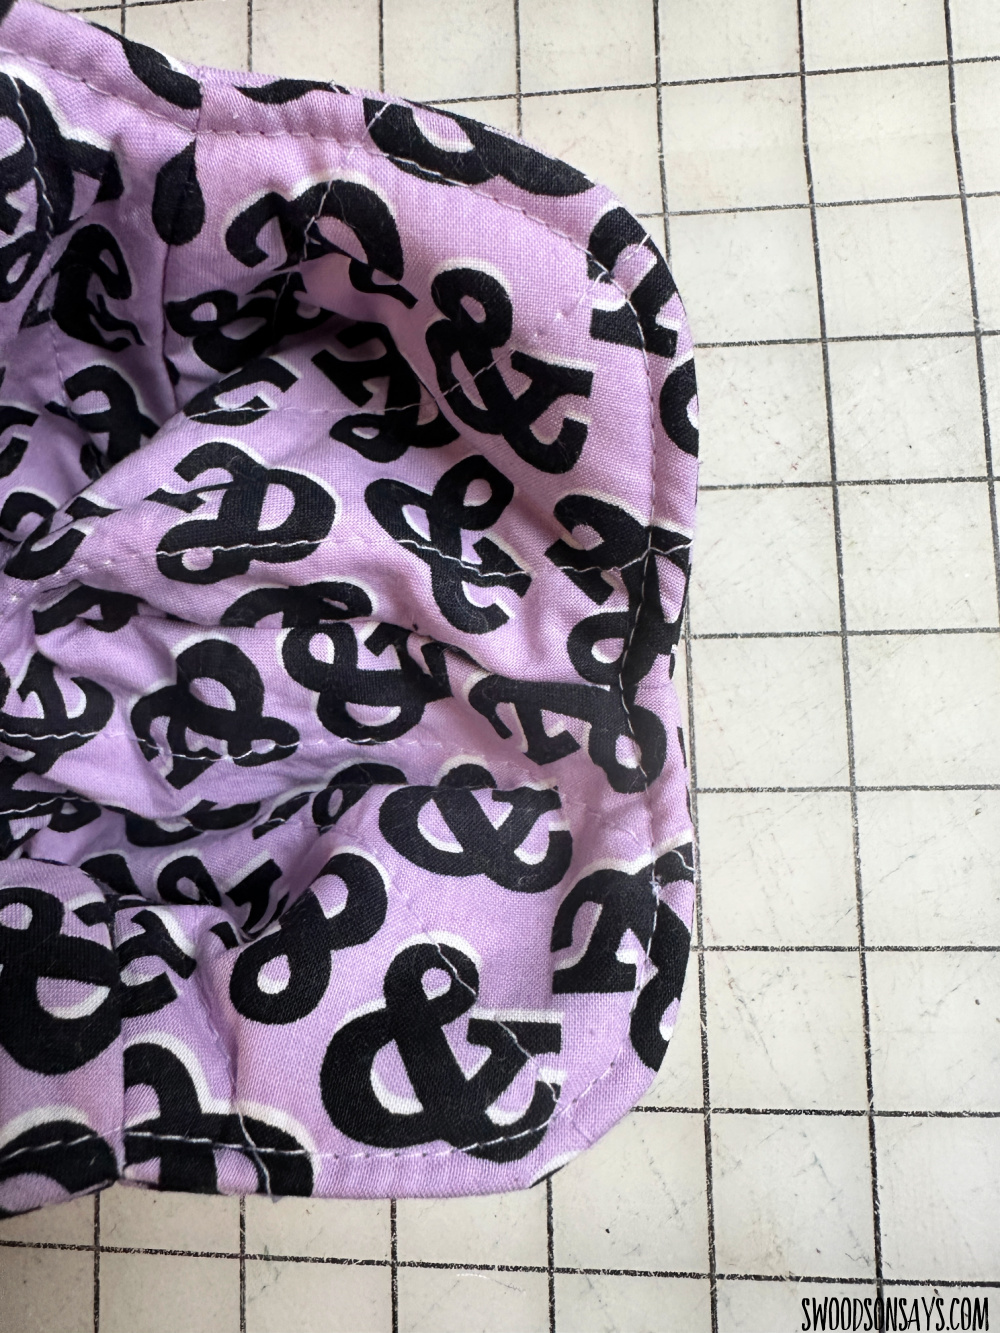
Step 12– Topstitch around the top seam if desired, this is strictly for aesthetics.
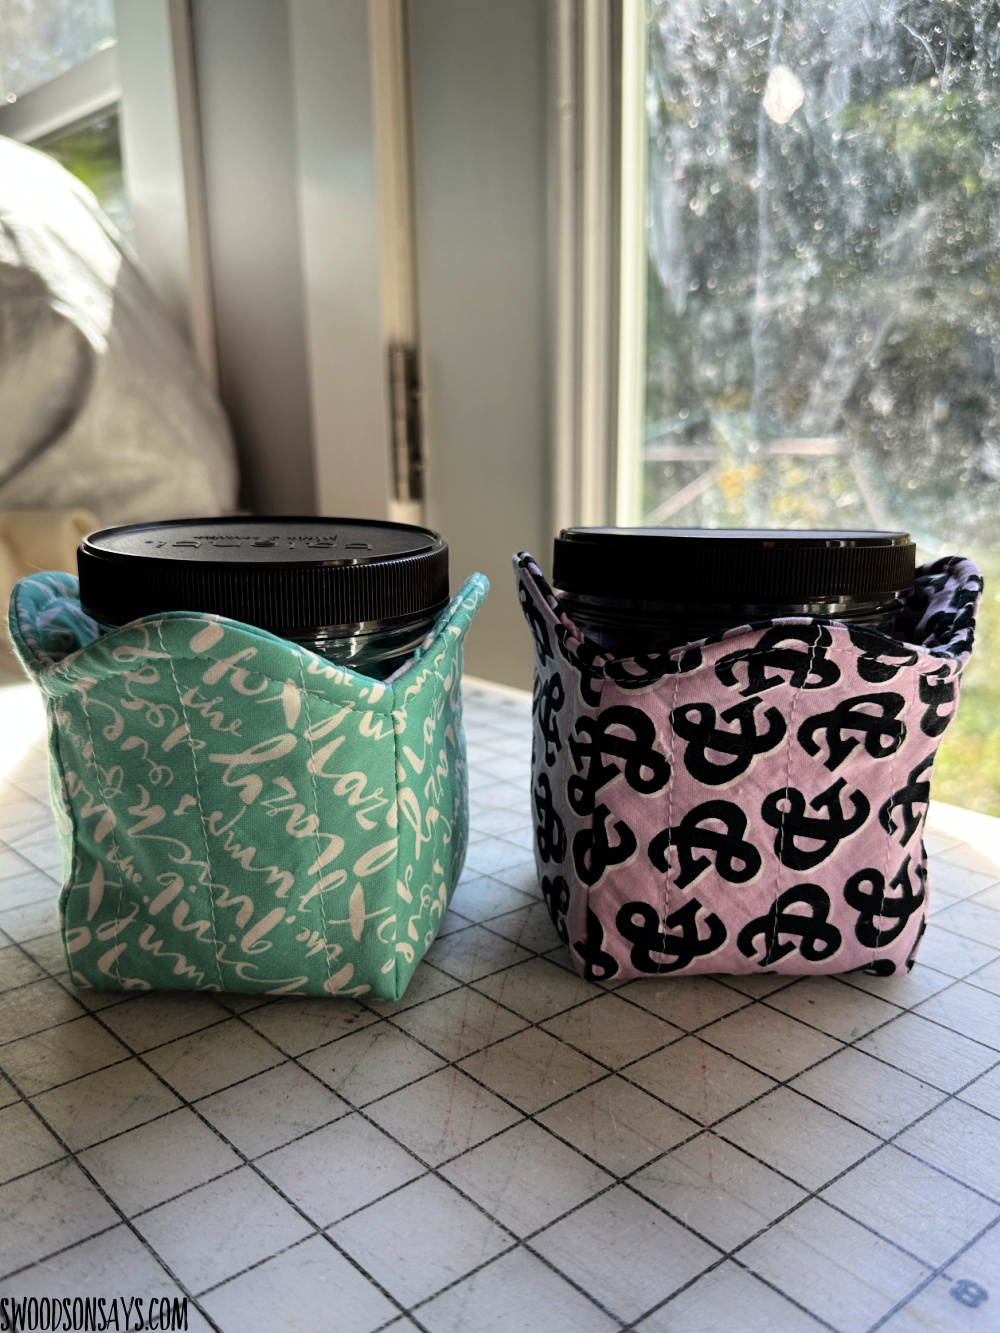
Ta da, you’re done! Tuck into a movie marathon and chow down.