
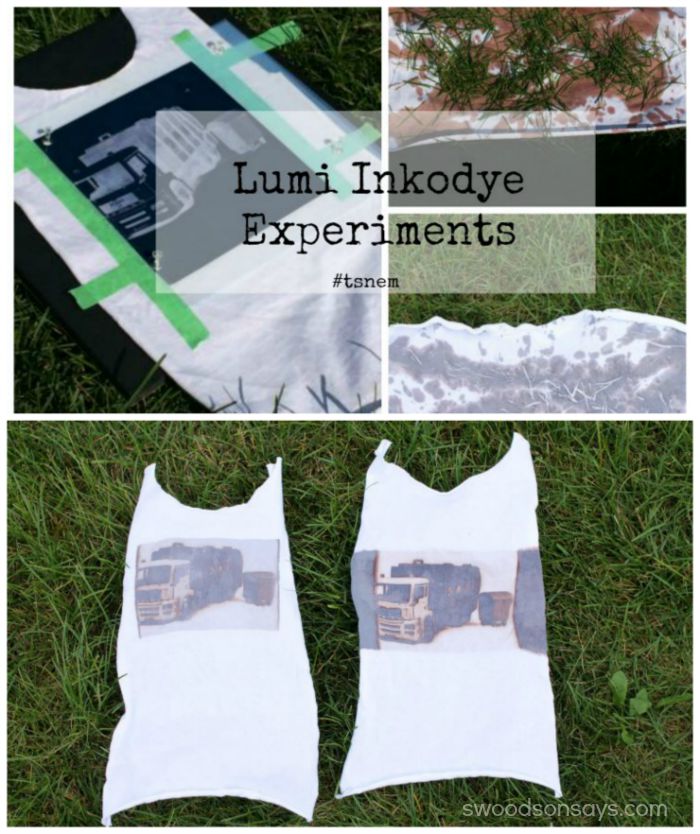
Inkodye! I think I originally saw this product when the company, Lumi, was on Shark Tank (I love that show!). Basically they have a liquid dye that reacts to the sun – so if you cover up some of the fabric, the inkodye permanently colors what is left exposed. I found the concept intriguing and after seeing one last example on Skirt Fixation, decided to give it a try!
This is my September attempt to Try Something New Every Month for 2015; you can see my other past projects and read more about TSNEM here. I have a post full of inkodye examples and tutorials here!
{This post contains affiliate links, indicated by an asterisk*. Please refer to ‘legal stuff’ in the top menu for more info.}
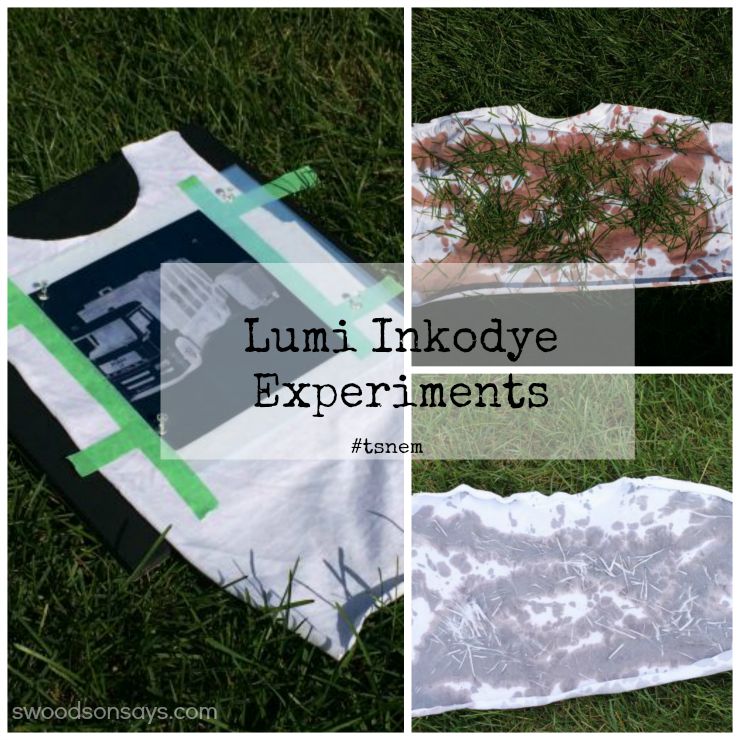
There seem to be three main ‘kits’ from the same company; I used the Lumi Photo Printing Kit* I bought mine from Jo-Ann Fabrics with a 50% off coupon, making it about $18. You can also buy a bottle of the dye alone, for $15*. There is also a sunfold and a sunprint kit; basically this kit differs in that it has the transparencies to print on, and the cardboard square to pin things to. In the future I will definitely just buy the dye separately (you get way more) and go from there.
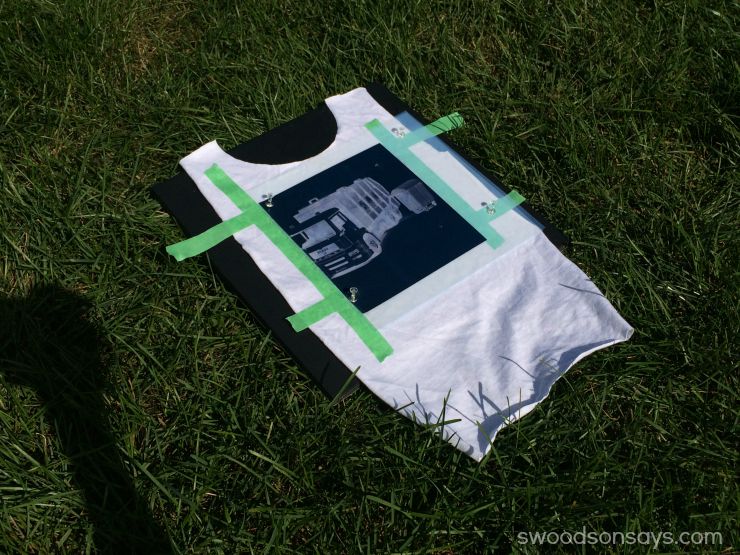
My main goal was to make garbage truck shirts! Their printable transparencies require an inkjet printer and I only have a laser, so my friend printed me out two garbage trucks that I made inverse/negative. She had trouble printing them and cut off the very tip – the sheets are not standard printer size. Apparently you can use the Lumi app to have negatives printed and mailed to you, but they were pretty pricey. The kit comes with 4 transparencies but you’re supposed to use 2 for each image, which is a little misleading.
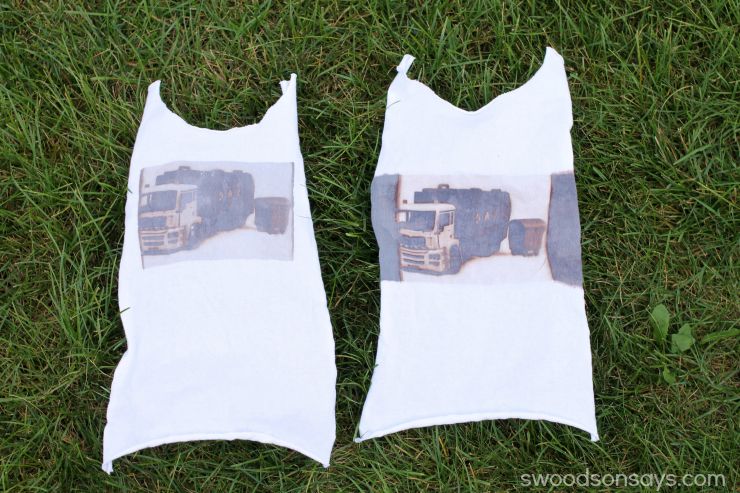
Hmm. Yeah. In Inkodye’s defense, I did water it down some after reading other bloggers say they did so without noticeable dilution. This is the black ink and it gave almost an old-timey daguerrotype feel to the prints. The left one was my second attempt, I was more cautious with saturating the dye. The right, my first attempt, is definitely darker; there was some bleeding after I took the tape off, which seems to be very common after reading other reviews and blog posts.
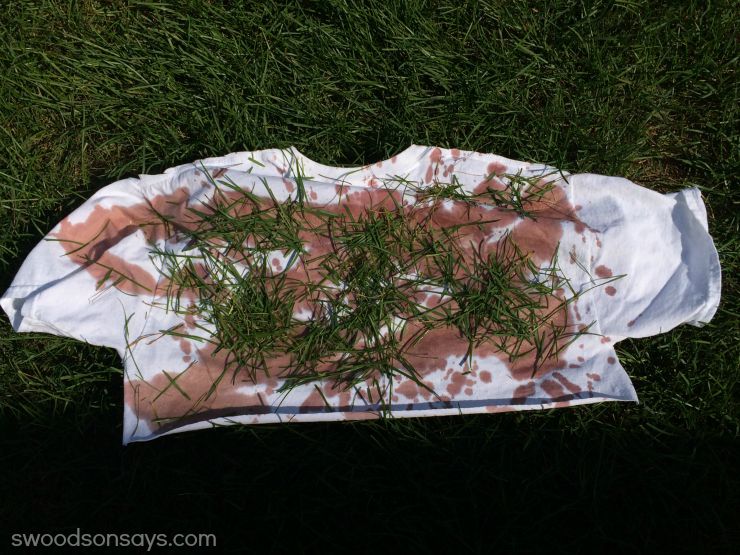
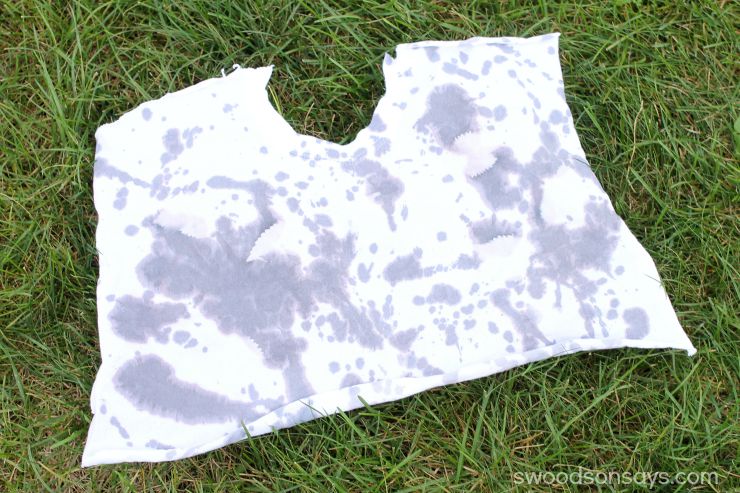
I had extra dye left so I thought I’d experiment with a few of the leftovers from this tie-dye t-shirt quilt. I used a foam brush to splash the dye on and then threw some grass on top.
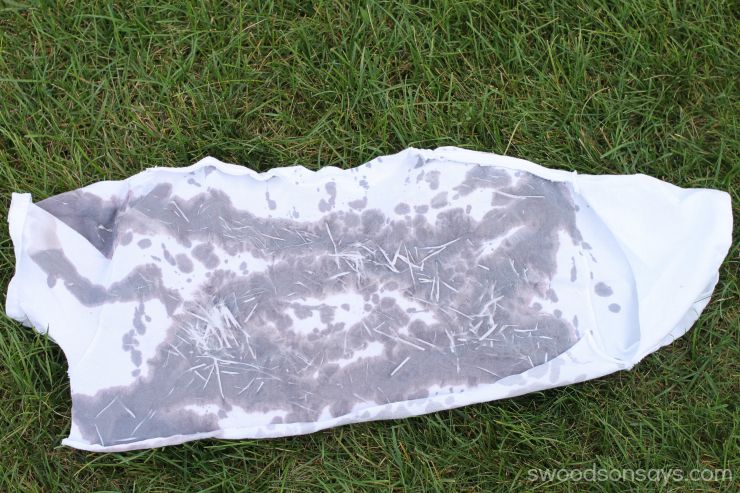
I like how it turned out! Almost like an x-ray.
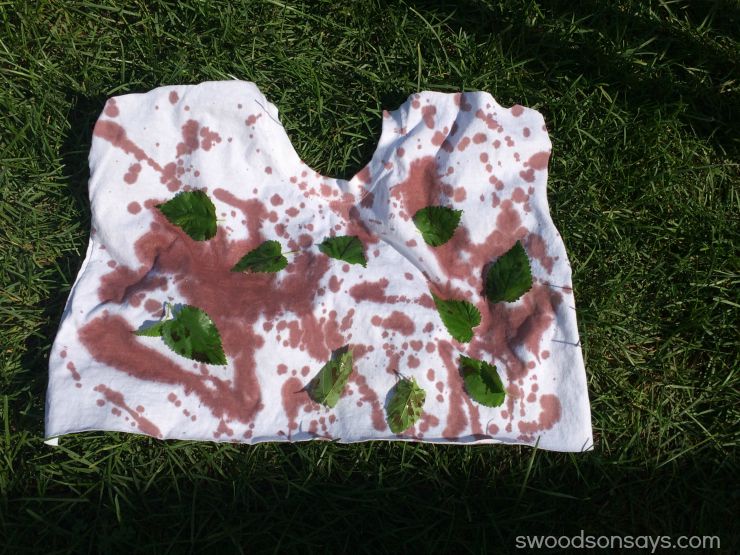
My second experiment was with leaves. They moved really easily, unfortunately, and I should’ve placed them over where the dye was most saturated.
You can see a few leaf edges but it mostly just looks like washed out tie-dye.
So! That’s inkodye. My son is still super excited to wear his garbage truck shirt, but I’m not thrilled with the results. I am interested in it as a printmaking strategy though, and will have to think of something cool to do with the other 2 dye packets. Another thing to note is this stuff STINKS. I was thinking it might be a fun collaborative project or something with my son but I wouldn’t want him anywhere near it until it had been washed and dried twice – even just the fumes before the wash made me queasy.
See what other bloggers tried this month:
- Kristy at Simply This Life tried an orange peel quilt block & binding
- Rebecca at Hugs Are Fun tried quilting with a walking foot
Johanna
Monday 26th of March 2018
Thank you, for your reply! Good to know. I was thinking something along the lines of this: http://www.inkodye.com/blog/2012/we-have-something-epic-to-share . I just cant seem to find any further info on that... I ll keep on looking, I guess. Have a good day (here its almost over already). Cheerio
Johanna
Friday 23rd of March 2018
Hei, nice experiments. I am wondering, the final image on the t shirt looks multi colored. Like the truck is yellow in the front and the trash can looks red (on my screen), But you only used one color, right? I m looking to make multi colored prints (like a color photograph really), so I m wondering if they really are different colors, how you did it? Would much appreciate your reply, Johanna (from Germany)
Stephanie - Swoodson Says
Saturday 24th of March 2018
Hi Johanna, this was with only one color, if it looks different it's just something lost in translation I'm afraid! You would have to do a complicated different image layer with multiple inks to get that effect, I think.