
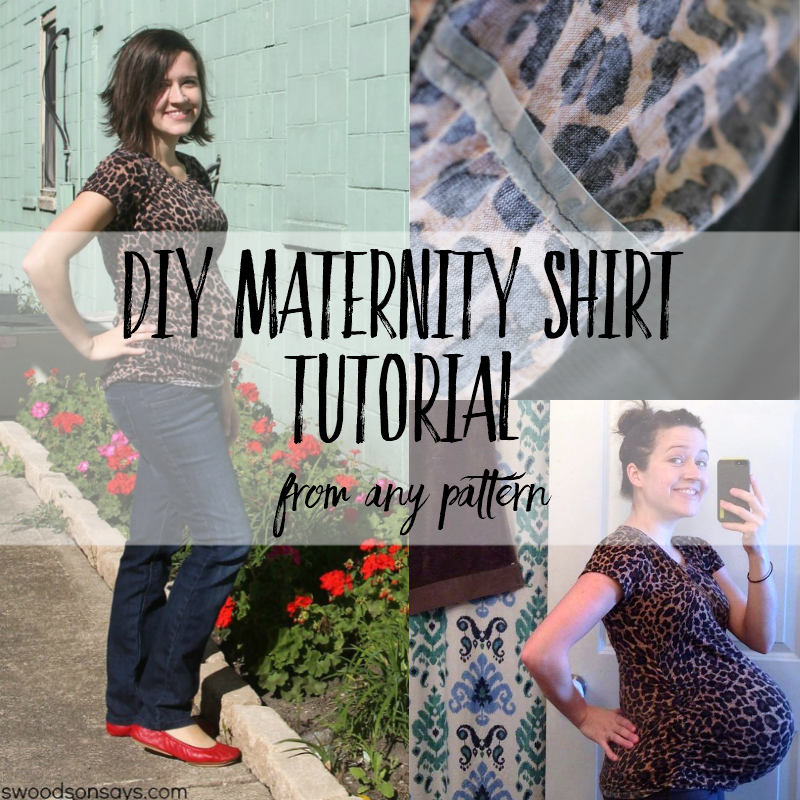
 It’s Selfish Sewing Week! I was thrilled to be invited to sew along and it was just the kick in the pants I needed to make myself something fabulous. Maternity clothes are SO BORING. 90% of them seem to be black and the other 10% are striped. Maybe I’m the only pregnant person ever to want some leopard in her life, I don’t know!
As a part of SSW I received a copy of the Union St. Tee pattern from Hey June Handmadefor free but all opinions are my own! This post was originally published in 2014, I updated it in 2019.
You will want to check out these other posts while you’re here!
- 60+ nursing friendly sewing patterns
- Top 10 Best Baby Gifts To Sew
- 5 Simple Maternity Refashions
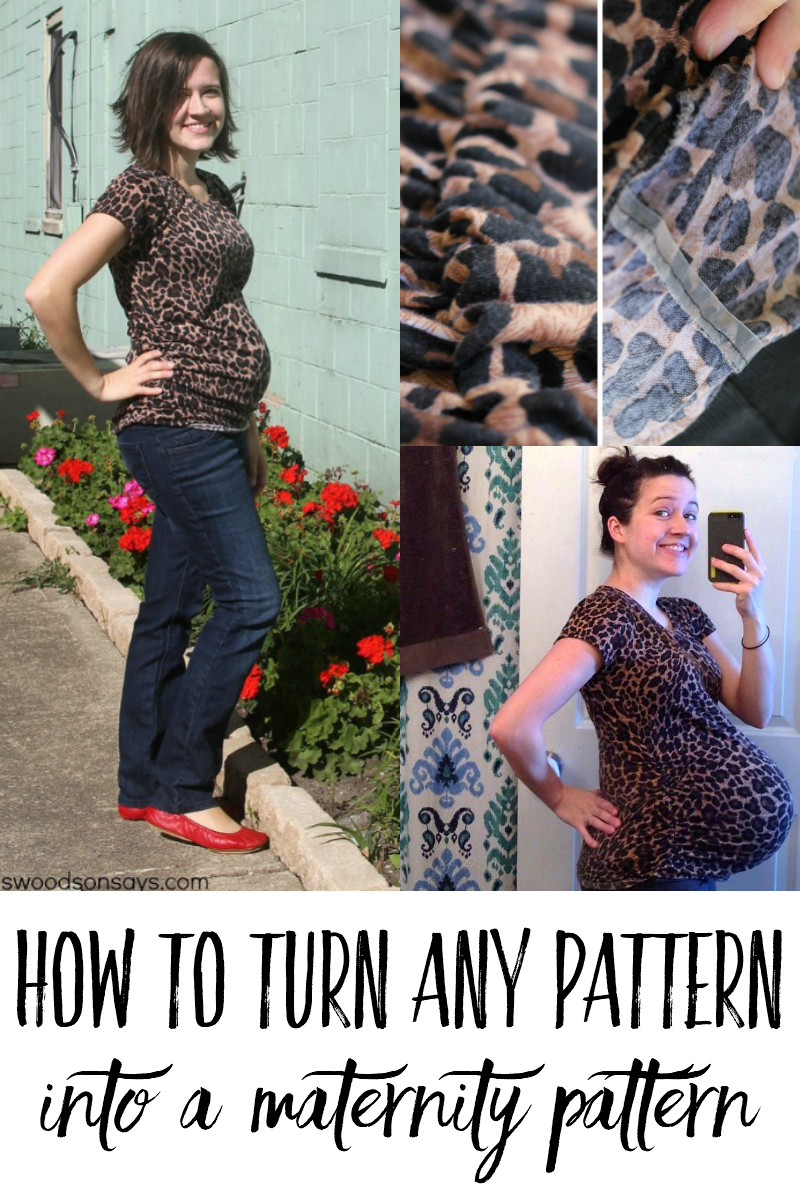
Pin this DIY ruched maternity shirt tutorial for later using this link or collage image below:
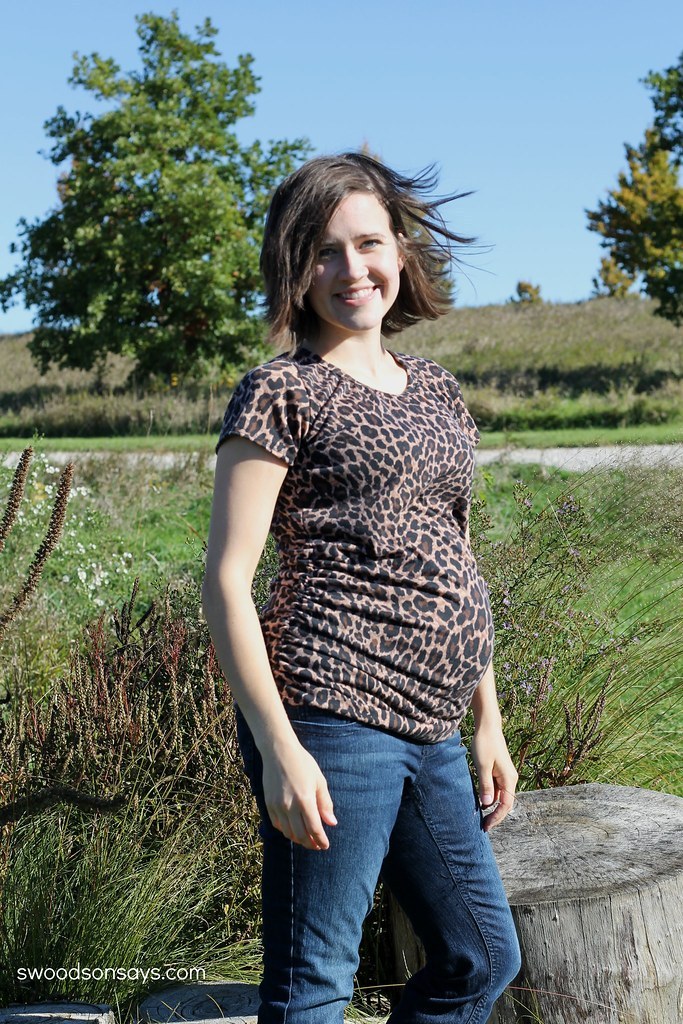
This pattern, Union St. Tee , is not maternity but it was an easy alteration (more details below). This is a size small, in leopard knit that I got off a fabric destash site, there are some similar options here.
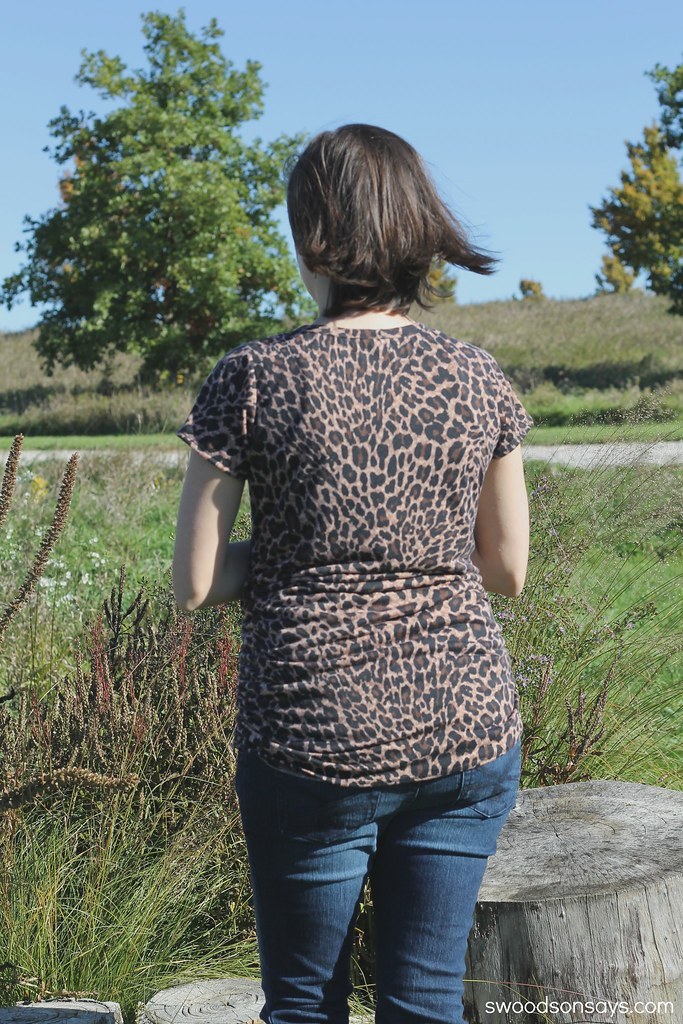
In retrospect, you could probably only lengthen the front bodice piece, ruche it, and then attach it to the normal length back piece. But I don’t mind the extra coverage for my back – maternity jeans have a habit of riding down so it’s comforting to have more fabric there.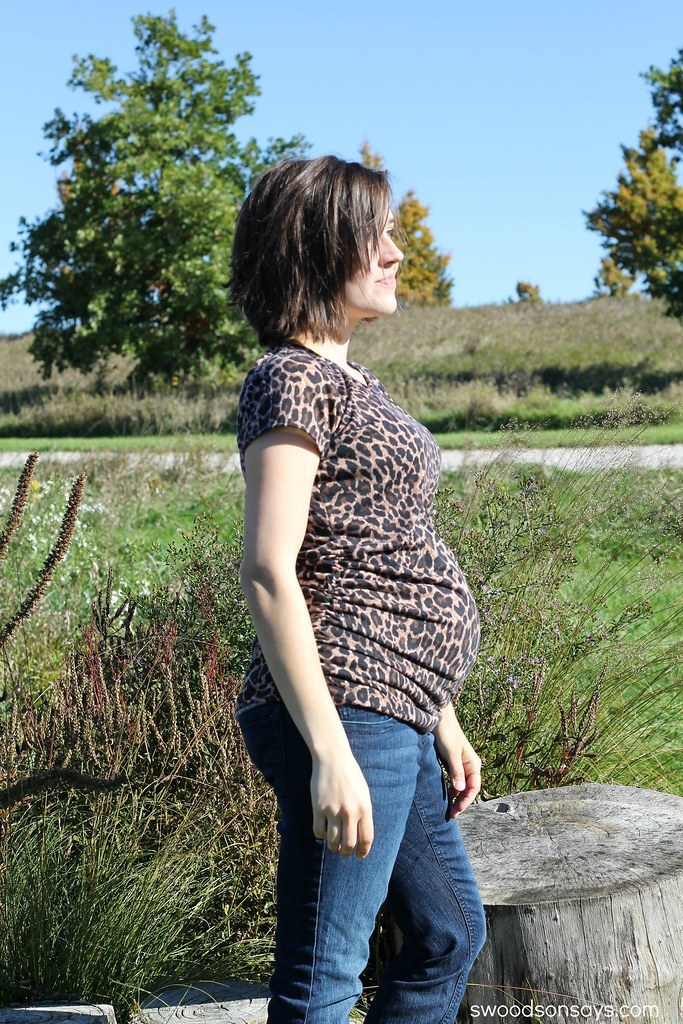
I’m sure you’re thinking ‘WAIT is she seriously not due until March’! But remember, I have/had diastasis recti and was basically showing the moment the stick turned positive. I actually knew way back when in this post, when I literally couldn’t suck it all the way in.
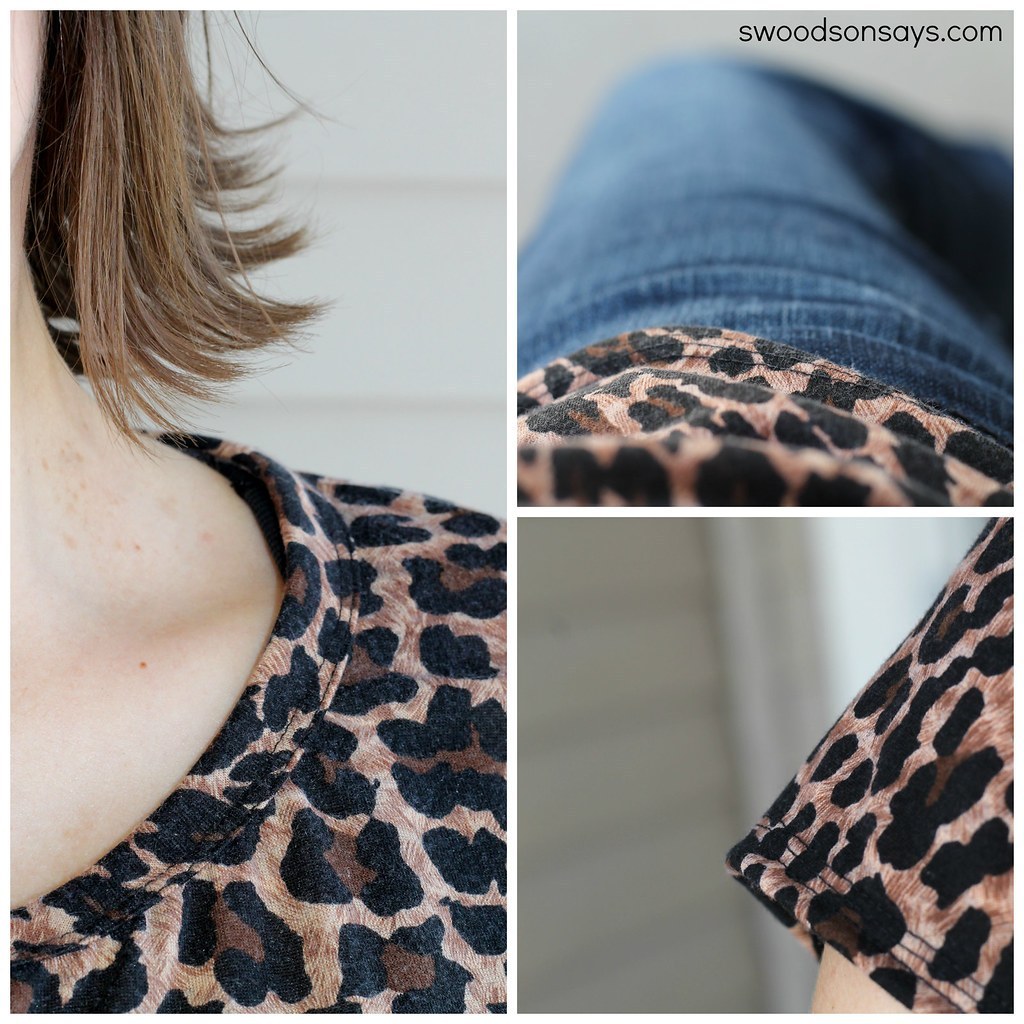
I like the neckline on this pattern! I used my brand spanking new coverstitch machine* for the hem & sleeves – I need to unthread the middle needle so it looks more store-bought.
My only complaint is that the hem flips a little. I’m not sure if it needed to be folded up another time, or if it’s because of my belly. It would easily be fixed with an elastic casing too but I don’t think it bothers me that much! You can see what I mean in the photo above.

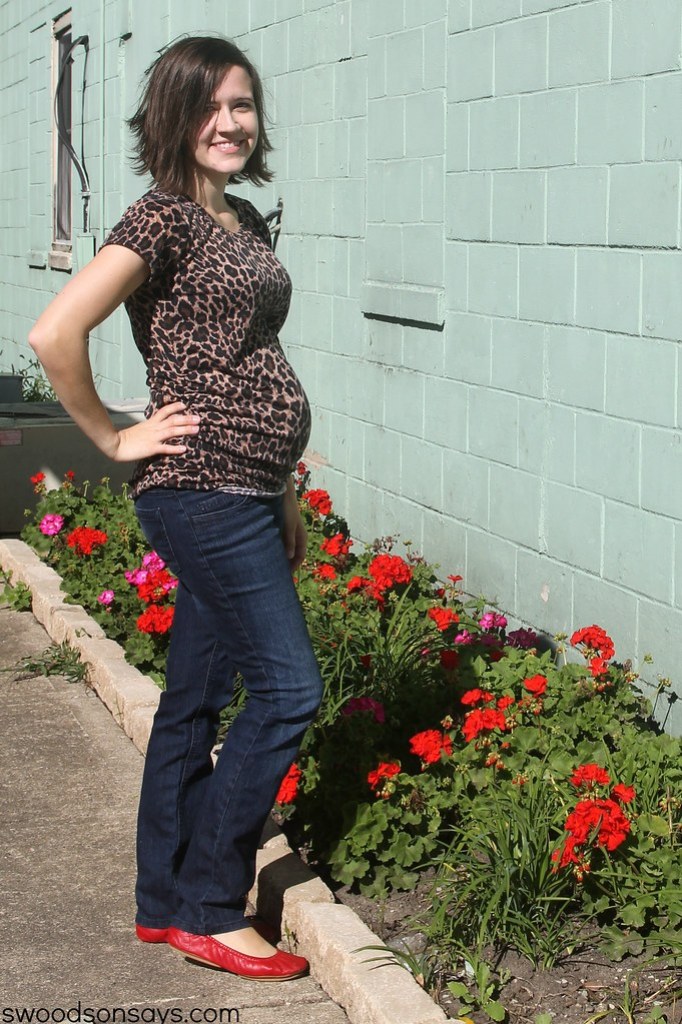
Update: This is the only shirt that still fits me at 38 weeks! Thank goodness I made it way back when, it’s gotten a ton of wear.
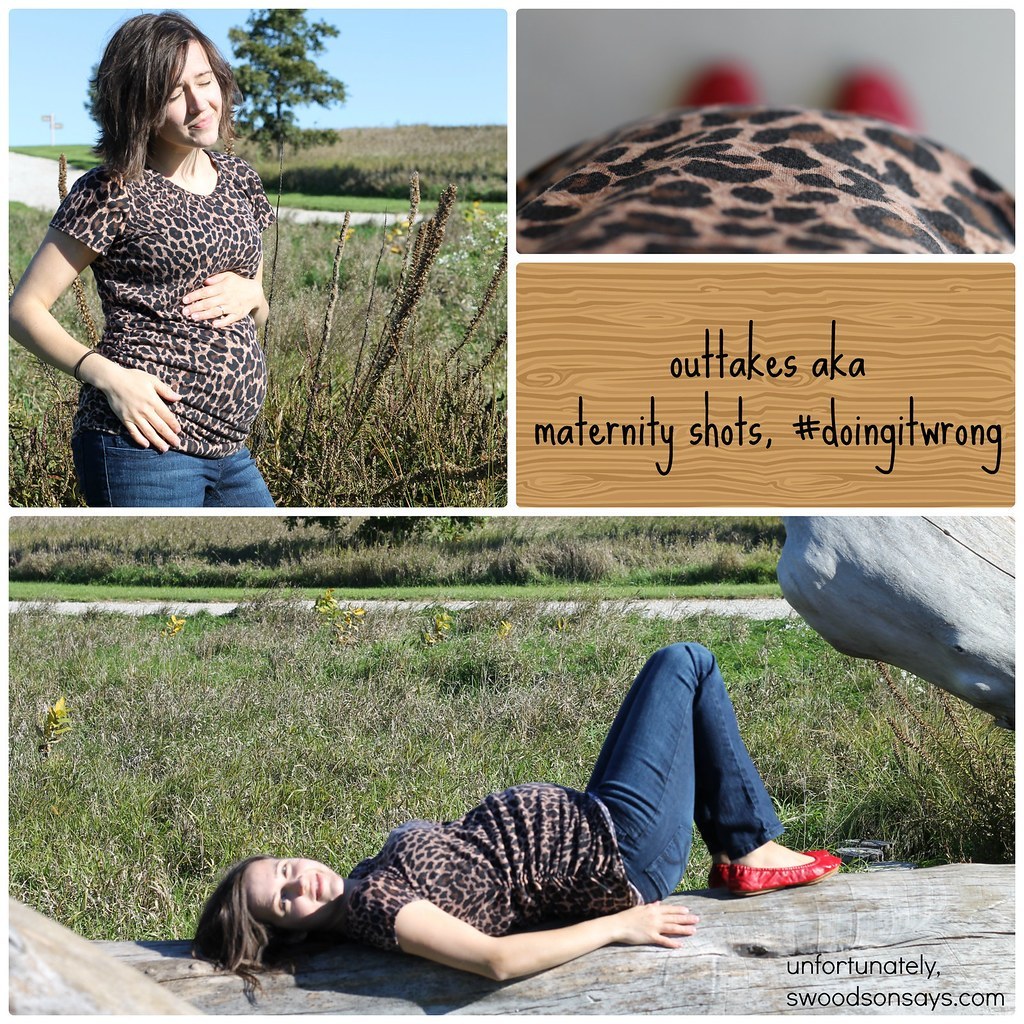
Last, but not least, outtakes for your giggling pleasure. #1 I was trying for dreamy and ended up with… I’m not sure what (what is it with the instinct to touch the stomach? As if my pregnant status isn’t obvious already). #2 I was trying to get a shot of my hem but.. only got belly. #3 was my creative stretch and it did not pan out, haha!! I am literally a bump on a log and couldn’t even get it to focus on me. Guess my camera knew best, right?
How to make a DIY ruched maternity shirt
Supplies
- clear elastic (it is much cheaper at a local sewing store!)
- Women’s fitted t-shirt pattern (I used the Union St. Tee)
- Ruler
- Tape
- Extra plain paper
Steps
Step 1: Lay your pattern pieces out and cut along the shorten/lengthen line, and use the plain paper to fill in the gap before taping and connecting the lines. I added 7″ of length at the shorten/lengthen line on the bodice pieces. Then use the pattern pieces to cut out the fabric.
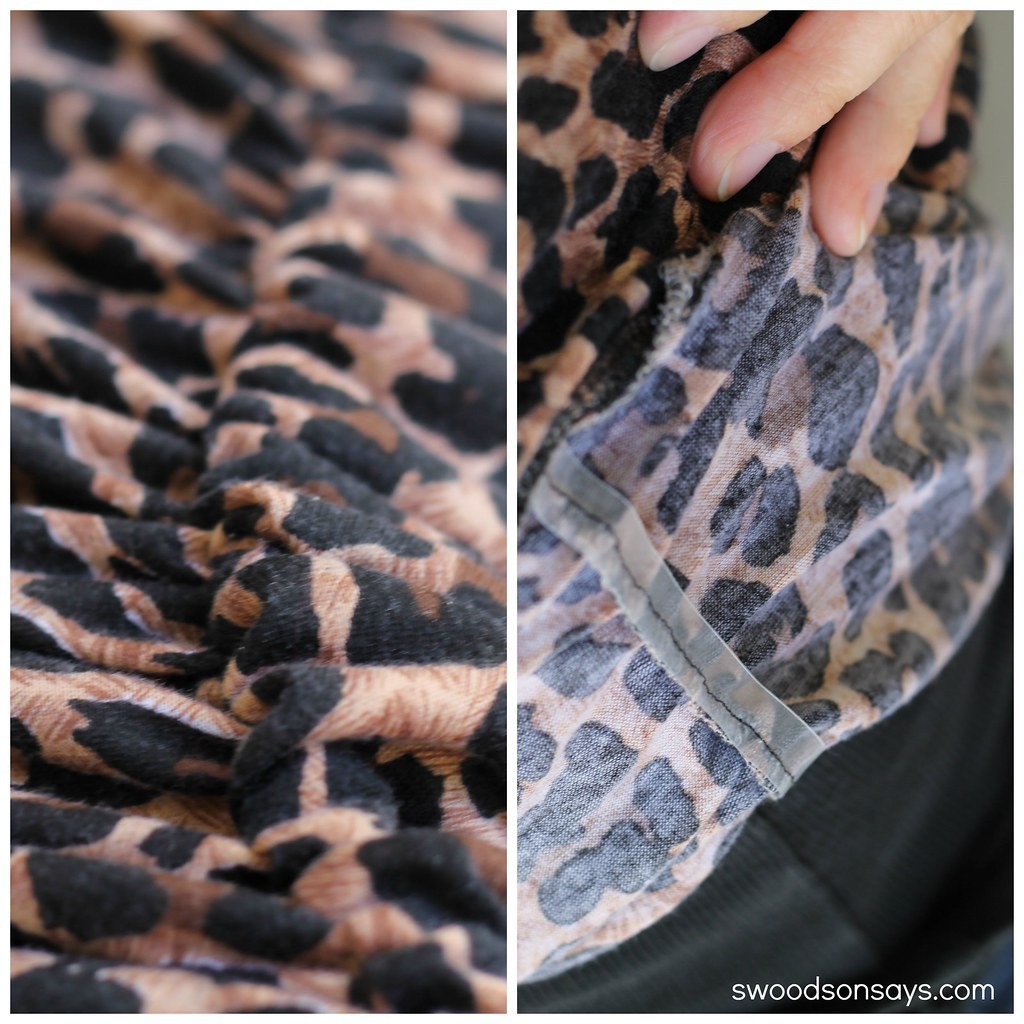
Step 2: Sew the front & back bodice pieces together as normal. Cut (2) elastic pieces to 10″ long each. Take the seam allowance and push it to the front bodice piece’s side and then stitch the elastic on to the seam allowance (more details in step 3 about the stitching).
Step 3: Use a stretch stitch and sew the elastic on to the seam, stretching the elastic as you go! I started the elastic 5″ down from the armpit seam, which left 18″ of fabric along the side seam, unstretched (just in case you’re trying to figure a ratio for a bigger size). Just remember to do several straight backstitches back and forth at the beginning and end to anchor it ; then I used a 3.5″ “triple straight stitch” (the one that looks like three lines next to each other) throughout, with my walking foot. Once it was sewn down and secure at the hem, I cut off about 1″ of elastic at the end where my thumb had been holding it while I stretched. Once you’re done, release it and watch the fabric scrunch up.
Alexa
Tuesday 26th of September 2023
HI! I know it's been almost a decade since you wrote this blog post, but I'm stumbling on it now and have some questions. What width elastic did you use, and could you just use regular white elastic instead of the clear elastic? In step 2 when you say, "Cut the elastic pieces to 10″ each and sew it on to the front" what do you mean by the 'sew it onto the front' bit? You mention both a stretch stitch and a straight stitch - did you used a stretch stitch first and then a straight stitch over it? Thank you!
Alexa
Wednesday 27th of September 2023
@Stephanie - Swoodson Says, Oh my gosh, thank you so much! The steps overall weren't that hard to follow, and it was the easiest to follow that I had found while Google'ing to just adapt a shirt pattern I like to work as a maternity shirt. And I totally understand what you mean about fraying - clear elastic it is! Thank you again for taking the time to clarify some of the steps, I really appreciate it!!!
Stephanie - Swoodson Says
Tuesday 26th of September 2023
a decade, oy, I guess the baby pictured in my stomach is now 10 so the math maths! ack! I see the link to the specific elastic I used at the time is dead - I updated it, it was the traditional clear elastic that is 3/8" wide. You could use white elastic instead of the clear elastic I think; but sometimes the edges of the white elastic tend to fray if left loose unlike the clear, if that makes sense? I have not used it raw like that to speak to how it holds up over time. I want to apologize, because this tutorial is not the quality of instruction as 95% of my blog! I didn't make the shirt intended to share it as a tutorial and then someone asked for the mods/measurements and all I had was a few notes. I usually take step by step photos. Now I'm never going to be pregnant again so I don't want to redo it, haha, I'm sorry!! I did, however, try to reword it so it was more clear if you go back and reread the steps. I hope that helps!
Nienke
Tuesday 3rd of March 2015
Ow, it's fabulous! I sooo love leopard, I had a leopard dress that stretched enough to use as maternity wear, have worn it to pieces :-)
Elizabeth Shepherd
Wednesday 24th of September 2014
Oh wow! Congrats girl! I love the top!!!
Stephanie - Swoodson Says
Thursday 25th of September 2014
Thanks so much Elizabeth!
Jonie Brooks
Wednesday 24th of September 2014
Congratulations! You look adorable and I love the shirt!!
Stephanie - Swoodson Says
Thursday 25th of September 2014
Thank you Jonie!!
rachael {imagine gnats}
Tuesday 23rd of September 2014
you're the adorablest!!!!
Stephanie - Swoodson Says
Thursday 25th of September 2014
:) Thanks for having me, it was fun!!