
A beginner sewing tutorial to sew a serger cover for a Brother 1034d

We had hardwood floors installed in our new house and the dust and debris it left in our basement (where my sewing room is) was unreal. I quickly made a serger cover to keep it clean and then tweaked the pattern and tutorial to make my Mom one for her birthday! This tutorial is really simple; you could customize it with applique, embroidery, patchwork, really anything. My Mom picked out the fabrics so I decided to keep it plain and let them shine.

I absolutely love my Brother 1034d serger – I use it for all my knit projects (which is pretty much everything my son and I wear) and for finishing seams on woven projects that will take a lot of abuse, like curtains, beanbags, etc. Embarrassingly, I bought it when I very first started sewing – my first project was a bunch of cotton wipes for cloth diapering and I was immediately a fan. It’s been used heavily for the past two+ years and I’ve had zero issues. People moan about threading it, but it really isn’t bad once you do it a few times! I highly recommend it.

If you like this post, check out these others while you’re here:
- Sewing tips for beginners -15 mistakes to avoid!
- Beginner sewing supplies list – what to buy on a budget!
- 20+ Easy beginner sewing projects
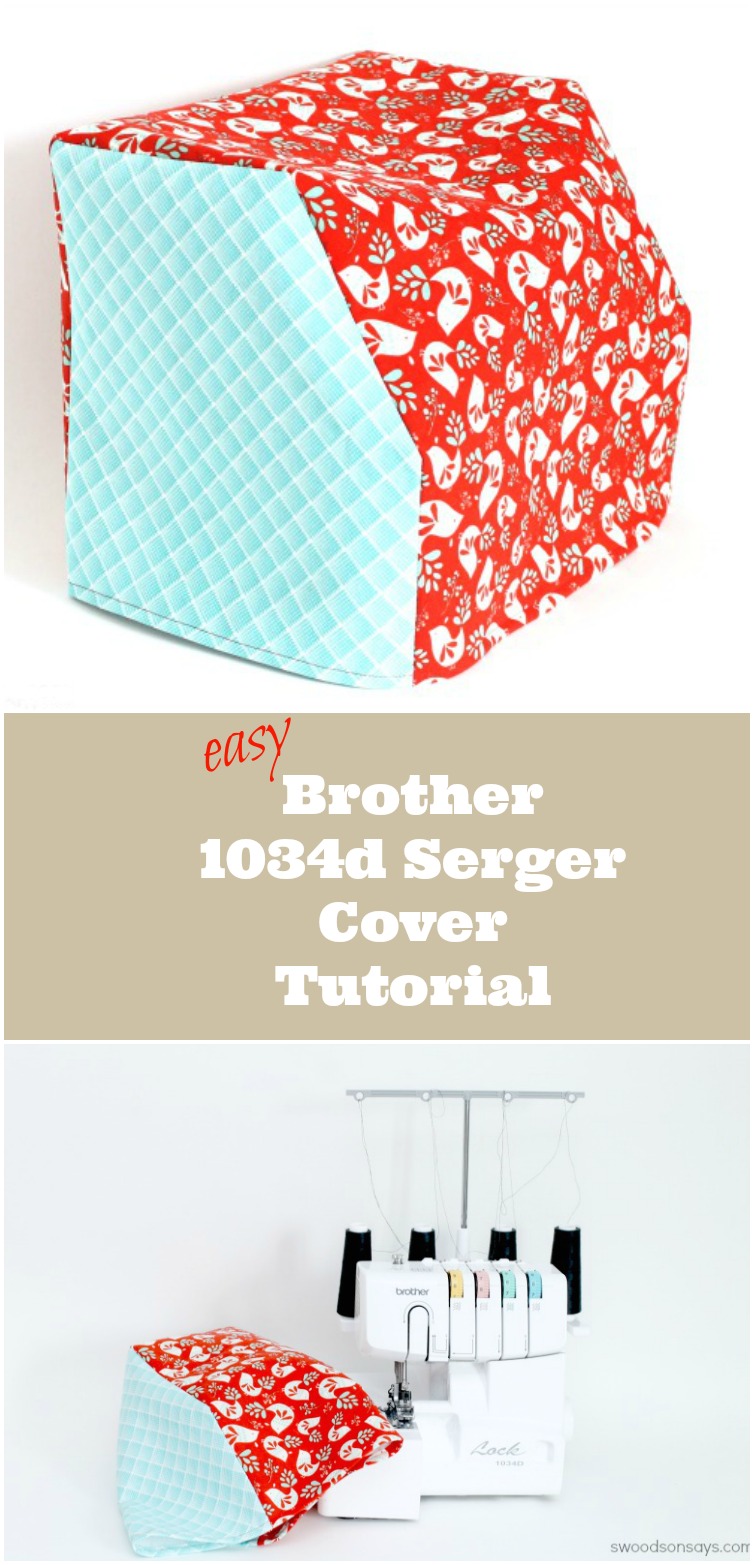
Pin this serger cover tutorial with this collage image or link:

How to sew a cover for a Brother 1034d serger
Supplies
- 1/2 yard of accent fabric (blue – Facet by Maude Asbury) & 1/2 yard of main fabric (red – Folklore by Heather Rosas)
- 2 yards of fusible fleece (I used Pellon brand)
- Iron
- Coordinating thread & sewing machine
Steps
The entire project is sewn with a 3/8″ seam allowance.

1. Draw out your side piece pattern. You can create an actual pattern piece or simply measure and cut; I measured and cut with my rotary cutter and quilt rulers so I drew a little mock-up of the shape with the measurements. Cut 4 of the shaped sides, mirrored so one is reversed – 2 of fusible fleece, 2 of nice fabric. Cut 2 long rectangles, 1 of fusible fleece, 1 of nice fabric, measuring 15″ by 34″. Press to fuse the fleece to the back of each nice fabric piece.
If you’re doing any embellishing, now is the time! On my version I put a handle – it was about 16″ up from the front hem of the rectangle. I don’t actually use it very often so I didn’t include it in this tutorial/my Mom’s.

2. Lay the two pattern pieces right sides together (RST), with the straight edges aligning. You’re going to start sewing the longest (13″) side first, pivoting around so the rectangle goes along the entire side.

3. To make a nice sharp corner, stop with your needle down, 3/8″ from the edge of the corner. Pull up your presser foot with the needle still down.

4. Pivot the pieces around, keeping them RST. You may need to use a seam ripper or pen to smooth out the fabric underneath – any excess can be pulled towards the left/back so you have a smooth line to continue sewing with the 3/8″ seam allowance, Continue all the way around, pivoting at each corner.

5. Lay the second side piece RST and repeat, sewing the longer 13″ side, up, and around. Trim any unevenness around the bottom where the panels meet. Press all seams open.

6. Trim down the seam allowance and clip each corner so they poke out better, making sure not to clip through the stitching.
7. Turn the bottom raw edge up 1/2″ all the way around, press. Stitch to hem, press. You’re done!
Sandy
Thursday 4th of December 2025
Thank you for publishing this! I just bought a 1034D and wanted to keep it from getting dusty. I added a small pocket to the right side to hold tweezers and small scissors.
Stephanie - Swoodson Says
Friday 5th of December 2025
Aw yay!! I hope you love your new serger :) Thanks for leaving a comment after using it!
Dotty
Sunday 19th of January 2025
The pictures of your tutorial will not release the actual picture.
Stephanie - Swoodson Says
Tuesday 21st of January 2025
sorry about that Dotty, got it all fixed up now!
Gloria
Sunday 3rd of March 2024
Been meaning to make one of these for years - finally have with your help. See pics on Instagram. Thanks for an awesome tutorial.
Stephanie - Swoodson Says
Monday 4th of March 2024
yay!! it looks so good, thank you for sharing!
Carin
Monday 5th of June 2023
I forgot to mention that I LOVE this Brother 1034d Serger and I find it pretty easy to thread and to learn how to use. It is compact, easy to pick up, and easy to use. I highly recommend it.
Carin
Monday 5th of June 2023
I made this cover for my Brother 1034d Serger. When I was sewing on the first side panel, I got a bit mixed up and had to rip out the sewing and restart. I didn't have the long side panel situated correctly on the long piece of fabric. But I figured it out and it all went together pretty quickly after that. The cover didn't fit as snug as I expected, so when I hemmed it up, I made a casing and used 1/2 inch elastic to snug up the bottom of the cover. I also used the serger to overcast the raw edges of the hem. Thanks for sharing this pattern. Now my serger is happy!
Stephanie - Swoodson Says
Monday 3rd of July 2023
thanks for sharing those tips! I like it big so I can stick projects that are in progress, under it :)