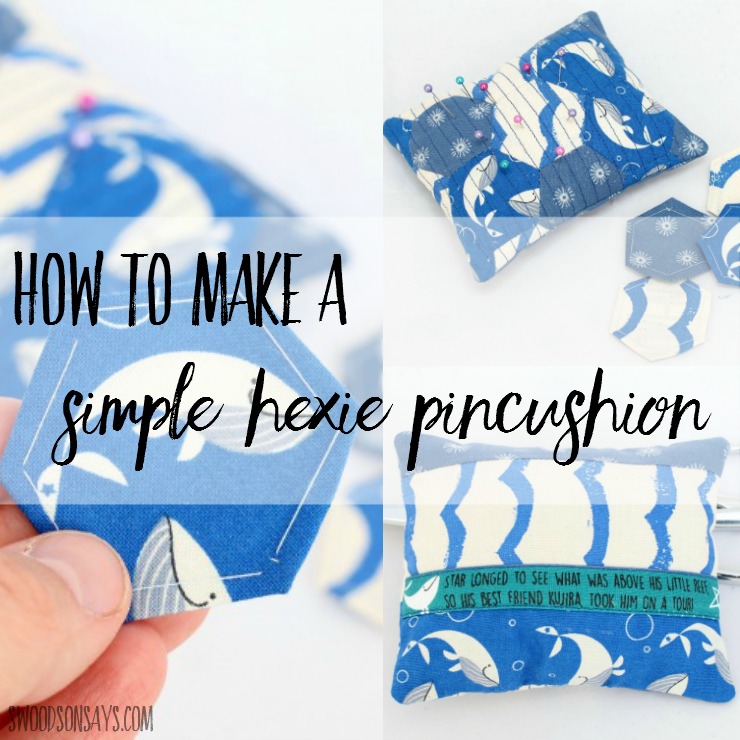
If you’ve admired EPP (english paper piecing) projects from afar, I have a great beginner tutorial to make a simple pincushion! Maker Mountain Fabrics sponsored this post, which means she sent me the fabrics in addition to compensation for creating the tutorial. This pincushion only takes 17 hexies, and while I think calling it a one-night project might be a stretch, you can definitely do it in a weekend.
You are going to love these posts too, check them out:
- 25+ free pincushion sewing patterns!
- 6 modern books on english paper piecing
- 13+ English paper piecing projects to try
EPP is done by hand, which makes it a great hobby for parents who are running after small children. Similar to embroidery, you can stop and start a million times without messing anything up or losing your place, which I love! All of these hexies were sewn with a minimum of one child hanging on my arm, and they loved playing with the placement of each design. The last EPP project I had on the blog was a while ago, but my son still uses this tote bag all the time.
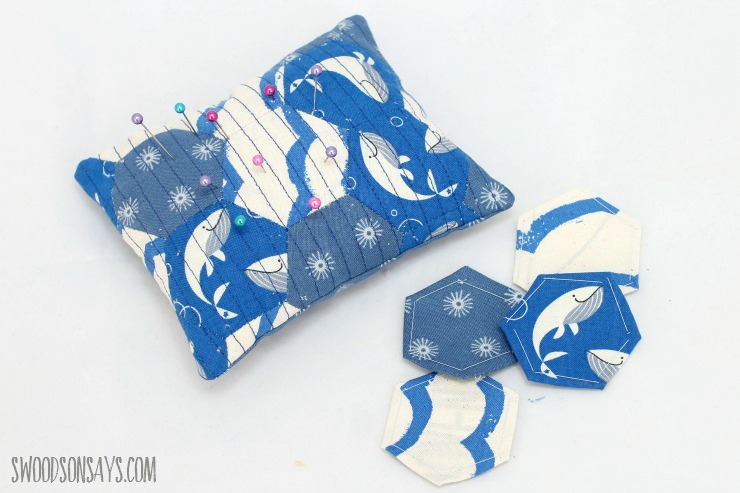
I found Grace on Instagram and am always interested to see what she’s added to her shop or what she’s sewing personally, and was excited to work with her new Cotton + Steel cottons. These are from the Kujira line and are just perfect for spring, how cheery are those whales! Be sure to sign up for their newsletter to see new fabric arrivals, sewing kits, and patterns for sale with this link! She has listings up for smaller, fat quarter cuts, of Sea Urchin, Waves, and Whale which is perfect for EPP; so often the minimum cuts are huge, which can get pricey with patchwork.
I am not an EPP master, but I have played with a few different shapes and methods, so I’m sharing what works best for me in the tutorial. Once you get started, you can experiment with different ways of making the hexies and/or sewing them together.
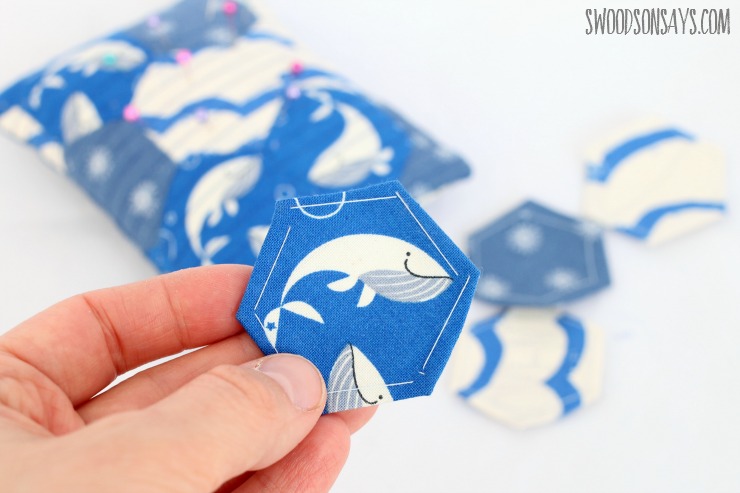
As I said, the whales are my favorite. They manage to be cheery without super childish or cutesy, which is tough with smiling animals!
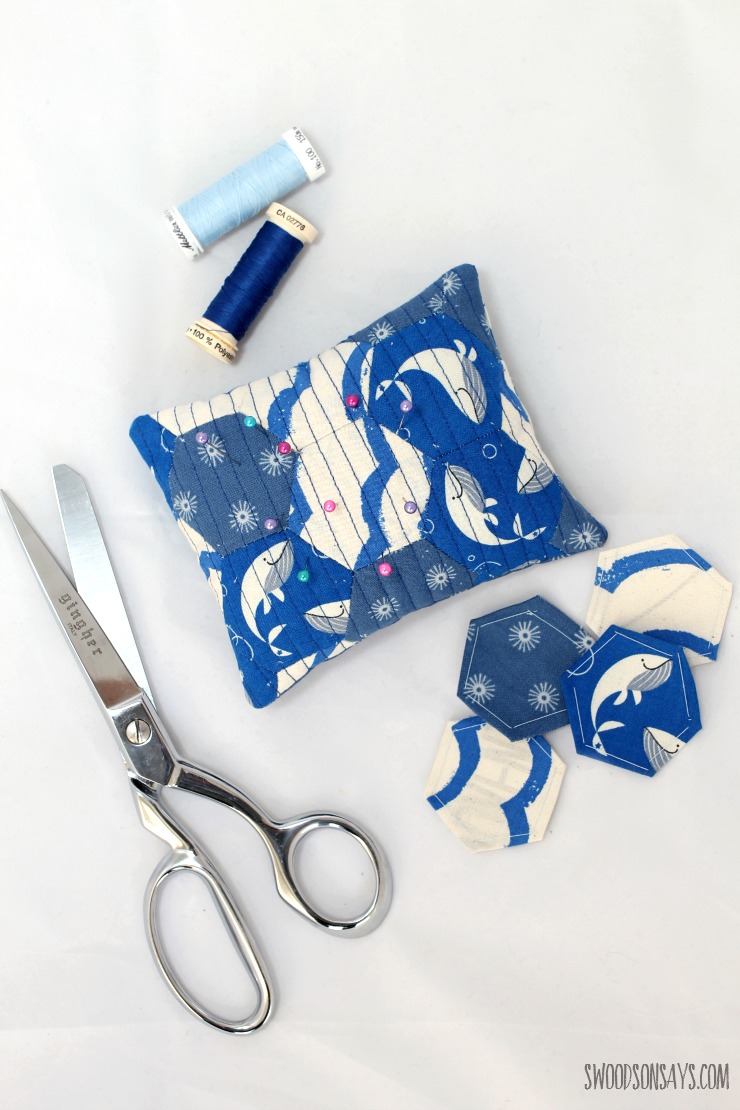
You could do all sorts of fun things with the quilting, wouldn’t it look cute with french knots or free motion quilted bubbles? I stuck with straight lines to keep this simple and beginner-friendly, but the possibilities are endless.
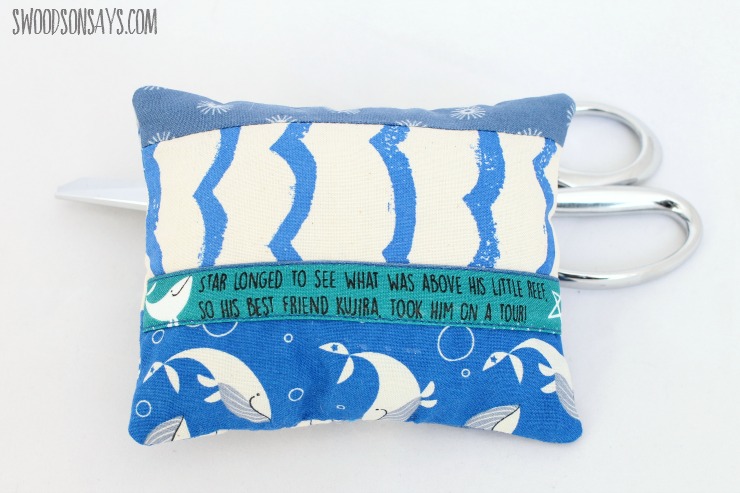
The selvages on Cotton + Steel prints are always so cute, so I folded one over and stitched it on the back as a special touch, isn’t that the sweetest line? “Star longed to see what was above his little reef, so his best friend Kujira took him on a tour!” I love it!
Pin this epp project for later using this link or collage photo:
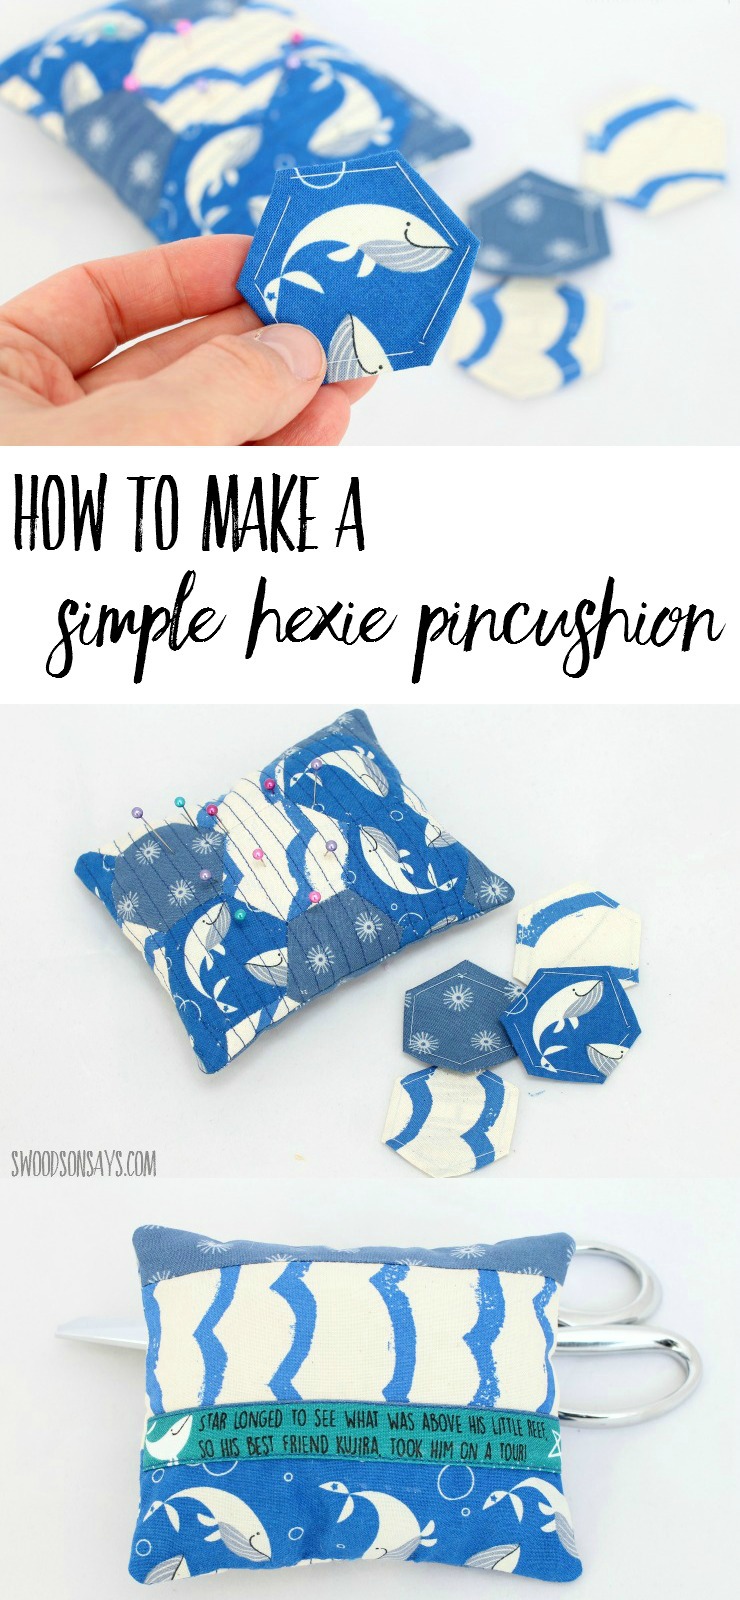
Ready to make your own?
How to make a hexie pincushion with EPP
Supplies
- 3 Fat Quarters of quilting cotton – Sea Urchin, Waves, and Whale from Maker Mountain Fabrics
- Coordinating thread
- Hand sewing needle
- Scrap of quilt batting (I buy this mega roll* off Amazon since I’ve been more into making quilts, it’s way cheaper than buying project by project!)
- Glue stick (optional)
- Finger press* / bone folder (optional)
- Scissors
- Poly-fill or other stuffing
- Rectangle template & hexie template file (print 2 of the hexie sheet)- sign up for my newsletter and get the free download once you confirm your subscription! If you’re already a subscriber, you can access the pattern with the password in each newsletter, in the resource library.
Steps
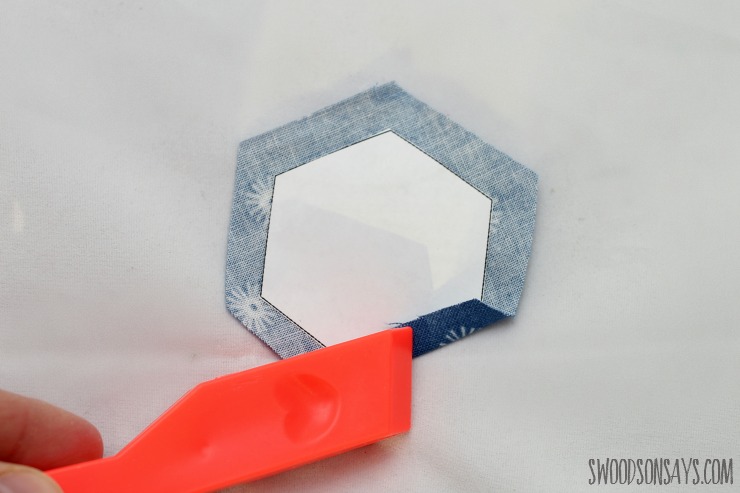
1- Cut out Use a light dab of glue and put your paper hexie on your fabric, then cut with approximately 1/4″ around each edge. Use your finger or a bone folder/presser to tightly crease each edge along the paper.

2- There are several ways to stitch a hexie! Here, I go through the fabric. See here where I stay to the back instead.
Knot the end of your thread and come up through the bottom to the top at once corner, taking one huge stitch across the edge, coming back down. Fold down the next edge’s fabric and take a small stitch through the fold, push up through the corner and repeat until you’re all the way around. Repeat until you have 17 hexies!
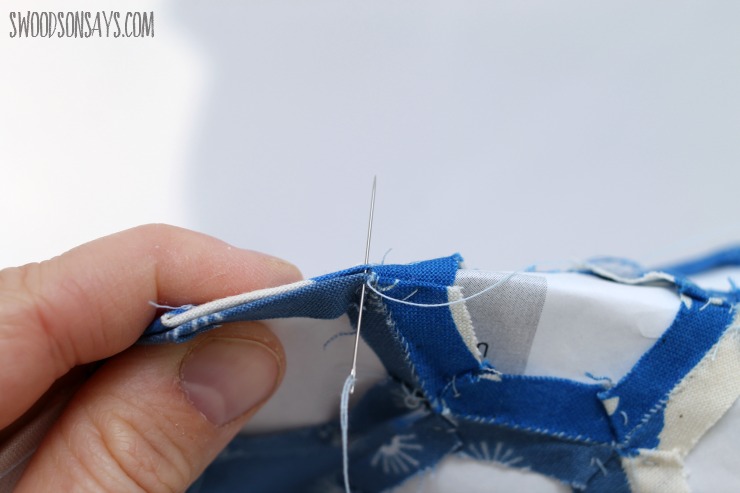
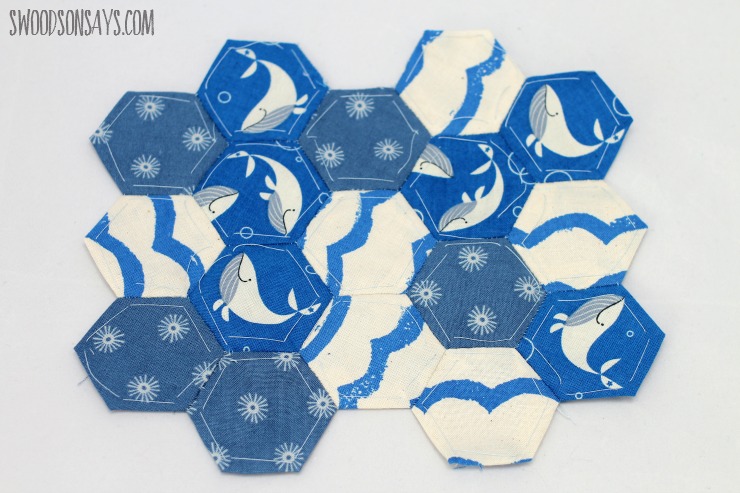
3- Lay out your patterns, with a column of 3/4/3/4/3. Stitch them together with a whip stitch, just barely going through the edge of each side, not even 1/8″ of an inch in. Press with an iron, then remove the papers and the basting stitches.
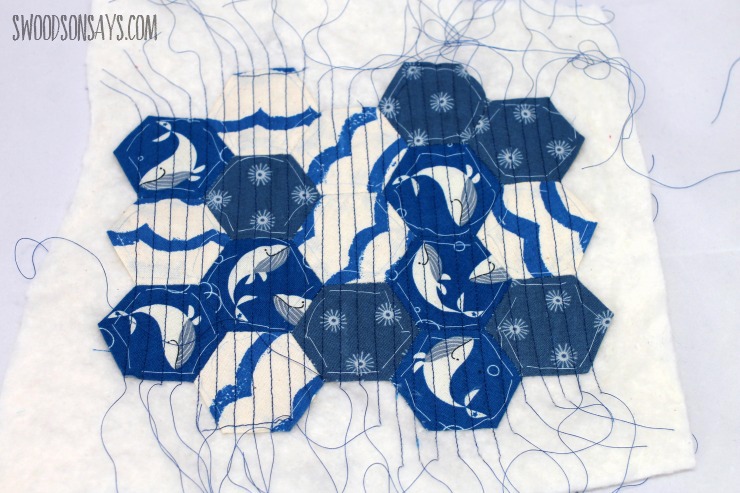
4- Cut a rectangle of quilt batting that is about an inch larger than the entire hexie, smooth down, and quilt. With such a small space, the batting will cling well enough that you don’t need to safety pin or spray baste.
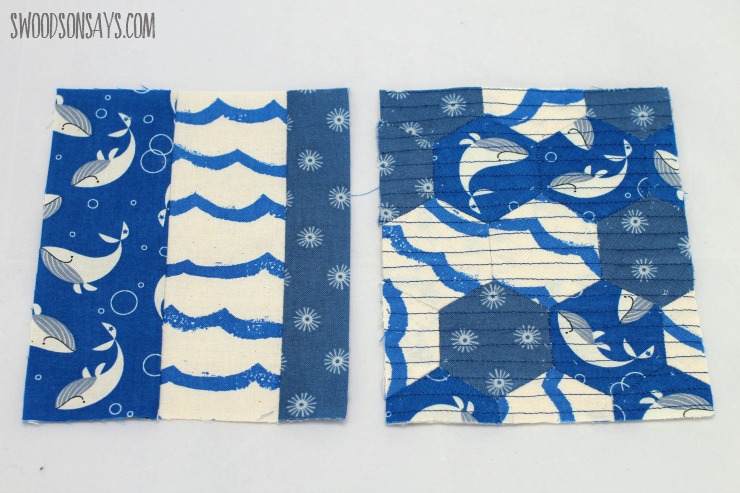
5- Using the pattern piece, cut a clean rectangle from the quilted hexies. Use remaining fabric strips to make a patchwork back and cut out the same size with the rectangle template (it measures 5″X6″).

6- Lay the front and back right sides together and sew with 1/4″ seam allowance around all 3 edges, leaving a 2-3″ opening for turning. Clip the corners, being careful not to cut through the stitching.

7- Take a minute and finger press the seam allowances back along the edge with the opening – this will make sewing it shut by hand much tidier!

8- Turn right side out, and stuff! I like to use a mix of Poly-fill and fabric scraps to give it a little weight. Once it’s firm, use a ladder stitch to close the opening and enjoy!
I’d love to hear what you fill your pincushions with, I know there are lots of options out there! Don’t forget to check out Maker Mountain Fabrics (it looks like some really beautiful Nani Iro is headed her way soon!); I’m thankful for the chance to share these fun fabrics and tutorial with you!

Jan
Friday 1st of April 2022
Mine turned into a mug rug, I kept adding hexies. It was a fun project, I learned a lot and will make the pincushion soon. I plan to use ground walnut shells for the stuffing.
Stephanie - Swoodson Says
Saturday 2nd of April 2022
Jan, I love to hear that!!! So happy to hear you enjoyed it, happy EPP-ing and thanks for reading :)
Lisa // Cucicucicoo: Eco Sewing and Crafting
Wednesday 22nd of February 2017
This is so cute, Stephanie! I love the look of hexies but never figured out how to make them. So, did I miss something, or do you keep the paper in there without removing it? Pinning! :) Lisa
Stephanie - Swoodson Says
Monday 27th of February 2017
I didn't take a picture, but last sentence of step 3 :D You pull them out after they're stitched together, but before quilting.
Michelle
Tuesday 21st of February 2017
Great tutorial! And such an adorable pin cushion too.
Stephanie - Swoodson Says
Monday 27th of February 2017
Thanks Michelle!
needle and ted
Tuesday 21st of February 2017
Such a great use of the selvages, those cute edges are not to be wasted ;-)
Stephanie - Swoodson Says
Monday 27th of February 2017
Right?! I love them :D Thanks Olu!
Pam @Threading My Way
Tuesday 21st of February 2017
Hexie sewing is addictive. Whenever I watch TV the hexies come out. When I first looked at your pin cushion, it looked like one piece of fabric. Love it! I fill pin cushions with polyfill. Good idea to add fabric scraps to the mix.
Stephanie - Swoodson Says
Monday 27th of February 2017
Yes, it is a perfect TV craft!! Thanks Pam!