Tutorial for sewing a drawstring bag from an upcycled tshirt
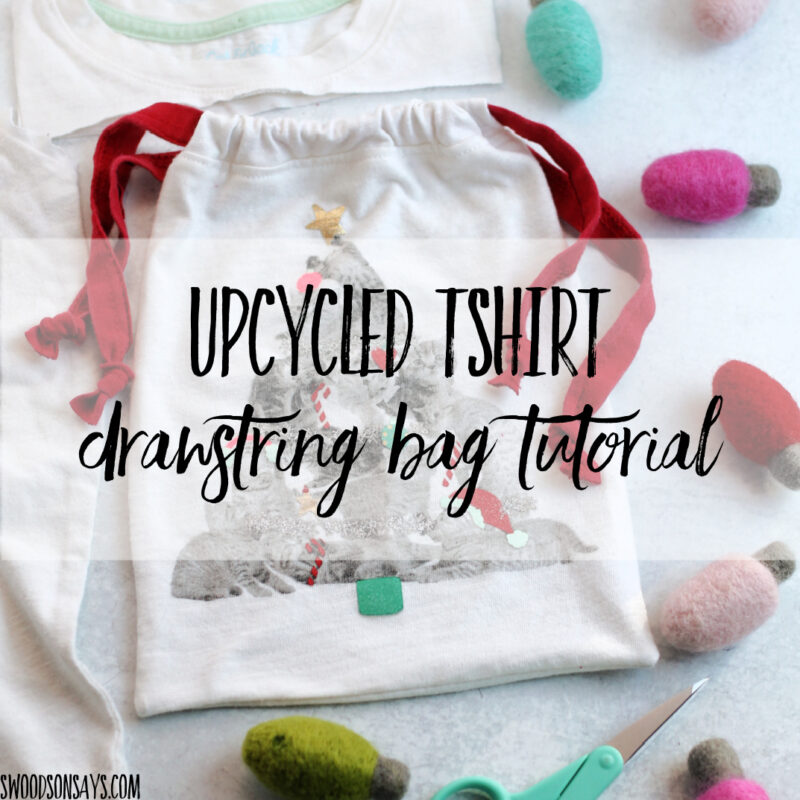
Trying to skip the one-time-use wrapping paper but don’t want to buy a bunch of fabric? Dig into a thrift store or your donate pile and turn old tshirts into drawstring bags! There are lots of different ways to make a drawstring bag but this tutorial is written specifically for knit (read: stretchy) fabrics that don’t fray and to be sewn up quickly en masse for gift giving. I wrote this tutorial without specific sizes so it can be used for whatever size shirt you’re working with, very little measuring required!
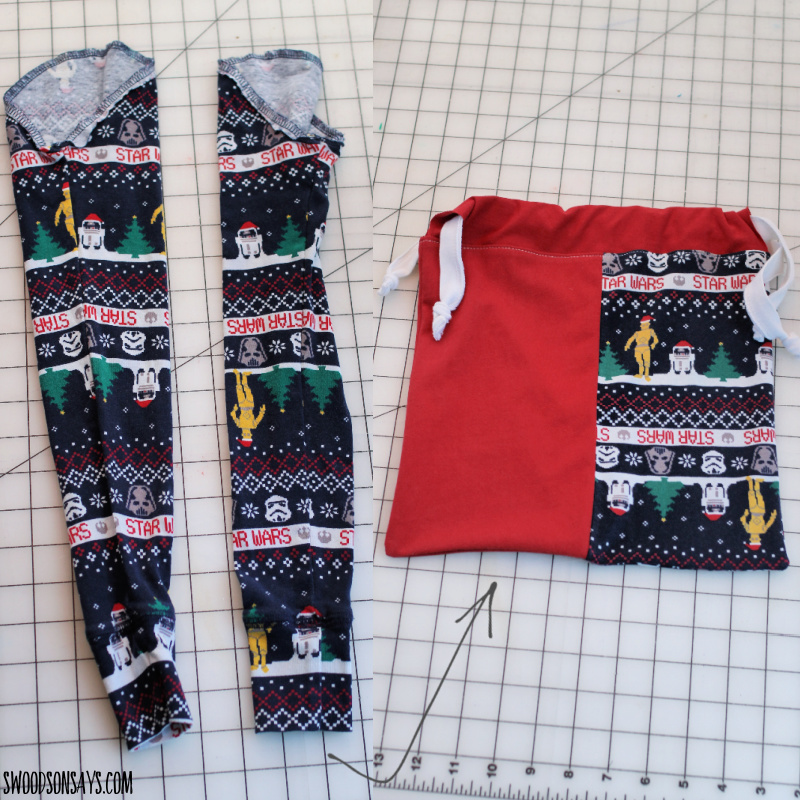
Don’t forget that knit fabric can be patchworked just like woven fabric! I had two random sleeves left over here that I chopped up, added another tshirt back, and made a bag with this same tutorial.
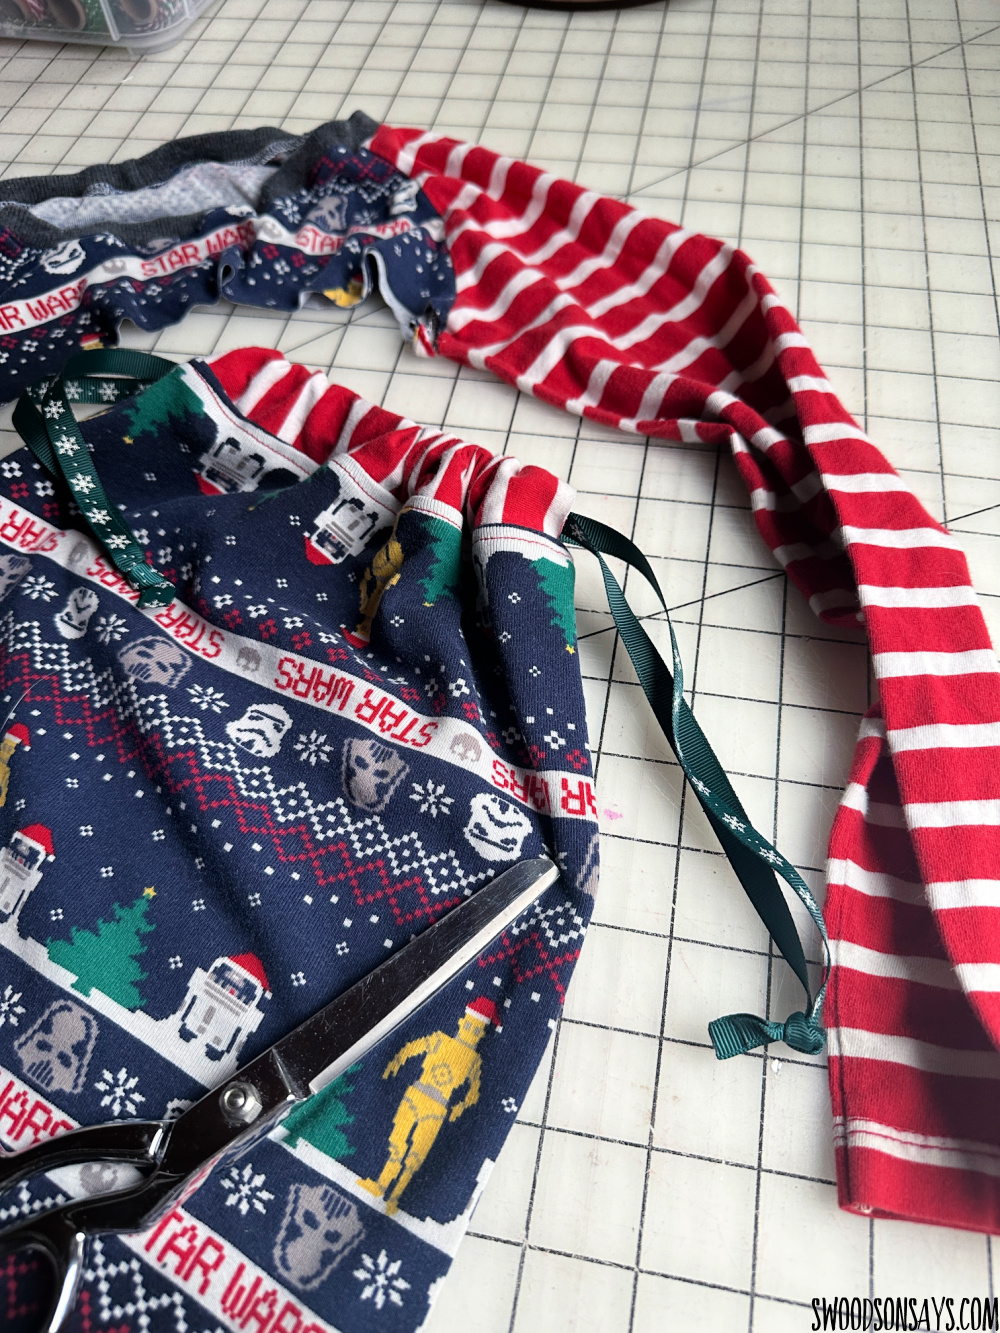
Here’s another one that I upcycled, from an old upcycled raglan shirt (see examples of that here).
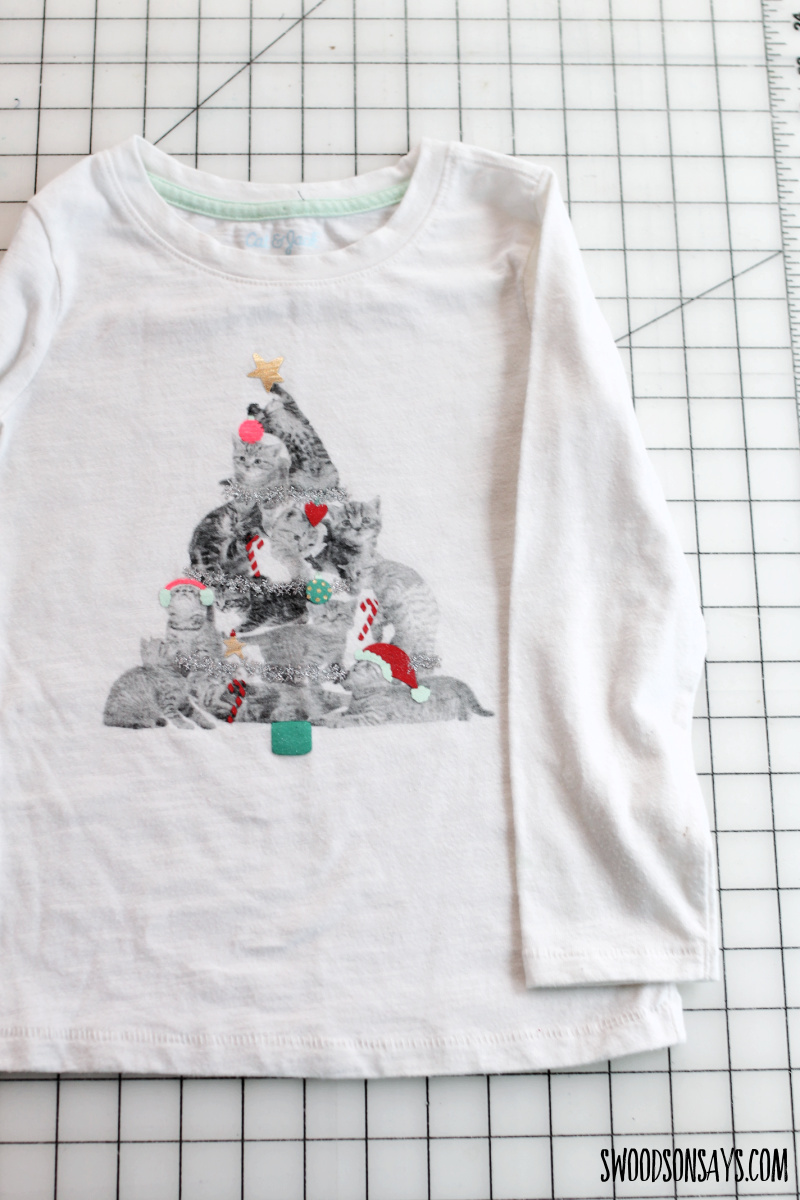
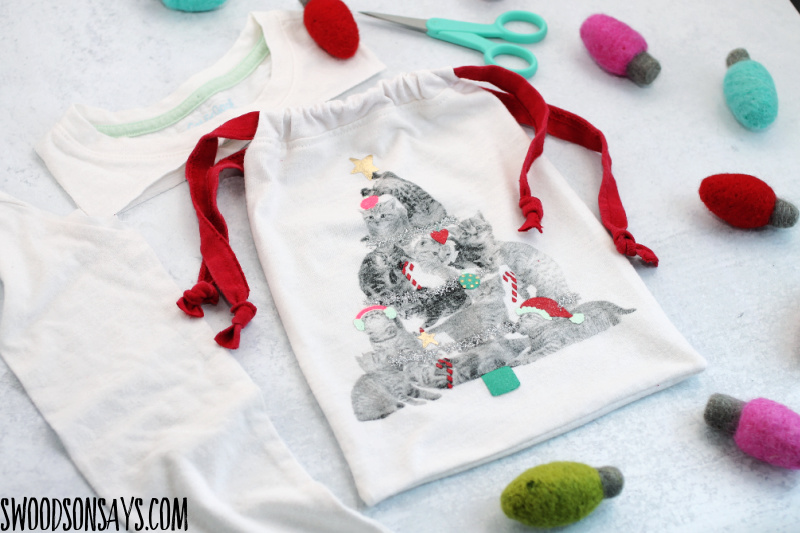
This is what I started with; a 4/5 shirt from the thrift store clearance rack. My daughter is super into cats these days so I couldn’t pass it up, and now we’ll get to see the cute graphic every year!
You might like these other posts while you’re here:
- Sewing tips for beginners -15 mistakes to avoid!
- 25+ ways to repurpose old t shirts
- 20+ upcycled purse tutorials
- 25+ upcycle sewing tutorials that make great gifts
- 15+ fabric wrapping paper alternatives
Pin this tutorial for sewing a drawstring bag from an upcycled tshirt with this link or photo:
Ready to make your own?
Tutorial for sewing a drawstring bag from an upcycled tshirt
Supplies
- Iron
- Acrylic ruler [Shop: Amazon ]
- Rotary cutter [Shop: Amazon ]
- Bodkin [Shop: Amazon ]
- Ribbon or long knit scraps for the ties
- Wonder clips or pins
- 1 tshirt at least – a smaller shirt or scraps will need another tshirt
- Ribbon, twill tape, or a long fabric scrap for the ties
Steps
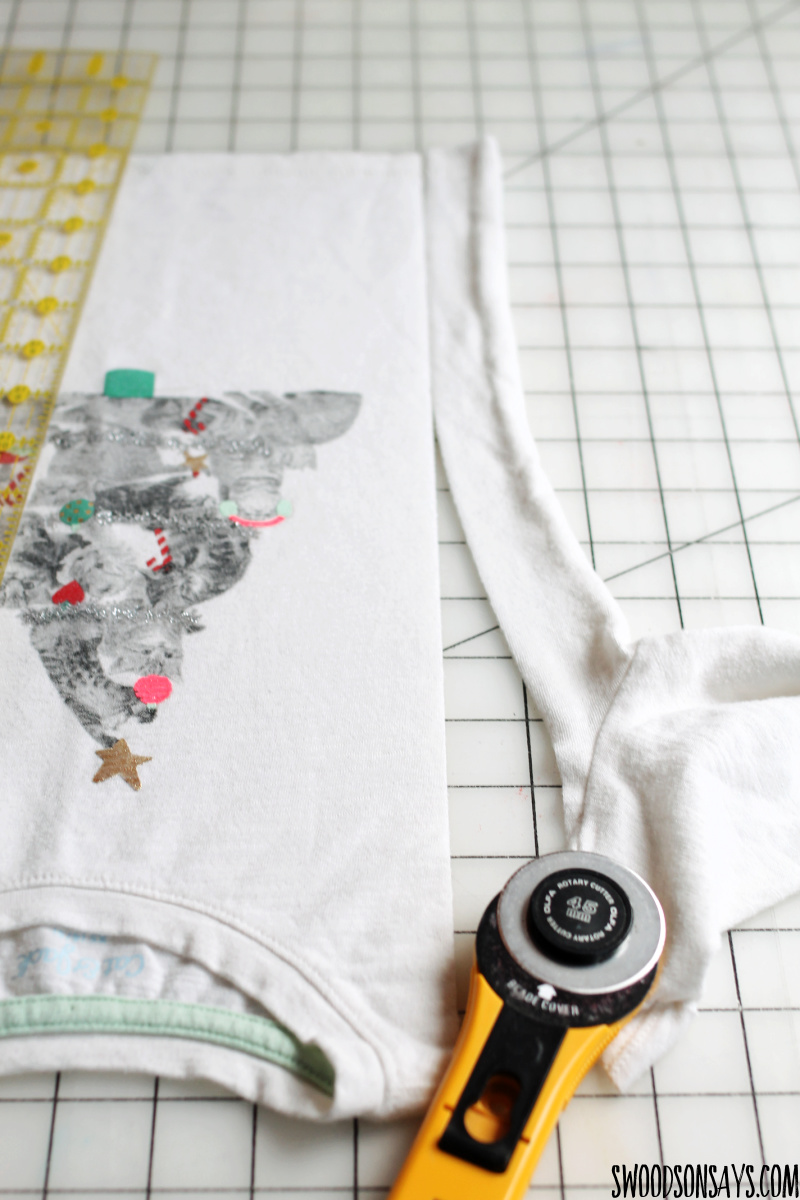
Step 1- Leave your shirt in one piece and lay out flat, sliding your hands all over so there are not bumps or folds. Slice wherever you can find a straight line from top to bottom, side to side, without cutting your graphic. You want to make sure you are leaving yourself with a nice neat rectangle or square! Repeat on all four sides. If you like having numbers, my example is 8.5″ wide X 10.25″ tall.
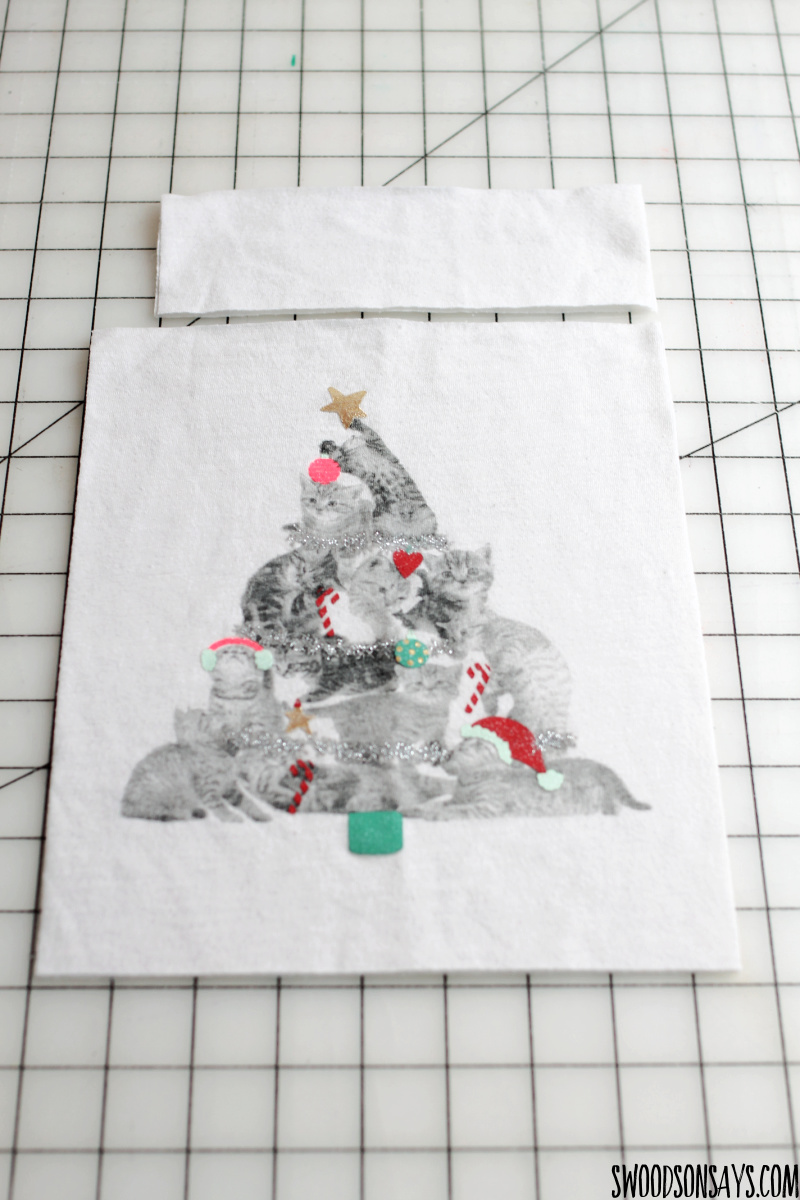
Step 2- Looking at your scraps, or getting another tshirt, you need to cut 2 identical fabric rectangles that are 3″ tall and about 1″ shorter than your body piece is wide – see above!
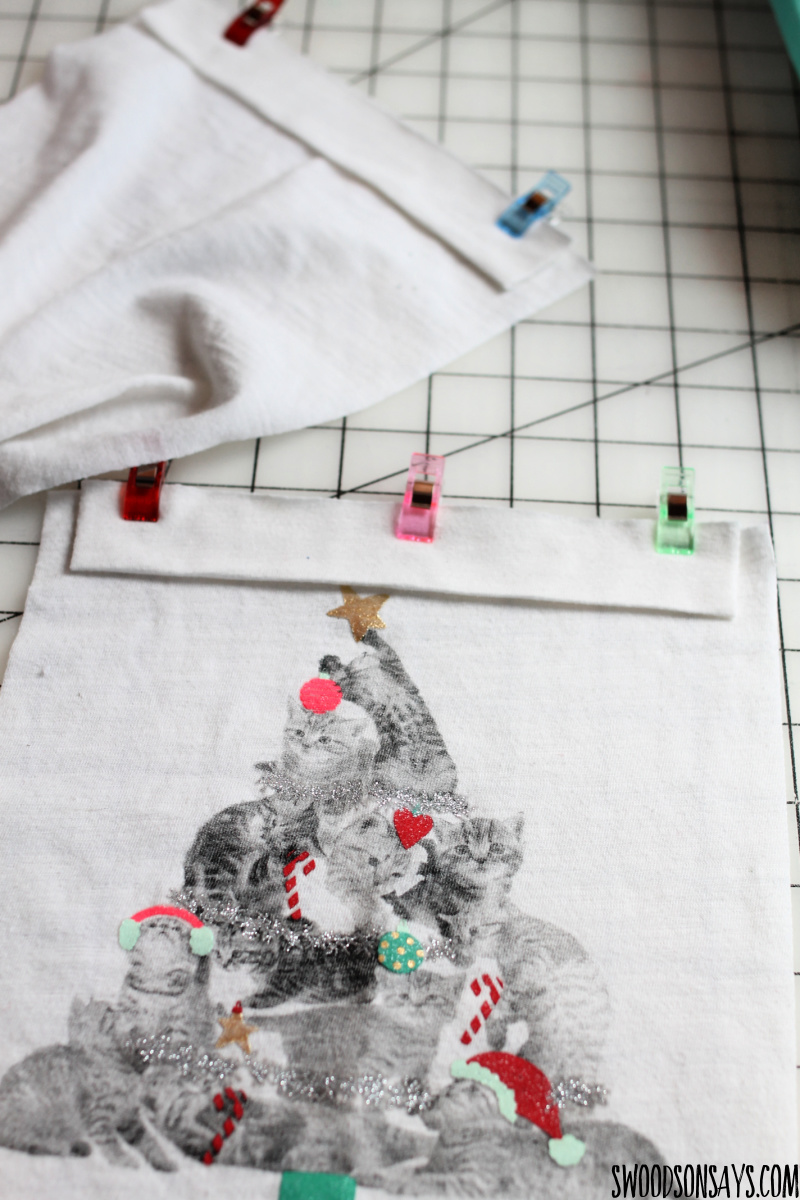
Step 3- Fold the smaller rectangles in half, lengthwise (hot-dog style!) and then lay it with the raw edges matching the top of the front base piece and centered. Repeat with the back piece and clip or pin- there should be about 1/2″ gap from the edge of the topper to to edge of the base piece.

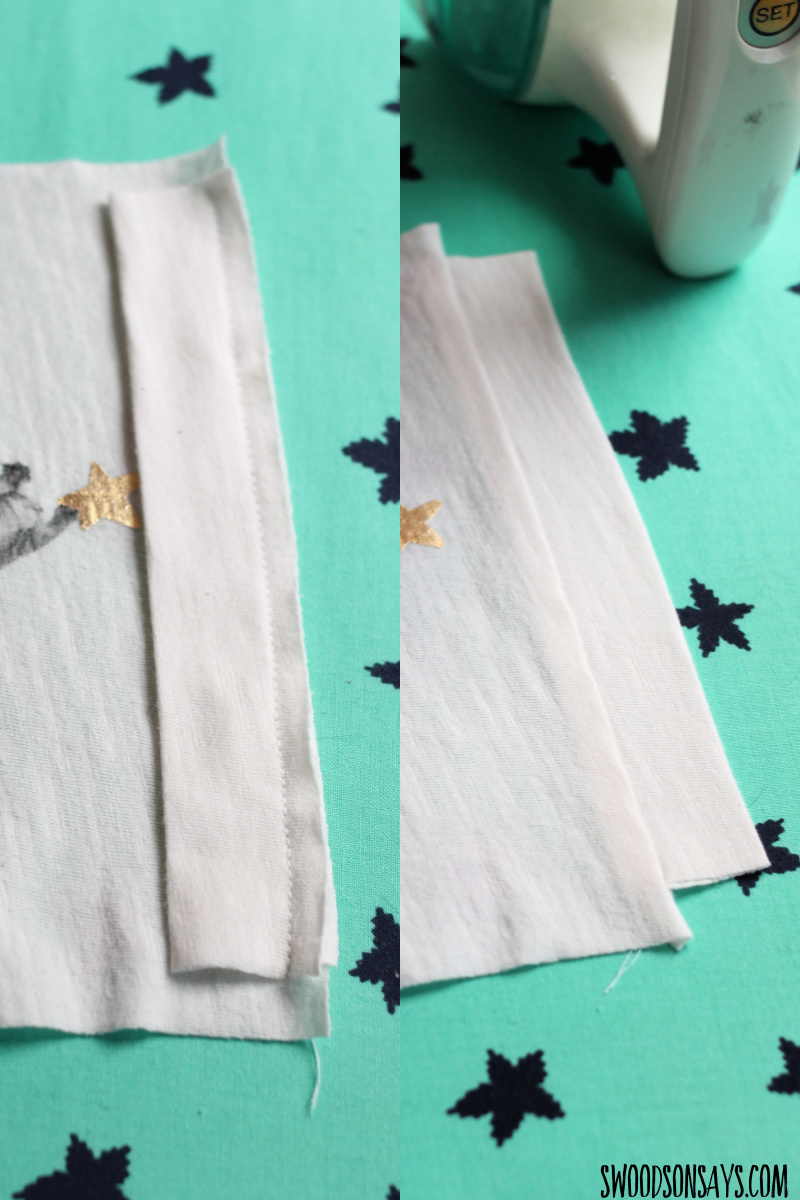
Step 4- Sew with 3/8″ seam allowance (left) and then press open (right).

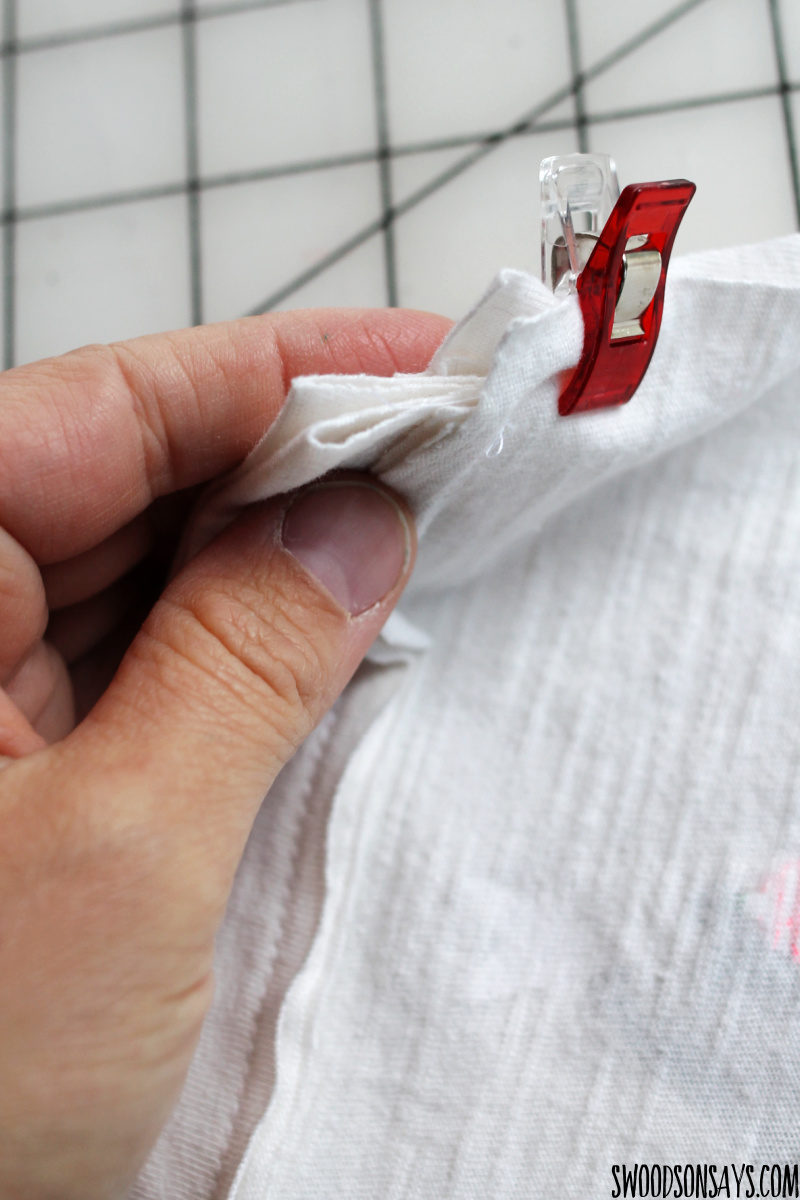
Step 5- Pin the front and back piece right sides together and sew around both sides and the bottom with a 3/8″ seam allowance. Make sure you keep the top bits all pulled “up” as shown in the bottom picture. This will help the finished product look neater; it doesn’t matter construction wise.

Step 6- Cut off the bottom corners, making sure not to go through the stitching.
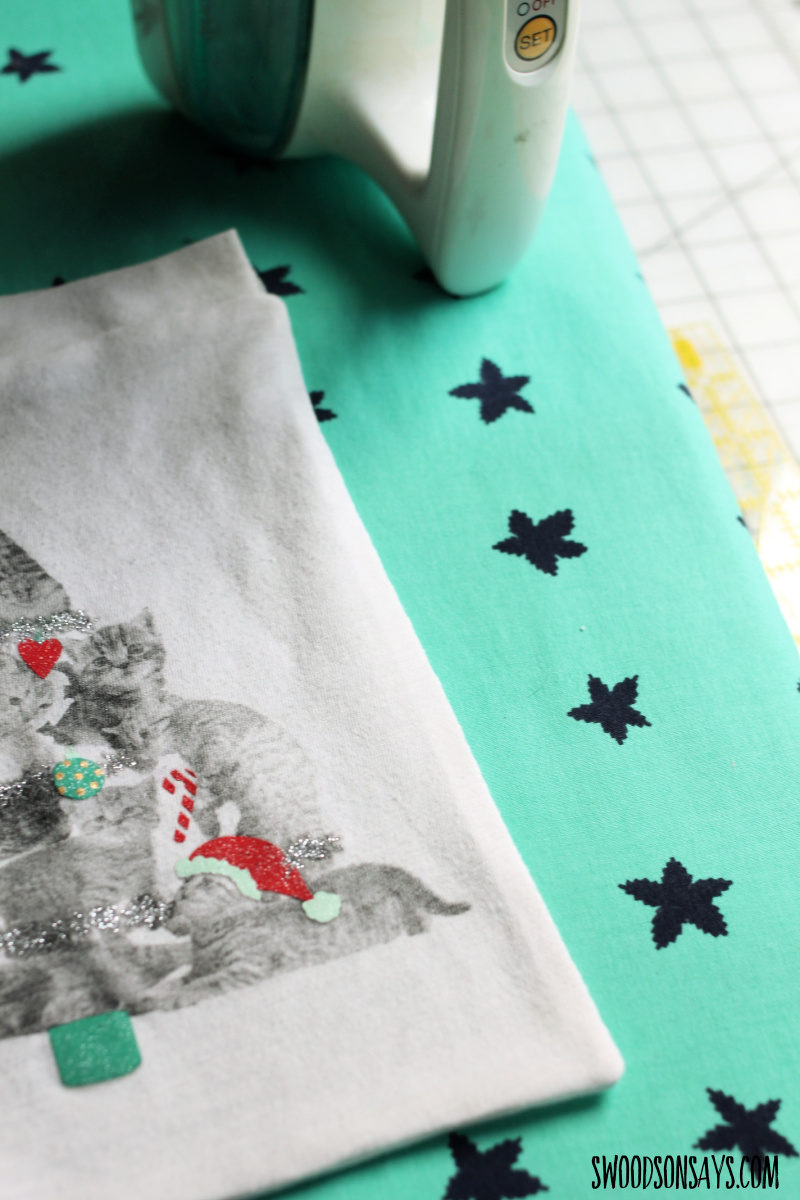

Step 7- Turn it right side out and press with the iron. The bottom photo is how the top sides should look.

Step 8- Topstitch around the top seam, on the base fabric. This keeps it nice and neat!
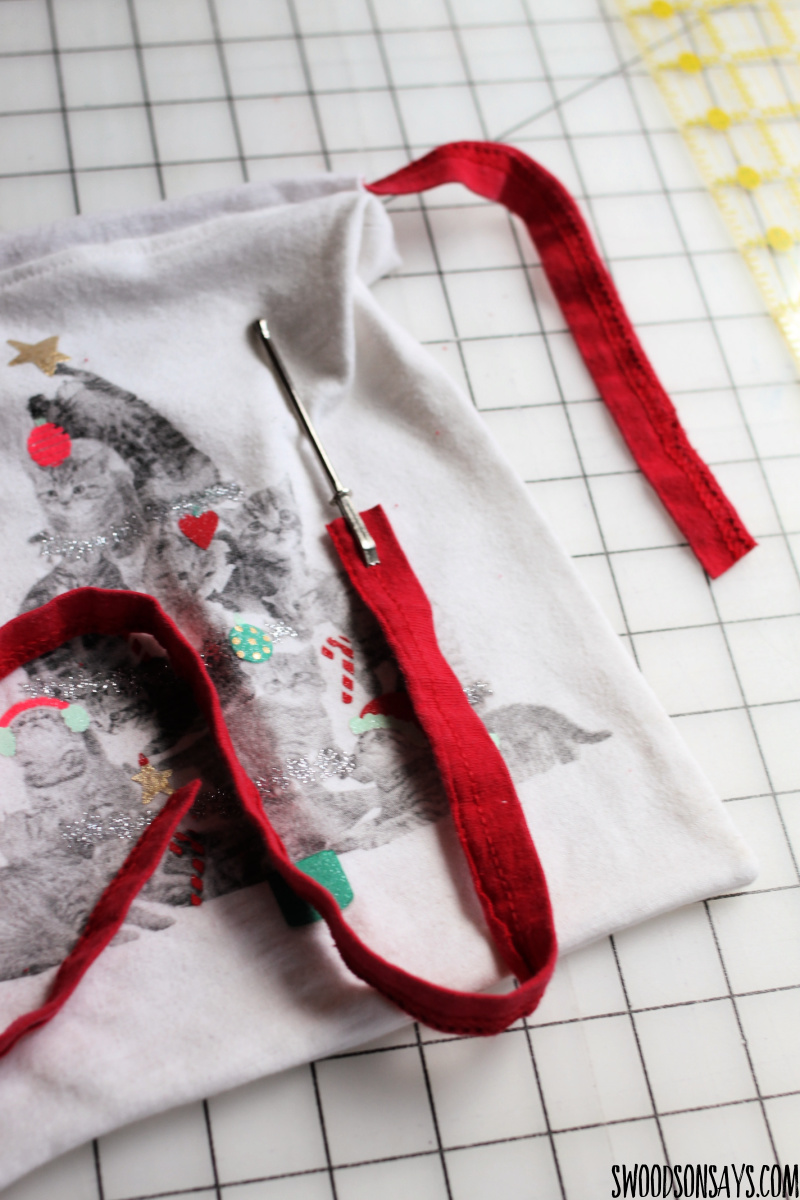
Step 9- Cut your ribbon, twill tape, etc. to make ties. I love using the bottom hem of tshirts! The example in the photo is 3/4″ wide and 22″ long but there is some wiggle room for slightly wider or definitely smaller. You want it to be roughly 2-3X as long as the top of your drawstring bag. Thread it through with a bodkin.
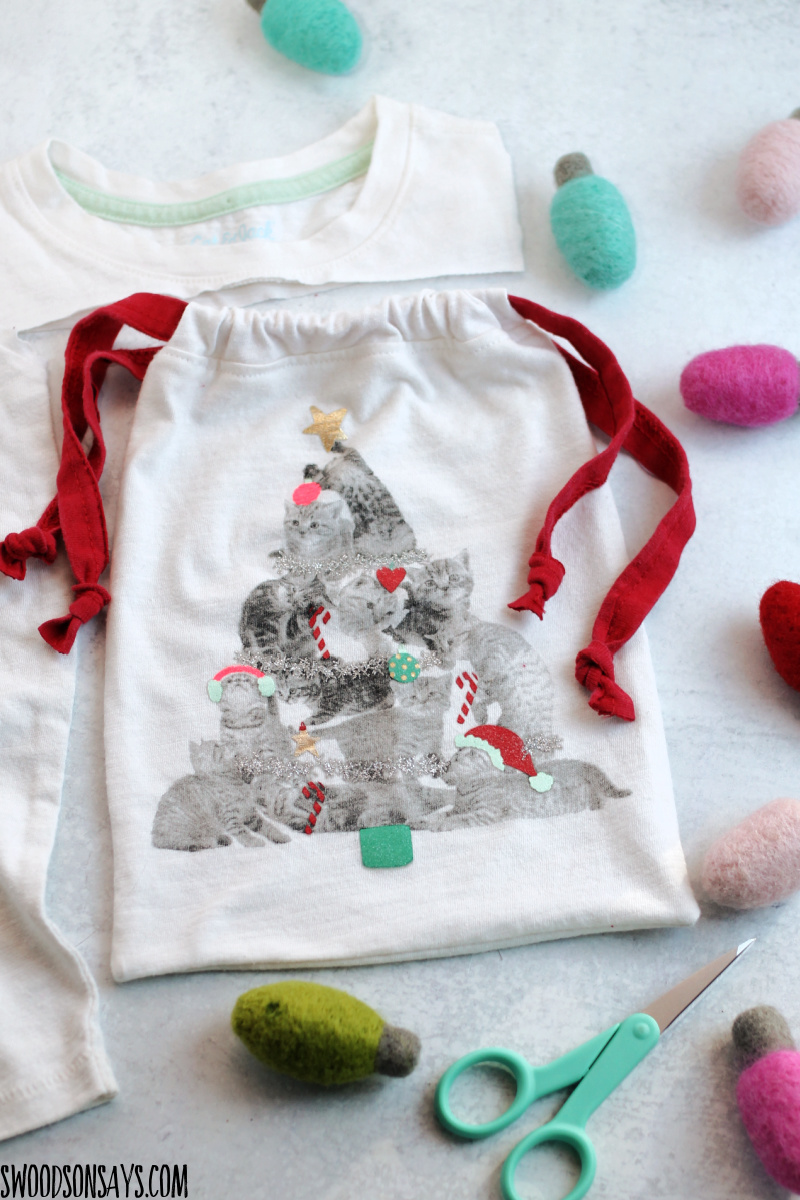
You’re done! Use it over and over again to gift wrap!

Claire
Wednesday 23rd of November 2022
What a lovely upcycle! I love the bag, it would make a great reuseable Christmas present sack.
Stephanie - Swoodson Says
Thursday 24th of November 2022
that's exactly what it'll be used for :D thanks so much Claire!