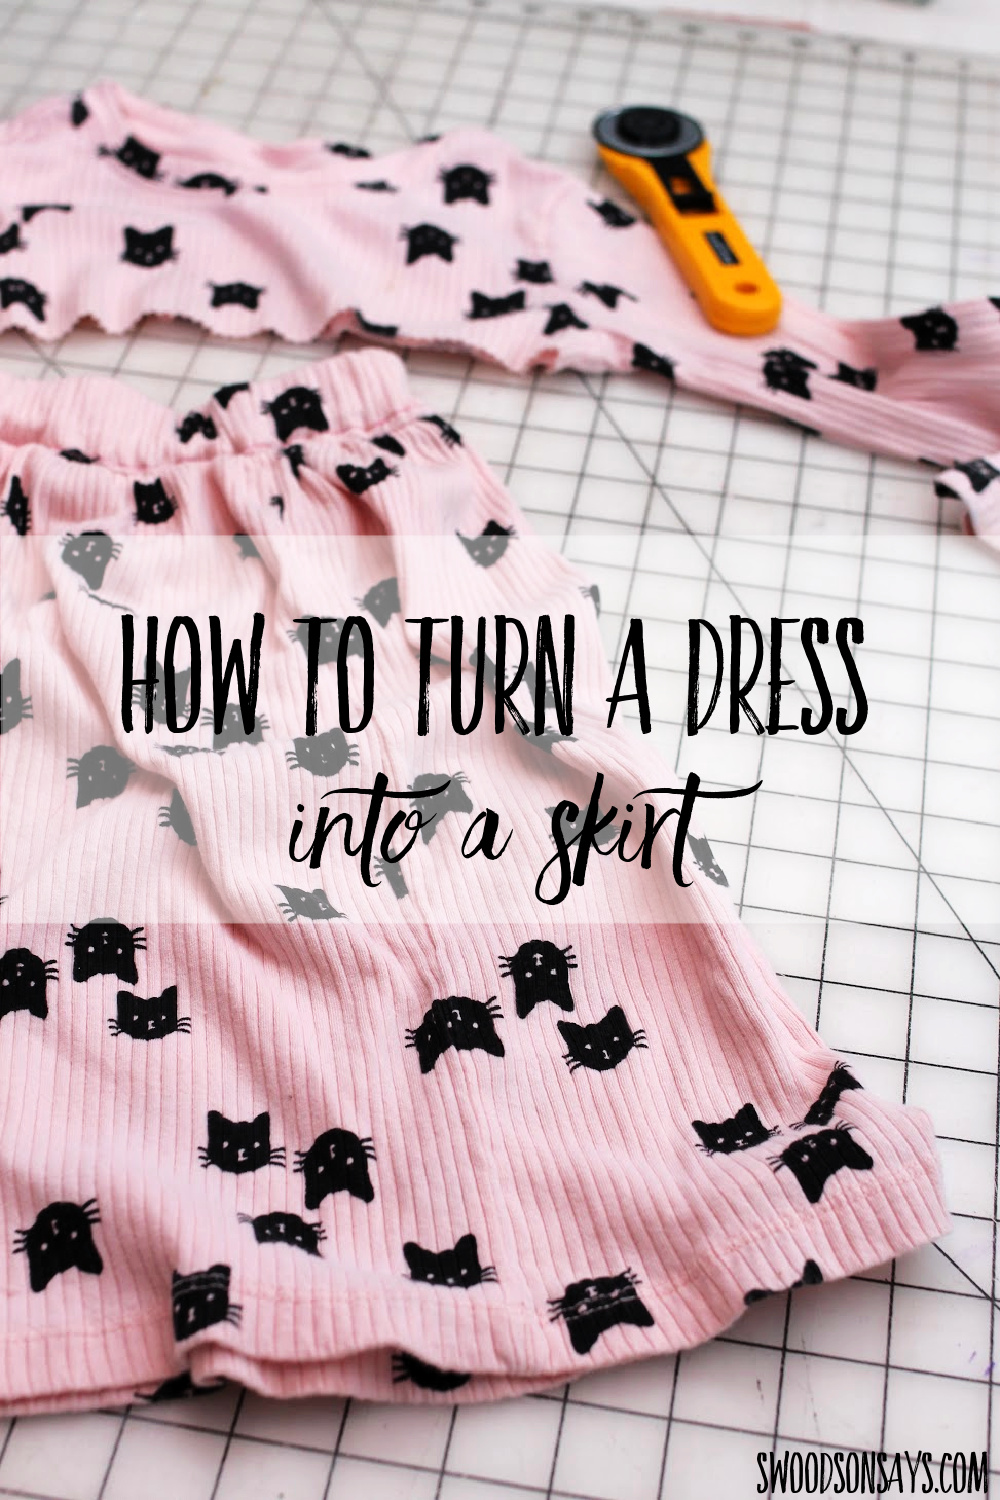
Check out this easy tutorial for how to turn a dress into a skirt making an enclosed waistband!
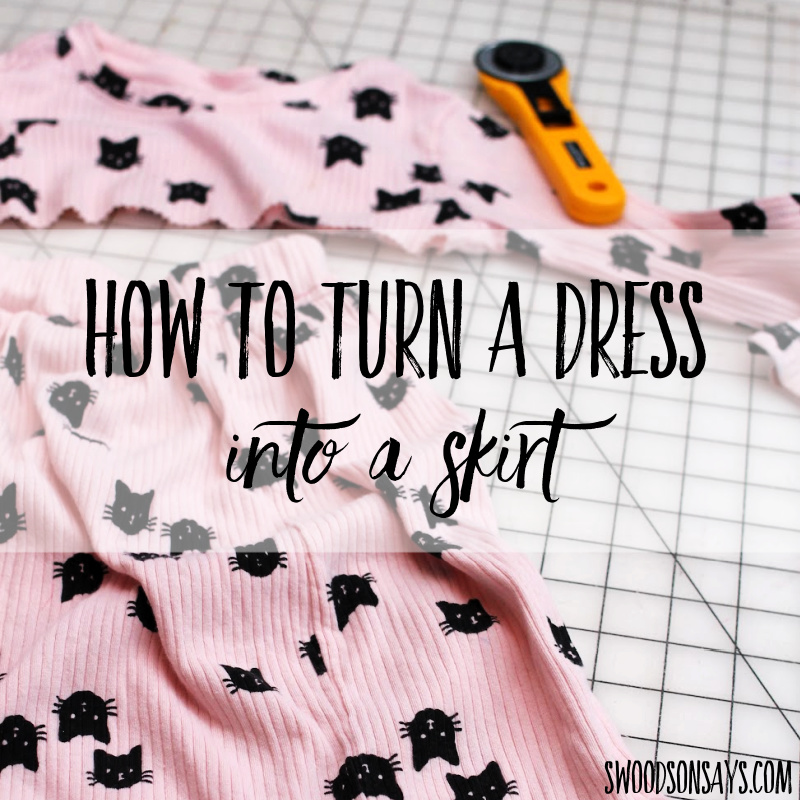
My daughter spotted this print in the goodwill bins and lit up, until I pulled it out and it was a size too small! The skirt was super full so I suspected it would fit just fine even though the sleeves were too short and the bodice had lots of stains on it. An hour of sewing later and I was right, it fits great as a skirt and will probably last a couple years! This is a beginner sewing tutorial if you have patience for working with stretchy fabric, and the same steps can easily be applied to an adult dress as well.
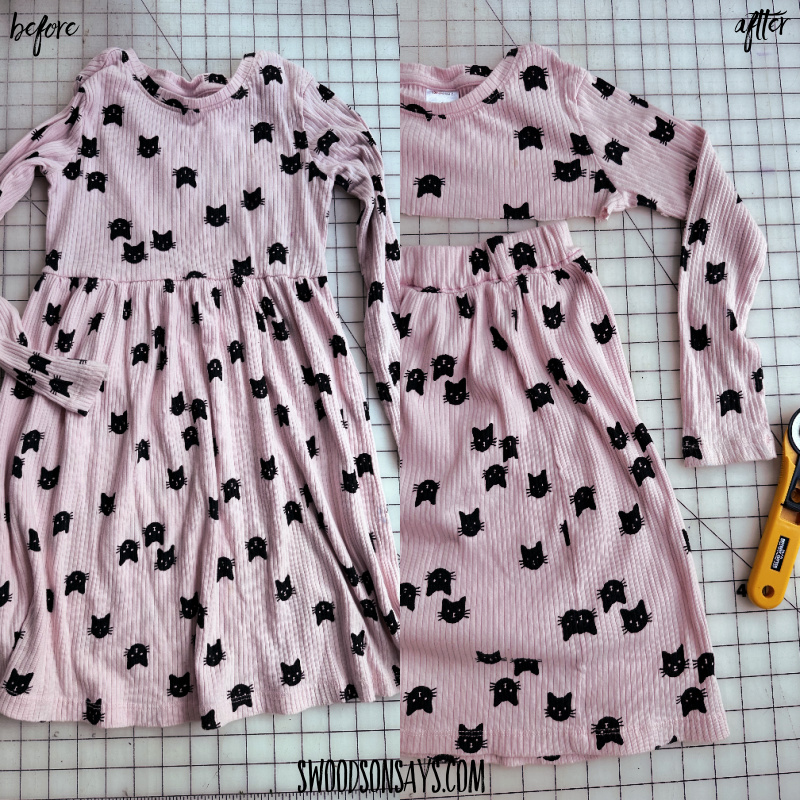
This is, in my opinion, the easiest way how to turn a dress into a skirt, especially for kids because you can adjust the waist elastic length really easily.
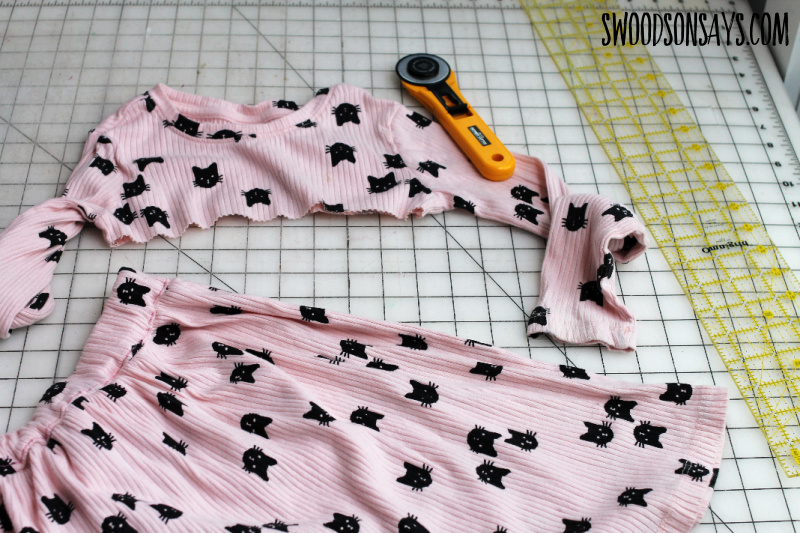
I thought I’d already written a tutorial for how to do this but upon further examination, I have done similar but different projects! Like when I kept a zipper in a dress to skirt refashion and when I sewed the elastic to the skirt instead of threading it through in this post on how to turn a maxi dress into a maxi skirt.
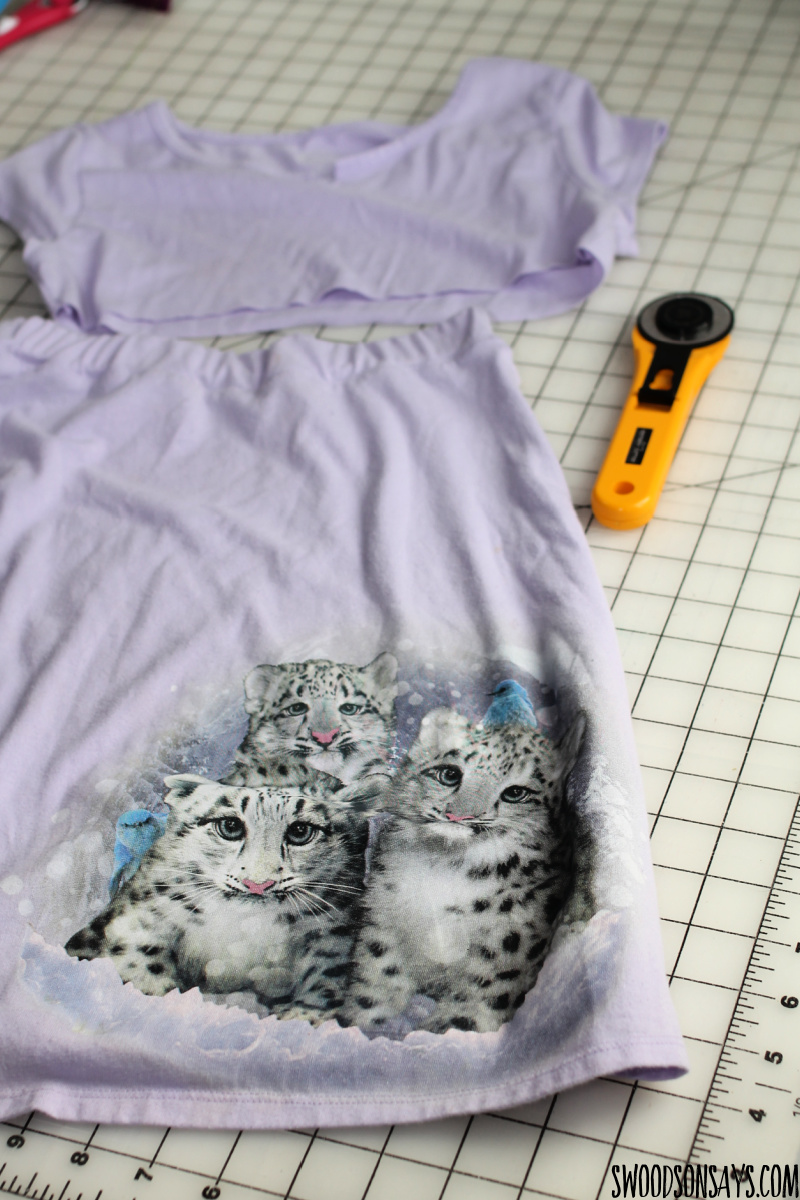
Another version I completed recently using this tutorial!
You might like these posts too, while you’re here!
- 14+ skirt refashion ideas
- 20+ creative ways to hide stains on clothes
- The easy way how to upcycle clothes that are too small
- 20+ ways to refashion clothes that are too small
Pin this tutorial for how to turn a dress into a skirt with this link or photo:
Before you start shopping or sewing, check out these posts!
how to turn a dress into a skirt
Supplies
- arment to be refashioned
- Sewing machine needle (ballpoint if you have a knit fabric)
- Coordinating thread & sewing machine
- Scissors or Acrylic ruler & rotary cutter
- 1″ waistband elastic
- Bodkin
Steps
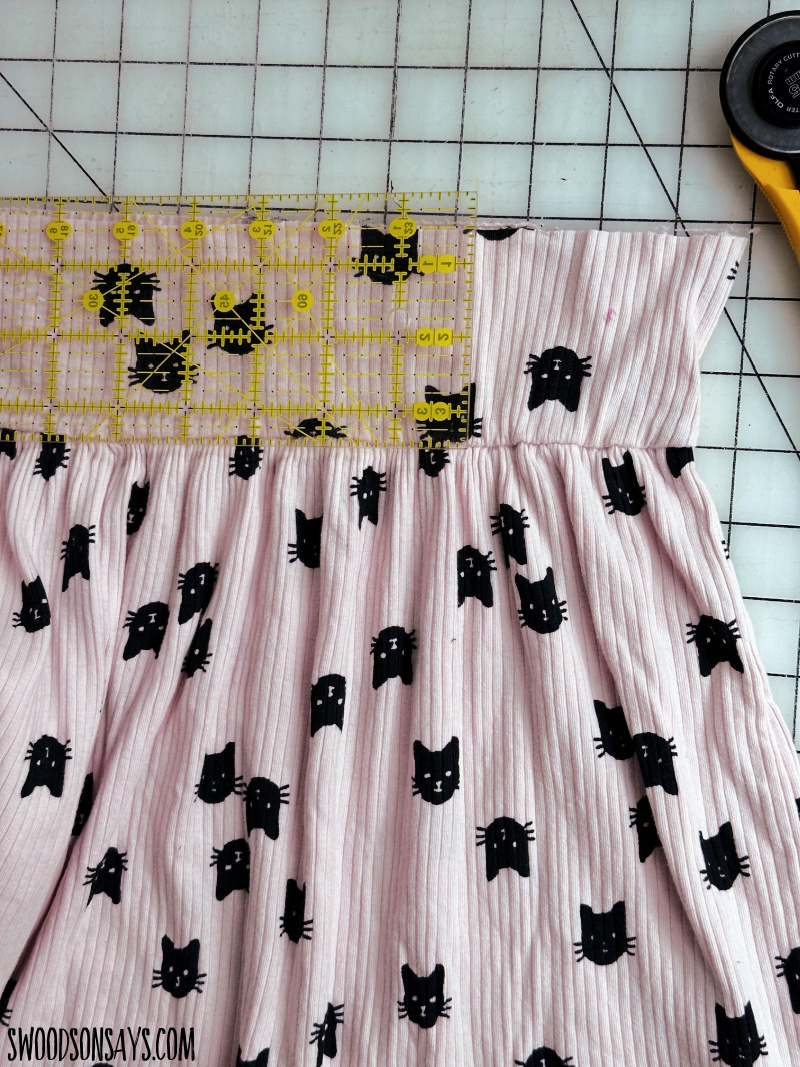
Step 1- I’m giving specific numbers for working with 1″ elastic, you’d need to tweak them if your elastic is bigger or smaller. I measured and cut off leaving 3″ of fabric above the existing waistline.
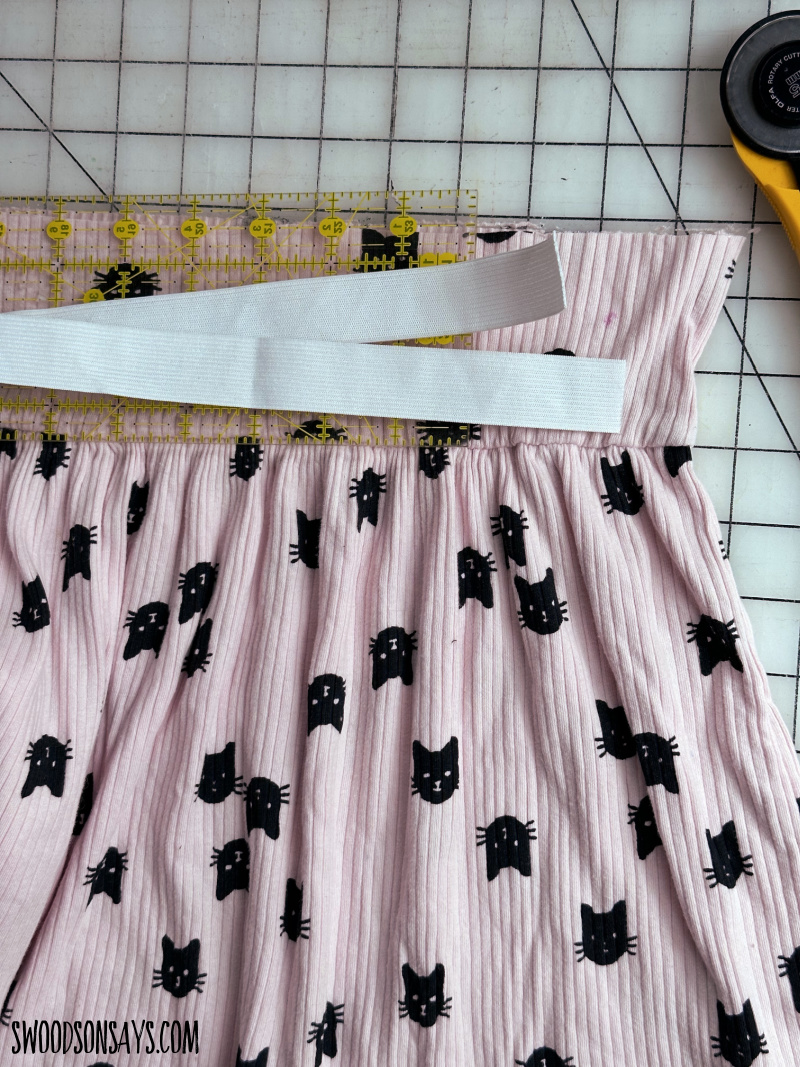
Step 2- I cut a piece of elastic that was the size of my daughter’s waist, minus 1″. You can experiment with this easily in a later step if you want to leave it longer though. This is roughly what it looked like – smaller than the skirt’s width for sure.
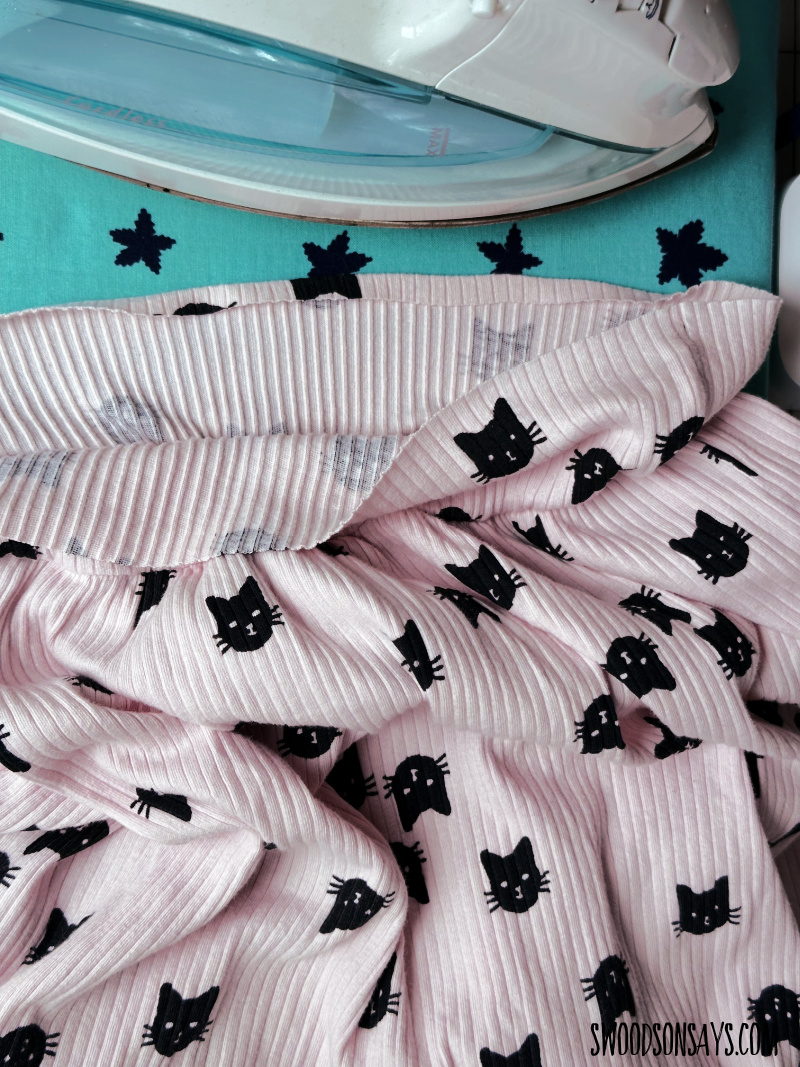
Step 3- You’re going to fold over roughly 1/4″ hem on the raw edge you just cut and press it all around. If this is stressing you out, it’s totally optional and just makes it look more finished on the inside, but you could easily leave it raw and as-is or raw and trim it later.
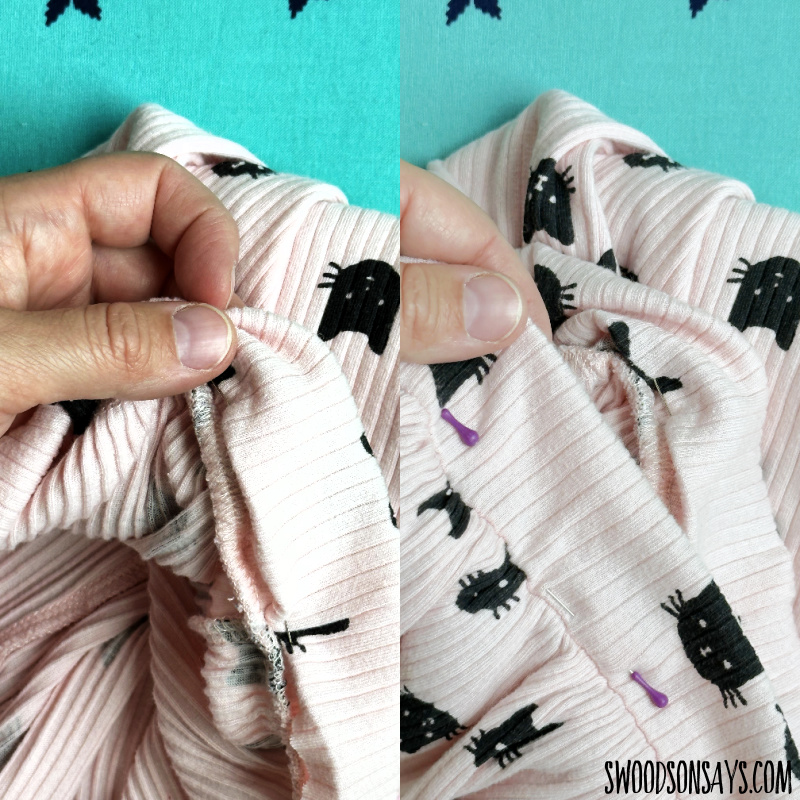
Step 4- Fold the hemmed edge towards the wrong/inside of the skirt and you’re making a nice little tunnel for the elastic! Pin it all the way around, but leaving a reminder for a 2″ gap that remains unsewn, otherwise you can’t get your elastic inside.
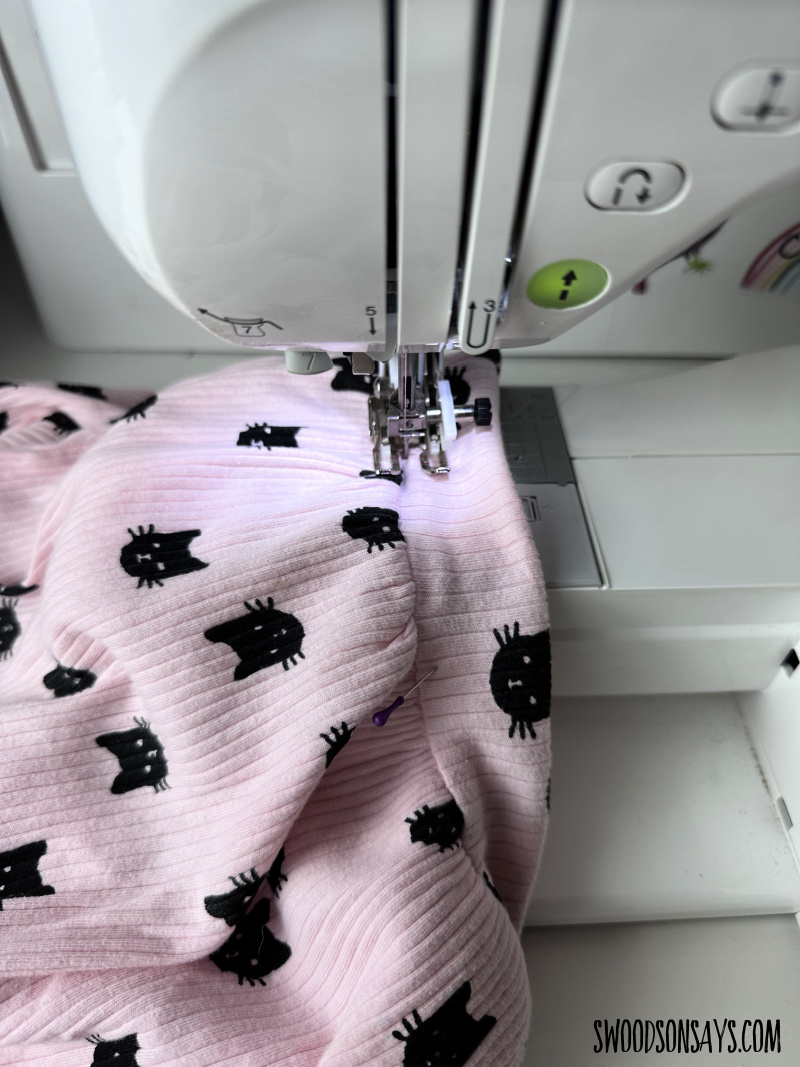
Step 5- Time to sew! Again, leaving the gap, but sew right along the edge, catching the bottom layer. This can be tricky depending on how slippery your fabric is – consider hand basting (sewing with super long stitches) to keep it in place if it’s tricky. I use a walking foot & always ballpoint needles on knit fabrics, and a stretch stitch (typically a zigzag or a triple stitch, check your machine manual!).
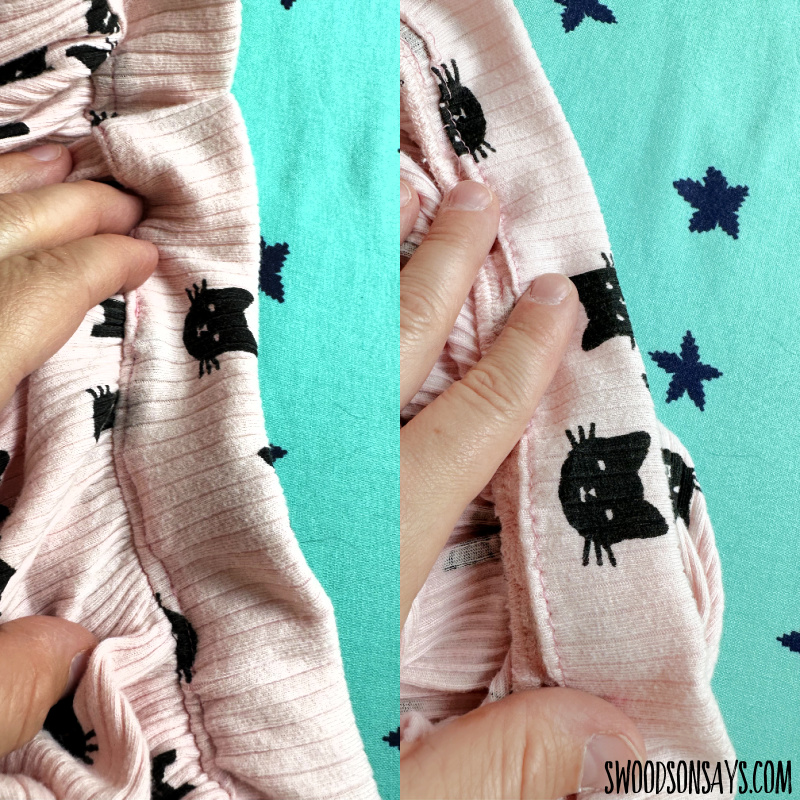
Step 6- This is what it should look like when you’re done!
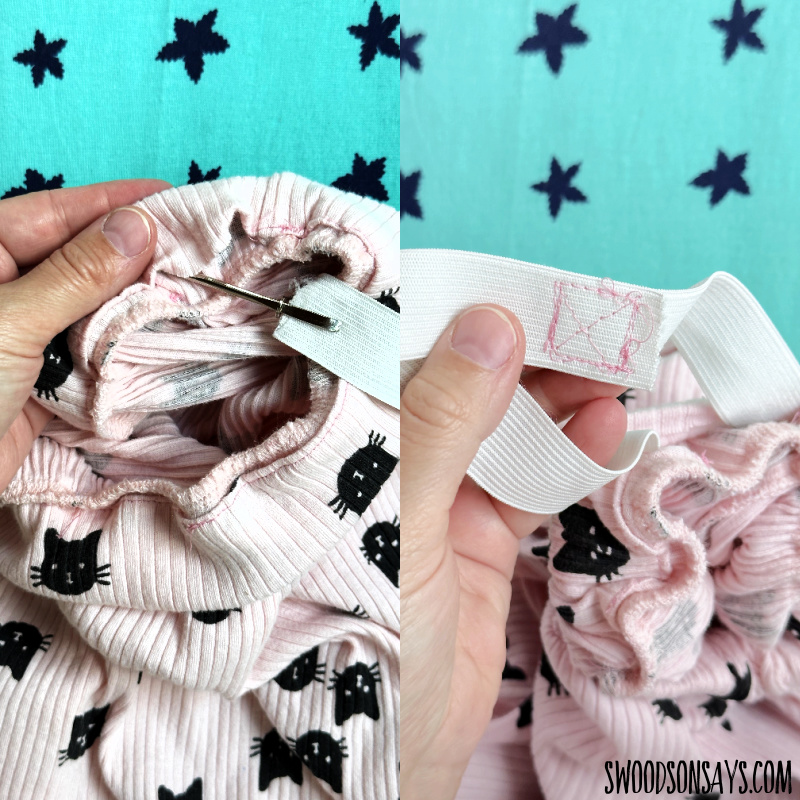
Step 7- Find the gap and use your bodkin to thread the elastic through, making sure it hasn’t twisted. You can pin it and try it on before sewing permanently – make a nice X-box shape once it’s set, and sew the gap closed. You’re done!
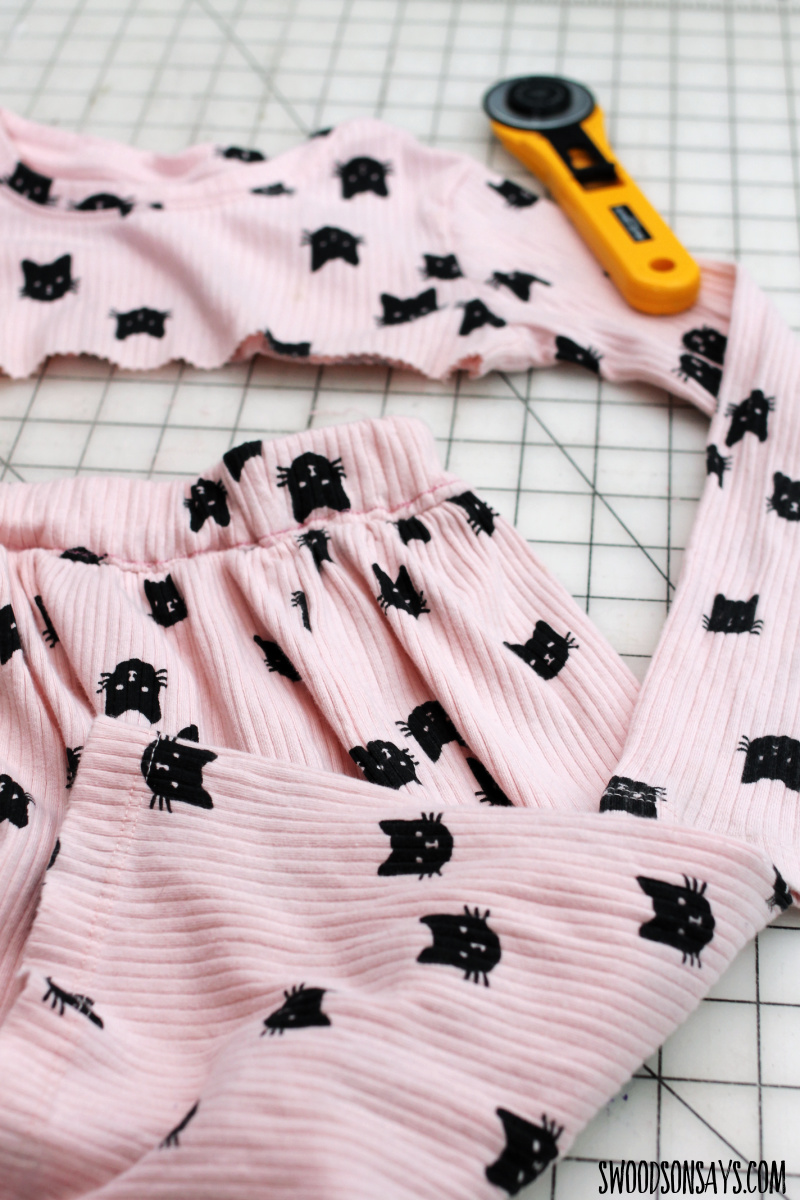
If you or your kiddo prefer a skirt attached to leggings, I have a tutorial for that too!

Carolyn Huffman
Tuesday 21st of March 2023
Your daughter has excellent taste! This kitty fabric is only the cutest EVER! When she does finally outgrow this, you can turn it into an adorable toss pillow for her bed. Did you reuse these cute sleeves to attach to a plain black top?
Stephanie - Swoodson Says
Tuesday 4th of July 2023
I saved the sleeves, not sure for what quite yet!