
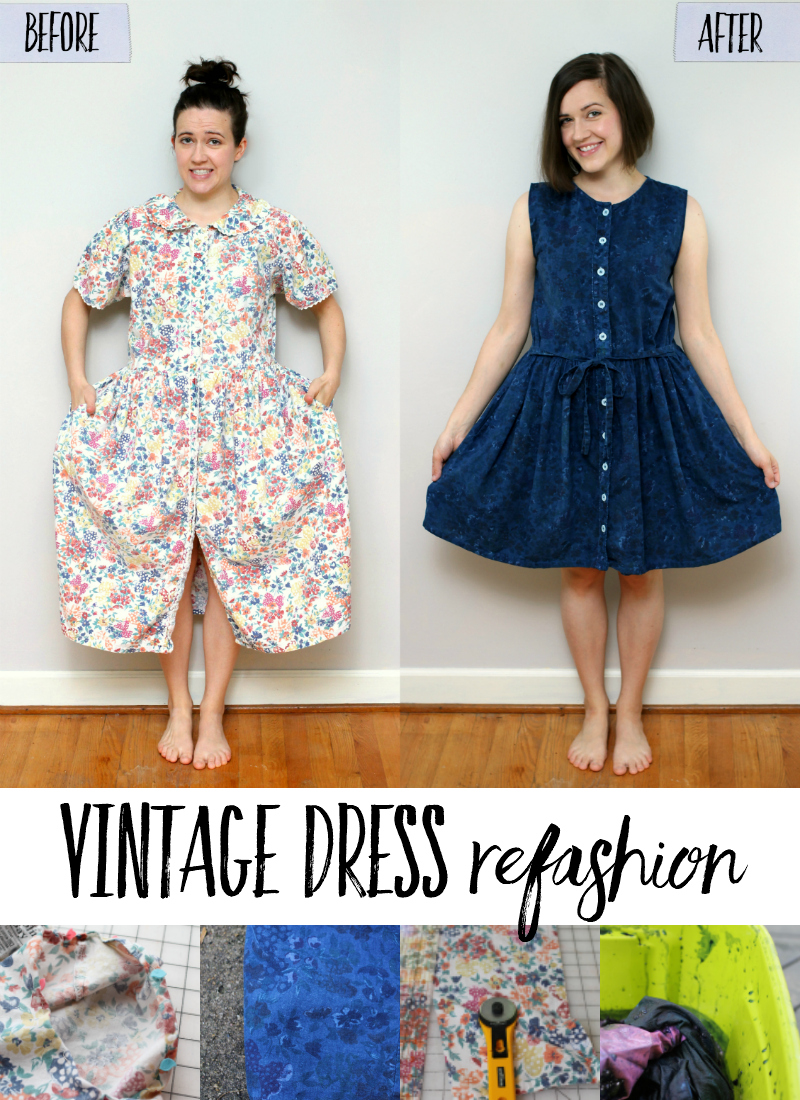
 I’ve been on a refashion blogger kick lately, sharing a new one every Friday with my friend Heather! This week’s challenge was vintage. I had a surprisingly hard time finding anything compelling and it took several trips to Goodwill to find this gem. Super frumpy, dated floral, ric rac, collar, it is completely over the top. With some simple cuts and hems, I think the whole look transformed in this vintage dress refashion!
If you don’t have any dresses to work from, check out my tips for shopping to refashion & upcycle here! If you already have a shirt, read my tips for actually sewing refashions here!
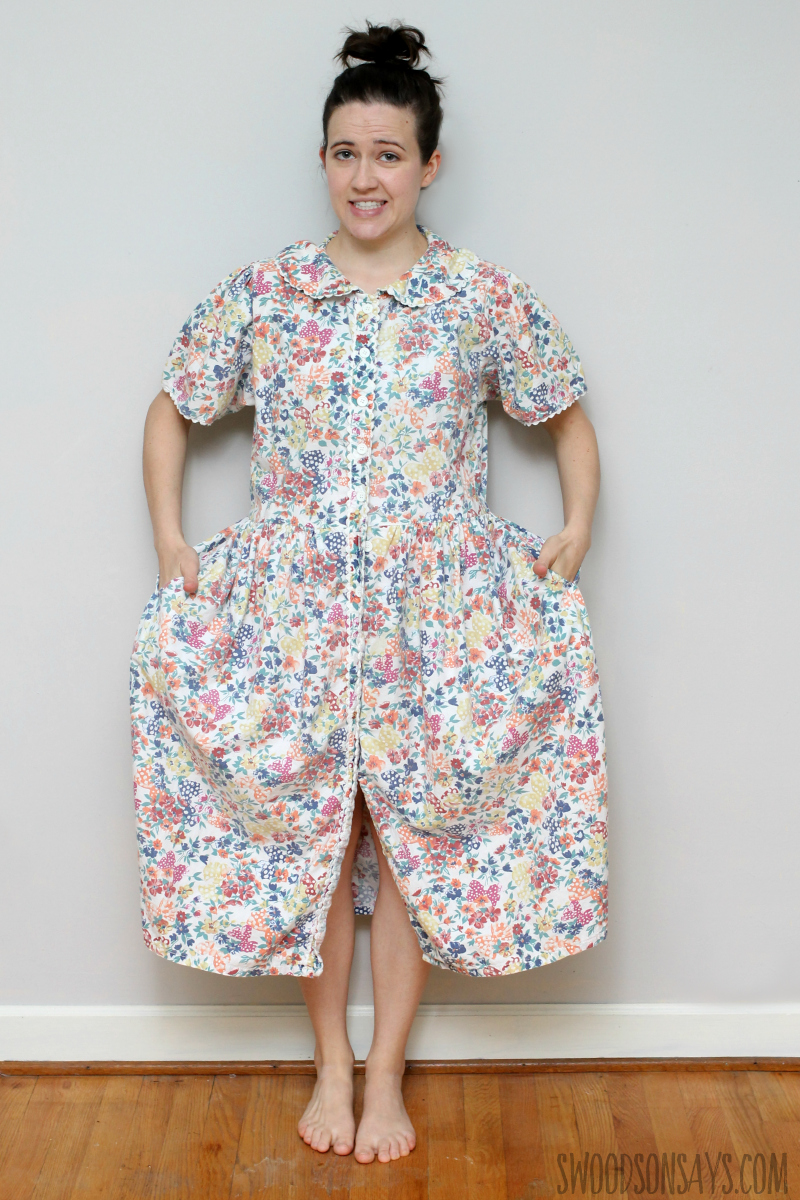
I’m realizing I should have taken a ‘before’ detail shot too; the ric rac along the placket and sleeves really amplified the country farmer’s wife vibe. I was initially drawn to the dress because it was super soft and 100% cotton, which I knew would dye more easily than a poly blend.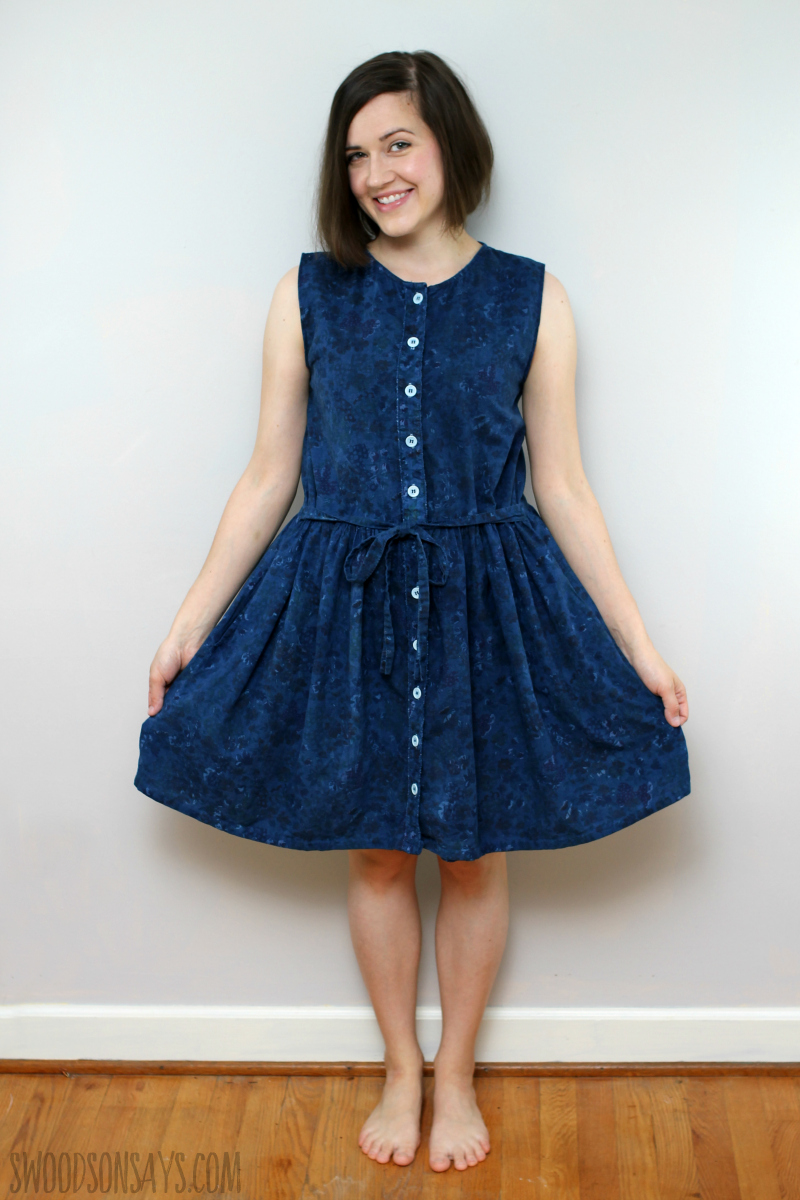
I was originally planning on using a pink dye but I had a ready indigo vat after last week’s men’s button down refashion so I switched to blue. Isn’t that cute! I didn’t get a great shot but it has pockets, too. What do you think! If I’m being 100% honest, I’m not sure it will stay in my closet. I’m really happy with how it turned out, but I’m just not convinced it is my personal style. I’m slowly working back towards having clothes other than sweats and t-shirts (don’t worry, I’ll still wear those often too!) and trying to figure out what I feel good in.
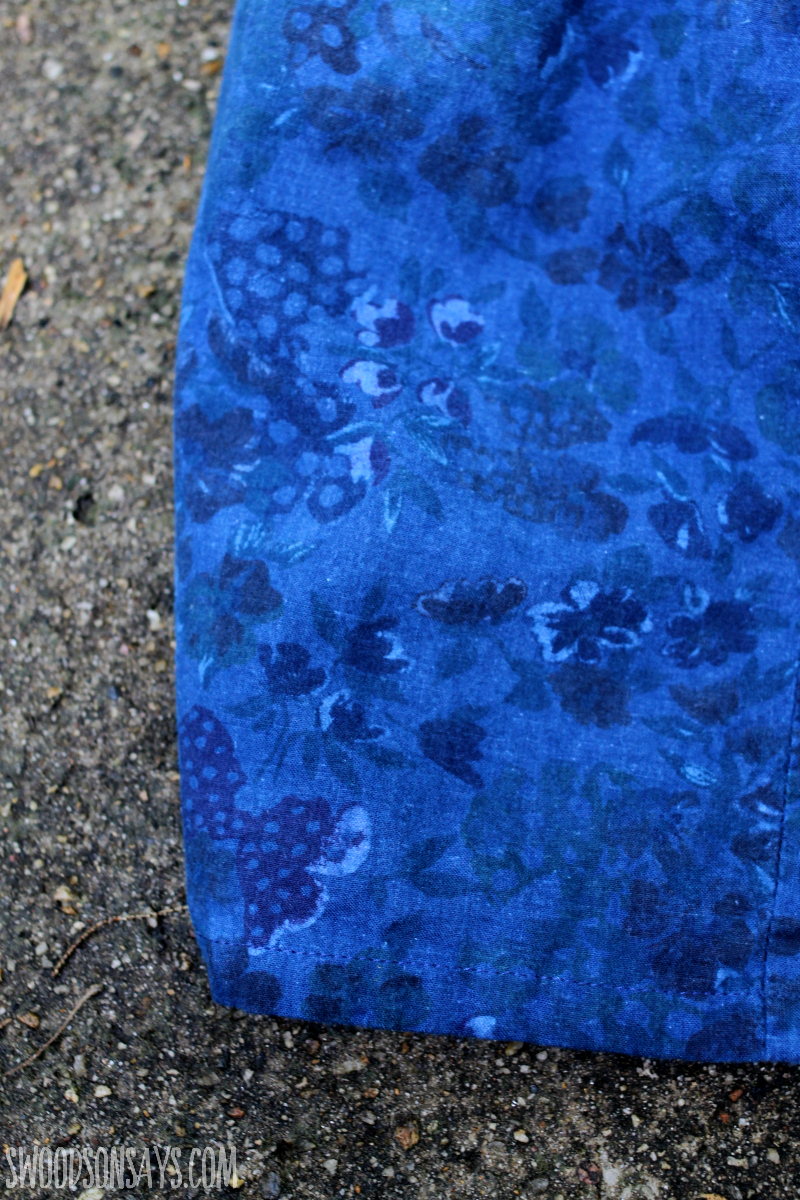
Here is a close-up shot of how the floral looks when it was dyed. I love the subtle print peeking through! If you want more indigo dye inspiration, check out this round-up of indigo shibori projects!
Please pin this vintage dress refashion post for later here:
Want to make your own? Here is how!
DIY vintage dress refashion
Supplies
- Indigo dye kit* – this is the one I use all the time!
- Sewing machine (I recommend this sewing machine* for beginners!)
- Coordinating thread
- Scissors
- Iron
- Pins or clips
- Acrylic quilt ruler*
- Acrylic ruler & rotary cutter or scissors
- Seam ripper
Steps
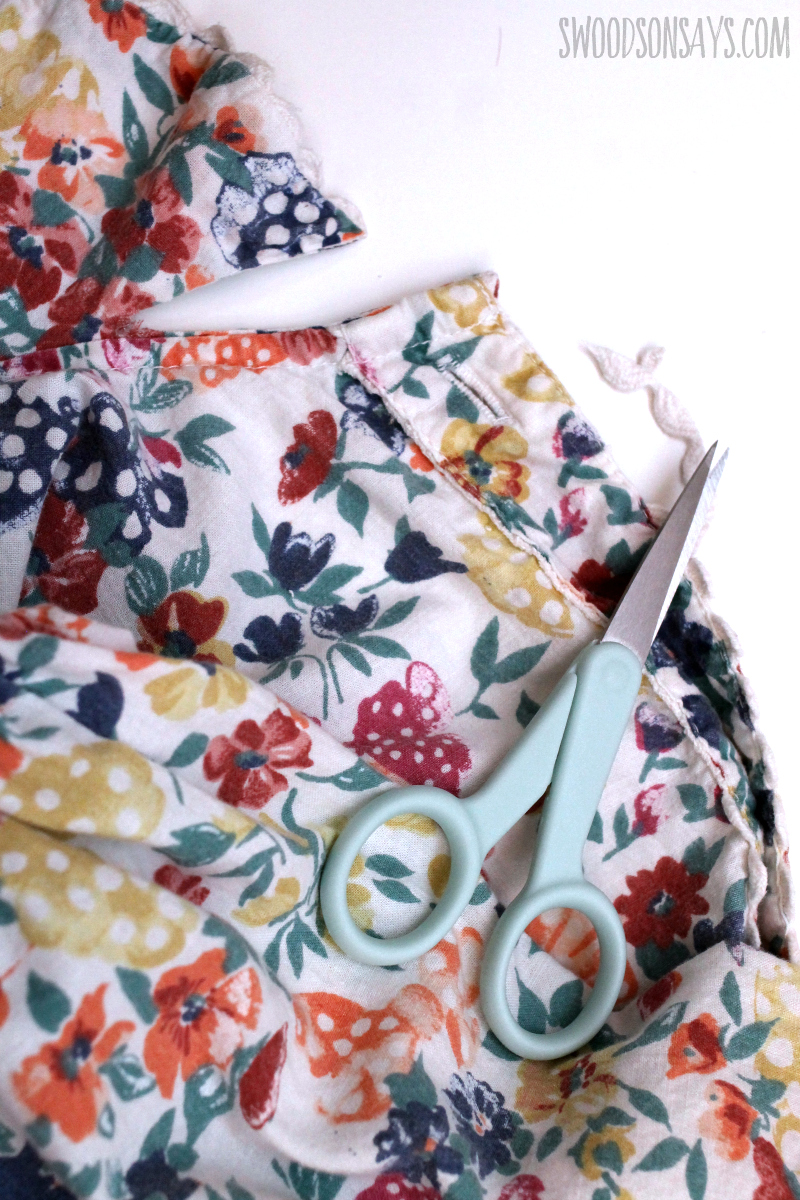
Step 1– I used my sharp, small scissors to trim all the ric rac off. I was careful not to cut through the actual fabric, just the ric rac. I also cut off the collar the same way; it is sandwiched between the two layers so the edge just looks finished if you cut carefully. I also cut off the sleeves, just trimming carefully on the outside of the hem(so cutting in the sleeve, not in the bodice/arm hole.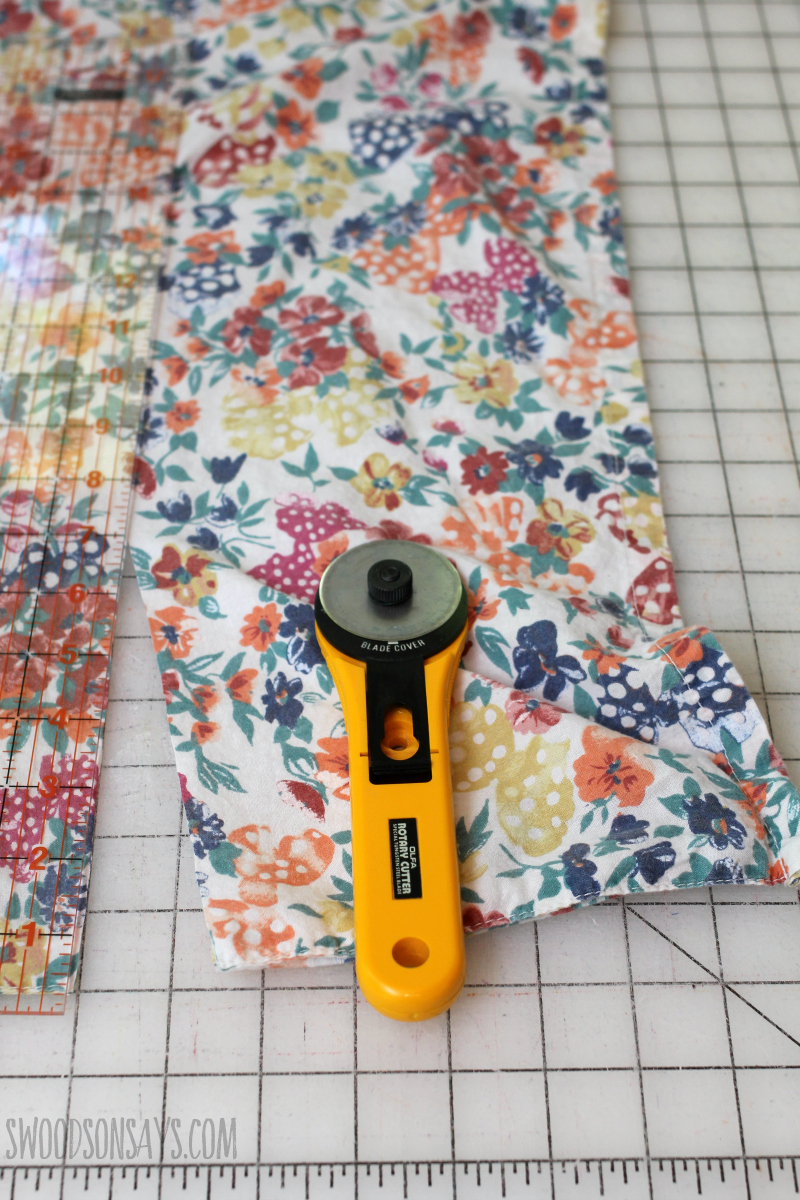
Step 2- Try the dress on and decide how much shorter you want it. I took off 9″ and cut straight across, using my ruler and rotary cutter. Take into account your hem allowance when deciding; I just folded it 1/2″ up and 1/2″ up again, then sewed a normal straight stitch across to secure. 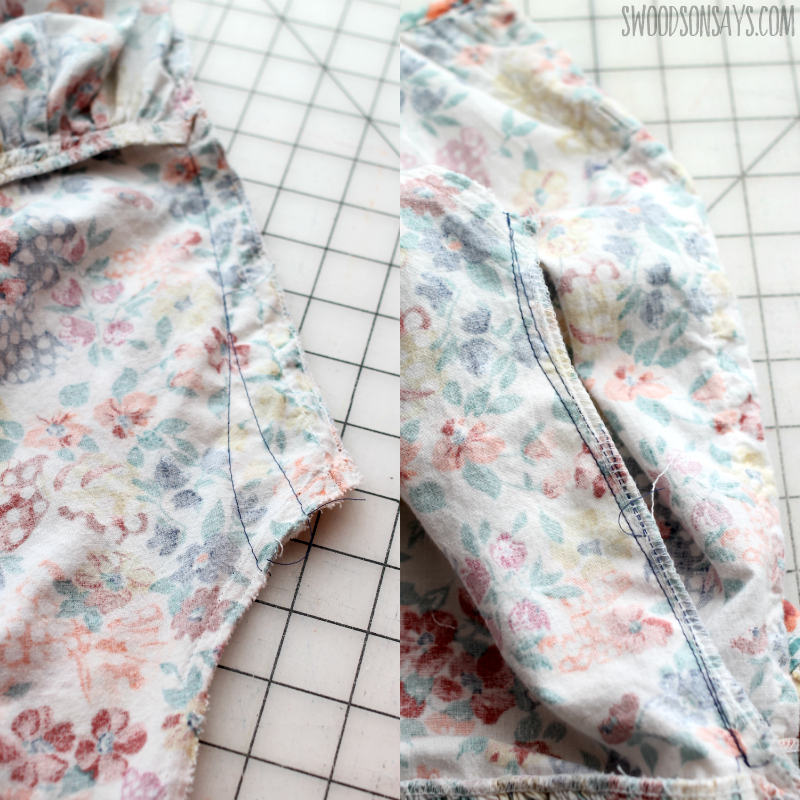
Step 3- So, this is the point where I would normally advise on using an actual pattern and just cutting the pattern pieces out. Unfortunately, there wasn’t enough fabric to cut out and start again, so I did some dodgy freestyle sewing. I used a long (5 mm) basting stitch to test a few different angles out, tried the dress on, adjusted, and then finally sewed a normal seam and finished the edges with my serger.
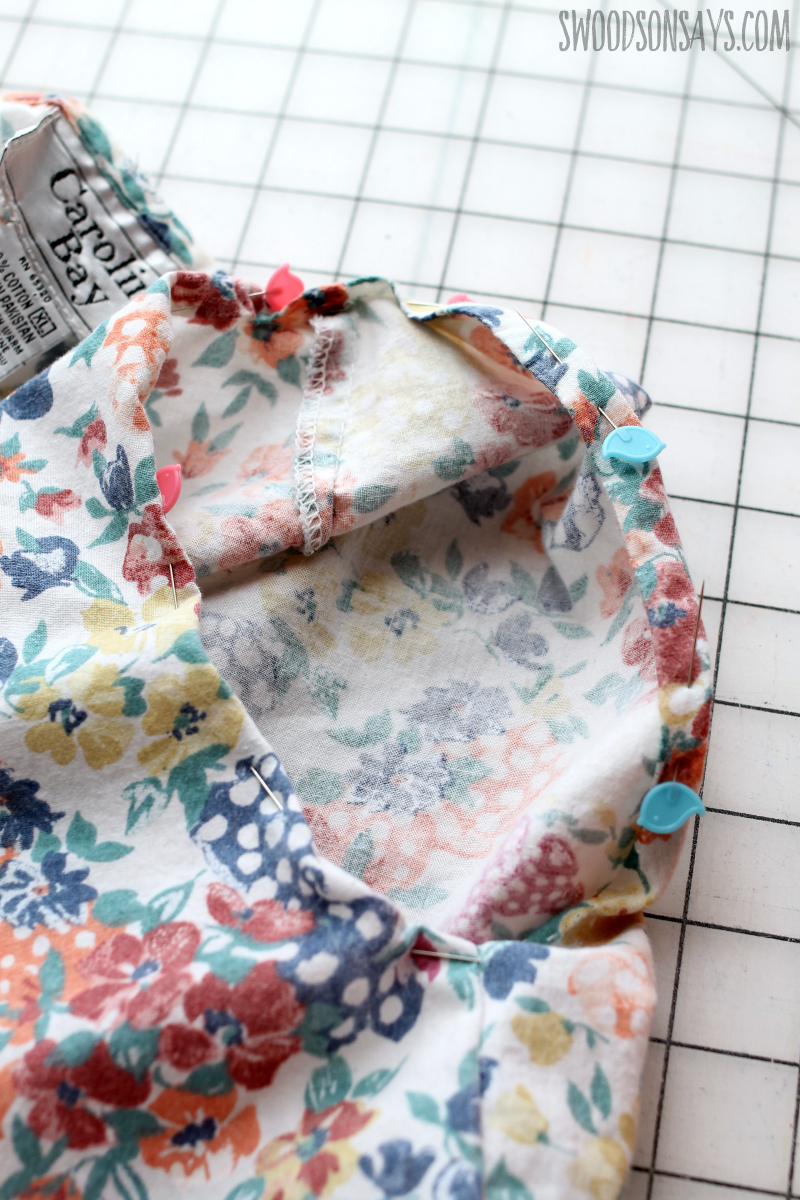
Step 4- I seam ripped the armscye seam (the sleeves are already cut off at this point) and then folded it 1/4″ under, and 1/4″ under again, pressing and sewing. If you didn’t have enough fabric to do that, you could also use bias tape to finish the sleeve’s hem.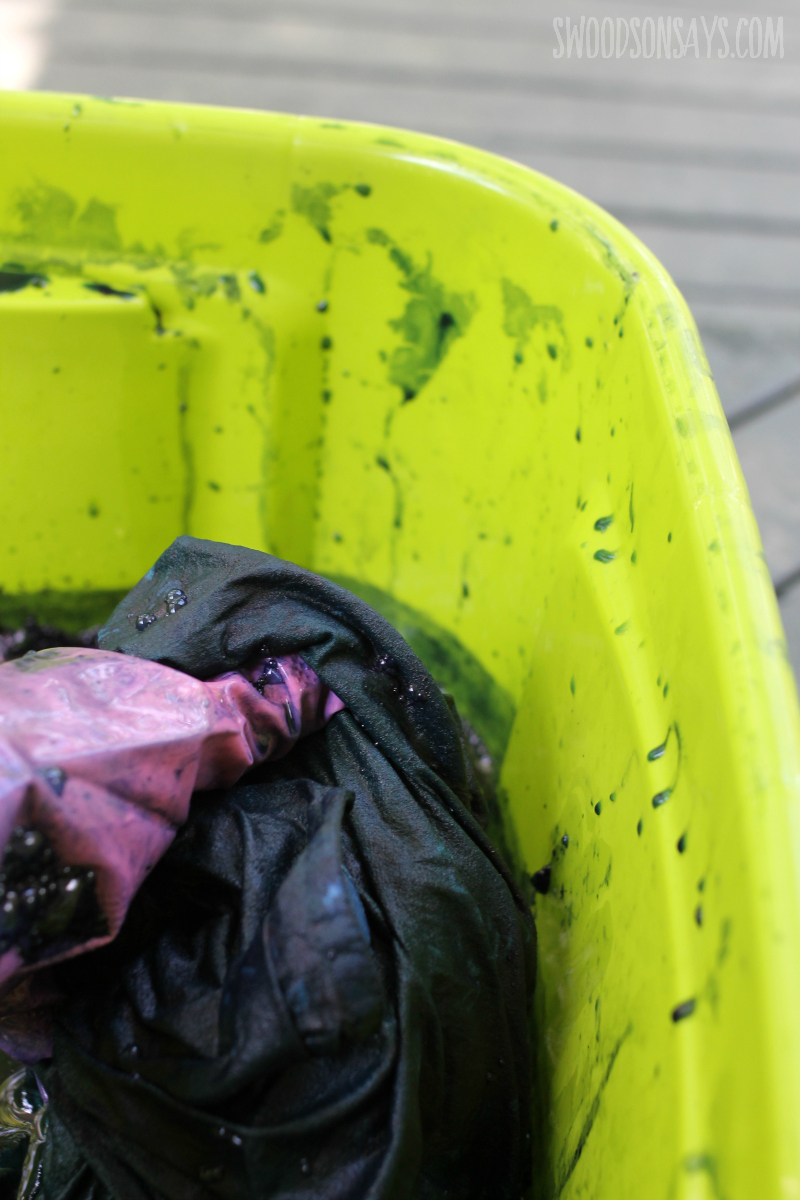
Step 5- Time to dye! You can see a full picture tutorial on using indigo dye in this post; but basically you mix it all up, get your piece wet, dip it in, let it dry, repeat, wash and you’re done. 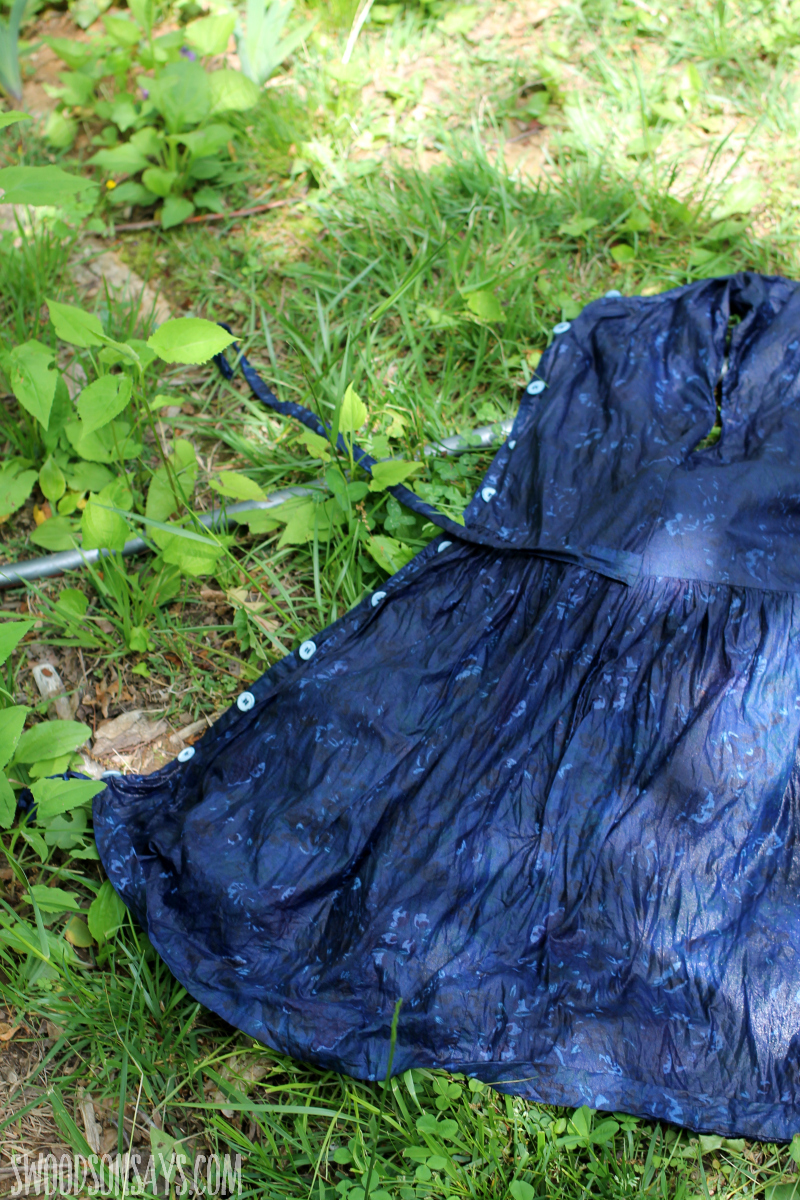
Isn’t it neat to see the print peeking through? I love watching indigo dyed garments intensify in the sun.
Let me know what you think you the refashion or if you’d try it!
Betty Jane
Tuesday 31st of March 2020
Wow! This is a real winner. The dye surprise is stunning. You look great in the dress. Wear it!
Stephanie - Swoodson Says
Tuesday 31st of March 2020
Thanks so much Betty Jane, you made my day!
Bonnie
Saturday 1st of February 2020
I think dying this dress was brilliant! I think though that the waist is too long and maybe too full for your petite size. I wish I had that problem! So you could make it an empire or high waist? Thank you for sharing your amazing creativity! Bonnie
Stephanie - Swoodson Says
Monday 3rd of February 2020
Bonnie, those are great ideas! I sent this dress off to a new home already but I will keep that in mind for next time, thanks for reading :)
Alice
Tuesday 23rd of July 2019
I love the refashion. It looks like denim and I love denim. Try Netflix binging, try Family Renion. It’s funny and clean.
Stephanie - Swoodson Says
Sunday 11th of August 2019
Thanks Alice! I love denim too. Googling Family Reunion now!
Brenda
Tuesday 5th of June 2018
I love this dress now! I would not have thought to dye it like this. It looks great on you. You should keep it and wear it!s
Stephanie - Swoodson Says
Monday 2nd of July 2018
Thanks Brenda!!
Kelly
Monday 4th of June 2018
You totally must keep this dress. It is so flattering on you!
Stephanie - Swoodson Says
Sunday 15th of July 2018
Aw thanks Kelly! You are too sweet!