
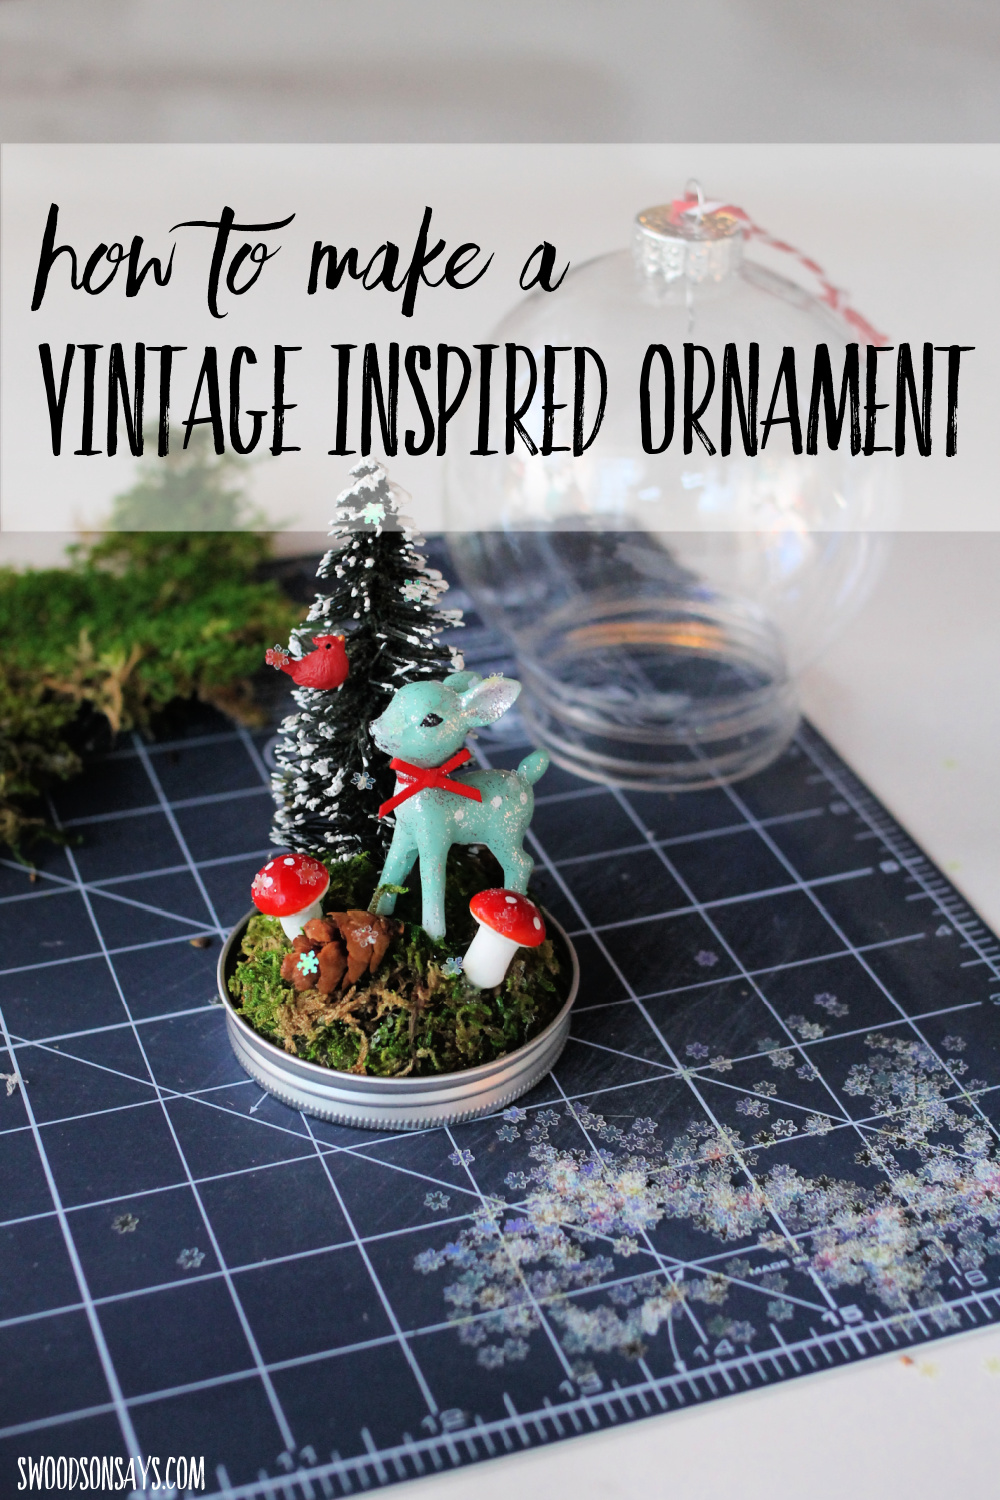
See how easy it is to make this vintage inspired woodland glass ornaments diy!
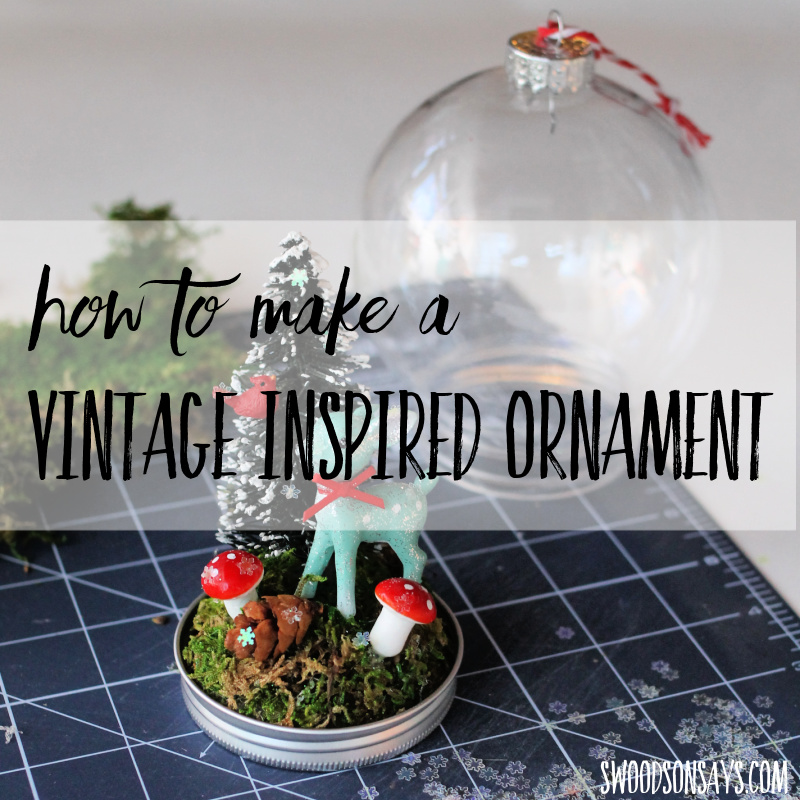
I’ve been sucked into a wormhole of crafting… miniature figurines in ornaments! I grabbed these flat bottom, snow globe-esque fillable ornaments from the store on a whim to do as a family craft and then hunted down little things to put inside and now I want to make even more! This would be such an easy craft to personalize for someone with their favorite animal, hobby, etc. and they’re so fun to make.

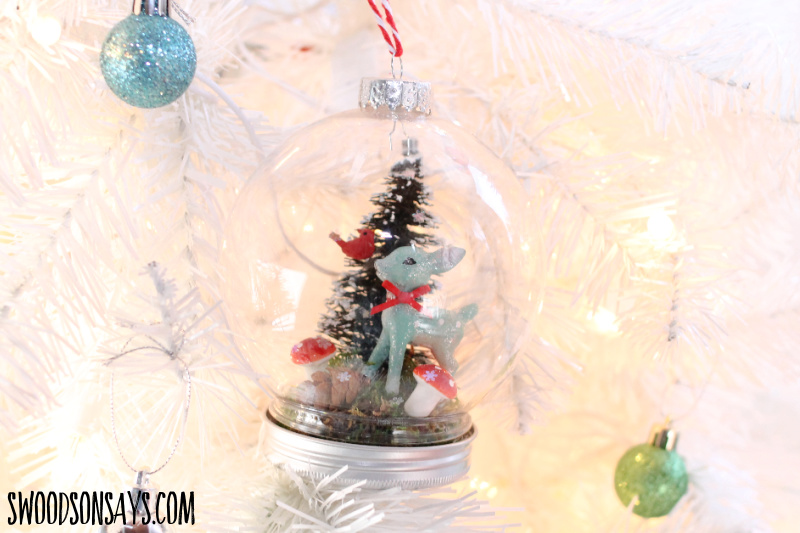
A little hard to photograph with the clear globe, but here it is on the tree!
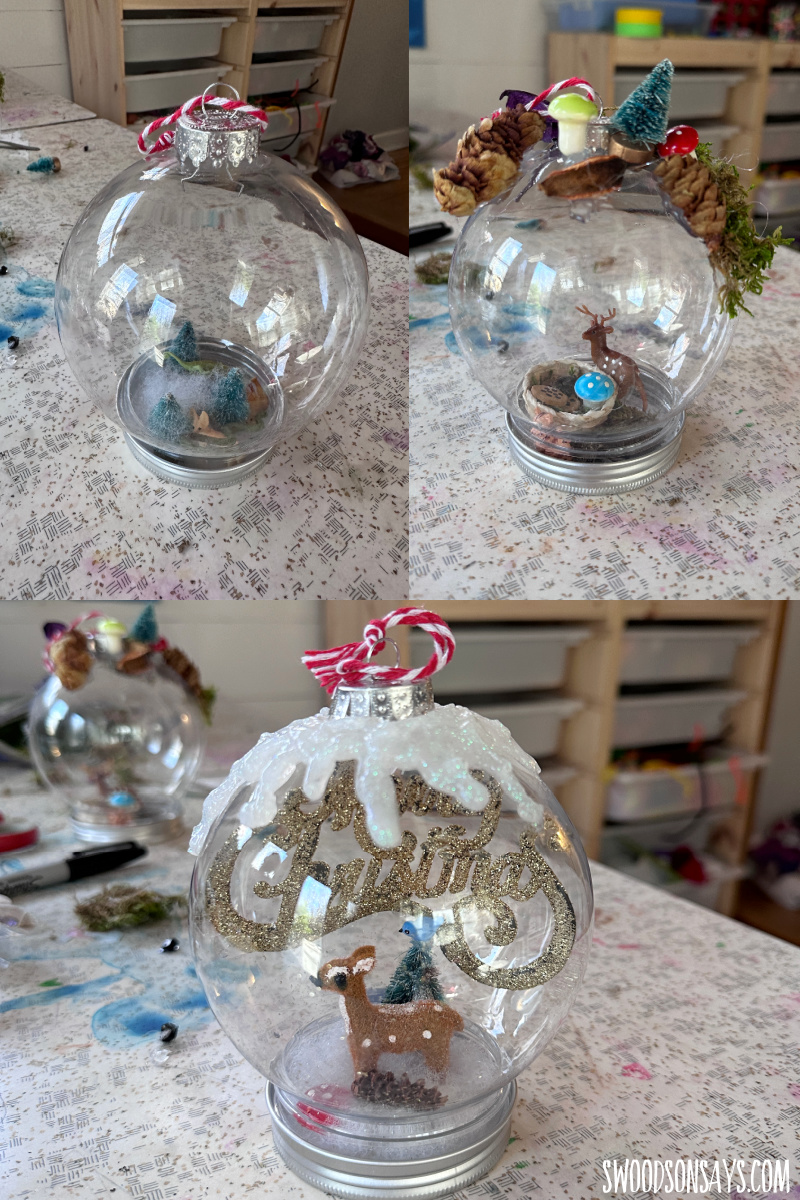
Here are the two my kids made (on the top) and the one my mom made on the bottom to give you some more inspiration. The “snow” on my mom’s was glitter glue and the white stuff is stuffing!
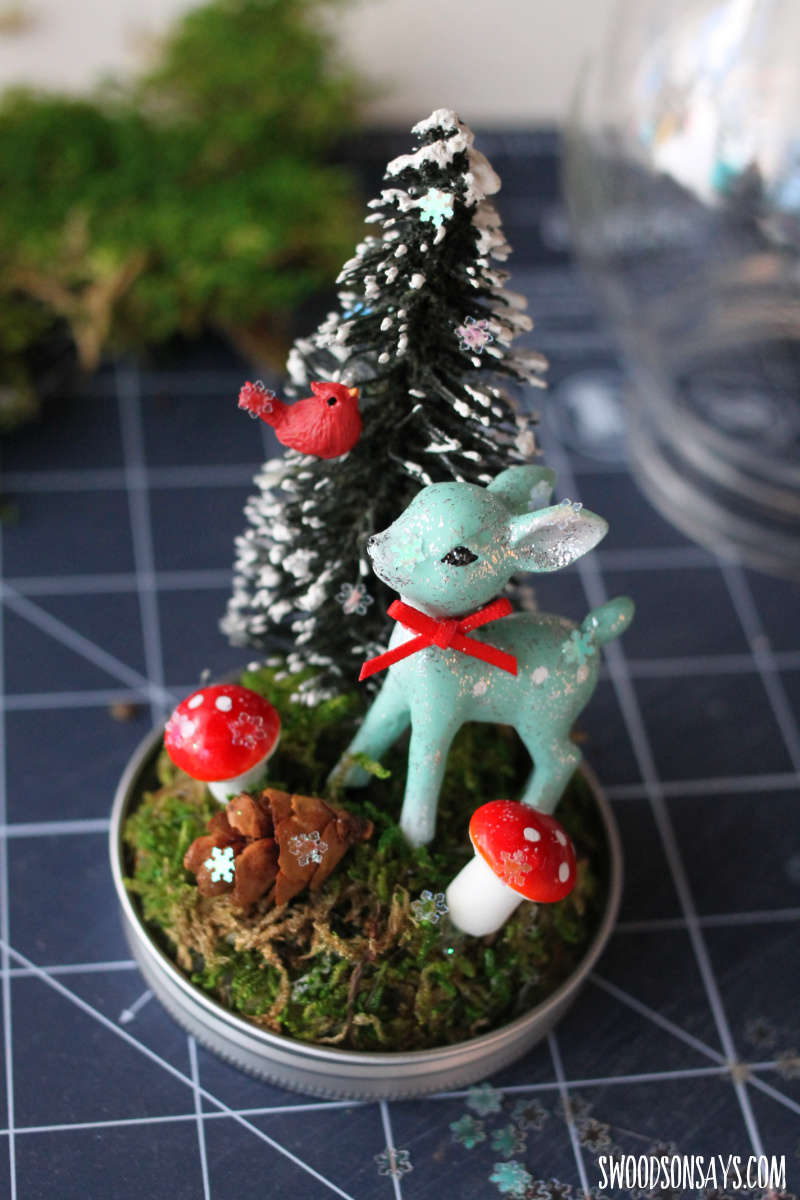
Here’s a detail shot of mine without the globe! I love it! Keep reading to see all the details.
Check out these other posts while you’re here!
- The cutest animal Christmas ornament patterns
- 14+ embroidery hoop ornaments
- 20+ felt Christmas ornaments to sew
- 20+ ornaments for kids to make
- 20+ photo ornaments diy tutorials
Pin this vintage inspired woodland glass ornaments diy for later with this link or image:
Ready to make your own?
Vintage inspired woodland glass ornaments diy
Supplies
If you want to look for other animals or miniatures, I have had good luck on Etsy and Ebay searching ‘vintage animal miniatures’, more ornament examples coming your way soon!
- Flat bottom ornaments
- Tiny deer – this is the exact one I used, it says it is 2.35 inches tall
- Tiny tree – I think but am not positive I used one from Dollar Tree
- Tiny bird – this is the exact one I used
- Tiny pinecones – I used some pulled out of potpourri from Dollar Tree
- Moss
- Stuffing
- Mushrooms- these are the exact ones I used
- Hot glue gun
- Fine glitter
- Super glue + toothpicks + tweezers
- Pliers
- Snowflake sequins
Steps
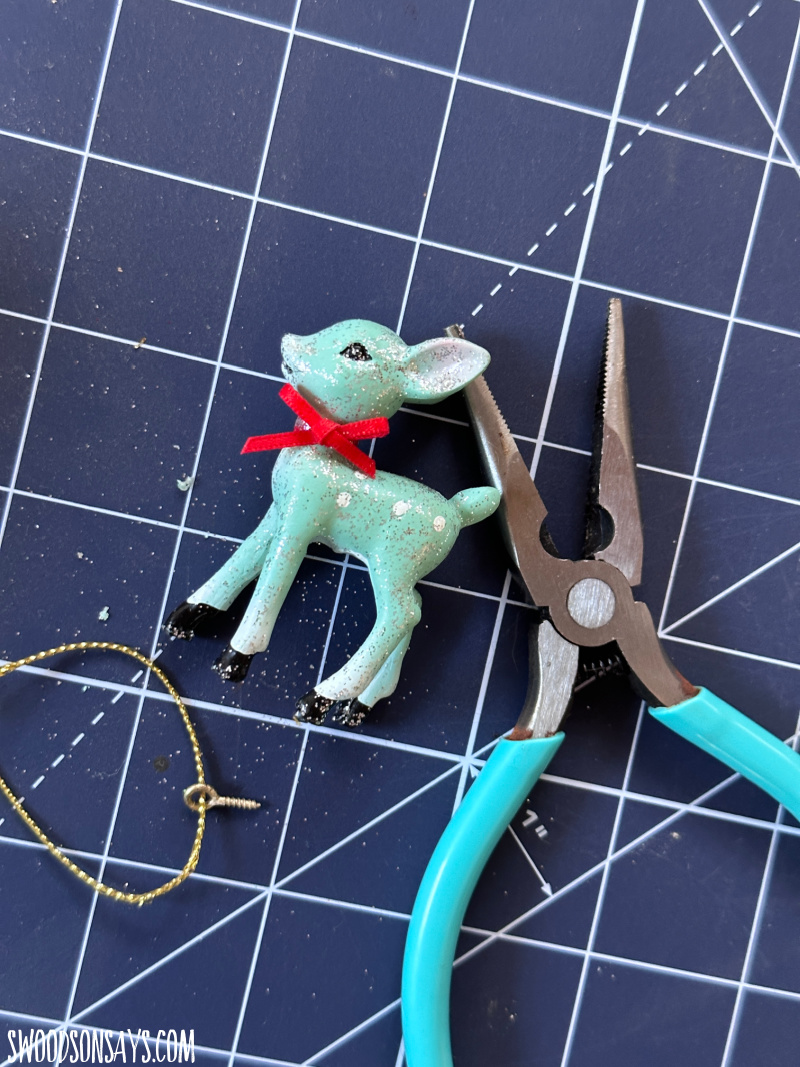
Step 1- First I took off the hanger & ribbon since this was supposed to be an ornament all by itself! A quick twist with pliers did the trick.
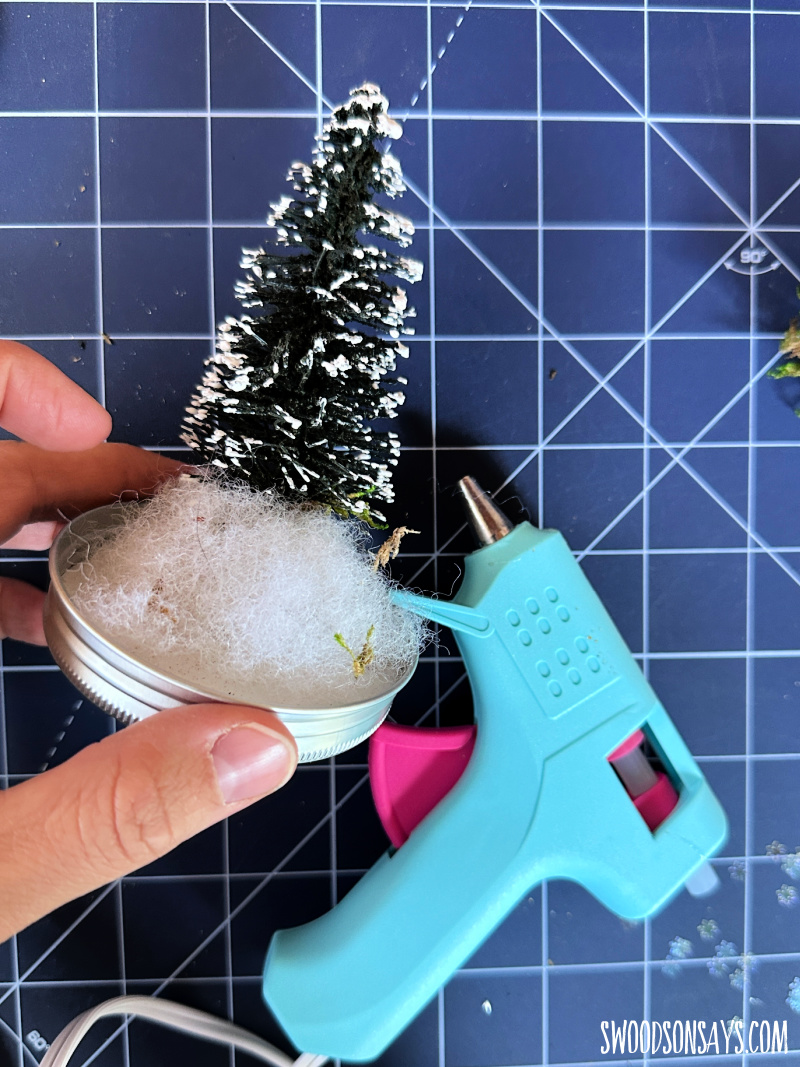
Step 2- Next was hot glueing the tree & some polyfill to the bottom to give it some height. Be super careful that you aren’t covering any of the ‘tracks’ that the globe screws onto on top, test it before you keep going.
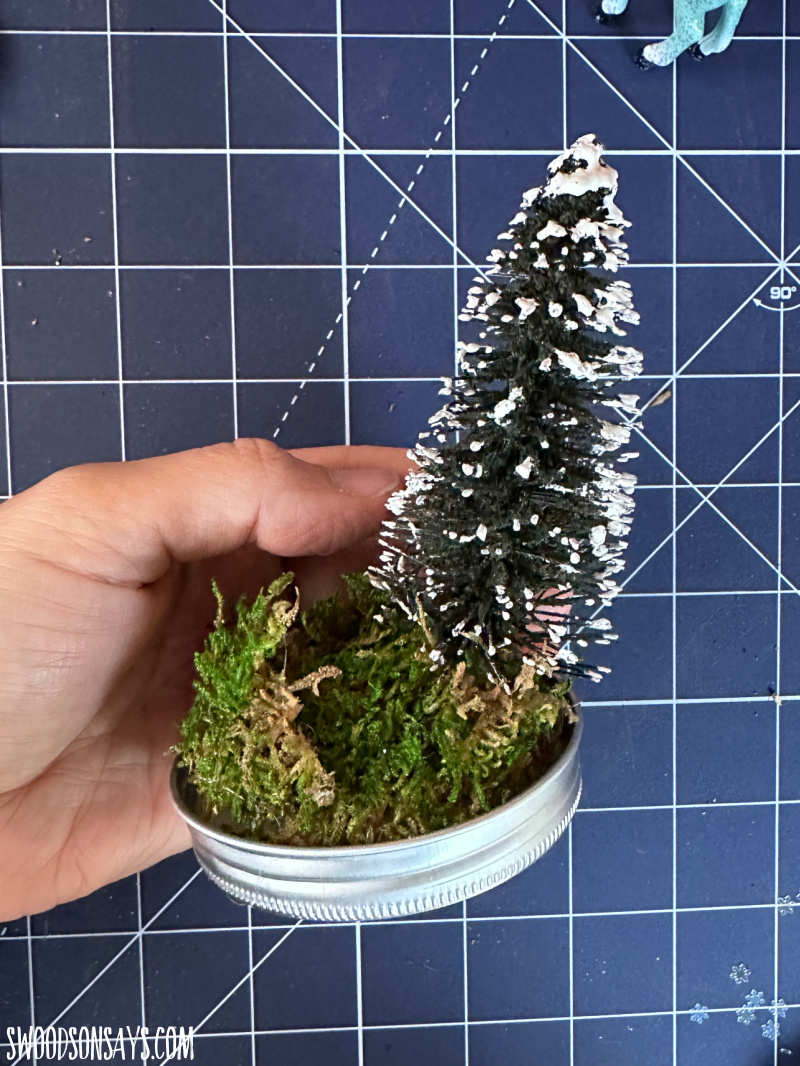
Step 3- Next I glued moss over top, don’t forget about the back for a 360 view!
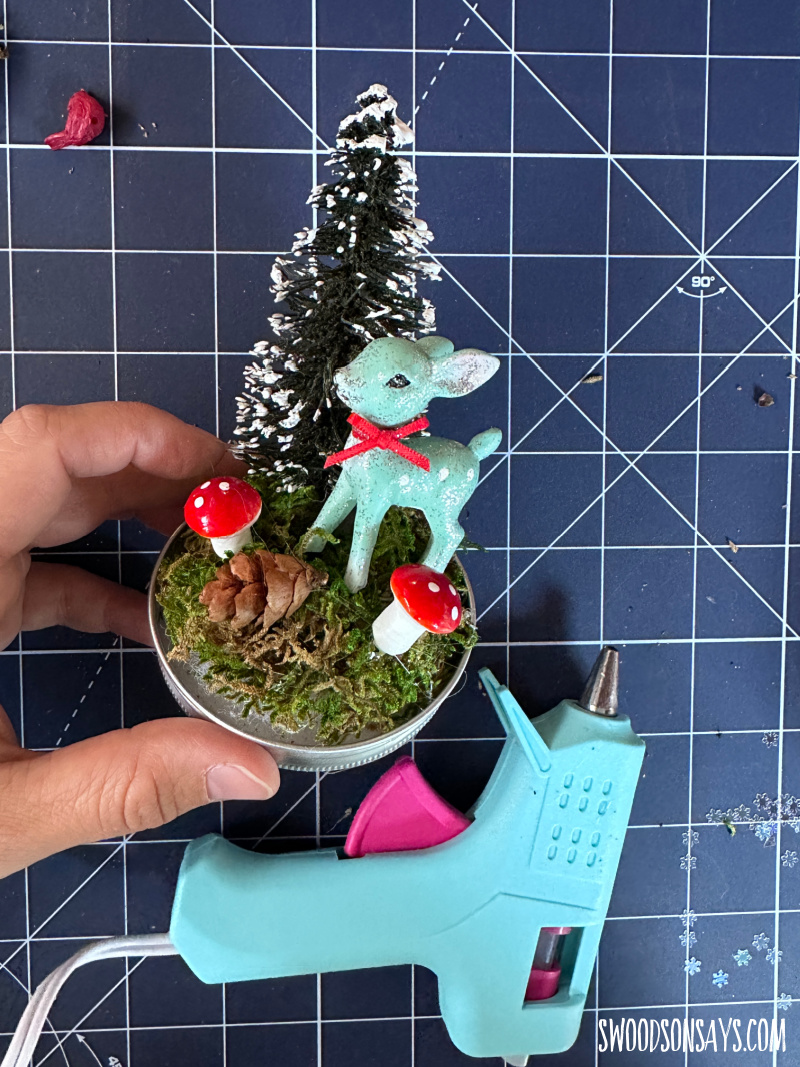
Step 4- Next was gluing the little doohickeys in! I recommend getting all the moving parts how you want, no glue, and taking a photo, then taking off one, gluing one, repeat. Speaking from experience rearranging then forgetting/messing it up!

Step 5- Last I added sequins and glitter! I used tweezers with superglue on a toothpick to place the sequins individually and then sprinkled fine glitter over the top.

Step 6- Check it all over, fix any mistakes, and if you want glue the bottom on permanently so nothing shifts.
You’re done! I’ll be making more of these to come and post updates on this same tutorial with different scenes, it was so fun. I can see sculpting with clay and sticking them in there too!