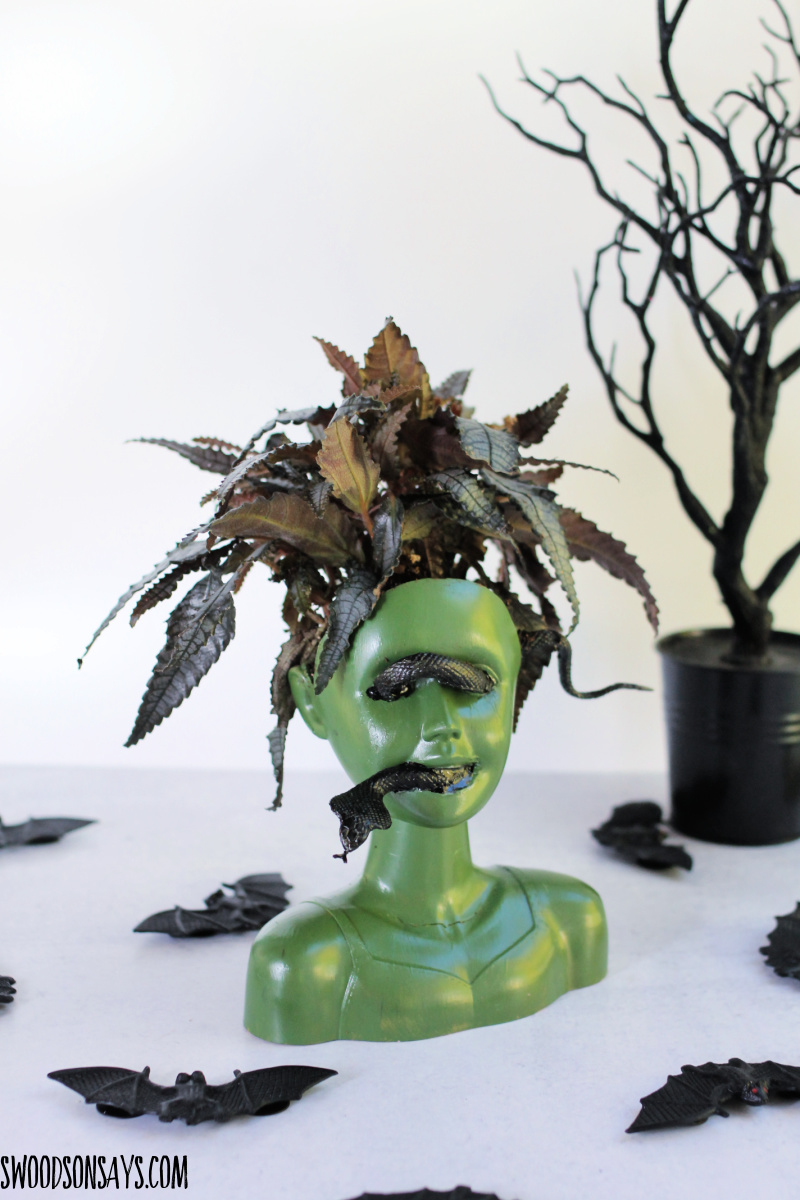
Handmade halloween decor doesn’t have to be expensive – see how to make this DIY creepy doll head planter tutorial!
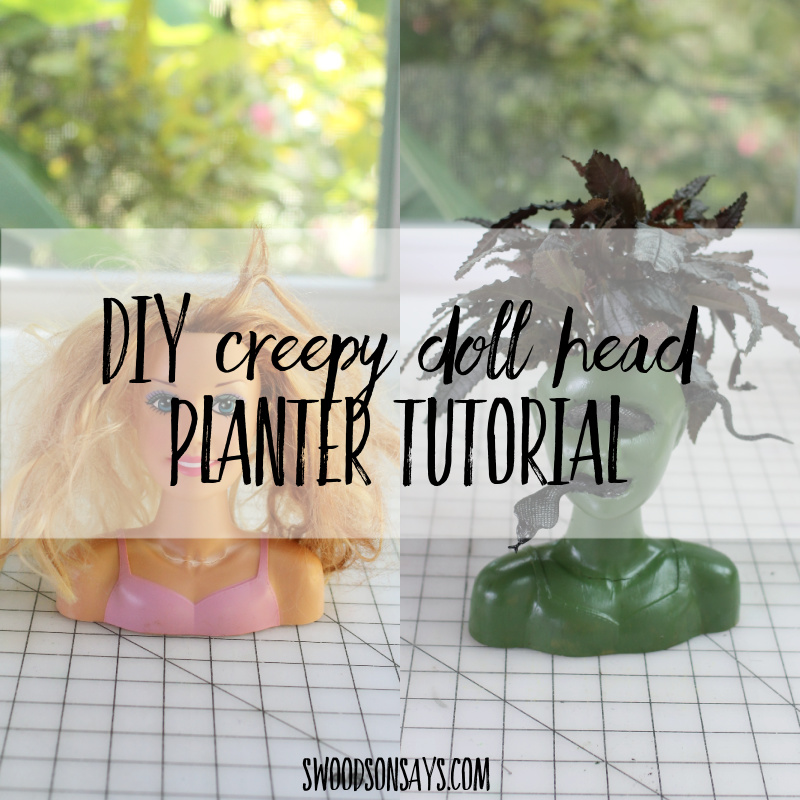
How do you make a doll head out of a planter? All you need is a craft knife, the right type of paint, and a little patience! This was such a fun upcycled and I’m on the thrift hunt for more doll heads like this to experiment with. You could also spray paint these with the faux-cement spray paint, use fake florals, or make felt succulents to stick in the top. As my kids get older I can experiment more with ‘creepy’ and this is my new favorite DIY!
If you like this post, check these out while you’re here!
- 20+ upcycled Halloween decor ideas
- 18+ DIY hoodie halloween costumes
- How to Recycle & Upcycle Old or Broken Toys
- 20+ Halloween hand embroidery designs
- 15+ modern halloween cross stitch patterns
Pin this DIY creepy doll head planter tutorial with this link or collage image:
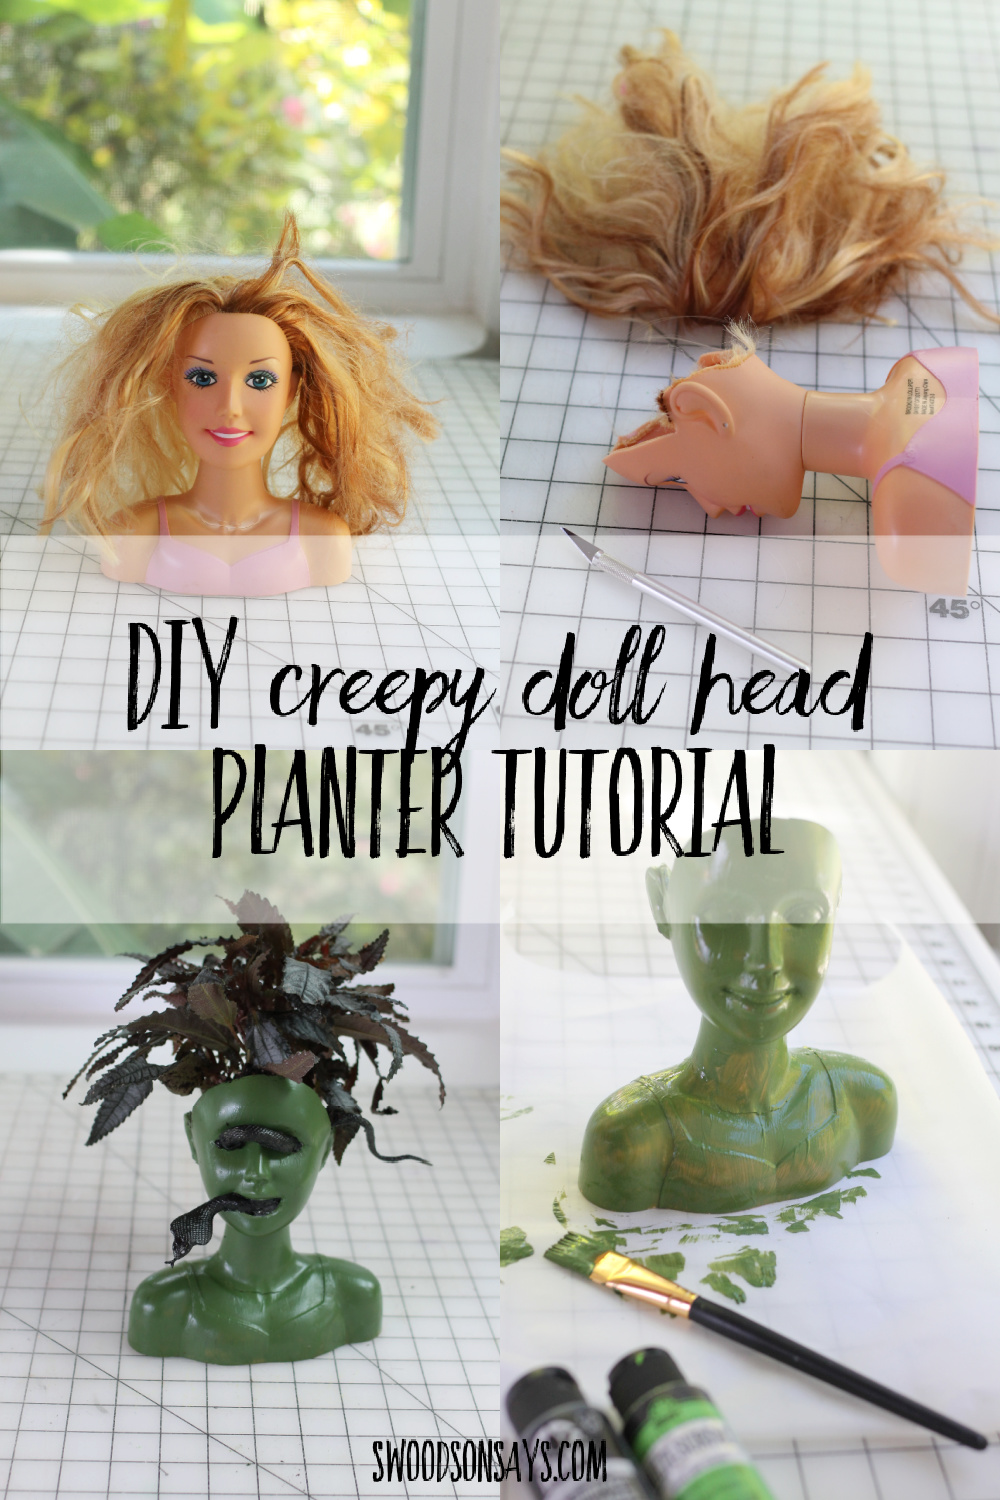
DIY creepy doll head planter tutorial
Supplies
- X-acto type knife [Shop: Amazon]
- Hot glue gun
- Paint that works on plastic – I used this Plaid type [ Shop: Amazon ]
- Paintbrush
- Plant – this is a ‘dark mystery’ species (no, really!)
- Toy snake – you’re looking for a cheapie one that’s super flexible! I can’t guarantee it because we had it already but pretty sure this is the same one I used (I painted it black)
- Old doll head – I used a ‘hairstyling’ sort like this [Shop: Amazon ]
Steps
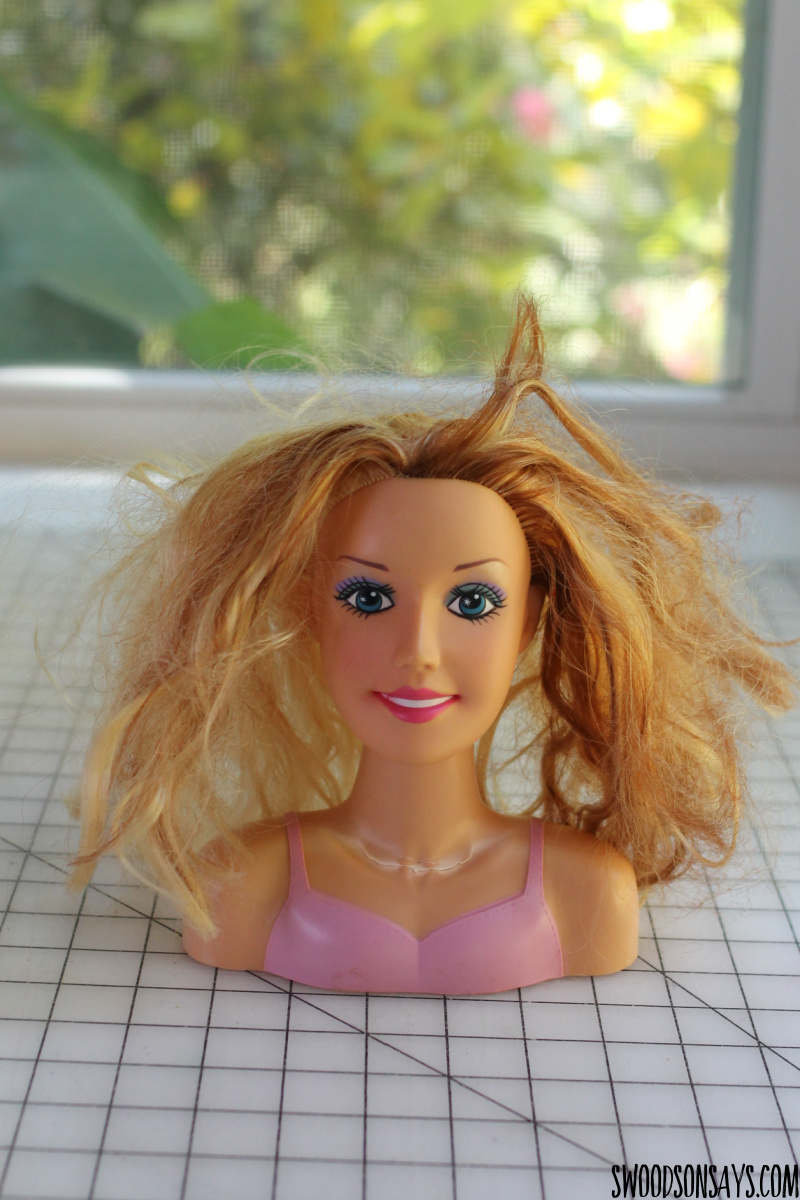
Step 1- Find the right doll thrifting! You need a soft head unless you want to bust out a power tool; this lady has a rigid chest but soft head.
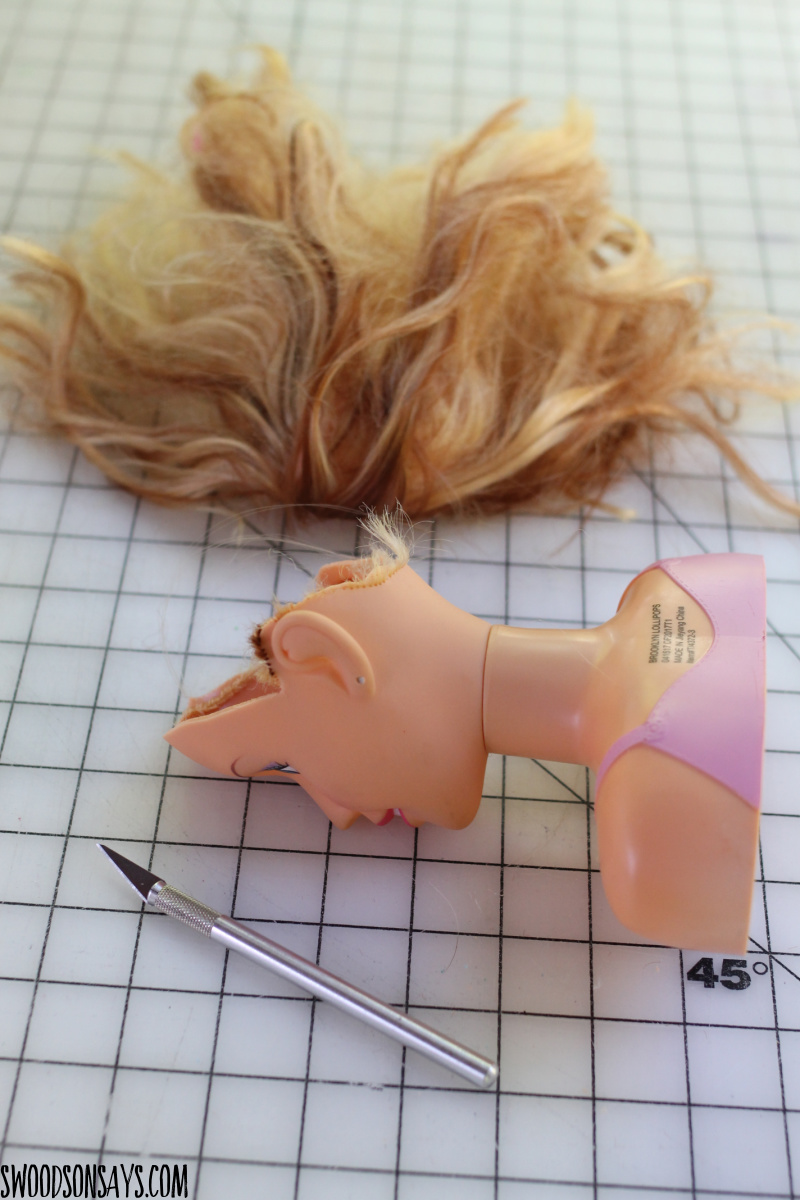
Step 2- Start hacking. When I originally started this project I was picturing faux-florals and cut the back lower accordingly. If you’re planning on using a real plant like I did, your options will be less limited if you leave the back of the head higher – do as I say, not as I do in this case. Also, if you know that you want to have something coming through the mouth and eyes you can cut those out at this time! I was headed a different direction so had to do that in step 4.
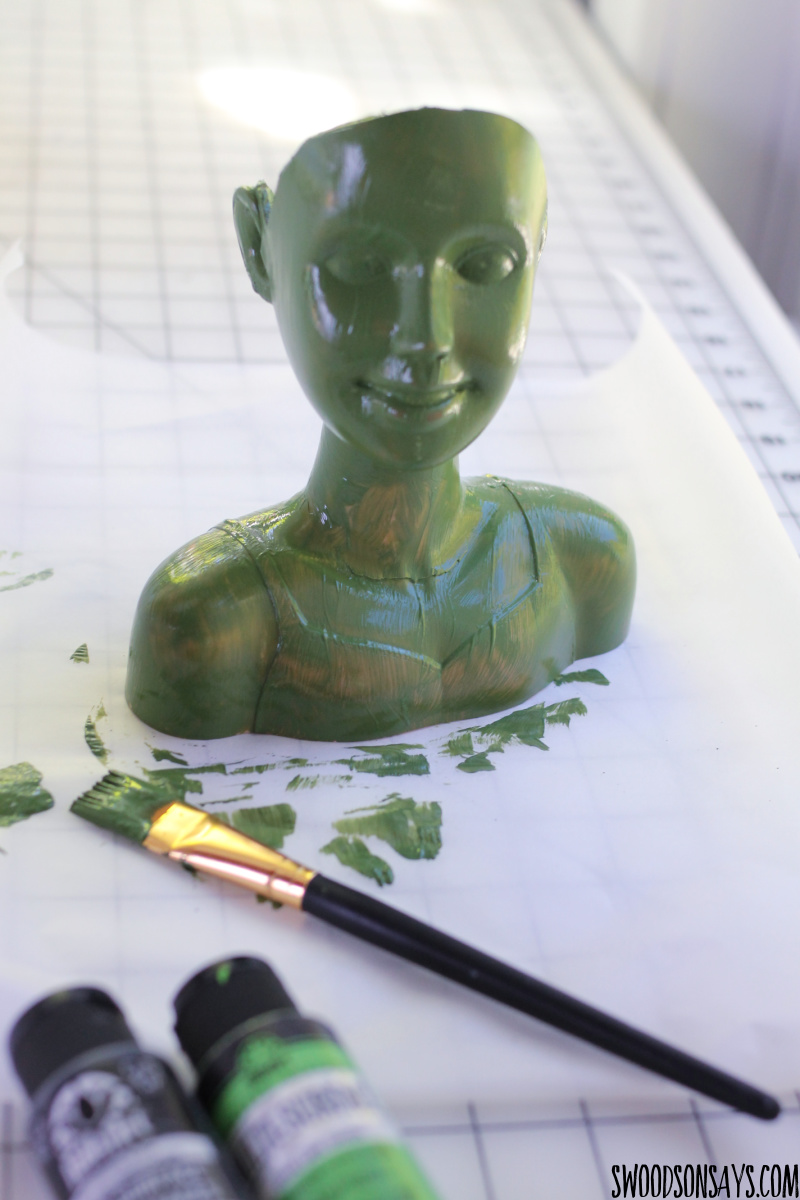
Step 3- Time to paint! This is coat #1 – I eventually did three coats. You could add a topcoat if you’re feeling fussy but I skipped it. I mixed a black and apple green for a custom shade.
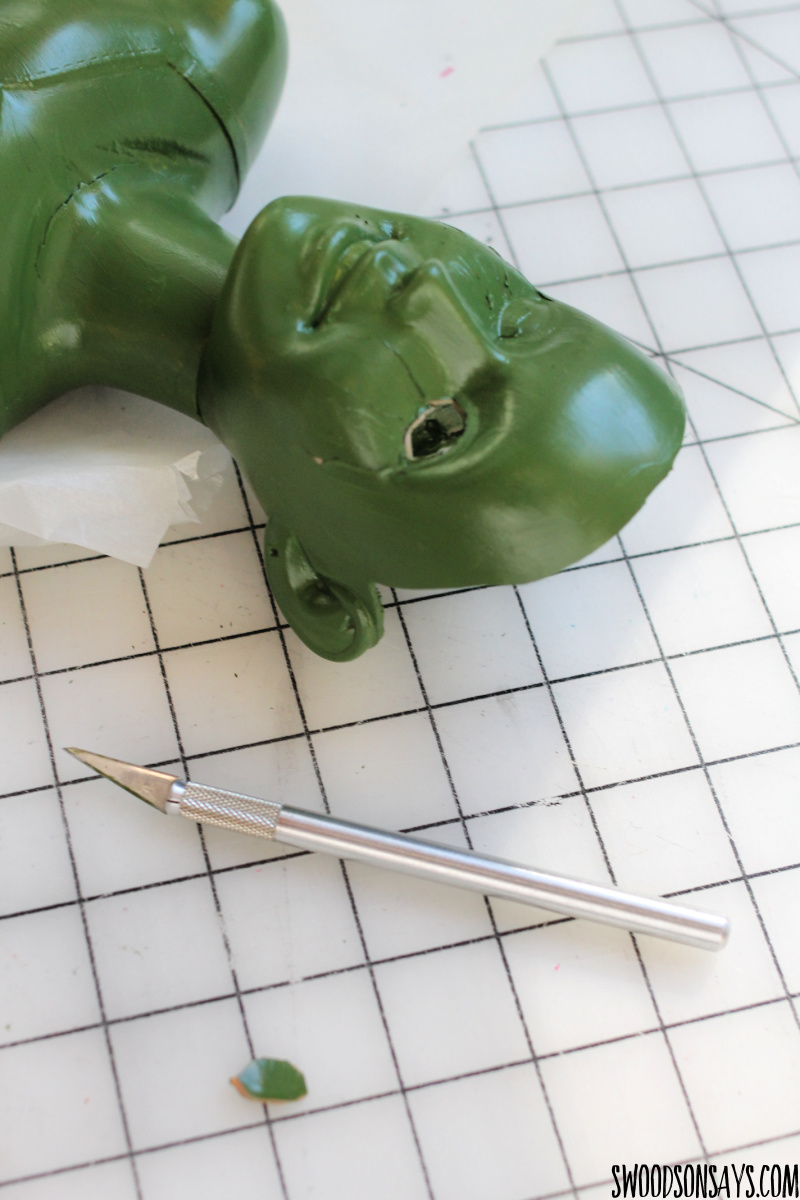
Step 4- Cut out the eyes and mouth if you didn’t already in step 2! You can also see the remnants of another trial here – I experimented with hot glue “tears” that I painted over. I didn’t love the finished look so I peeled it off. If I was smarter, I would’ve experimented on the chopped off scalp first.
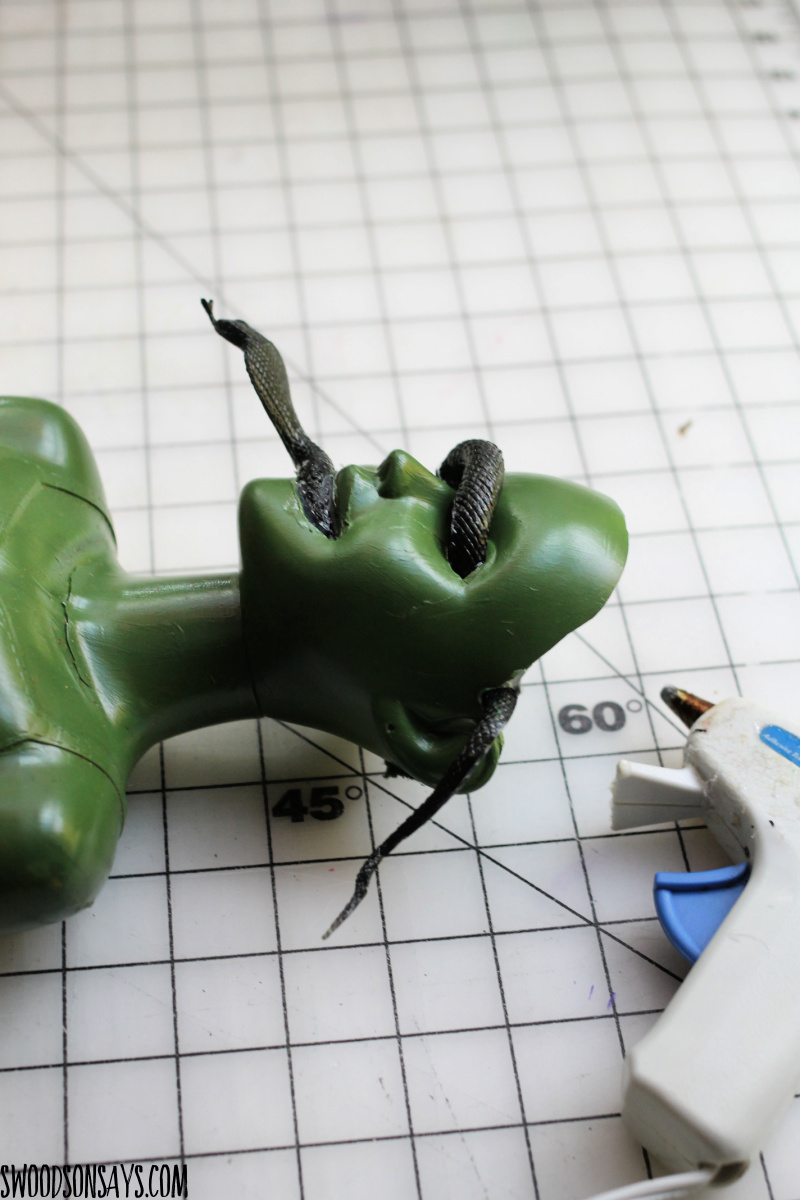
Step 5- Thread your snake (prepainted if you wish) through the eyes and mouth, putting hot glue behind them so no dirt can slide through. Paint over the hot glue and let dry.
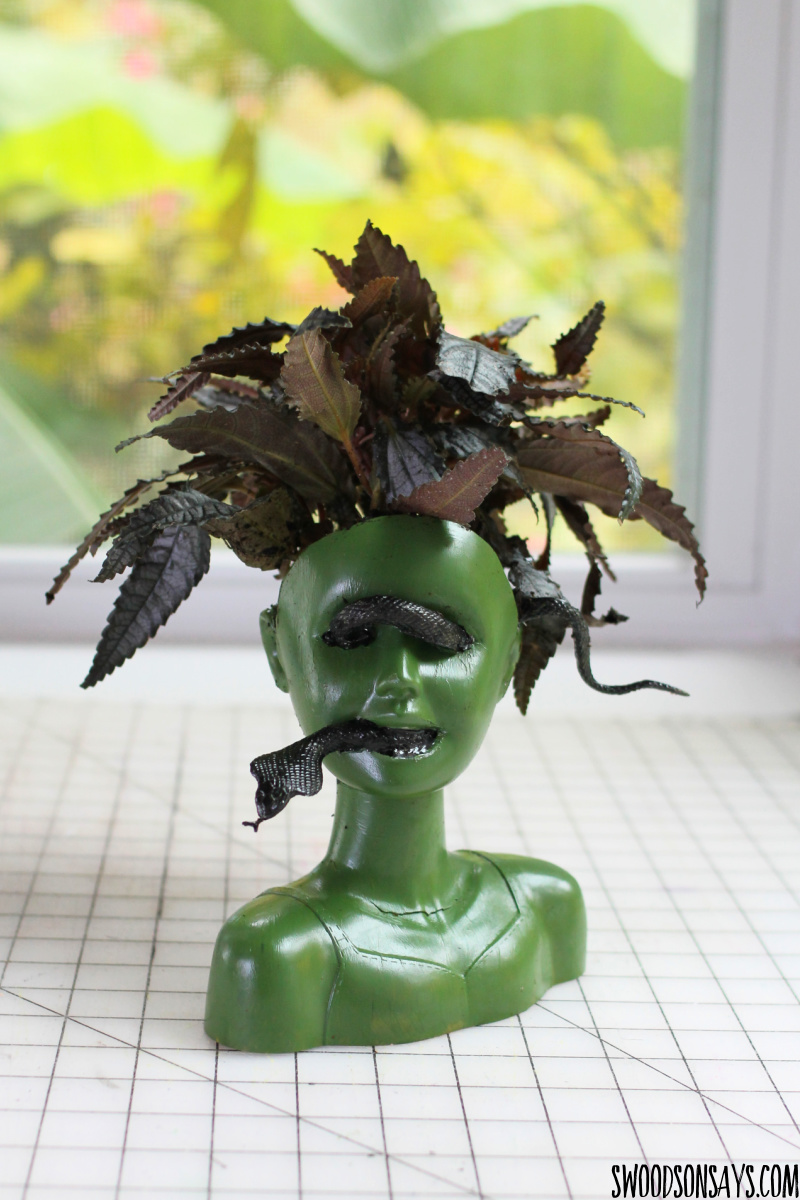
Step 6- Shove your plant in and you’re ready to go!
