This shop has been compensated by Collective Bias, Inc. and its advertiser. All opinions are mine alone. #BlissfulMoments #CollectiveBias
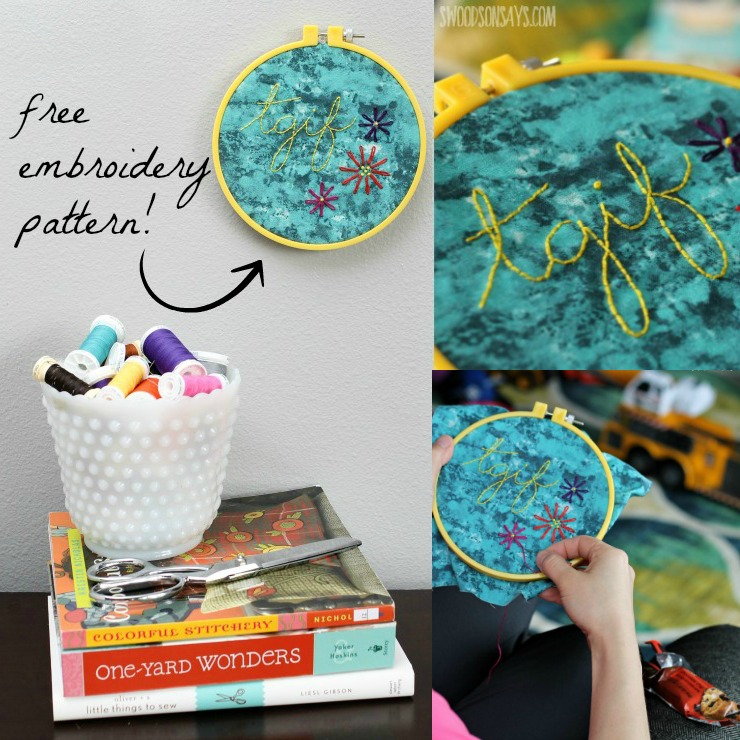
I have a few tidbits of advice that I will happily give to any new Mom, and one of them is that if it is logistically possible, have your significant other take over bath-time. My husband doing bath gives me a small window to breathe; I typically plop down on the couch, eat something sweet, and work on a craft project or read. Even though it is only ten or fifteen minutes, I feel refreshed. My husband jokes that he knows how the kids behaved all day, judging by the number of wrappers on the couch!
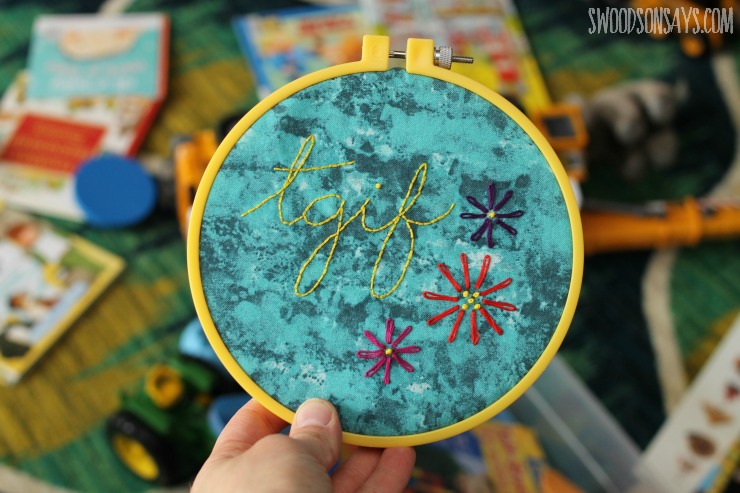
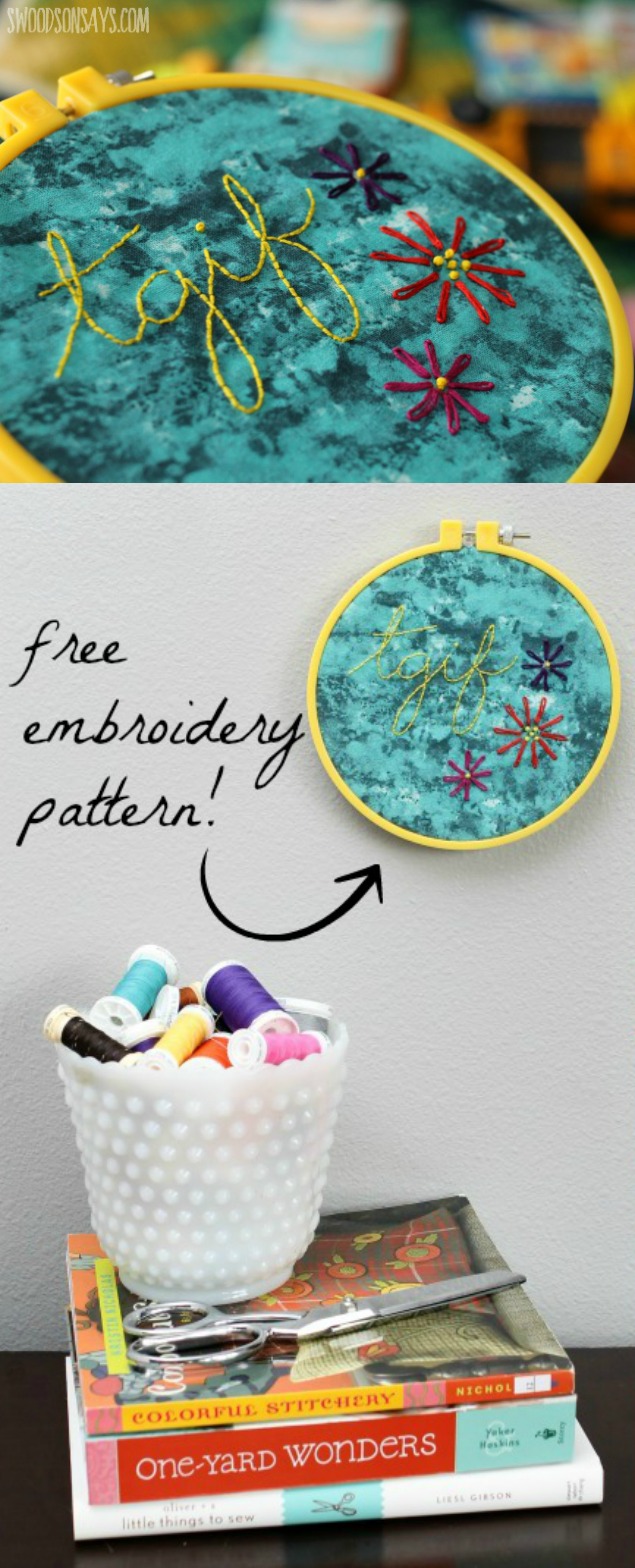
I wanted to share a pattern to go along with the bars that is super accessible; anyone can stitch this up! It is a great first project, I love to think of myself as an enabler of crafting.
{This post contains affiliate links, indicated by an asterisk*. Please refer to ‘legal stuff’ in the top menu for more info.}
I wish I could say that I staged the mess in the background, but that is my house in its natural state most nights. I would rather indulge in a treat and make something than clean up!
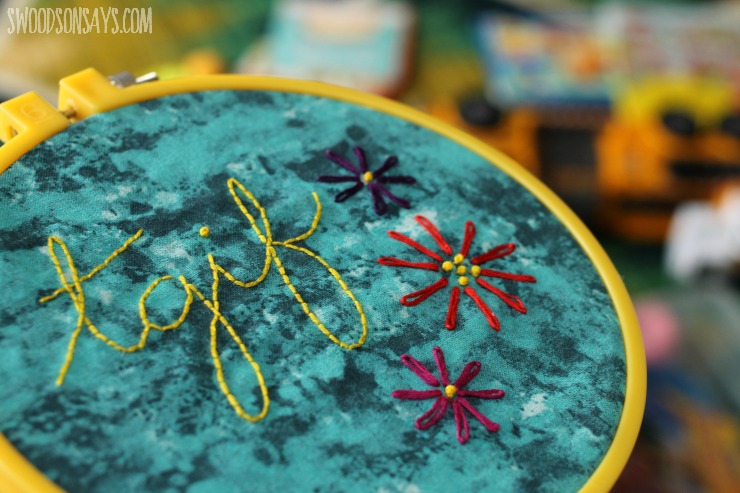
Ready to make your own? Embroidery is a really cheap craft to get started in, which I love.
How to stitch a TGIF embroidery hoop
Supplies
- TGIF Embroidery Pattern –sign up for my newsletter and get the free download once you confirm your subscription! If you’re already a subscriber, you can access the pattern with the password in each newsletter, in the resource library.
- Four colors of embroidery floss; mine are all DMC brand, colors 550 [pink], 973 [yellow], 666 [red], 718 [purple]
- Fat quarter of quilting cotton
- Embroidery needle
- 8″ embroidery hoop
- 9″ square of felt
- Transfer method for the pattern- chalk, tissue paper, or Fabri-Solvy* (what I used, see how to use it here)
- Scissors
- Hot glue gun* or fabric glue
Steps
Step 1
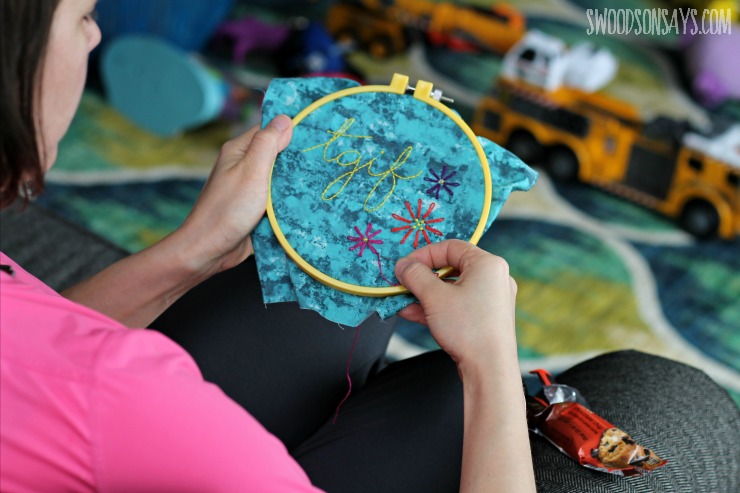
Transfer the pattern on to the quilting cotton and put it on your hoop, stretching it taut. I used Fabri-Solvy, which is a printable transfer paper that dissolves once you stitch through it, but tissue paper or hand tracing would work great too.

Step 2
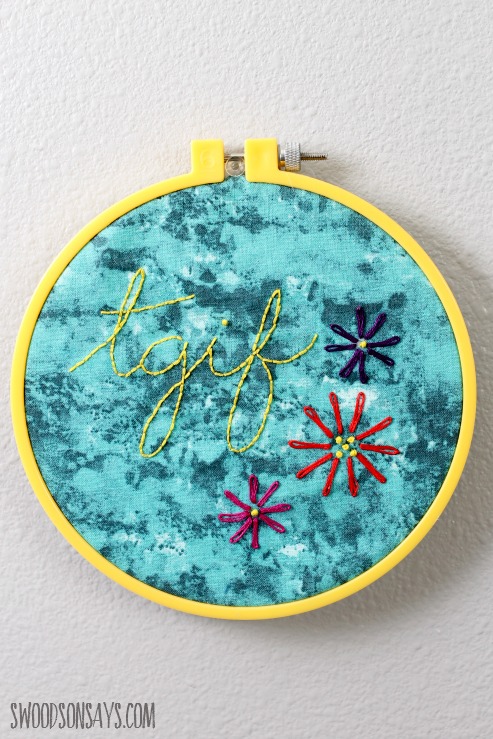
Thread your needle (I used 3 strands for the entire hoop) and embroider! Completely ignore any mess in your house, have a sweet rewards bar, and relax. I used a backstitch for the text, french knots for the ‘i”s dot and the flower centers, and a lazy daisy stitch for the petals. The design is drawn out so you can do a back stitch for the entire thing if you’d like, perfect for beginners.
Step 3
Trim the excess, leaving a rough 1/2″ edge around the back. Sew a loose running stitch around the edges and pull to keep it cinched together, knot.

Step 4
Cut a 7.75″ circle from the felt and hot glue it down around the edges, covering your running stitch.

Step 5
Hang it! My favorite method is a clear push pin but you can add ribbon, or simply lean it on a shelf. Gaze over the next time you feel like time is going backwards and look forward to Friday!


Denise/DIY Crush
Thursday 10th of March 2016
What a fun way to add some fun to a post!! Love that yummy looking cookie bar of course but your sweet embroidery pattern is unique!! Great job!
Stephanie - Swoodson Says
Friday 11th of March 2016
Thanks so much Denise!