
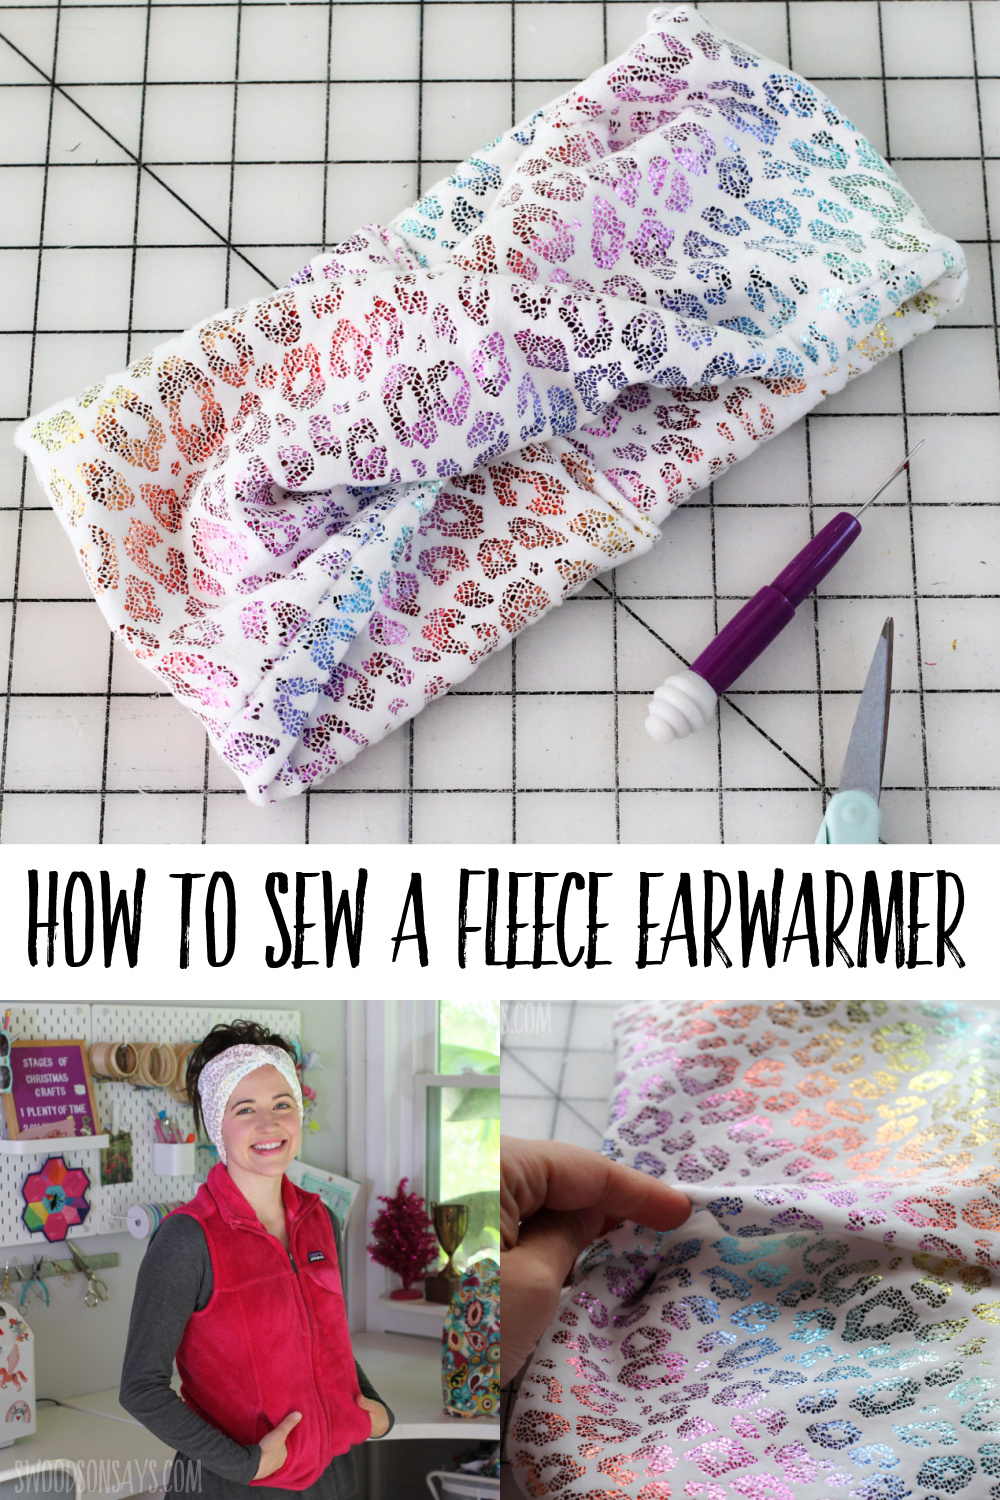
You don’t need to print a fleece ear warmer pattern with this easy tutorial to make a quick fleece headband this winter!
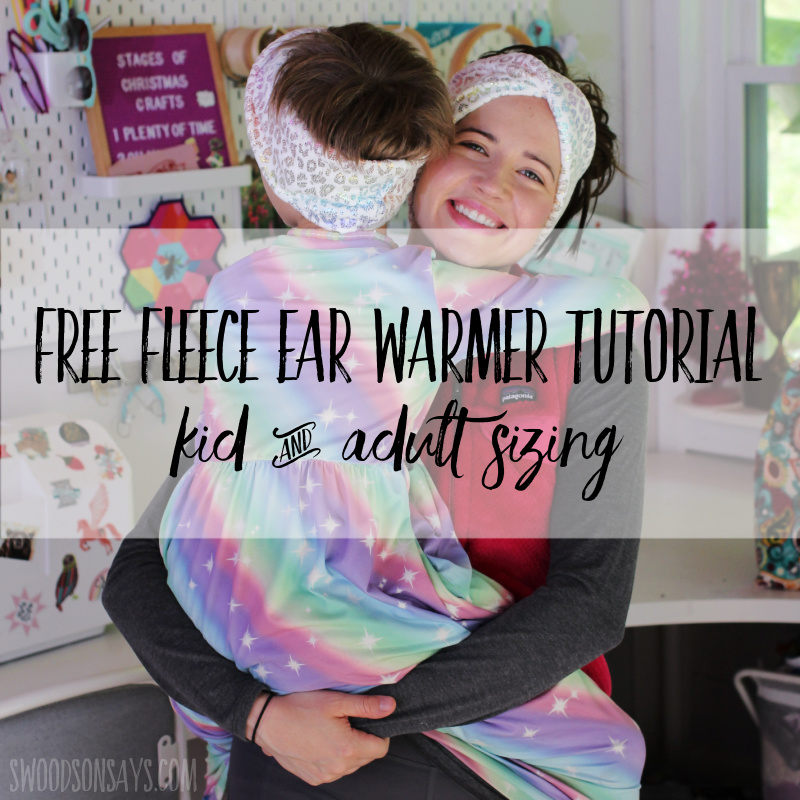
I’m ready for fall weather and cooler temperatures with my new ear warmer! We spend a lot of time hiking as a family and I love how little space these take up when we get hot halfway through a trail. They are super quick to sew and would make great gifts too, and hardly use up any fabric yardage at all so perfect for scraps. I sewed up a version for myself and my 6 year old so we can match, but you could easily tweak the length for little littles too!
This post was sponsored by JOANN, which means they supplied some of the materials and compensated me for my time, but all opinions are my own.
I’d never noticed the pure plush line fabric before, it has more stretch to it than any other fleece I’ve seen in store and the finished product feels very store-bought in my opinion.
Check out these other posts while you’re here!
- 75+ most popular free PDF sewing patterns
- 20+ free headband pattern options for women
- 20+ Easy beginner sewing projects
- Sewing with faux fur – 22+ sewing tutorials and patterns
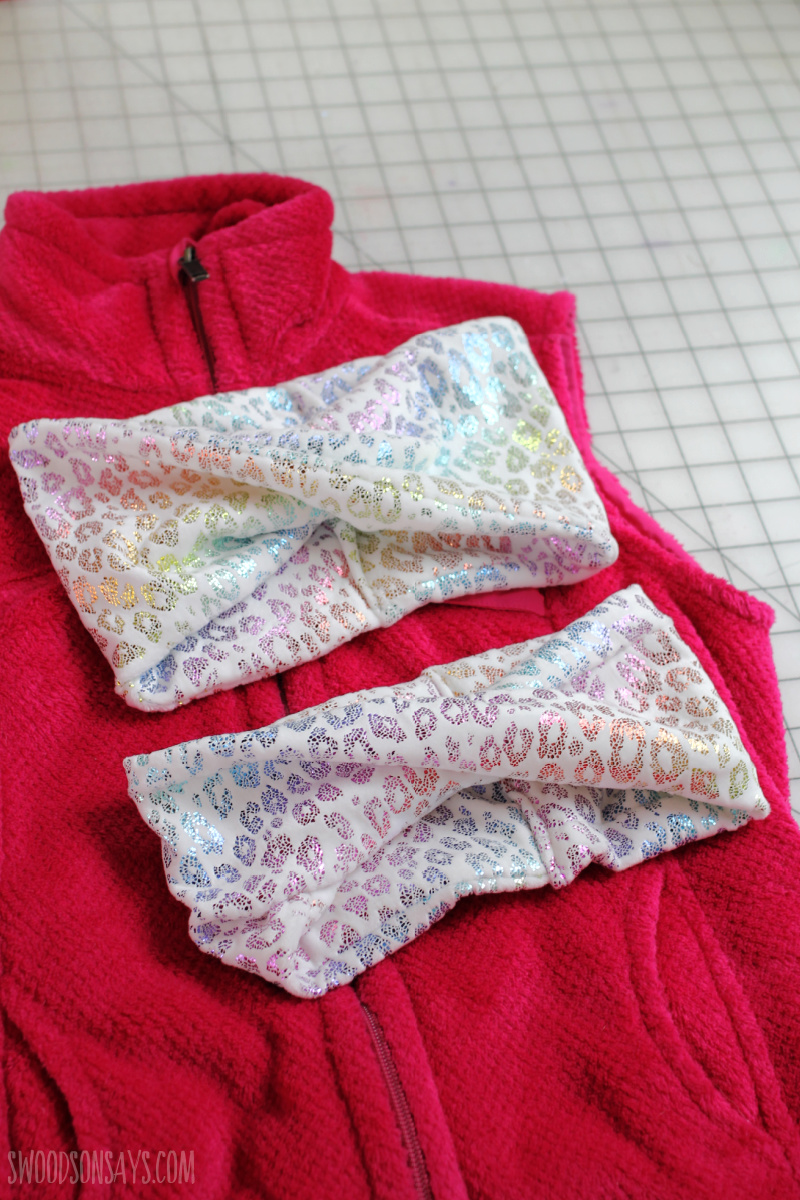
I made a super wide one for myself, and a slightly smaller/thinner one for my 6 year old daughter. She loves matching me – check out the mom & me totes I sewed a few years ago!
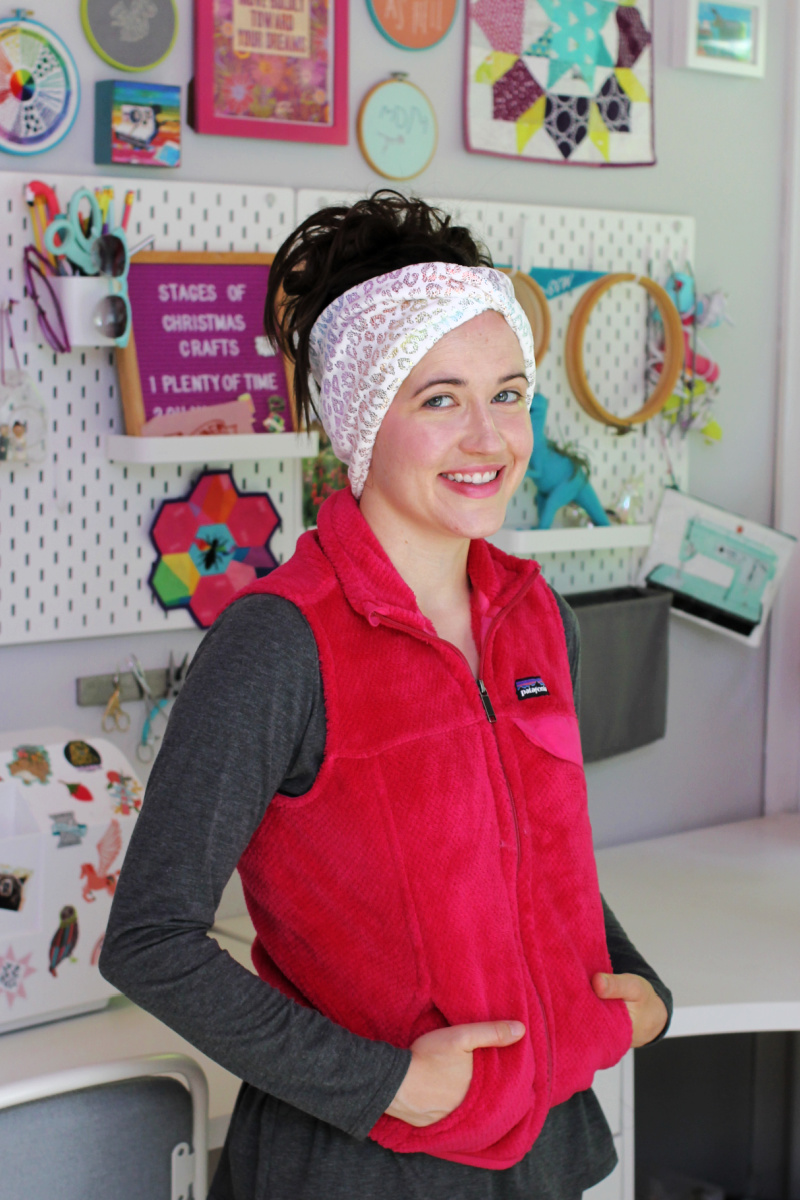
Do I look ready for cooler weather!? Can’t wait to test this out once it is actually cold.
Pin this how to sew a fleece ear warmer with this link or collage photo below:
Ready to make your own?
Fleece ear warmer pattern
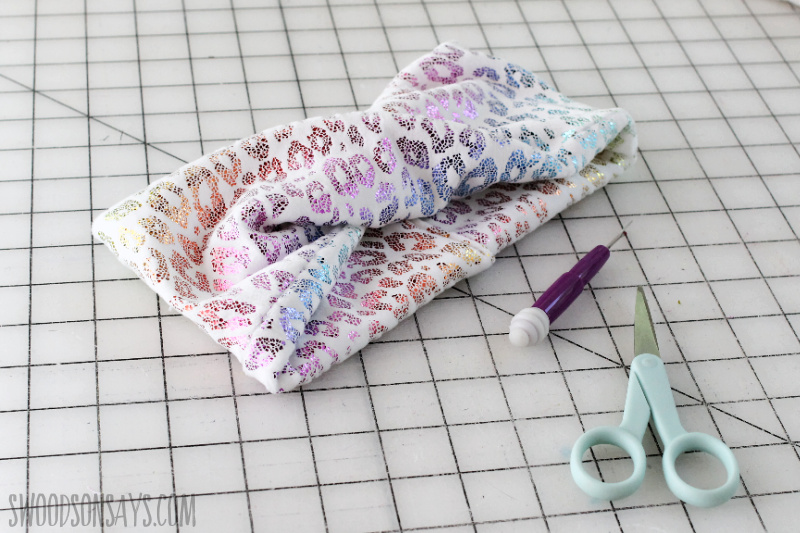
Supplies
- 1/2 yard of fleece with stretch; here I used the pure plush line
- Quilt ruler & rotary cutter
- Wonder clips
Cut two rectangles measuring 22″ long X 7″ tall, with the stretch going lengthwise, around your head! For a child size (roughly 5-10), cut them 21″ long X 5.5″ tall, with the stretch going lengthwise.
Steps
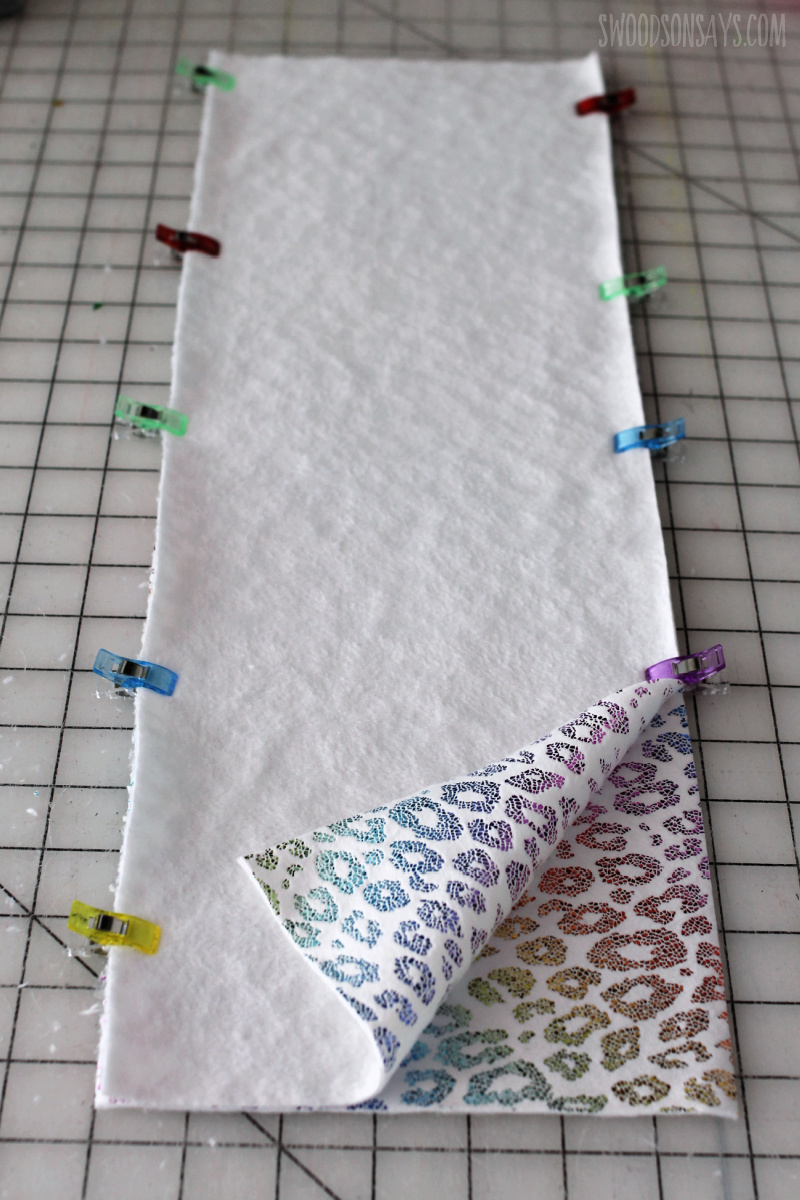
Step 1- Clip both rectangles right sides together and sew the long sides together with 1/2″ seam allowance and a stretch stitch (Zig-zag or triple stitch is easiest!).
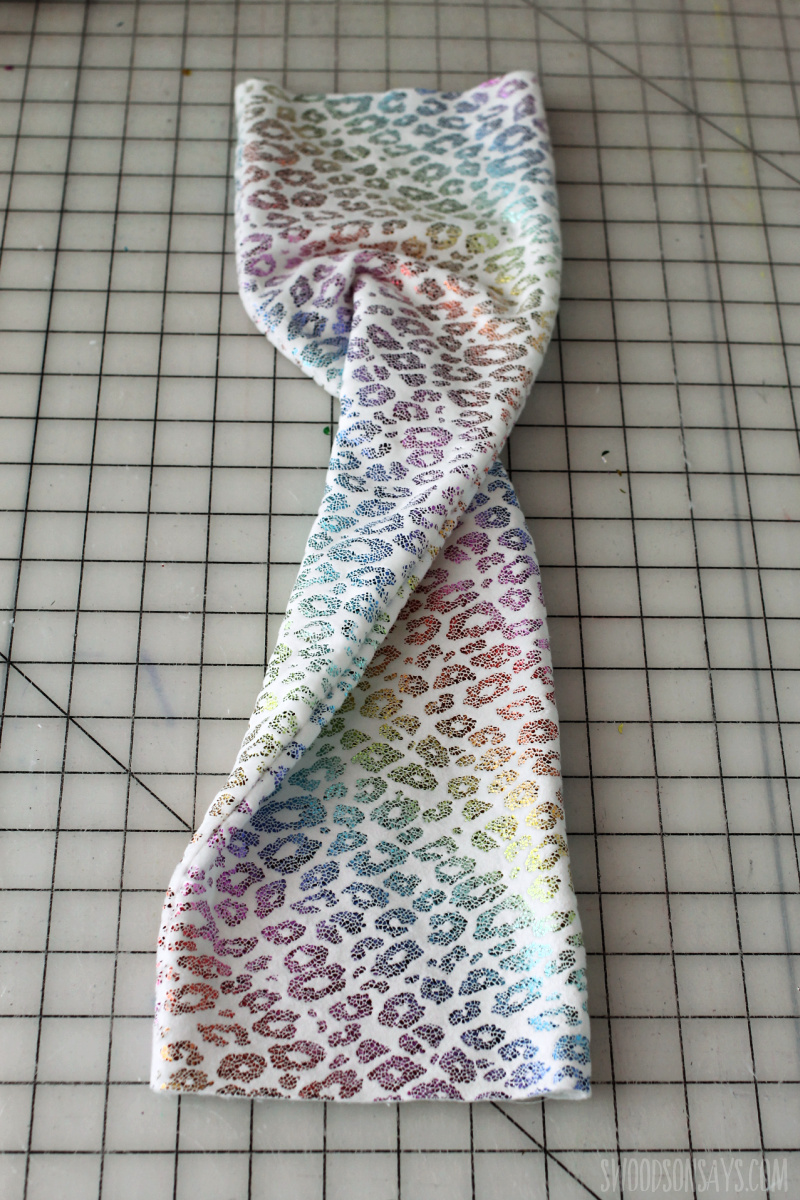
Step 2- Turn it right side out and finger press the seams out, then twist once and lay flat.
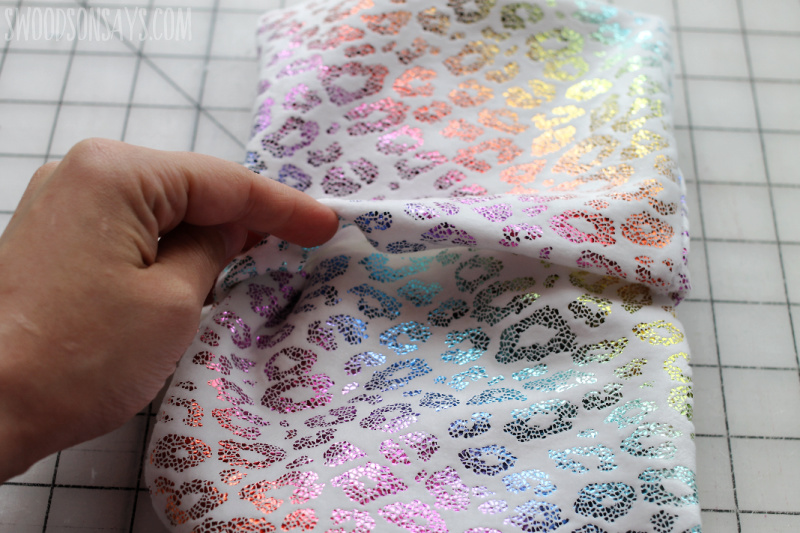
Step 3- Gently turn in the raw edges on one side, forming a ‘hem’ and then tuck the other raw edges in. If you want this to look pristine, you can hand sew a basting stitch around the hem to make sure the edges don’t slip.

Step 4- Pin and sew along this line, making sure to catch all four layers. Again, you can first baste this stitch to check fit and security before machine sewing. You’re done!
Diana Kostelecky
Wednesday 31st of December 2025
Hi. I want to thank you for providing the patterns.
Stephanie - Swoodson Says
Friday 2nd of January 2026
that's really kind of you diana, you're so welcome!
Carolyn
Saturday 6th of December 2025
Do you think this would work with a cashmere skirt fabric?
Stephanie - Swoodson Says
Monday 8th of December 2025
By cashmere skirt, do you mean it is knit, like a sweater with some stretch? If so, yes. I know sometimes wool skirts can be woven and firmer, like a pencil skirt, and that would not work! I have been meaning to redo this post with an upcycled sweater example, maybe in the new year!
Cookie
Monday 11th of October 2021
Thanx. I ❤️ mine.
Stephanie - Swoodson Says
Tuesday 4th of July 2023
love to hear that!!
Edie
Tuesday 5th of October 2021
Thanks for the free tutorial. These ear warmers are so cute.
Stephanie - Swoodson Says
Thursday 7th of October 2021
Thanks Edie!!
Joyce Kay
Tuesday 5th of October 2021
Just a question, are we to cut 2 pieces of the size we want? It only says to cut one but in the instructions it says to sew the 2 together
Stephanie - Swoodson Says
Tuesday 5th of October 2021
Hi Joyce! Shoot, that is definitely a typo. I just fixed it, my apologies, but yes, you need to cut 2 rectangles to start :)