
Snake costume DIY free pattern & tutorial! My kids have been really into snakes over the past year and I thought it would be a perfect time to make a diy snake hoodie that can be a comfy costume or everyday clothes.
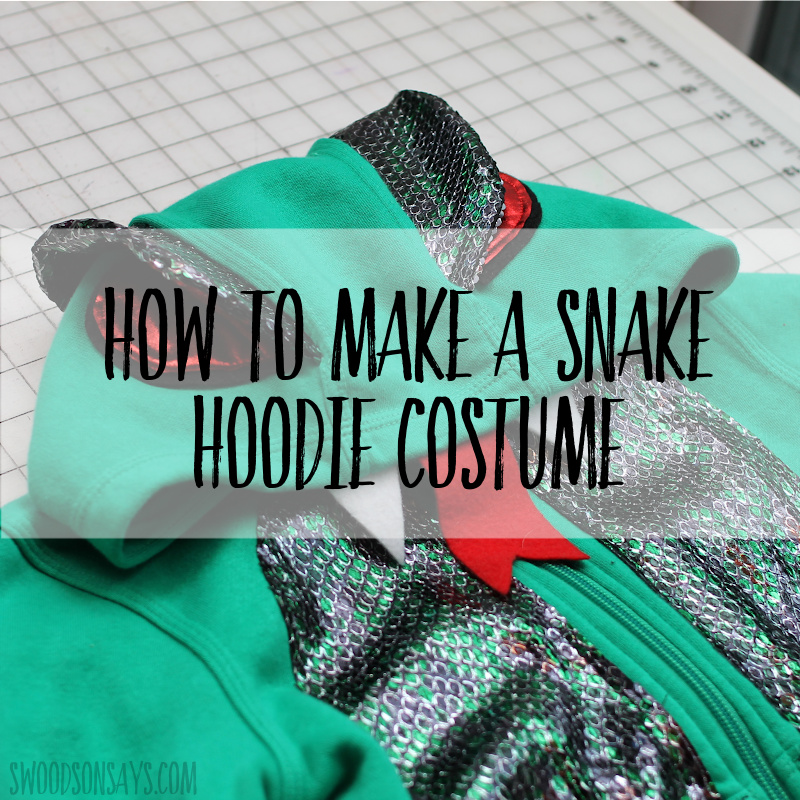
This takes all of an afternoon to stitch up and I’m sharing the free snake costume pattern for the eyes, fangs, frill, and tongue that should fit roughly sizes 4-12, the example I stitched up here is a kids small 6/8. The dragon costume hoodies I made a few years back were a big hit on Halloween and then worn countless other times throughout the year, they were so cozy and fun I wanted to keep that trend going! Sweatshirt material is easy and stable so this is a great project for beginners and advanced sewists alike.
This post was sponsored by JOANN, which means they supplied some of the materials and compensated me for my time, but all opinions are my own.
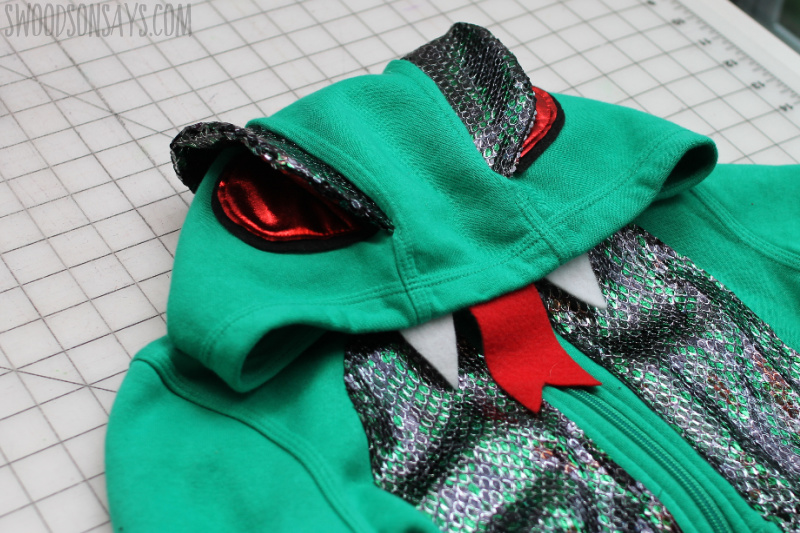
The hardest part of this project was finding a hoodie with the double-seamed hood, that made it super easy to keep things symmetrical. This snakeskin print fabric makes anything look fancy and feels scale-like with the sequins, my kids are thrilled with how the project turned out.
Check out these other posts while you’re here!
- 35+ Halloween costume ideas to sew
- 31+ Halloween quilts to sew
- 20+ Halloween sewing projects
- 15+ Halloween cross stitch designs
- 15+ Halloween hand embroidery patterns
- 18+ hoodie halloween costumes
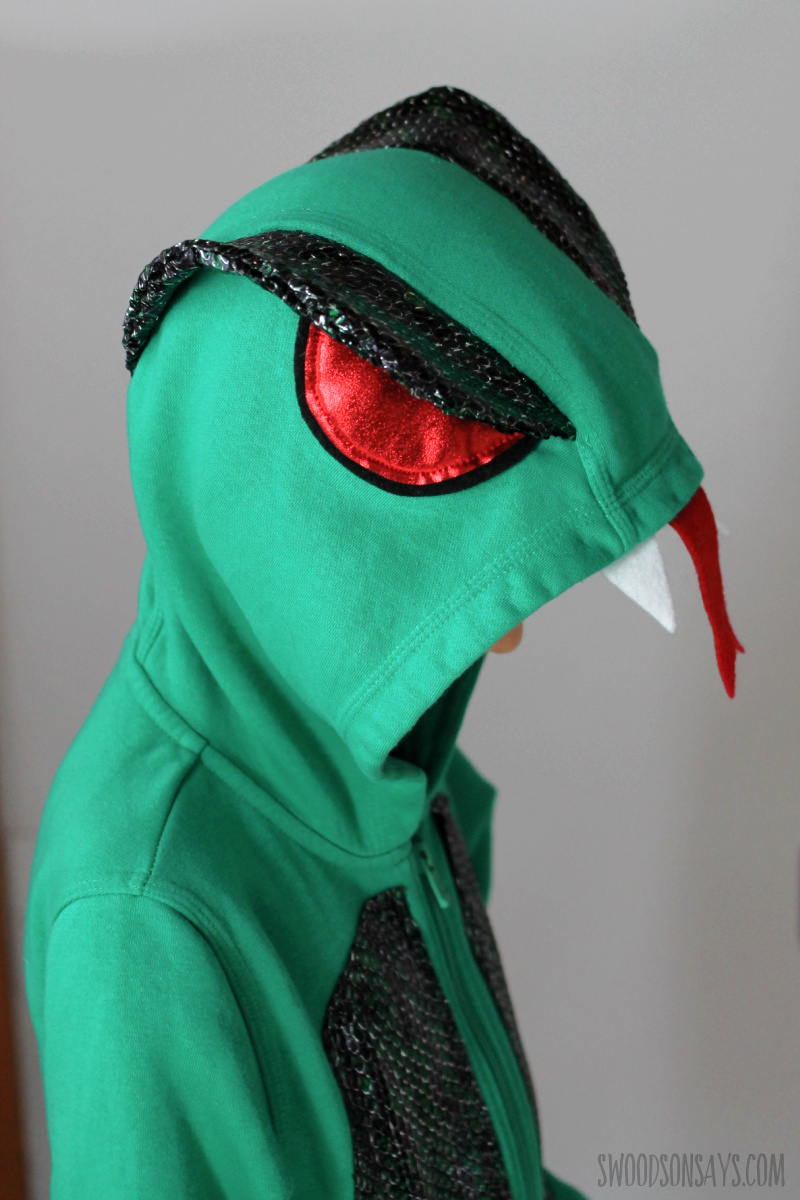
We went for a generic cobra vibe, but this would work well with a black sweatsuit as well, or you could add a 3-D tail with a rattle if your little one likes dancing around and making noise.
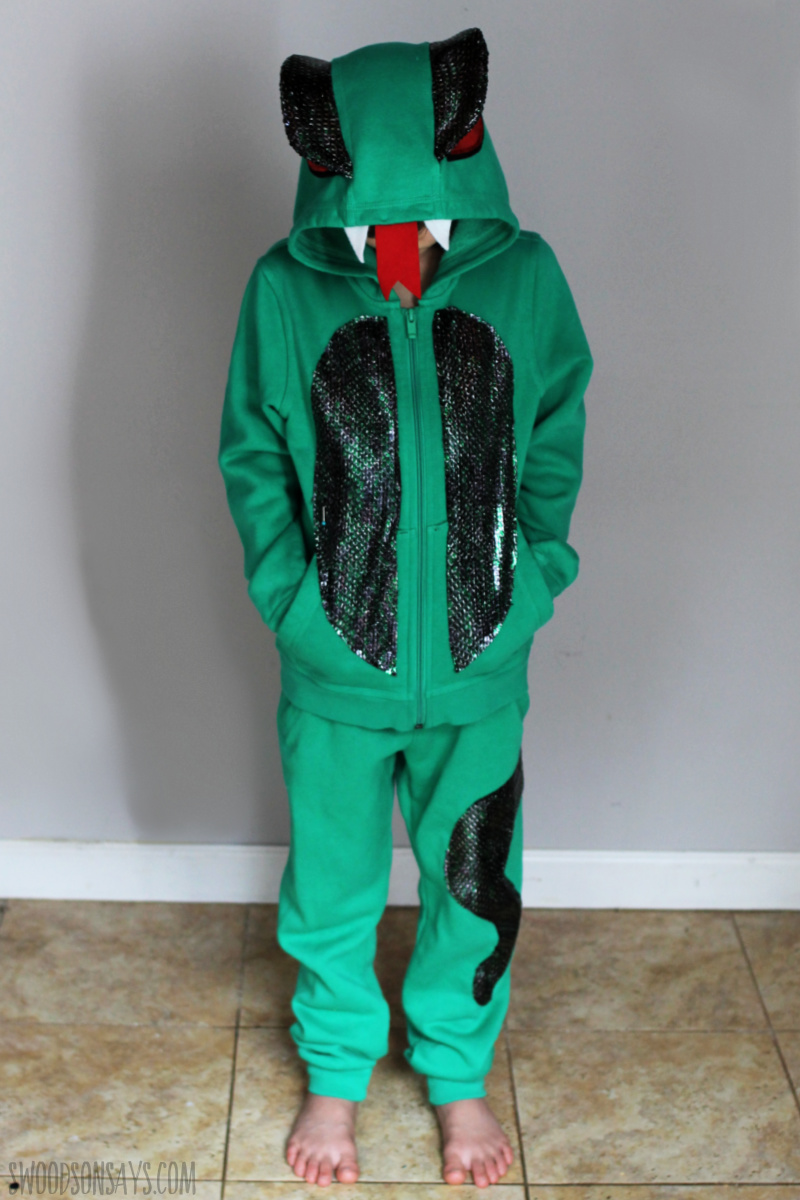
With everything appliqued on, this snake sweatsuit is ready for any action!
Pin this snake costume DIY free pattern & tutorial with this link or collage photo below:

Ready to make your own?
Snake costume DIY free pattern & tutorial
Supplies
-
- 1/2 yard of snakeskin print fabric
- 1/8 yard of red knit fabric
- Palm size scraps of black, white, and red felt
- Green sweatsuit – unfortunately the one I used in the example had changed design since 2018 and doesn’t have the 2 seam design anymore!
- Hand sewing needle & coordinating thread
- Seam ripper
- Sewing clips
- Rotary cutter
- Tracing paper to make the tail and belly patch pattern custom to your outfit
- Printable PDF pattern –sign up for my newsletter and get the free download once you confirm your subscription! If you’re already a subscriber, you can access the pattern with the password in each newsletter, in the resource library.
Steps
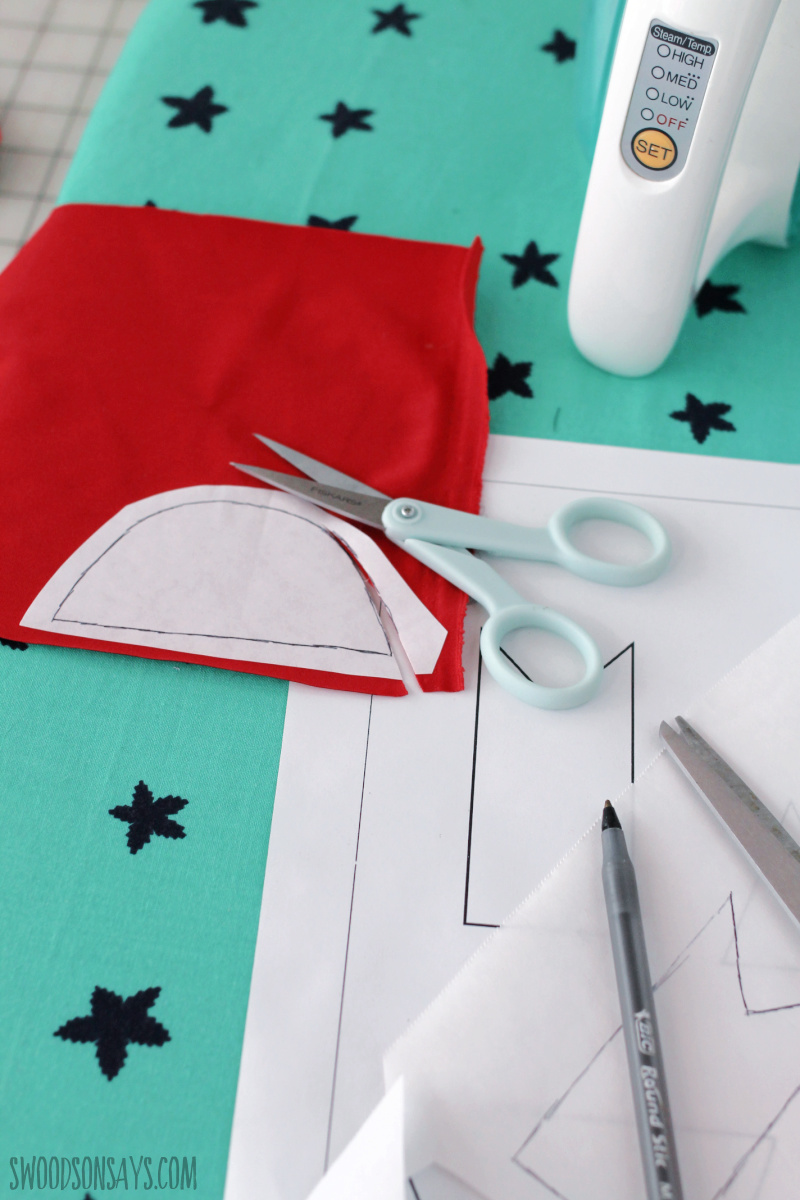
Step 1- Cut out two white felt fangs, two shiny red eyes, and one red felt tongue. I like using freezer paper to cut small shapes like this (but be careful with acrylic blend felt, it can melt with high heat, use a cotton layer in between to protect your iron!); if you aren’t familiar, I have more detailed instructions on how to applique here.
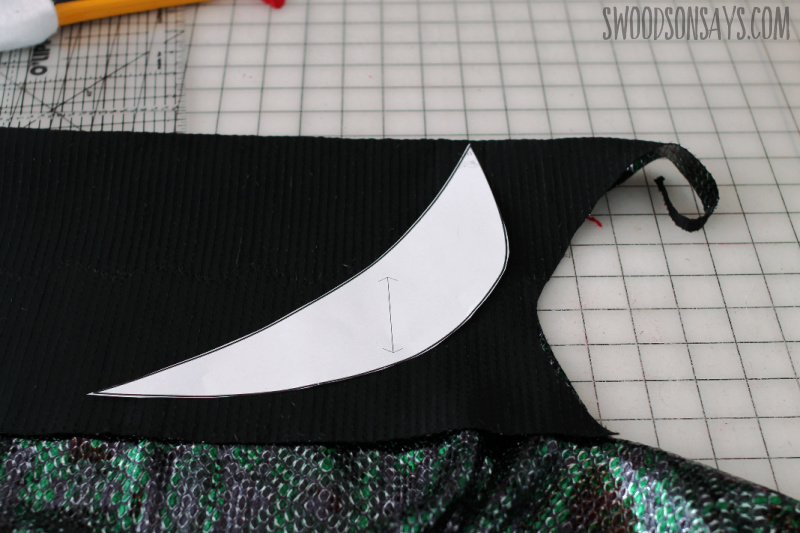
Step 2- Cut (2) mirrored sets of the head frill! You’ll want to line up the grainline marker (long arrow) so it is perpendicular to the selvage (raw) edges, and in this case, following the sequins. This will make it so the stretch goes side to side and it is easier to gently bend around the curve.
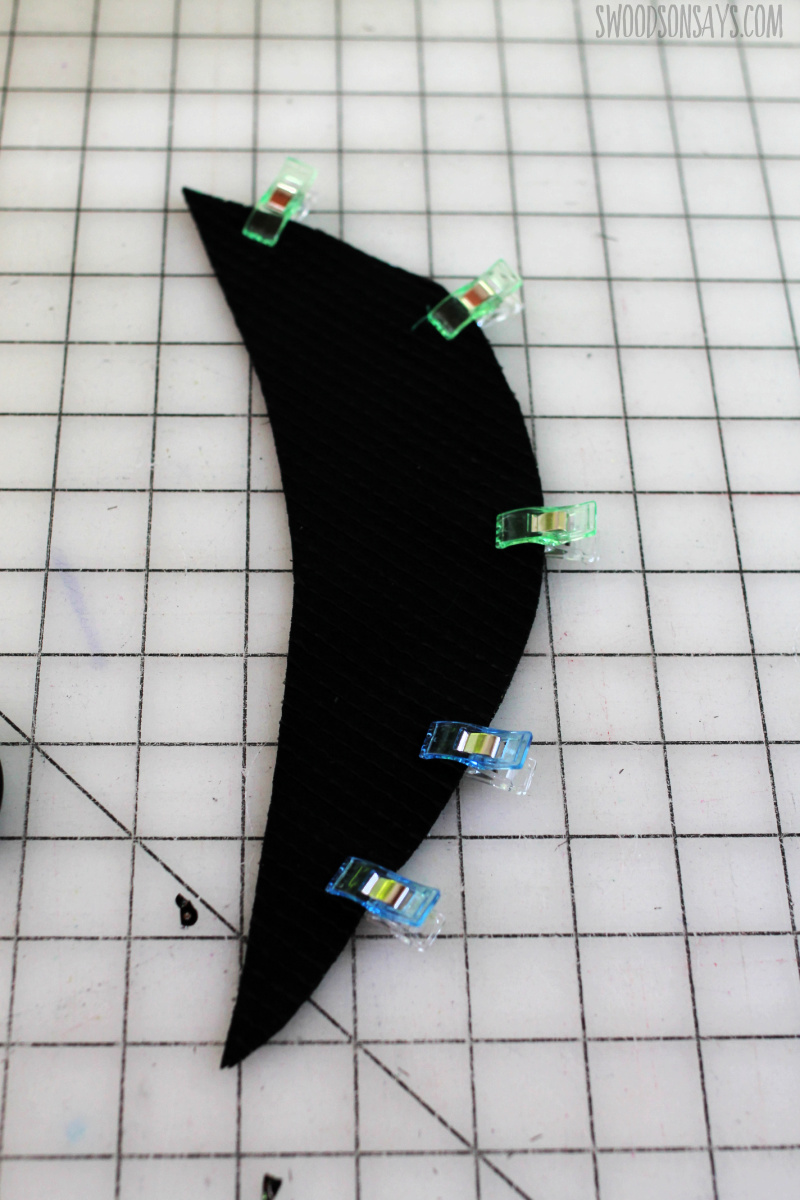
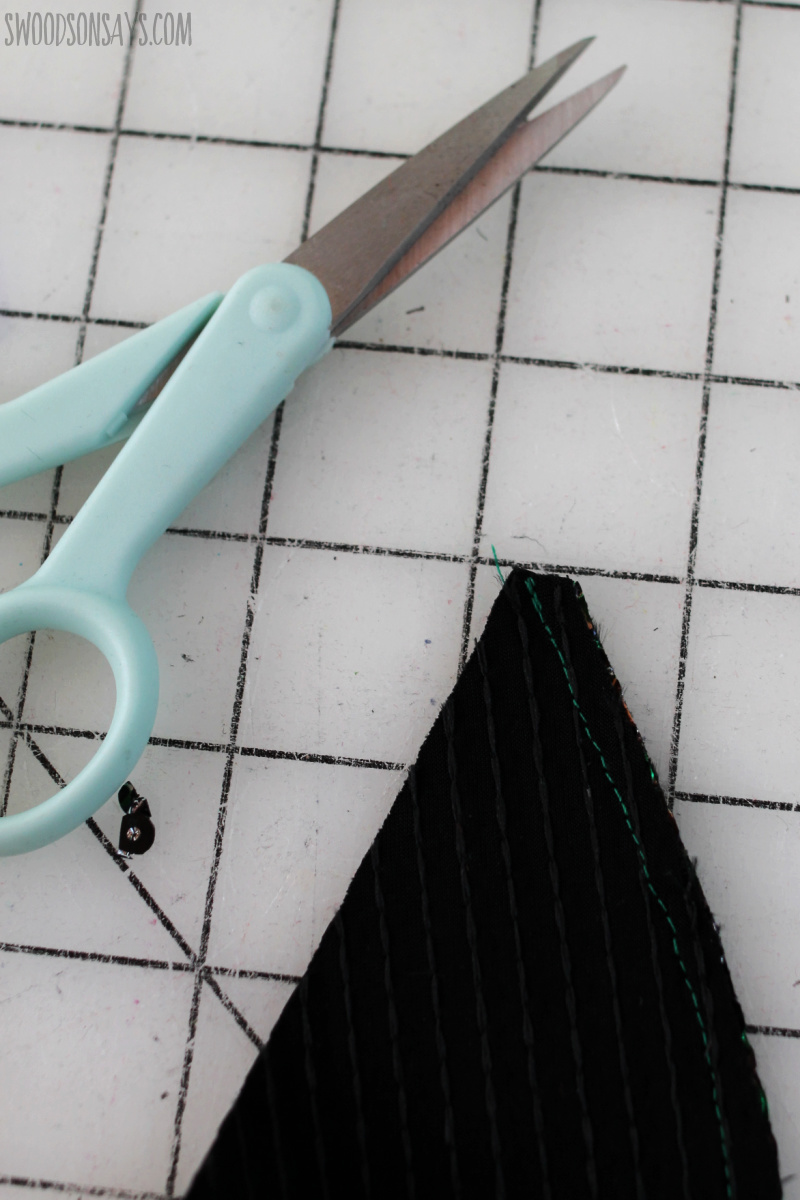
Step 3- Clip right sides together, and sew the outer curve together with 1/4″ seam allowance. Trim the pointy ends off once you’re done.
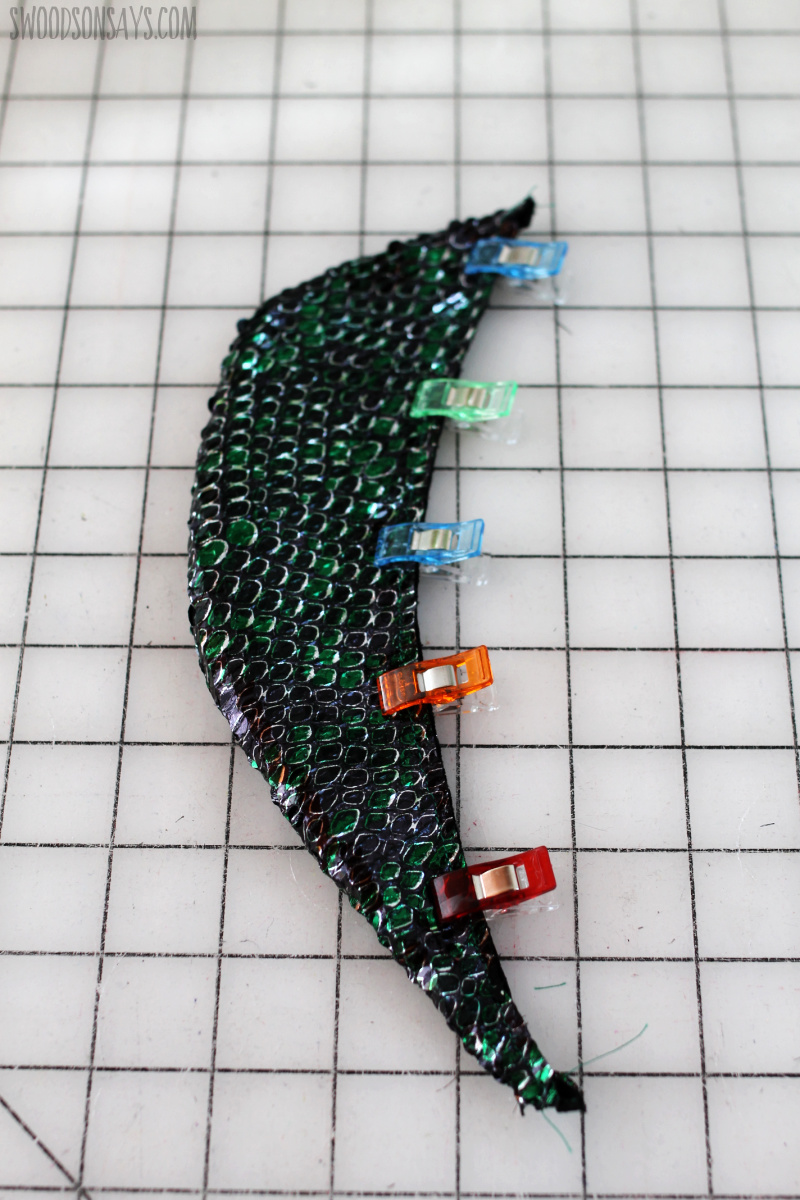
Step 4- Flip the frill right side out and finger press the crease, flattening it out. Use clips to hold the layers together and sew along the raw edges as shown.
![]()
![]()
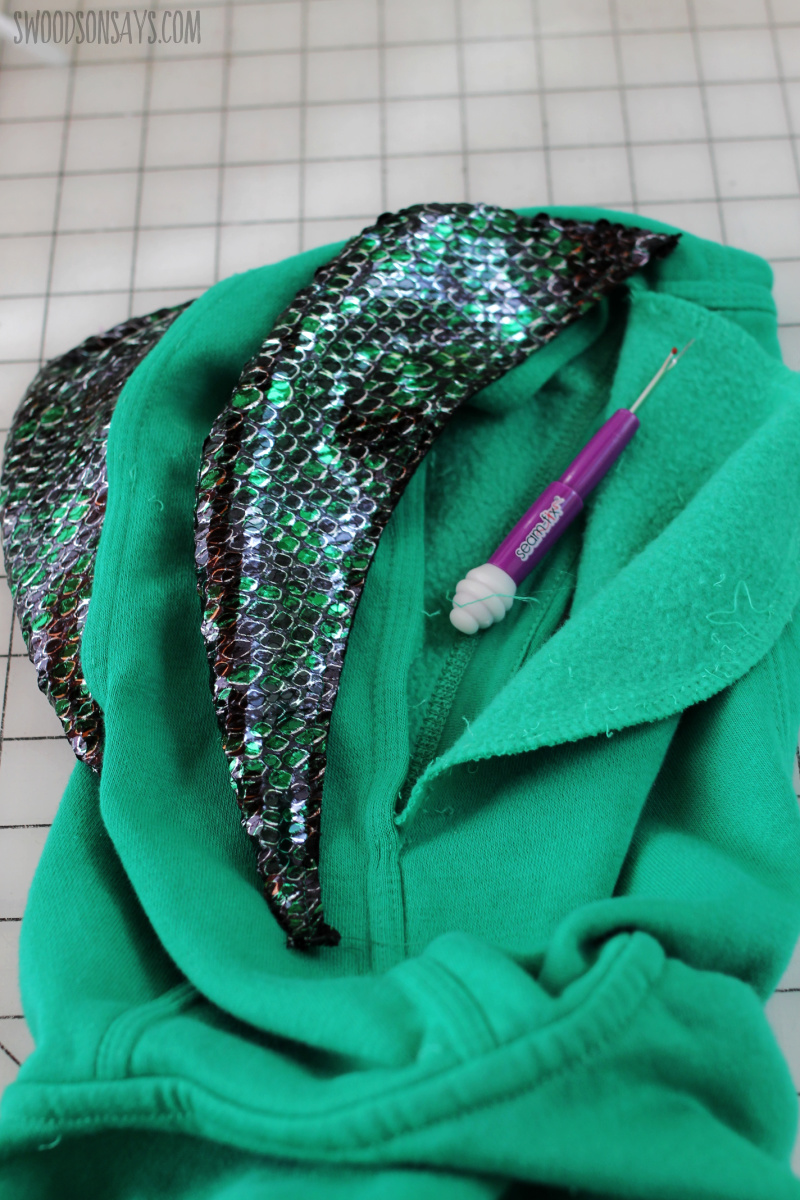
Step 5- Seam rip the hood seams one at a time, gently clipping in the frill with the raw edges inside. Clip, and resew this seam. Snip off the pointy edges sticking out once you’re done. Repeat with the other side.

Step 6- Hand sew on the tongue and fangs, centered on the hood lining.
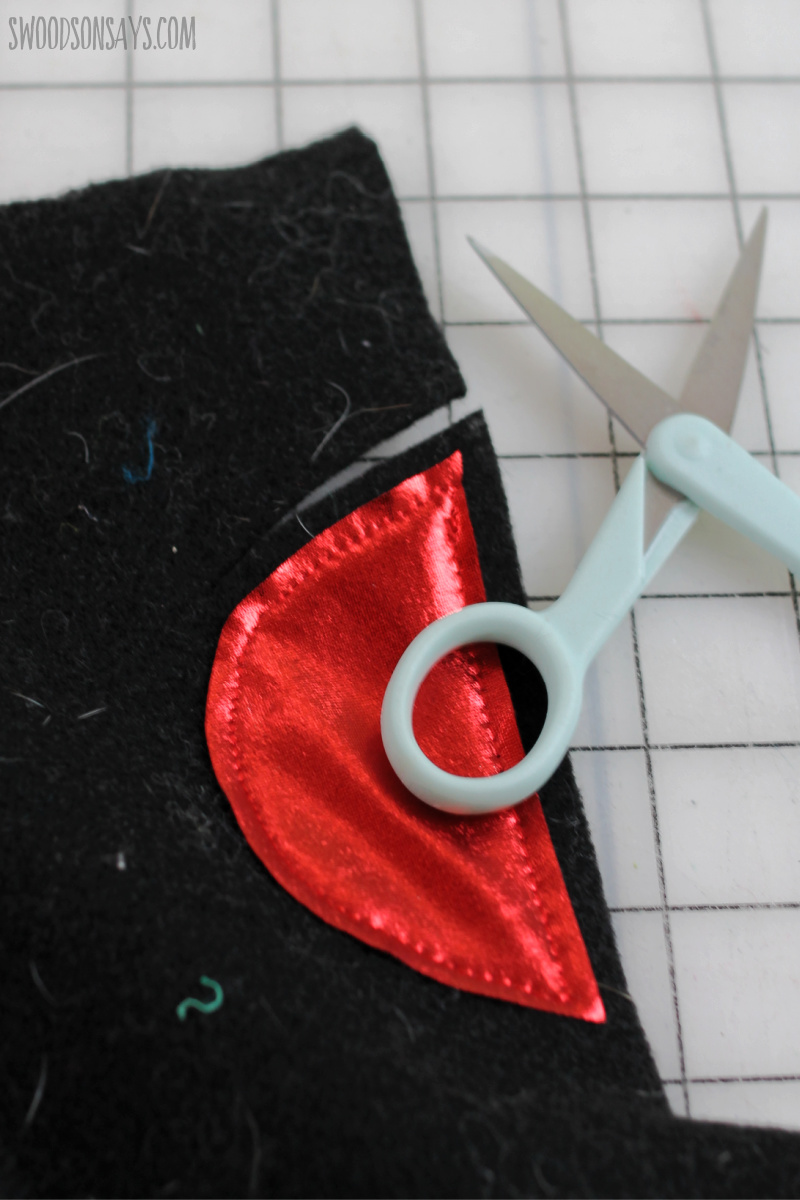
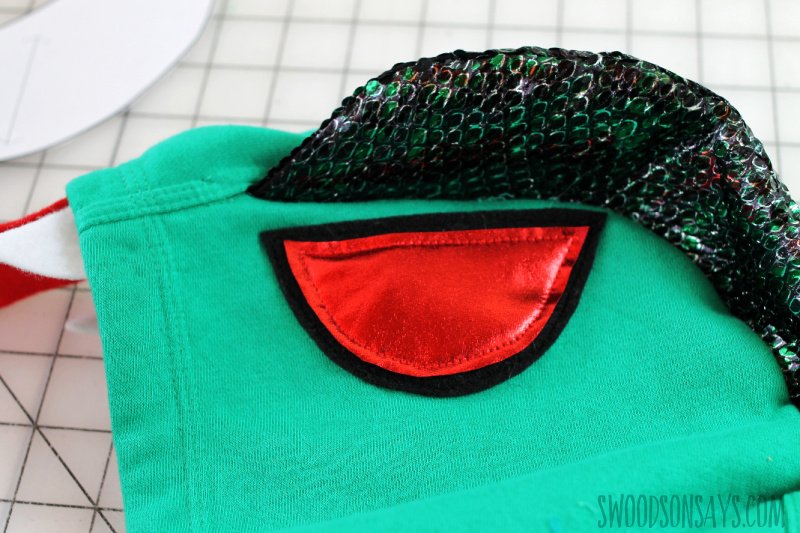
Step 7- Lay out your red eye on to black felt and cut around the edges, and then applique it on to the hood, repeat for the other side. You can add a felt pupil if you’d like, but I liked the look of it without one!
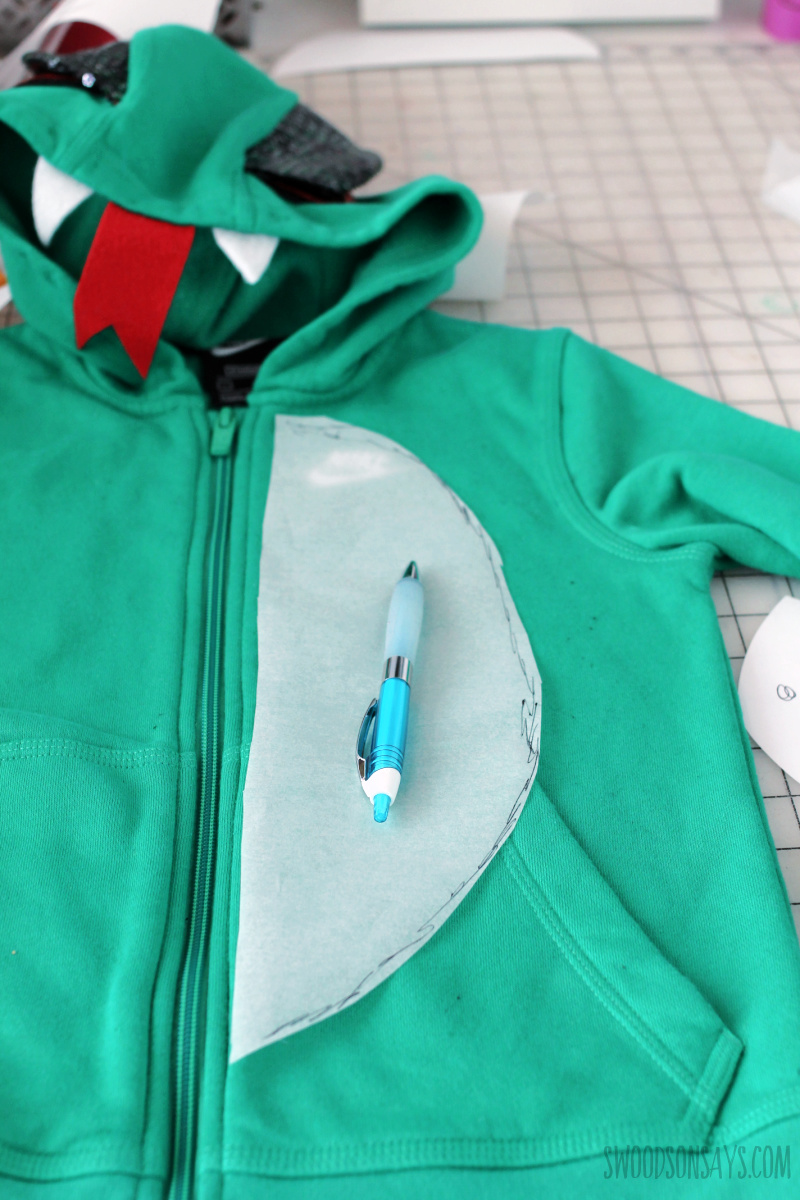
Step 8- Next you’ll want to do some DIY pattern making and trace out a belly pattern. Make sure it’ll clear the edge of the kangaroo pocket so it is still functional. I made sure to cover the brand logo, too, and then used my pattern to cut out a mirrored pair of belly patches.
Step 9- [2024 edit – trying to break this down and make it clearer with substeps, wish I had taken more photos here, my apologies. Going to edit what I have and try to make it clearer. This step allows kids to still use the pocket. If that isn’t an issue, just applique it on over the pocket.]

9a: Seam rip out the top of the kangaroo pocket!

9b: Pin the bottom half of the belly patch on to the pocket top, sewing around the outside edges of the scale patch but NOT the top edge. In an ideal world, you’d layer it right alongside the zipper, but this particular hoodie had a thick, enclosed seam around the zipper guard, making that impossible. You’re sewing where the white line is.

9c: Then carefully fold the belly patch down, reattach the pocket top stitching layer along the line you seam ripped. You are only sewing the hoodie pocket back to the base body piece at this time, not even touching the scale fabric. This is shown with the white line.

9d: Lay out the top half of the scale patch down and pin it before appliqueing the rest of it on, sewing around the side edges as shown in white above. The green is the already sewn line from 9b.
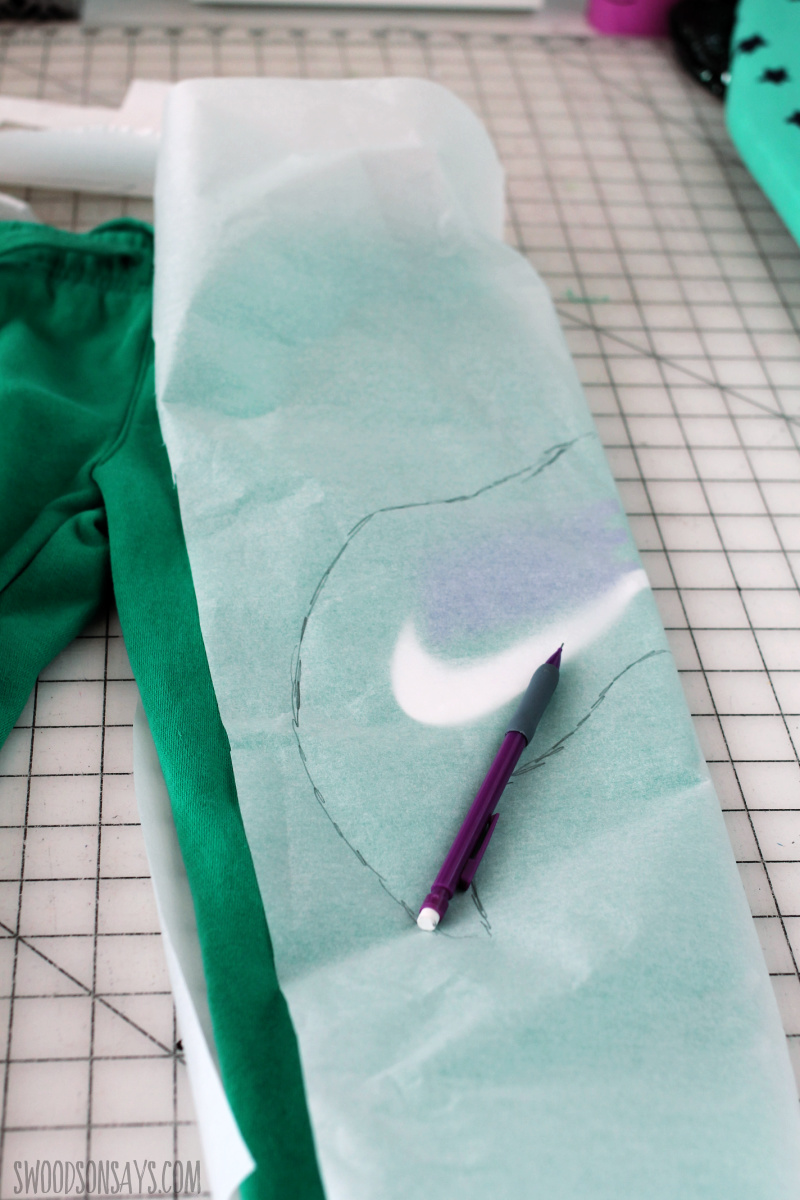
Step 10- Lay your pants out and draw yourself a pattern piece that curves from the back seam up to the front – I was aiming to cover up the logo. Make sure to stay under the “pocket bag” (interior pocket) so you don’t end up stitching that to the leg. And you’re done!

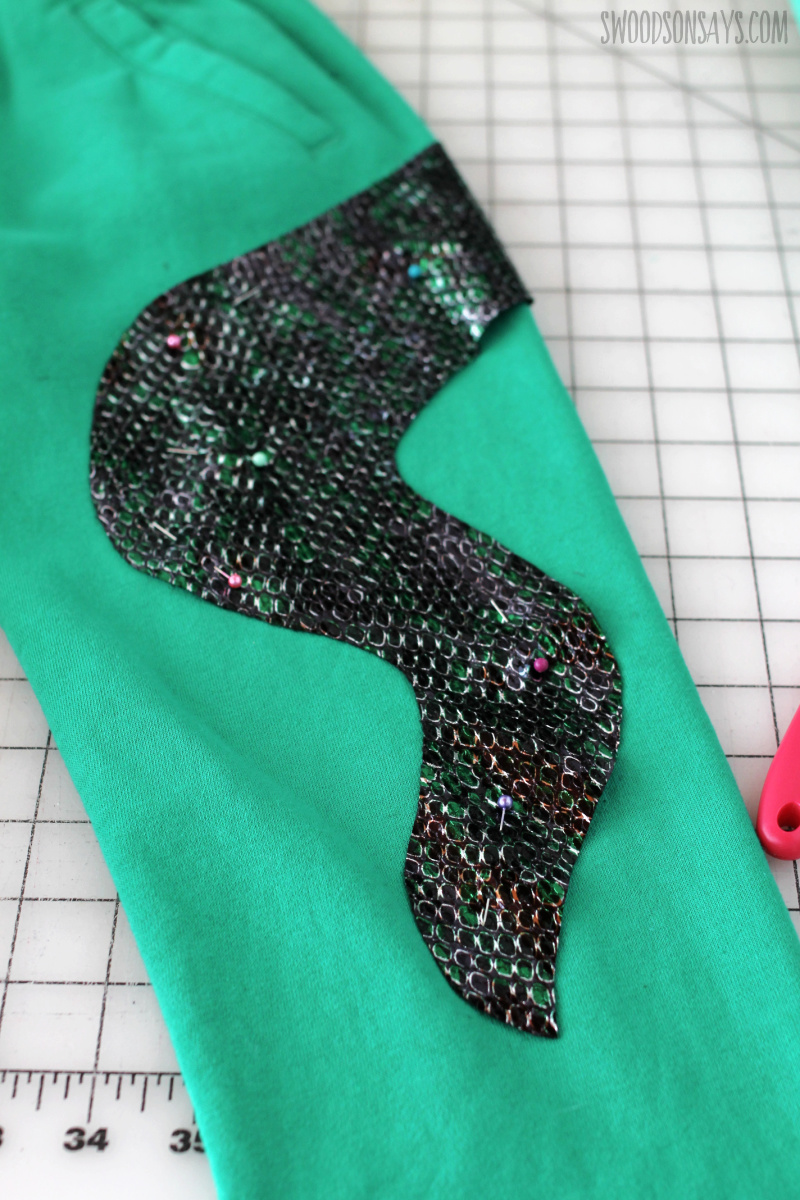
I curved the tail around to the back but forgot to take a good photo of it – you can start/stop that wherever you want no problem! The only precaution with appliqueing a larger shape over an area that has a lot of movement (knee/elbow/bum) is to make sure it isn’t restricting movement. The larger the shape appliqued on, the more restrictive it could be. This tail was relatively narrow and didn’t affect anything, but you may want to experiment and baste (sew with long loose stitches) something on first to make sure it doesn’t feel too tight before the final stitches!
Kristen
Thursday 11th of September 2025
I wasn’t able to find a center seam hoodie. Do you think I can just cut into the hoodie and sew back up?
Stephanie - Swoodson Says
Thursday 11th of September 2025
Yes, you could definitely do that but it will make the hood a bit tighter since there aren't seams there to begin with? You could also sew the frills on with raw edges, for a costume this doesn't bother me (so not cutting into the hood at all!).
Liz
Wednesday 16th of October 2024
Thinking of you in Asheville, Stephanie. Question - for the pant pattern, did you start it from the back waistband (so it would go around the bottom or back thigh and curve to the front) or just start it from the outer seam of the pants? I have plenty of fabric, but wondering if I put something on the back if it will stay on or not? Thank you!
Liz
Saturday 19th of October 2024
@Stephanie - Swoodson Says, Perfect, thank you! Very helpful :)
Stephanie - Swoodson Says
Thursday 17th of October 2024
Thank you Liz!! I am very sorry because apparently I do not own a single photo of the back of this outfit - but I did start it from the back waistband. I added the closest photo I could find and some additional cautionary notes about appliqueing something larger in that area, at the very bottom of the post :)
Sarah
Saturday 5th of October 2024
Hello, excited to give this a try but am new to sewing. Are the belly patch and other areas a raw edge you are just stitching over top?
Also, I am not sure why you did the step to seam rip the top of the kangaroo pocket?
Thanks!!! - SSP
Sarah
Friday 11th of October 2024
@Stephanie - Swoodson Says,
Sending thoughts to you in Asheville! I love your updated pictures and notes, that is OH SO HELPFUL! I also love the link to your applique for beginners, it mentions some heat transfer backing options, that I have ordered. But it seems like the material picked here might not need it since the scale and metalic fabrics we are using naturally do not fray?
Thanks again, I am thrilled you are so helpful and engaged with your comments. Wow, really appreciated!
Stephanie - Swoodson Says
Sunday 6th of October 2024
Hi! yay! welcome to sewing! please feel free to ask more questions - I try to keep up with comments but email stephanie @ swoodsonsays.com or on insta @swoodsonsays are quicker ways to get a hold of me. also, i live in asheville and am very much still dealing with hurricane issues so may be slower than usual. but let's chat - yes, all the felt and scale fabric edges are just raw. none of them fray - and both would be very bulky with any other treatment IMO. Just a straight stitch along the edges. Re: step 9: Rereading that step I wish I had a time machine and could break that out. I am evacuated and do not have my original SD card but sloppily drew on and rewrote that entire step so I hope it is more readable. I think if you reread it, it should hopefully make more sense? If you appliqued it just straight on, you would not be able to actually use the pocket. If your kid doesn't care, that would be much easier. Mine did!
Thanks for taking the time to ask a question - I am very happy to go back and rewrite or clarify tutorials so they can be more helpful, I try to be clear and detailed but don't always get it right the first time. Let me know how else I can help!
Jenny
Friday 1st of April 2022
Where did you find the hoodie and pants?
Jenny
Wednesday 6th of April 2022
@Stephanie - Swoodson Says, I found a black one. Do you think Nike runs small? Thank you!
Stephanie - Swoodson Says
Saturday 2nd of April 2022
They are Nike via Dick's Sporting Goods but don't appear to be in stock there any longer :(
Mary
Thursday 16th of December 2021
I cannot find the patterns for any of your free sewing patterns. There is not a link in the instructions and not under pattern shop. Where are they?
Stephanie - Swoodson Says
Thursday 16th of December 2021
Hi mary! I put the link/guidance under 'supplies'; all the files are in a password protected resource library and you get the password after signing up for my newsletter. A little extra step but then they're all there! Sign up here: https://landing.mailerlite.com/webforms/landing/k5k7z3 and let me know if you have any trouble past that :)