Follow this DIY pom pom tree skirt tutorial to upcycle a Christmas tree skirt from traditional to modern.
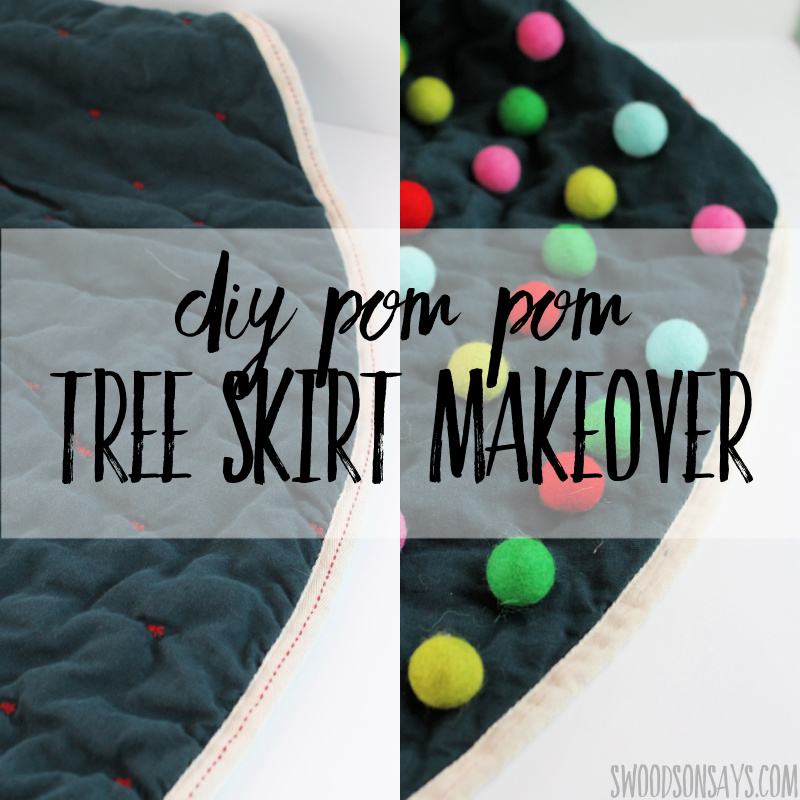
I bought these materials 3 years ago and finally brought my vision to life! It’s easy to find high-quality tree skirts in traditional designs or cheap modern ones, but not high quality modern ones! I thought about making one from scratch but had a bunch of leftover felt poms and decided to refashion one instead. It’s a very simple craft but I thought I’d share the steps; you can keep your eyes out next time you’re at the thrift store for makeover material!
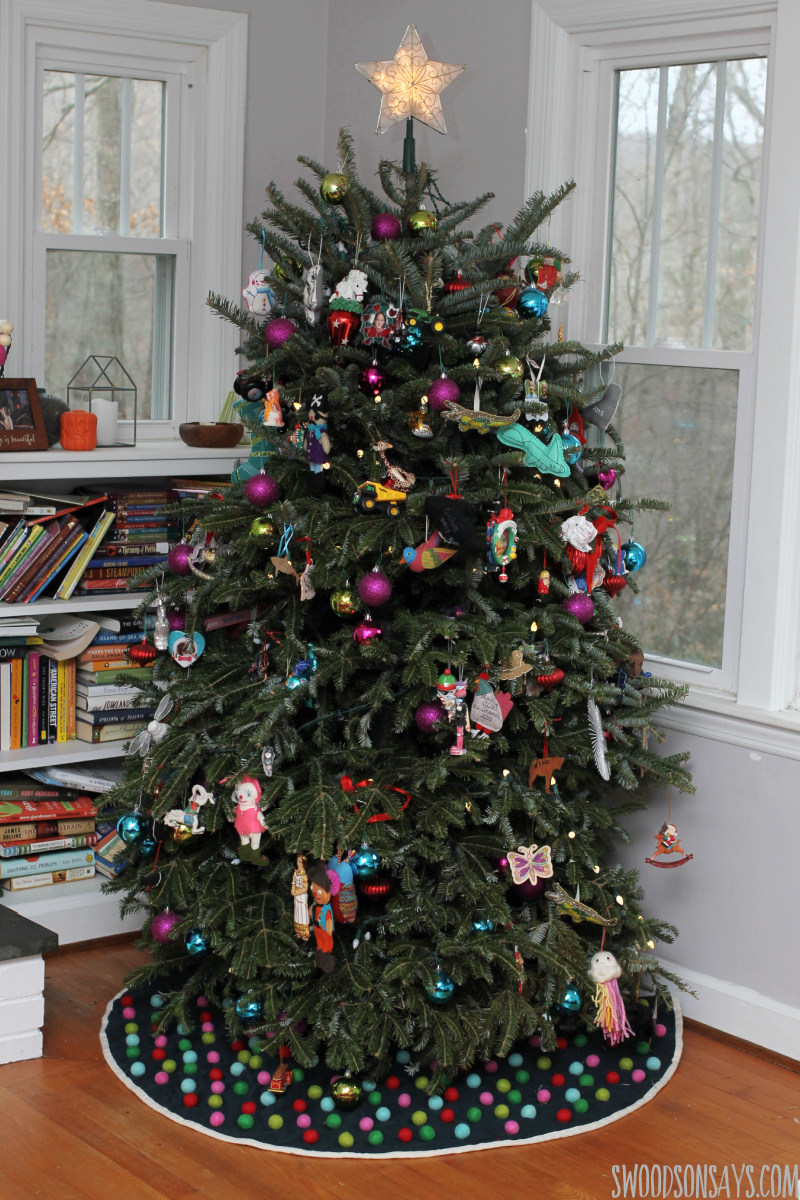
Here it is under our handmade, kid decorated tree! I am not a good home decorating blogger, I should’ve at least organized the books in the back, but this is real life here.
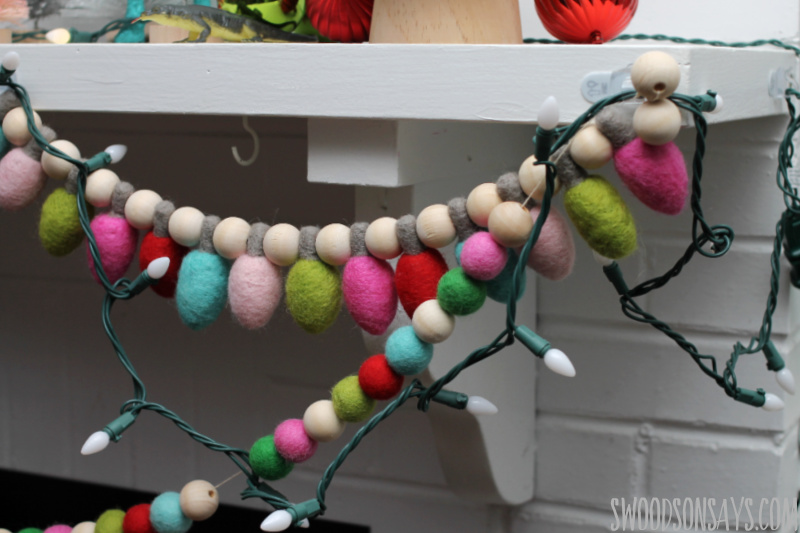
I had all the poms leftover from this DIY garland I made last year, I love that it coordinates even if I can’t get a clear shot including both of them in the same frame!
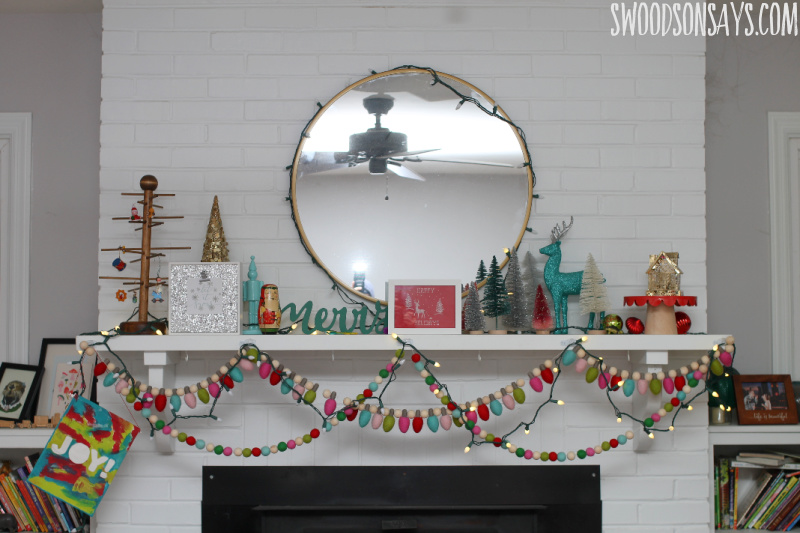
My Christmas cross stitch in the middle (pattern shop seems to have closed, sorry) that makes me laugh and the banner my kids helped me make as toddlers (tutorial here) make for a crafty holiday mantle.
Check out these other posts while you’re here!
- How To Sew a DIY Pom Pom Tree Skirt
- 28 Christmas tree skirts to make
- 25+ upcycle sewing tutorials that make great gifts
- 30+ Christmas ornament craft kits
- 28+ free Christmas stocking patterns
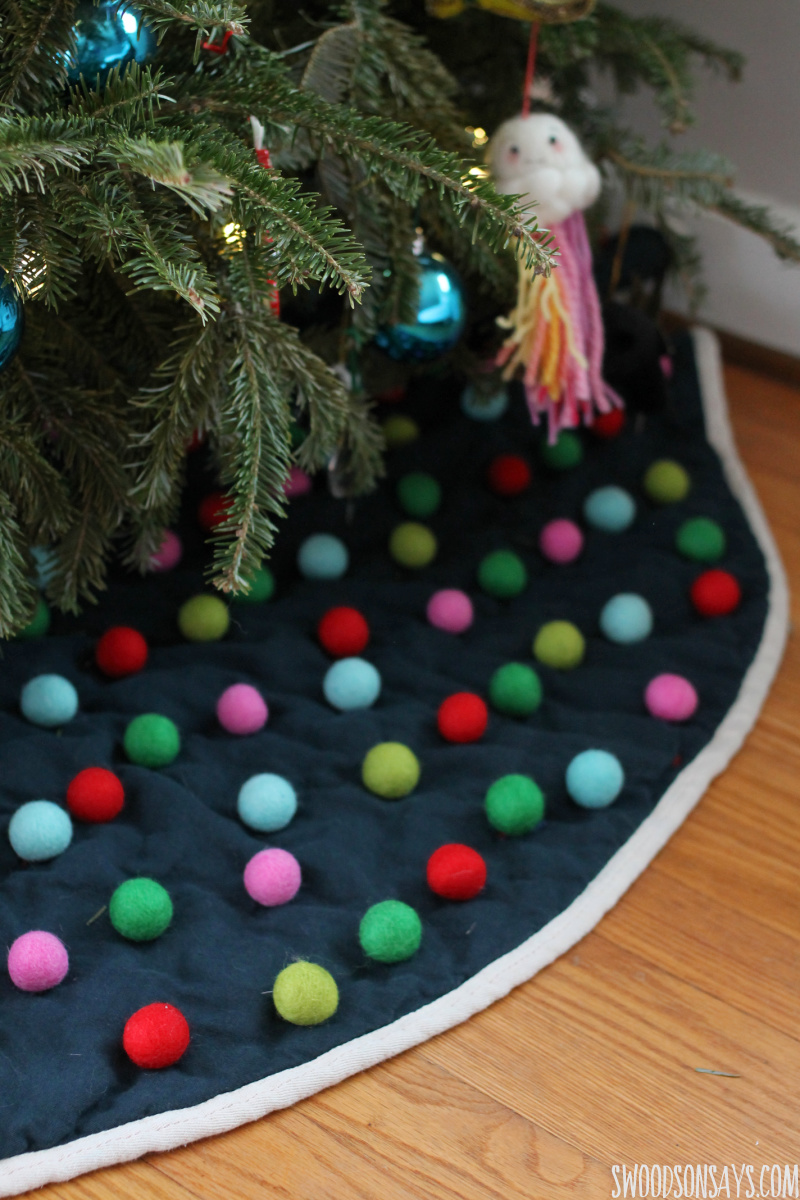
We will see how this holds up with my cats, so far they haven’t tried walking on it though they normally love wool blankets and pillows.
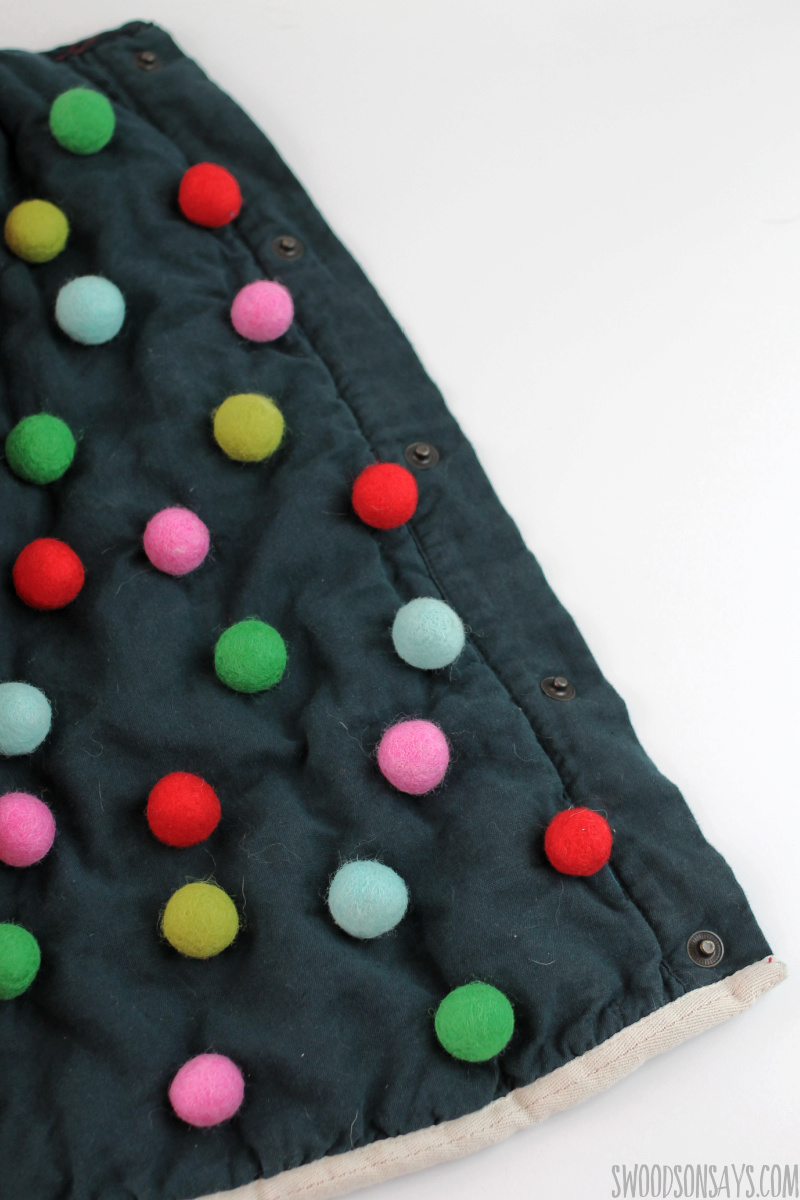
It is a little tedious to hand sew all the poms on but I love the finished look and it’s so easy anyone could do it!
Pin this DIY pom pom tree skirt tutorial for next year with this link or collage image:
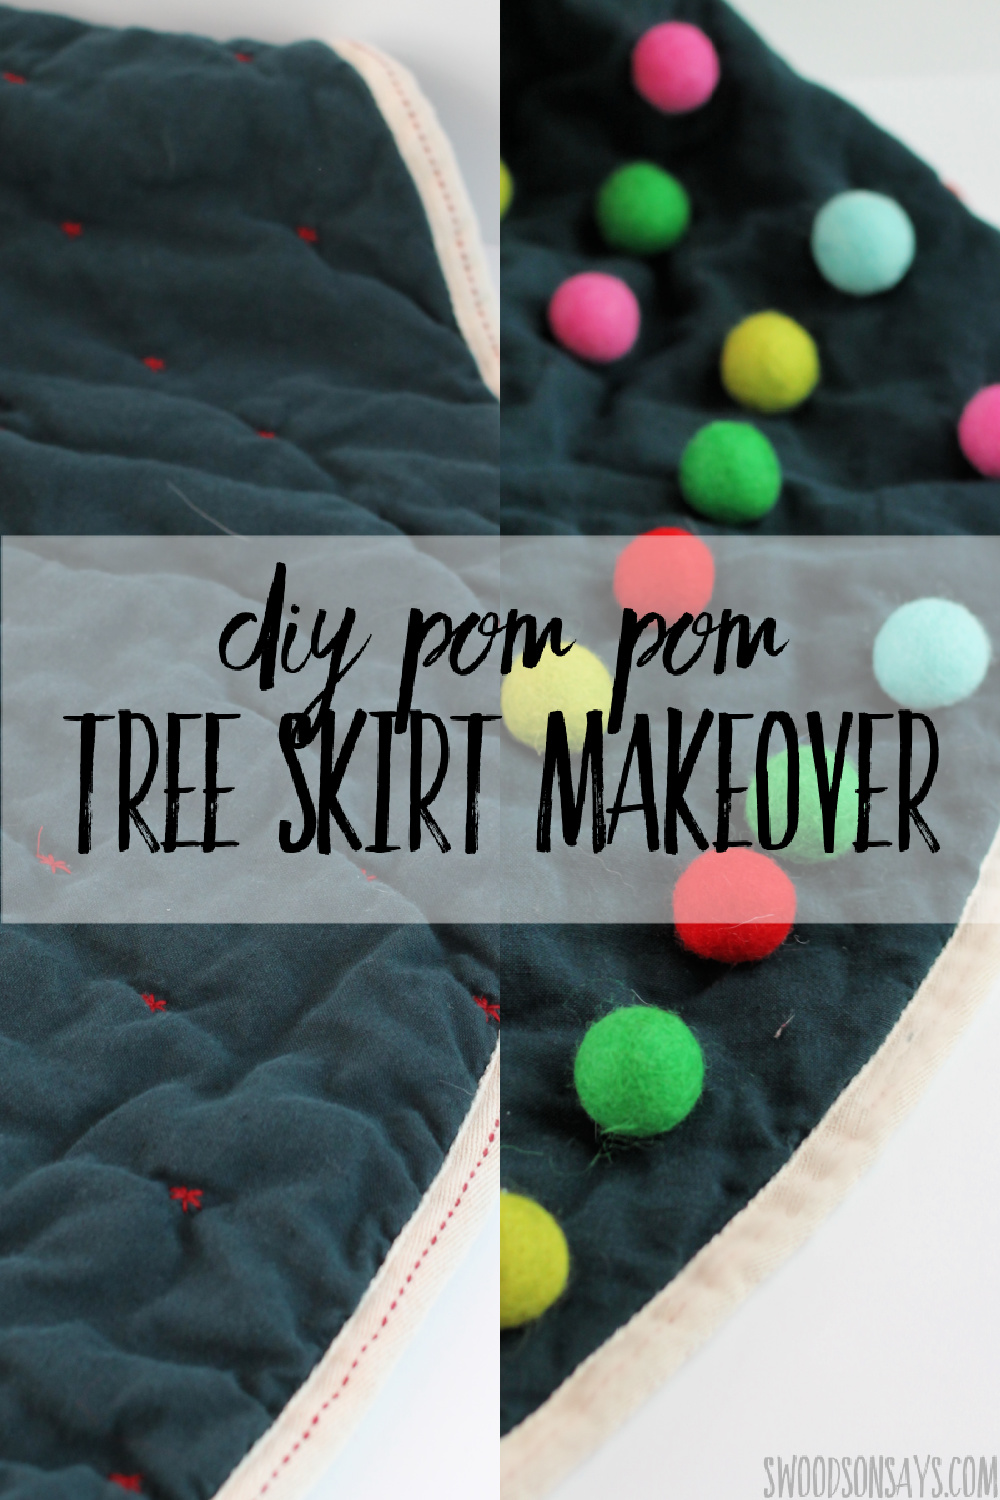
DIY pom pom tree skirt tutorial
Supplies
- Felt pom poms, size medium, 50 in 5 different colors: I used fern, red, aqua, foxglove, and now defunct leaf (darker green)
- My favorite embroidery needles: Amazon – Etsy
- Embroidery floss – I’m using Sulky petite cottons here: Sulky – Amazon – Etsy
- Secondhand tree skirt – mine was originally from Target, purchased used via Mercari
- Seam ripper
Steps

Step 1- I seam ripped the color accent out! I’ve thought about trying to add a tassel trim or paint the cream a color but so far I’m leaving it plain.


Step 2- Then I followed the quilting marks to stitch the balls on! I knotted the thread, pulled up from the bottom, took two stitches through the bottom of the ball, and then went back through bottom and knotted again.
It would be fun to add a sequin/seed bead on top of the poms or mix in some small charms too!

Patti
Friday 10th of December 2021
Very cute! Merry, Bright, and Happy!