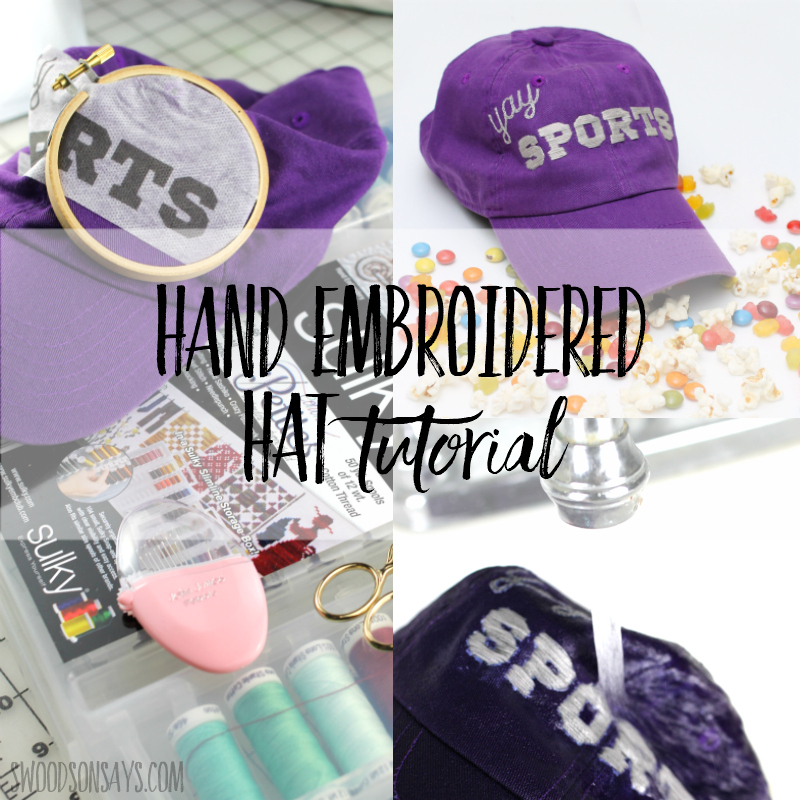
 Fall means football for a lot of people, but if you are one of the people who is more interested in the tailgating food than the game, I have a perfect craft for you! I’m sharing a tutorial and free pattern for a hand embroidered hat that is perfect to wear to sports parties and games, making it clear that no one should ask you the score. Sulky sponsored this post, which means they provided materials and compensated me for my time, but all opinions are my own!

I’m all about the snacks when it comes to sporting events, so they seemed like the perfect prop! Also perfect snacks to eat while you’re working on the project of course.
If you like this tutorial, be sure to check out these other posts too!
- How to hand embroider shoes
- The best modern embroidery kits for beginners
- Cat t-shirt embroidery DIY
- 15+ Free Hand Embroidery Patterns
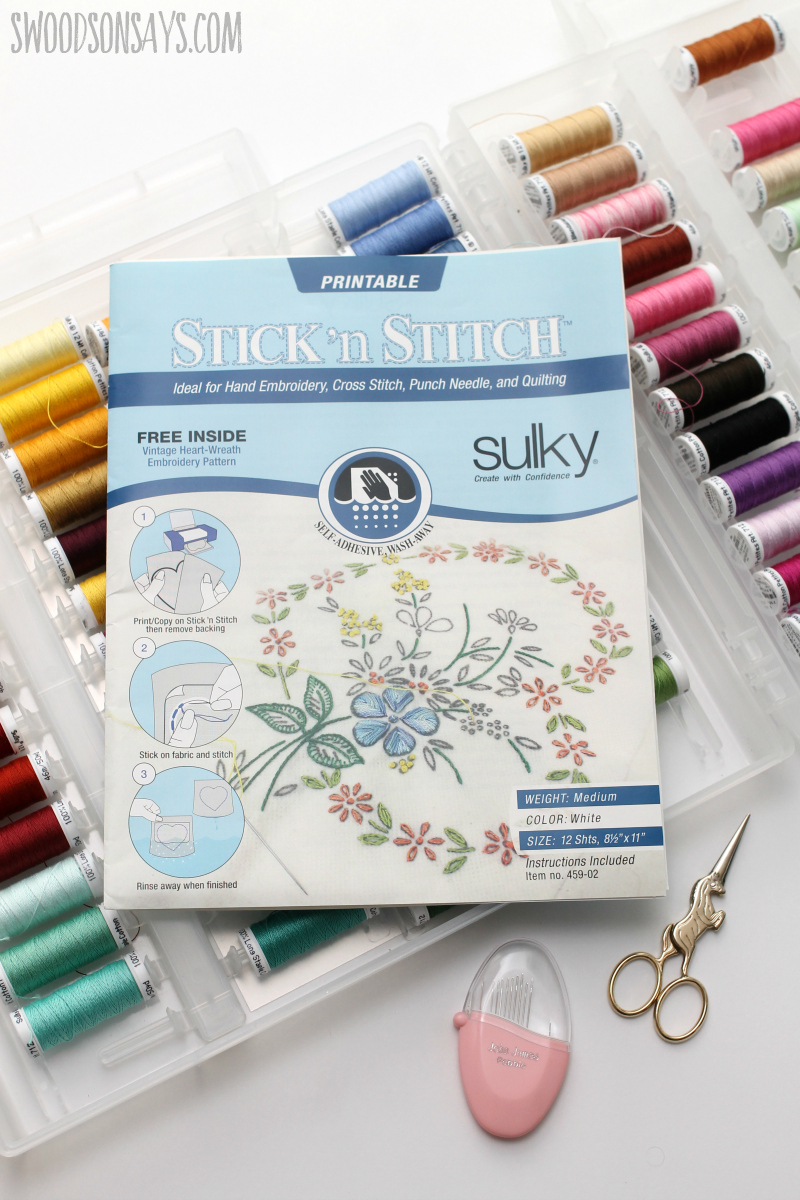
Stick N Stitch (the same stuff as Fabri Solvy) is perfect for apparel projects like this that would be tricky to trace on to! It is a magical game change for hand embroidery; I hate tracing and this makes it super easy to transfer a pattern.
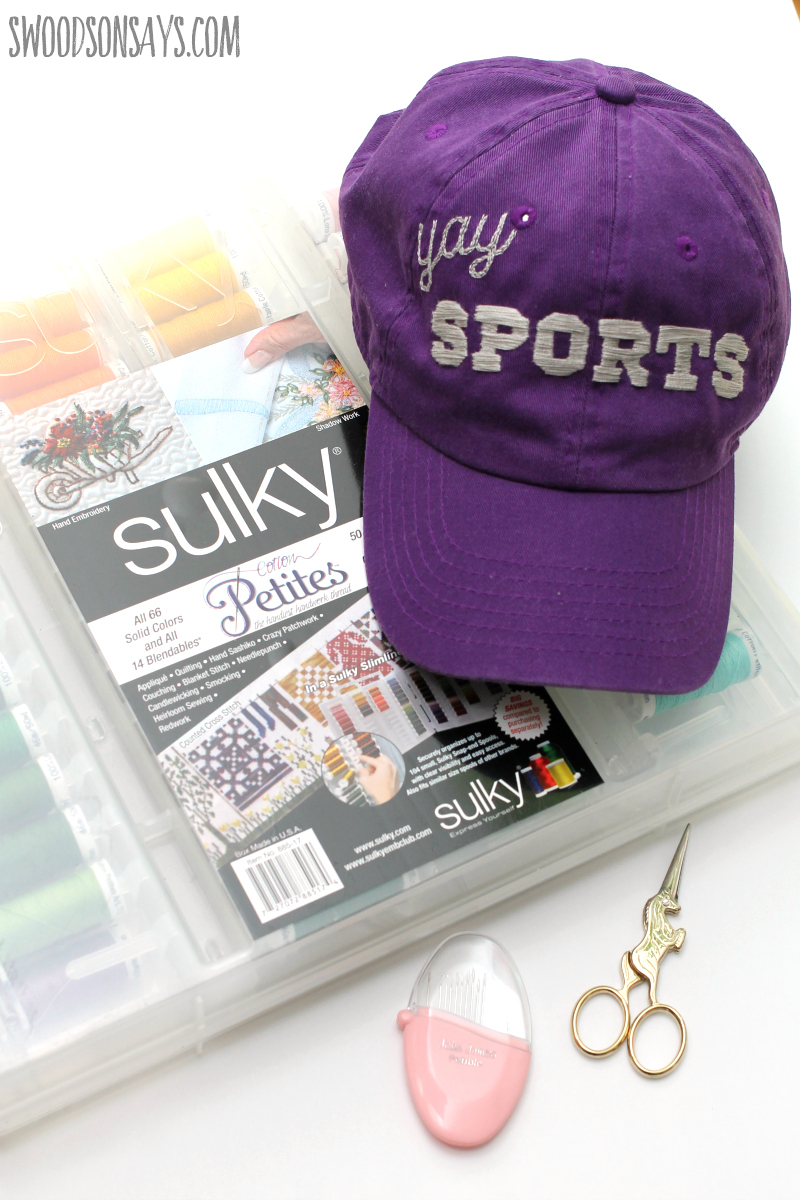
Cotton Petites are single strand, which makes it fast and easy to stitch instead of untangling and counting pieces. I want to make a second version of this with one of their variegated colors with a bunch of different shades on the same spool!
Pin this snarky hand embroidered hat tutorial for later with this link or collage photo:
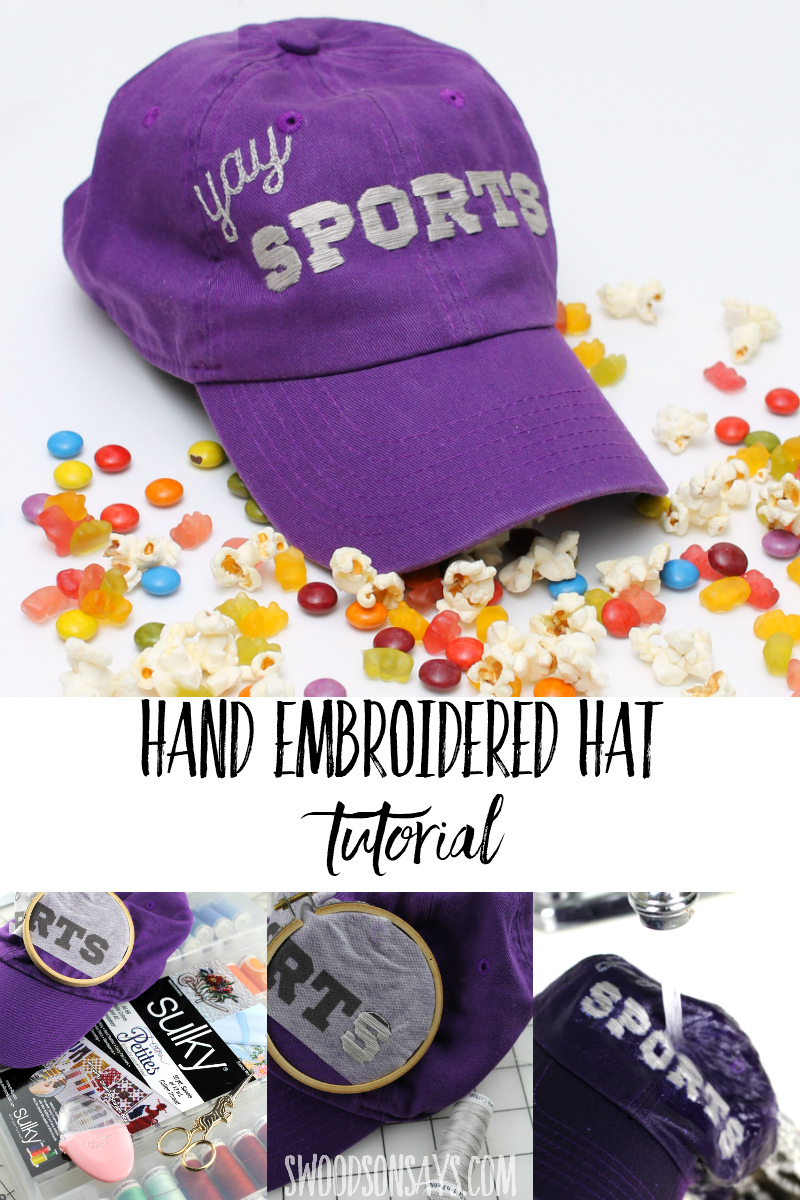
Snarky hand embroidered hat tutorial
Supplies
-
- Blank baseball cap – I used this one!
- Hemostat forceps – optional, my hat was thin so I didn’t need them but they help stitching over thicker fabric’s seams
- 3″ embroidery hoop
- Sulky Stick N Stitch
- Sulky Cotton Petite Thread – I used #
- Embroidery needle – my personal favorites
- Embroidery scissors – the ones I use in these photos
- Printer (inkjet or laser works!)
- Free PDF pattern-sign up for my newsletter and get the free download once you confirm your subscription! If you’re already a subscriber, you can access the pattern with the password in each newsletter, in the resource library.
Steps

Step 1- Print your pattern! Cut roughly around it, peel off the back, and place it on your hat. Use a hoop to secure one spot and assemble your supplies.
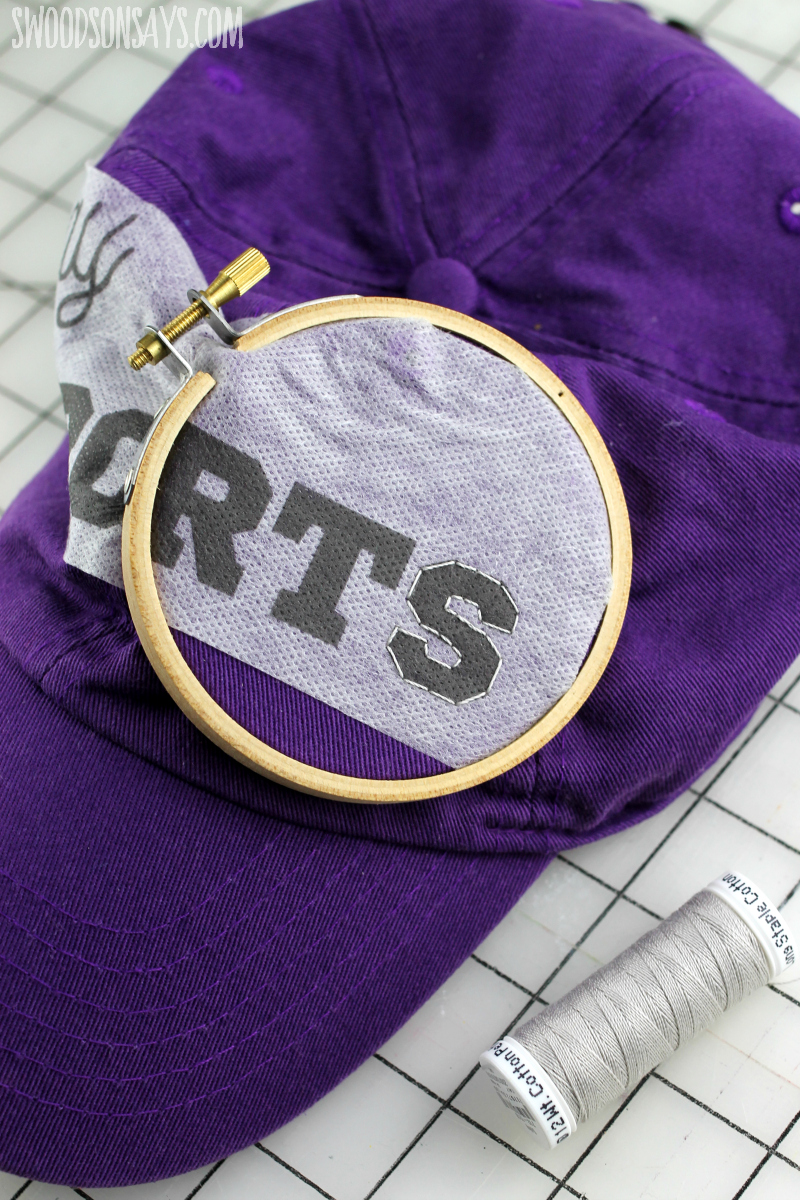
Step 2- I like to do a rough outline with backstitching before I satin stitch.
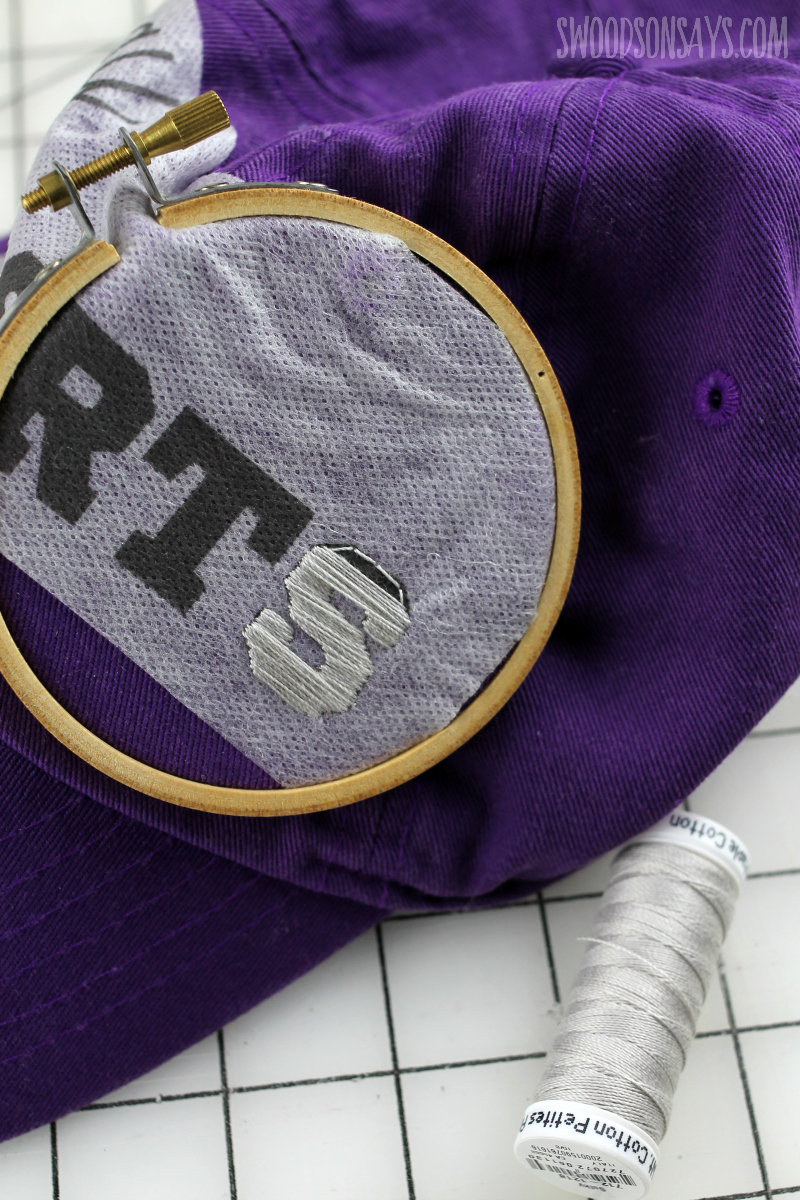
Step 3- Use long satin stitches to fill the ‘sports’ out, mimicking a traditional sports hat.
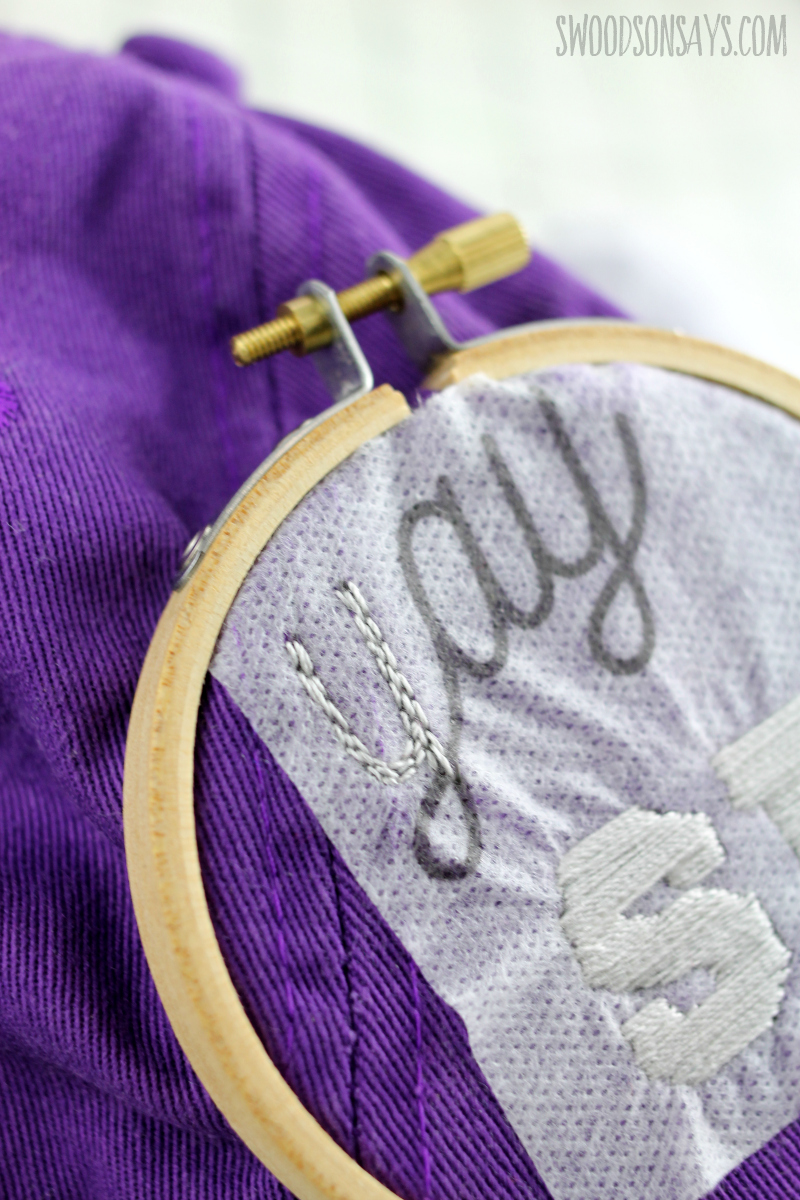
Step 4- Stagger backstitches in 3 columns to fill out the ‘yay’.
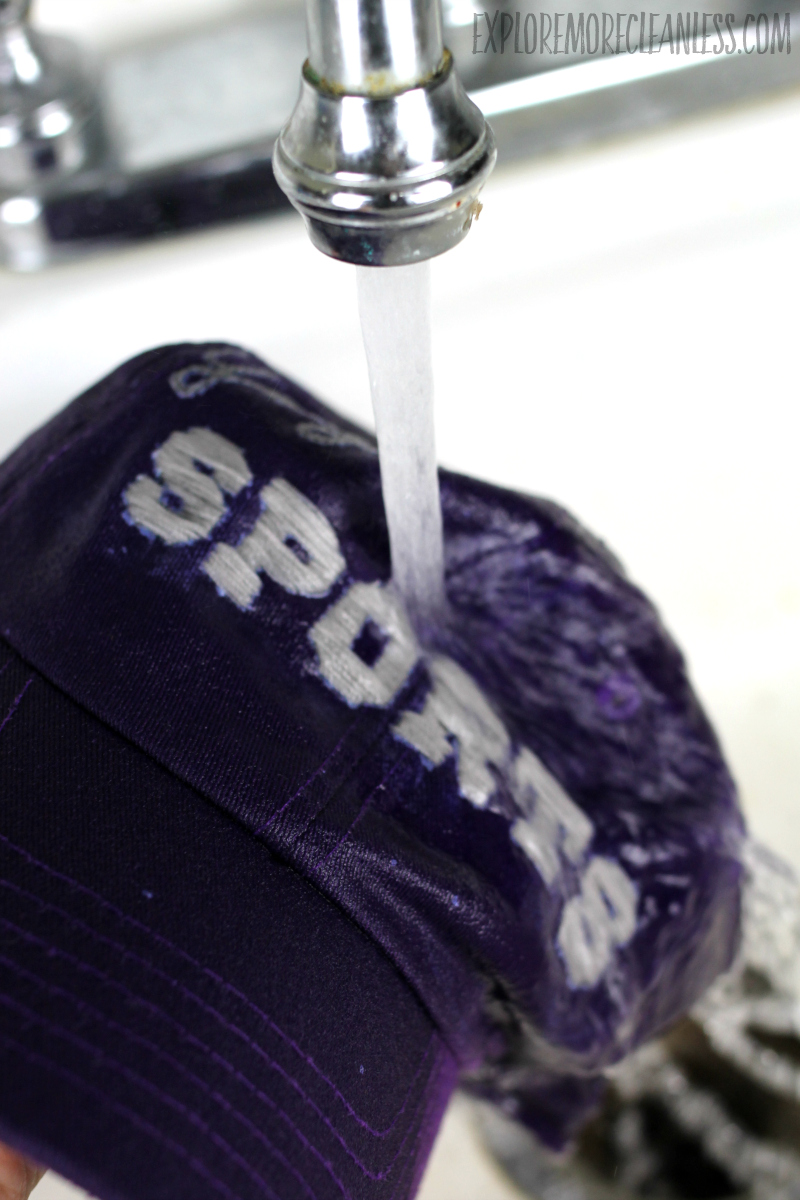
Step 5- Use warm water to wash away the backing pattern, let dry (I like to ball up a towel underneath so it helps shape the hat!), and wear it to all your sports obligations to give you shade and a few laughs!

Jen Baker
Tuesday 24th of September 2019
love this idea! perfect for a little boy <3